One of the first lessons you learn as a new mother is that – as long as your mother or mother-in-law is still alive – Mother’s Day is not about you. And with life expectancies for U.S. women reaching 80+ years… well, just sit tight, honey. Your day will come. Eventually.
So, in the spirit of Mother’s Day being Not About Me, I decided to make lots of extra work for myself this week. Every year my daughter’s school holds a Mother’s Day Bazaar. Folks can donate handmade crafts and tchotchkes for the kids to buy with their adorable Ziploc baggies full of coins that they swiped out of mom’s purse.
I happen to have a bulk bag of D-rings gathering dust in my sewing drawer, and thought this would be a good opportunity to make something new out of Old Crap – D-Ring belts!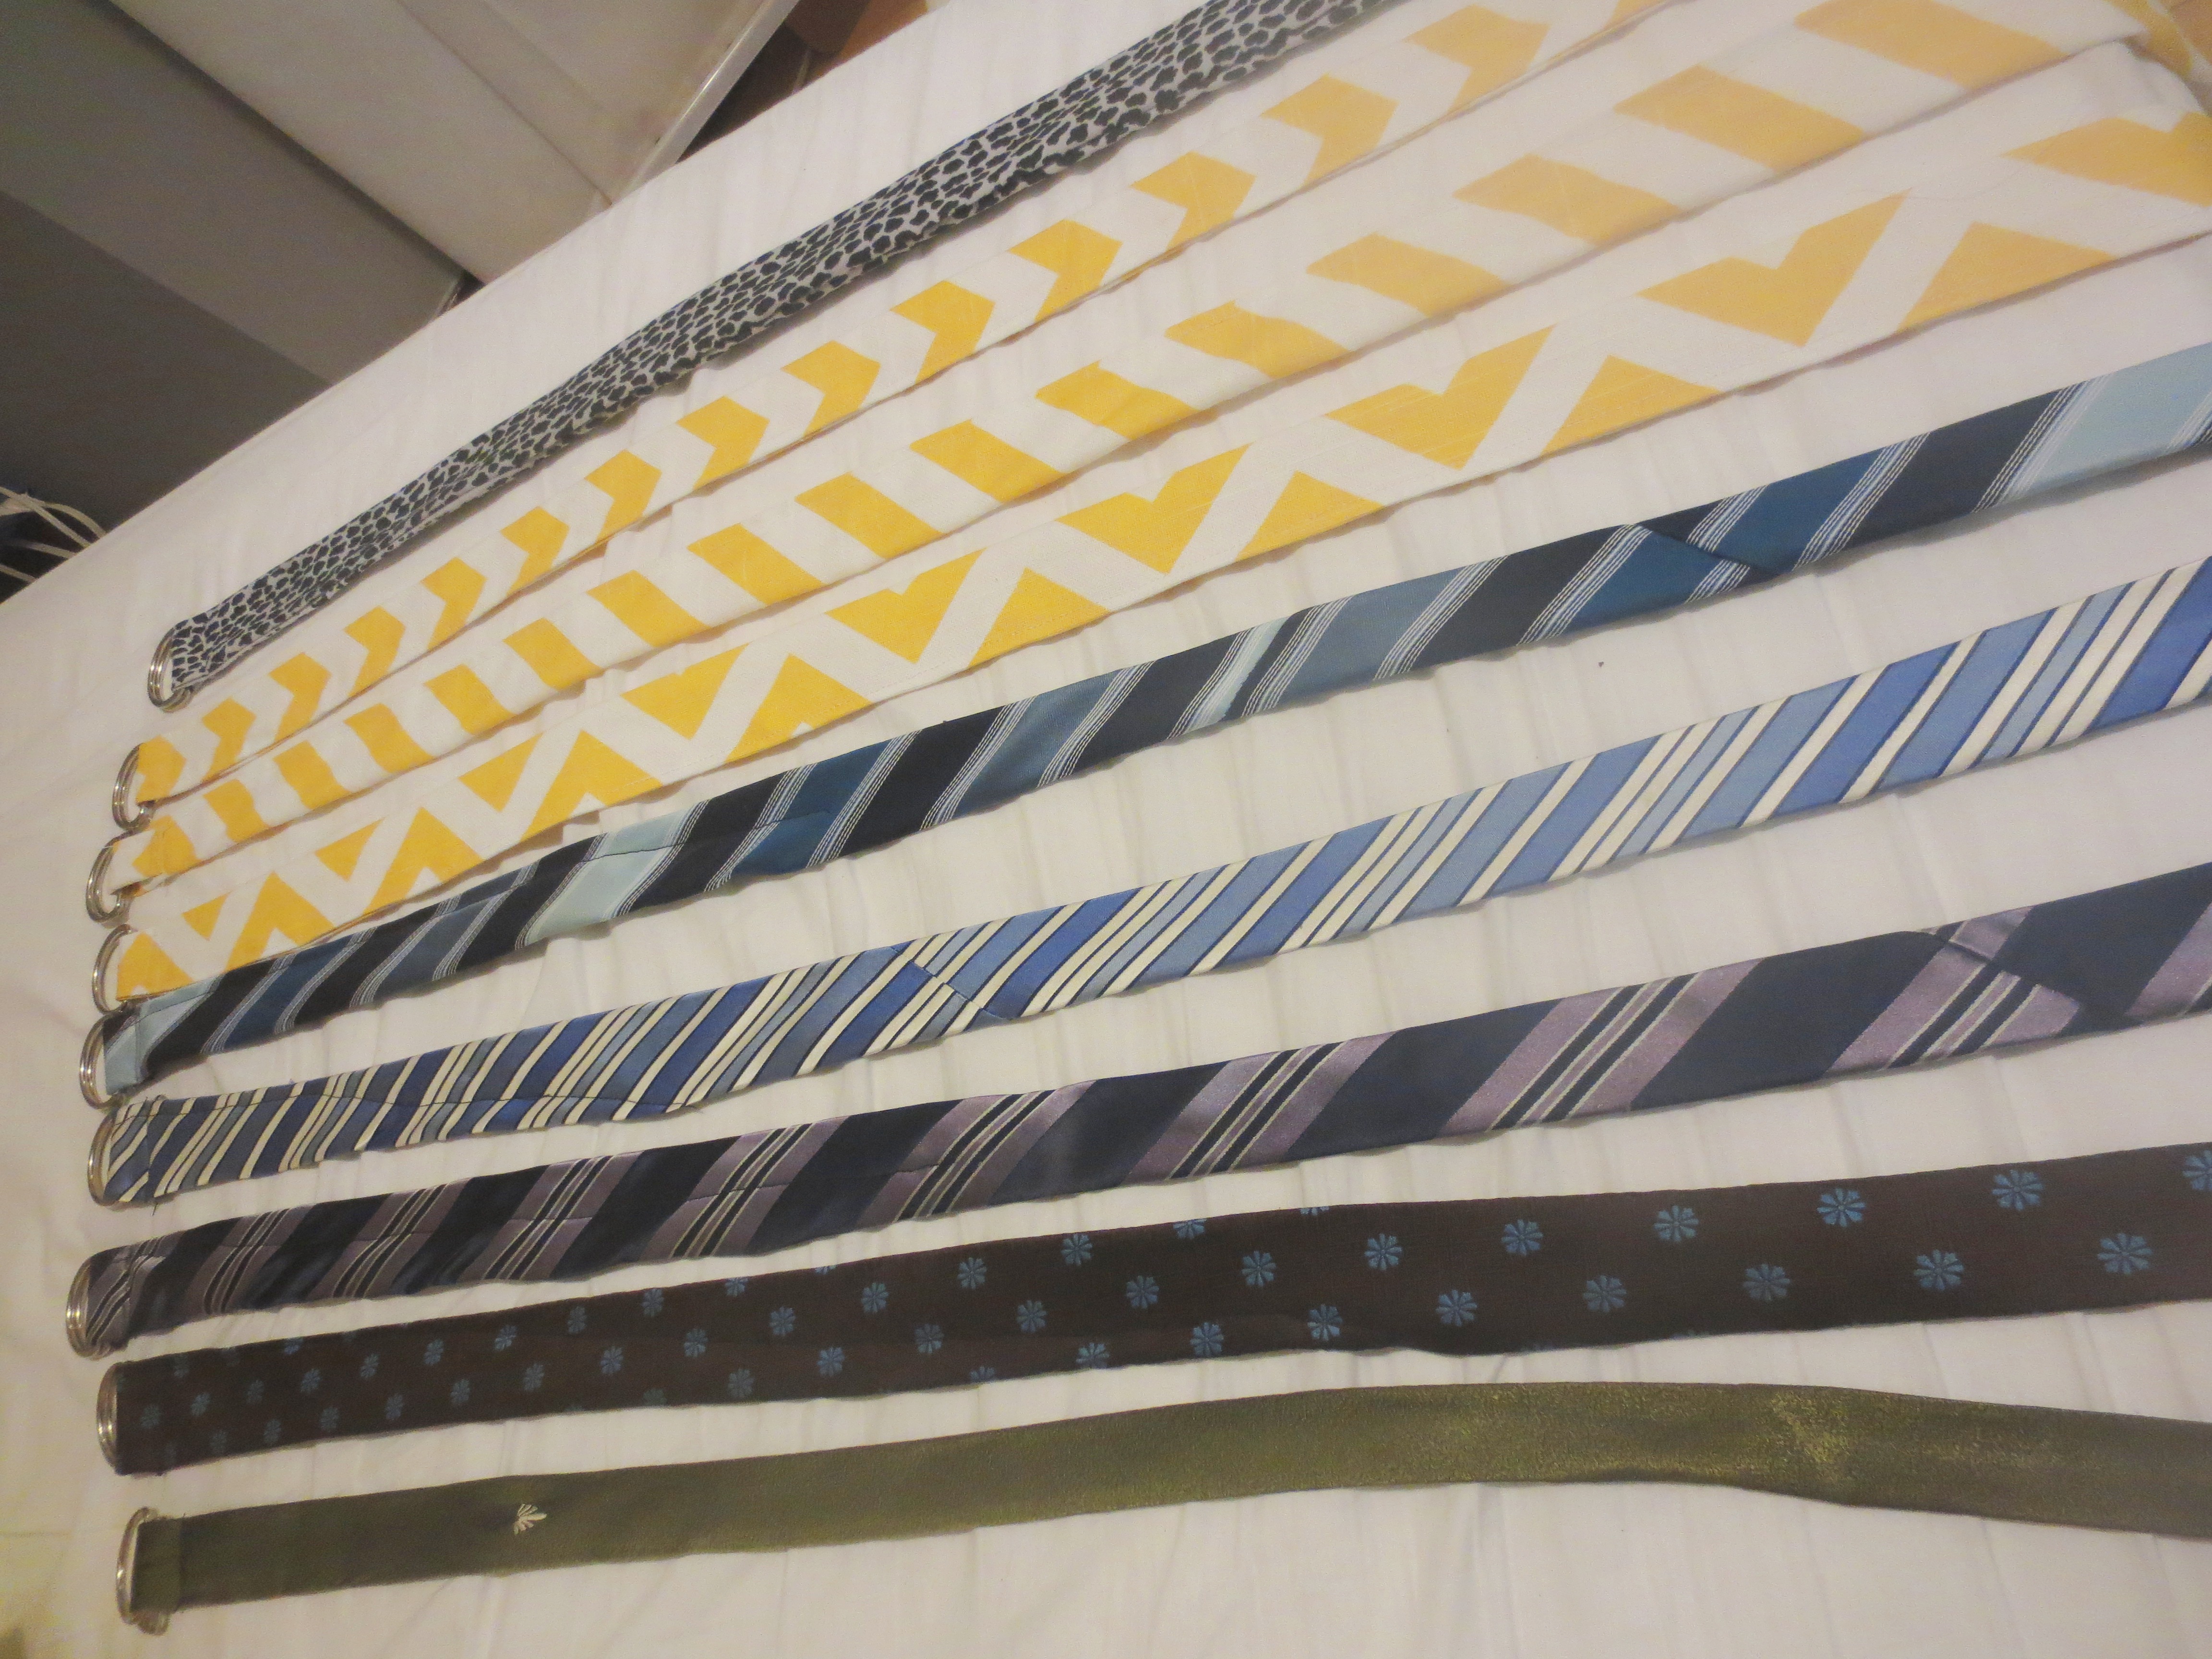 The beauty of selling D-ring belts at the Mother’s Day Bazaar is that almost everyone with a torso wears a belt from time to time. Because they’re one-size-fits-all, there’s no need for awkward questions about Mommy’s Waist Size (though I did make the belts a smidgen on the large side, to avoid even more awkward gift-giving moments).

To ensure purity, buy your D-rings from a trusted friend, never off the street.
Here’s how to make D-ring belts out of three kinds of Old Crap:
Neckties, Curtains and Scraps from your upholstered headboard.
BELT #1: NECKTIE BELTS
There are two ways to source this project:
A) raid your own or the man-in-your-life’s tie collection, or
B) take a well-deserved trip to your favorite thrift store. I recommend the latter.

Chicago’s Best Thrift Store is Unique Thrift, on Halsted in Bridgeport.
STEP 1) CHOOSE YOUR STYLE. I’m partial to stripes in cool colors. I wanted the belt to shine, but not steal the show.
 STEP 2) PREP YOUR TIE. Carefully remove the staples from your ties; use a pliers or tweezers to avoid unsightly staple holes.
 Iron your ties on low heat. Not only will this smooth out wrinkles, but it will also help burn off any lingering Old Man Smell. But don’t fret– Neck Ties are usually worn over a shirt, so their cootie levels are minimal. And since most people wear their belts OVER their pants, there really is almost no risk of direct cootie transmission.

Take extra precautions if your tie was donated by a male stripper.
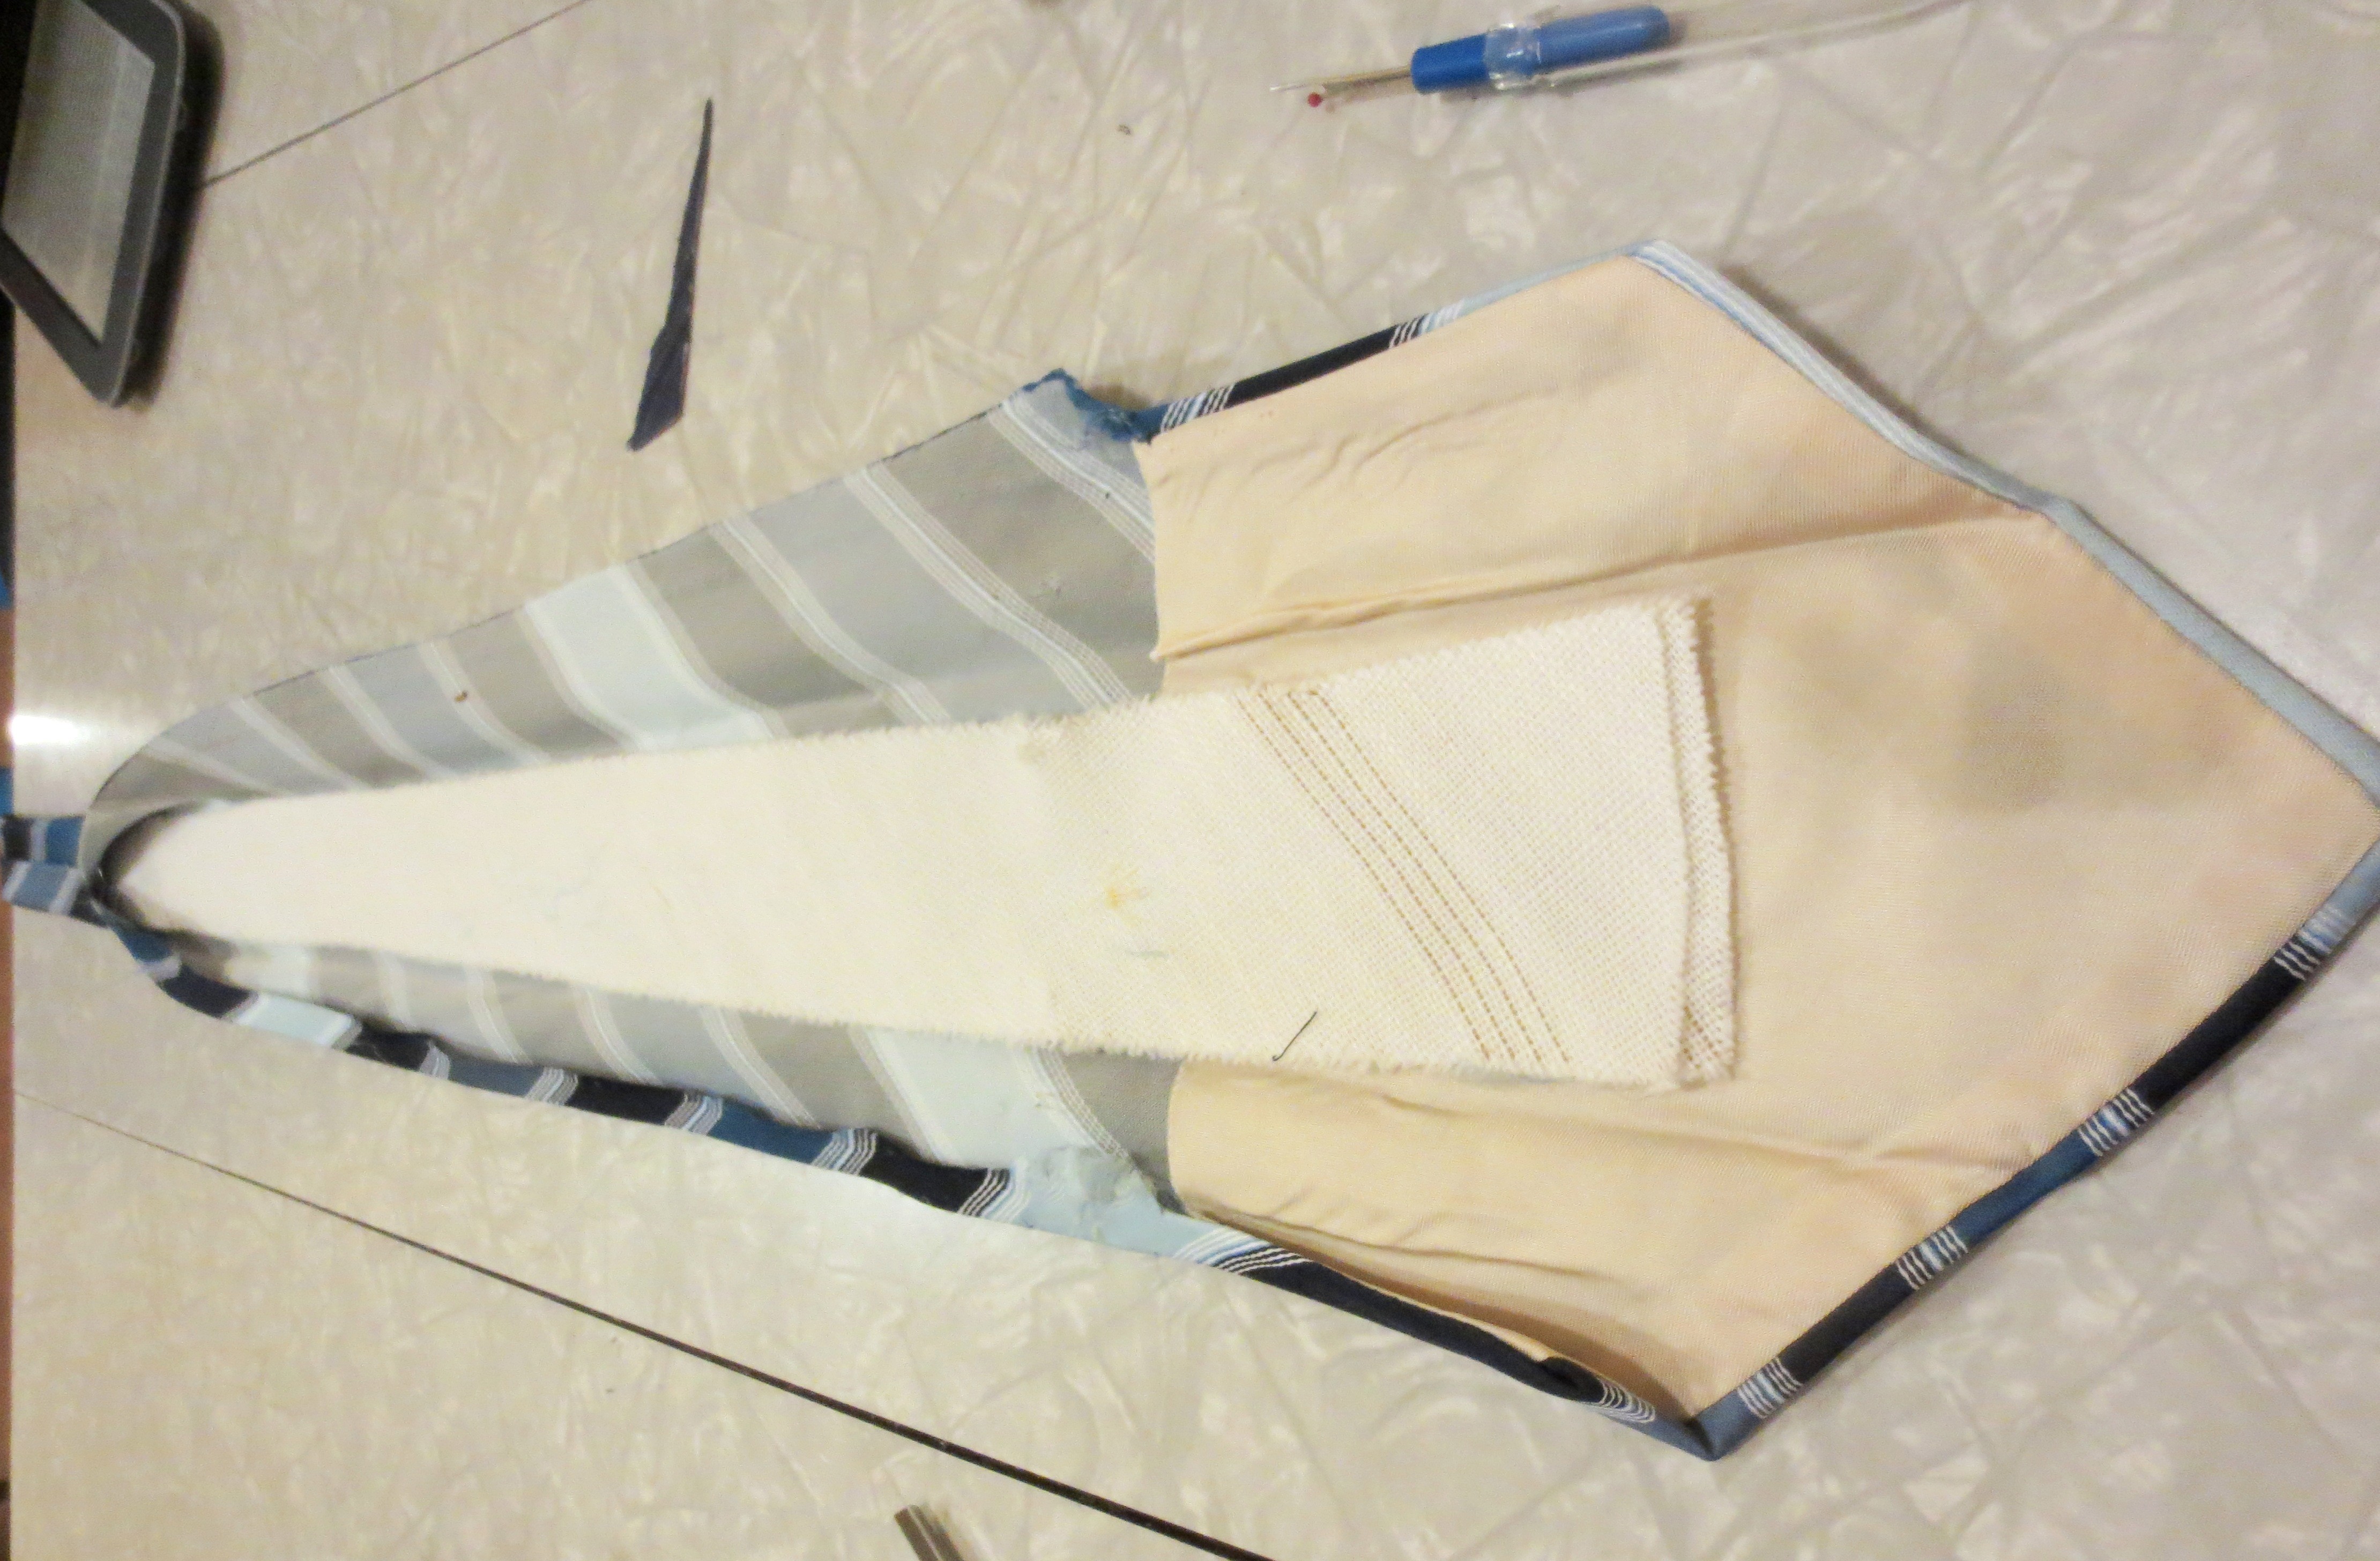
STEP 3) CUT YOUR TIE: Most of your tie will be about the same width, but especially with specimens from the disco era, you might run into some flare. Cut your tie open with a seam ripper to expose its innards.
Haven’t you always wondered what was in there?
Slice off any especially wide ends. Locate the point where the flare begins and trim the shell and the innards down to match width of the rest of the tie.  Carefully fold back and sew a diagonal seam to the end.

 STEP 4): THE HARDWARE: Slip the D-rings over the unfinished (butchered) end. Fold the end over twice and sew two seams over the folds, holding the D-rings in place.
REALITY CHECK: I love the shine of the silk (or polyester), the bright colors and dashing patterns of these ties. My goal was to make at least ten tie belts for the Bazaar, but after six tries, I decided I would rather eat wasabi-covered dog doo than cut open, dismember and reassemble another one of those @#$* things.

There were casualties.
Even though I had a few ties left to sew, I had to move on. The next night I pouted to my husband about how I’ve grown to hate circumcising ties, and declared that there must be a better source of belt-making fabric. In a nod to The Sound of Music, he asked what Fraulein Maria would do.  BELT #2: OLD CURTAIN BELTS
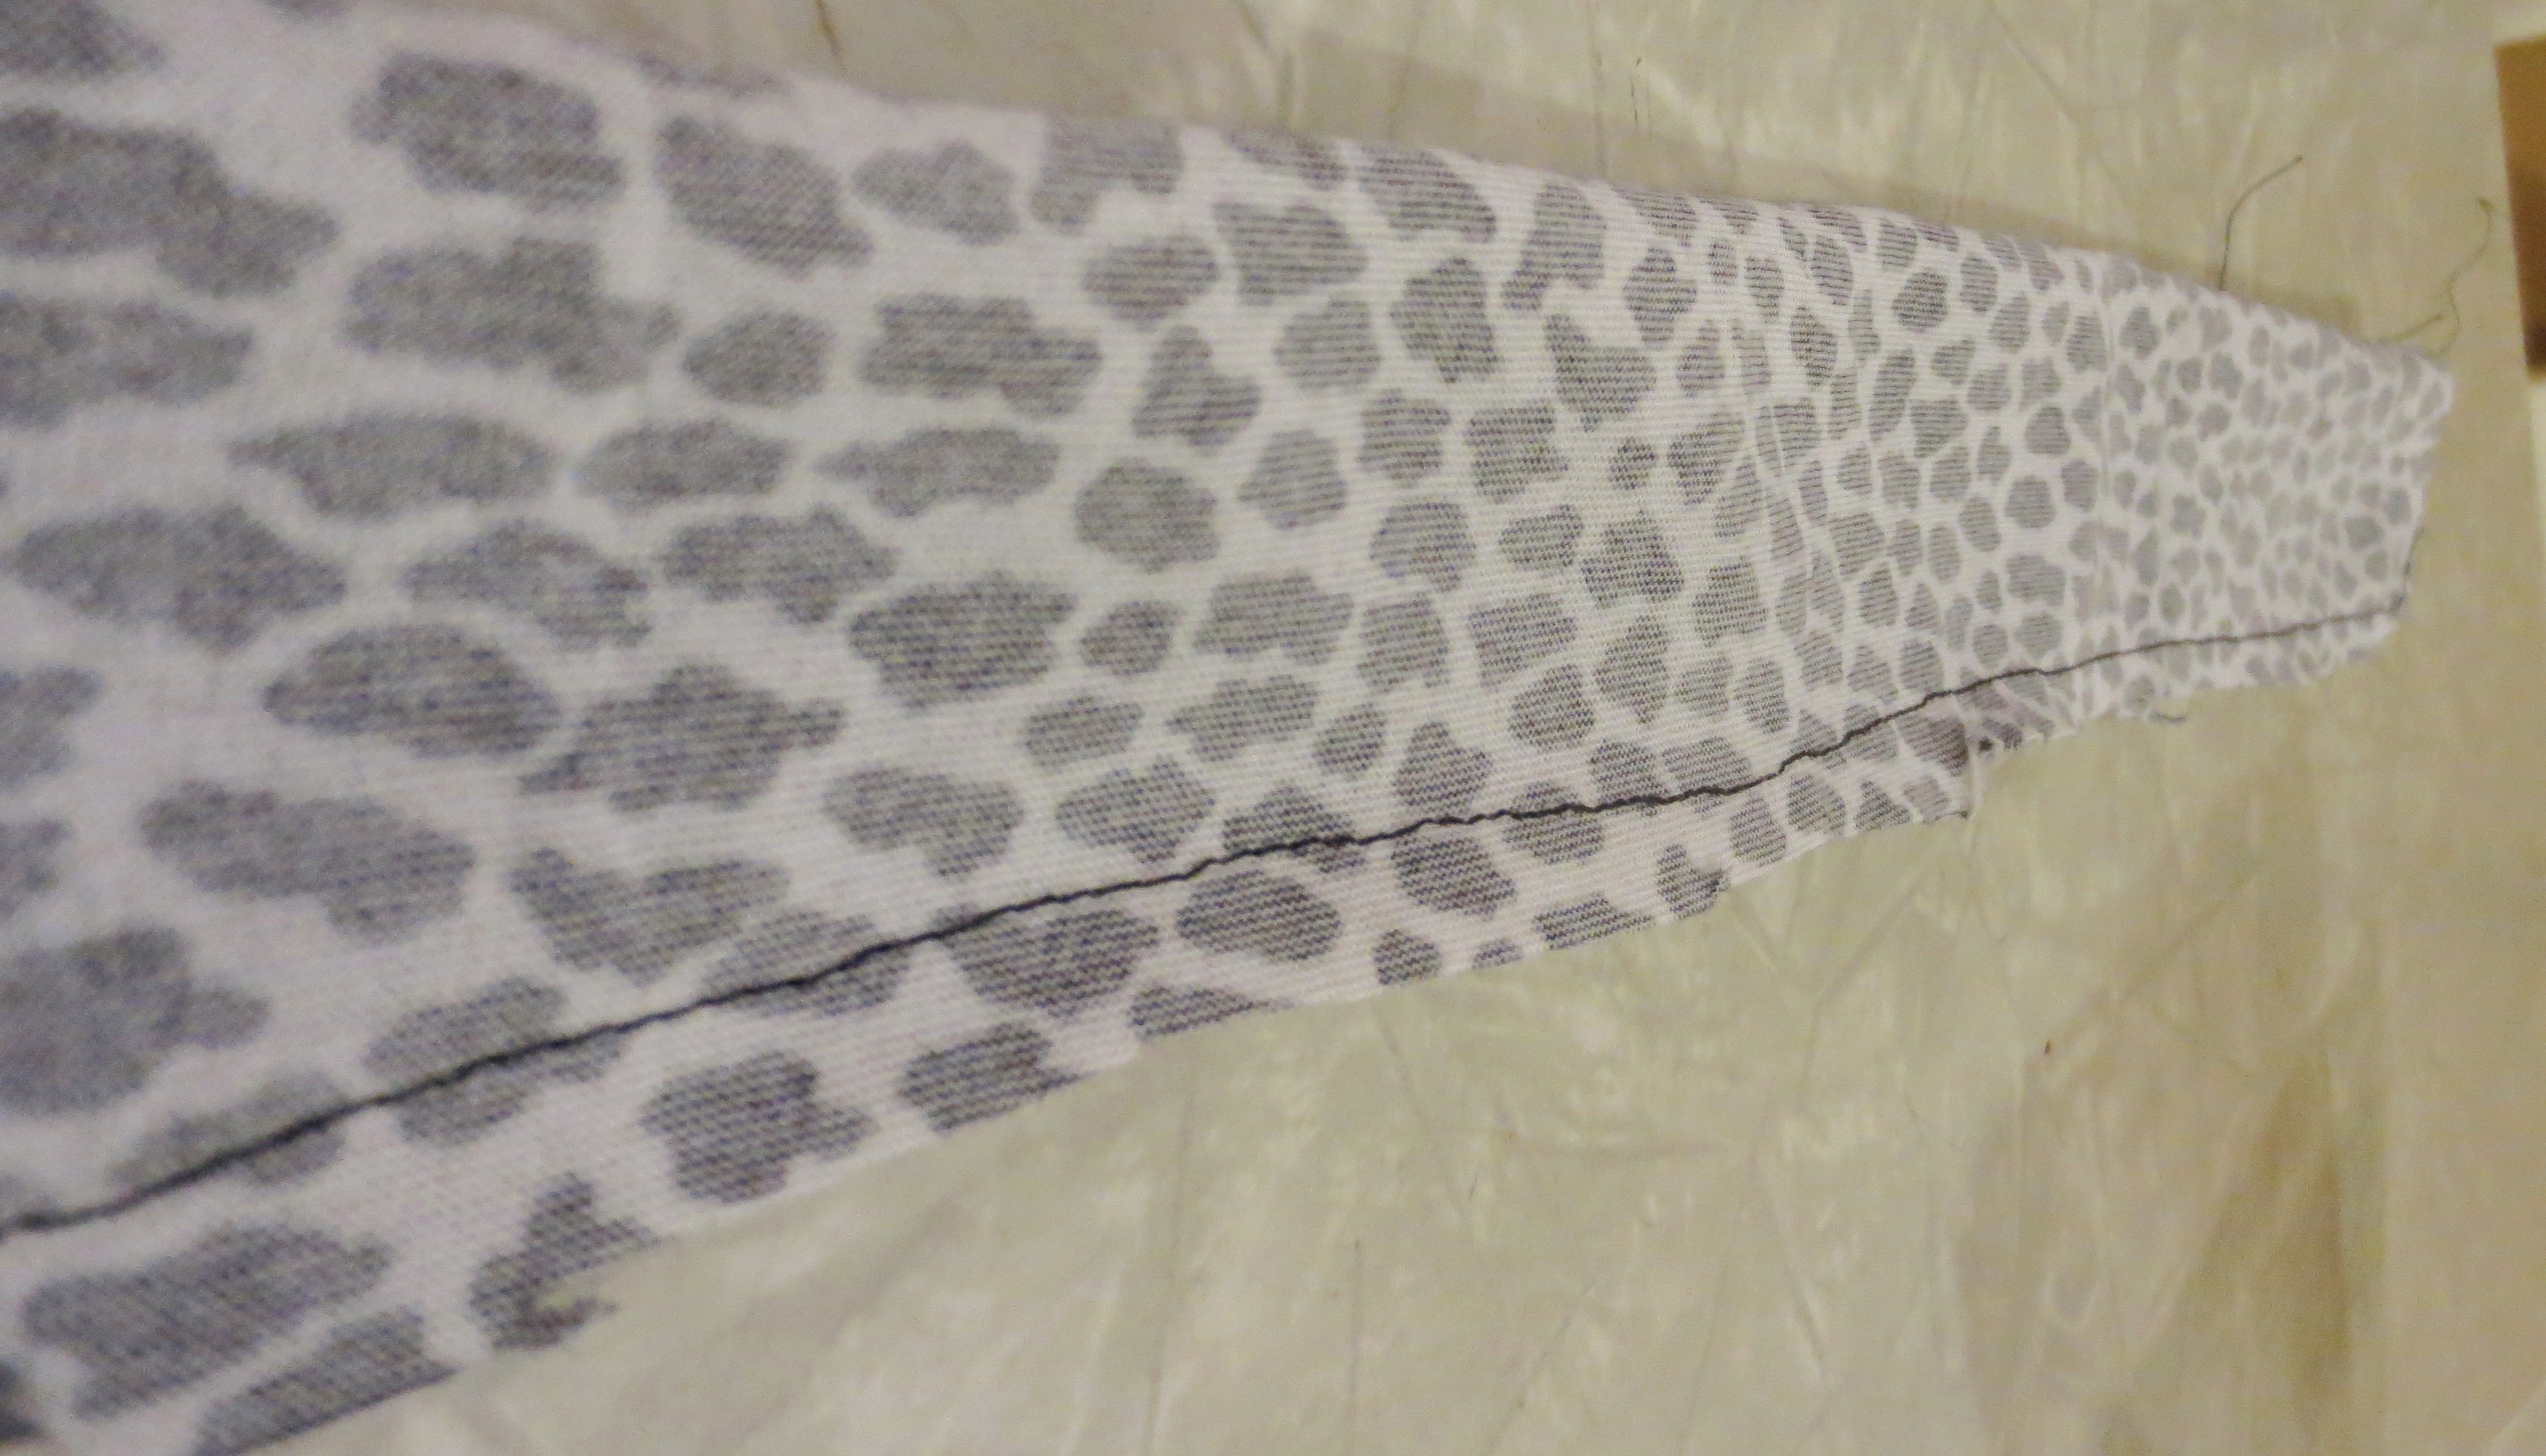
After dinner, I dashed to the fabric bin and dug out these animal-print (cheetah? Las Vegas snow leopard?) curtains I had made back in the day–way back. We’re talking at least three apartments and one boyfriend ago. They were long, fabulous and forgotten. And best of all, I could cut them to my exact specifications.
 STEP 1) Measure and cut the fabric– a little more than twice as wide as your D-rings.
STEP 2) Fold over so the fabric is inside out. Pin the raw edges together and sew a seam along the entire length of the fabric. (ACTUALLY, DON’T DO THIS. SEE STEP 3)
Seemed like a good idea at the time.
STEP 3) Smack your forehead when you realize what a pain in the ass it’s gonna be to pull the whole thing rightside-in again. Tearfully hand it to you husband, along with a long wooden spoon and tell him to figure it out. He doesn’t seem to be doing anything useful right now, anyway.
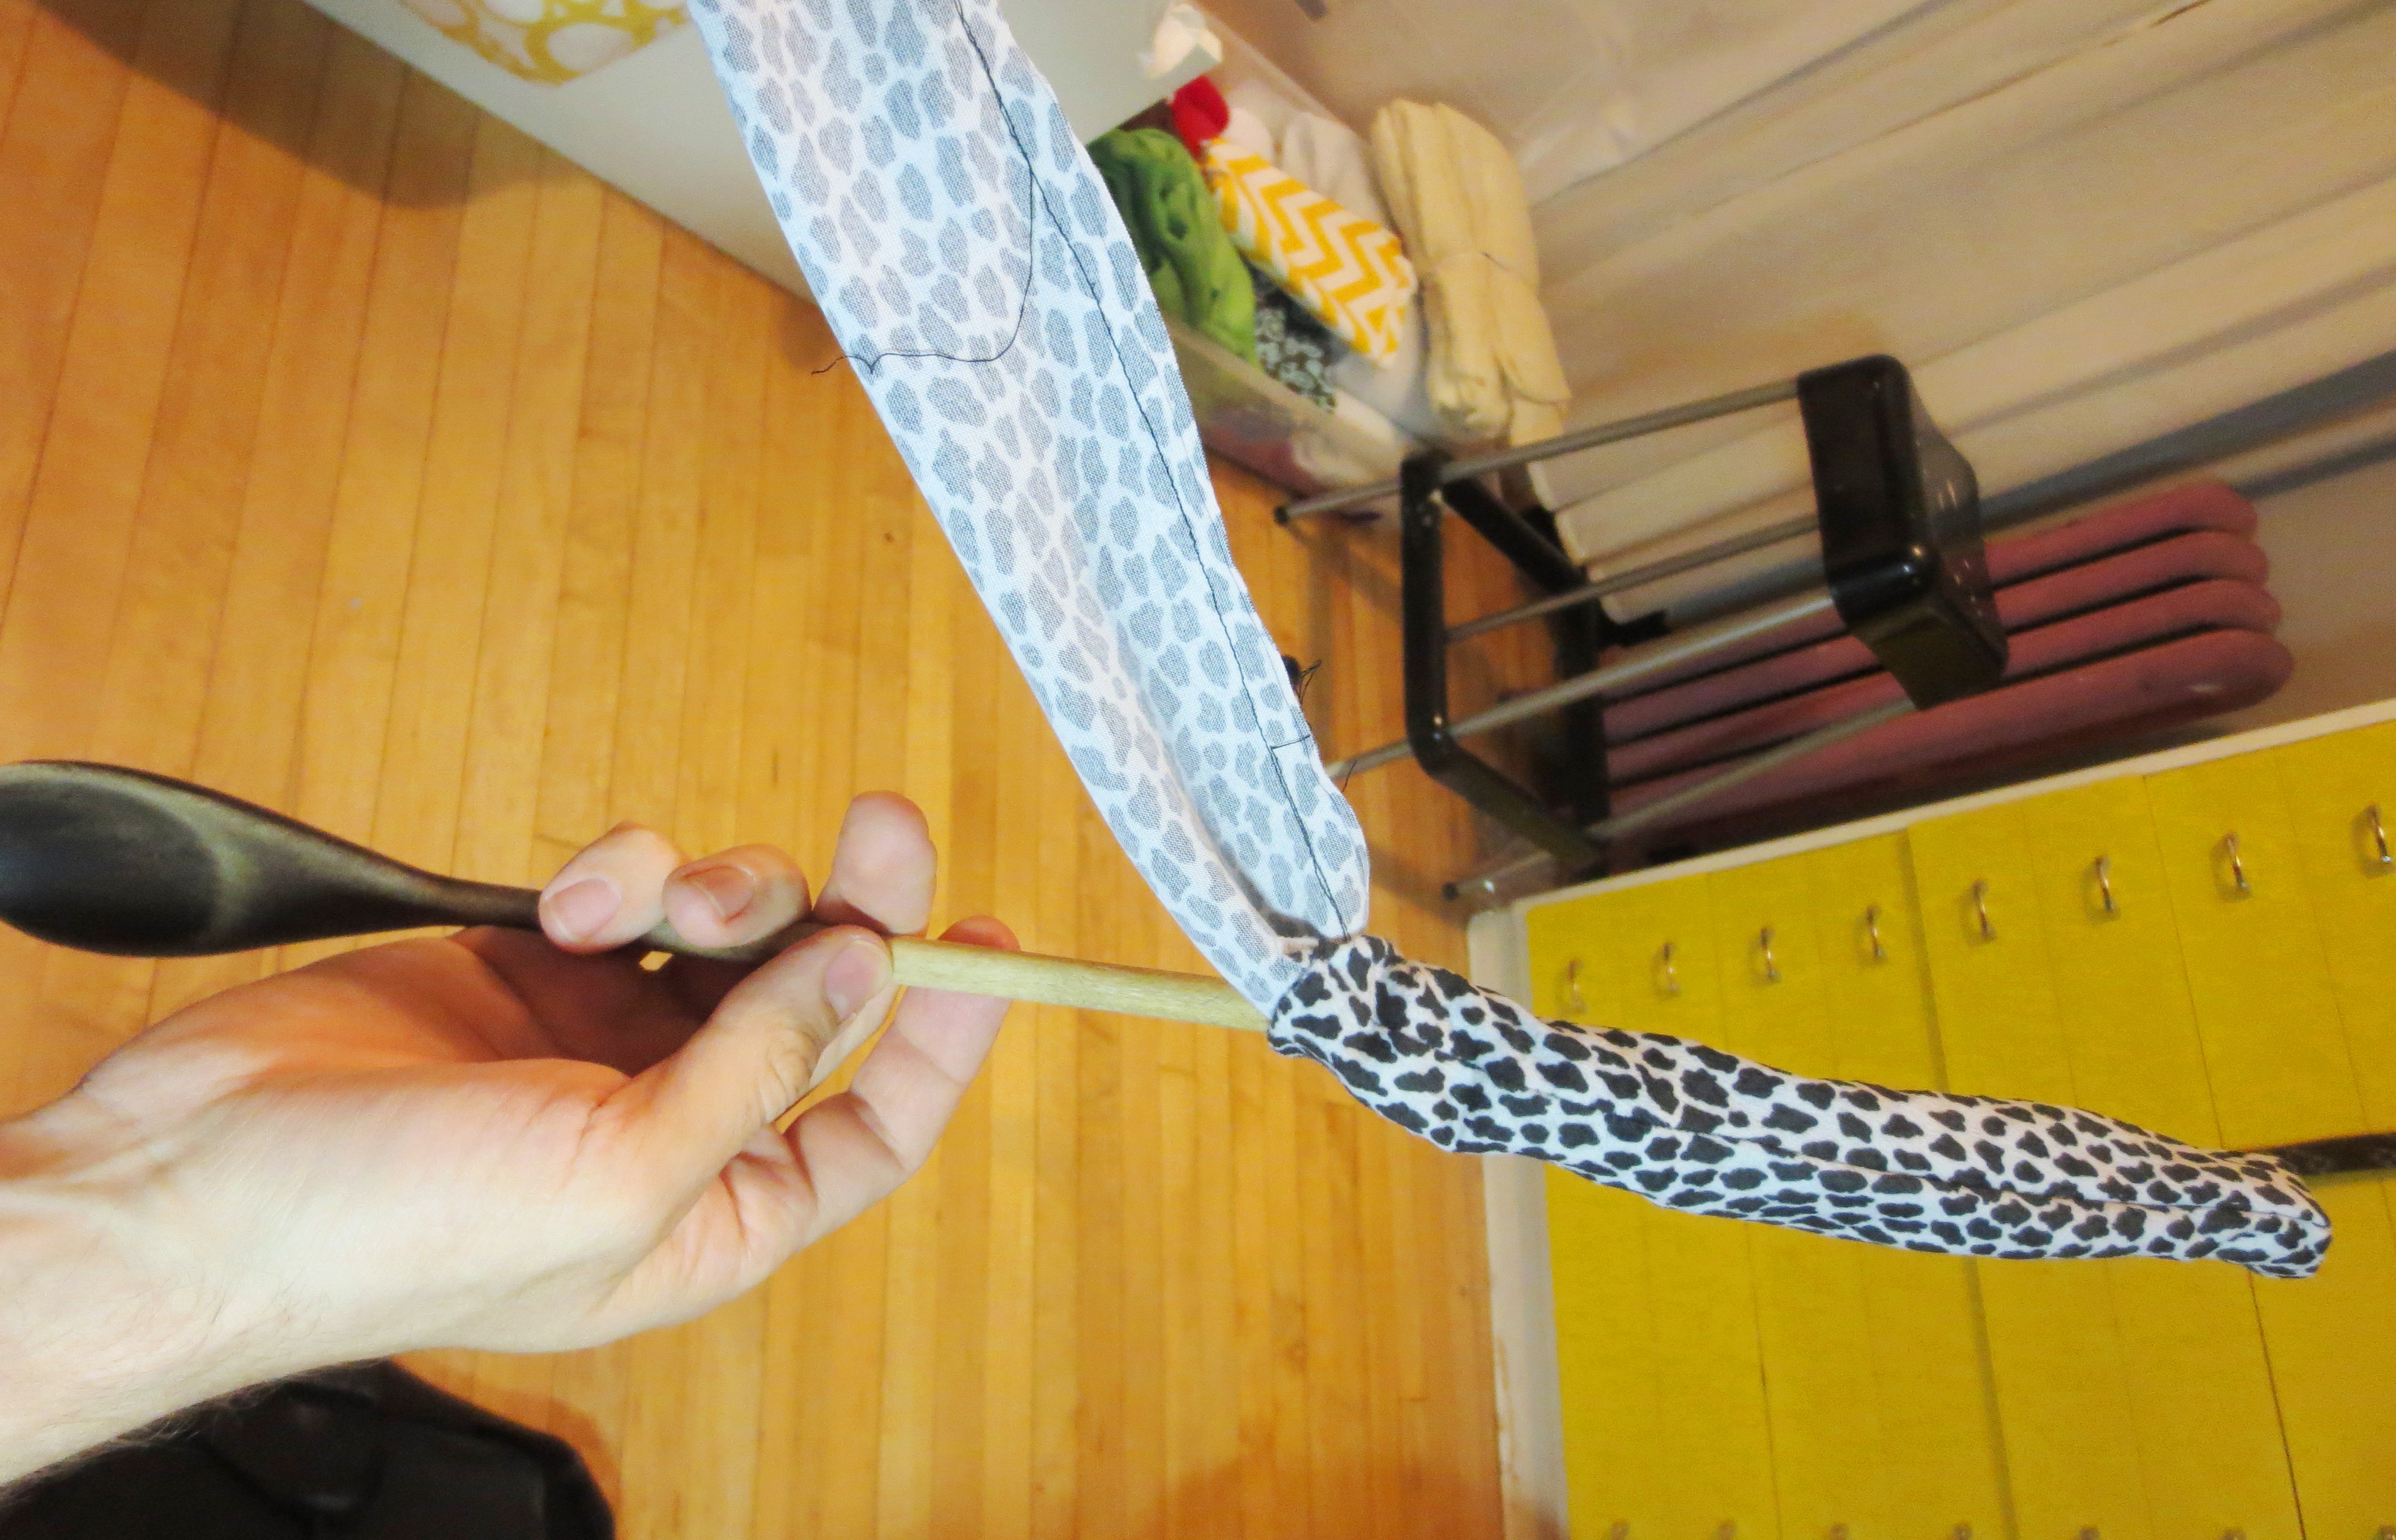 STEP 4) Slip the D-rings over one end, and fold the end over twice; sew a couple of seams along the folded ends. Fold over and sew the other end as well to finish it off.
 STEP 5) Fire up the iron so you can smooth this belt out flat. Watch in horror as the material starts melting with the first touch of the iron. Pretend like nothing happened and casually pull out your fabric bin again.
BELT #3: SCRAP UPHOLSTERY FABRIC BELT
Please, please accept my apologies if you are the poor woman whose child buys her that last belt at the Bazaar. Just let me know and I’ll buy you a drink, cause that’s what you really want for Mother’s Day anyway.
After rummaging around in my fabric scrap bin for material that was long and NOT A) fleece, B) faux fur, nor C) flammable, I pulled out this beauty, leftover from my DIY Tufted Headboard Project. The fabric was thick, modern, bright and snazzy.
 PERFECT! By now you’re getting the general hang of this belt-making procedure, so most of this will be review. However, we are NOT going to drive ourselves crazy by sewing 5+ feet of fabric inside-out, and then threatening to divorce our husband if he can’t fix our mistakes, which are somehow his fault anyway.
STEP 1). Measure your fabric lengthwise, and cut it to be about 2.5 times wider than the width of your finished belt. Use the width of your D-rings as a guide.
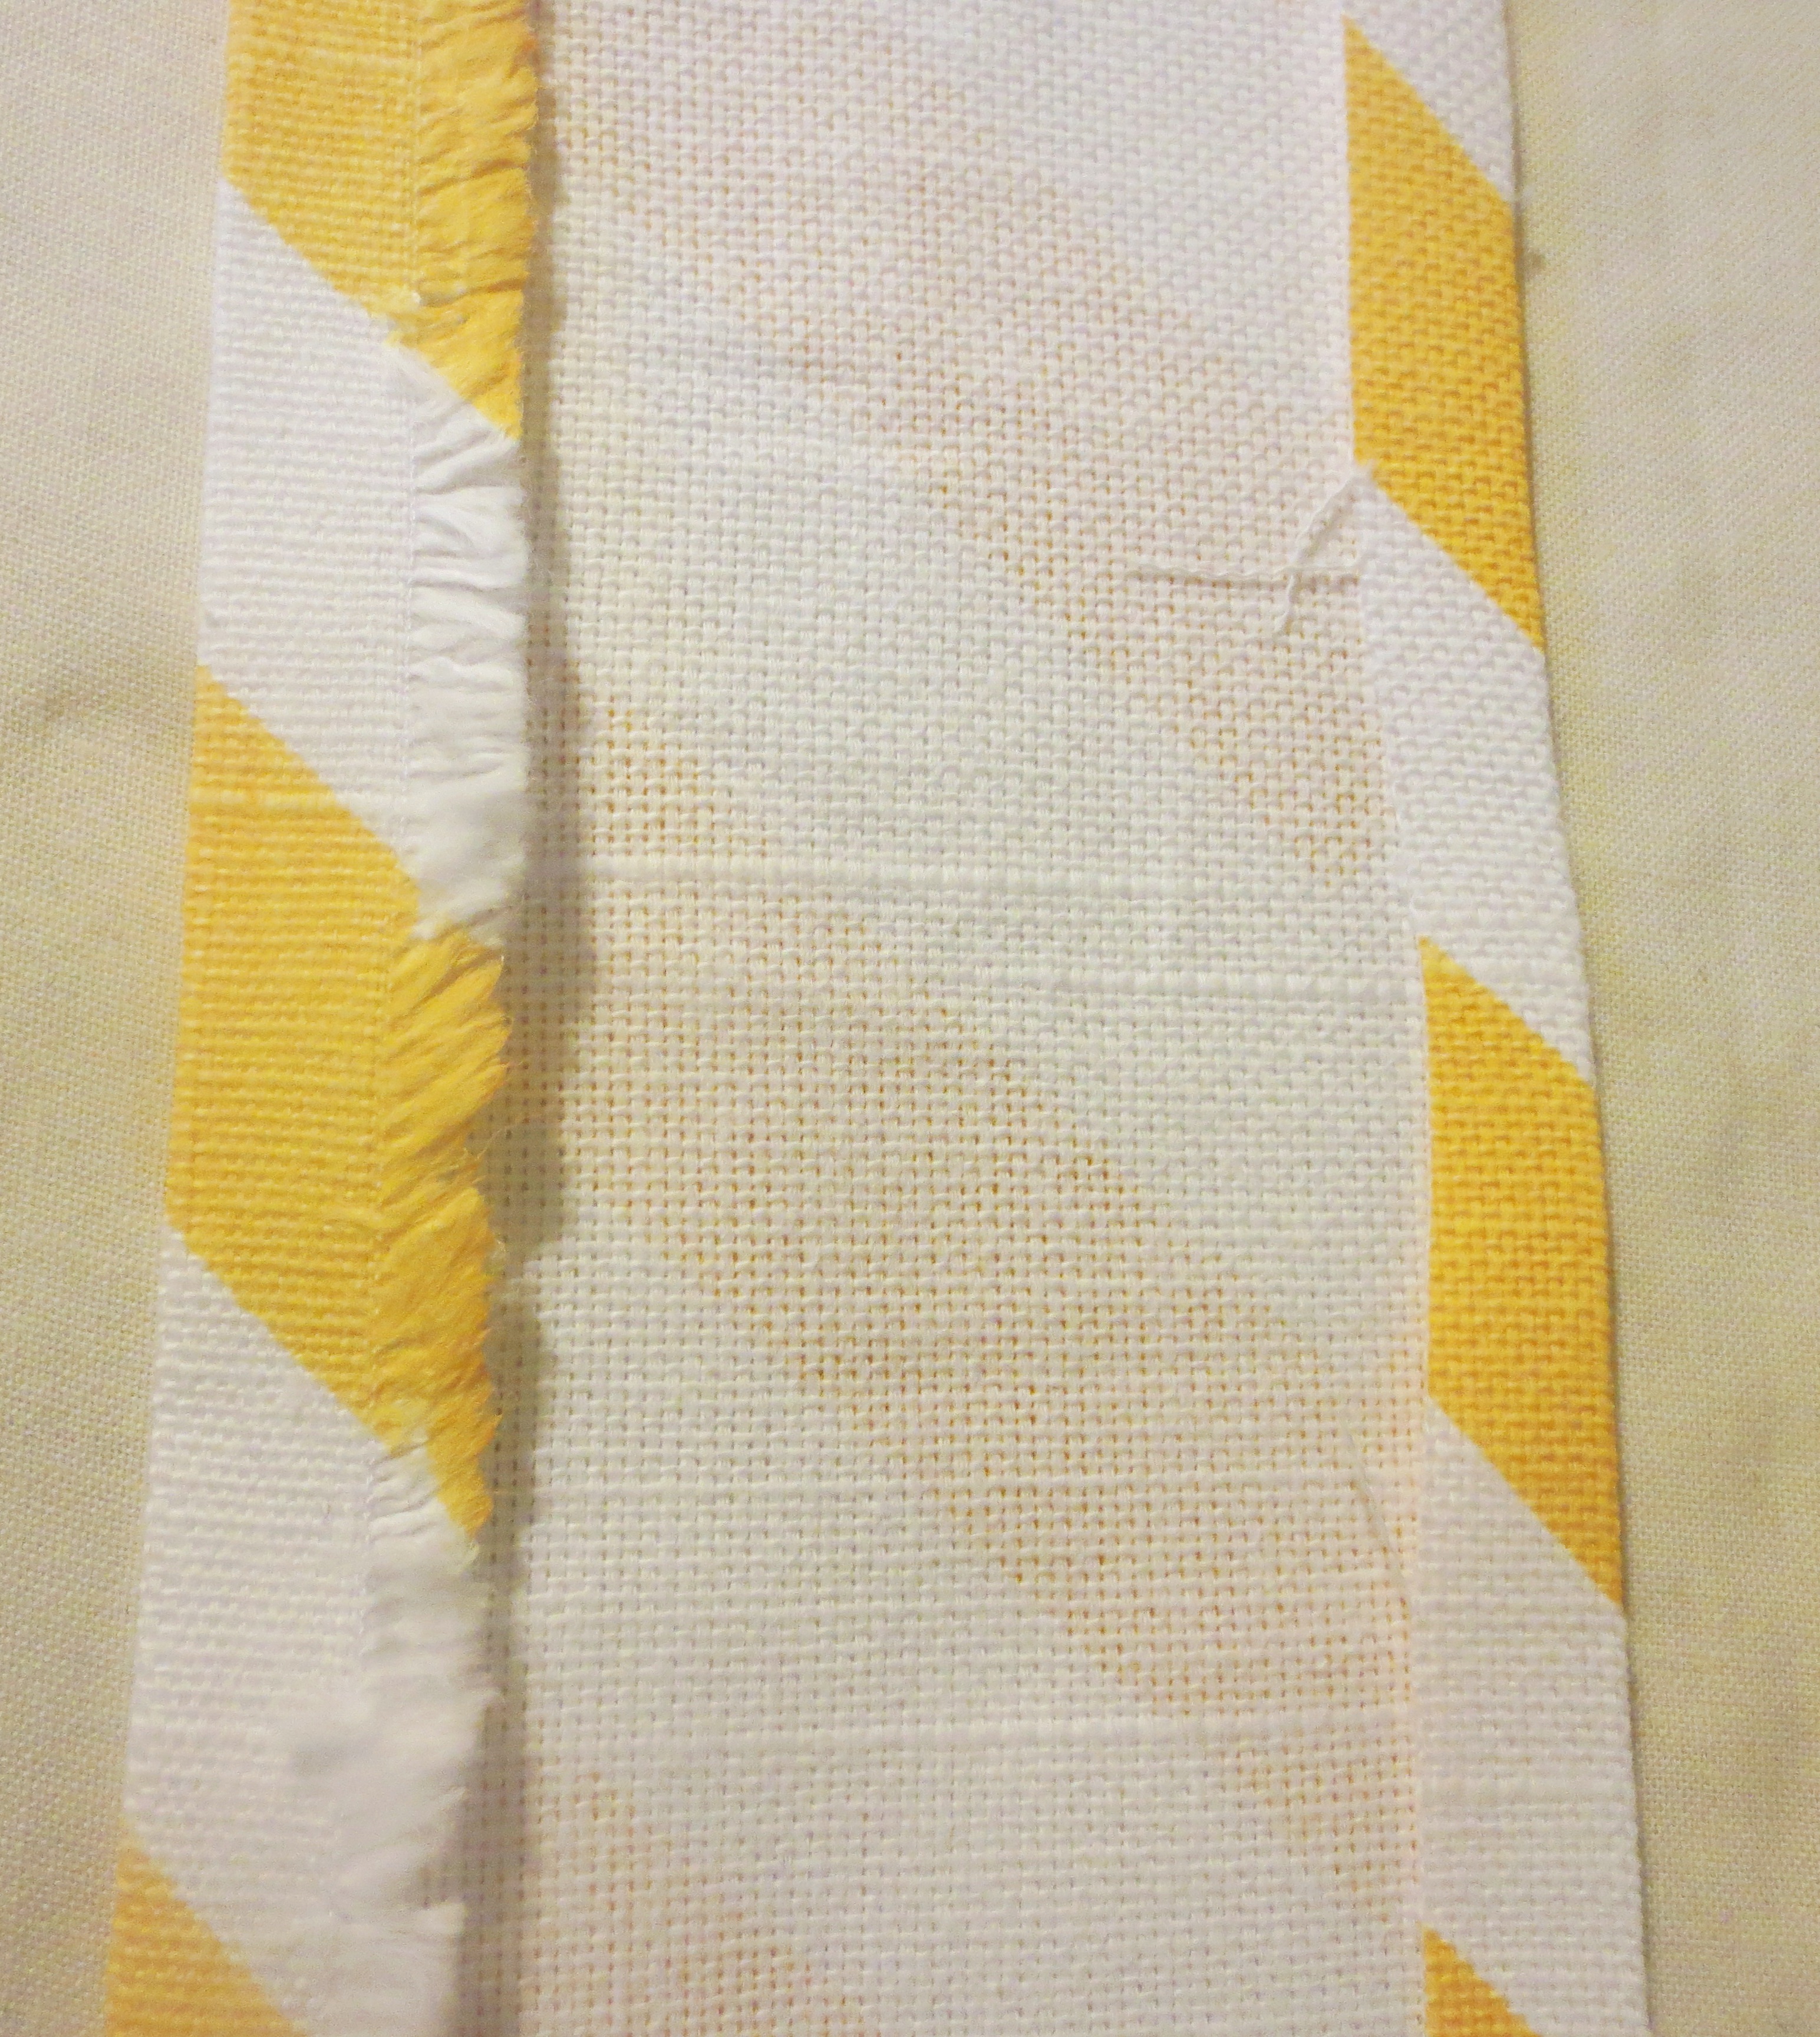
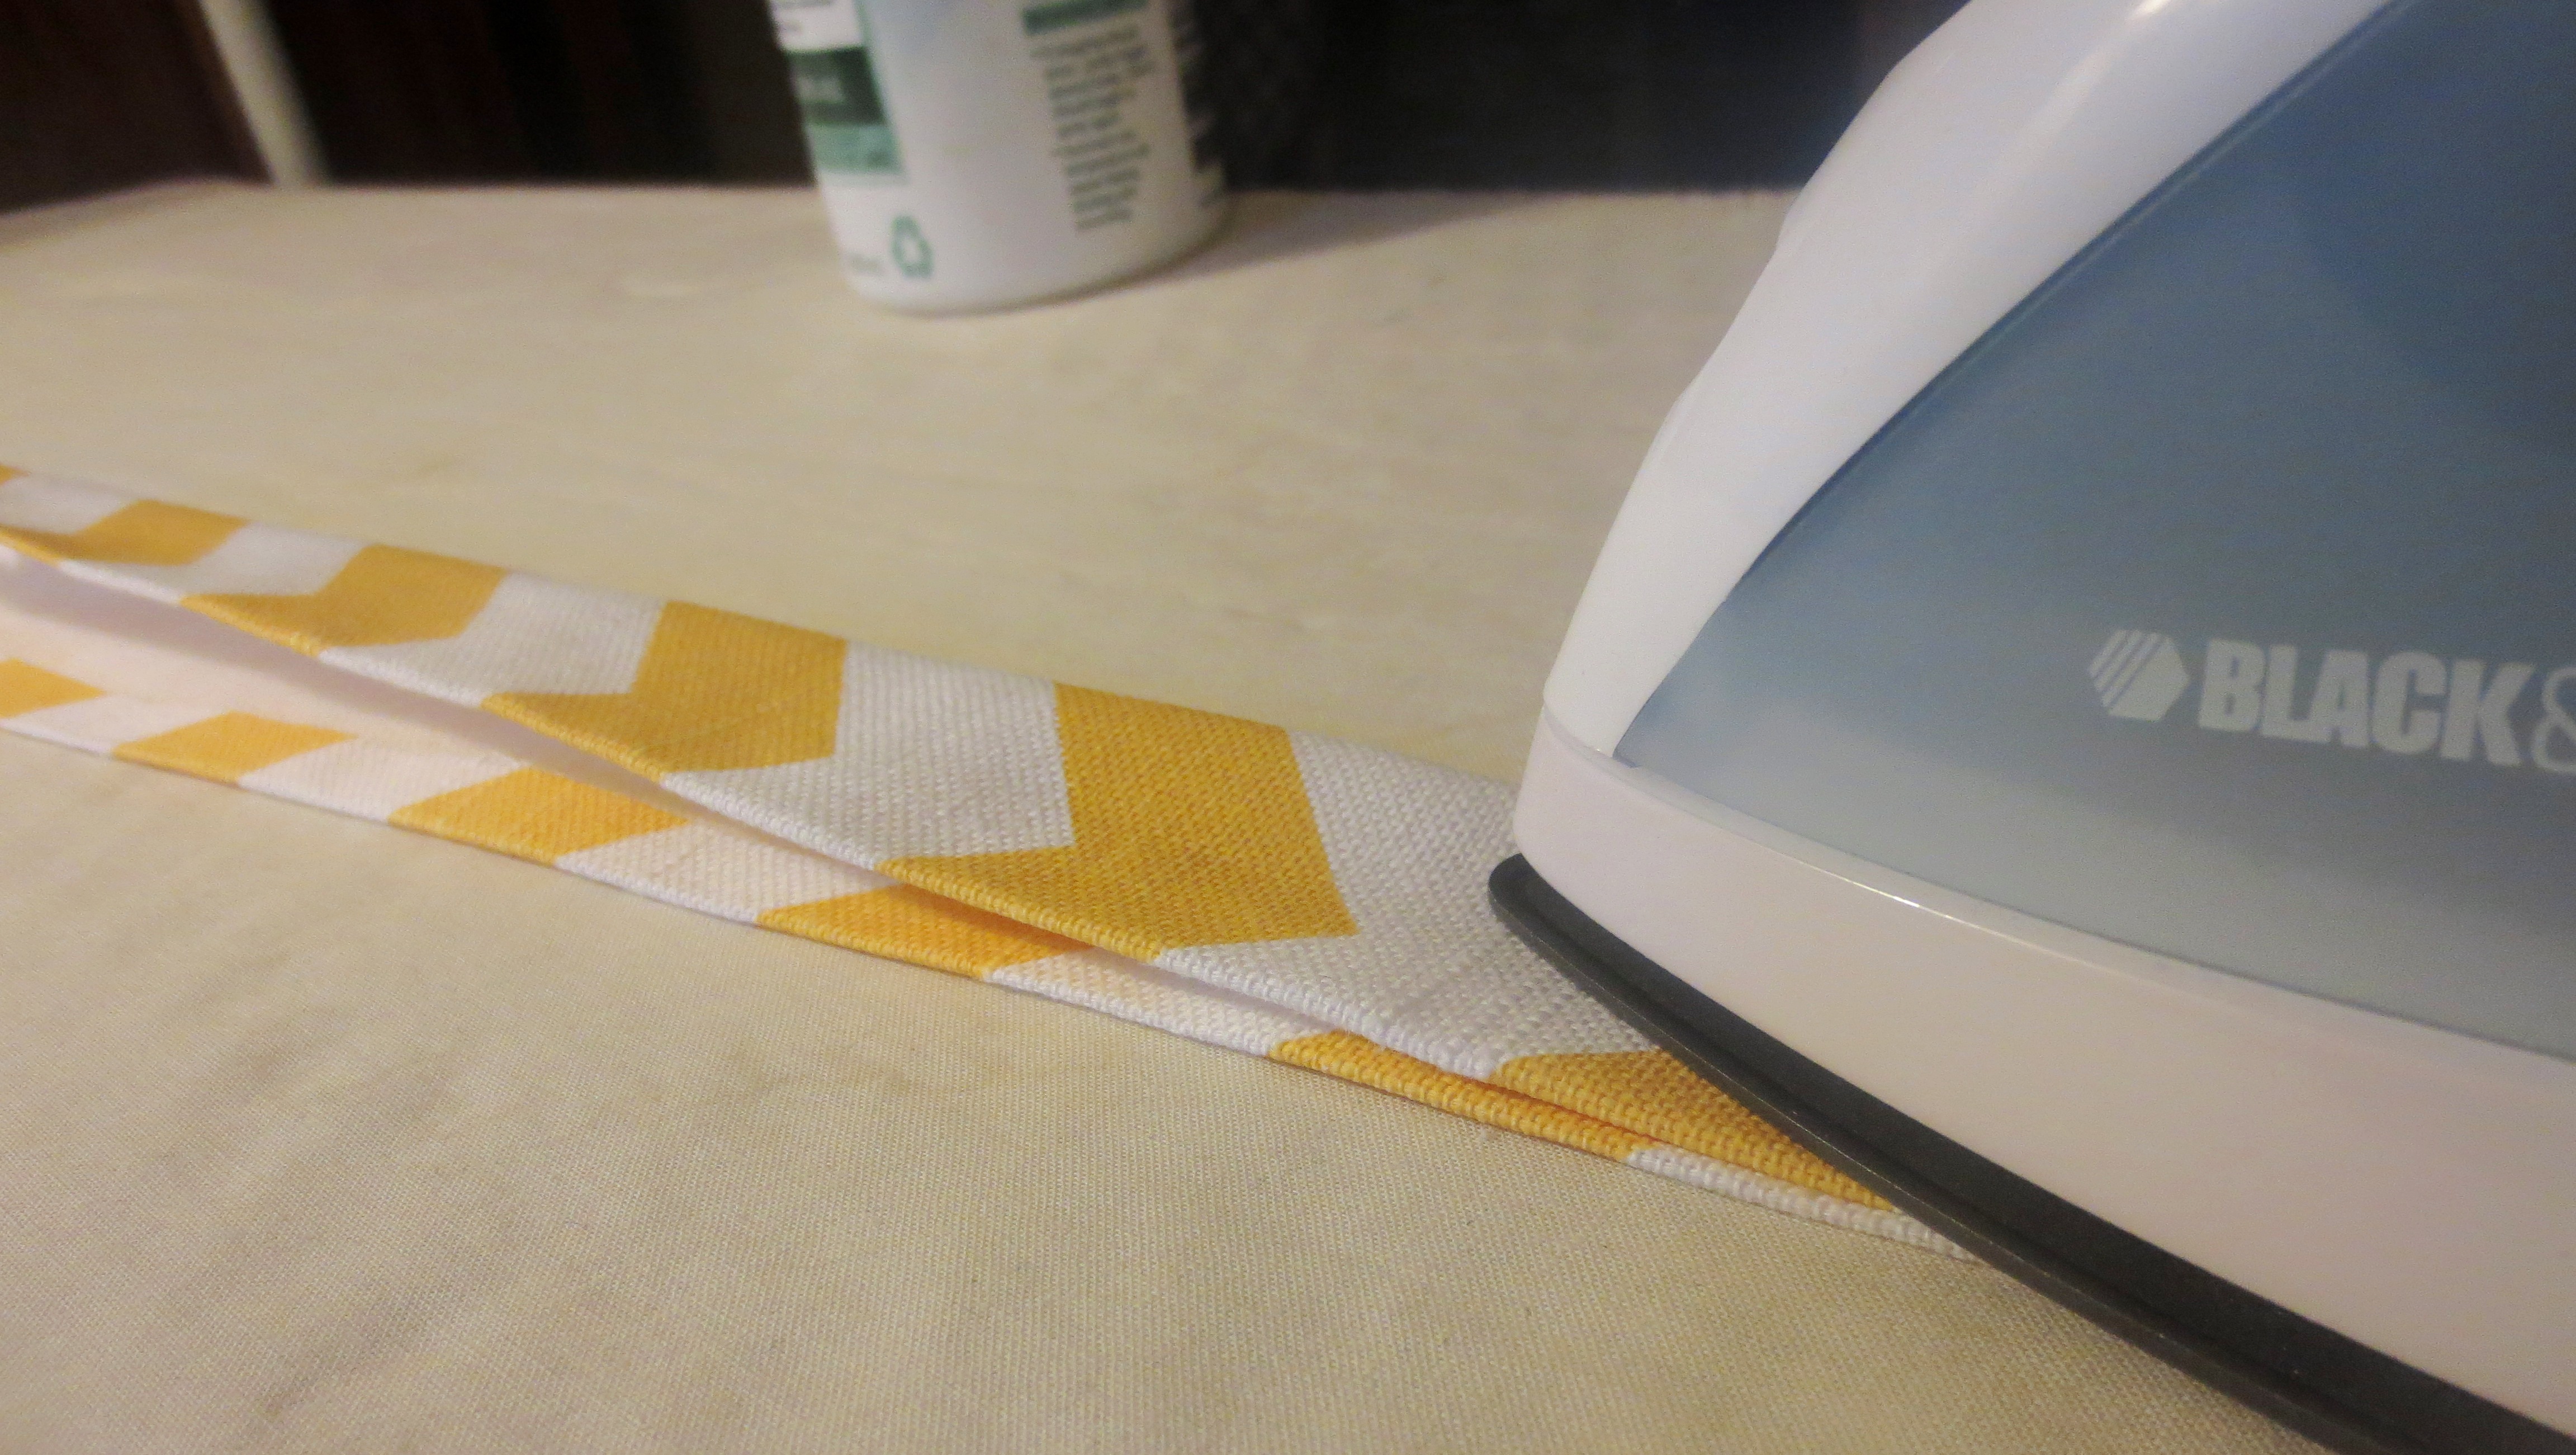
STEP 2) Starch your fabric. Fold ¼ inch hems on both long sides of the fabric and iron flat. Then fold a ¼ inch over on both short sides (the ends) of the fabric over and iron flat as well.
 Fold fabric in half (with hems folded flat) and iron the whole belt again. I would recommend folding the side that will hold the D-rings so that it’s slightly narrower than the rest of the finished fabric.
STEP 3) With all hems folded in, sew a seam along the entire length of the fabric. Make sure the end of your belt doesn’t slowly creep into your spiked SleepyTime tea.
 STEP 4) Slip the D-rings over the narrow end. Fold the fabric over. Stitch it shut.

STEP 5) Make as many of these as the fabric allows. Just in time for spring — A ray of sunshine around your waist!

I was doing something important at the time, but I also a compulsion to untangle things.I guess it worked out, then.
LikeLike
Your husband sounds like a great guy! I thought I had the perfect husband, but I can’t imagine asking him to straighten out a sewing project mess for me. Although he WOULD admit that whatever it was that went wrong was his fault no matter that he had absolutely nothing to do with it in the first place – because he knows that having a certain anatomical part that we girls don’t have means that he is always at fault.
LikeLike
Thanks for the laugh! Even when it’s not actually his fault, it does help to have another person to bounce ideas off of, or more often, to ask for help figuring out how to undo some kind of mess I had gotten myself into (or help clean up a bucket of paint I just spilled, etc). Sometimes when you’ve been working on a project for hours and hours, you just need a fresh set of eyes — and hands — to get you to the finish line.
LikeLike
I’ve been a mother for nearly fifteen years now and Mother’s Day has never once, not ever, been about me. Yep, we’ve already been issued our command appearance for Sunday because being with us is a ‘gift’. (Never mind that we see them ALL the time.) Don’t get me wrong, I love my mother-in-law immensely but I just wish that one year, just once, someone, anyone, would give me the consideration that I give everyone else. Sigh.
I have one of those belts but I didn’t make it, I bought it at a craft show. Super cute!
LikeLike
Thanks for the tutorial! I might have to make one of these for myself. You know, because I’m not an 80-year-old mother yet. 🙂
LikeLike