When we joyfully announced that we were expecting our first baby, my mother declared, “It’s very brave of you to bring a child into the world at a time like this.”
Sounds dark, but cut her a break — it was September 2008 and the world was falling apart. The bankers forgot where they put everybody’s money, and the housing bubble — in which we floated blissfully for a few years — was popping like a million miles of bubble wrap.
 We knew we had to eventually sell our charming one-bedroom condo. But in the time it took to unload the place, we had another baby and my mother-in-law moved in. I didn’t care how much money we would lose, I needed to get out of there, and fast.
Finally, in January 2012, we traded our mortgage for a lease on a big, beautiful apartment a few blocks away. It felt like a palace: three bedrooms, TWO living rooms, and a backyard with a playhouse. But I didn’t exactly feel like a queen. The apartment was fine; but in terms of style, it just wasn’t … OURS.
The conventional thinking about renting is, “just let it be.” Put your power tools in cold storage and live with the ugliness it until you can buy your own place. But as we’ve learned this year, there are many cheap and easy ways to add style and function to your temporary home.
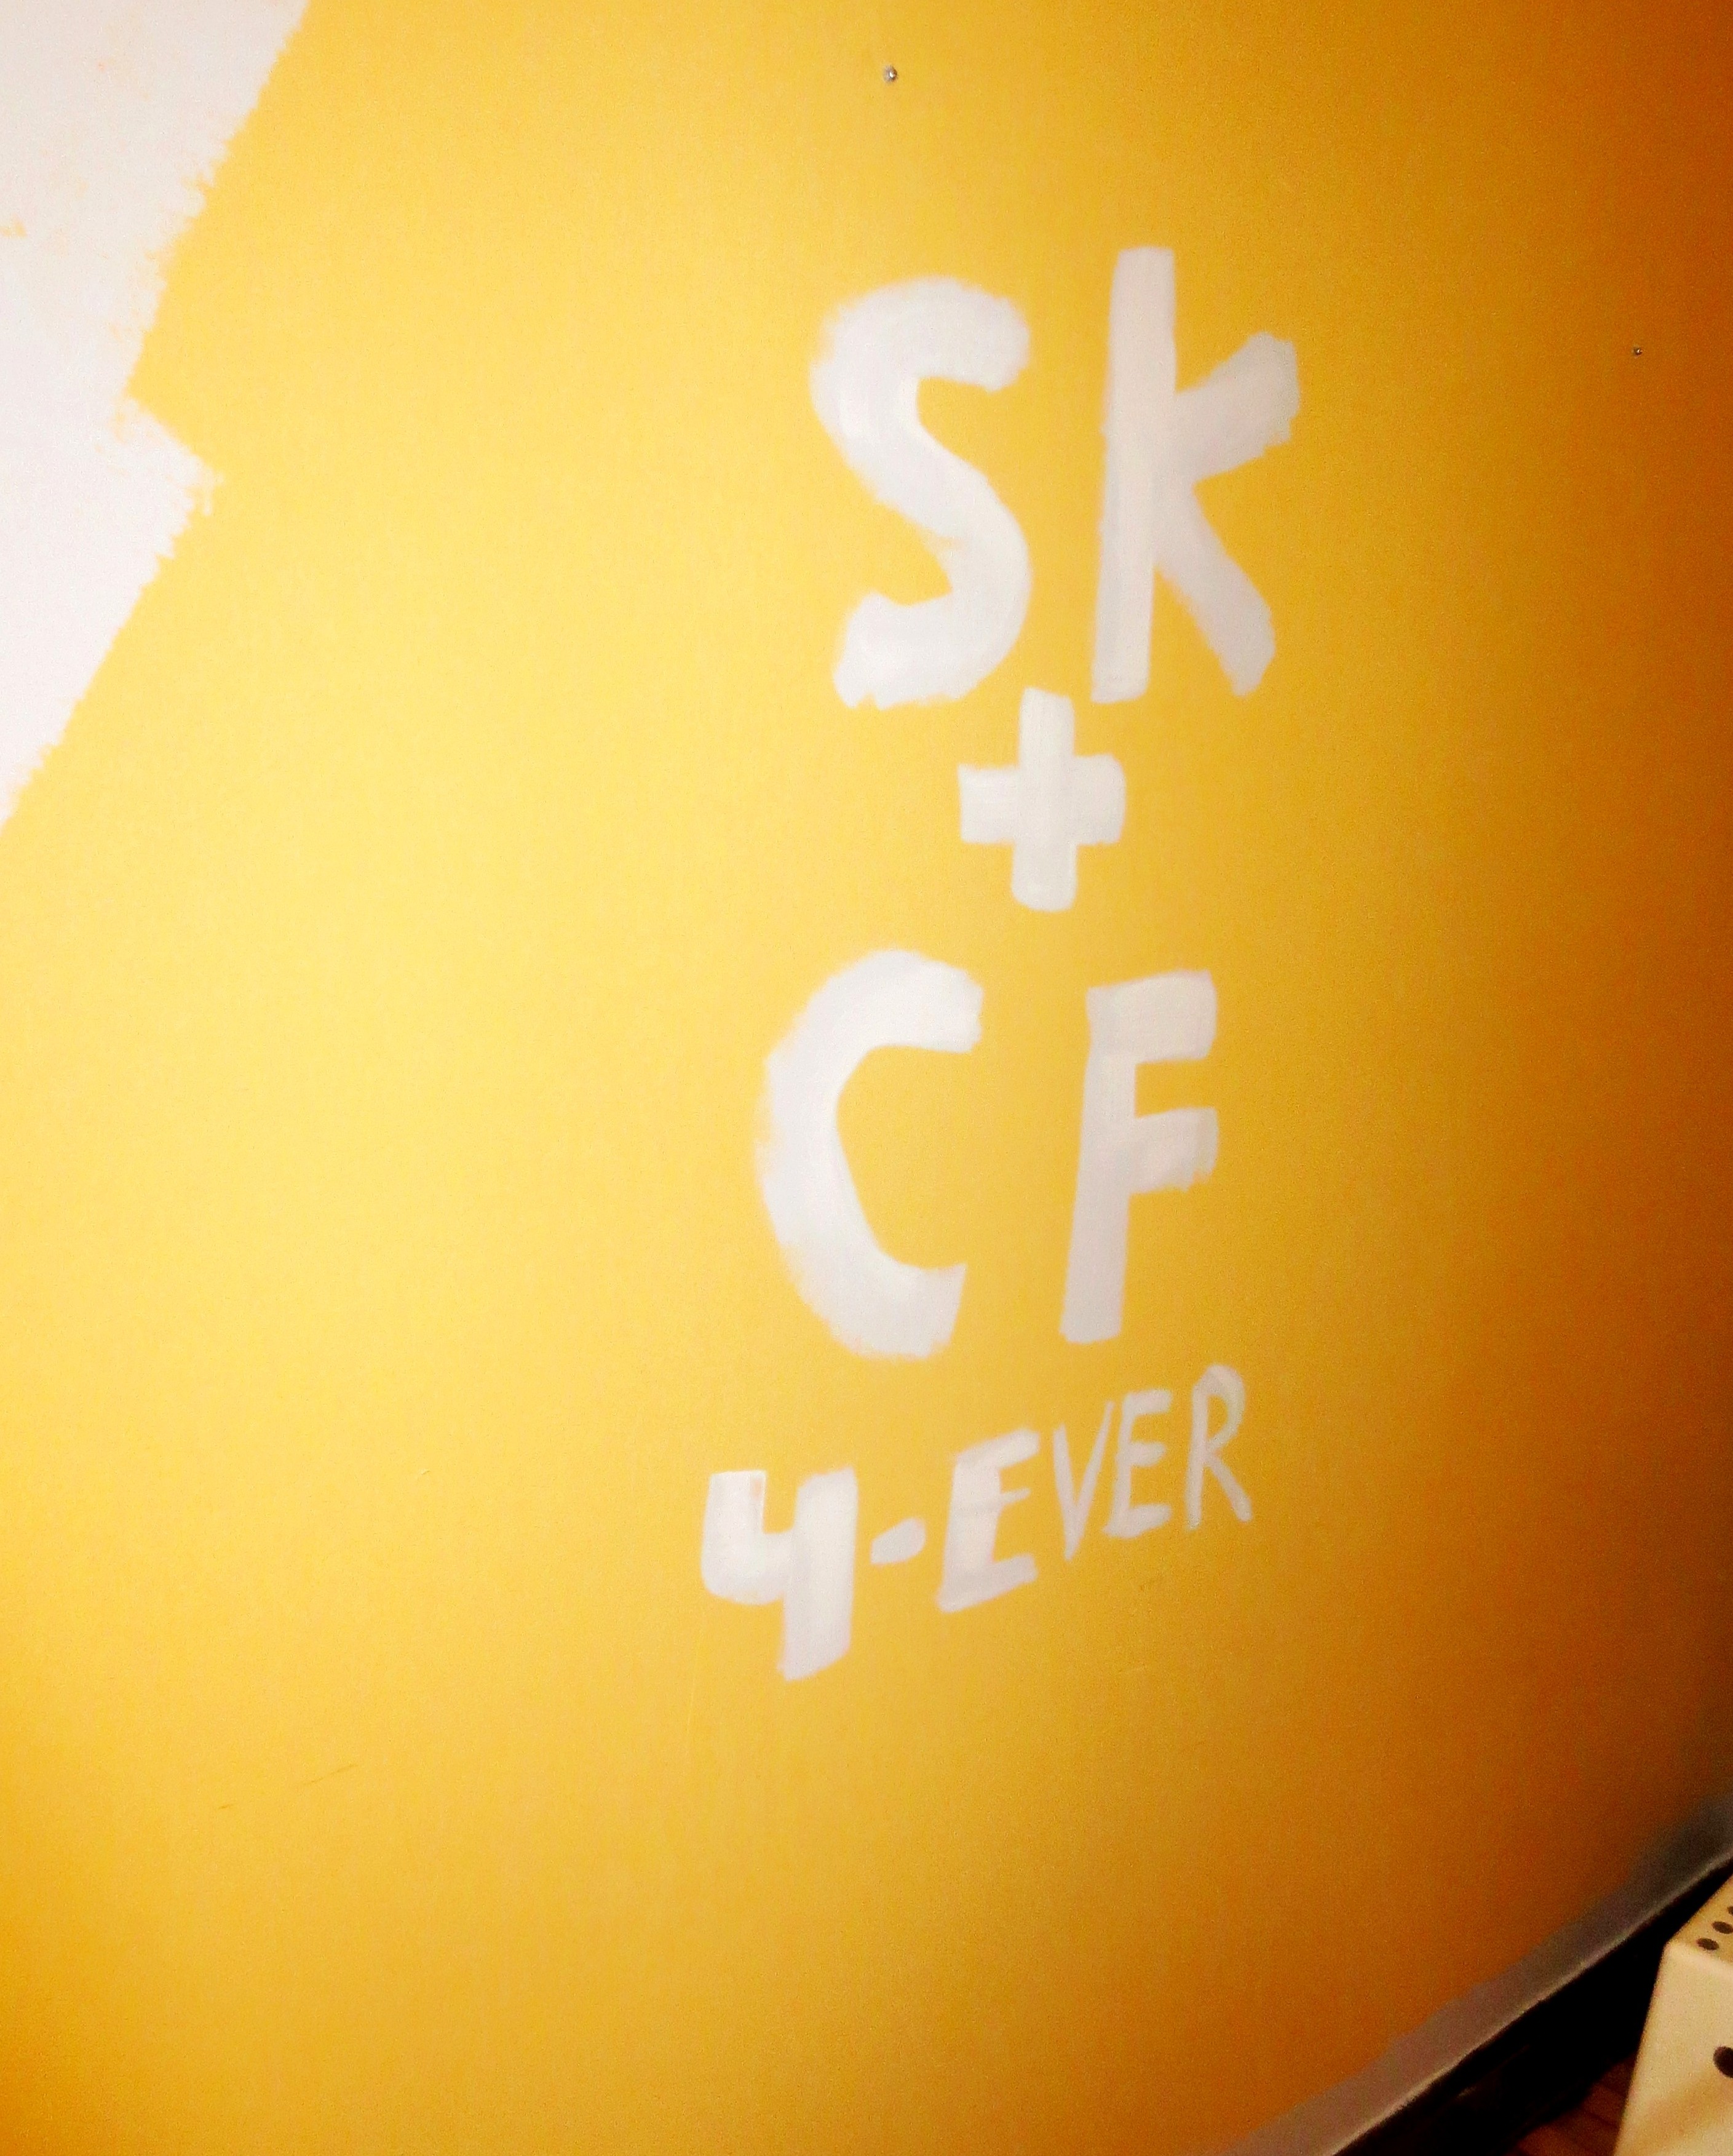
After you run out of diamonds, paint is a great way to tell your spouse how you feel.
PAINT – nothing makes a bigger difference. How do you feel on an overcast day? What if, with a $30 gallon of paint and an afternoon of work, you could turn every day into a sunny one? The irony with that analogy is that every room in our apartment was painted in blinding shades of yellow, orange and peach (I actually got a migraine within a week of living there), most of which we replaced with soothing shades of cool grey. And yes, that is the correct use of the word irony.
DRILL — This may be the first time that I’ve agreed with Sarah Palin, but please don’t be afraid to DRILL. Hang pictures where you like. When you move out, all it takes is a pinch of spackle and a dab of paint to repair. A cluster of old family photos provide nostalgia, and a good reminder that things were so much harder in the old days, so quit complaining.
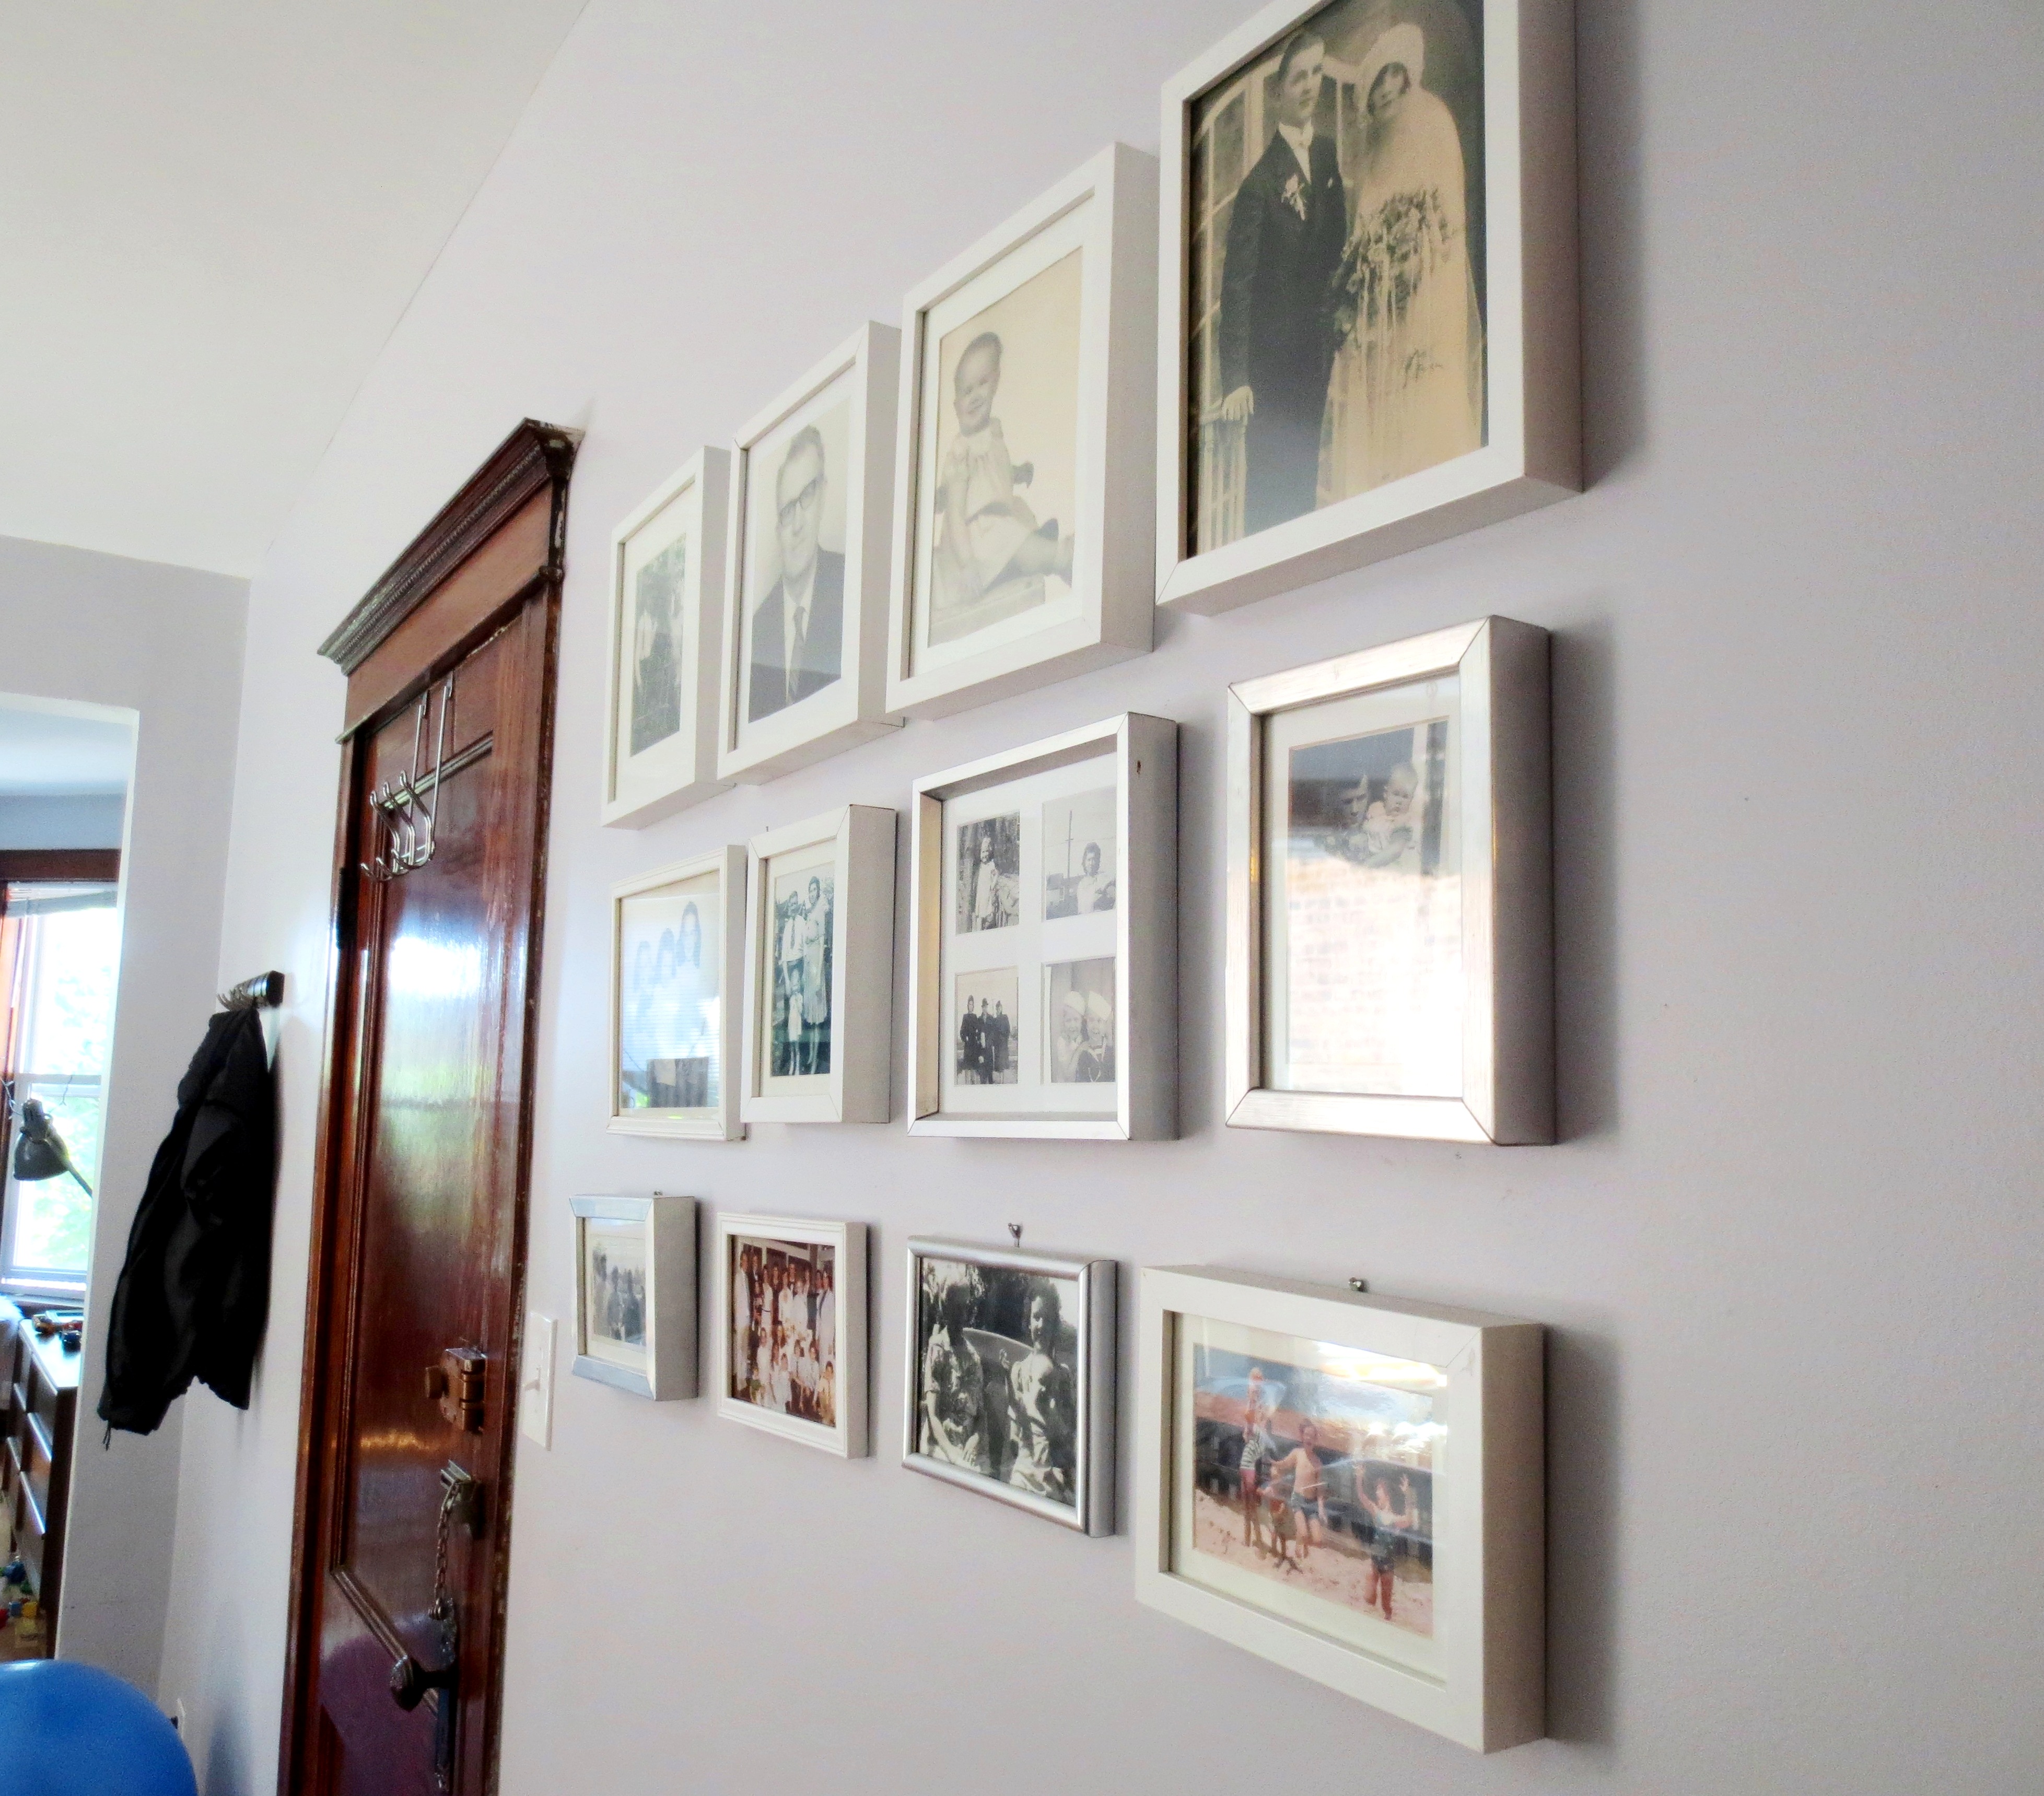 A large piece of art over an expanse of blank wall will really show what good taste you have, even if most of the paintings were done by your Grandpa. Or picked up at a yard sale, like this fabulous Marimekko print. …
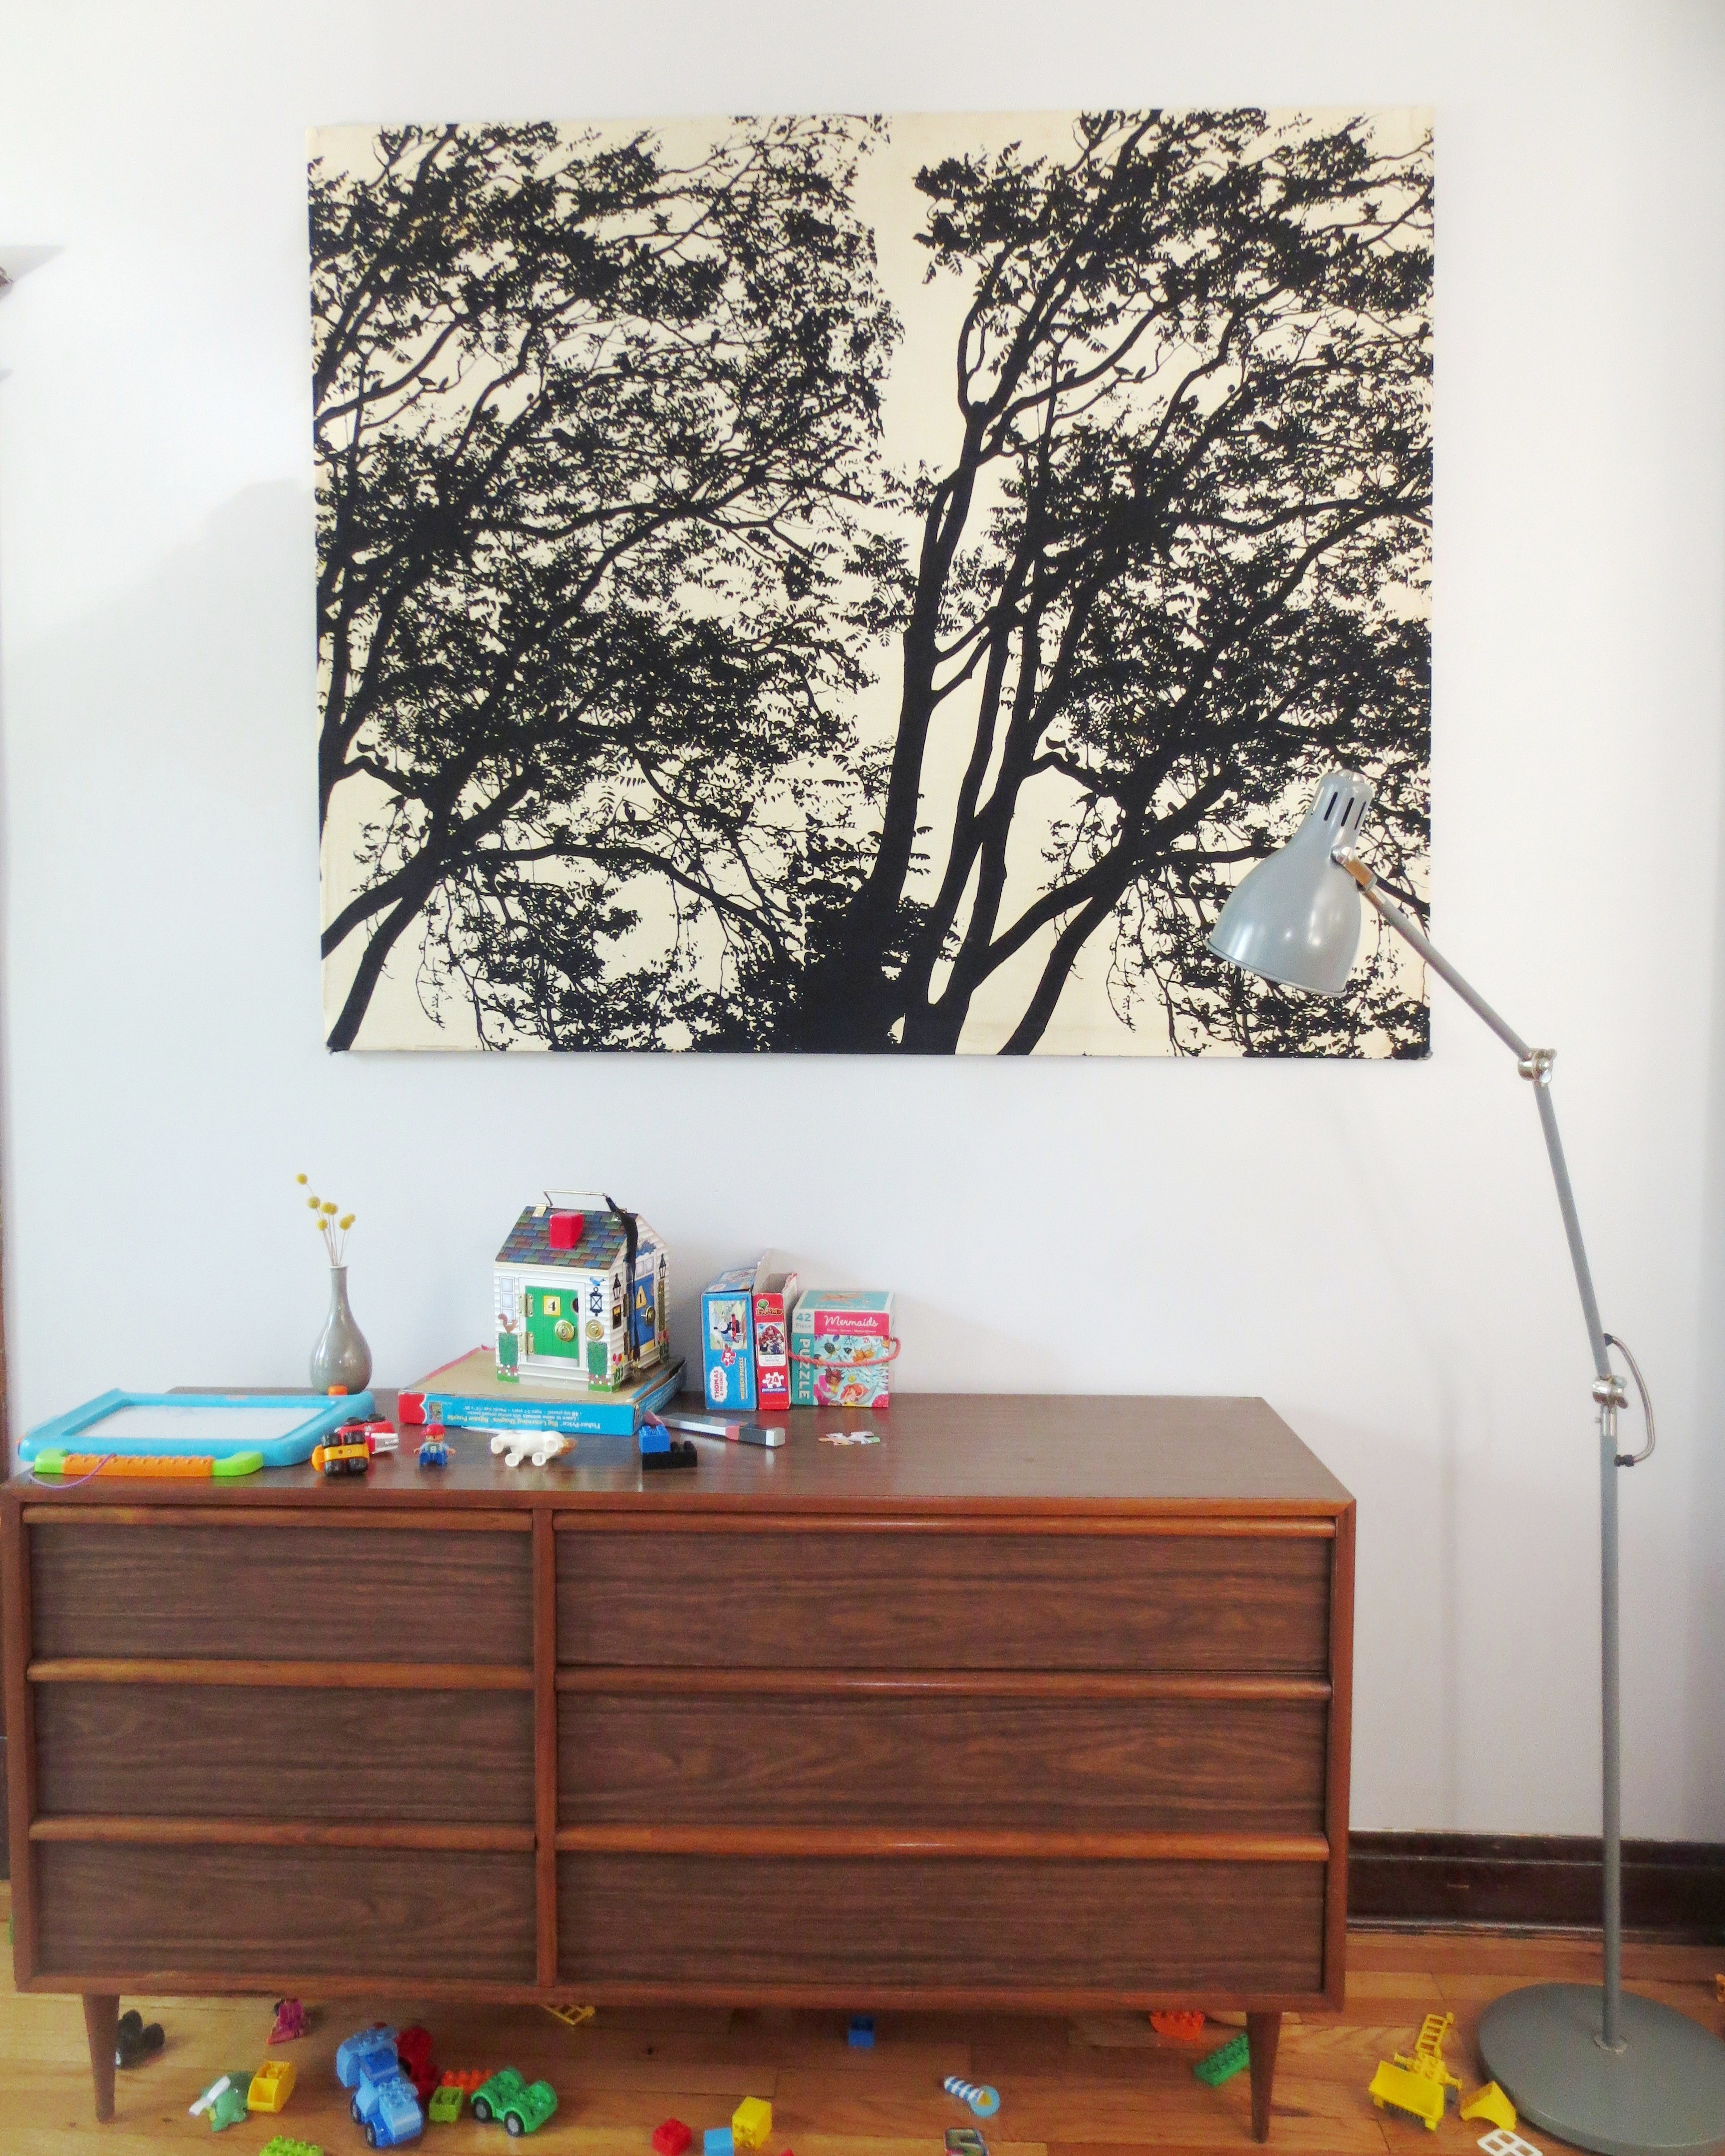
A soothing nature scene distracts from the infestation of brightly-colored plastic toys below.
And fine art isn’t the only thing you should hang. In a family of five, the number of coats, sweaters, scarves, bags and umbrellas is simply staggering. The only defense is to hang hooks. Everywhere — up high and down low…
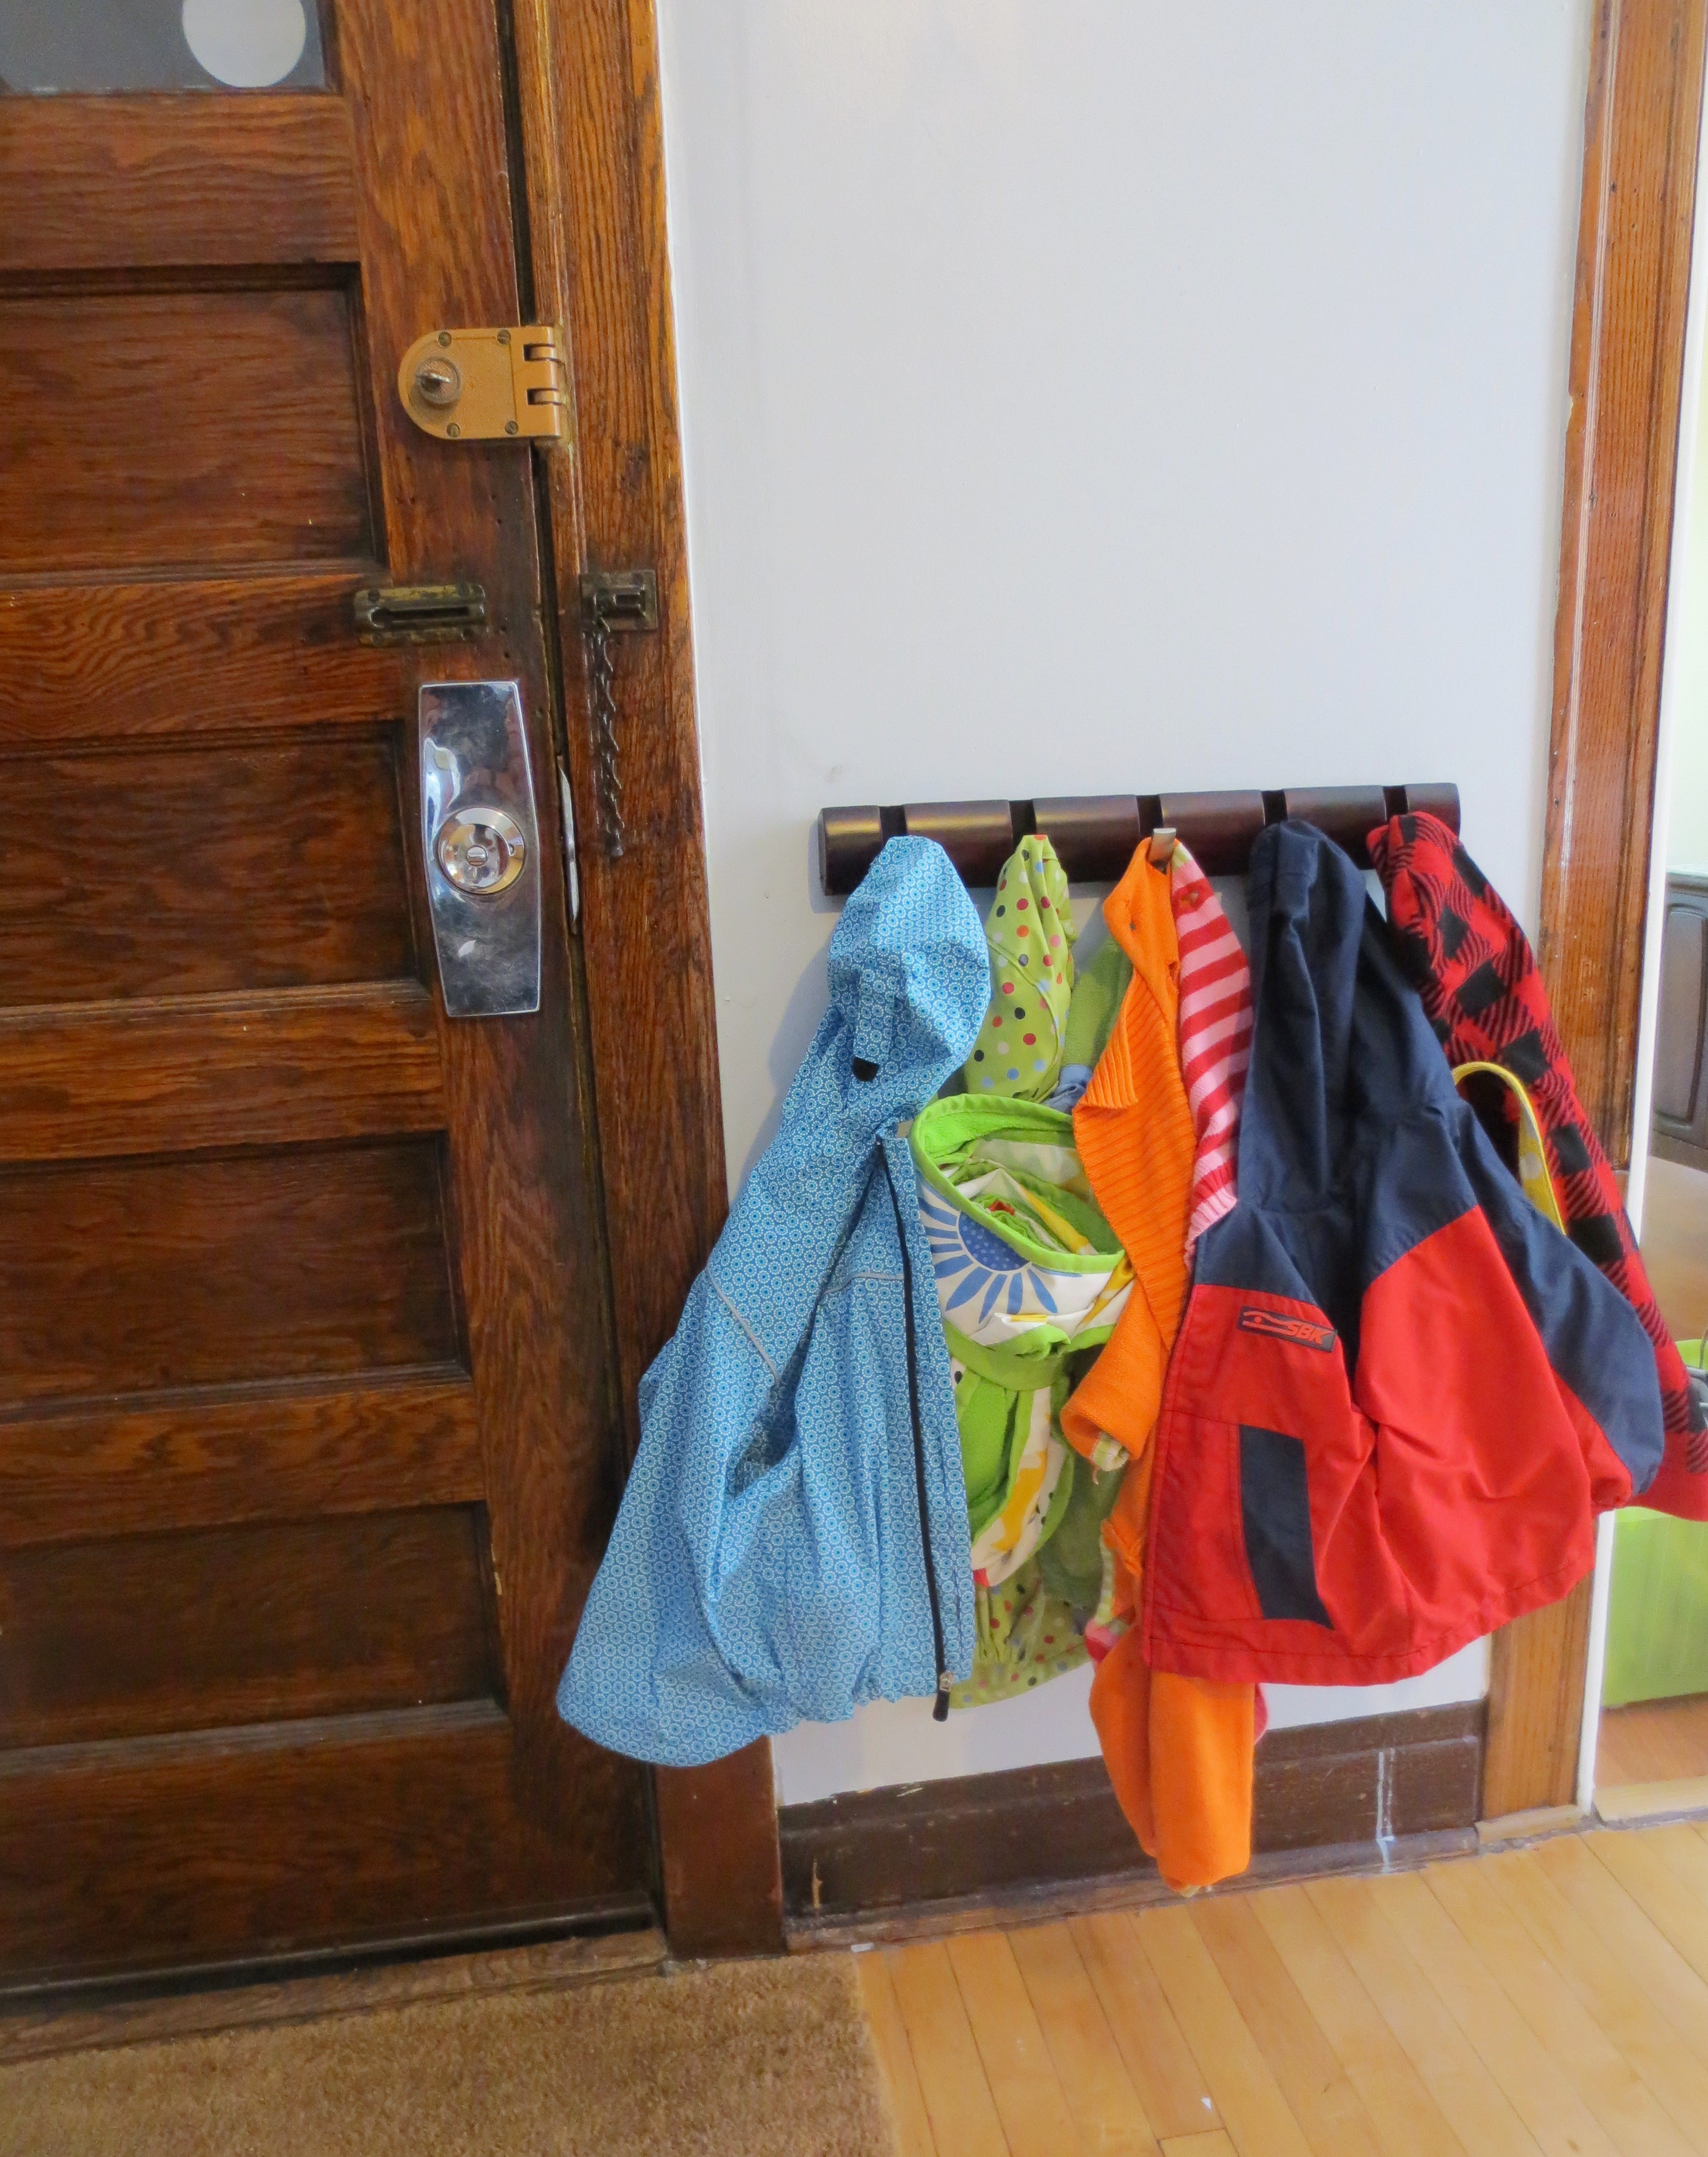
Without the magic of hooks, these jackets would surely be scattered on the floor.
But when it comes to renting, the two rooms that provoke the most suffering are the BATHROOM and KITCHEN. This is where we conduct the real business of life, and where a few minor adjustments can make a huge difference in your ability to stay well-fed and well-groomed in style.
BATHROOM: Our rental bath came with sliding glass doors, on (of course) a gold frame. Even if I could overlook the aesthetic flaws, a few nightmarish attempts at bathing a 2-year-old and 8-month-old convinced me that the doors had to go.
 Happily, the doors popped right off the frame. We unscrewed the top rail and replaced it with a suspension rod and simple cattail shower curtain from IKEA*. The bottom and sides of the gold frame are screwed into the wall, and remain as a reminder of our status as non-property owners.
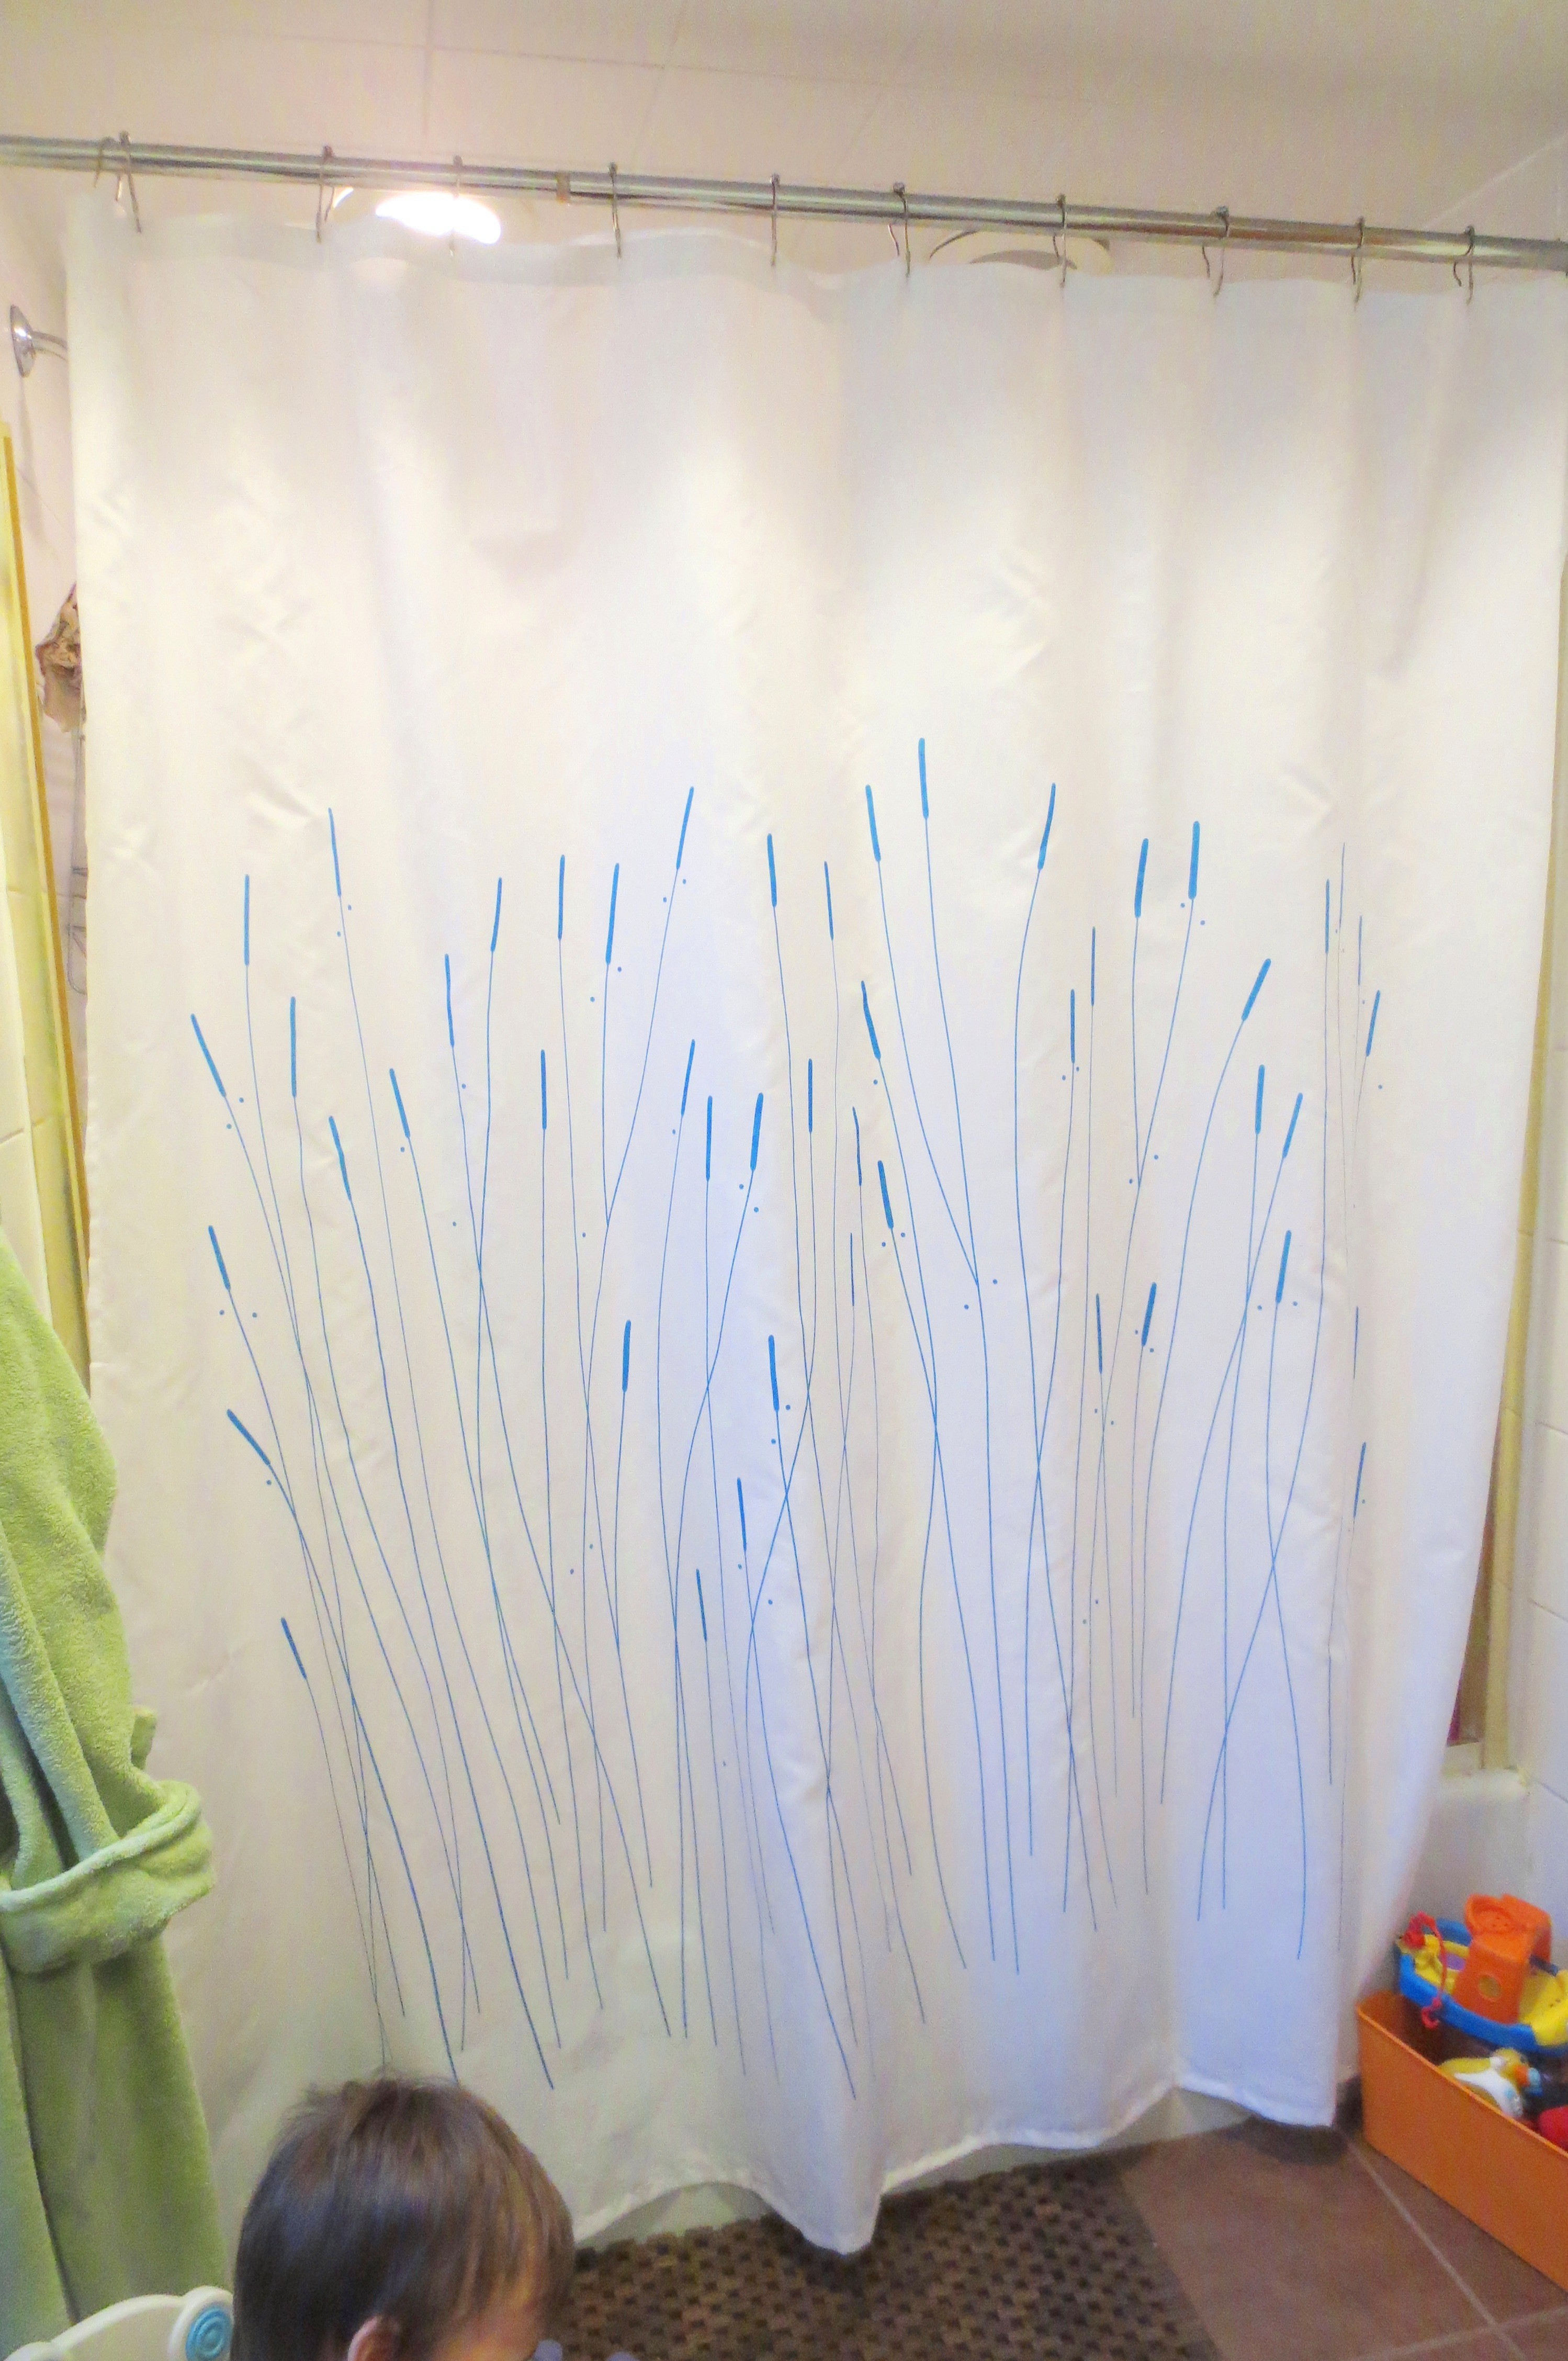
While taking this pic, I inadvertently captured my son taking his first poo on the potty (bottom left).
Is there anything grosser than rotten, mildewing caulk around your bathtub? No. I think it’s fun to peel the caulk off; once you get a hold of it, it comes off in one long, satisfying strip. Grab a $5 tube of fresh caulk at your local hardware store (or spring for the full kit with remover tools) , and in about 20 minutes your bathtub will look brand-new, sort of. Don’t forget to replace the caulk around the base of the toilet (double yuck) and around the top of the sink as well.
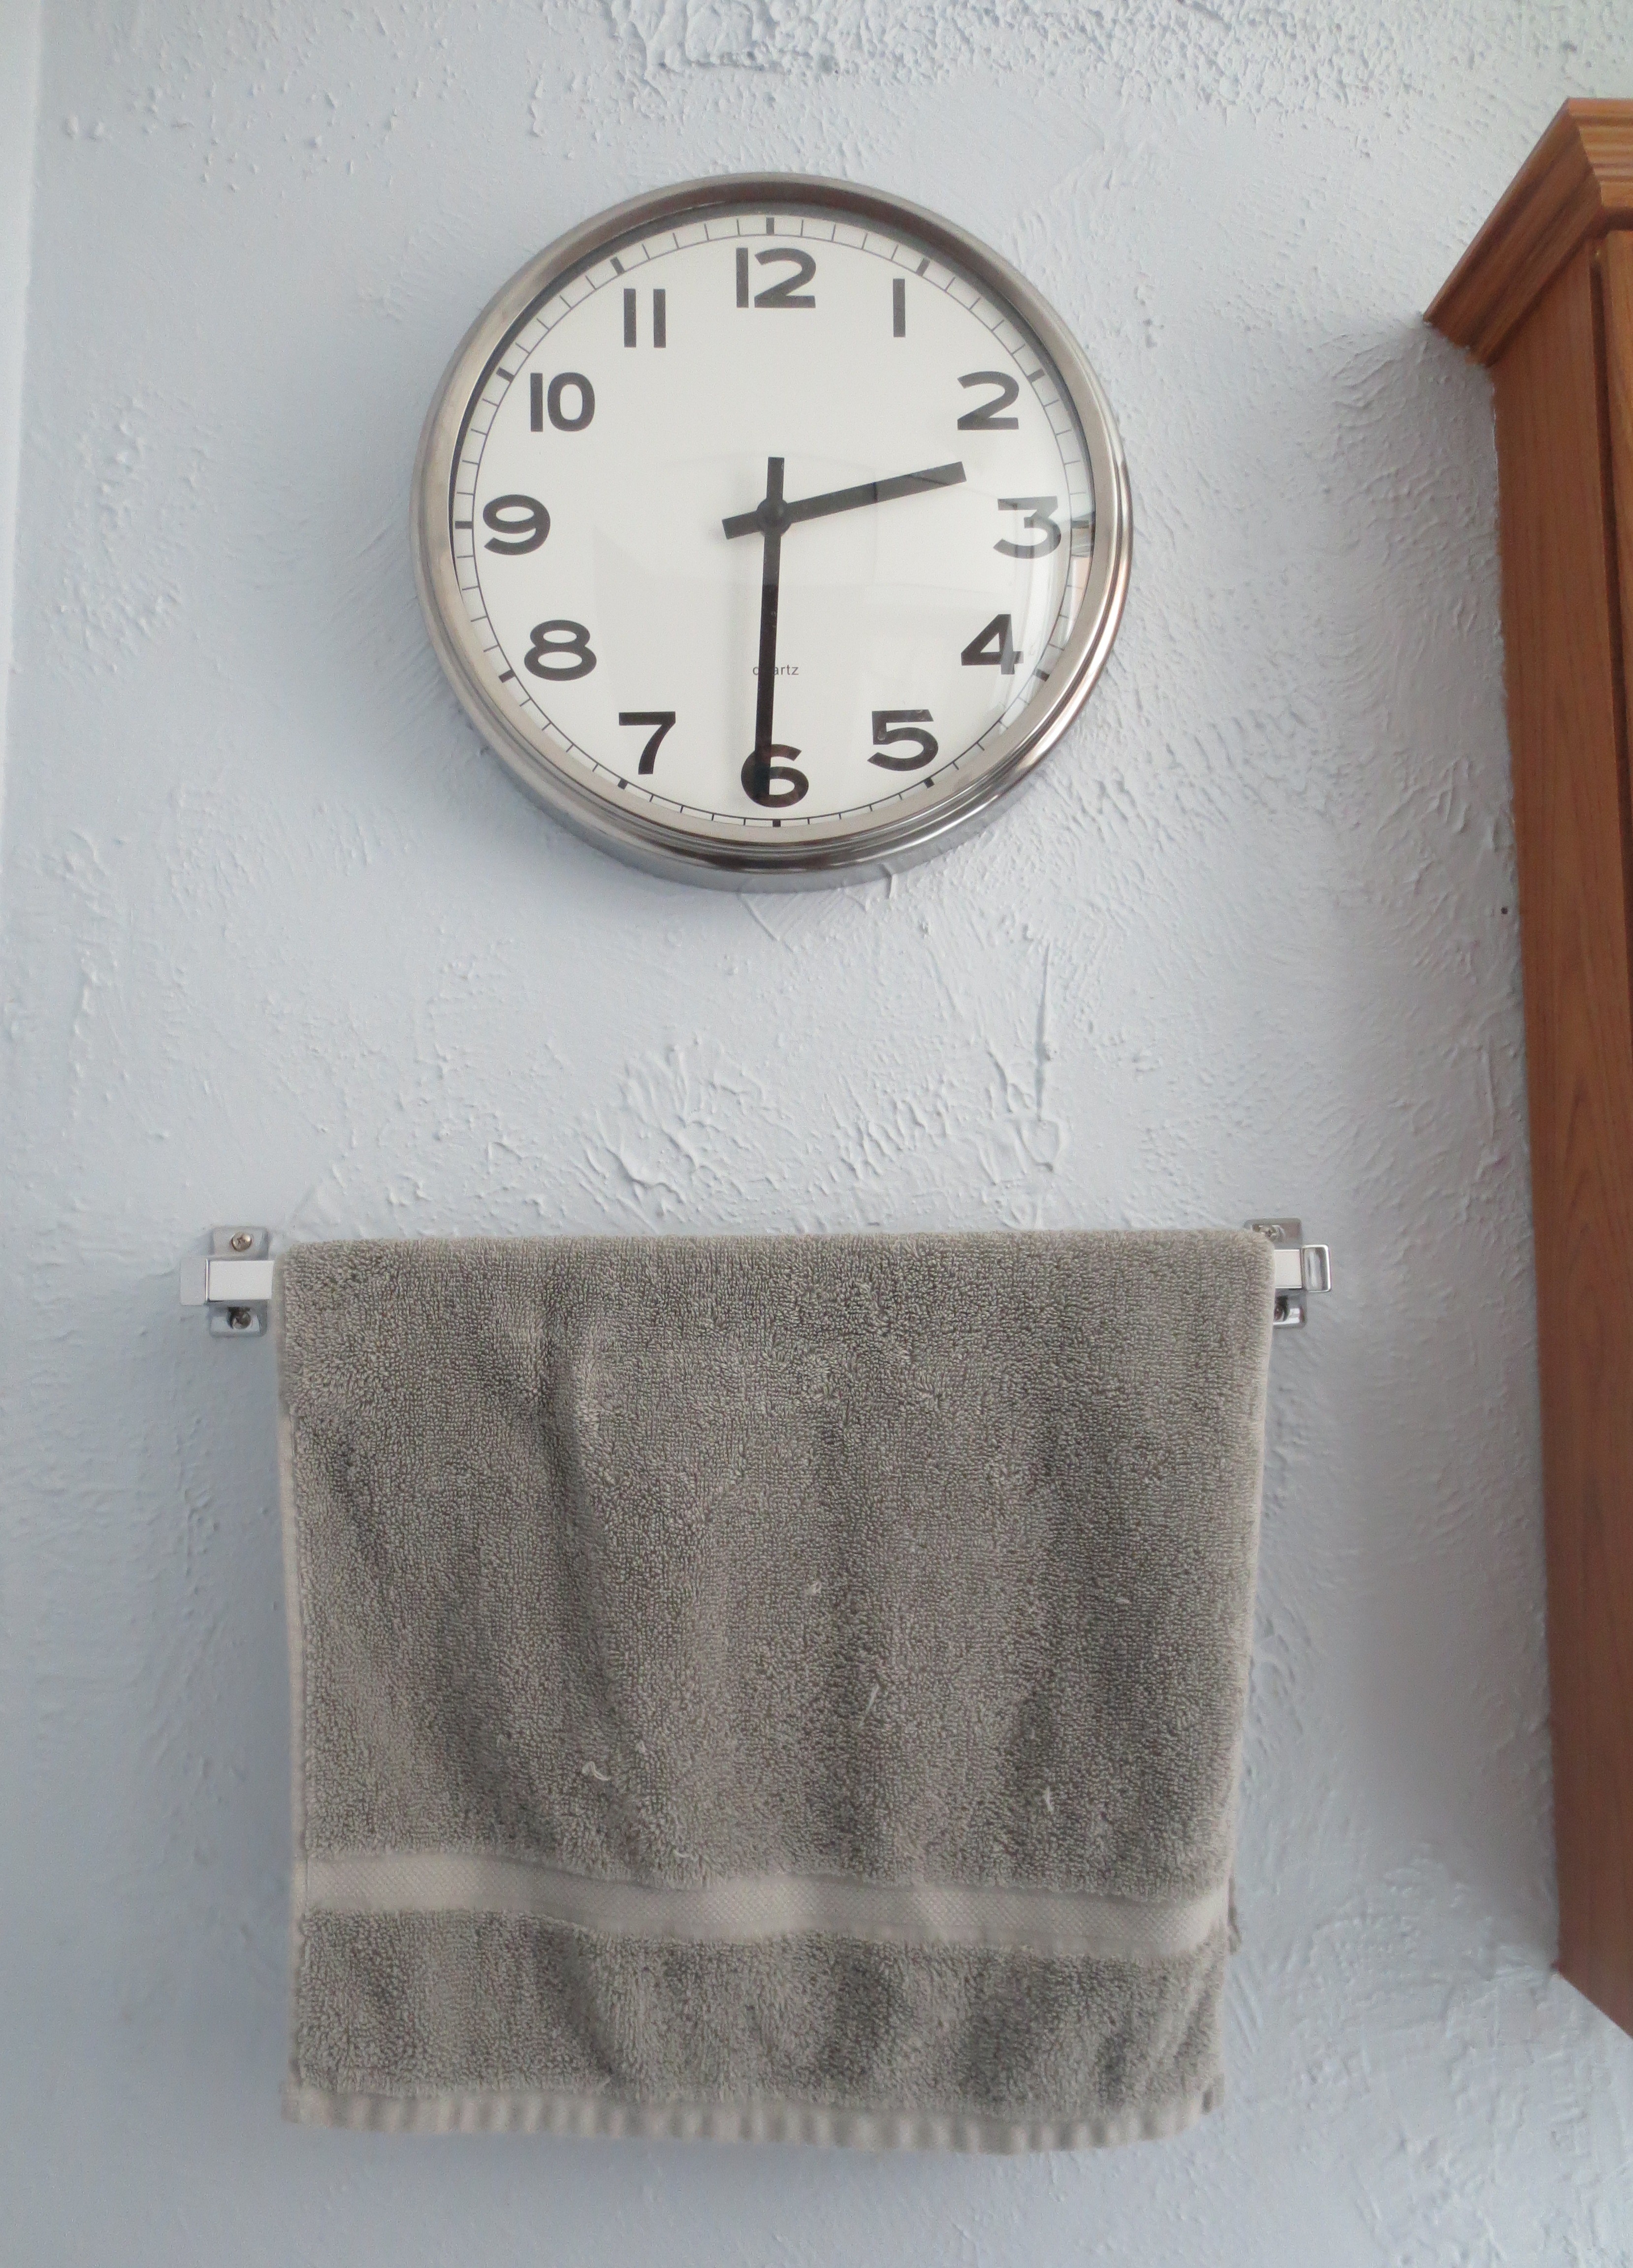
Next, we replaced all the grimy 1980s-era blond wood hardware – hooks, towel bars, and toilet paper holder—with (decidedly cheap) modern chrome versions for about $15 total. An over sized IKEA* clock – set 5 minutes fast—brings it all together..
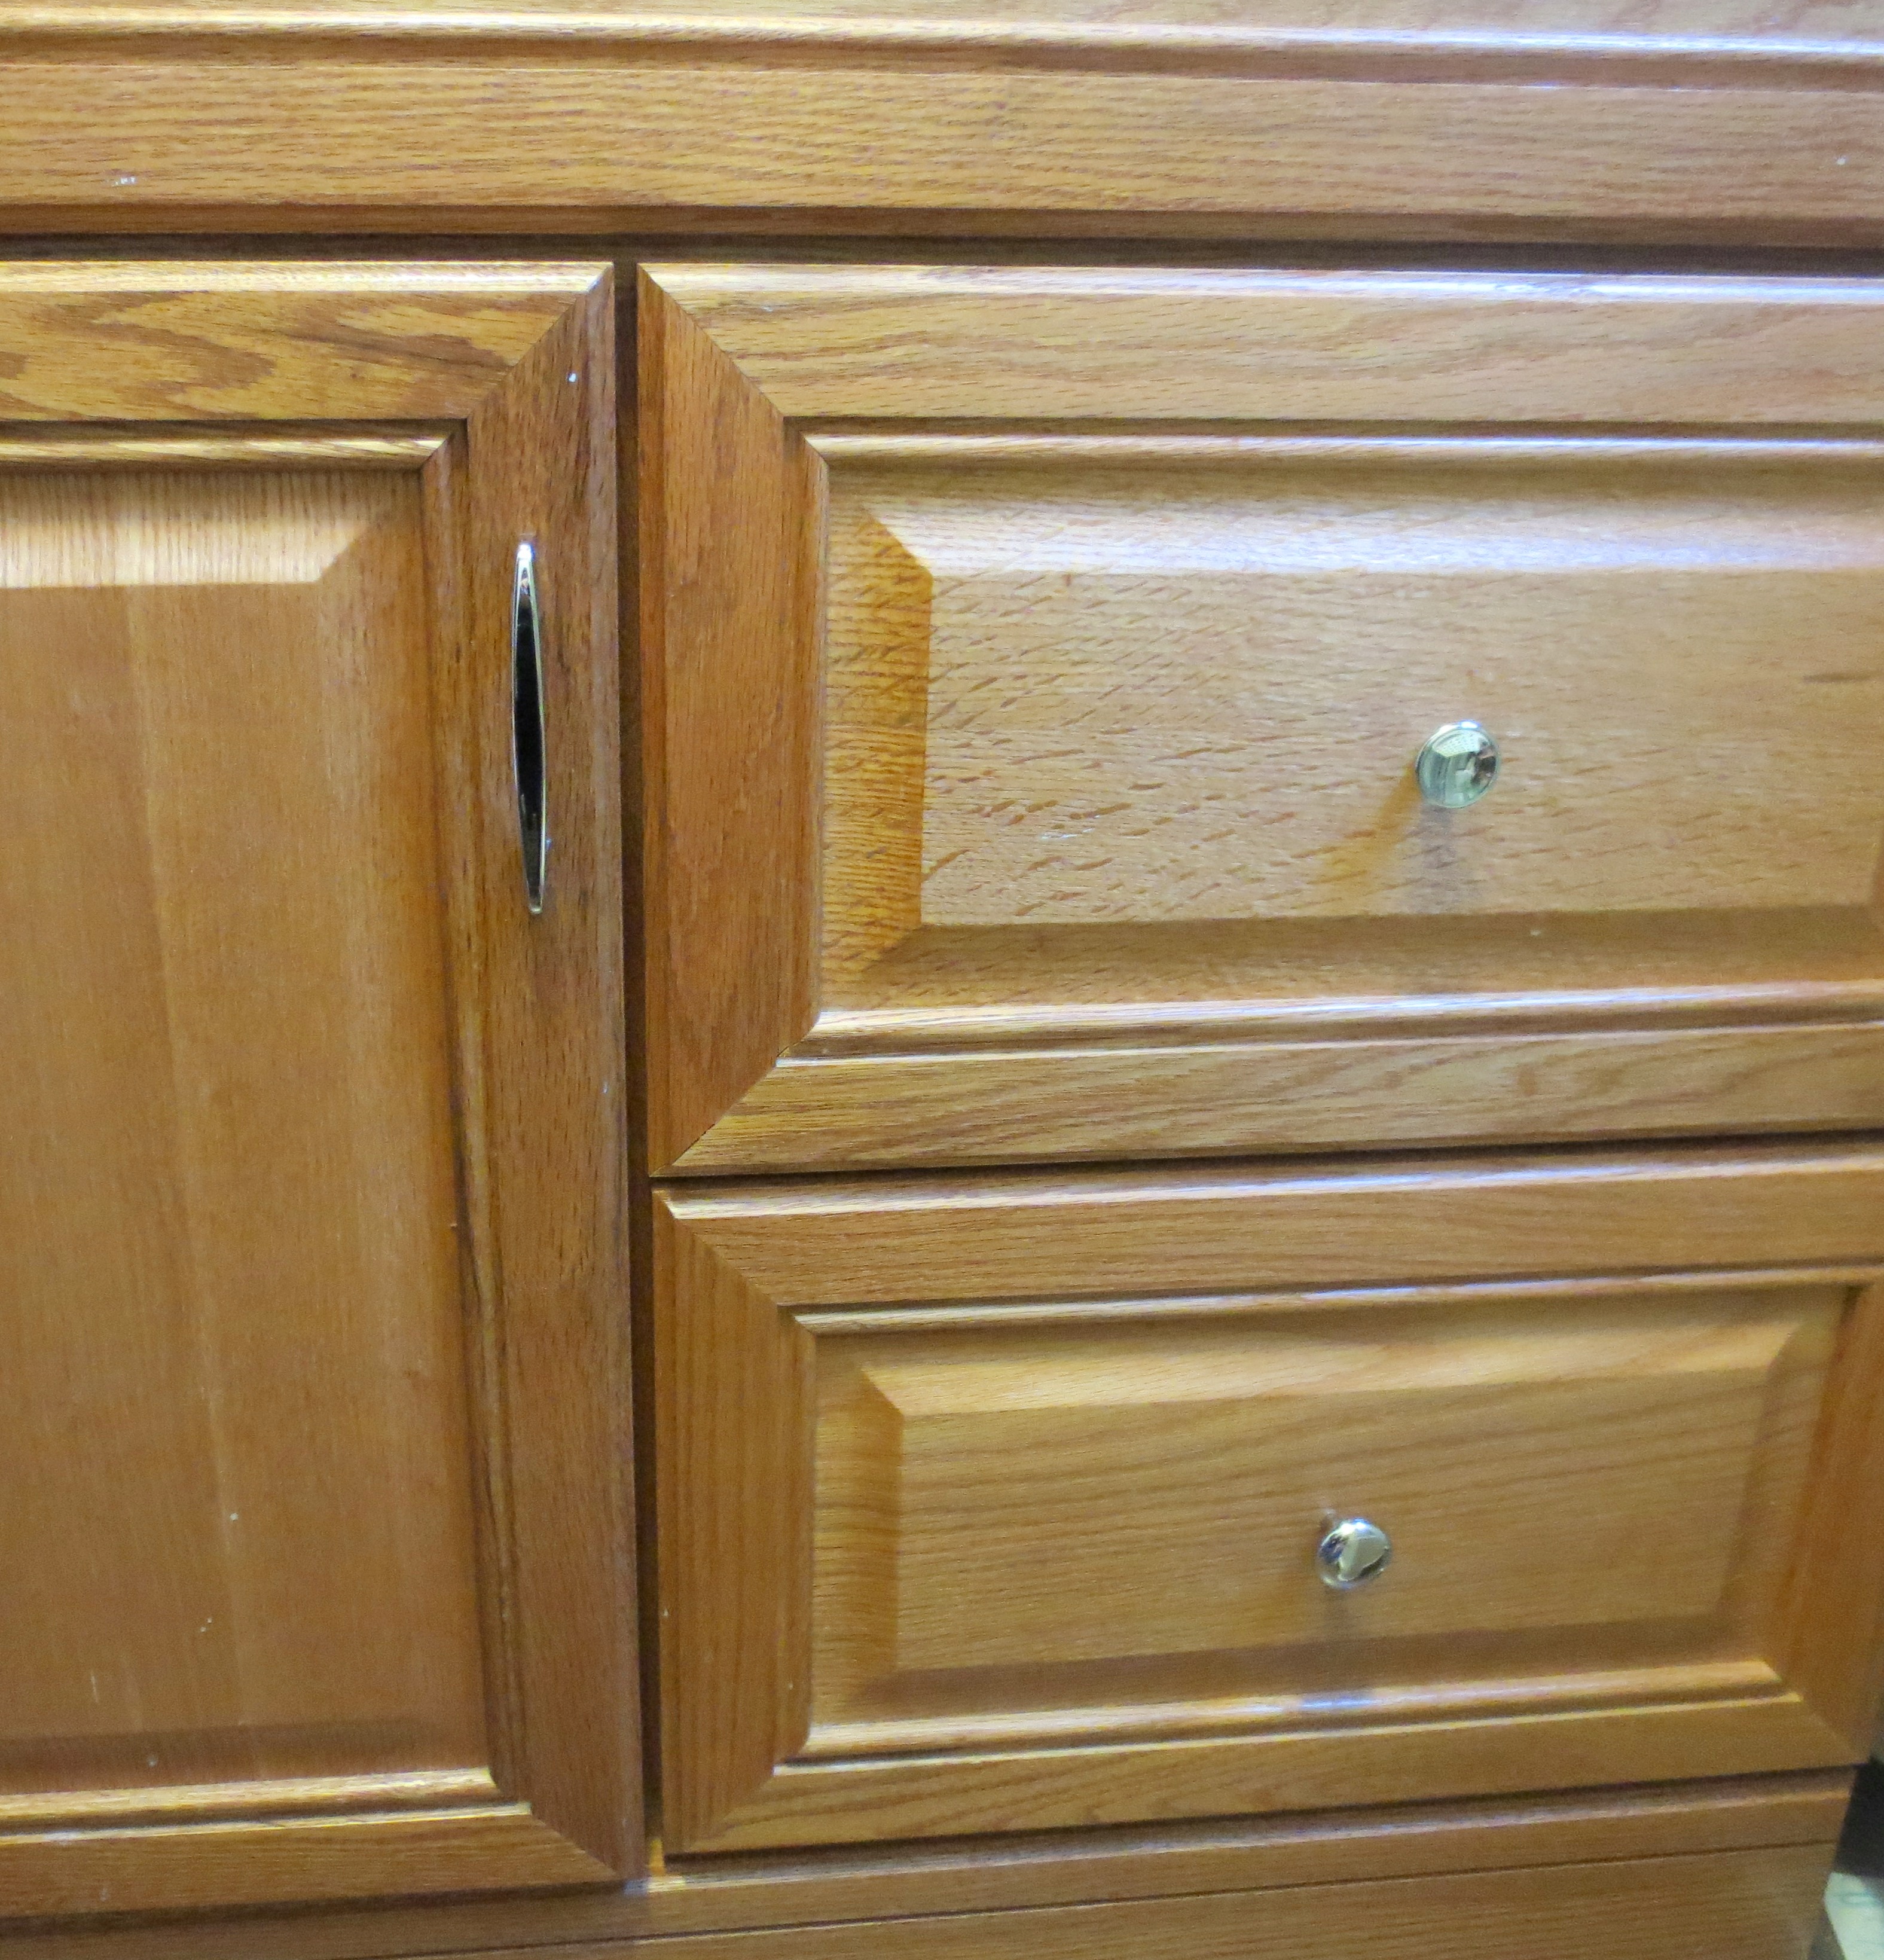
 We also replaced the “antique” brass drawer pulls and handle on the sink cabinet with chrome.
 Not surprisingly, our landlord-issue shower head dribbled more water out its backside than sprayed on our bodies. For about $12, we installed an adjustable, three-speed chrome beauty. The toilet seat was functional, but a little gross, so we installed a $30 model with a built-in potty seat for little buns.
Please don’t let all those dollar signs scare you! Aside from the caulk, you can take all this stuff with you when you go. Just remember to keep your landlord-issue items in one place and switch it all back when you move.
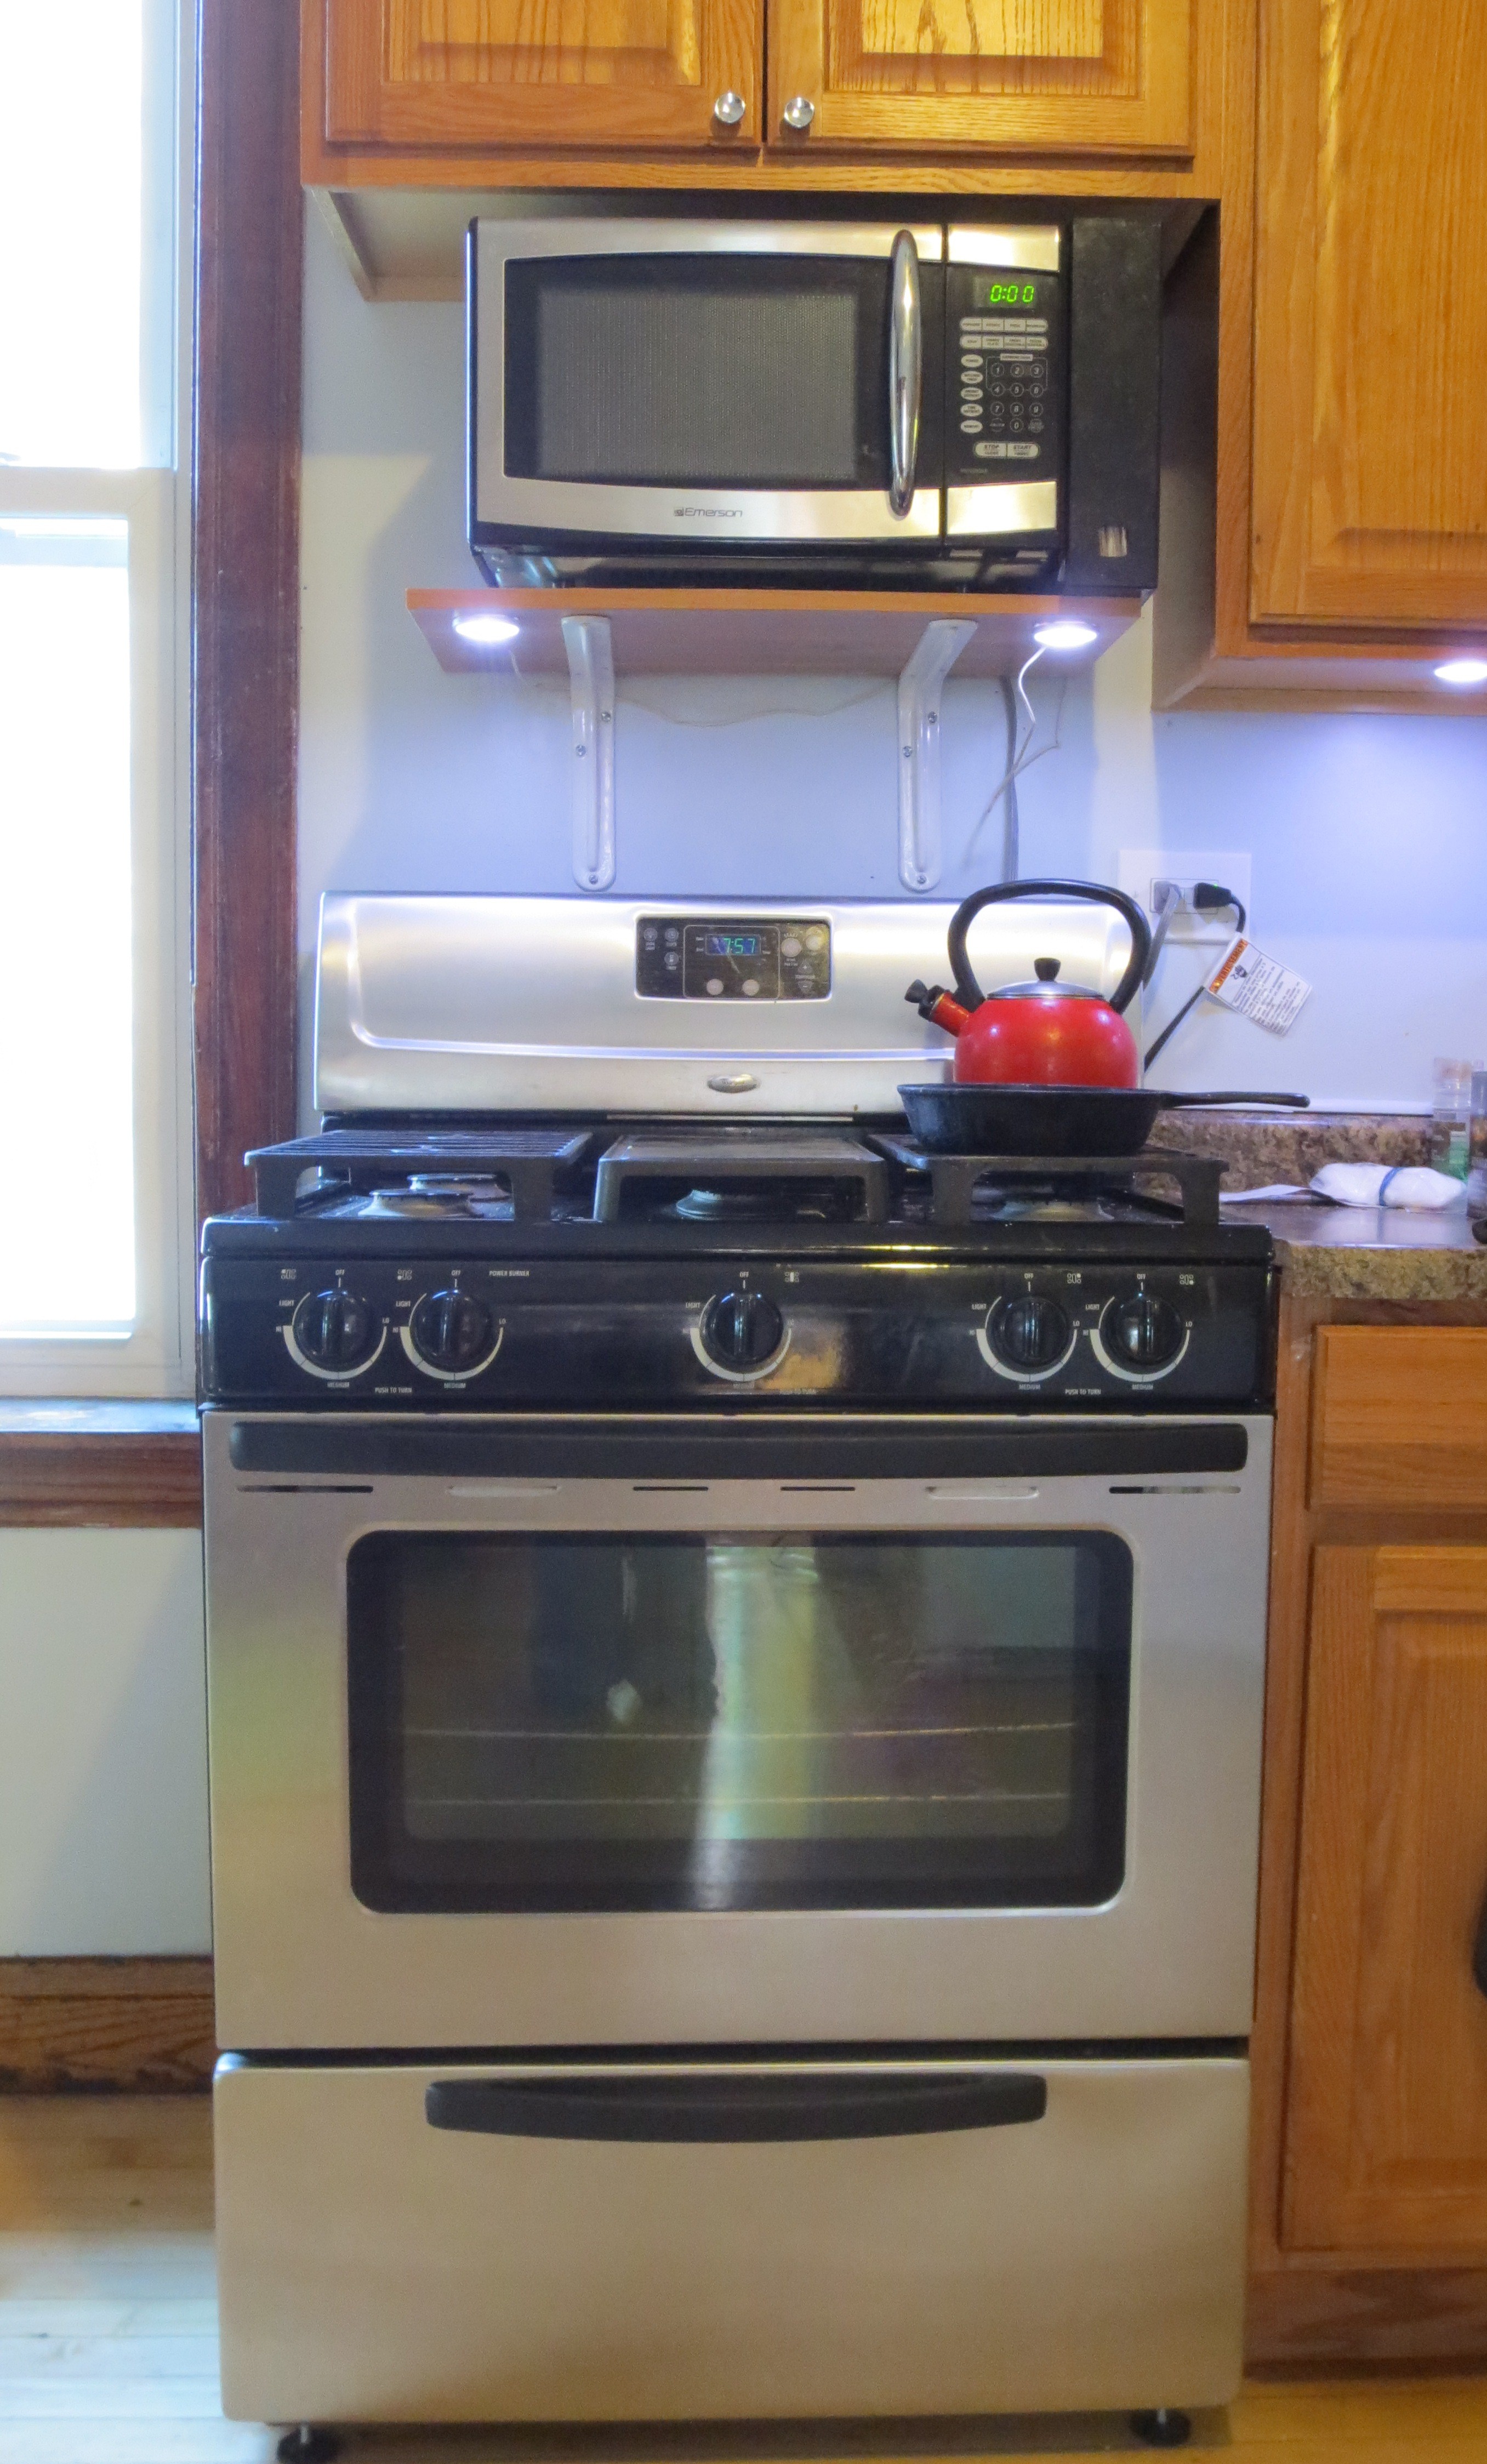
KITCHEN: When I married Scott, I made him promise that we would never again own a microwave on a rolling cart. We bought a new microwave for this apartment, but weren’t sure where to put it. The counter space was too valuable, but look at this nice little nook above the stove!
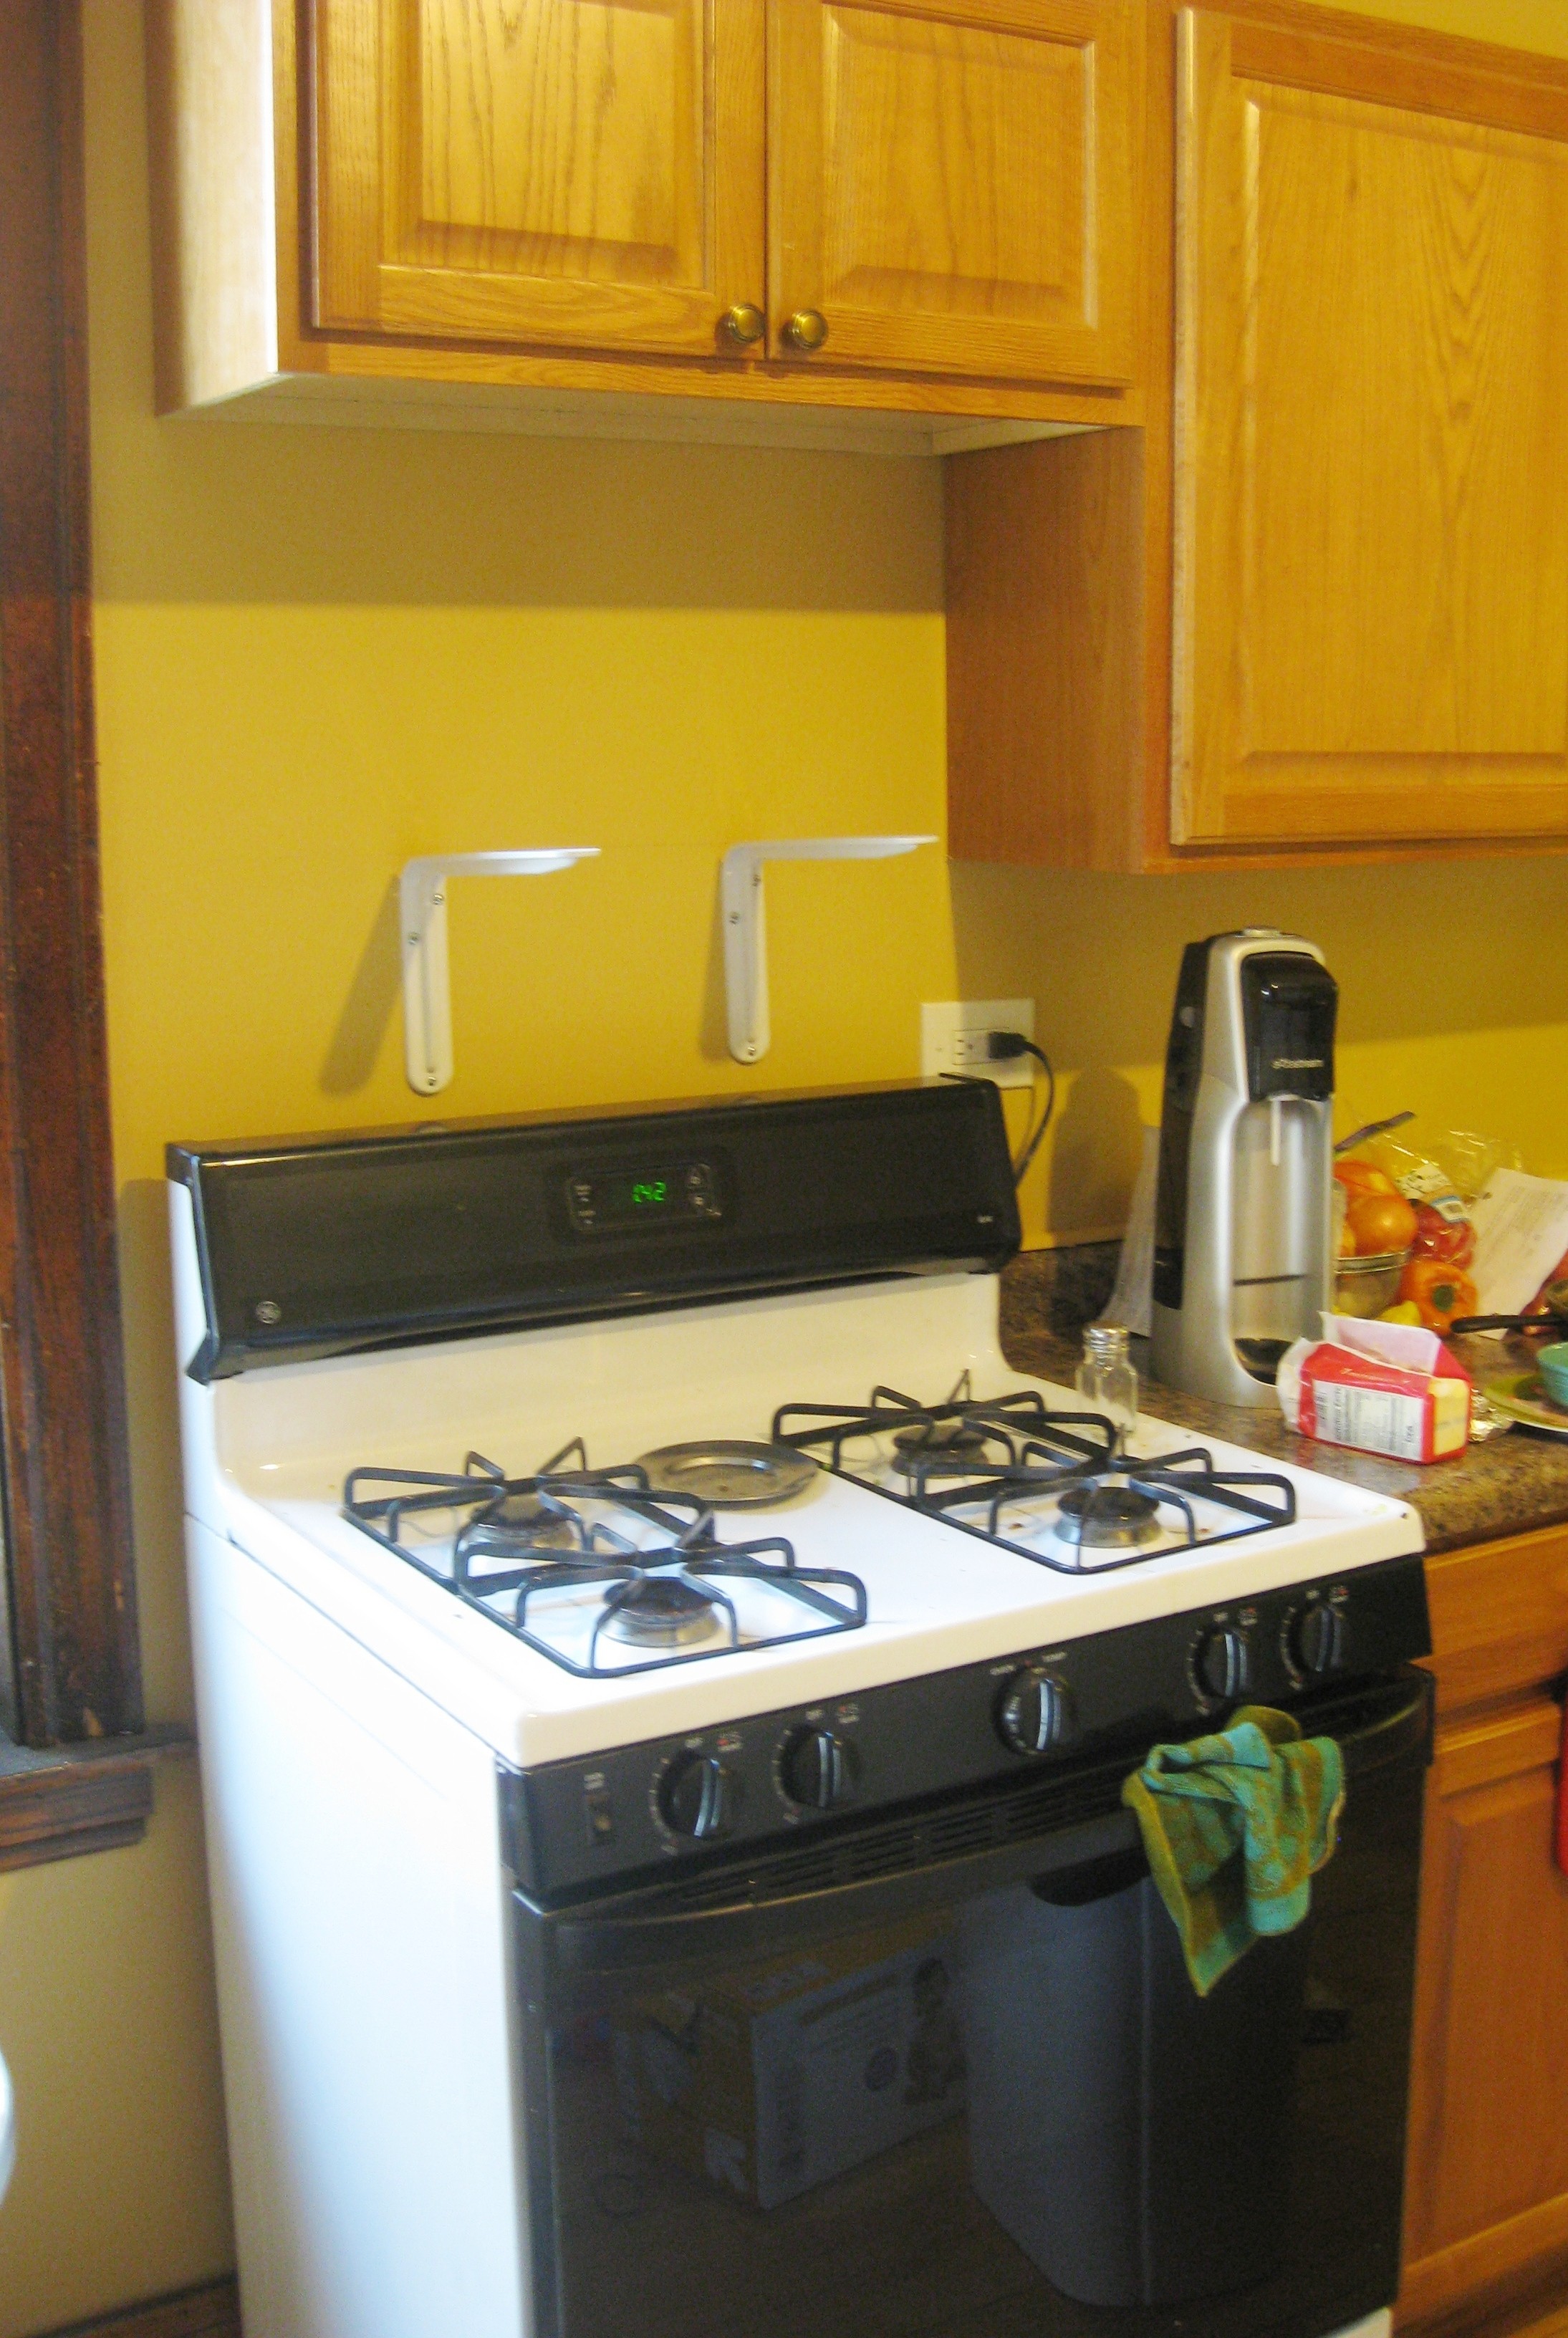 We bought some strong but cheap brackets (shown above) and a shelf, and in a few turns of the drill we had a “built-in” microwave.
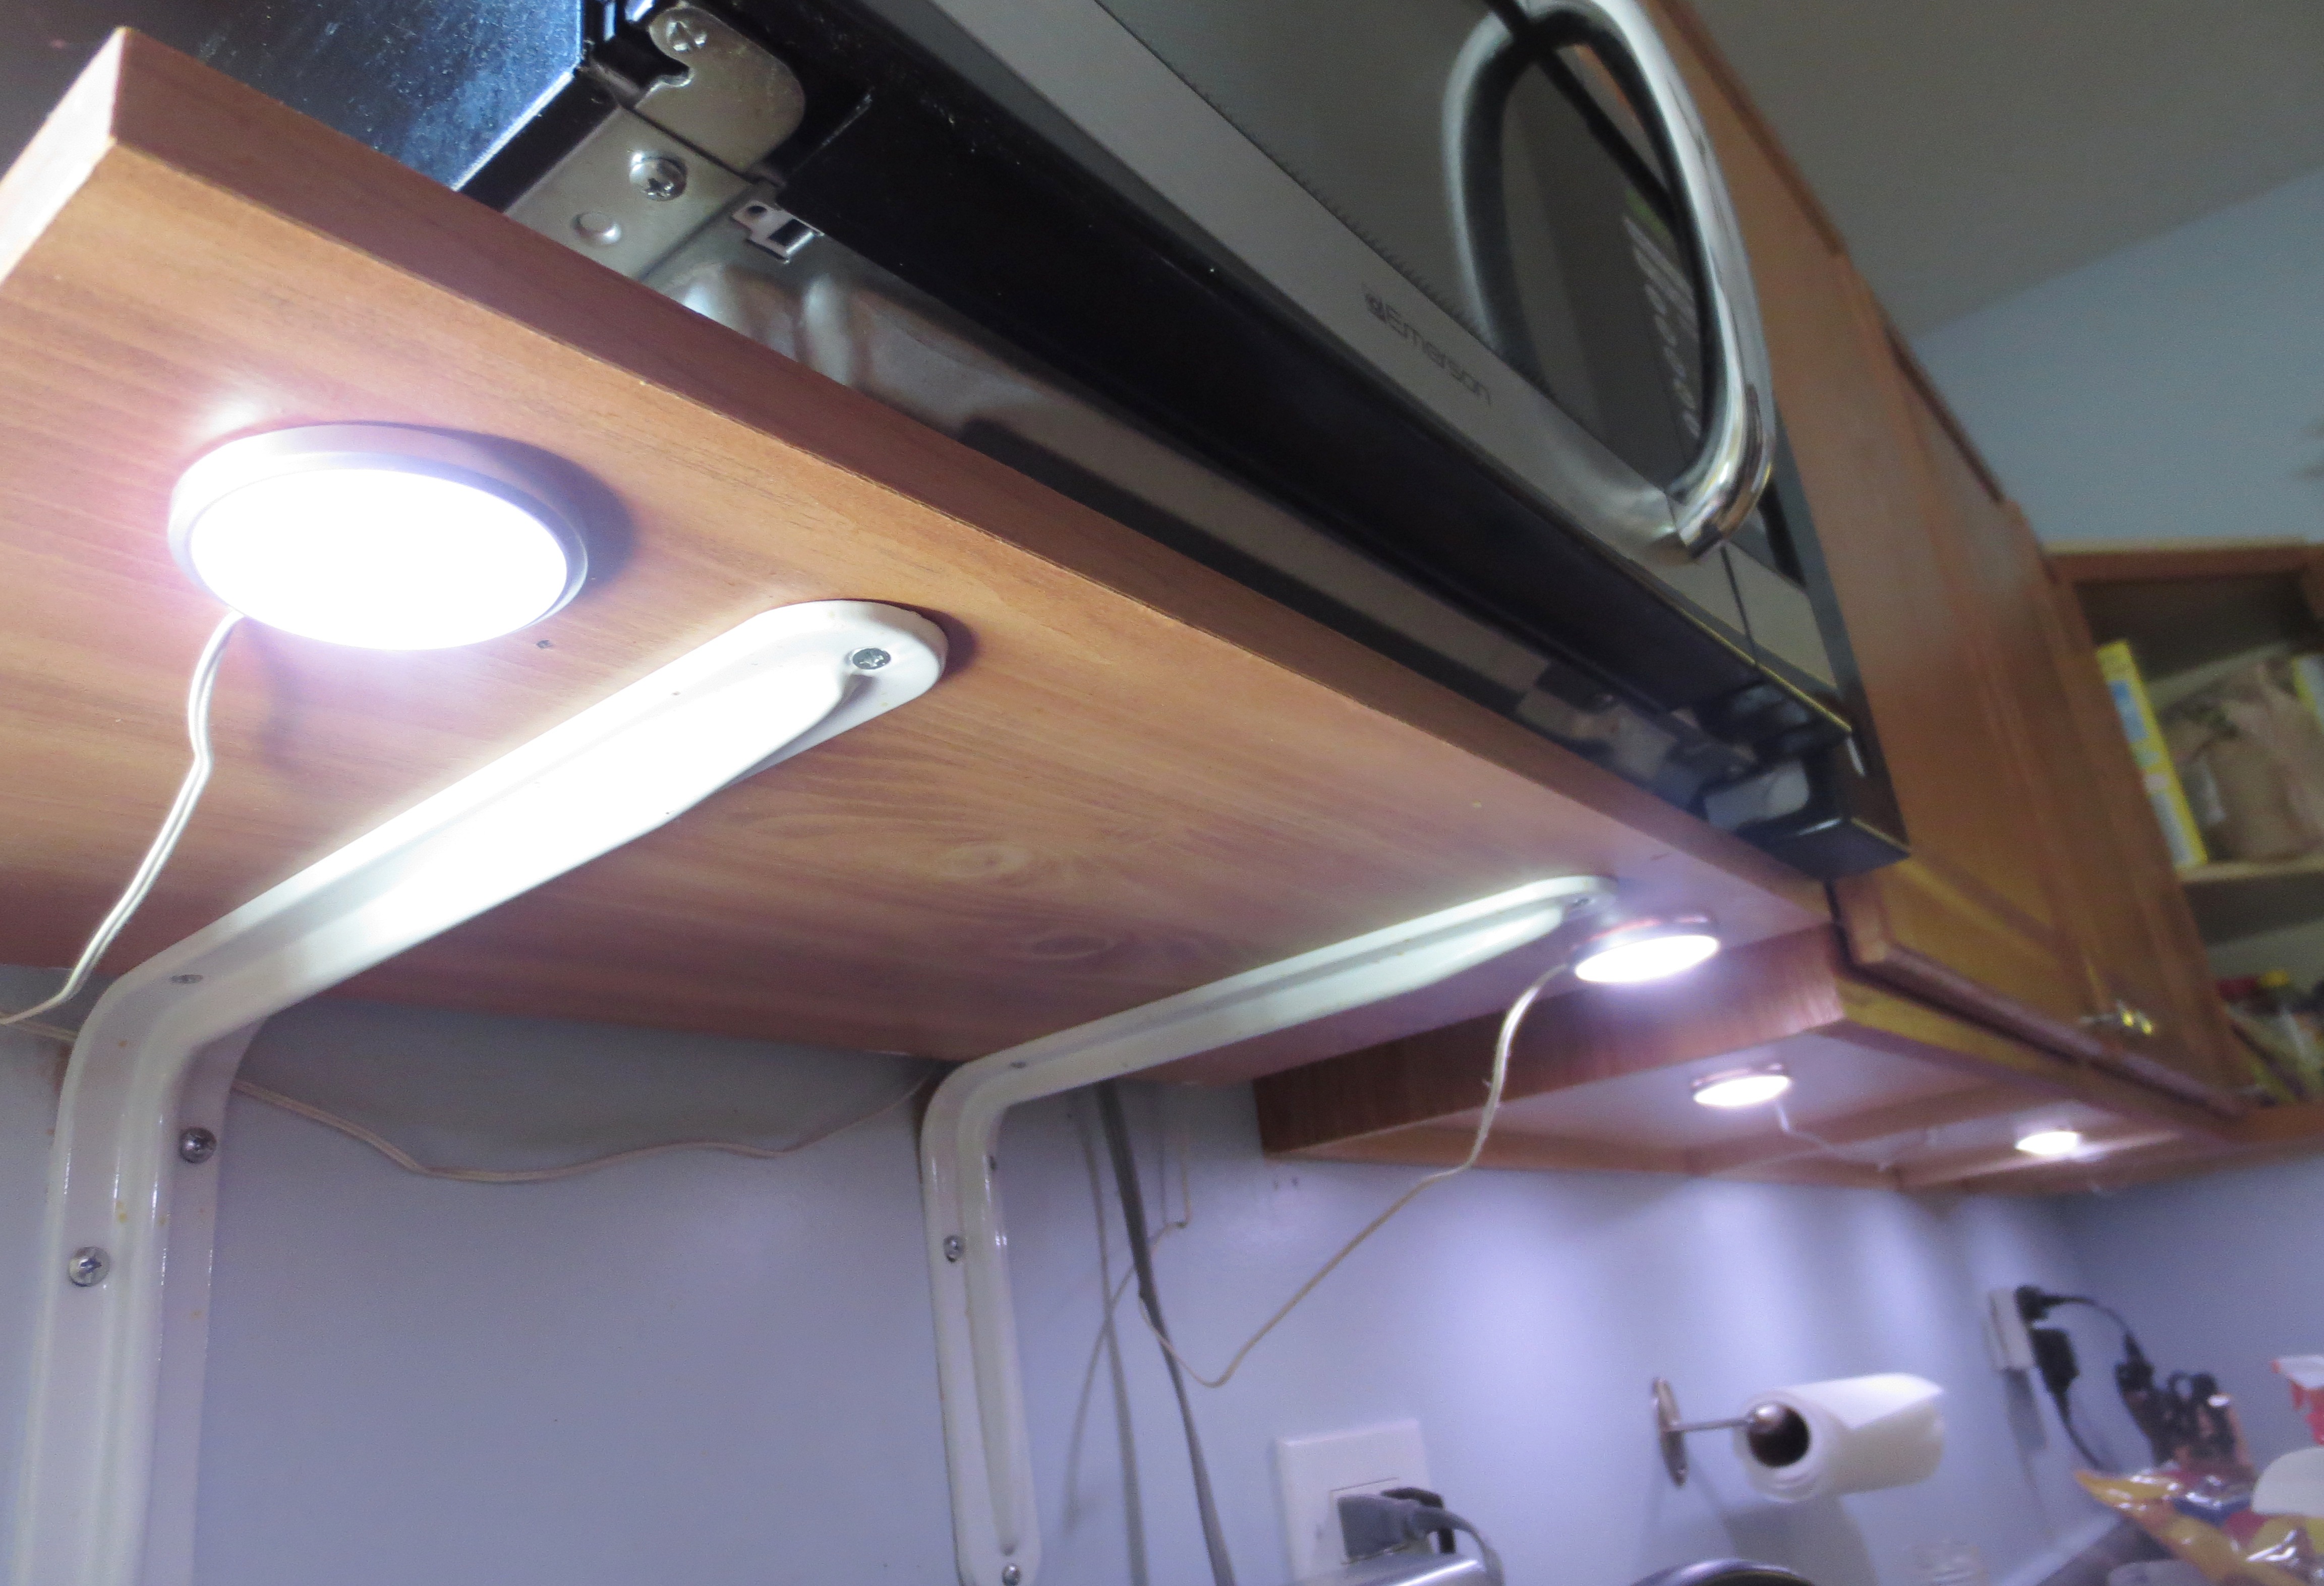
 We have a nice long counter top, but with only one overhead light in the middle of the room, it can get pretty dark and gloomy down there. For about $40, we scored some LED under-cabinet lights from IKEA*, which we can easily take with us when we go.
 Just like in the bathroom, the kitchen cabinets were endowed with brassy faux antique hardware. For less than $2 a pop, we switched them out with these modern chrome beauties.
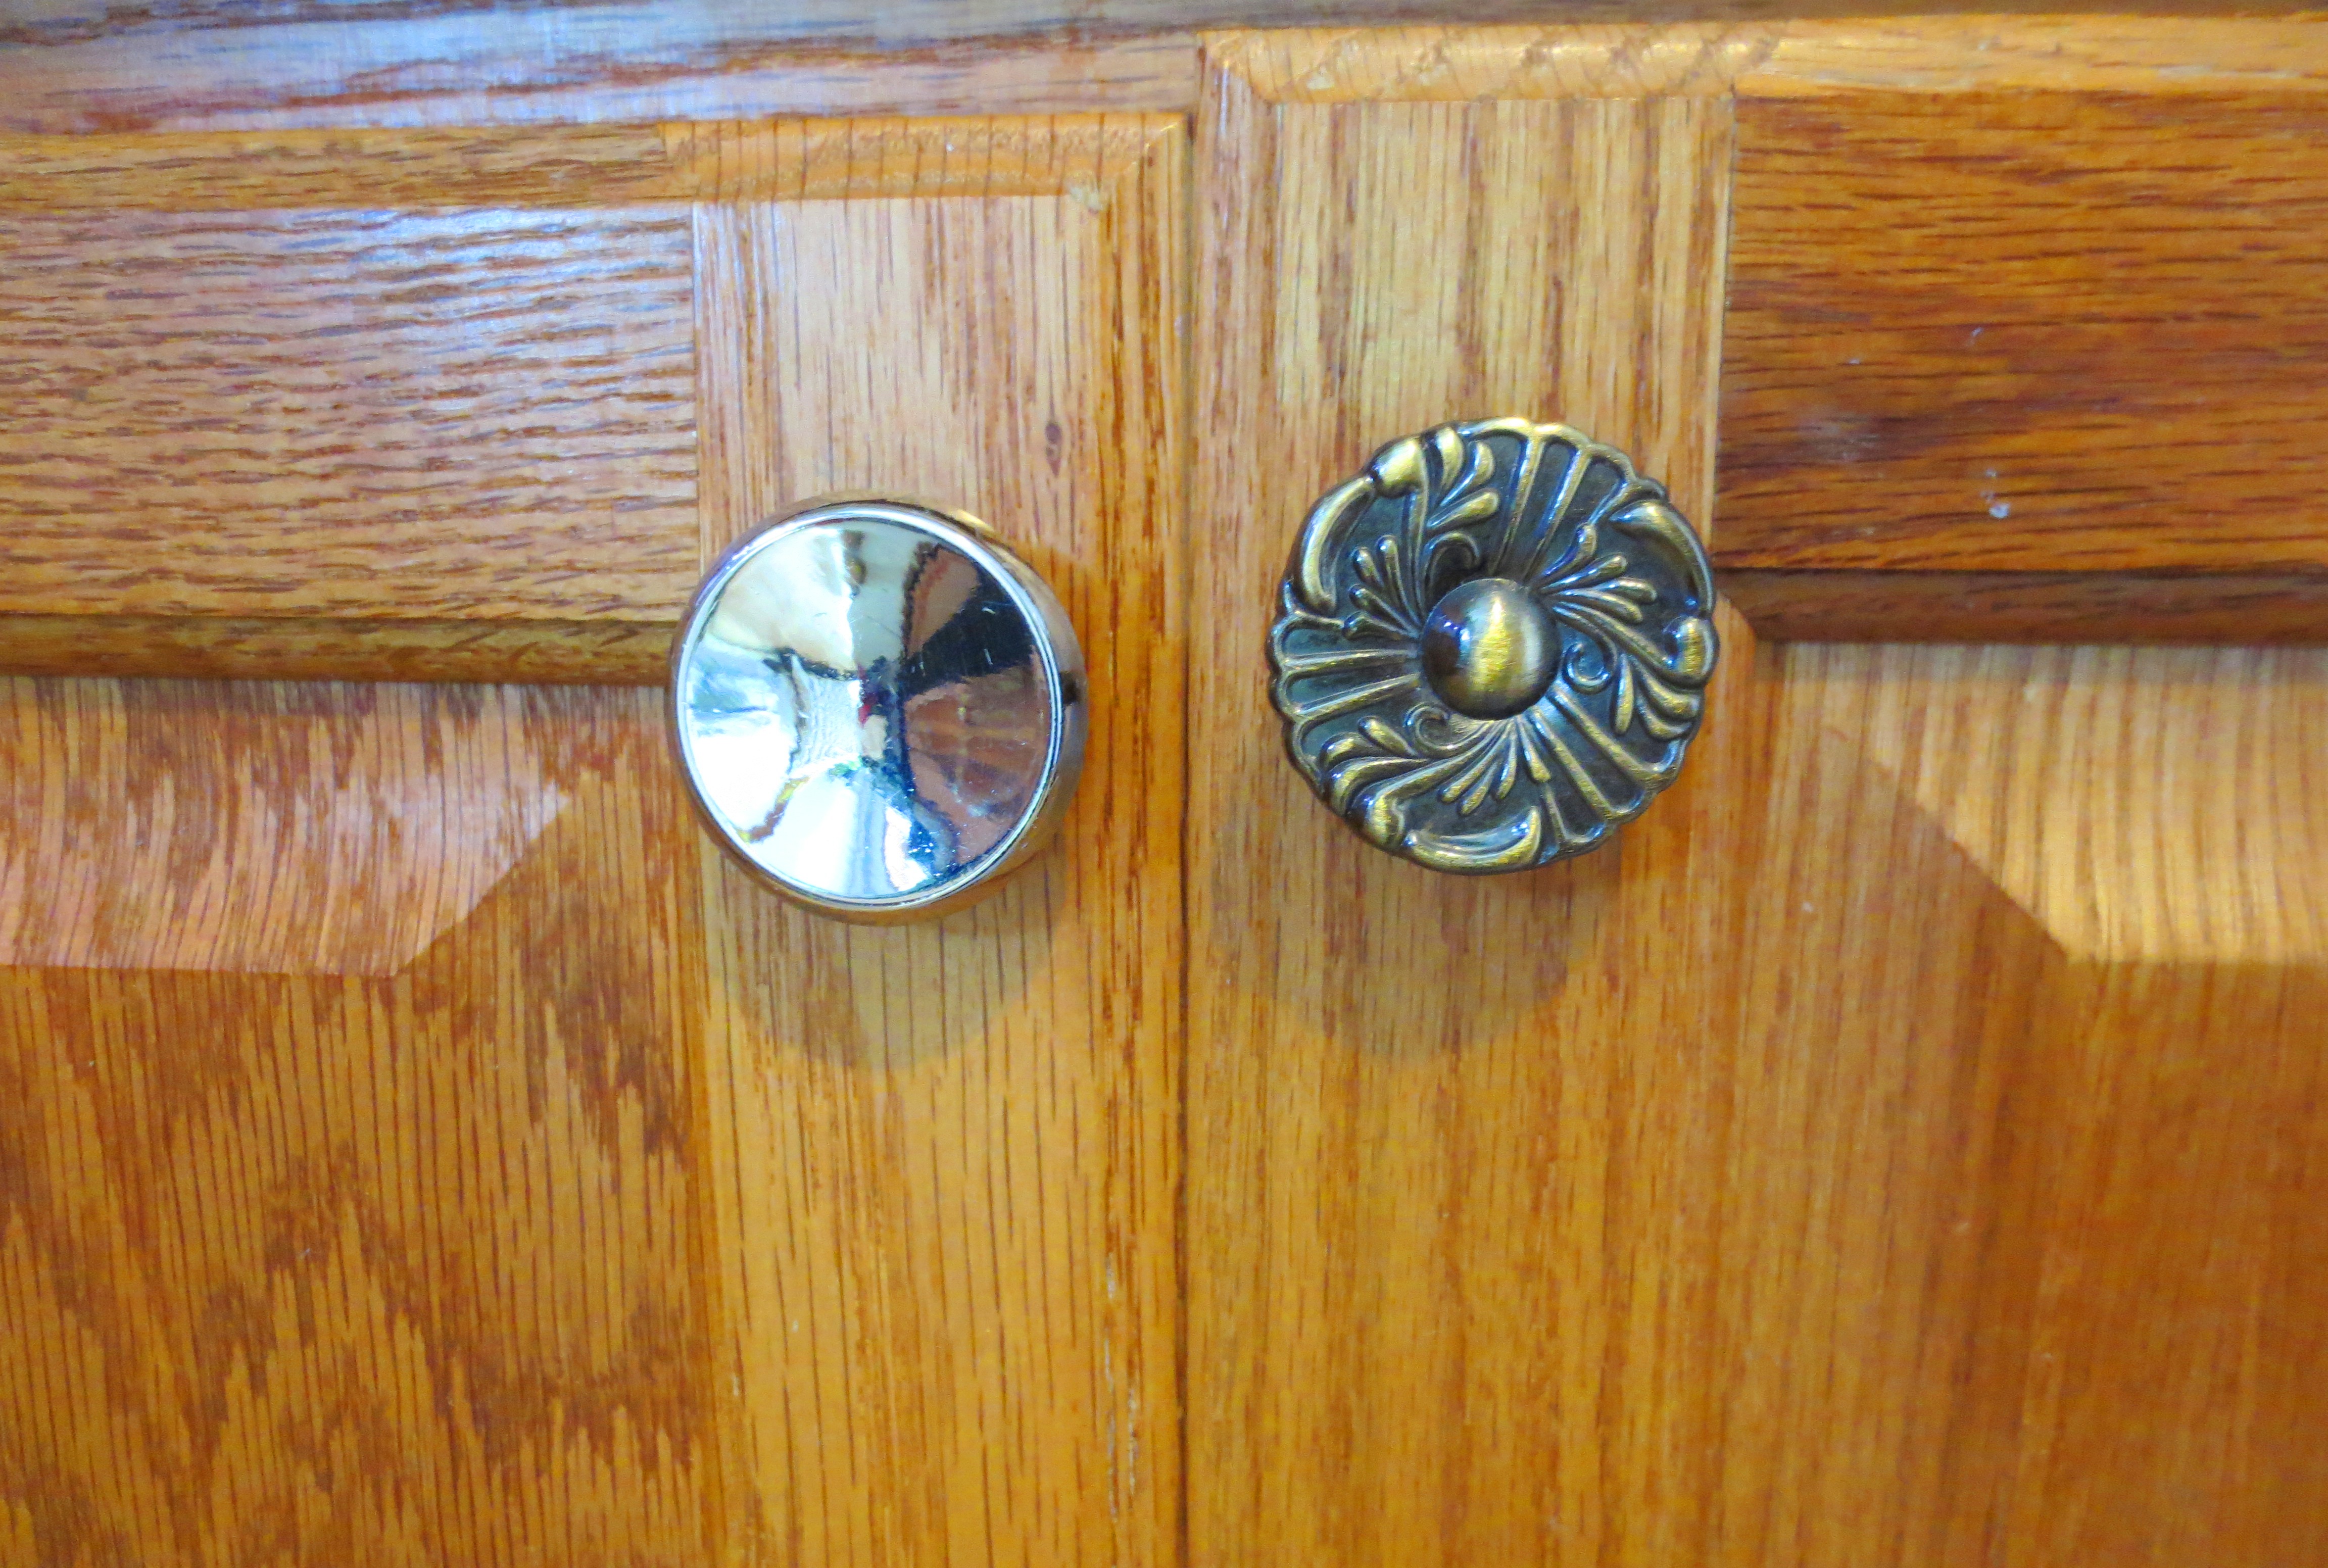
After and Before.
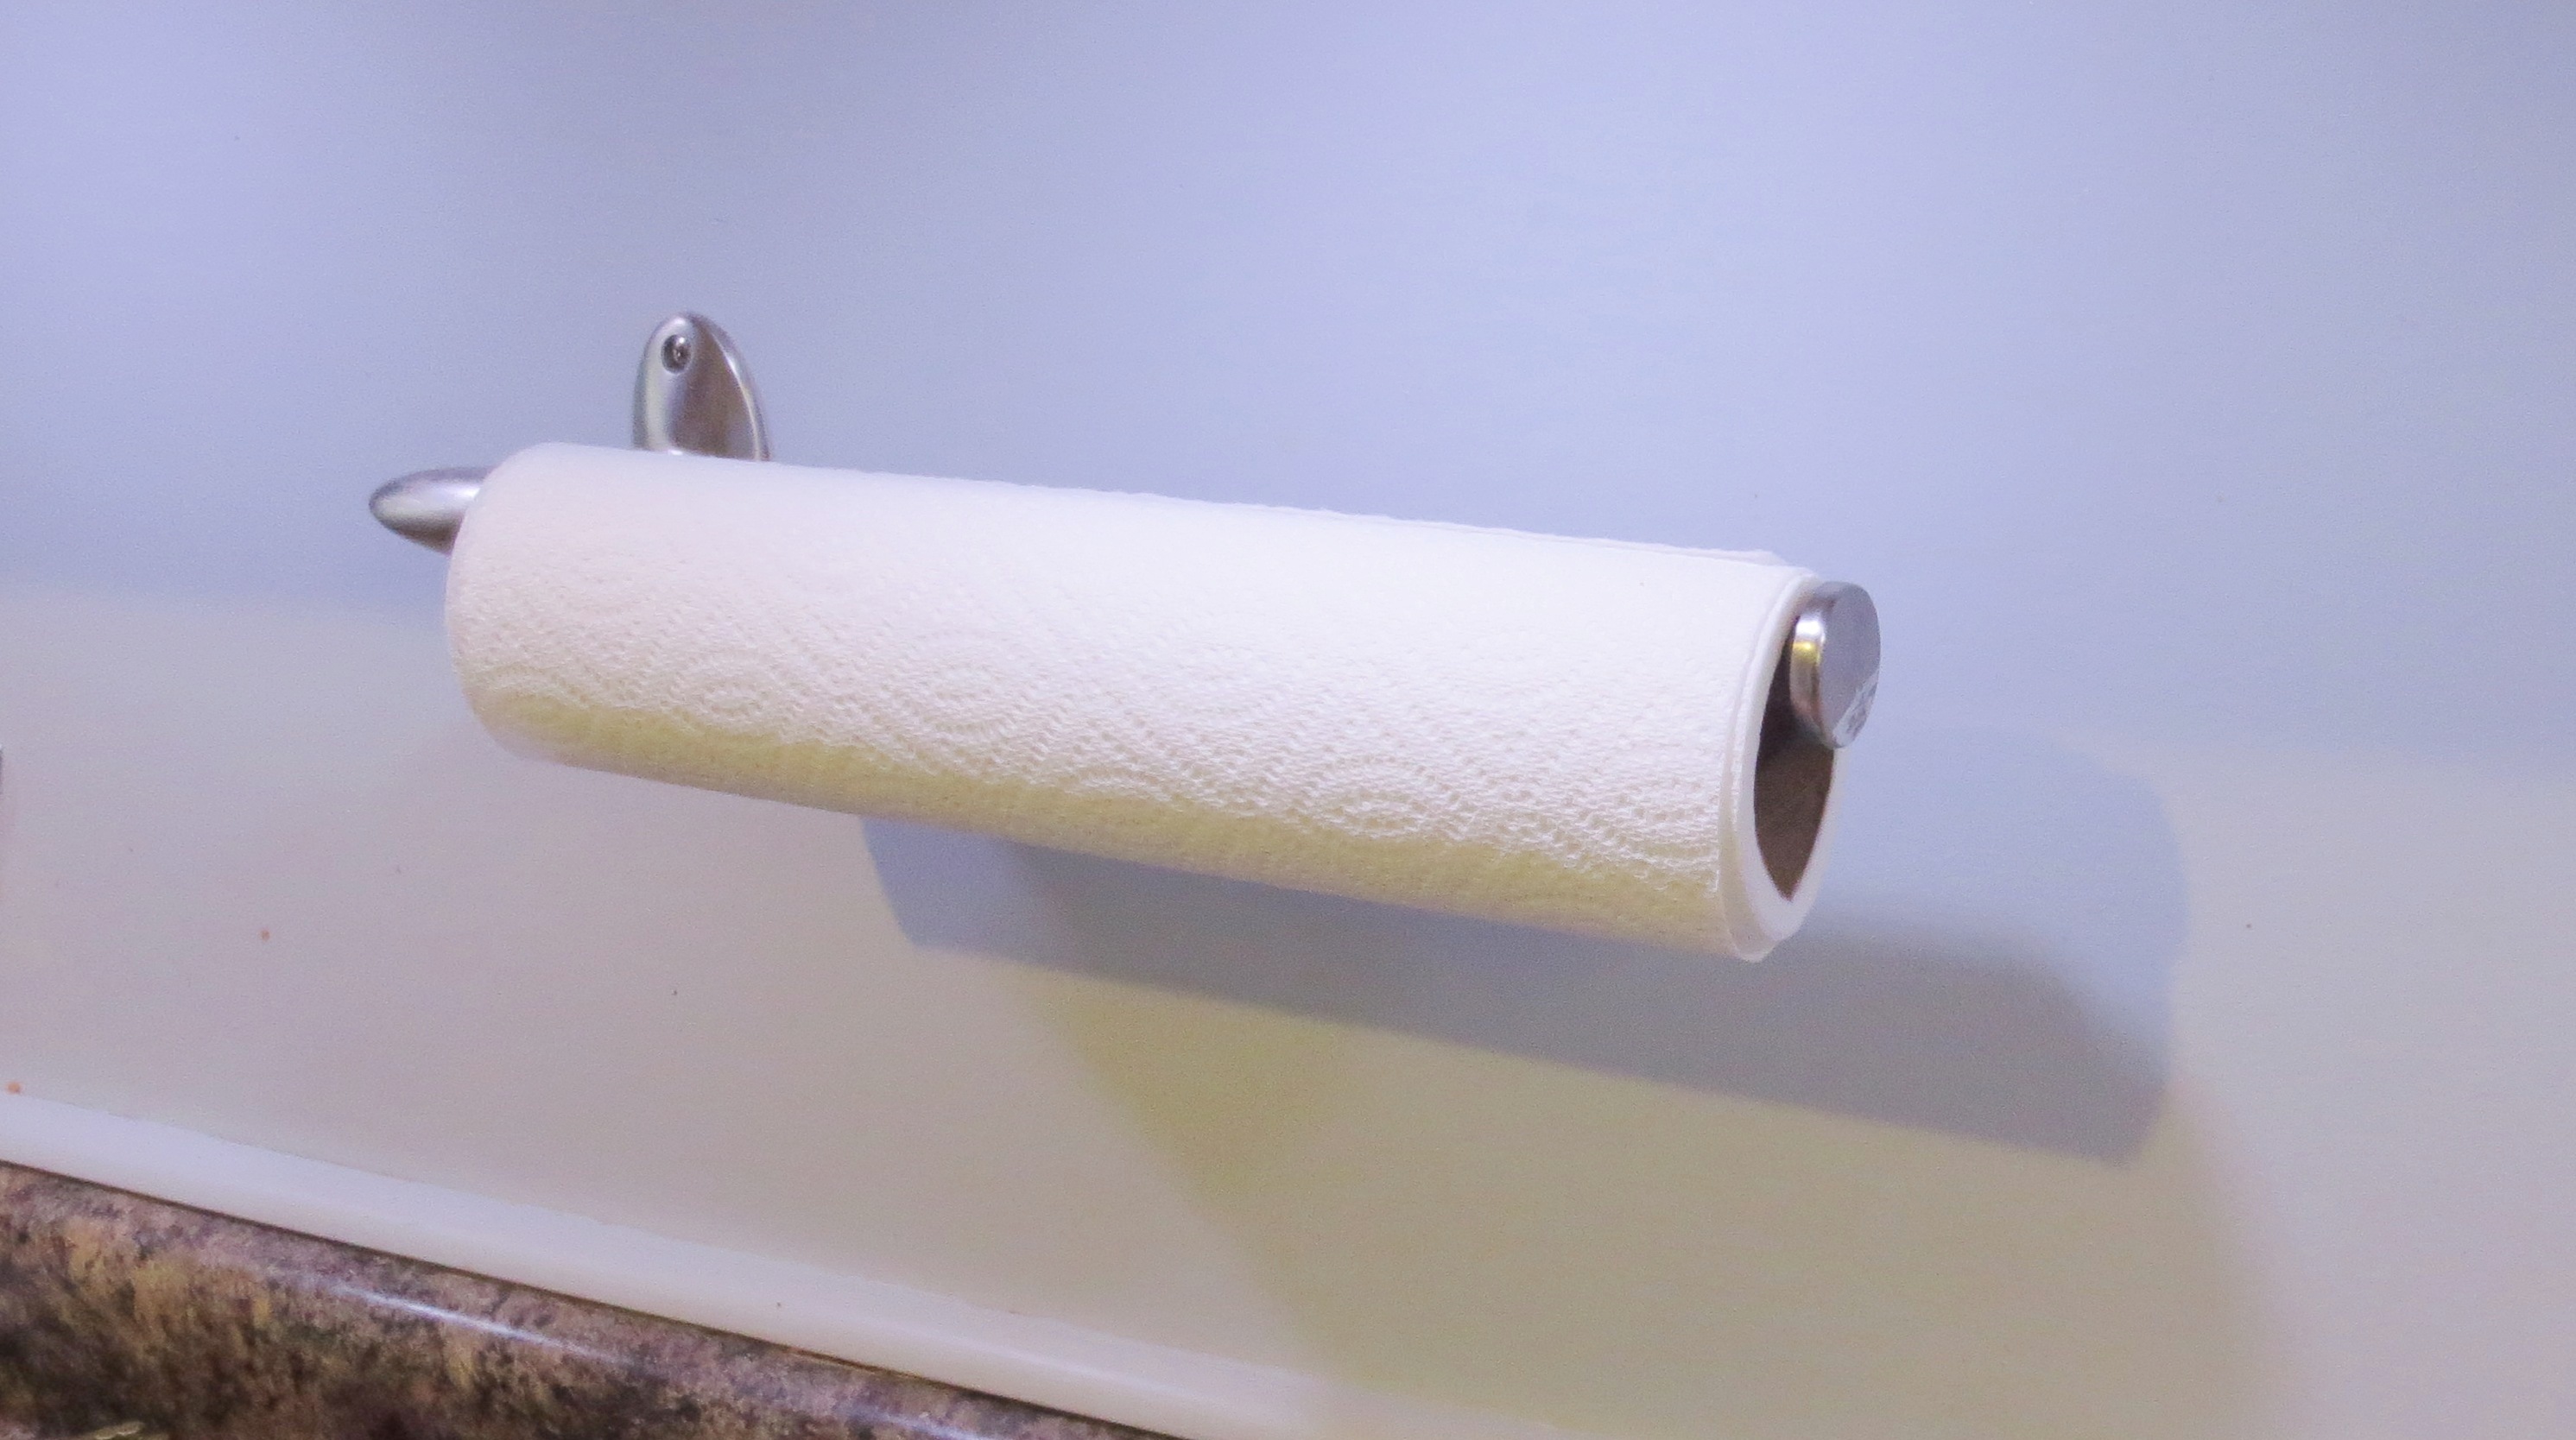
Other drillables, like this $5 nickel-finish paper towel holder, preserve valuable counter top real estate.
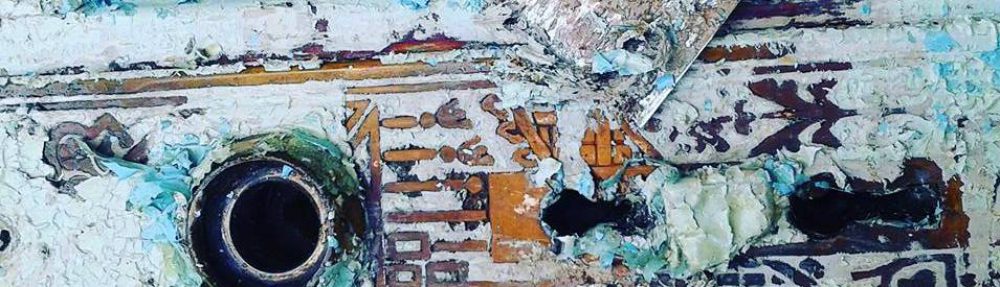
 Use any remaining wall space to show off your thrift-store finds. This promotional margarine poster from the 1950s adds a touch of class to any kitchen, and the color is reminiscent of the landlord’s previous paint job.
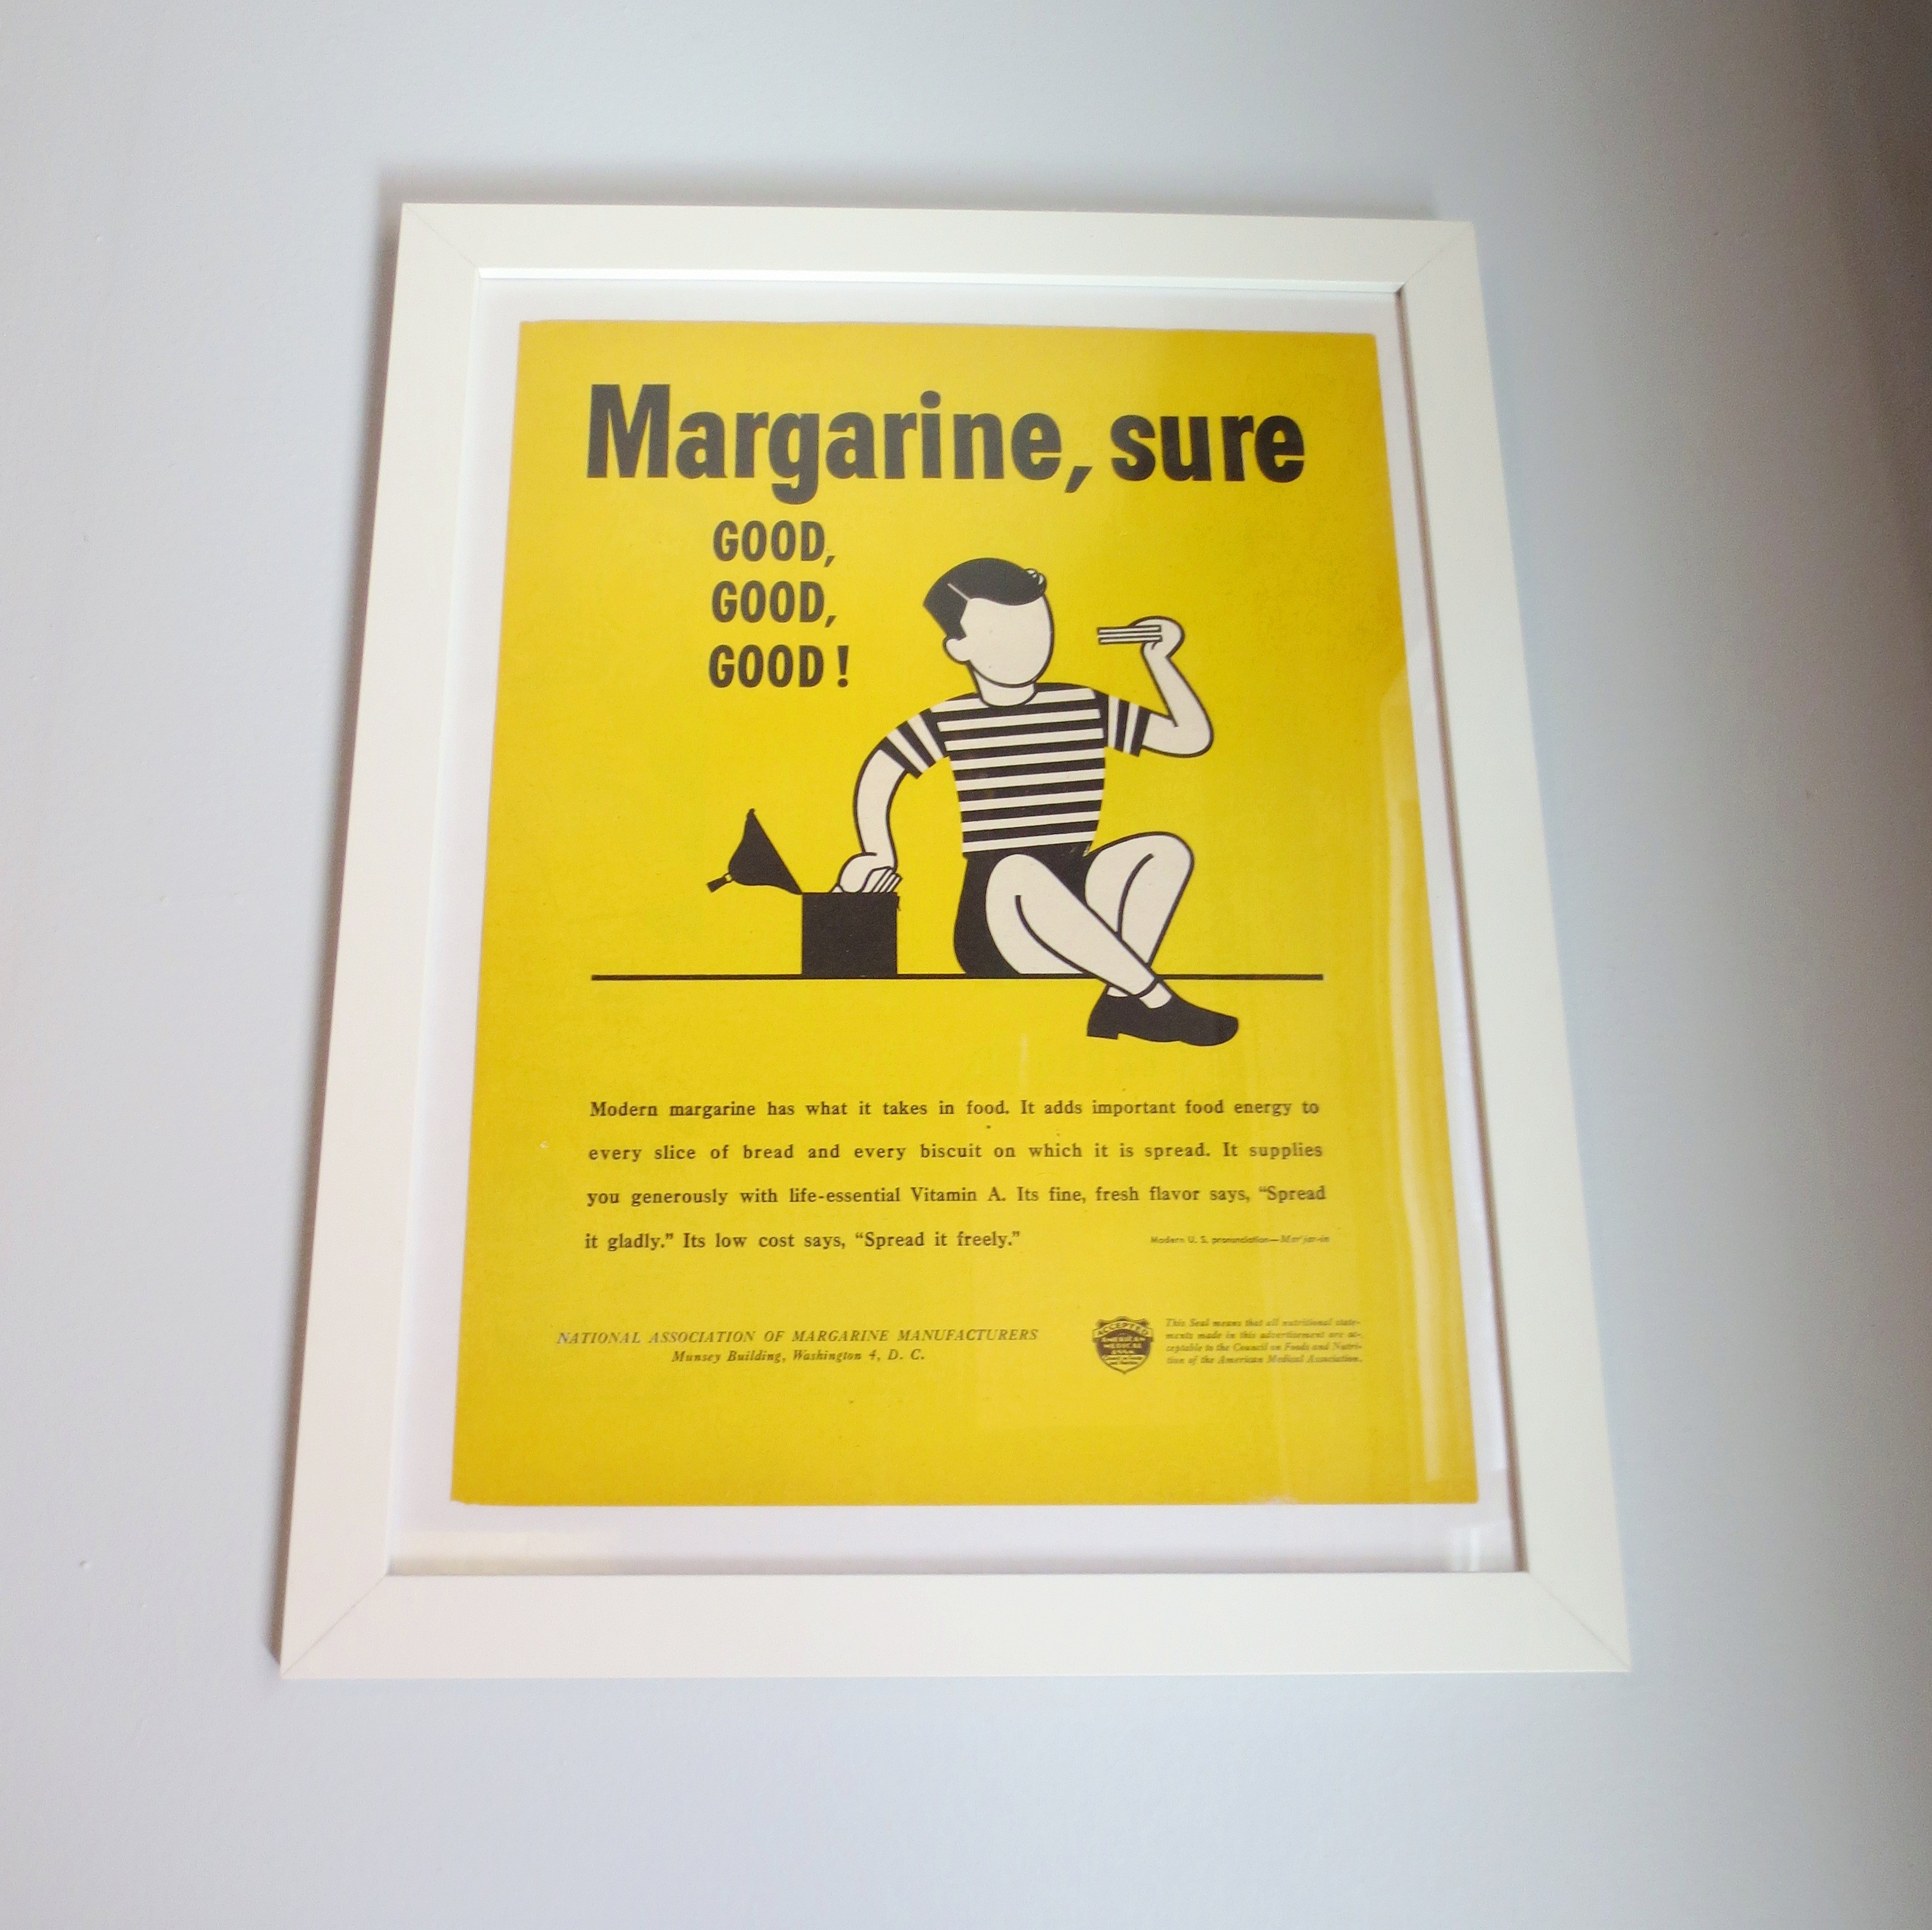
Back in the ’50s, you didn’t need a face to eat a margarine sandwich
BEDROOMS: The only two things you can really change about your bedrooms (besides paint color) are the lights and windows, all of which were bare when we moved in.
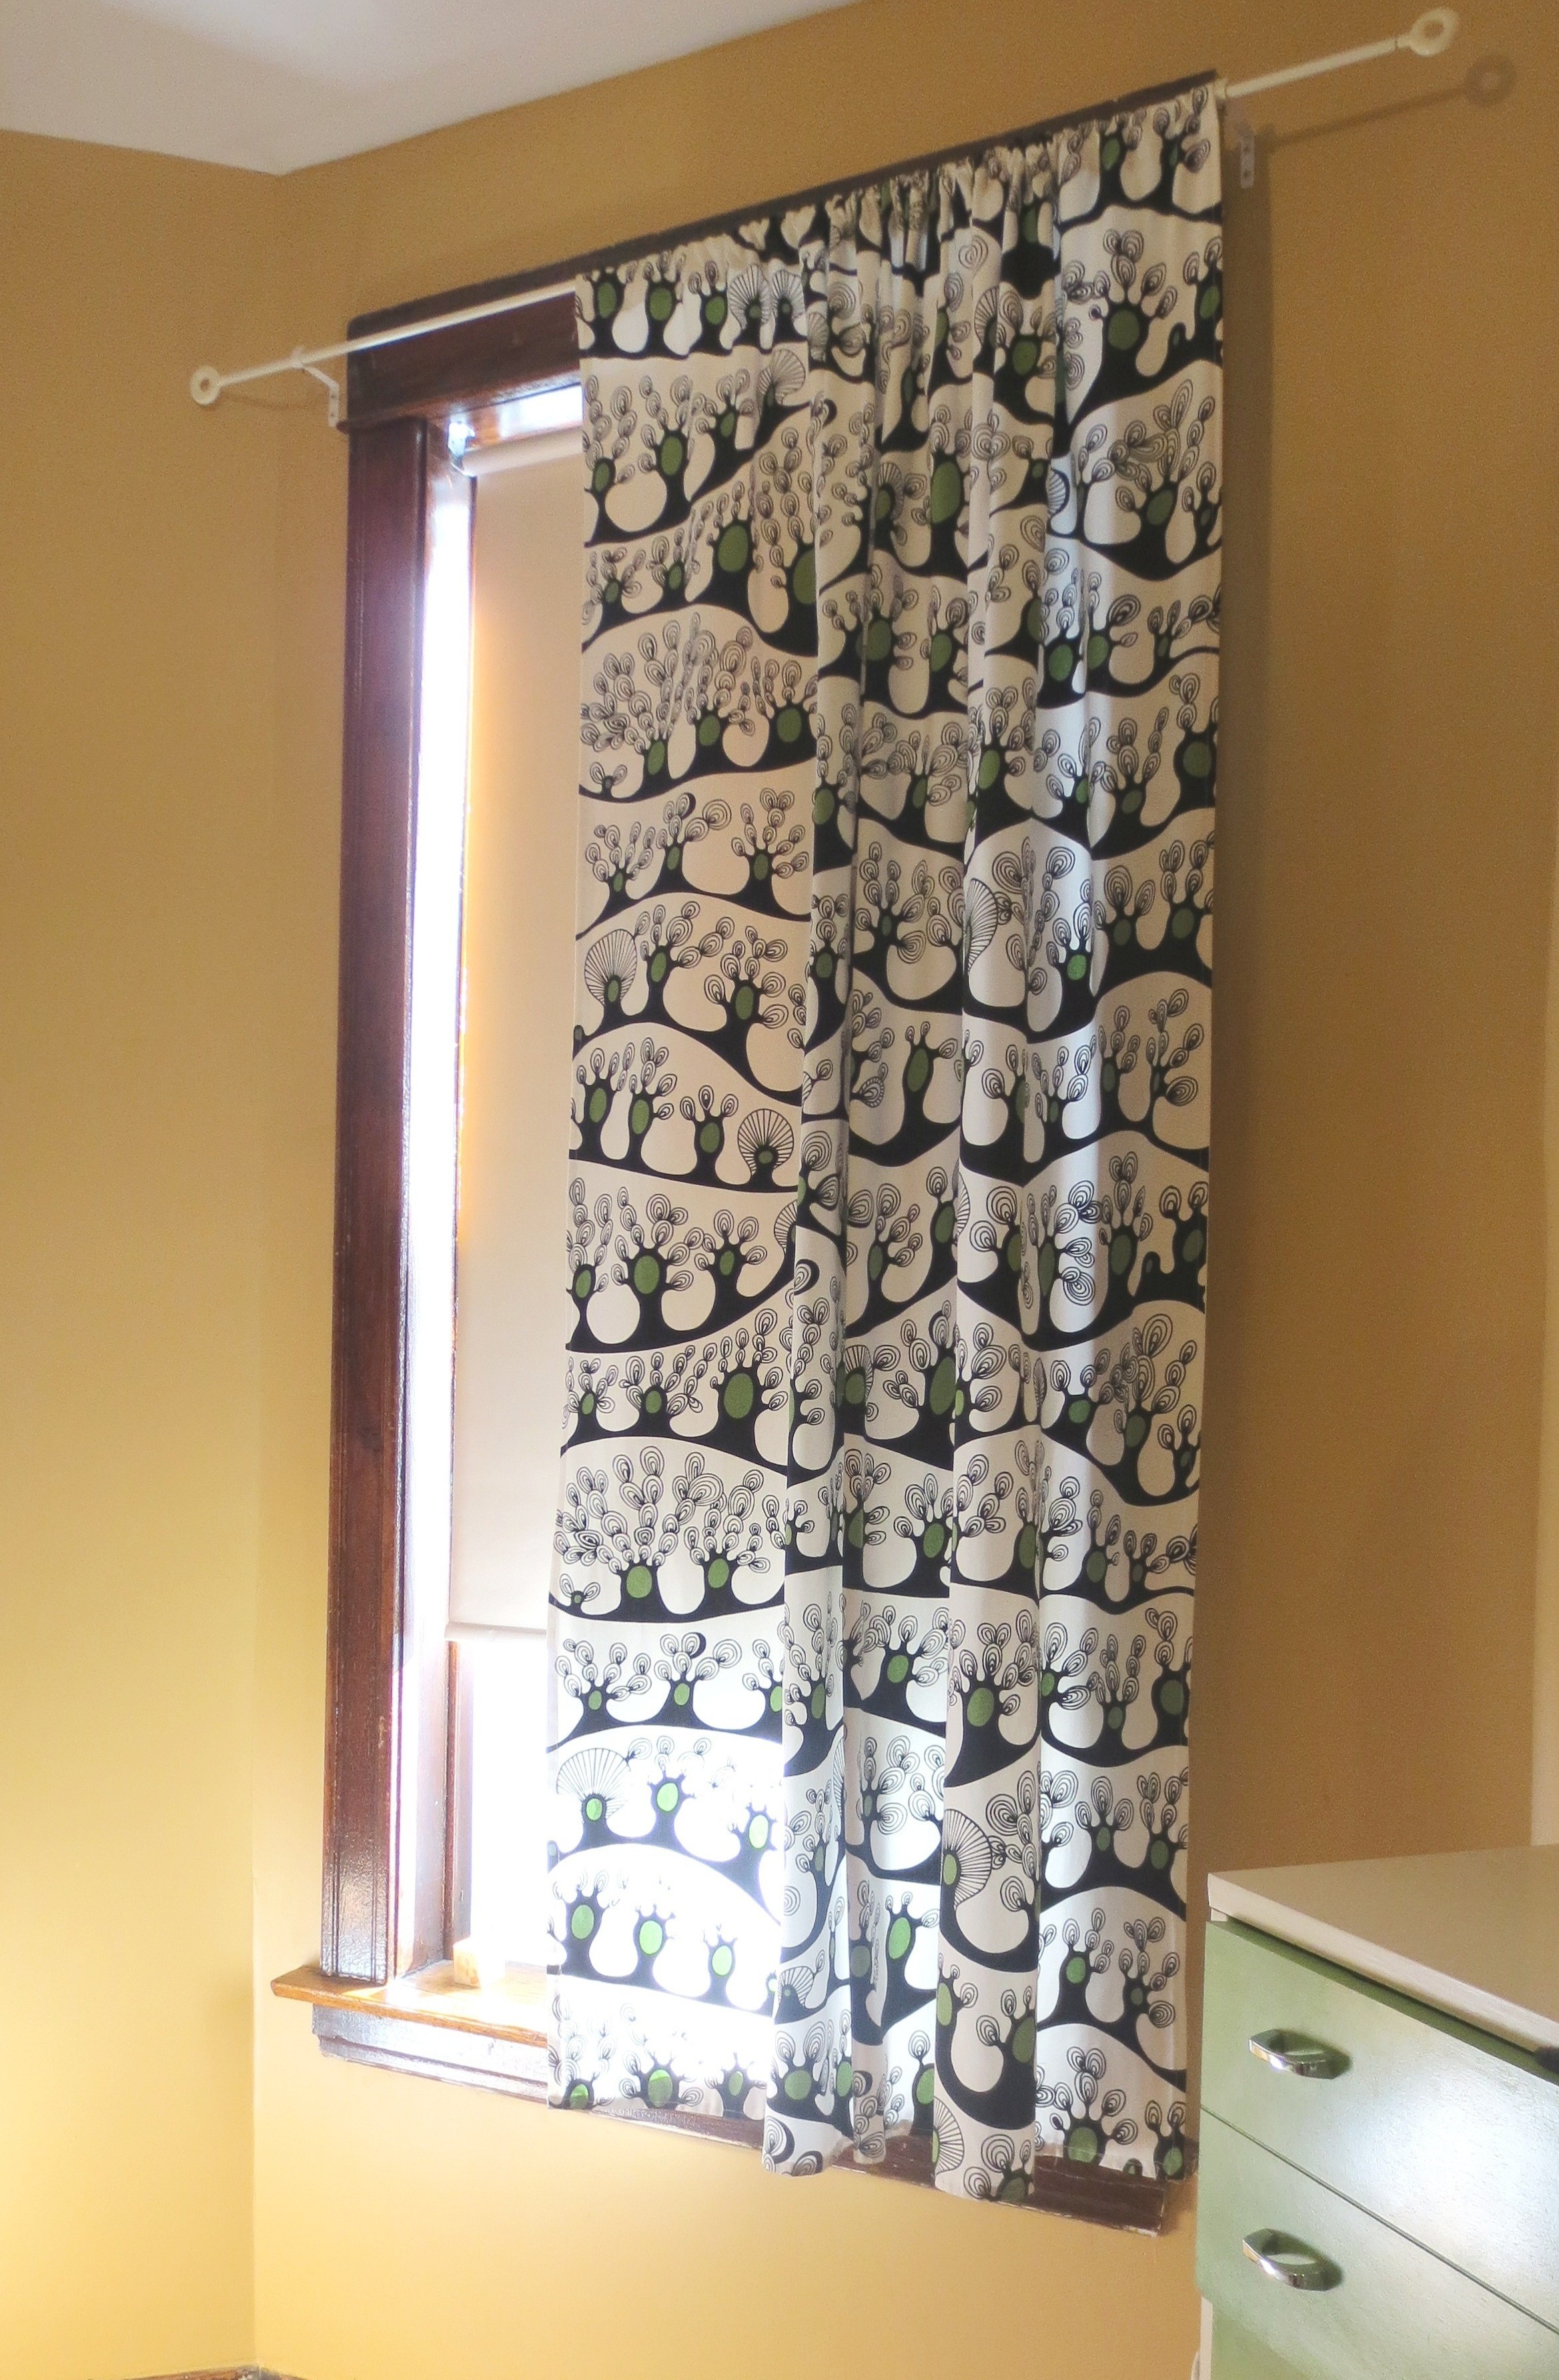
Unless you like your kids waking up at 5:00 a.m. with the sun, blackout roller shades are a must in their bedrooms. Yes, they’re ugly, but can be easily masked by curtains, like these ones I made from some super-cute IKEA* fabric.
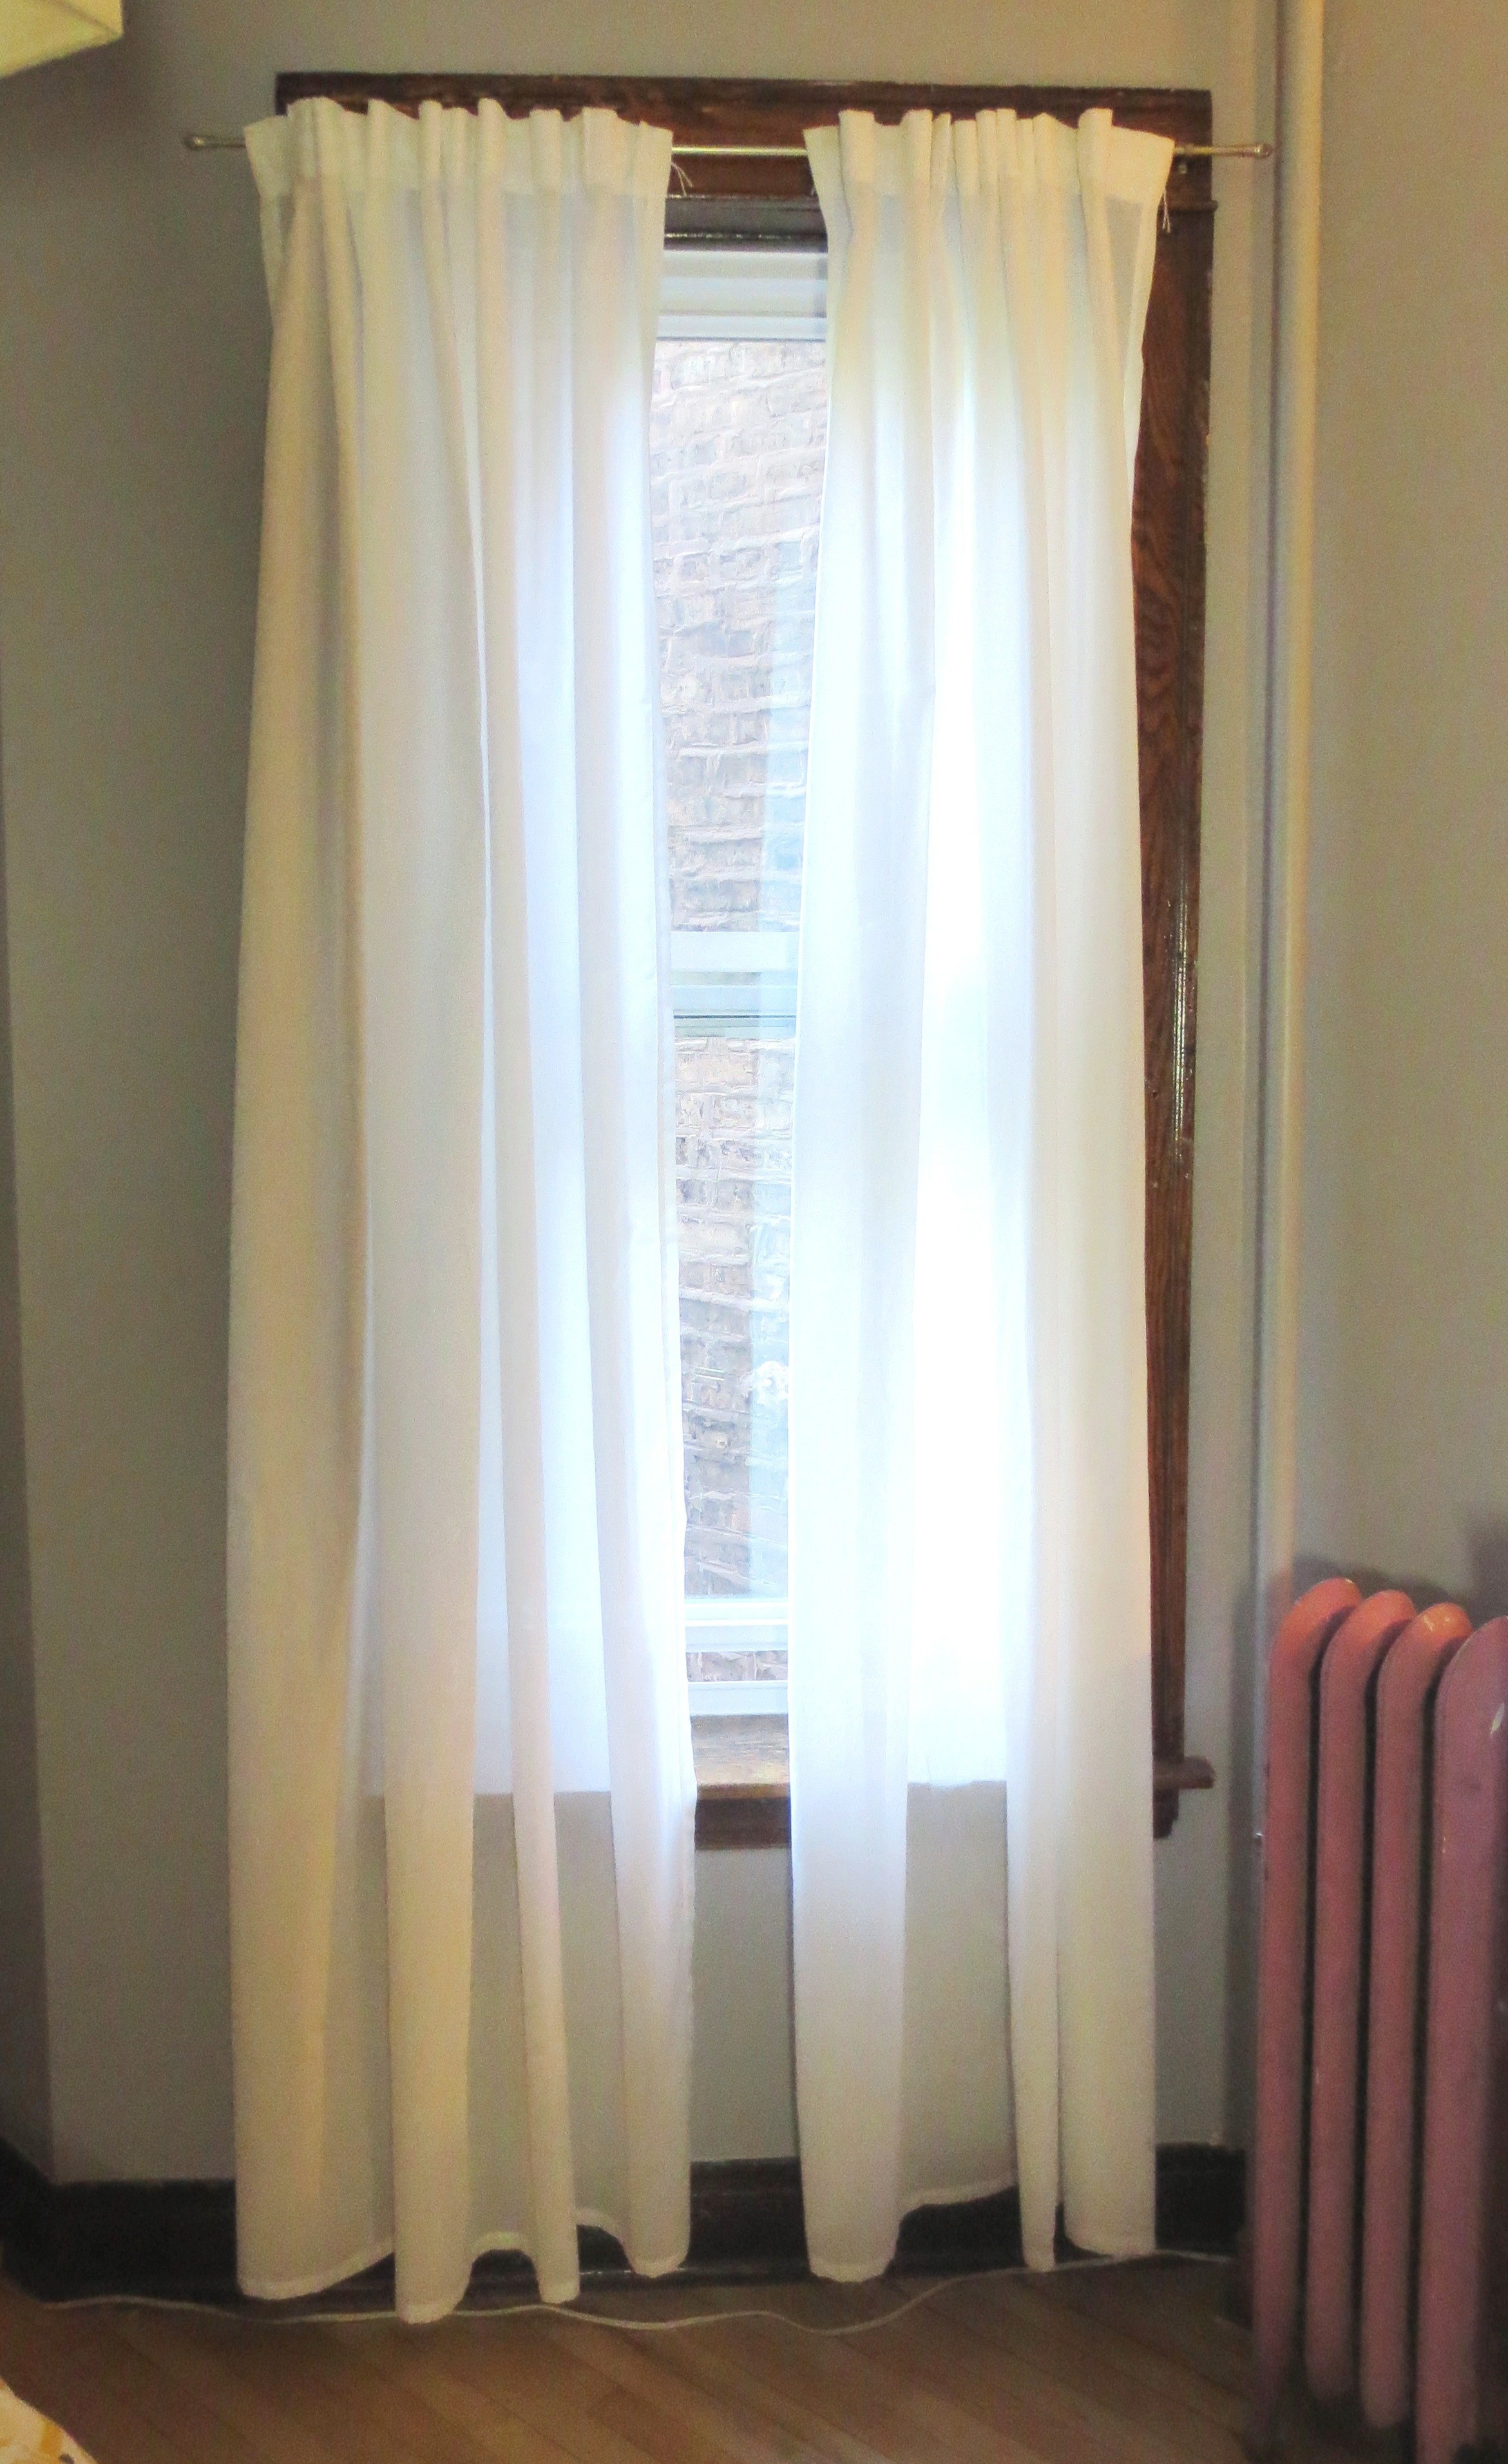
 For the adult bedroom, some sheer IKEA* curtains provide privacy and a nice distraction from the brick wall and bright pink (!) radiator.
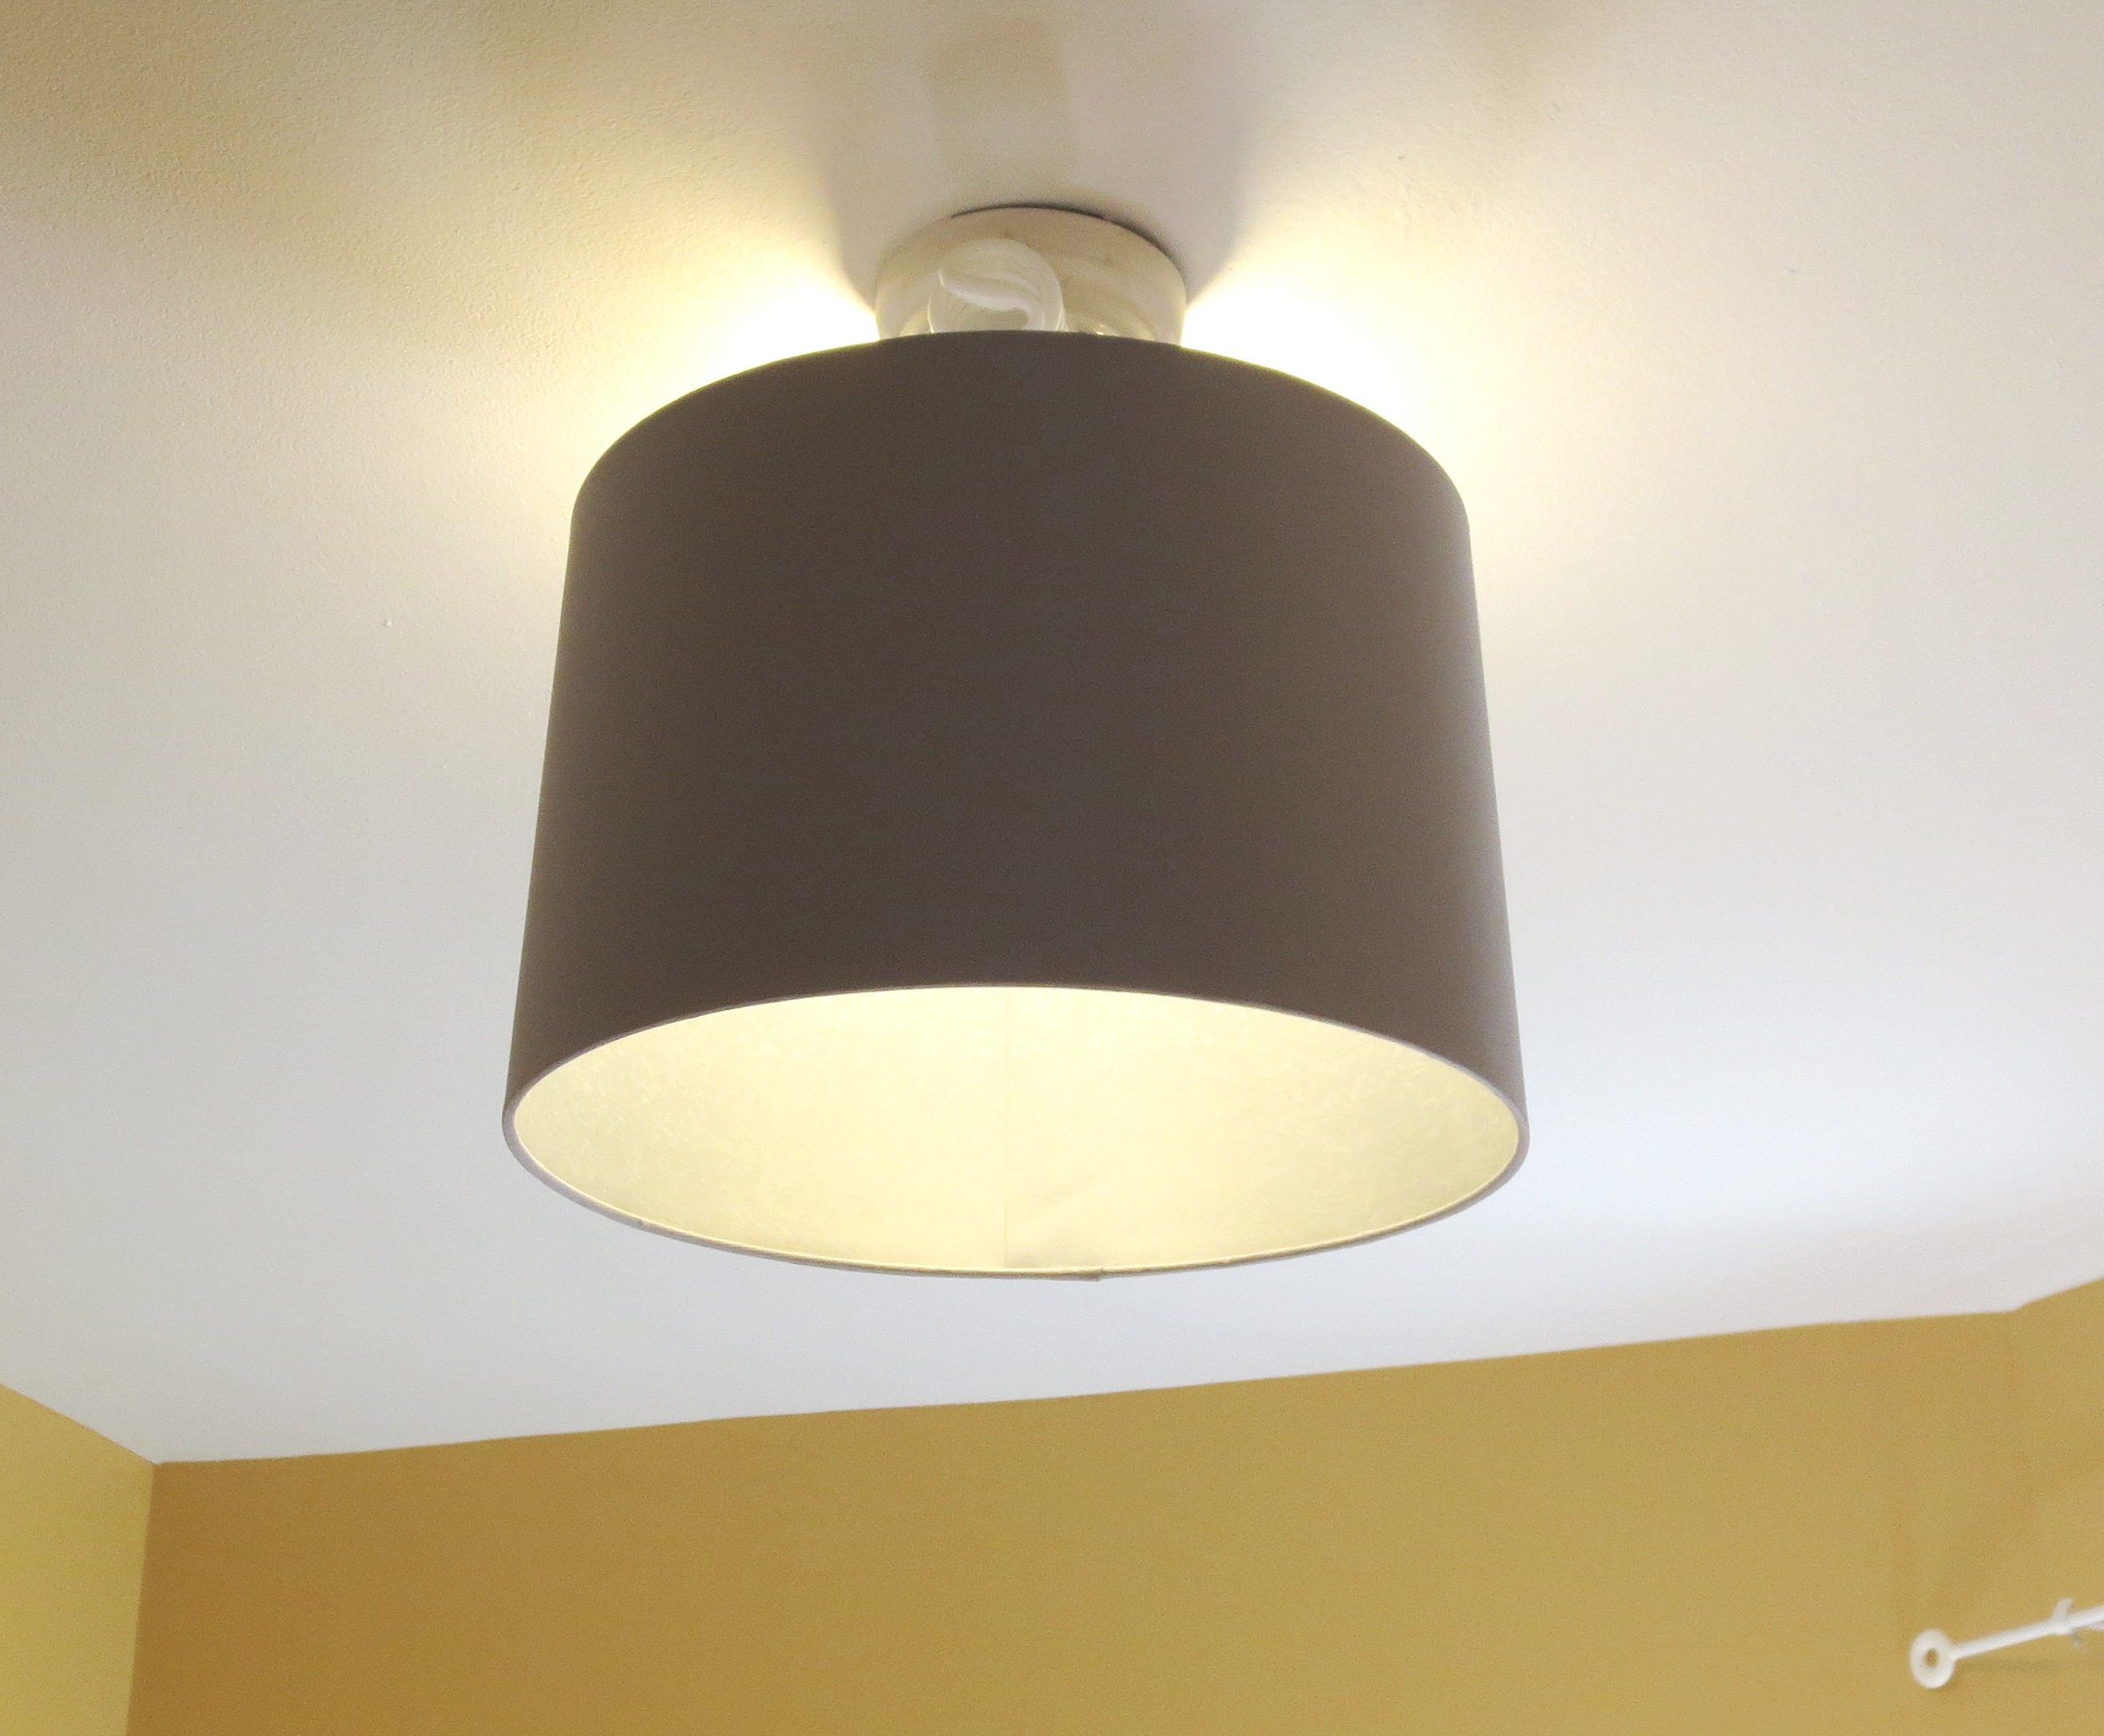
 We also had a little fun covering the depressingly bare overhead light fixtures in every bedroom, like this one with a simple grey shade that doesn’t actually fit (but nobody can get close enough to notice).
 Now, are you ready to see the World’s Ugliest Ceiling Fan?
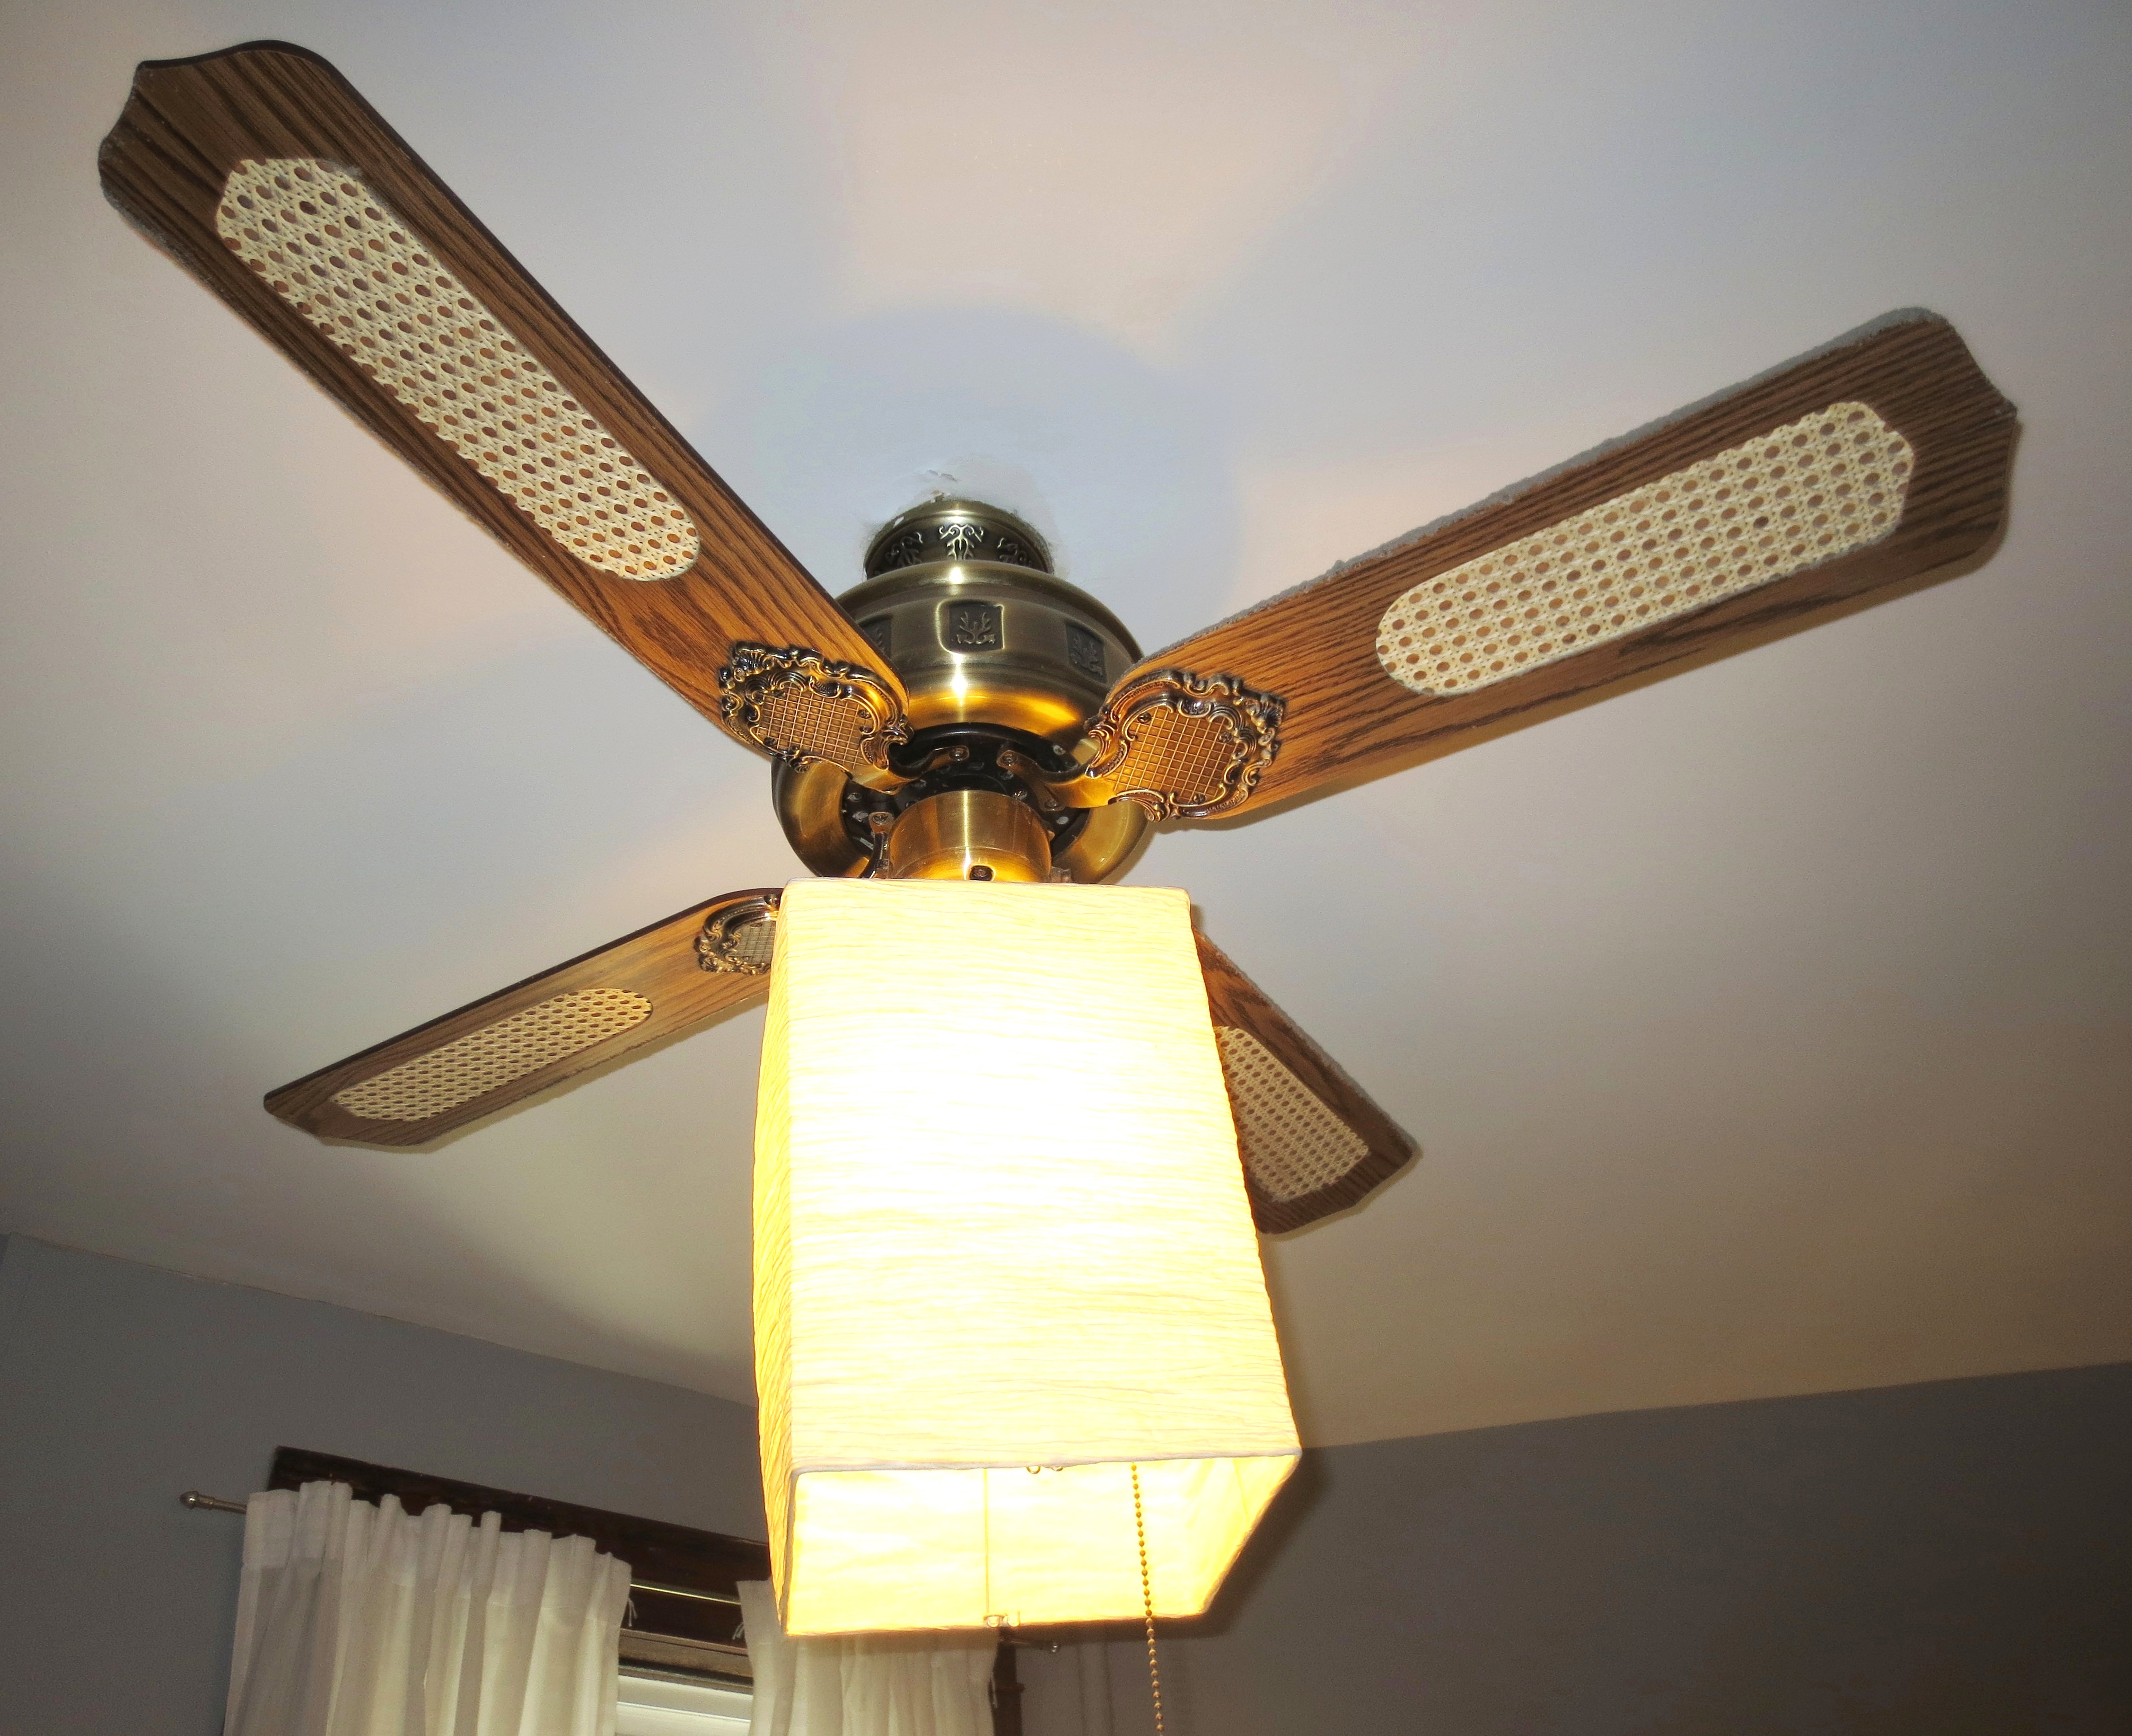
Warning: This photo may be upsetting to our more sensitive readers
Don’t you love the timeless combination of faux laminate oak blades inlaid with woven rattan, the ornate and mismatched patterns of the distressed-brass motor housing, and the whimsical splashes of white ceiling paint? Me, too. We thought the best way to honor the post-modern mishmash was to cover the bare bulb with a square, Asian-inspired paper pendant shade ($4 from IKEA*). This is what I see when I lay down to bed at night, and I couldn’t be happier.
*I was not compensated for mentioning IKEA 6 times, but perhaps I should be.

I’m totally inspired. Will you come to our house and consult?
LikeLike
I would love to see your new place — and consult! Been meaning to do a family ride up to Skokie on the trail this summer. Have the sculptures changed at all?
LikeLike
This is great! I am moving into a new house in August and can’t wait to use some of these.
LikeLike
Kudos! So few people live this way. I often install ceiling fans where a porch light was mounted or I’ll install it and run the cord to the wall sconce for power (tidily hiding the wires) – I’ve replaced drawer pulls, removed cabinet doors and drawers for open shelving, even drill cord drops into the backs of counter tops – all small improvements and I’ve always gotten my deposit back.
LikeLike
Pingback: The Pros and Cons of Renting - DIYalogue
Pingback: Dude, Look at These Links | The Apartment Dweller's Survival Guide
I am notorious for changing out the guts of the toilet tank for a Fluidmaster. Less than fifteen dollars and I sleep through the toilet filling. Totally worth it!
LikeLike