
 When you are the Domestic Systems Analyst and Head Custodian for a family of five, you make a lot of jokes about Sisyphus. I’m just barely educated enough to know the basic plot: Some muscly dude had to roll a boulder up a hill in his underwear, then watch it roll down, then roll it up again, and again, for all of eternity. I don’t remember why – maybe he forgot Zeus’ birthday or left a candy wrapper on Mount Olympus.
I can identify quite strongly with Sisyphus, except that the heroine of my story is pushing a vacuum down a hallway in a long, Chicago-style apartment. Small children follow her, dropping their Legos, crayons, rocks, papers, cookie crumbs and dirty underwear on the floor. Over and over again, for all of eternity.
And that’s just in the summer. Winter came early this year in Chicago — around August 12 — and now the family is shedding piles of boots, hats, coats, and gloves by the back door. Here’s an uncensored “before” shot:
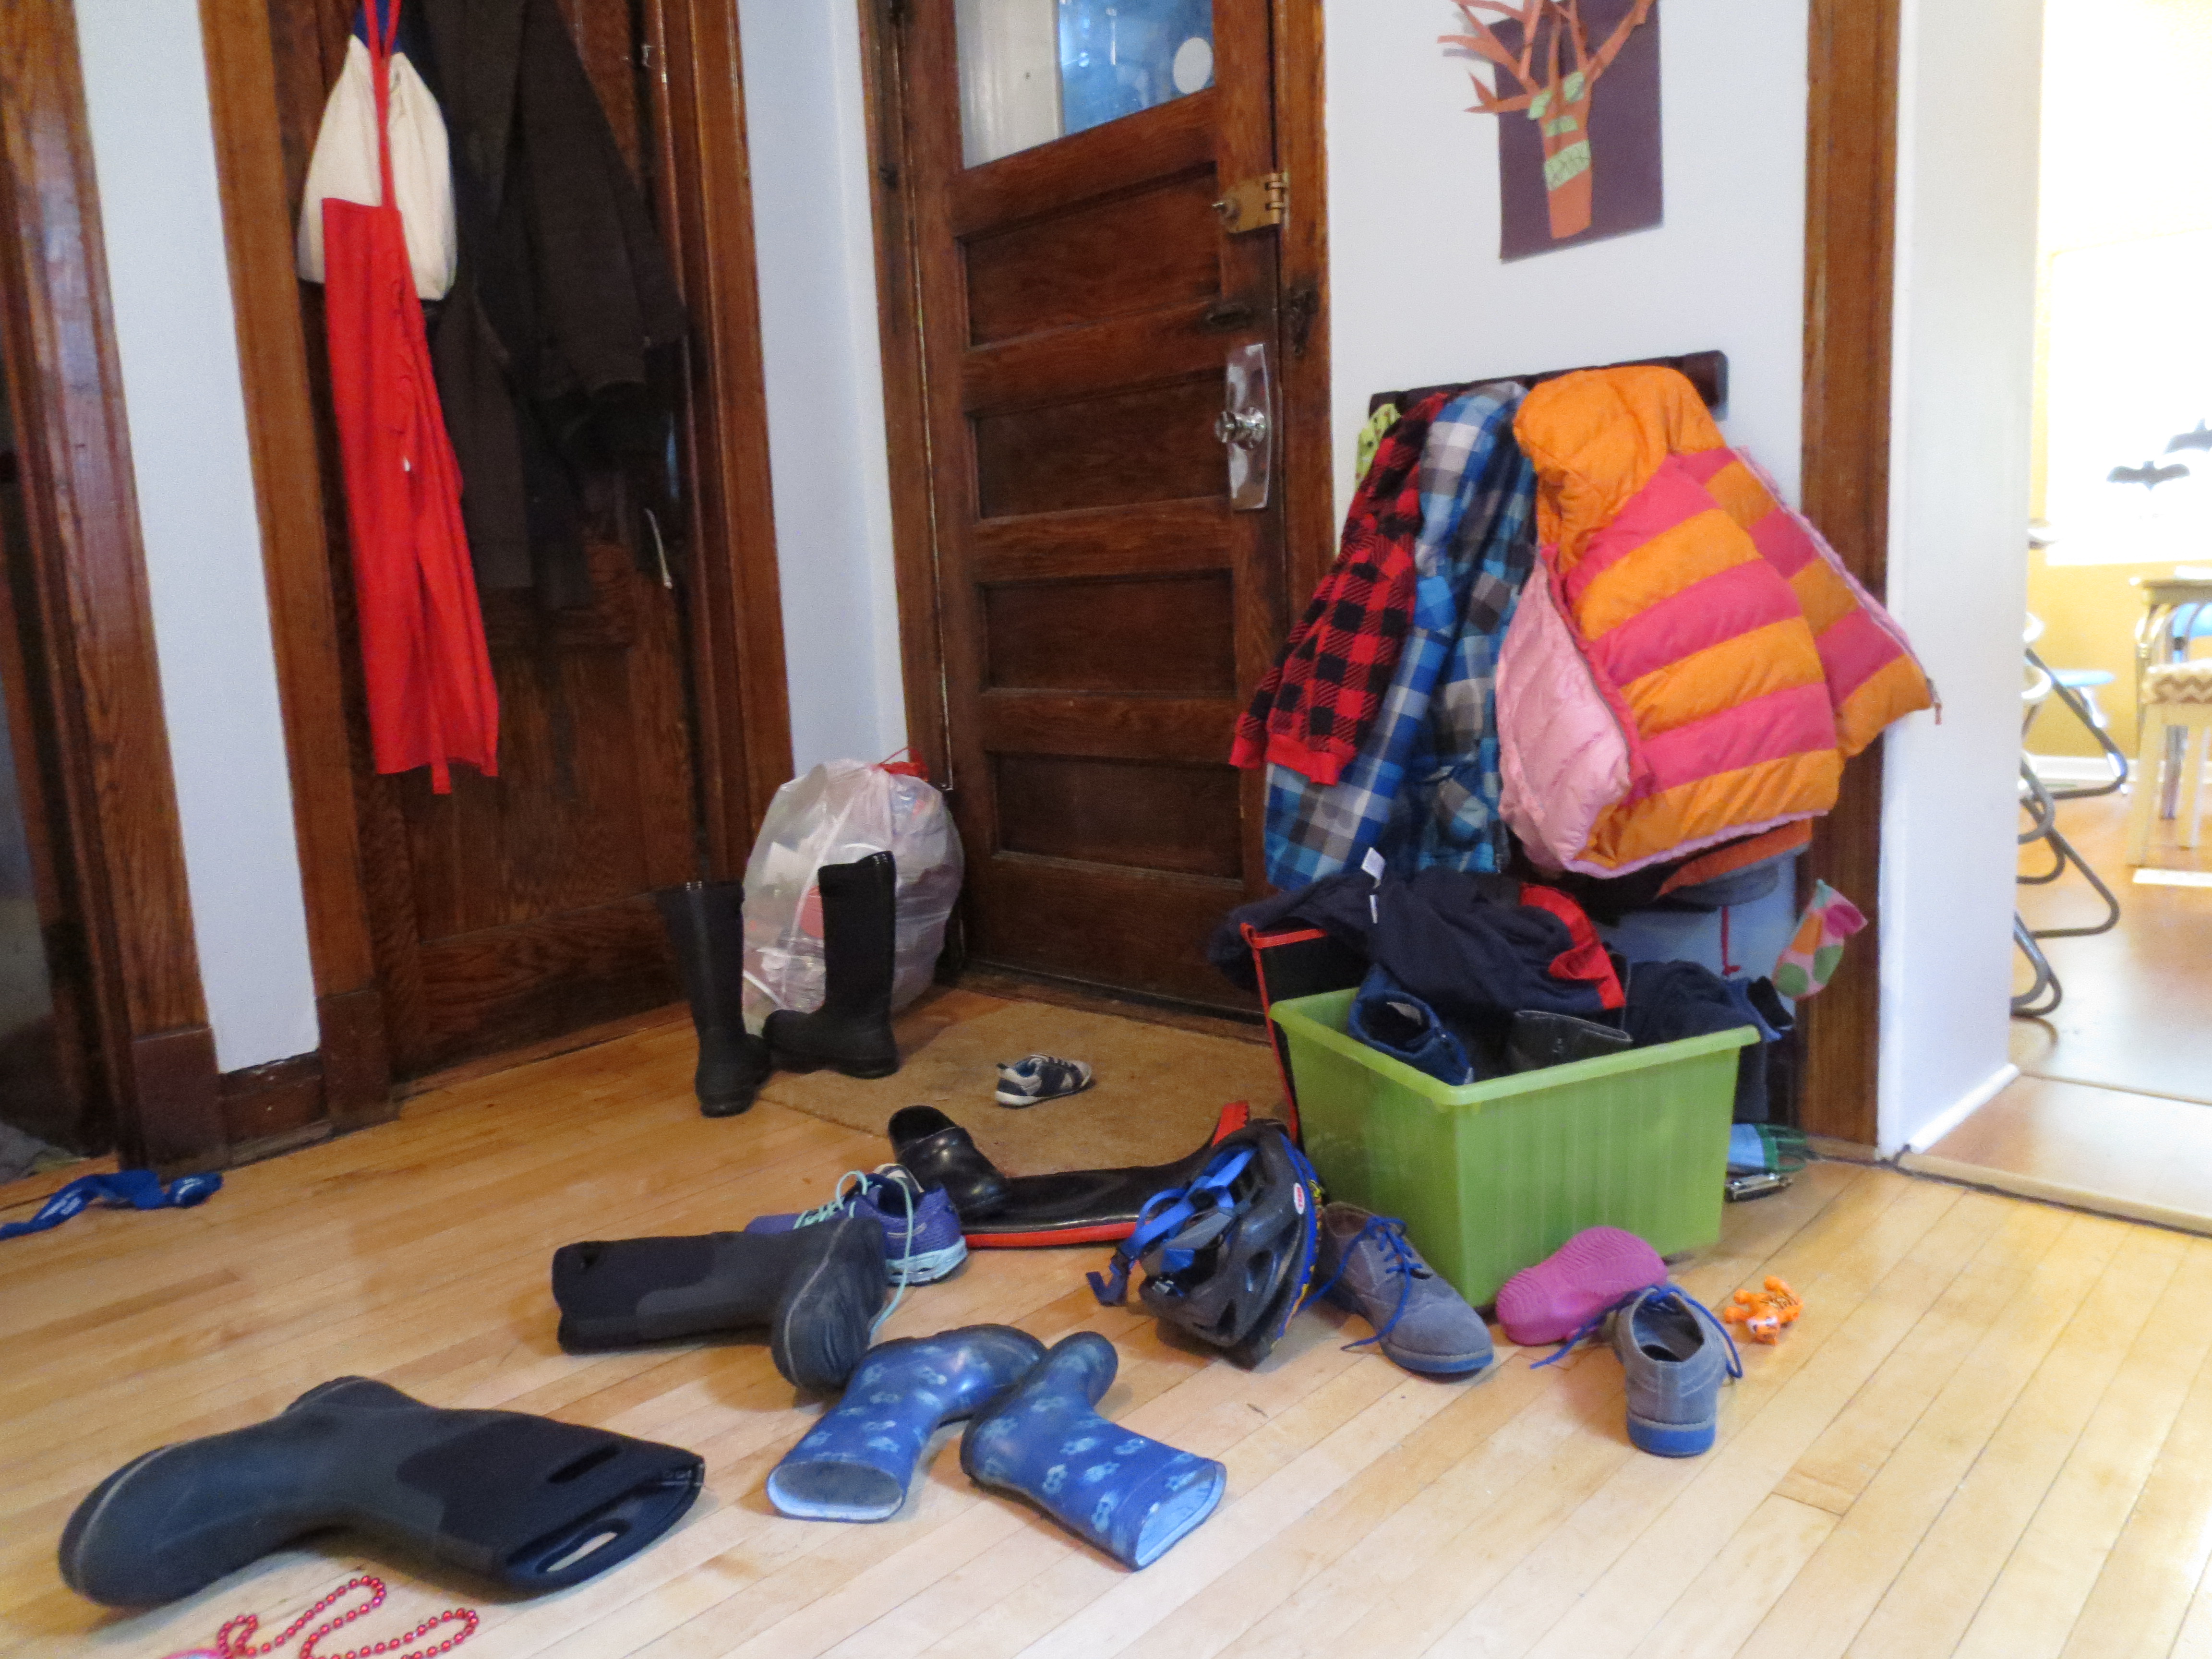
In my defense, there was another 4-year-old visiting that day.
The mess has even spread to the top of the kitchen radiator:
 Desperate for relief, but short on both cash and space, I concocted a Hat-and-Glove Storage Center to absorb some of the overflow. The Storage Center has two main ingredients, both recycled: Tin Cans and piece of scrap wood.
I’m not much of a meat-eater, but, aside from my aversion to Head Cheese, I’m a big fan of using up all the more obscure parts of the animal. Same applies to furniture (stay with me, this analogy will pay off soon).
About a year ago I bought a gorgeous adjustable slat bench on Craigslist. We quickly discovered that if you sat too far on the edge of the bench, wood slats would start to pop up on the other side, like a see-saw with rusty nails. Upon closer inspection I realized much of the wood was beyond repair.
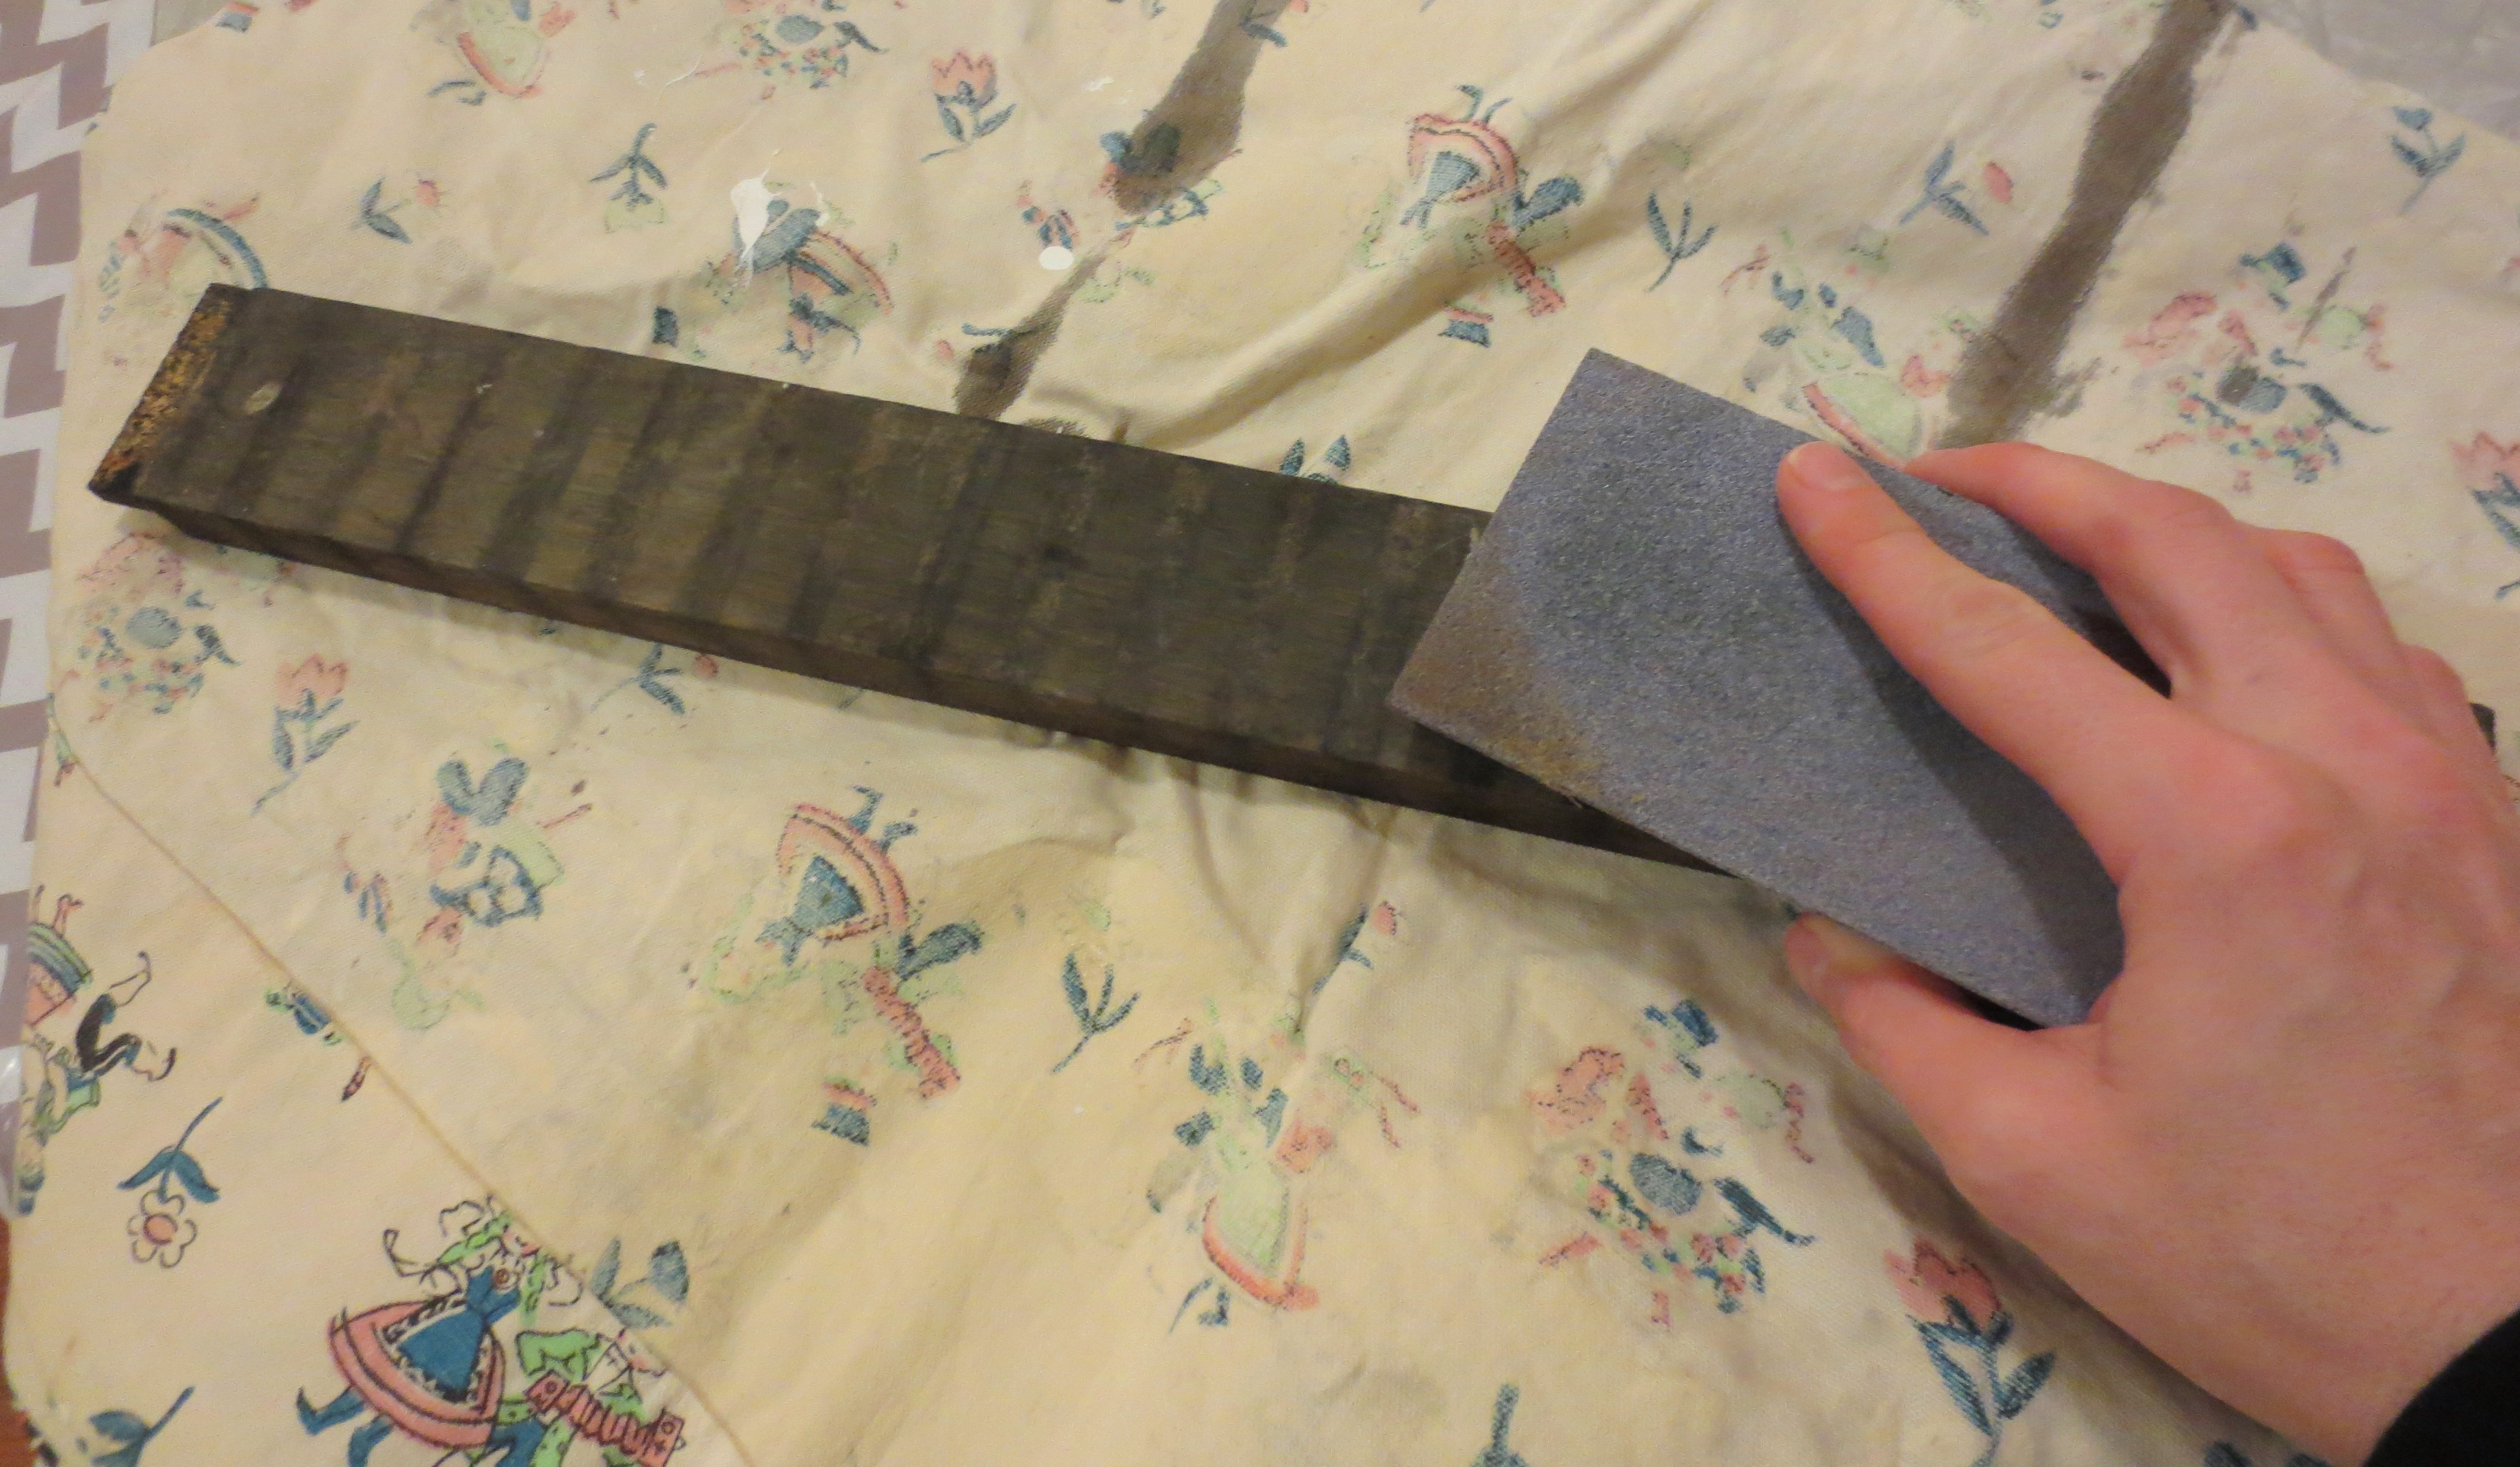
 Sadly, the slat bench had to be sacrificed and dismantled; its usable parts sent downstream to other projects. After a quick 2-inch trim, the legs found new life propping up my standing desk. And now I found that this piece —what I believe was a cross-bar, as indicated by its “tan lines”– is the perfect fit for four tin cans:
HOW TO MAKE AN UPCYCLED HAT-AND-GLOVE STORAGE CENTER:
You will need:
– Four 28-ounce tin cans and a good chili recipe
– Piece of Wood (optional wood stain and varnish)
– Six screws
– Drill and screwdriver
STEP ONE – PREPARE THE BASE: If you don’t have a good piece of scrap wood, then go to a hardware store and get one. Now, sand the wood in the direction of the grain, wipe with a damp rag and air dry.
 Slop on a coat of Wood Stain — I prefer Minwax in Dark Walnut, which happened to match the coat rack by the door. Since this stuff is oil-based and can’t be cleaned with soap and water, I suggest using an old baby sock to apply. Let the stain sit for about ten minutes and wipe off any excess – do NOT let it dry or it will become a sticky, sappy mess.
 When the stain has dried (about 8 hours), brush on a coat of Polyeurathane. This will lock in the stain and give your board a little shine. If you want crazy shine and hardness, give it another two or three coats, but be sure to let it dry and lightly sand between coats.
 STEP TWO – PREPARE THE CANS: Hopefully, you’ve been saving your 28-ounce tin cans. If not, this is a great time to cook a massive batch of chili.
 Need more empty cans? Dump their contents into storage containers and leave them in the freezer, where you will forget about them until the next time you move.
The hardest part of this step is removing the glue under the label. I won’t bore you with all the methods I tried that didn’t work. What did work was 1) picking as much of the dried glue off with my fingers as possible 2) soaking in hot water, then 3) rubbing the remaining glue off with Isopropyl Alcohol, which most of you have in the medicine cabinet. If you don’t, perhaps a shot of Everclear or cheap tequila will do the trick. If all else fails, nail polish remover. Don’t soak the cans for an extended time – they will quickly rust.
Next, run your finger along the mouth of the can for any sharp burrs, which aren’t as common as they used to be with today’s modern can-opening technology.
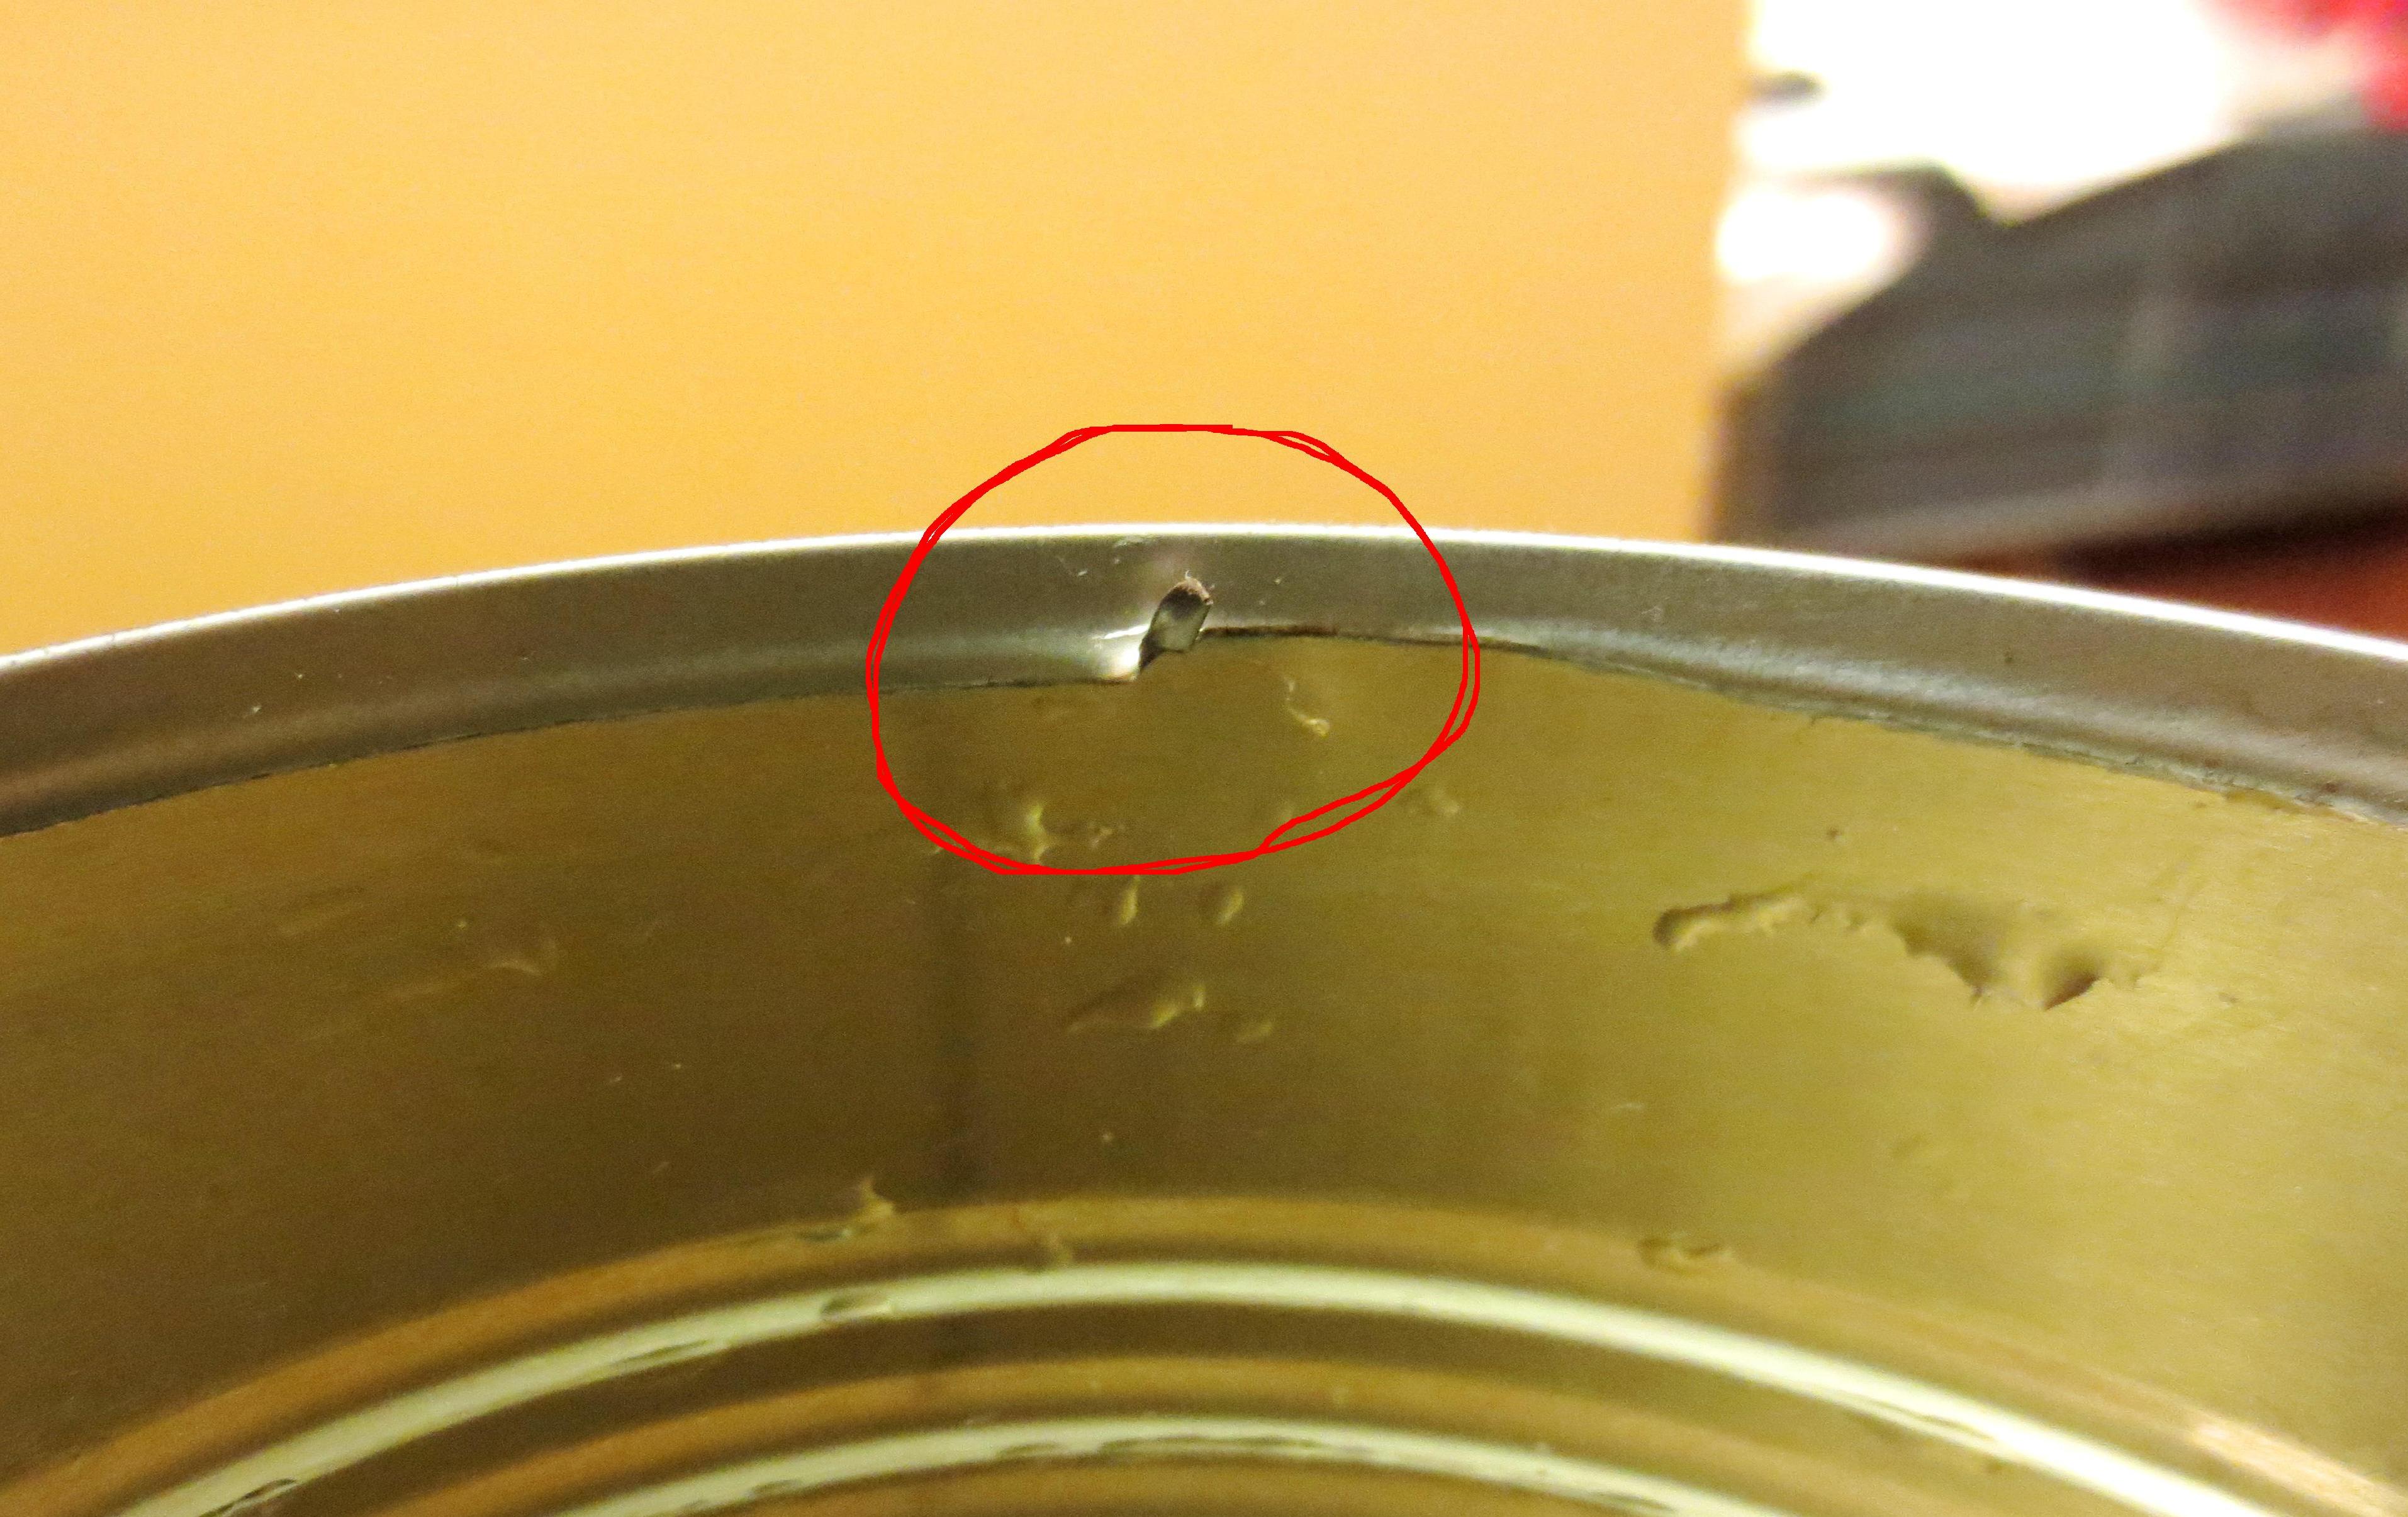 I found one burr out of four cans and used pliers to snip off the dangling edge, then smoothed out the rough spots with metal file.
 STEP THREE – POKE AND SCREW: Use the sharp end of a nail to pop little holes in the middle of your can bottoms. Yes, that sentence does sound silly. These are the pilot holes for the screws that will hold your cans to the board, so size accordingly
Line up your cans the way you want them on the board (bottom side down), and insert a long nail or needle into the hole you just poked so that you leave a little dimple in the wood. 
Mark your dimple with a white pencil or something like that, cause the dimple itself will be too hard to see. Drill a pilot hole in each of the four “dimples” you just marked.
 While you’ve got your screwdriver handy, drill a pilot hole on either end of your board where you will drill it into the wall. My wood just happened to have these lovely little “wings” at the ends, which were perfect for mounting:
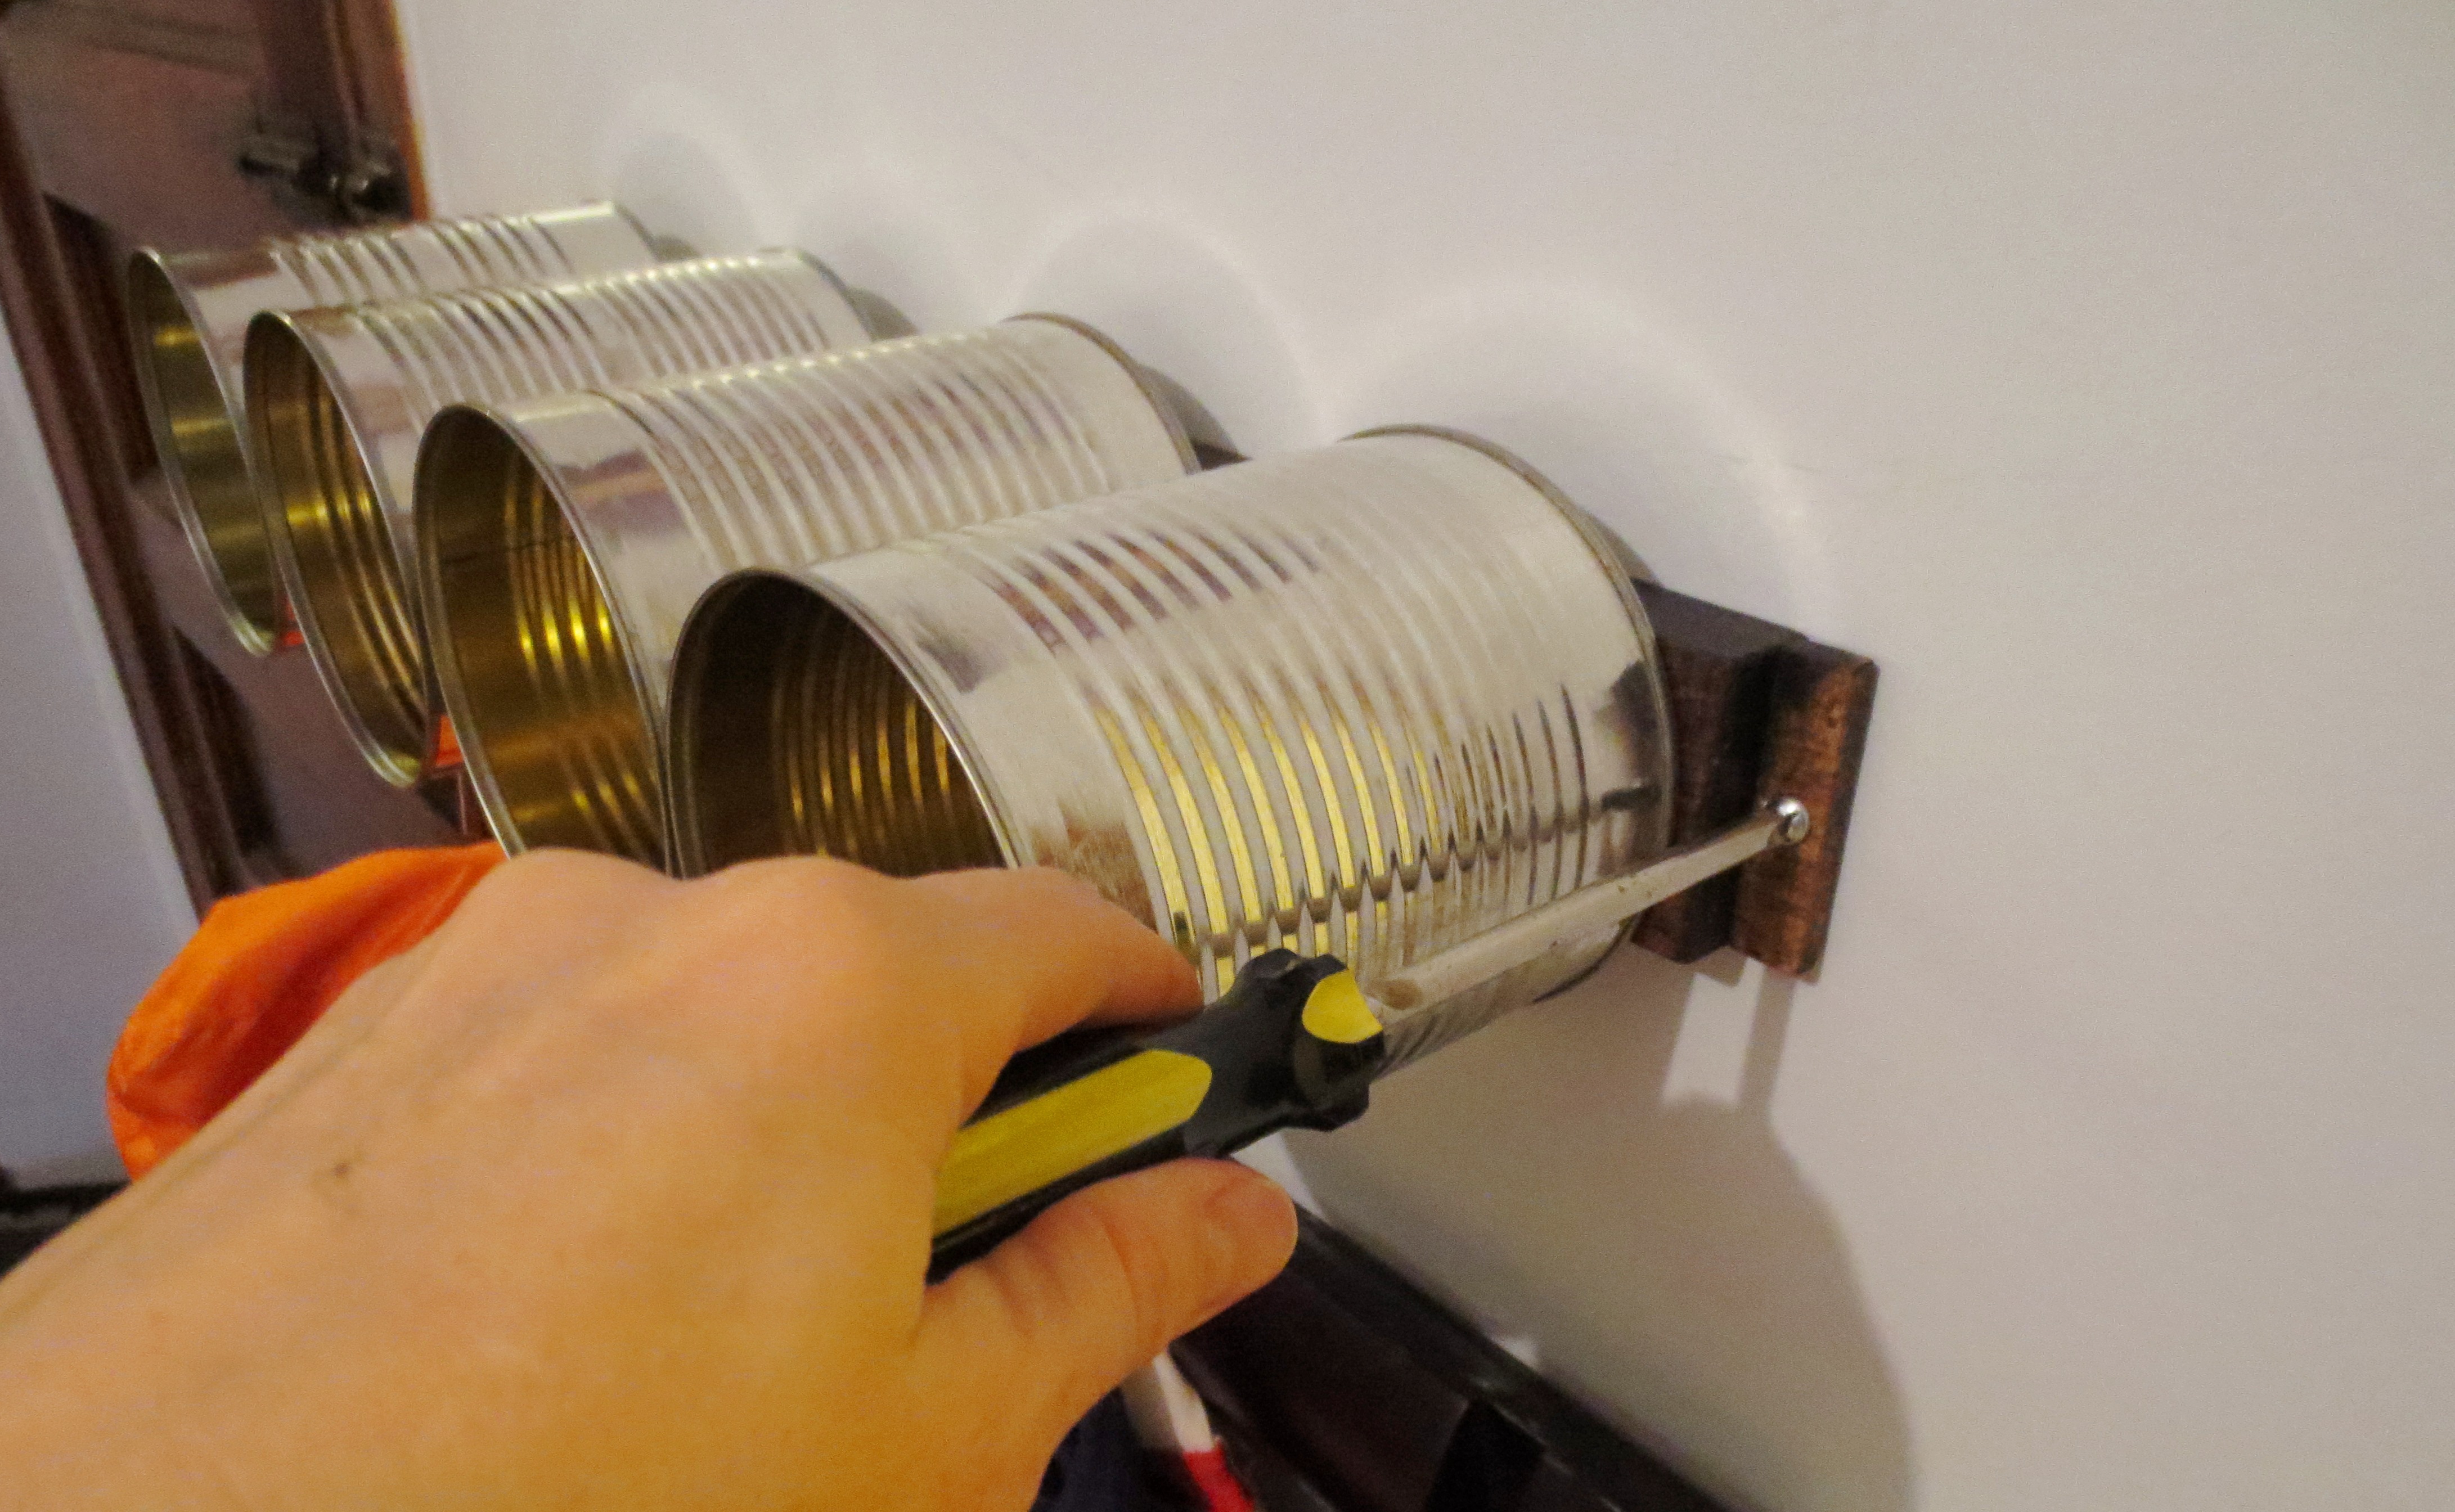
 Grab your first can and thread a screw through the pilot hole in the bottom. Locate the first hole on the board, and screw the can into it.
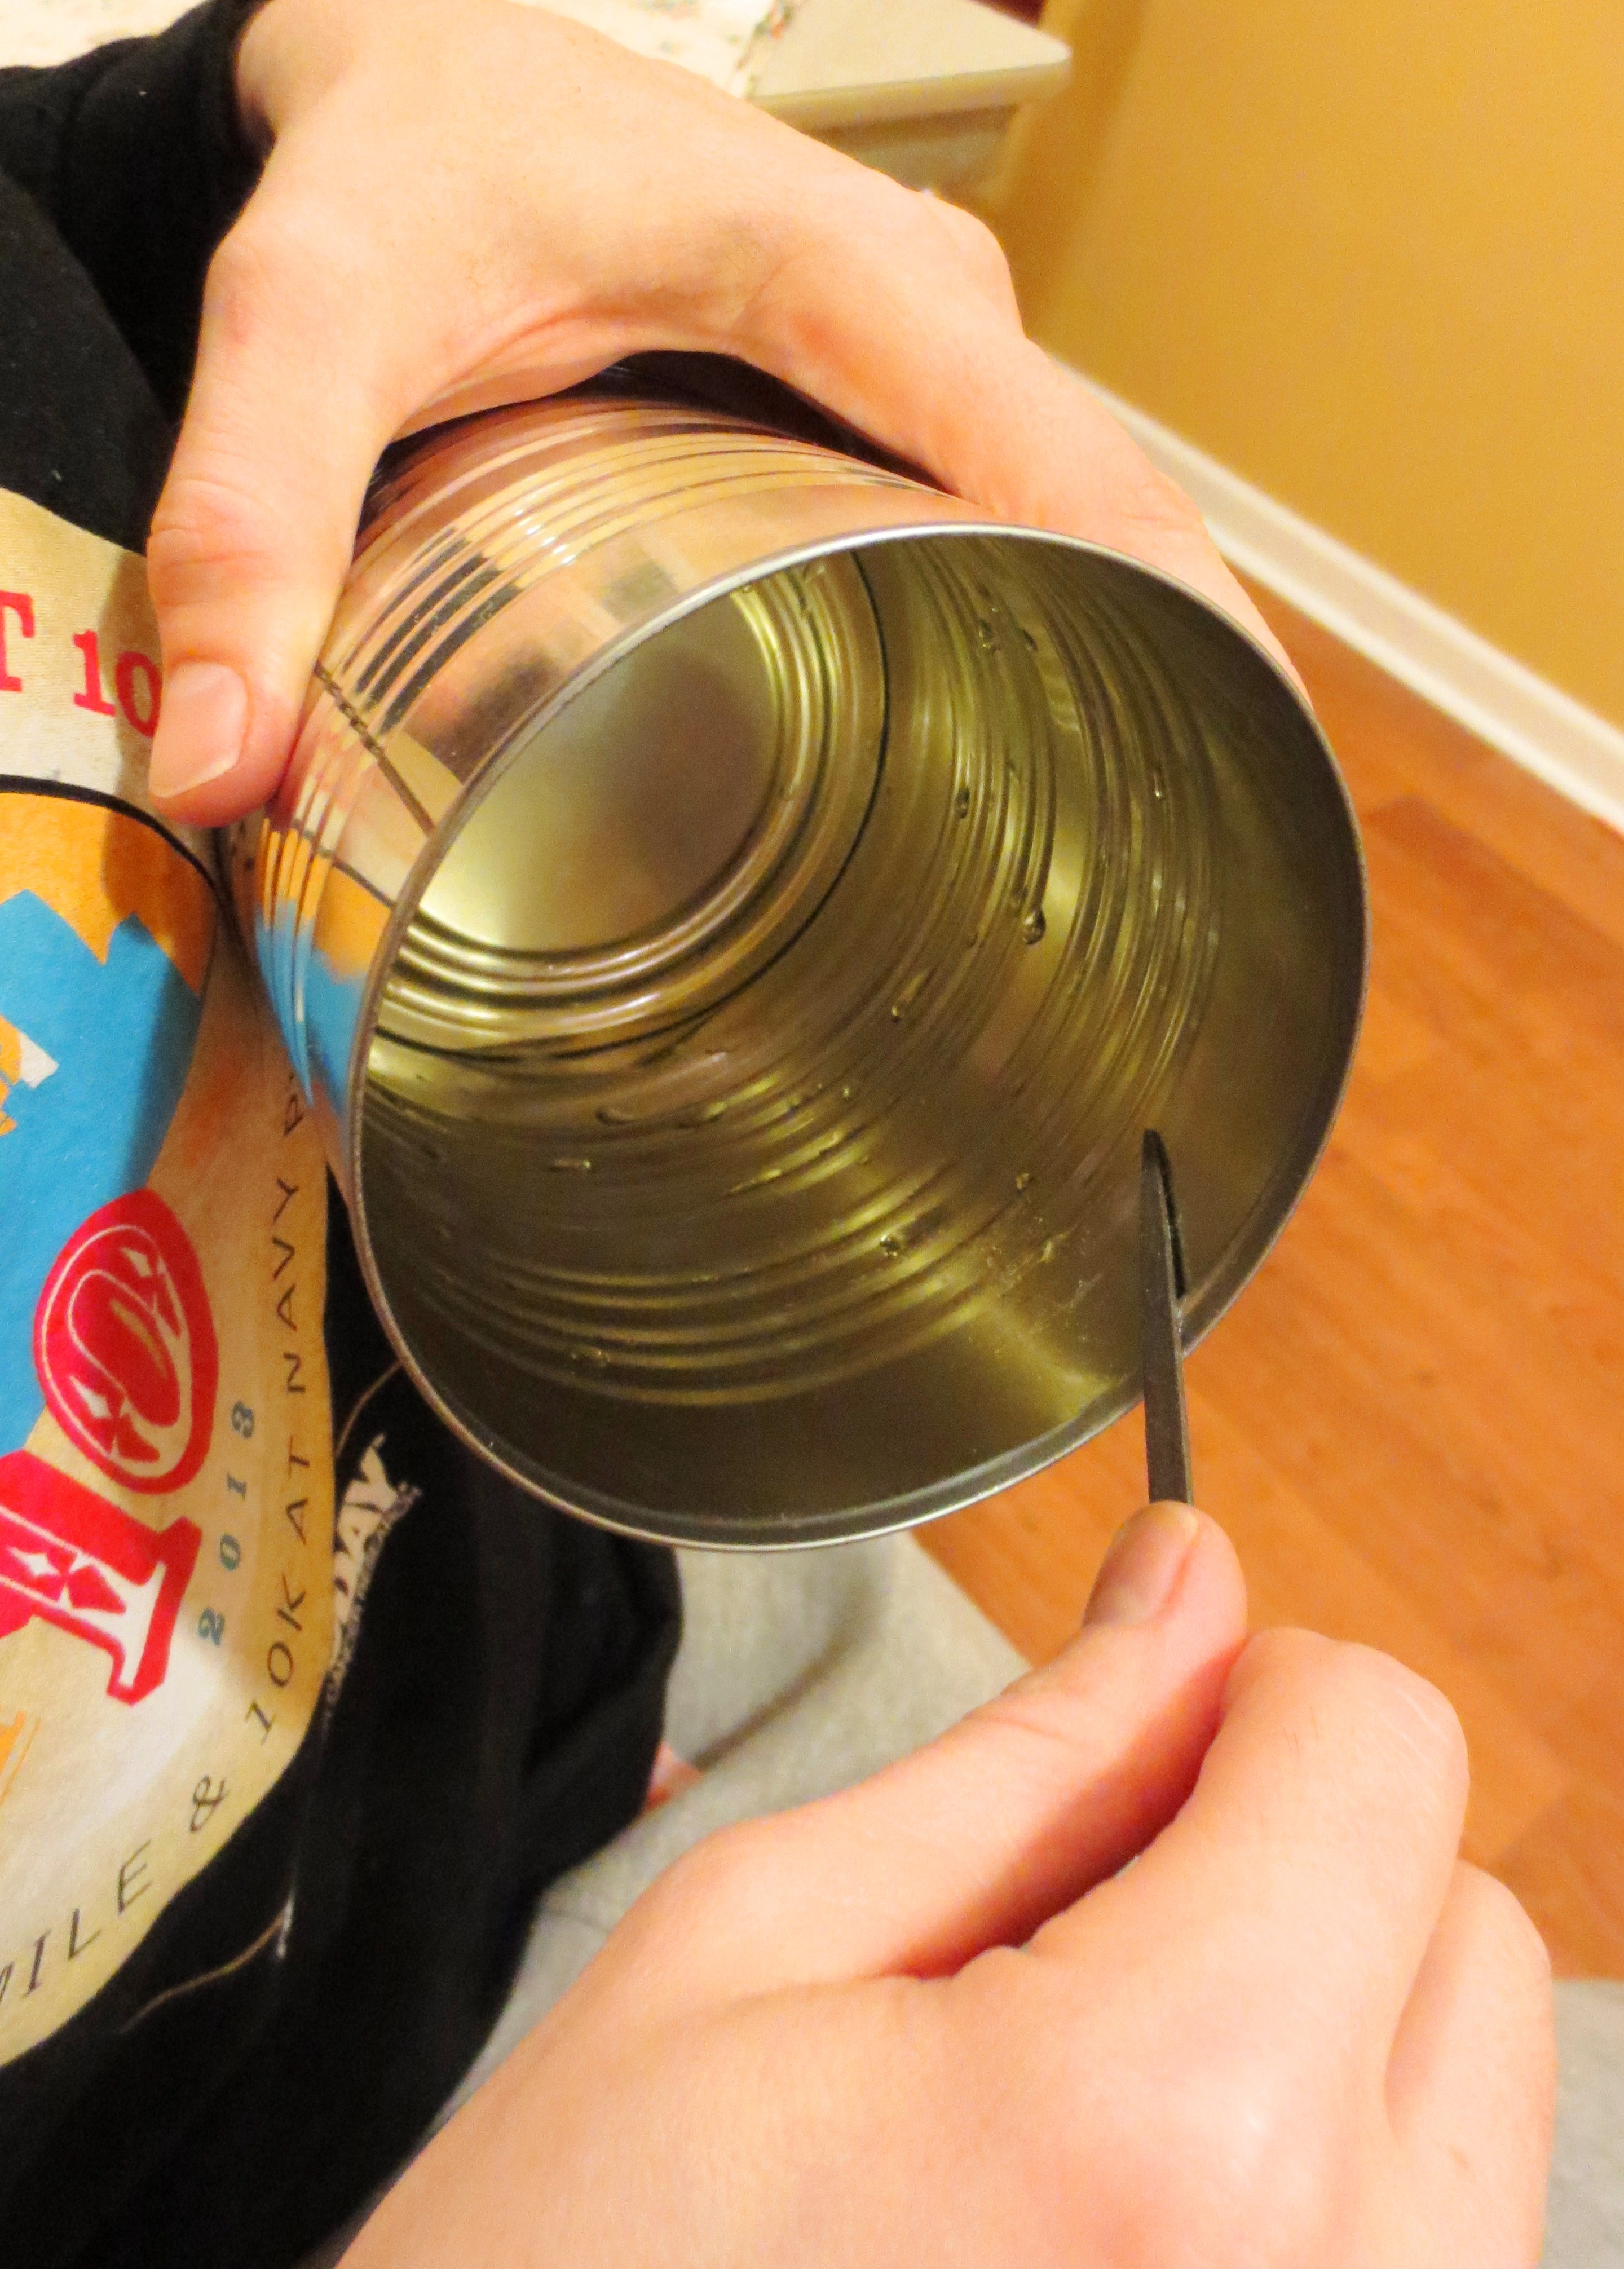
 Repeat four times. It’s really hard to get a picture of the inside of a can. Can you see that screw down there?
 PRO-TIP: Each can has a visible “seam,” or grey line where the robots finished welding it together. When you’re screwing cans into the board, turn your cans so that the seams are out of sight. Even though this project is made from trash, we like to keep it classy.
Pick a spot on the wall to screw your cans to. My sweet spot was just above the younger children’s coat rack: easy enough for everyone to reach, but not low enough for the little ones to hang from, or use as a climbing device.
 Welcome the winter with open, heavily bundled arms, as you fill your Storage Center with hats and gloves:


Another win for keeping things around “just in case.” Where’s our invite for chili dinner? And we need a “one week later” shot to see the system in action. Maybe I can do a spot check when I come over for chili 🙂 Though, given all the waffles, it is our turn to host and reveal our ongoing battles with winter coats, shoes, and other bits.
LikeLike
Would also work for dog leads, car keys and other ‘by the door’ accessories… Very classy!
LikeLike
Kate, we really need another “landing pad” for all those other things. I tried to avoid drilling since we’re in a rental, but would love to install a shelf above the cans for more adult items like keys, phone, wallet, etc. Right now I drop a lot of stuff on the nearby radiator, but am paranoid that my cell phone is going to melt.
LikeLike
Now you’ve got the can storage, could you make another multi-level unit that stacks/rests on top of the existing one without drilling, more cans, so you’ve got a kind of honeycomb of storage pods? I’m groping for pencil and paper here… And now I’ll butt out and stop interfering!
LikeLike
I think that’s a great idea, Kate! If I saved my cans for the next couple of months (especially here in the Northern Hemisphere where the fresh produce is fading), I can do a multi-level can storage condo. Which I think would look pretty cool. I could save a dozen cans and screw them to a bigger board for a honeycomb look. Hmmm.. it could take over the whole wall eventually.
LikeLike
I like a woman who thinks big! 🙂
LikeLike
Fantastic idea and I’m pretty sure I have all the required parts here at home already. Kudos!
LikeLike
Dot com 🙂
LikeLike
Pingback: Upcycled Hat-and-Glove Storage Center | stowed
Pingback: Apartment Ideas | yeg-apartment-ideas
Hi Clare,
I’m the editorial assistant for HouseLogic.com, a site published by the National Association of Realtors covering homeownership-related topics.
Would you be interested in letting us feature a photo of your awesome upcycled storage center in a slideshow of smart winter storage ideas? Email me at libby@houselogic.com for the details. Thanks!
Libby Walker
LikeLike
Pingback: 8 Practically Free Ways to DIY Your Old Stuff Into New Storage
Pingback: Winter Storage Solutions and Organization Ideas that make life easy - Craftionary
Pingback: 8 Ways to Use Old Stuff to Create Smart Storage
Pingback: 10 Valuable Winter Storage Ideas You Need On Chilly Days
Pingback: 17 Interesting DIY Tin Can Uses For The Whole Family - The Moms Buzz
Pingback: Winter Storage Solutions and Organization Ideas that make life easy
Pingback: 17 Interesting DIY Tin Can Uses For The Whole Family - Savvy Housekeeping
Pingback: 9 Best Glove Storage Ideas ⋆ Bright Stuffs – Diy Royalty