
I’ll admit: I’m not afraid of strangers kidnapping my children. I’m not terribly worried about them getting hit by lightning, or falling off the swings at the playground, or eating the wrong kind of dirt. I’m a pretty rational about my fears.
Which is why I am absolutely terrified of cars, making our daily walk/ bike ride to school feel like a game of Frogger.  Needless to say, I take my neighborhood Crossing Guards very seriously.
We encounter two crossing guards on the way to my daughter’s school. The first one, whom we’ll call “Wilma” (not her real name), is stationed at the intersection of a very busy four-lane road, with no stop sign at our crossing point. We normally find Wilma slouching in her car, staring at her phone, her hand-held STOP sign laying impotently on the ground as four lanes of traffic whiz past.
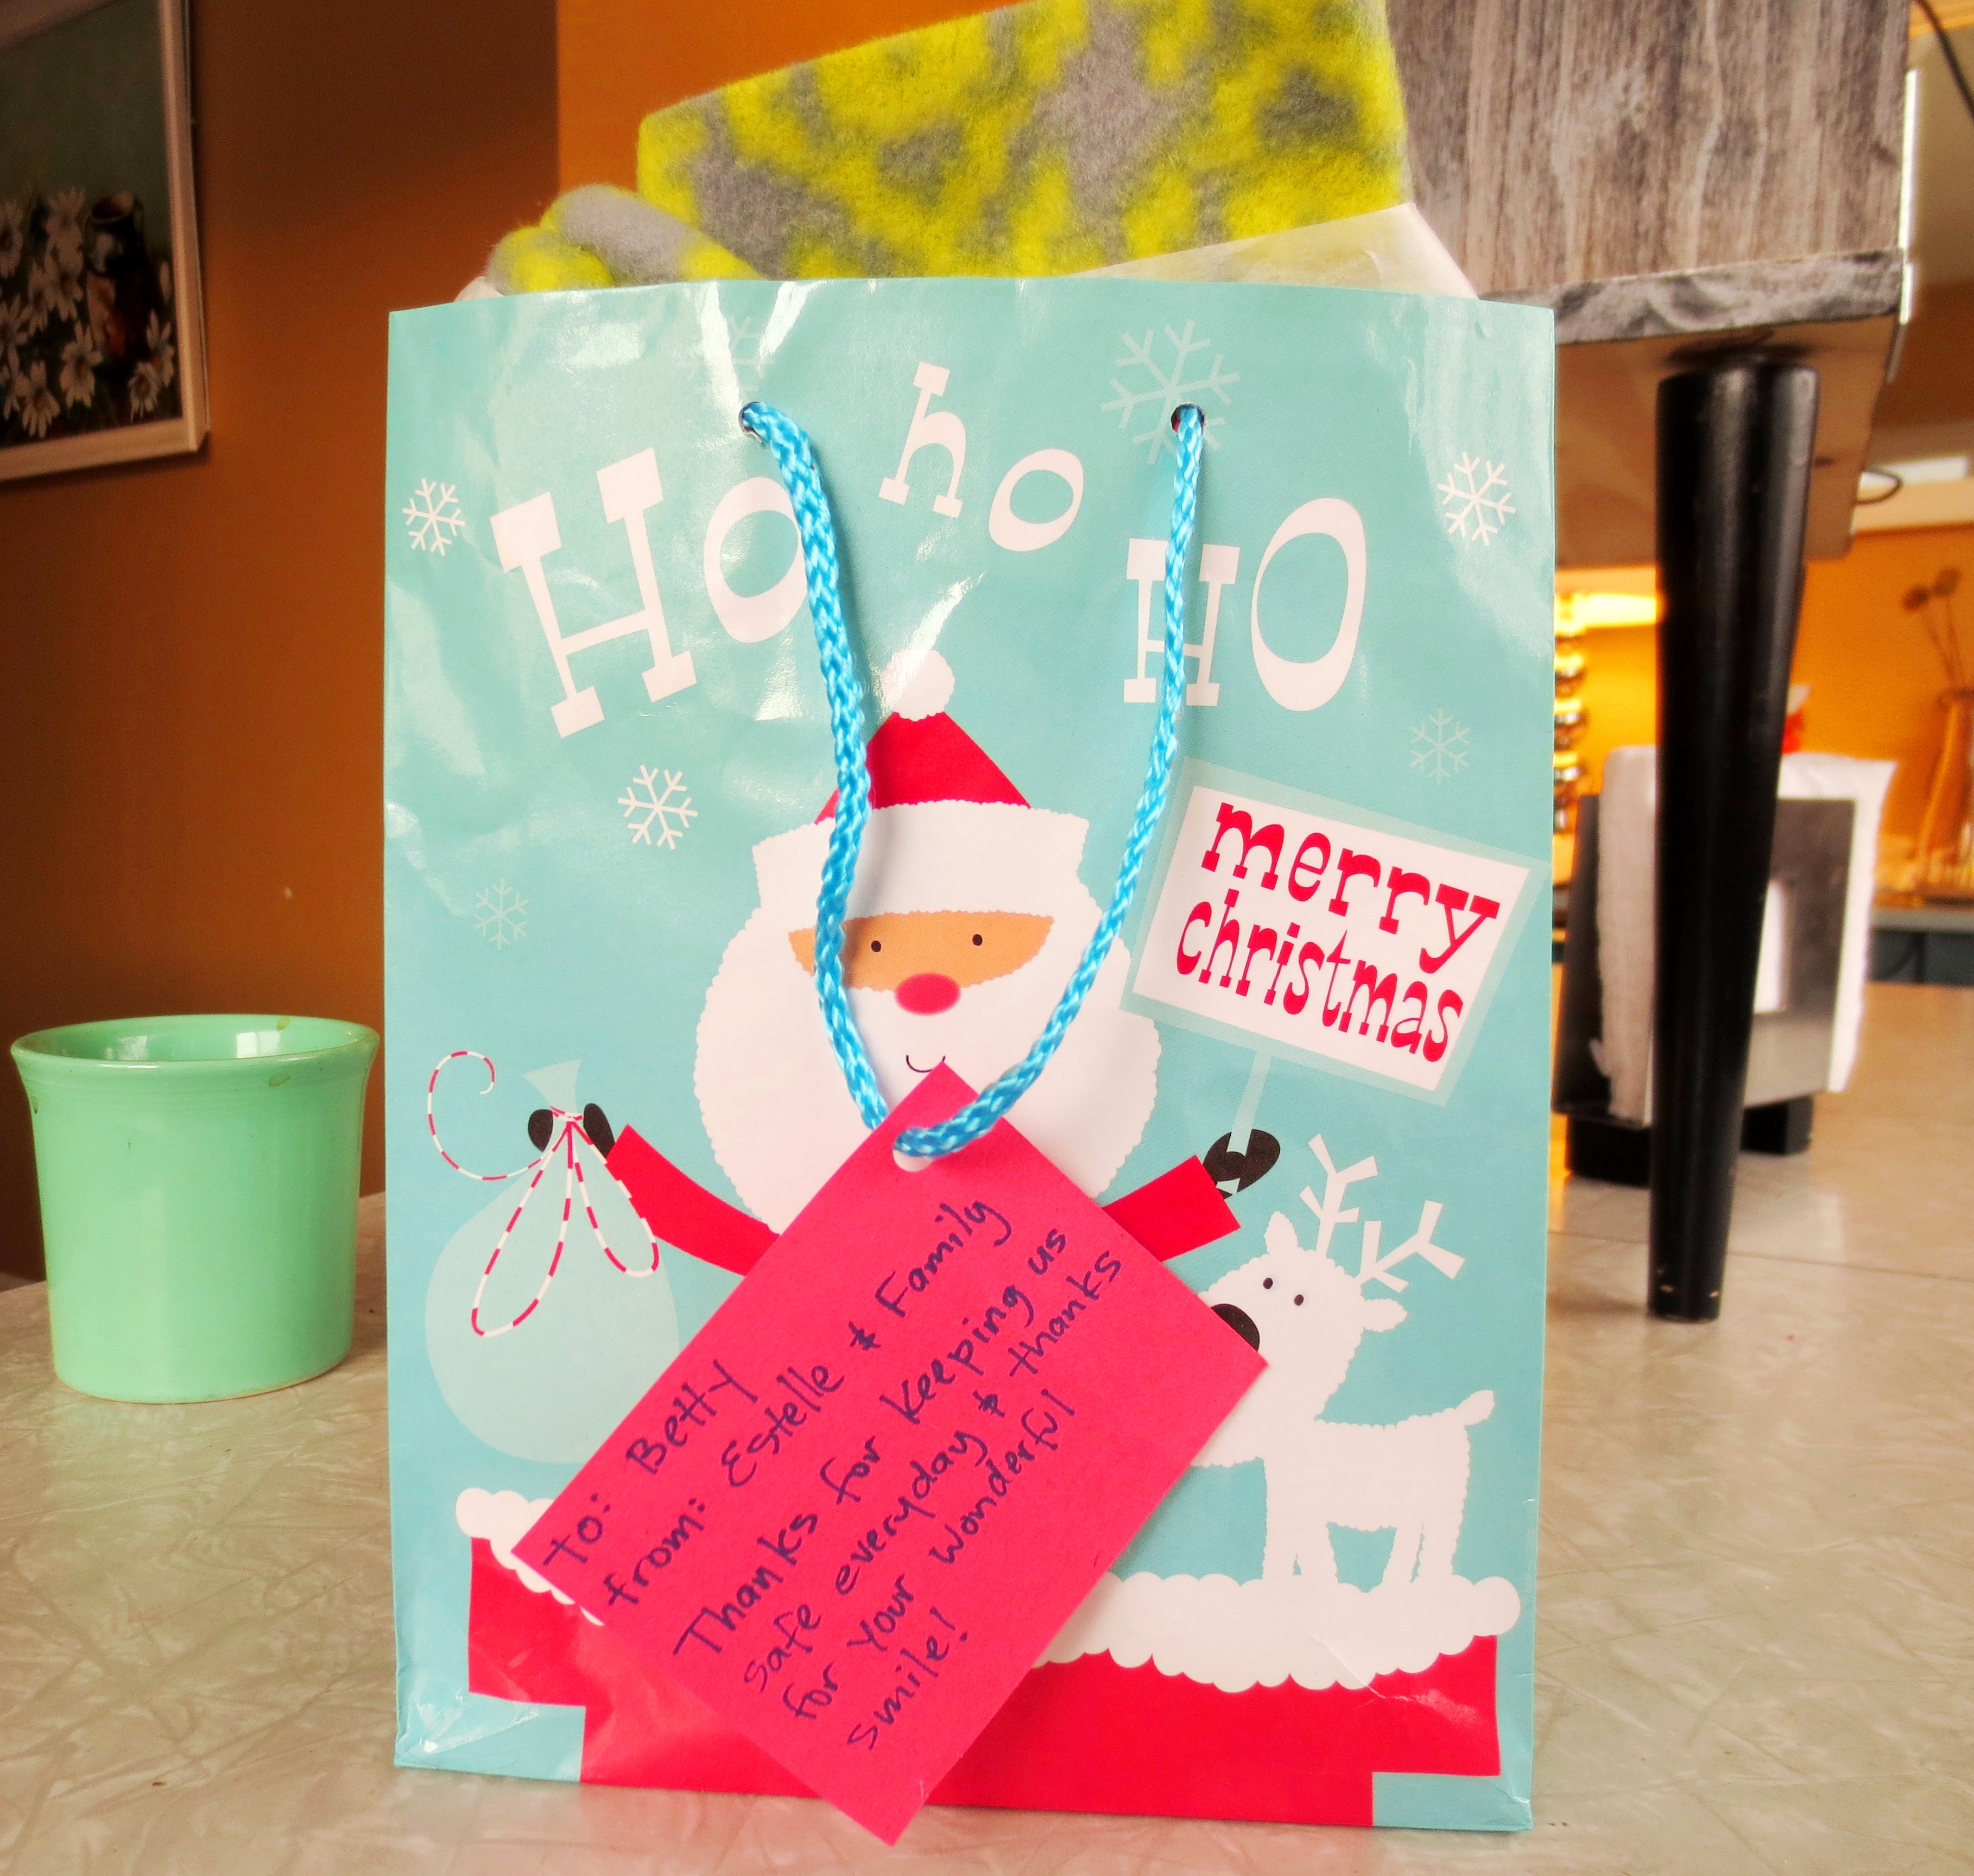
Three blocks later we are relieved to find Betty (her real name). Betty isn’t just a Crossing Guard, she’s a Traffic Conductor, a maestro of the intersection. She’s like Moses, parting the traffic with a graceful wave of her arm. “Good MOOORN-ing!” she shouts from across the street to Estelle and me, “Have a great day!” Swoon.
Betty deserves something special this year — something useful, unique and maybe a bit a beautiful. Something homemade.
 Experts agree: You can actually enjoy the winters of the upper Midwest by wearing a BALACLAVA. Balaclavas are like ski masks with one single hole for the eyes and nose — a serious game-changer for those who spend more than a few minutes at a time outside. Happily, they are as easy to make as they are fun to wear. I think Betty would love one.
DIY CROSSING GUARD BALACLAVA:
INGREDIENTS:
Fleece in a festive pattern
Marker
Scissors
Sewing Machine OR Thread-and-Needle
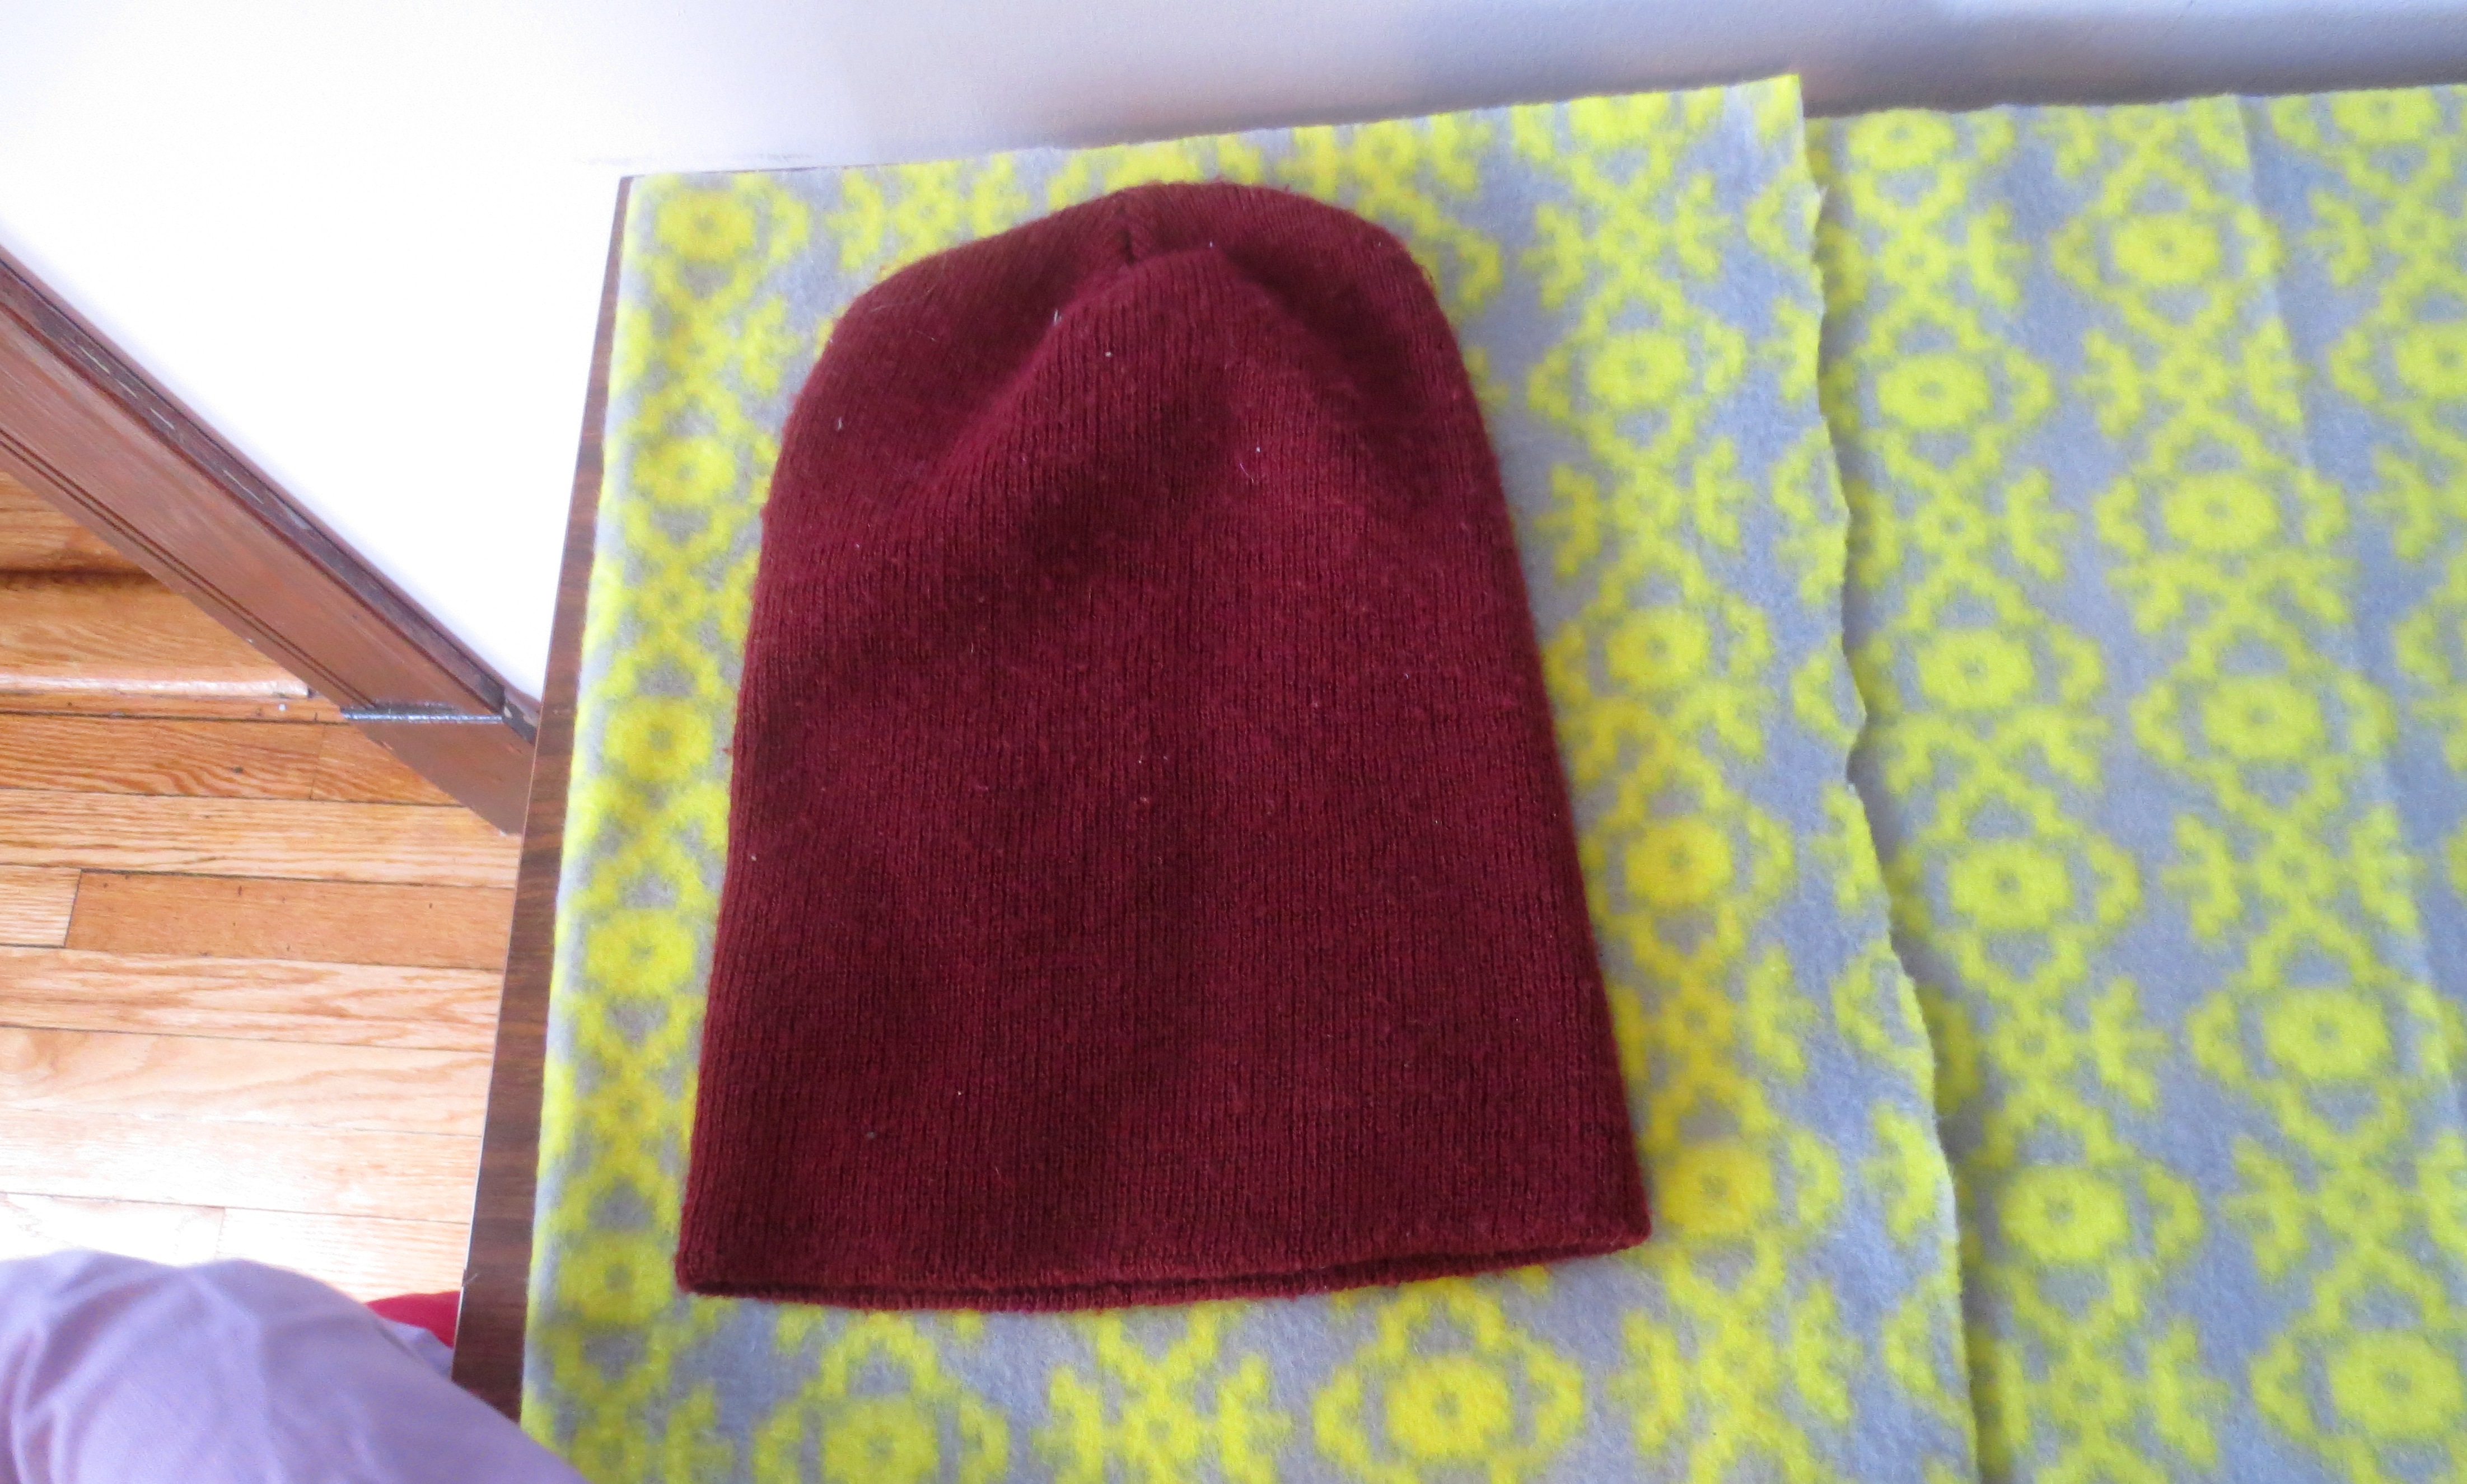
(Optional) Old Hat for reference
STEP ONE – CUT: At the fabric store, pick a fleece pattern that reflects the style – real or perceived – of your crossing guard. I thought this fabric would really complement the electric yellow and reflective silver of Betty’s safety vest.
 Lay the fabric flat and then fold in half. Place your favorite knit hat over the fabric, about an inch in from the fold.
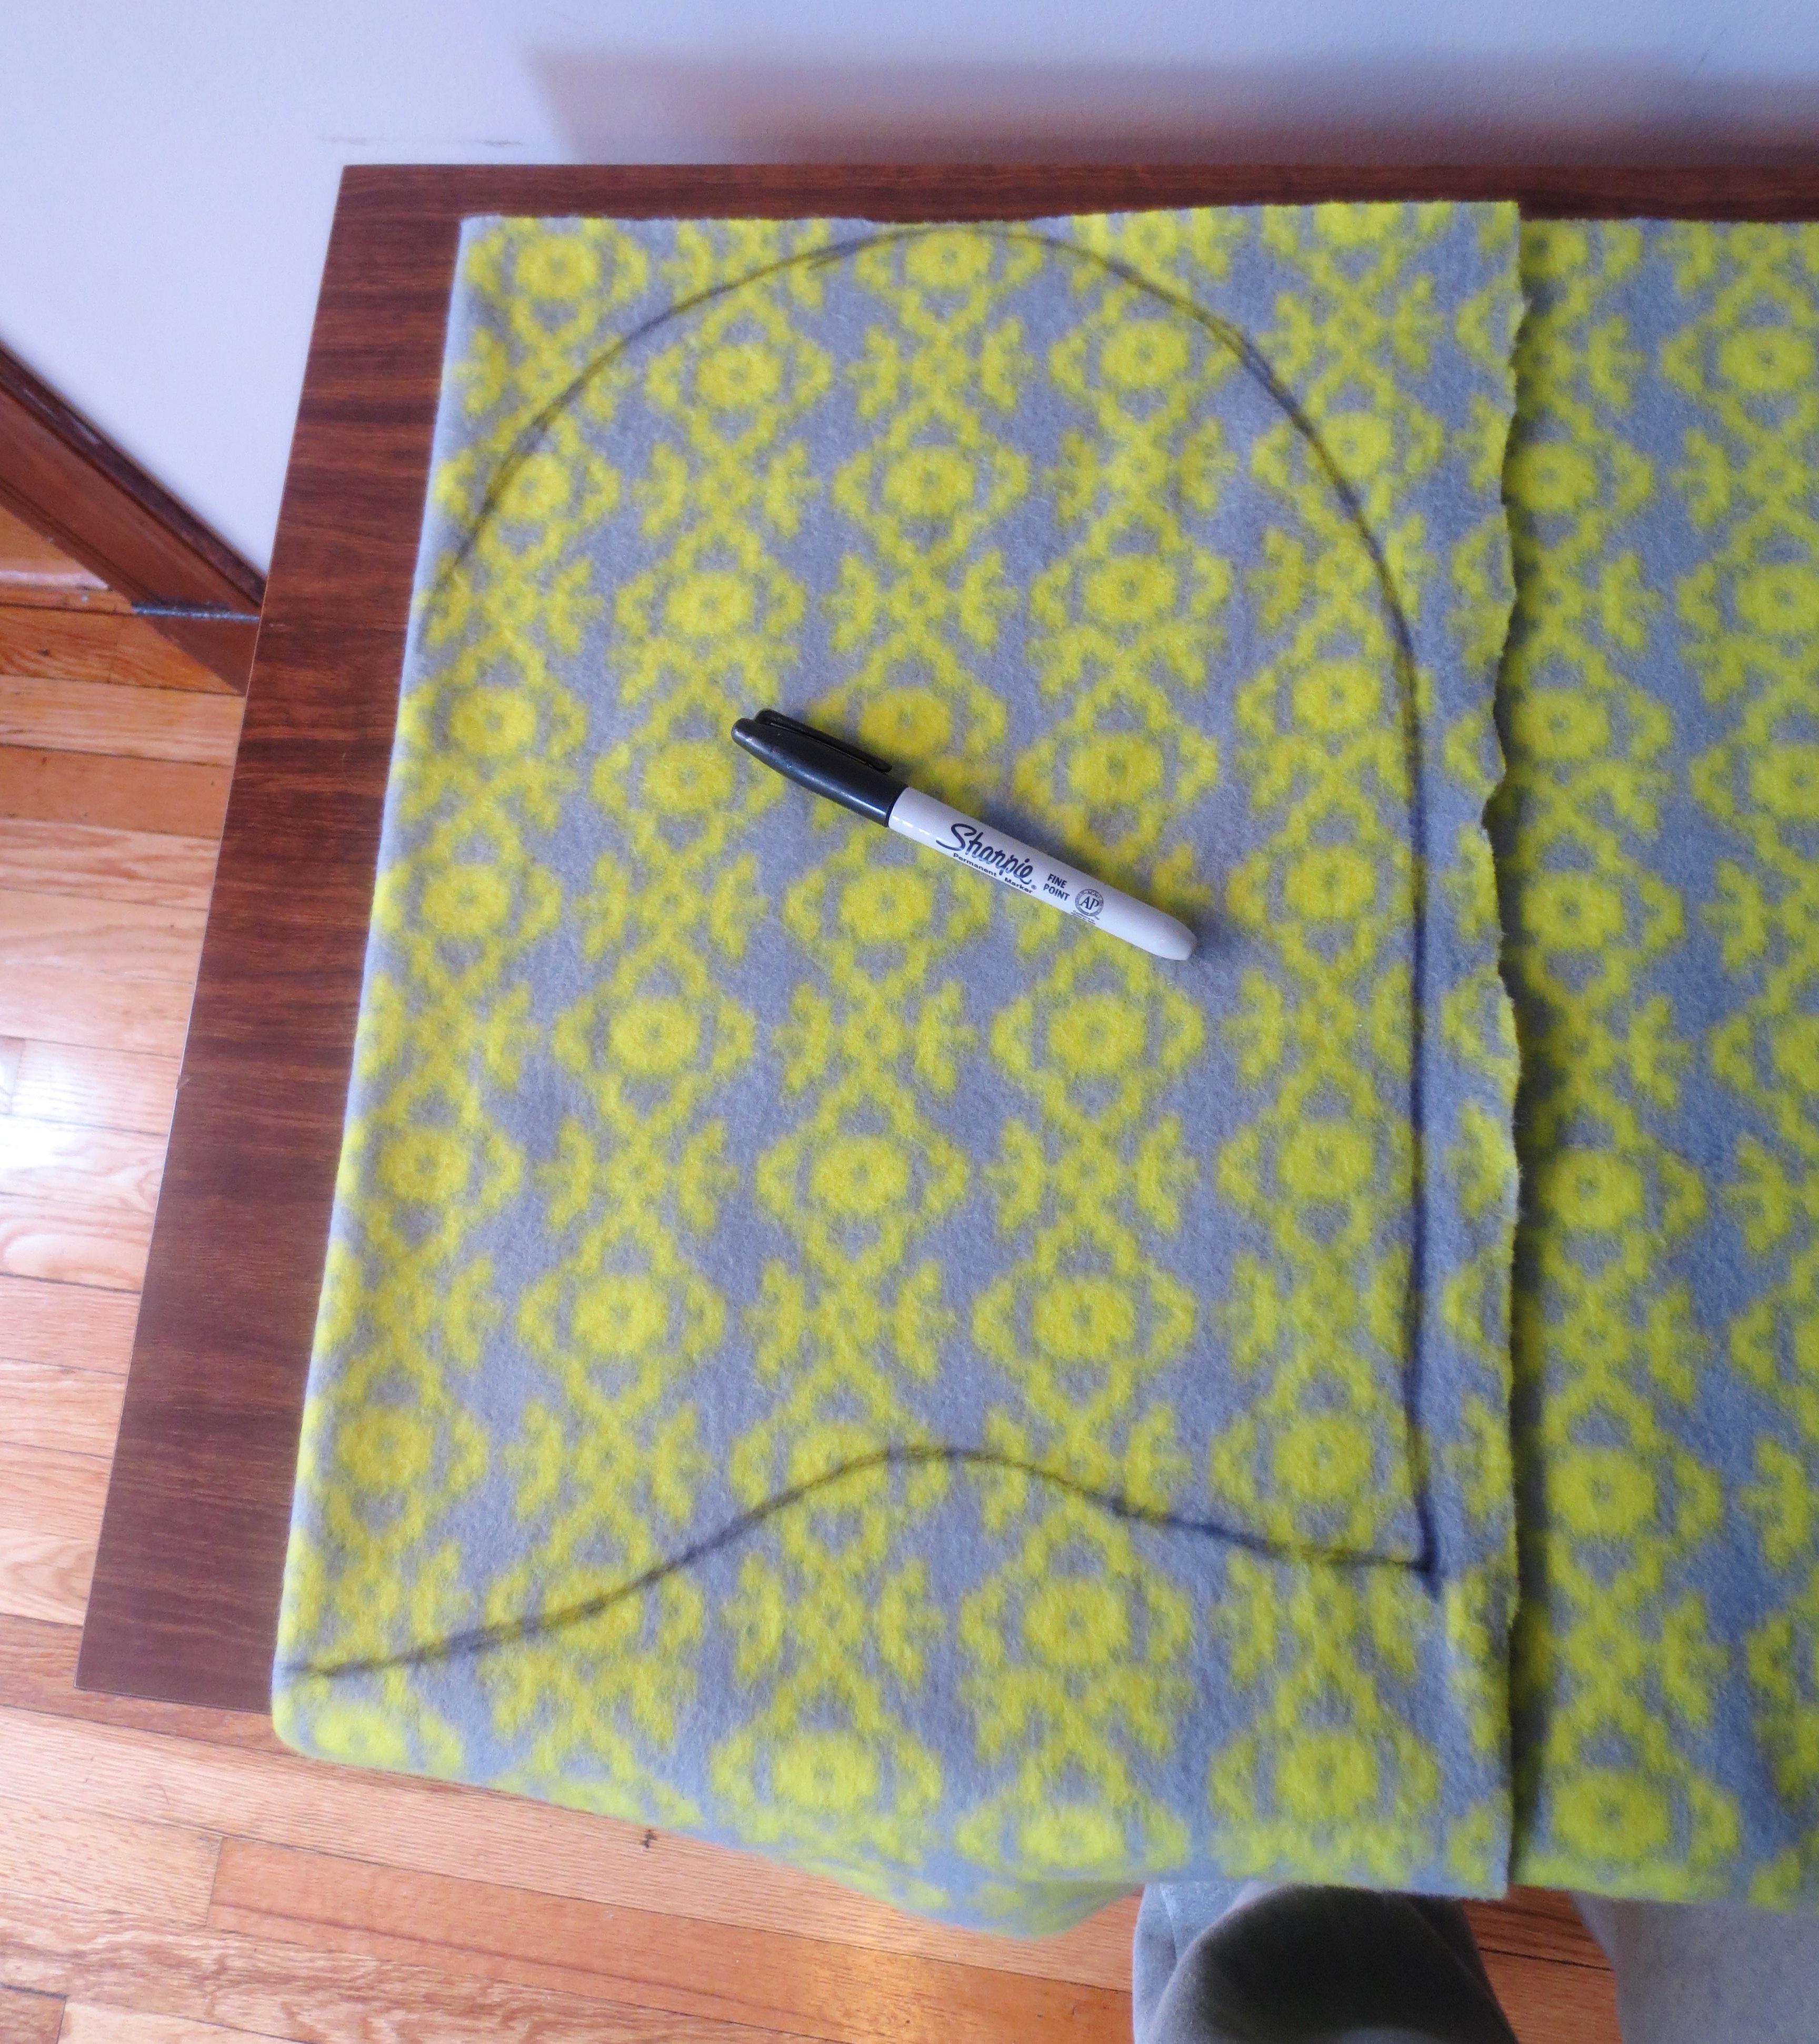
 Now draw a line around the hat, with an extra inch on all sides. My pattern was about 11 inches wide and 16 inches long. Make sure that one of the outside edges corresponds with the fold — it will save you a bit of sewing in the next step.
 With the fabric still folded, cut out your shape, leaving the fold intact. When opened, your fabric should now look somewhat like the Ten Commandments (again with the Moses metaphor!):
 STEP TWO – SEW: Fold the fabric back again, and with a sewing machine or thread-and-needle, sew shut all the open edges where you had just cut (except for the bottom, dummy! That’s how you get your head into this thing.)
 Sew the seam as close to the edge as possible. If you leave too much space between the seam and the edge of the fabric, it will produce an unsightly bulge along the middle of the finished balaclava. This could give your hat-wearer the appearance of a cone head, and cause uncomfortable bulk if worn under a bike helmet or basket of fruit.
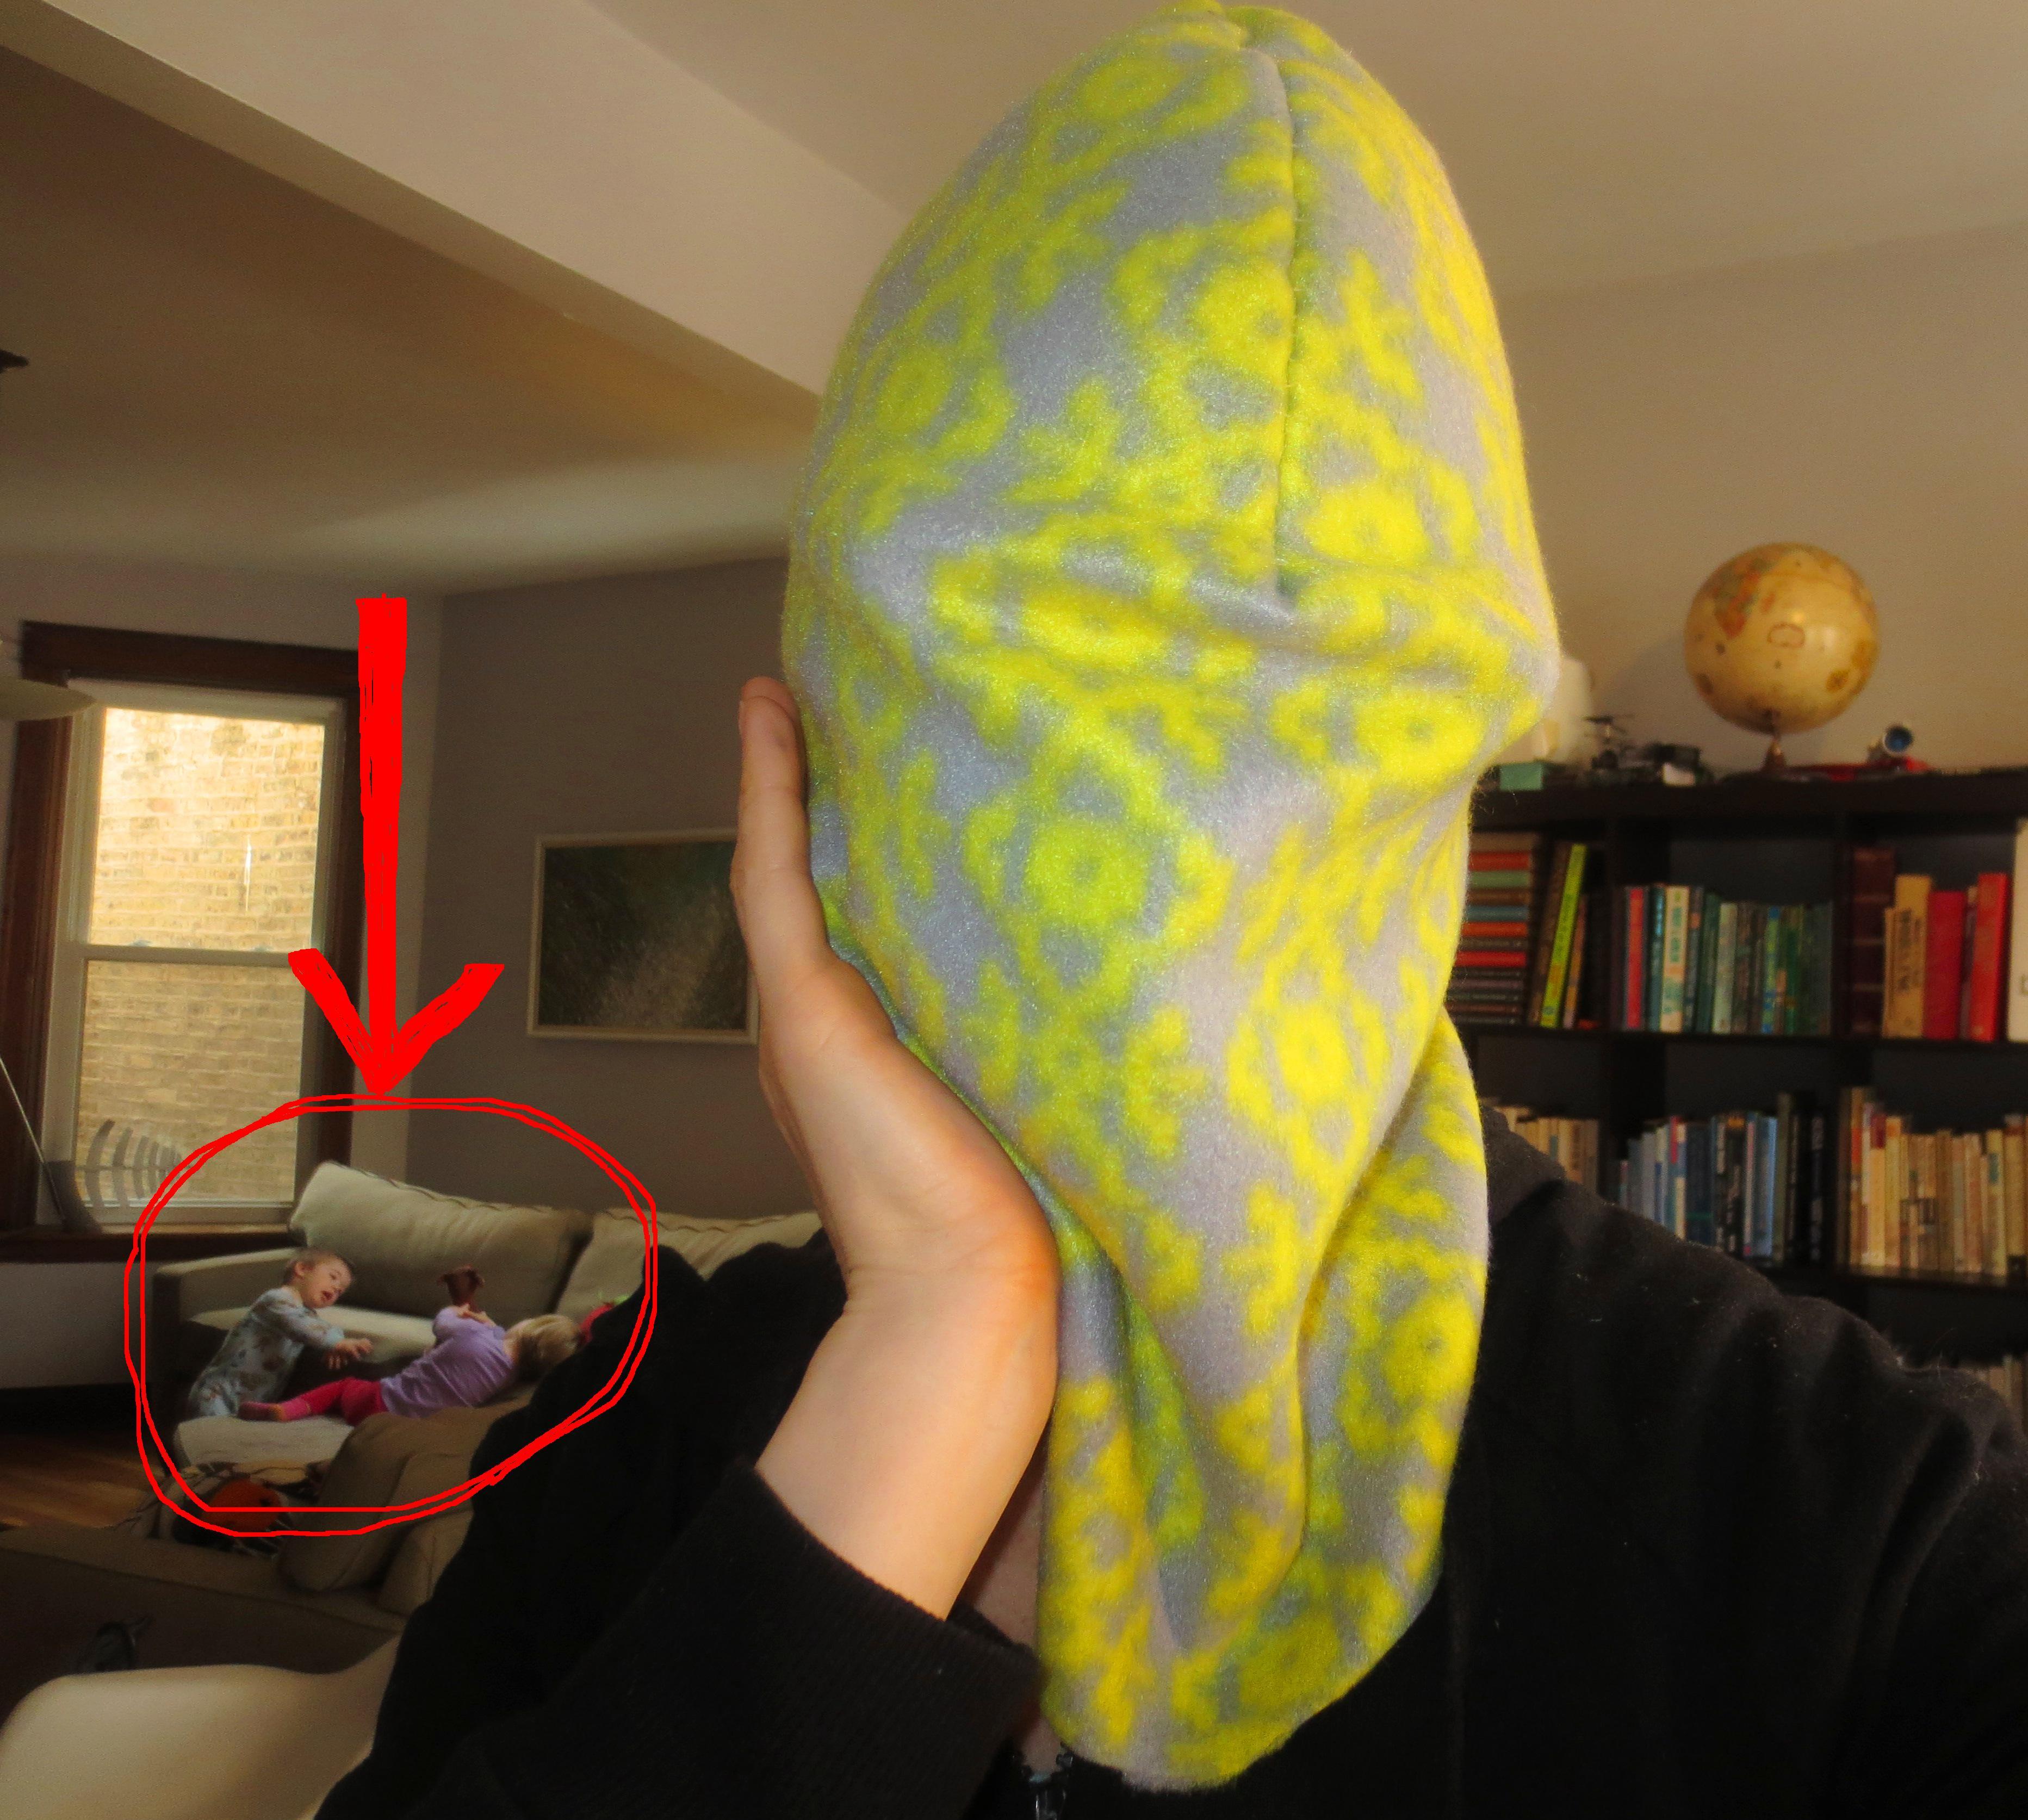
PRO-TIP!! Stop here to get a sense of your balaclava’s fit and the placement of the Face Hole. Turn the hat outside-in, and put it on your head, with the stitched side on the back and the folded side on the front. Come on now, let’s just see how it feels. Have a little fun with it. And just ignore those small children wrestling in the next room.
 However, if you really want to freak out those naughty children, chase them around the house looking like this:
 They will immediately forget what they were fighting about in the first place.
STEP THREE – CUT THE FACE HOLE: When you’re done screwing around, take a moment to mark the areas around your eyes and nose where you want to make your Face Hole. You COULD use pins, but a few dots with a marker will work just as well. Remove the hat, turn it back inside out, and lay flat again. Draw a line to show where you will cut your hole. Err on the small side — you can always cut more later.
 It’s OK to cut into the seam, just make sure to knot any loose threads after doing so.
Turn your finished balaclava right-side in and try it on again to make sure you can see and breath through your Face Hole.
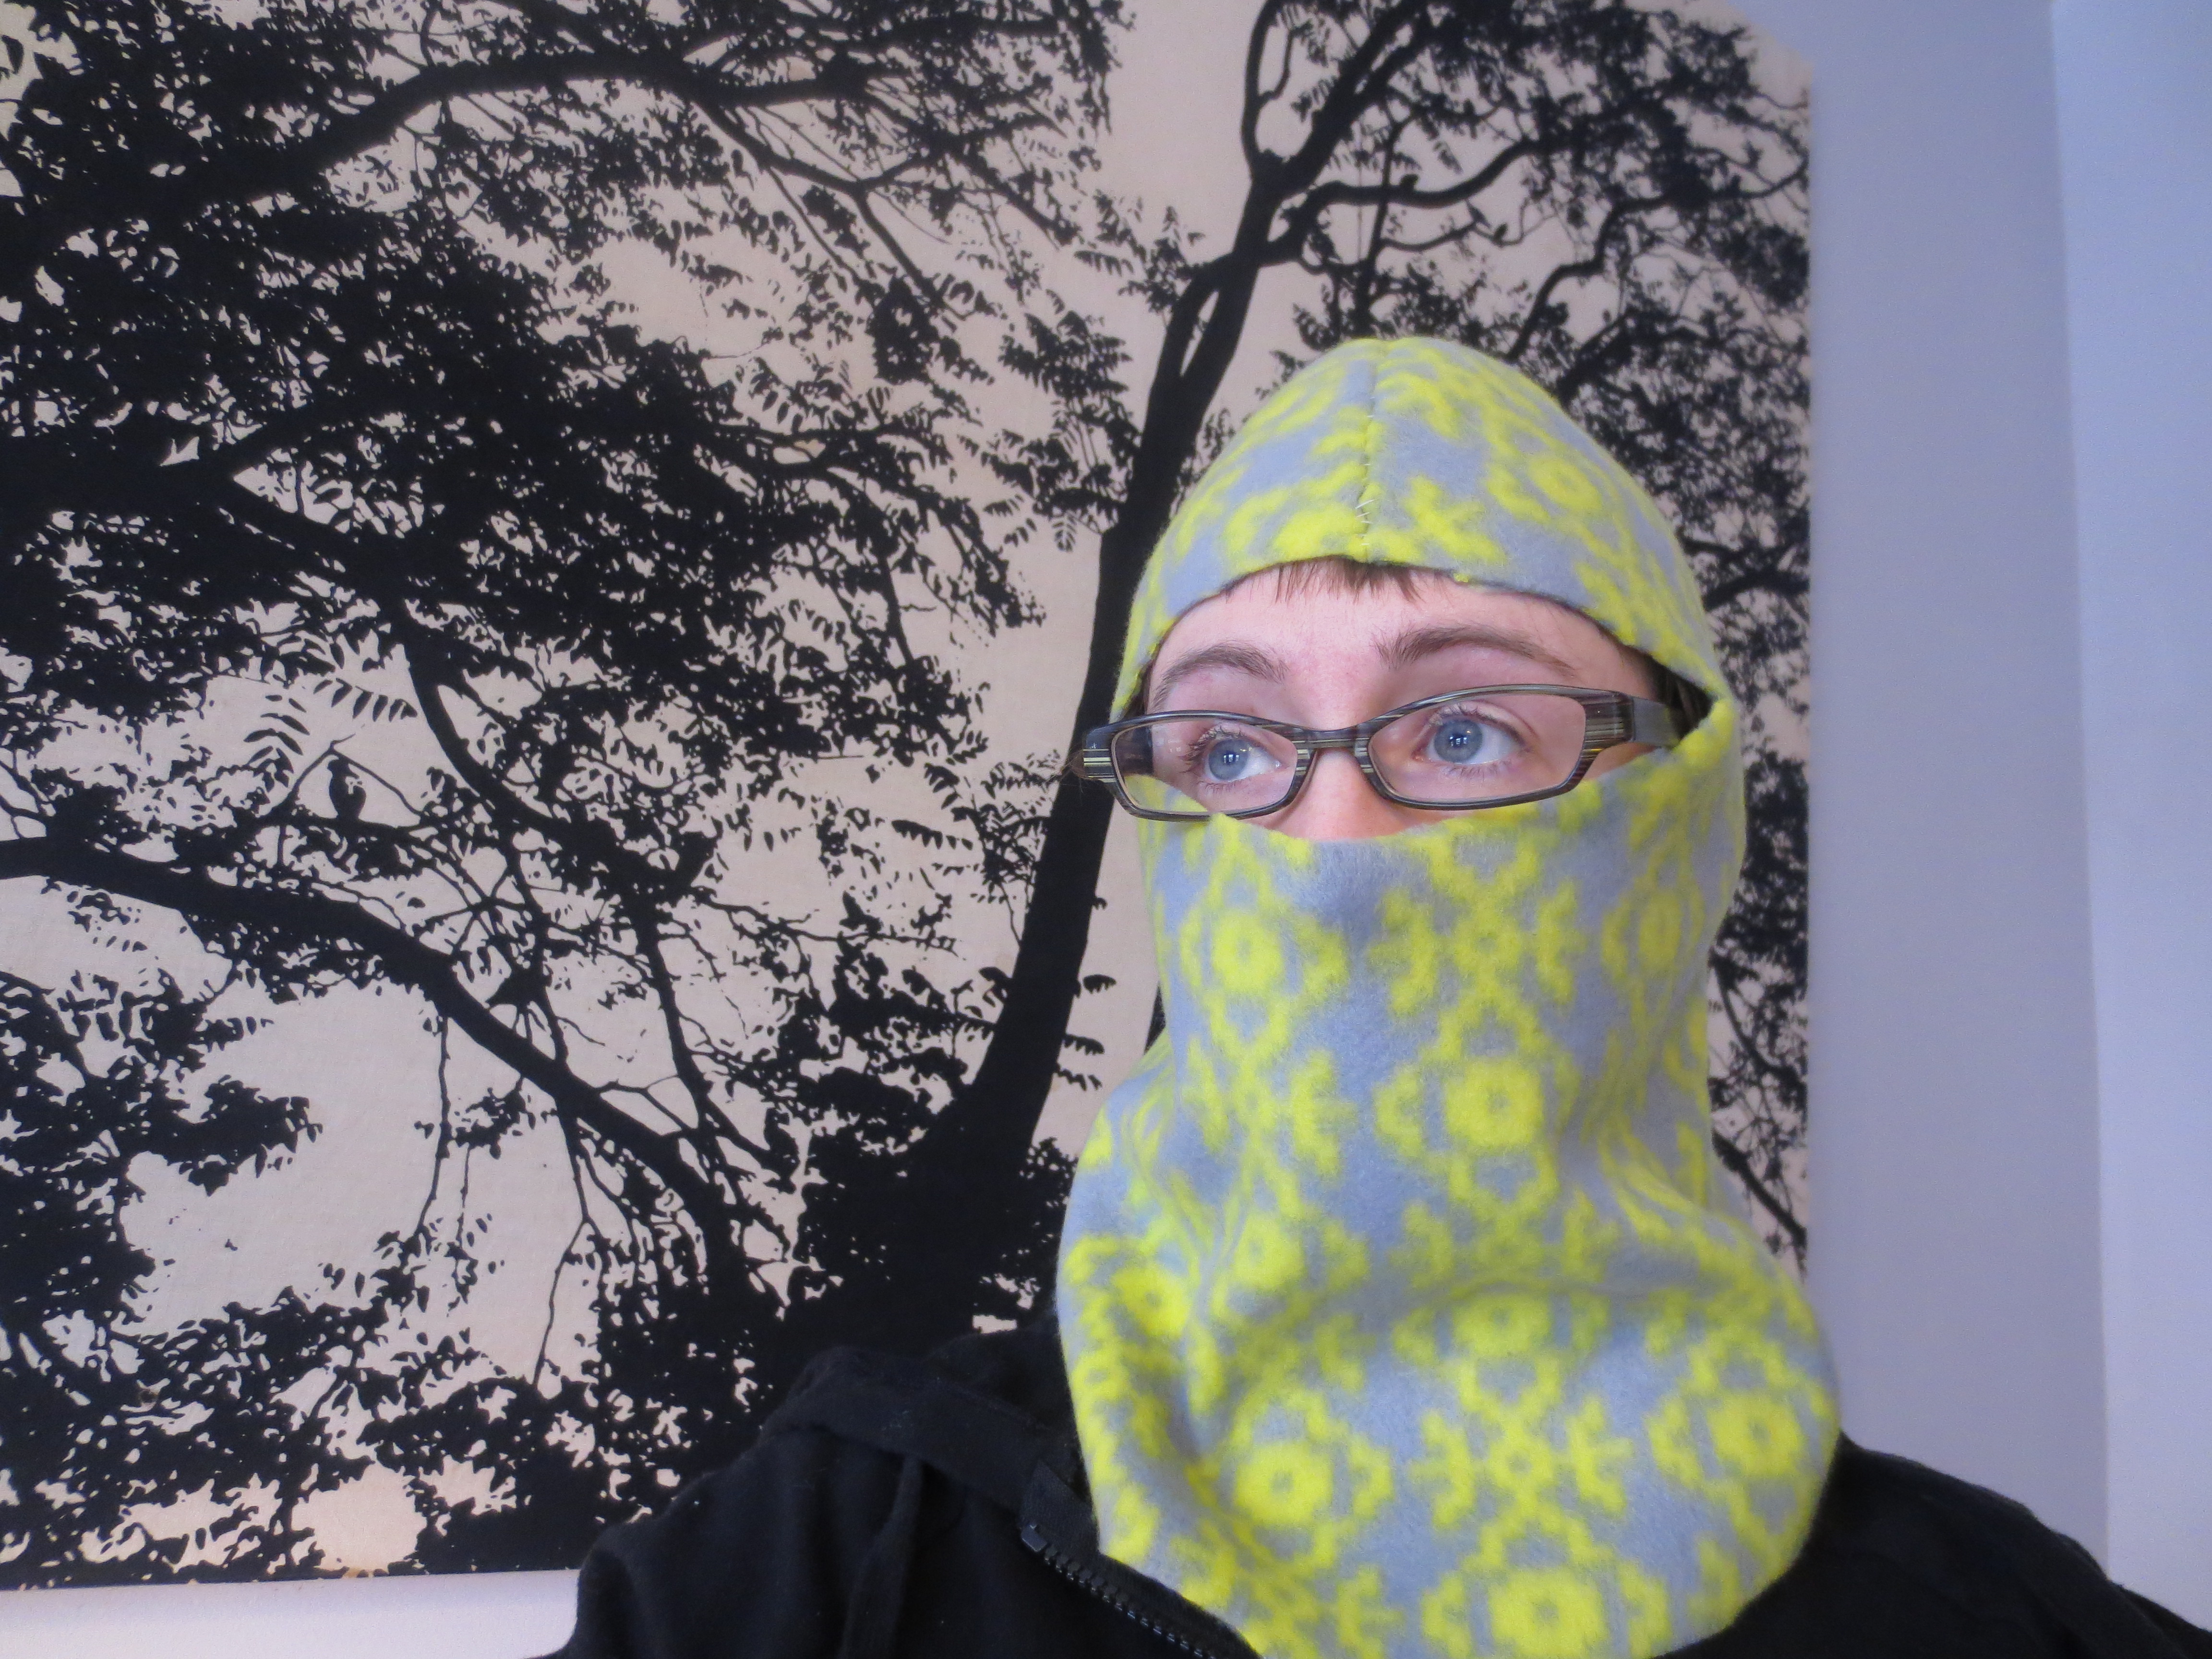 The balaclava — in its relaxed state — should cover your nose and mouth, but the Face Hole should also be big enough to pull over your chin. Take a quick selfie in front of your giant Marimekko print before you wrap the balaclava up for gift-giving.
 Merry Christmas to Betty and to all our traffic safety heroes. May the wind of Chicago winter never sting your ears!

Fantastic gift for those in (or traveling through) cold climates.
LikeLike
You are a style goddess… It’s a thoughtful gift, and you made me laugh till I cried, always a good way to start the day!
LikeLike