Like most families, our refrigerator is not simply an appliance for storing food or growing bacteria. It is a bulletin board, list keeper, filing system, and a scrap book. But most importantly, our refrigerator is an art gallery.
The volume of art that young schoolchildren drag home is simply staggering – some experts* estimate that the average 4-year-old produces the equivalent of her own body weight in illegible art work in a single week. We are drowning in paper-plate dinosaurs, and now that the baby is big enough to hold a crayon, I knew something had to be done.
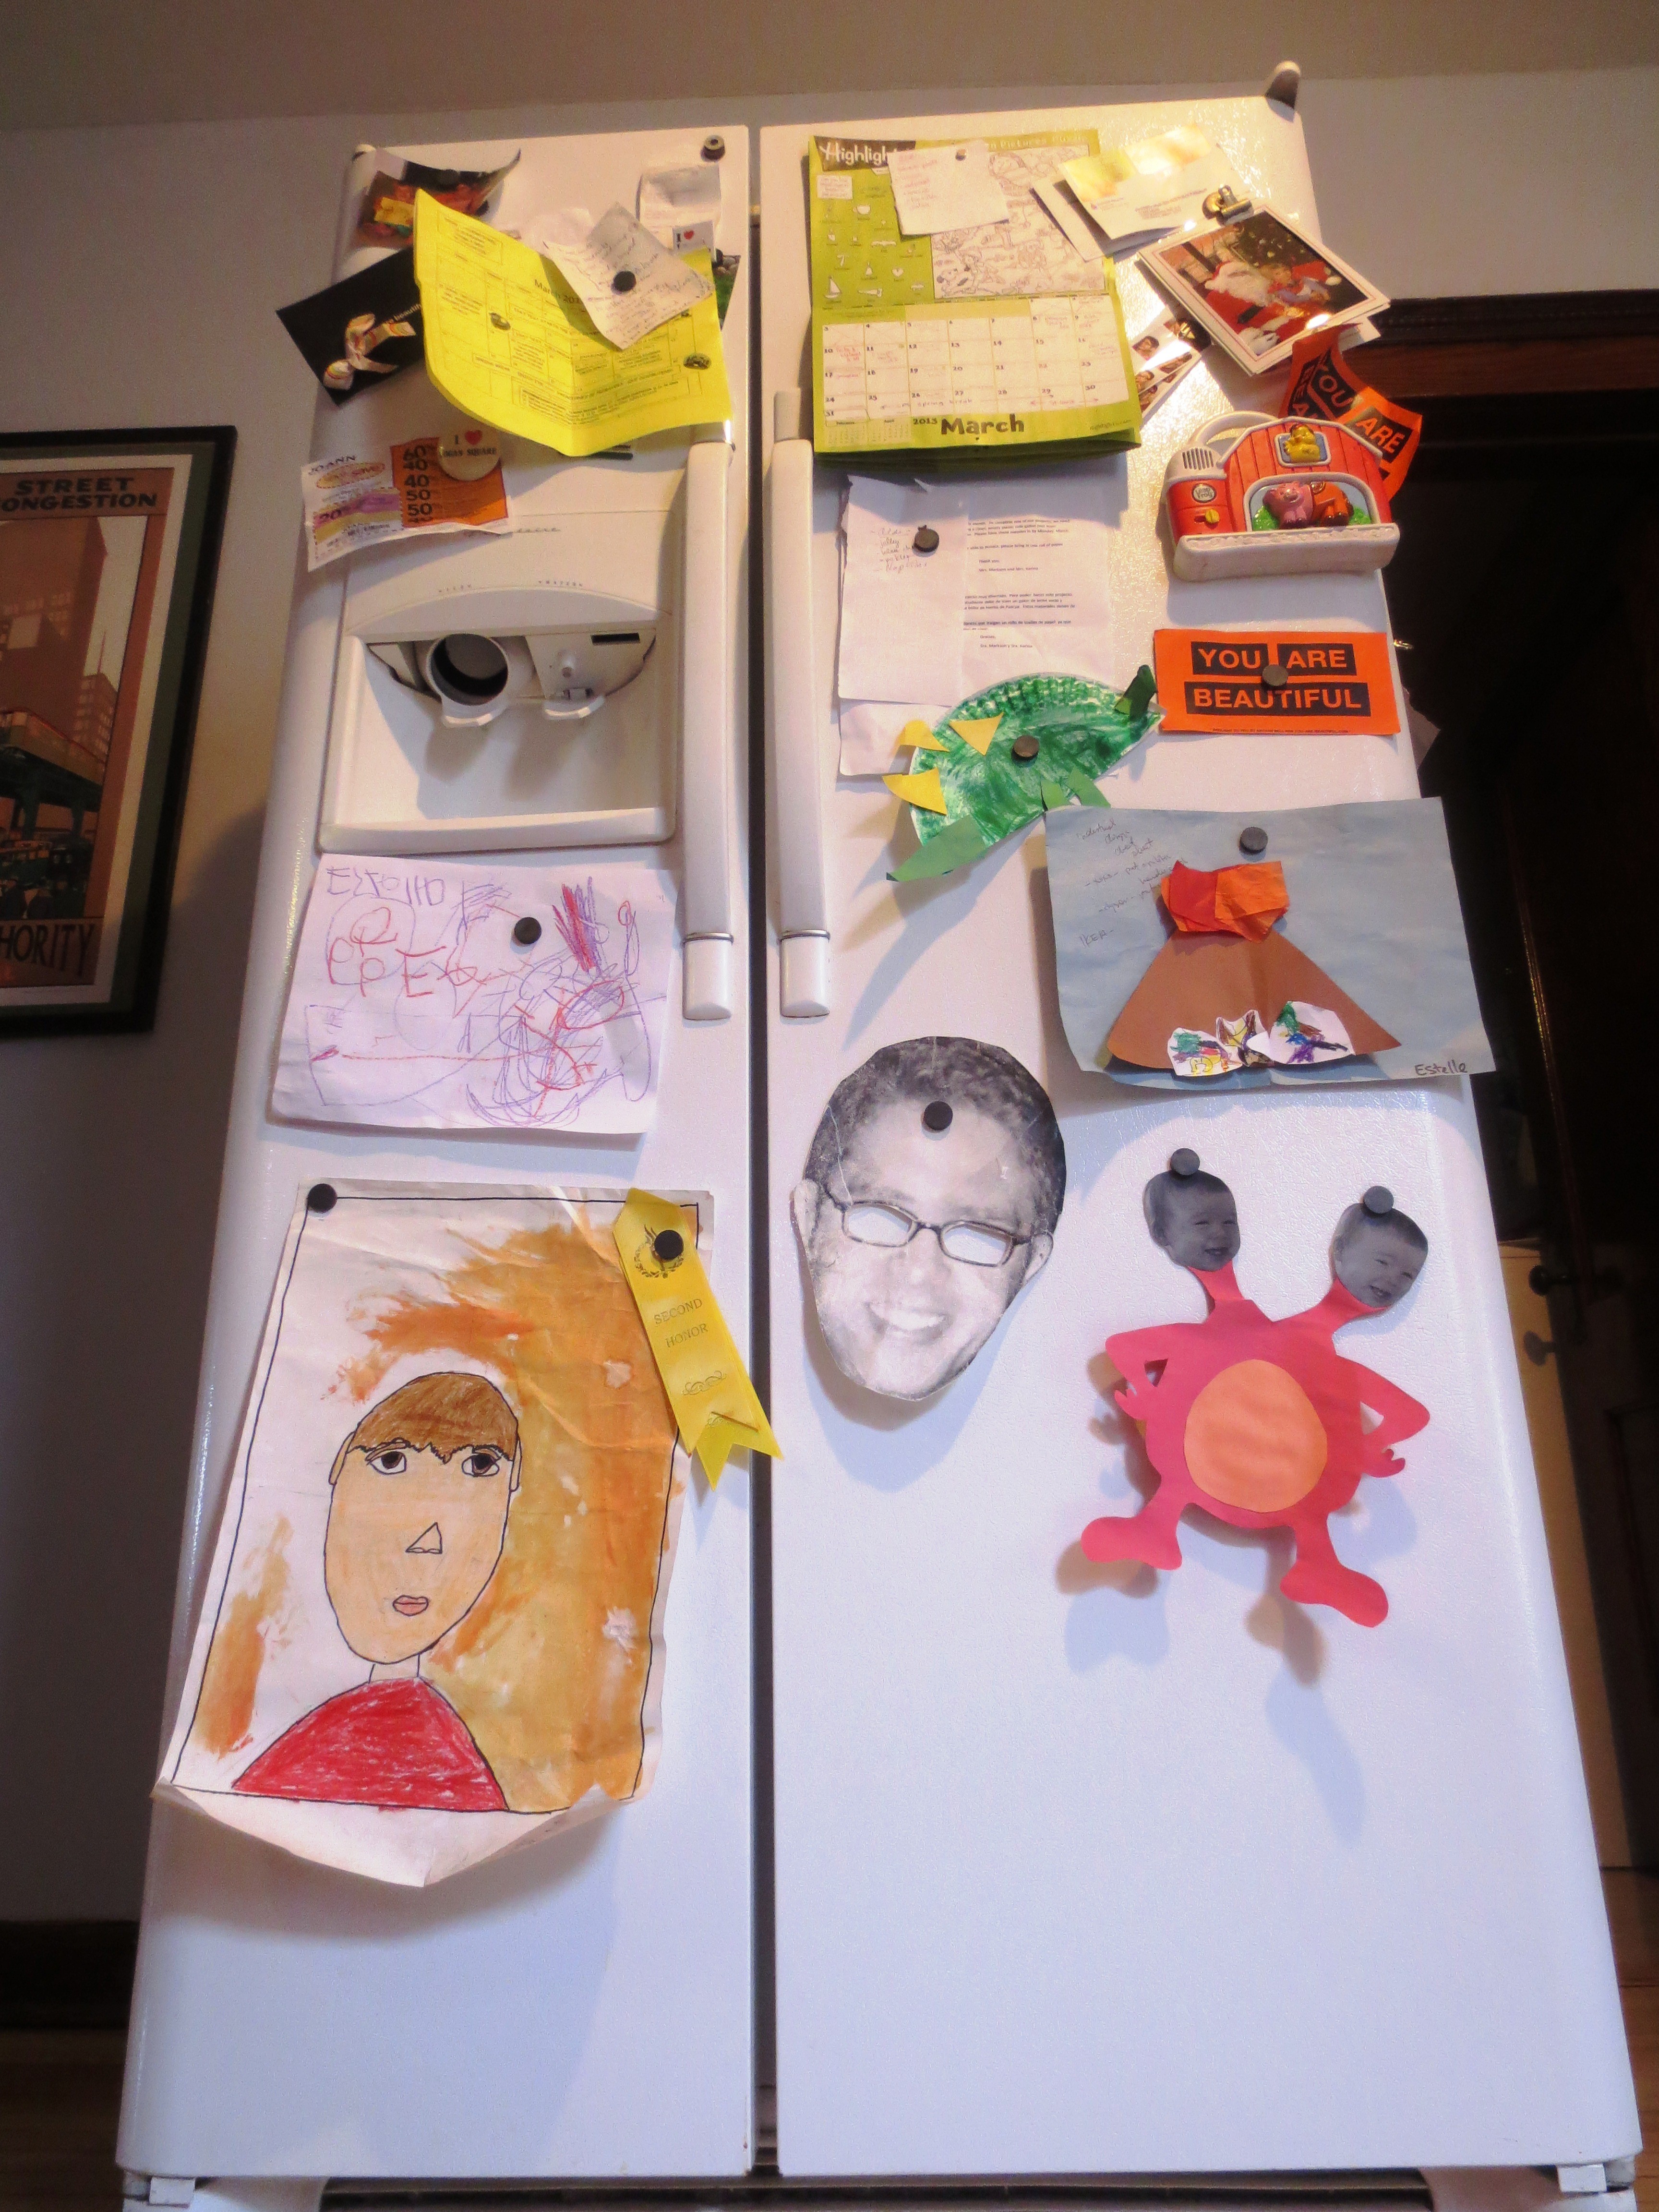
This refrigerator is in danger of toppling over with the weight of family artwork.
But the real impetus for this project was me stumbling upon a pile of cork panels in the alley behind our apartment last week. I quickly dragged them home, sensing some sort of future craft value. To be clear: In Chicago, it is perfectly acceptable to drag home treasures from the alley. Fellow citizens love to tempt me with their provocatively displayed junk, and I often travel down alleys instead of streets for this reason (also, nobody in Chicago believes that the recycling system is real).
The other inspiration for this project was the framed corkboard my husband hung over his desk in our bedroom (I call it “Olde Timey Pintrest”). Every night I lean against our fabulous new headboard and think about how ugly his cork board is. There had to be a better (and cheaper) way.
But, once I found my pile of cork, all I needed was a proper frame and a little paint for my dreams to come true. Here’s how it works:
DIY Beautiful Upcycled Family Bulletin Board
INGREDIENTS:
-Cork
-Cheap art in a big frame
-Glue
-Paint and Primer (optional)
TOOLS:
-Flat head screwdriver
-Scissors and/or exacto knife
-Sand paper or sanding block
-Heavy objects
-Paint brushes (optional)
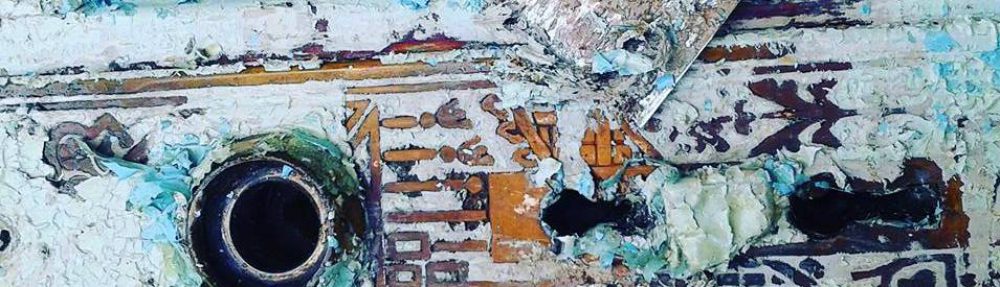
STEP ONE: Go out in the alley behind my building and find a pile of cork scraps. Grab the biggest ones and drag them home. Spray down with vinegar if it smells weird (ours did) and let it dry.
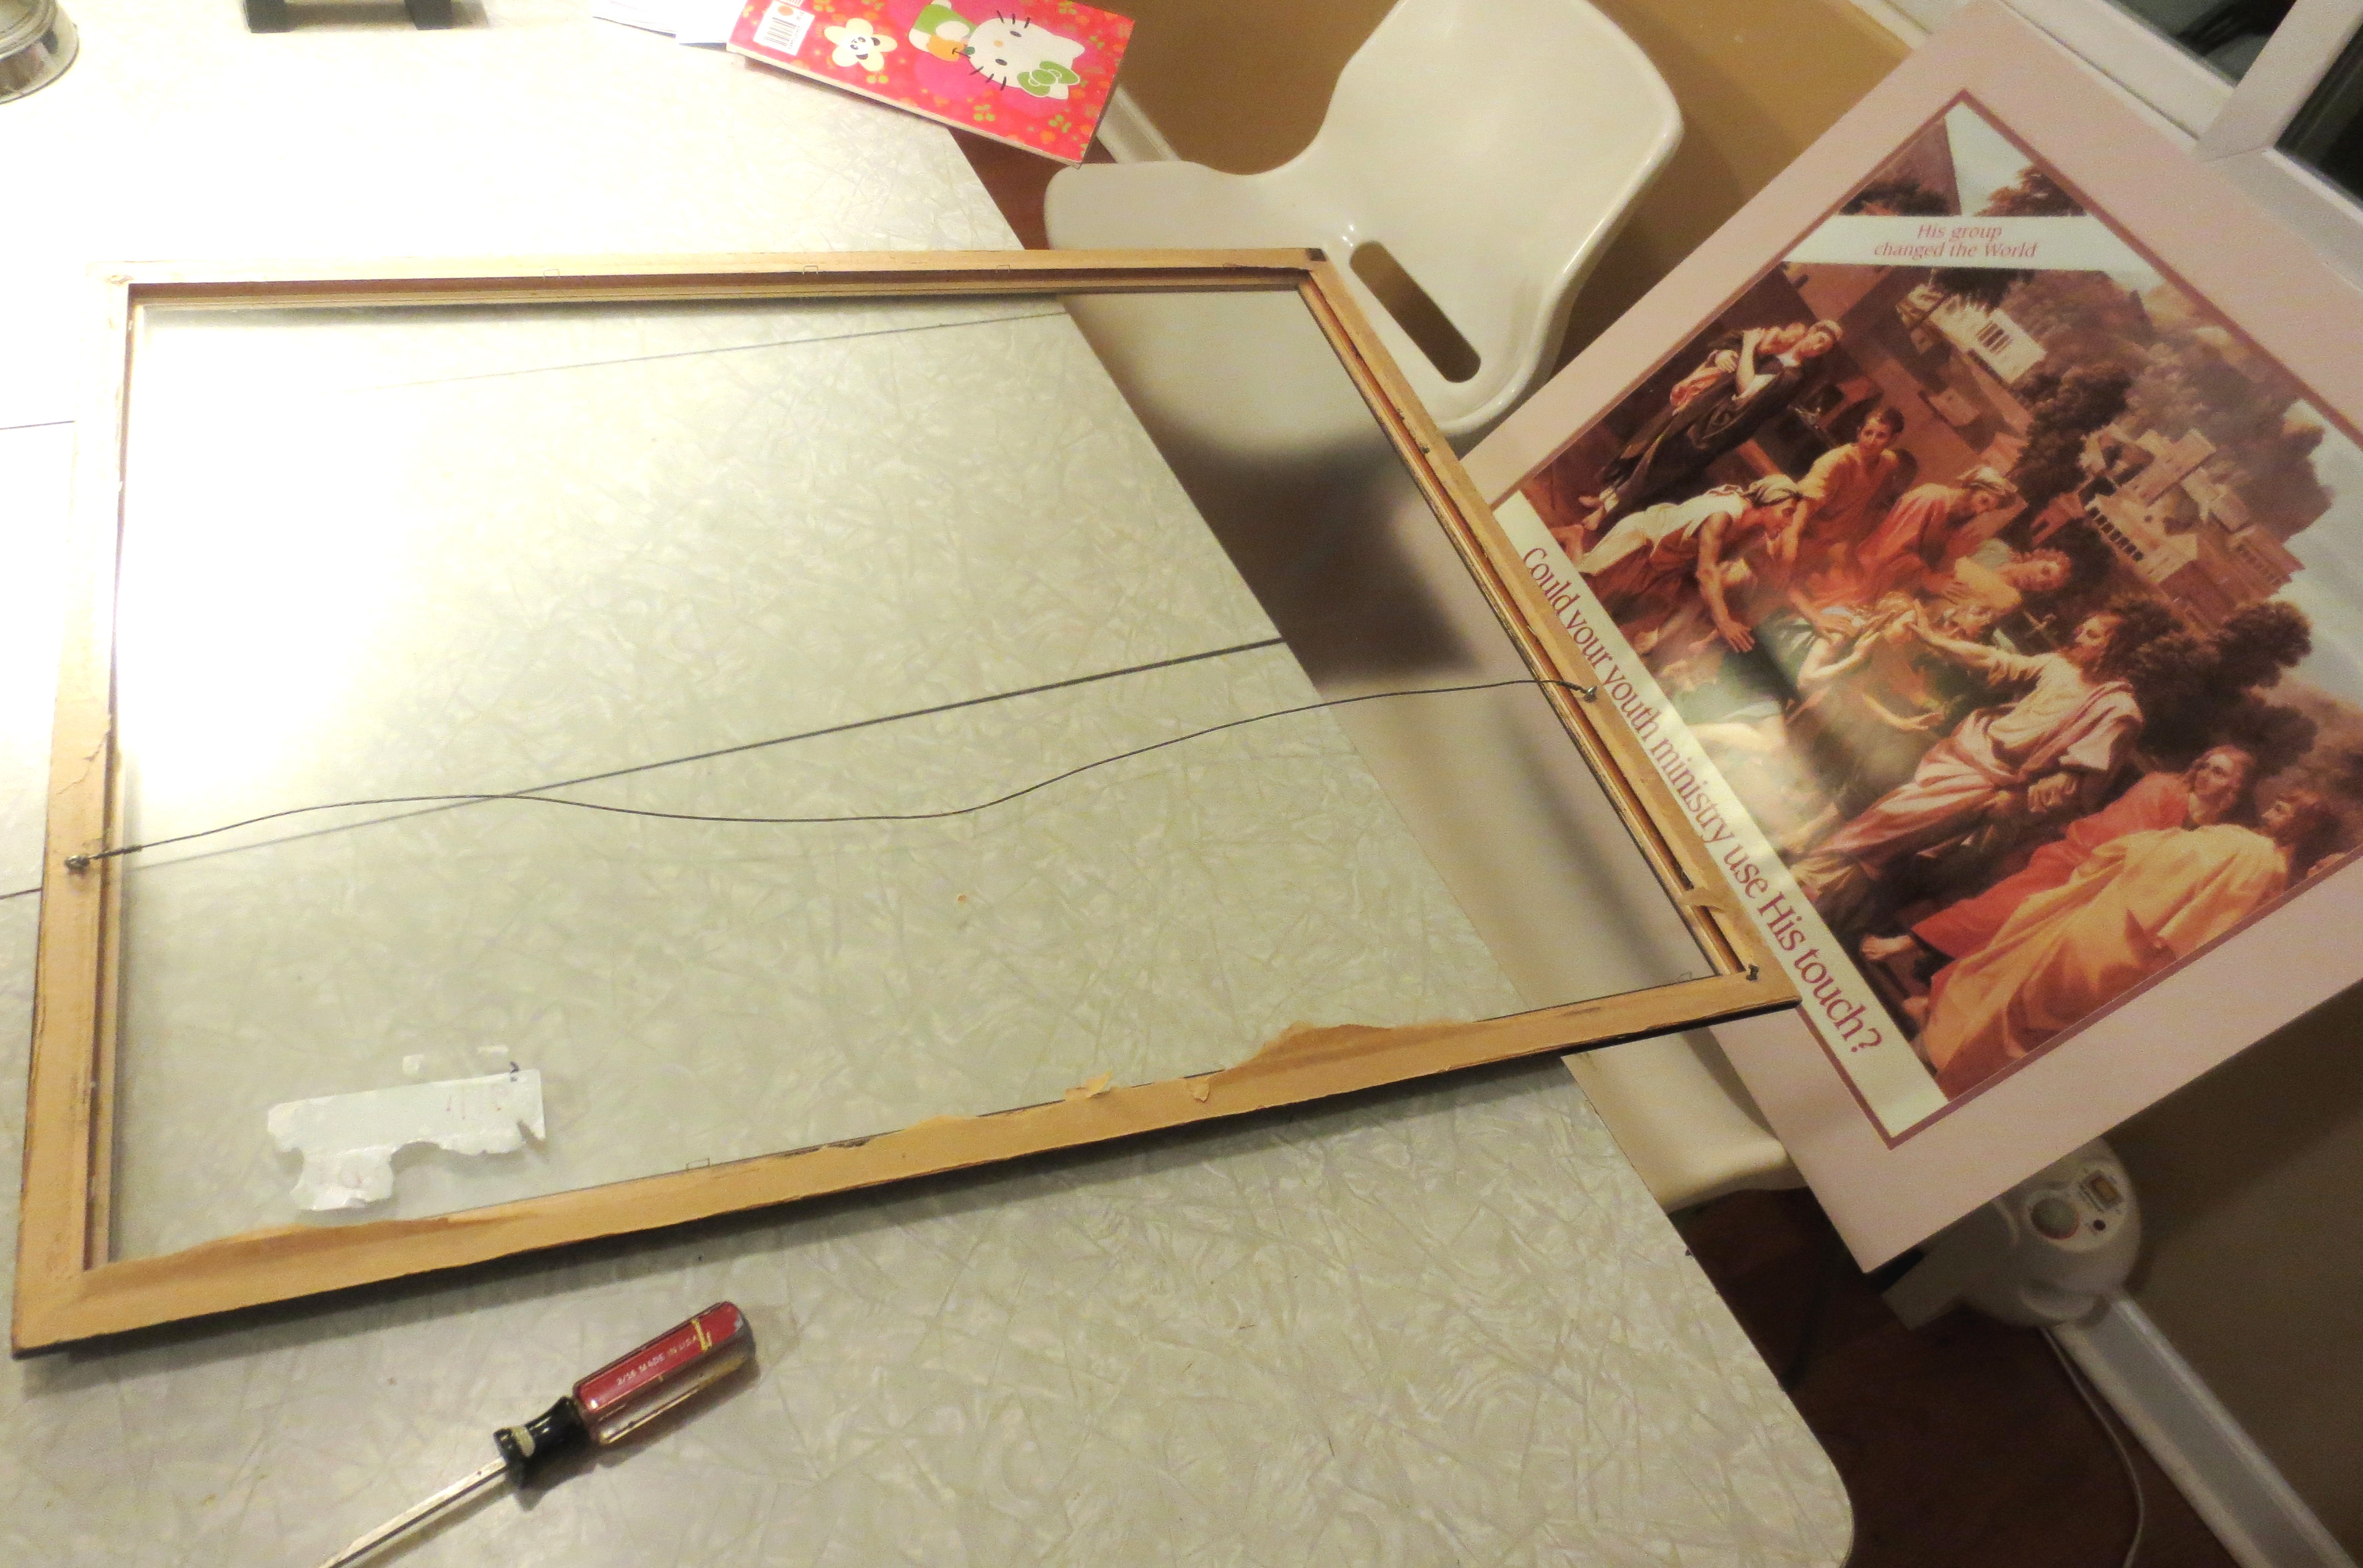
STEP TWO: Go to the thrift store (or yard sales if in season) and find a large, cheap piece of art in frame that you like. After visiting three of my local thrift stores, I was surprised and frustrated to find that most of the framed paintings were actually quite expensive—about $20 on average. I found the glass-covered prints to be much cheaper, and grabbed this one for a little under $2. If you are lucky enough to find a framed painting, skip to Step Three.
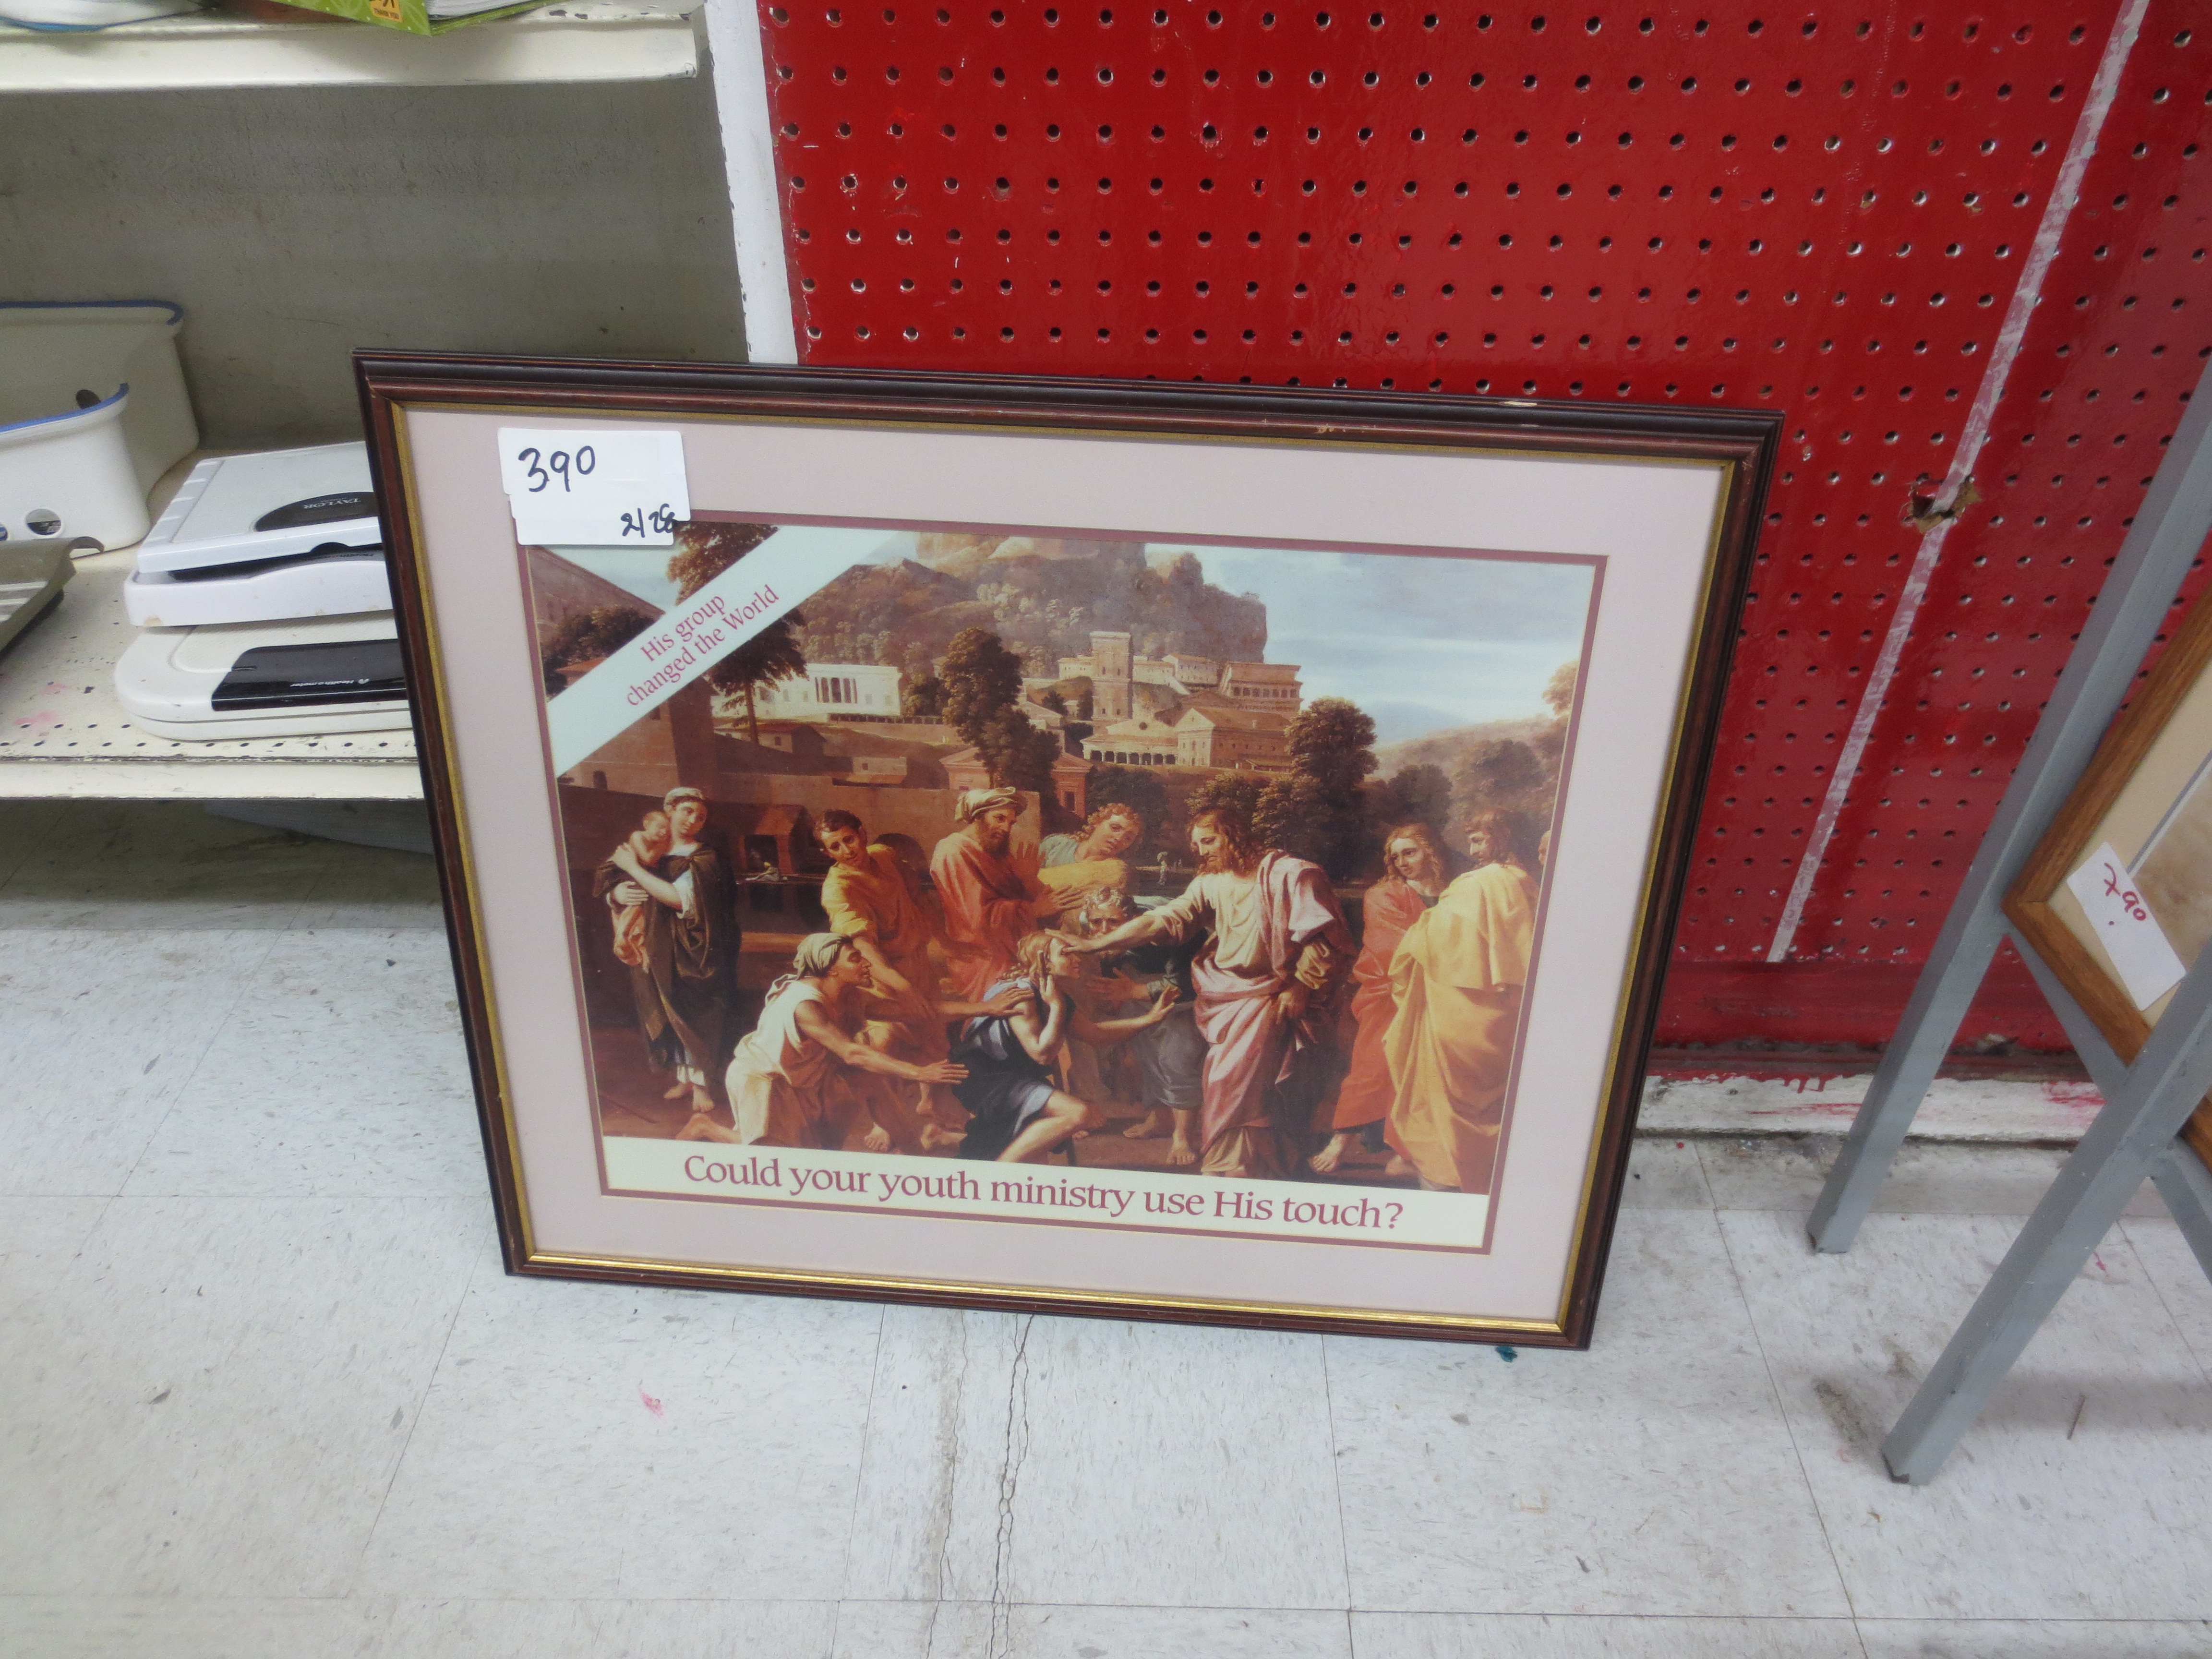
“Could your youth ministry use His touch?”
STEP TWO-AND-A-HALF: If you grabbed the glass-framed print, you’ll need to remove the glass or plastic front, because you don’t want to push pins through that. Pull off the paper backing if necessary, and then bend back the staples that secure the board to the back of the frame, using a small flat-head screwdriver.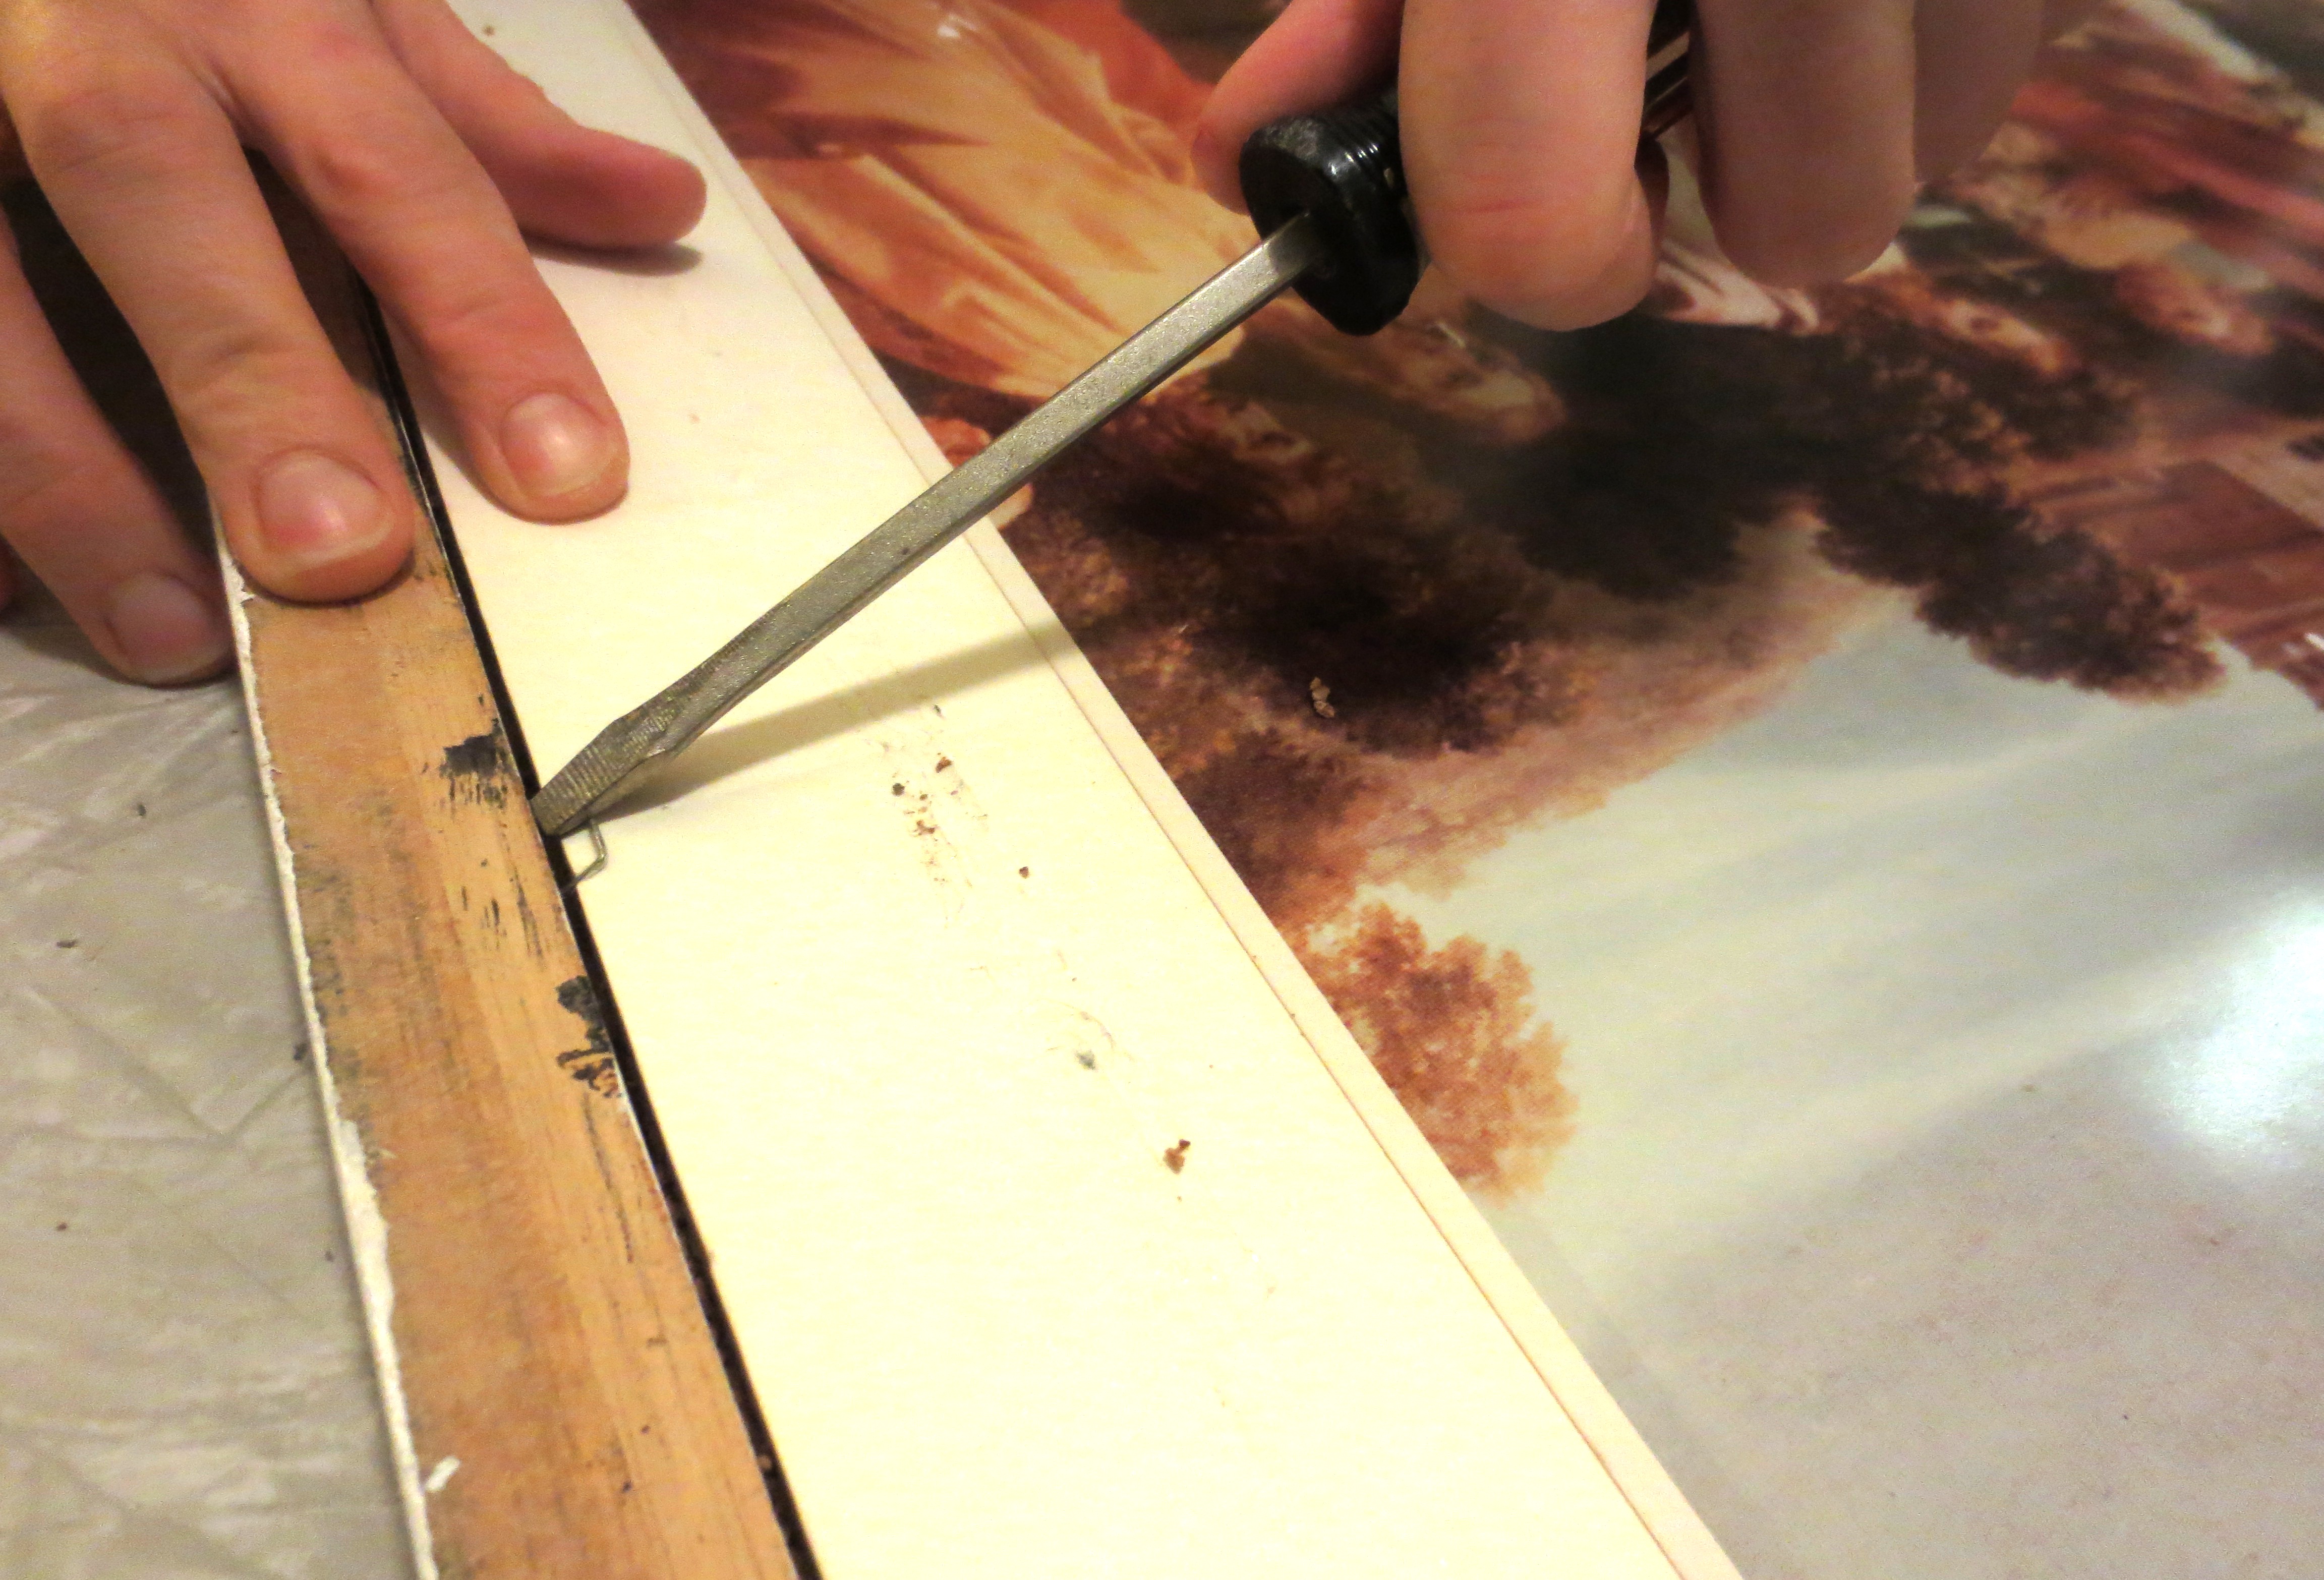
Next, pull back the foamboard or cardboard or whatever lies between the frame and the glass. Then very carefully remove the glass and figure out what to do with it because it will be very sharp and awkward to carry. Do this step when there are no small children or drunks about.
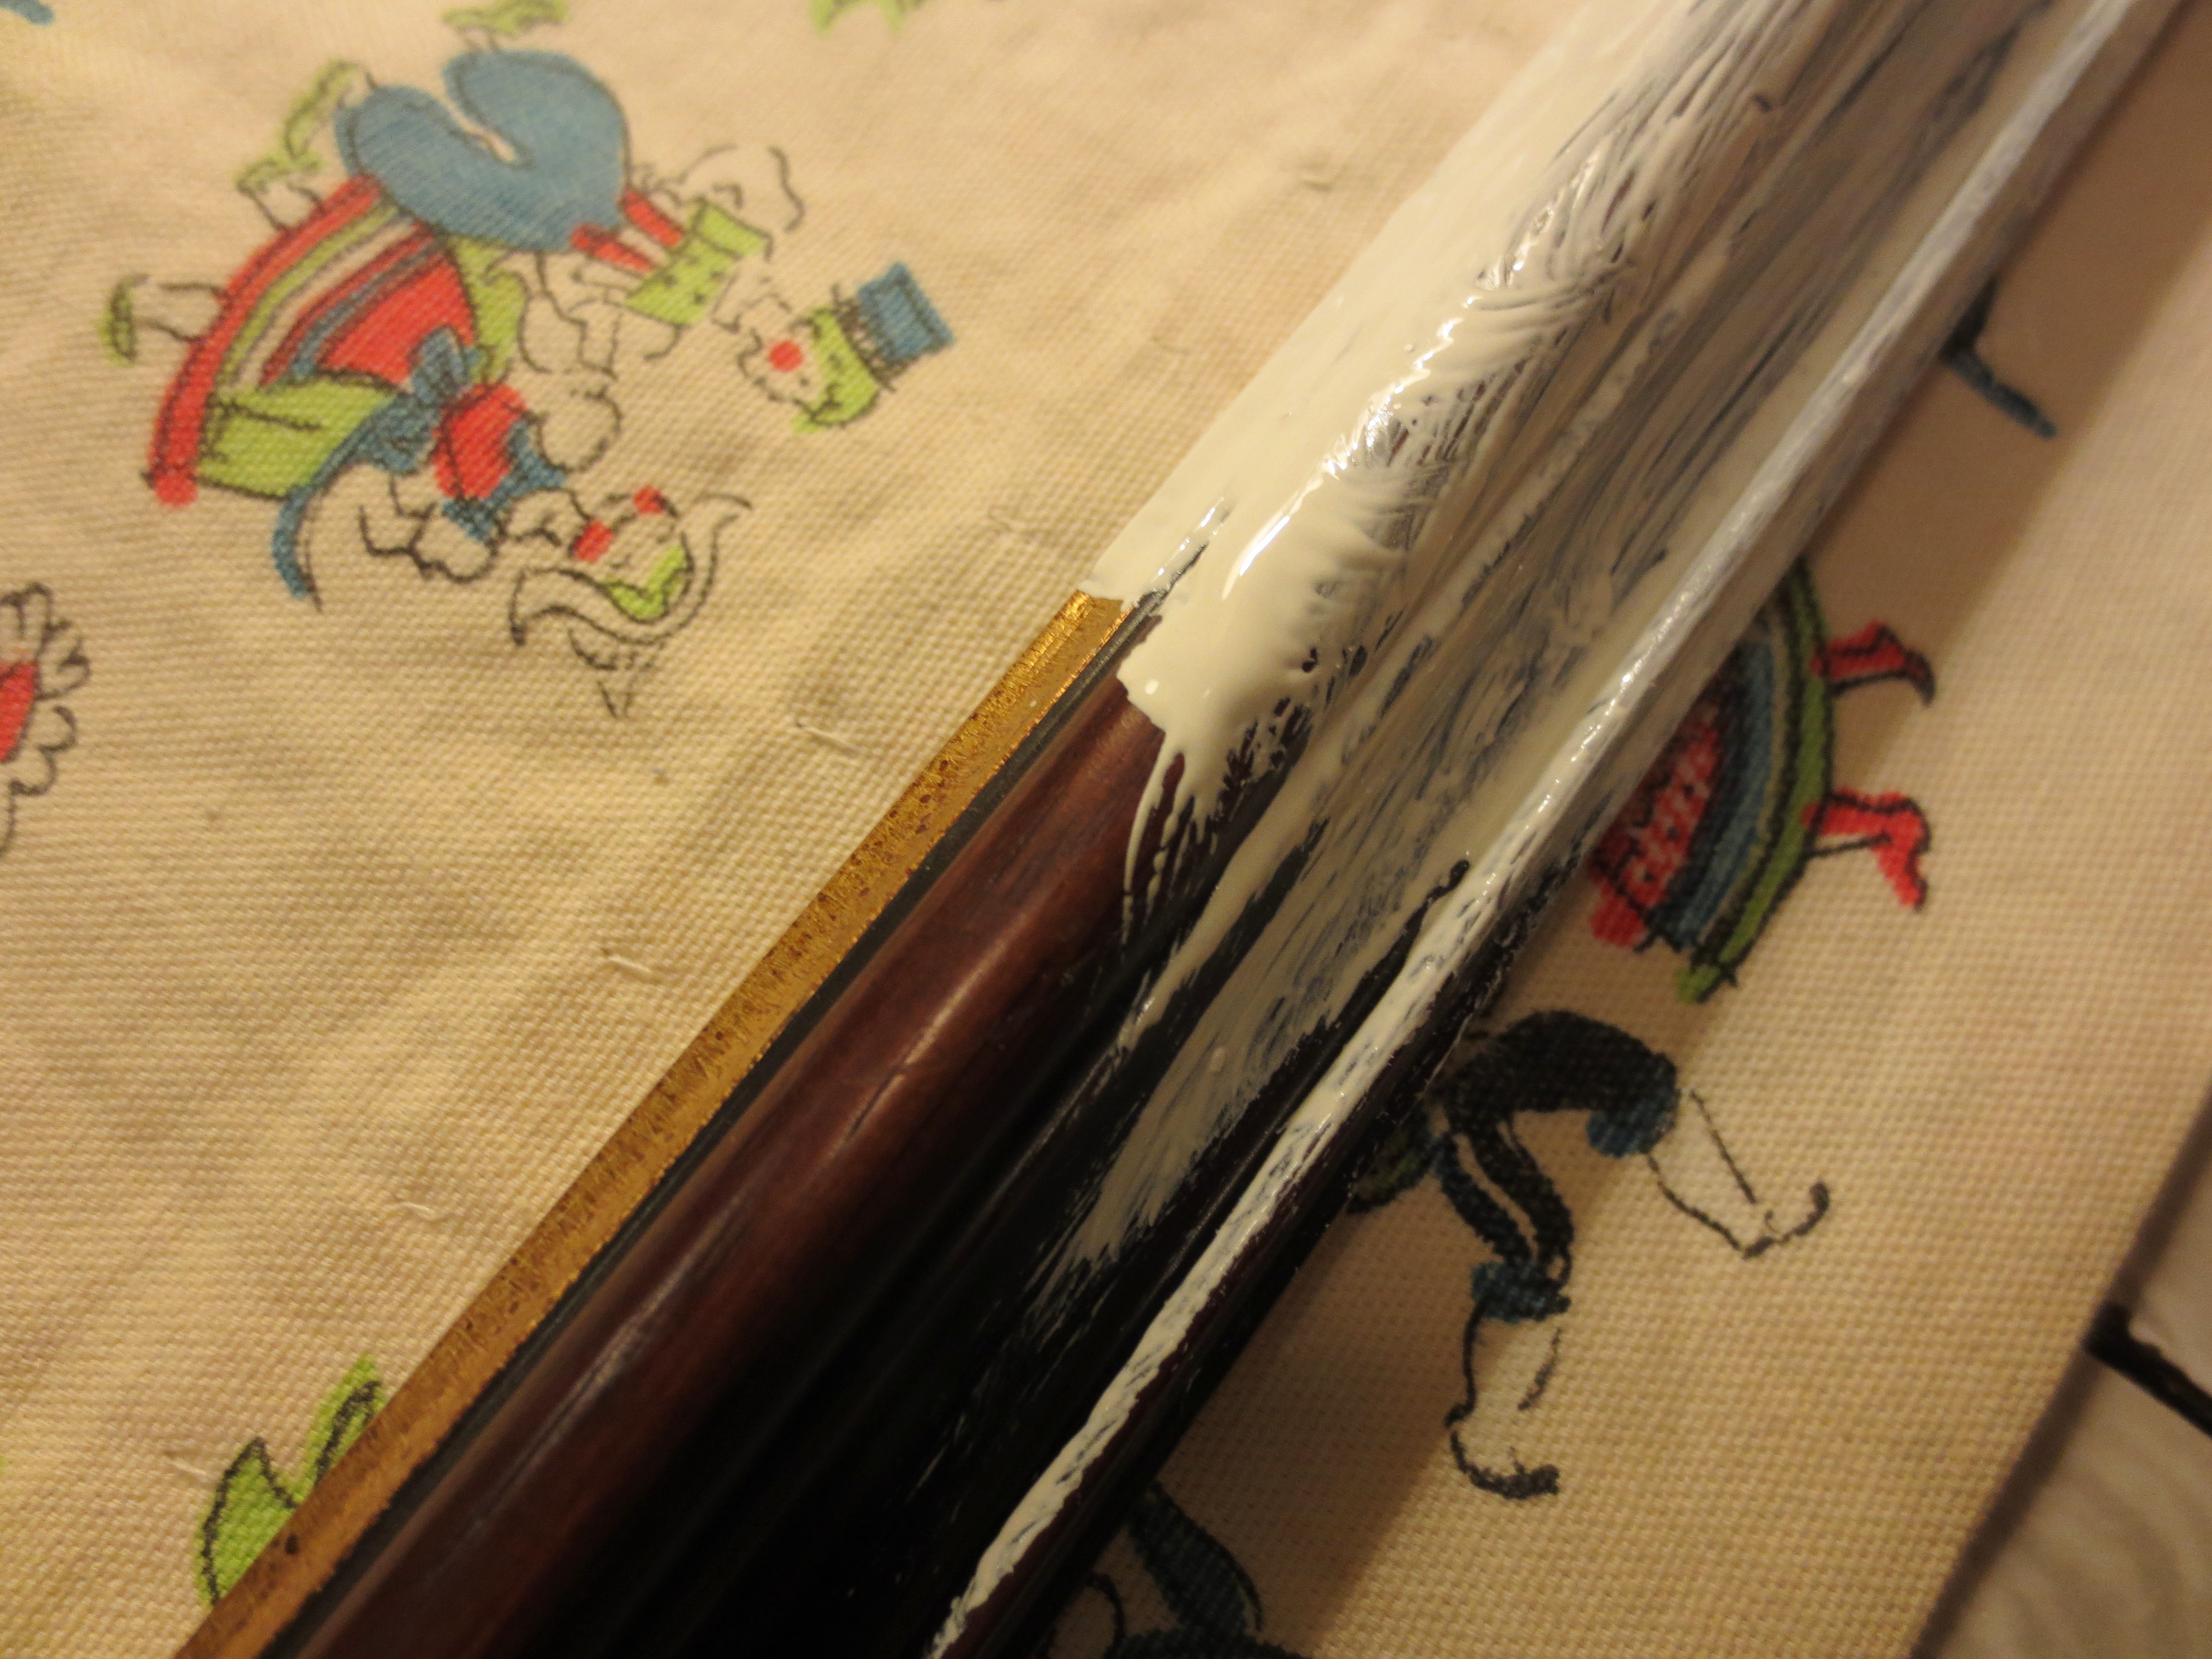
 STEP THREE: If you don’t like the color of your frame, now would be a good time to paint it. Mine was a dark cherry wood with a band of speckled gold on the inner rim. After smoked mirrors and faux oak, dark cherry wood and gold are my two least favorite materials in home décor, so they had to go.
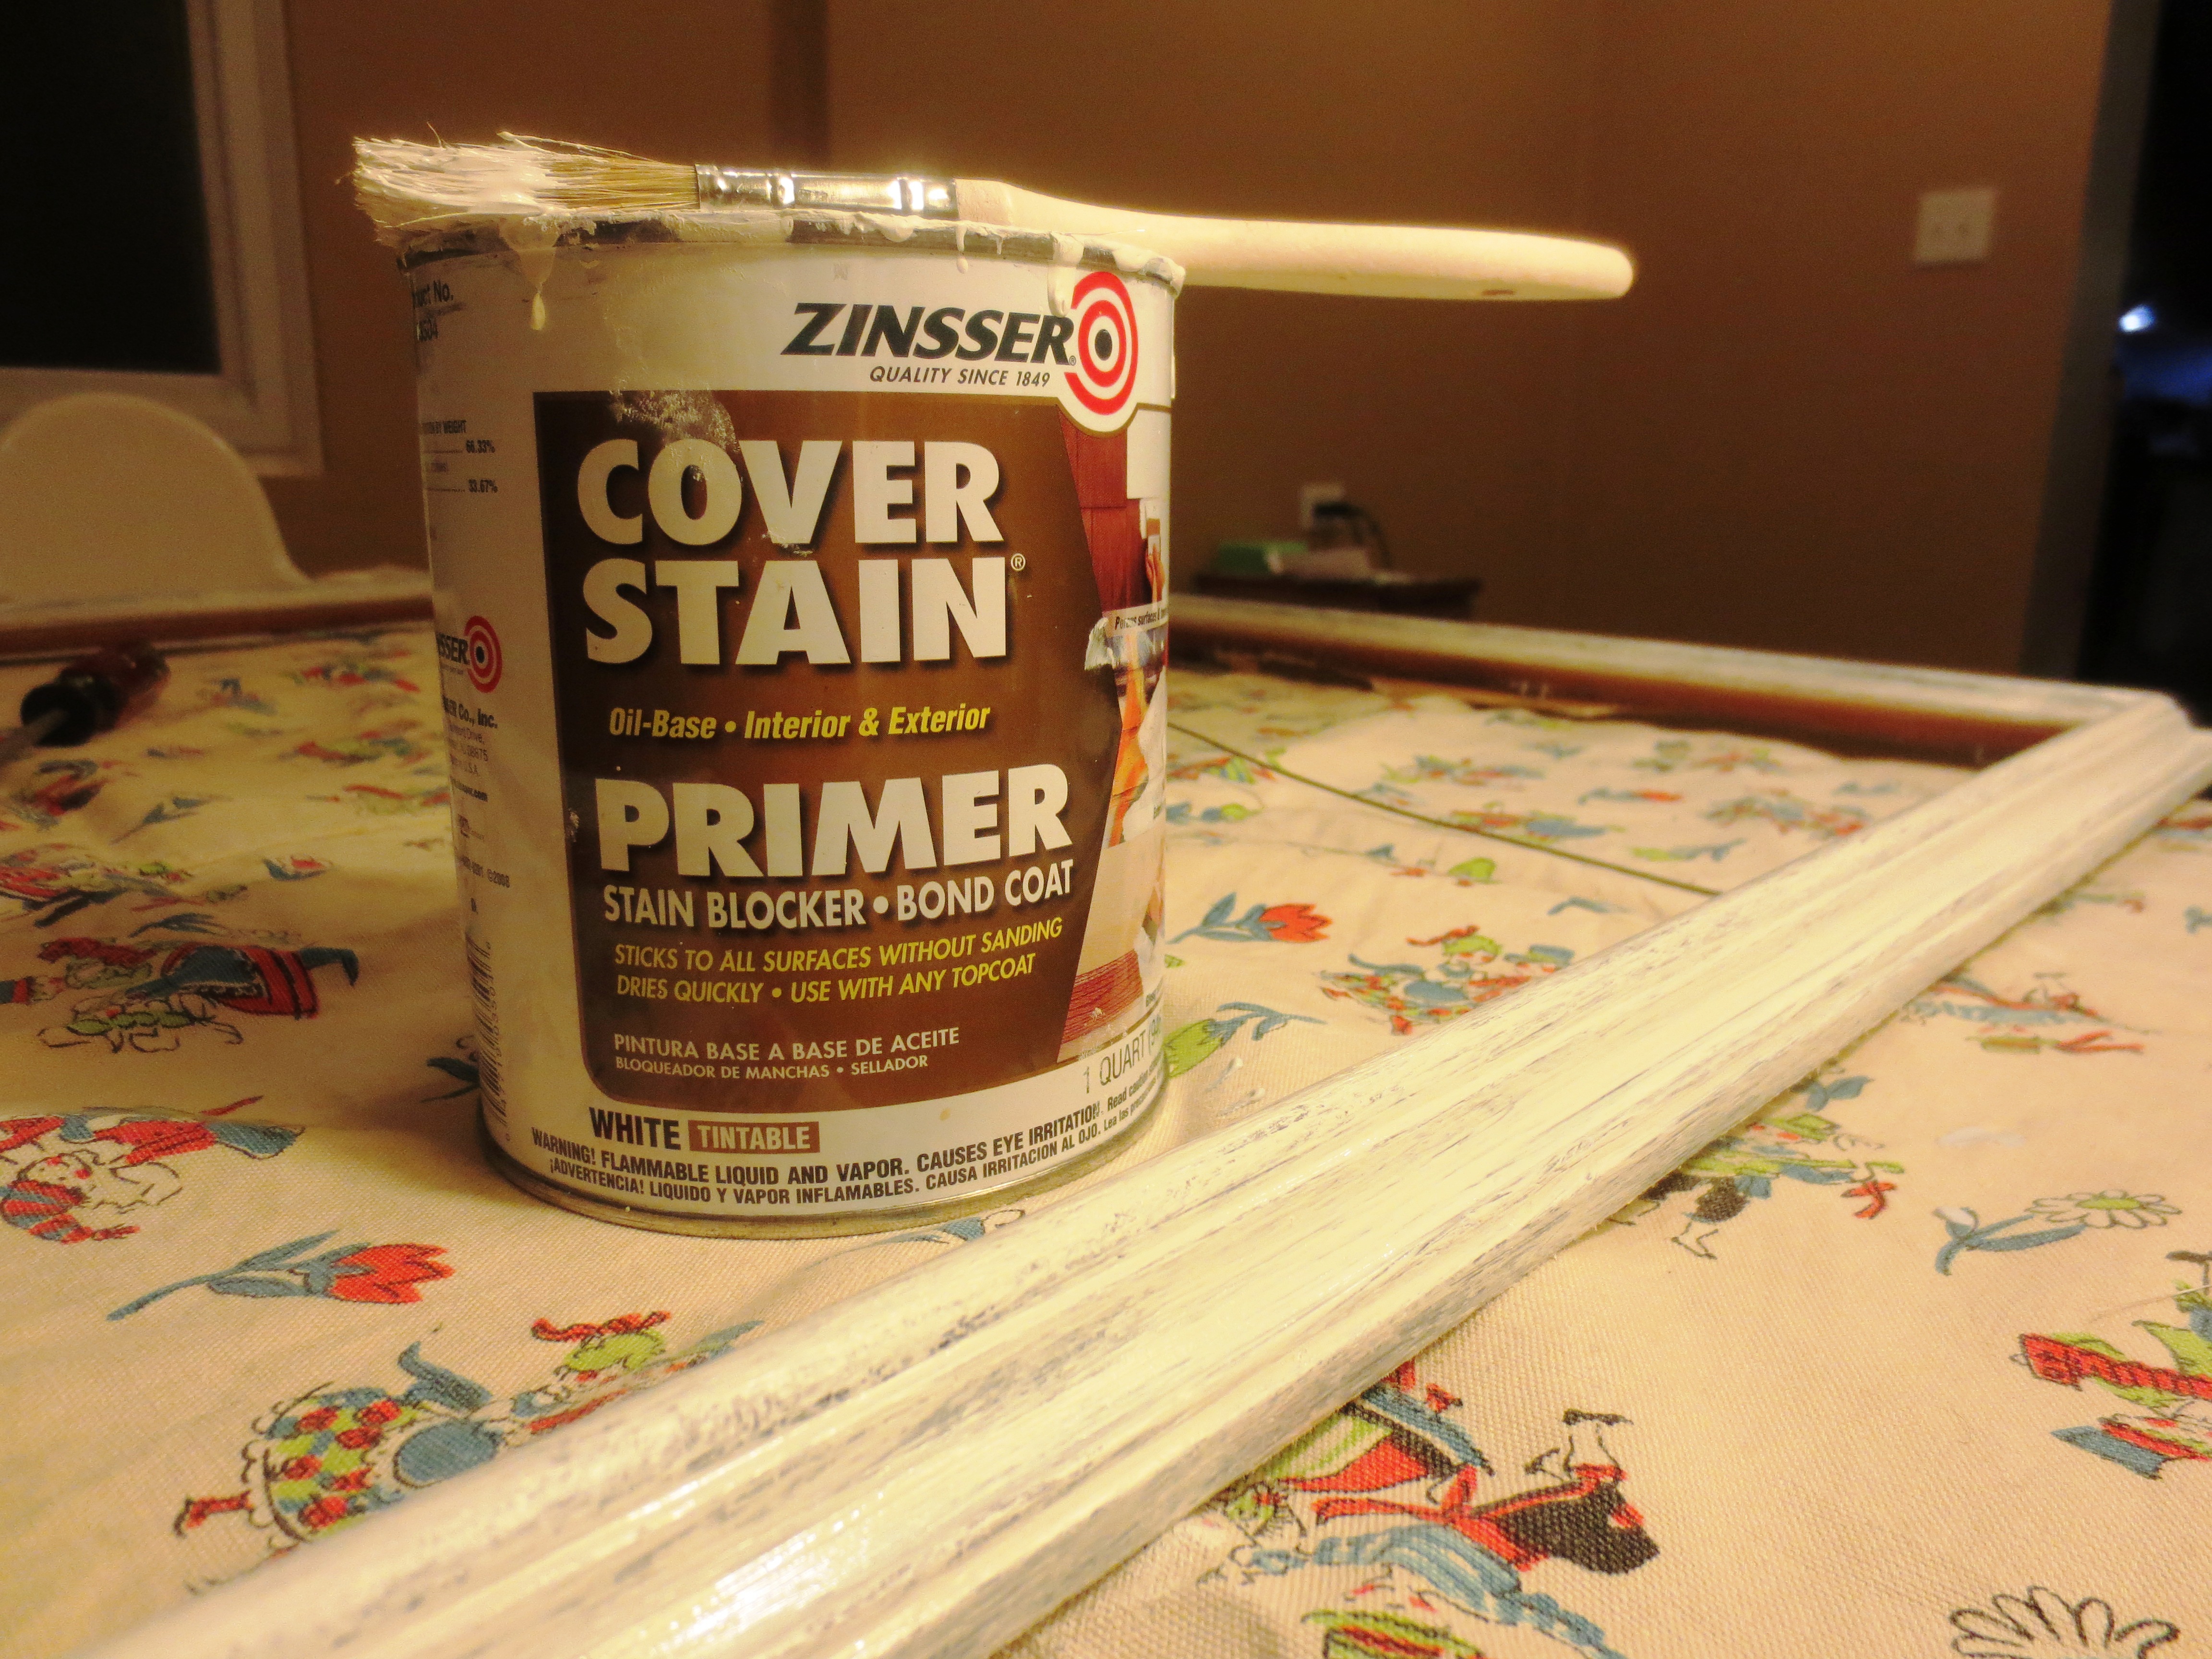
First, add a coat of primer and let it dry. I use Zissner oil-based Cover Stain, because I read on another blog it was good, and it does seem to work. Since the primer is oil-based, I suggest using a cheap disposable brush and tossing it after you’re done, instead of having to use paint thinner to clean the brush. I’m not sure which is worse for the environment – the paint thinner or the disposable brush – but remember that you’re basically making this project out of trash, so drop the guilt and give yourself a pat on the back.
From ugly to slightly less-ugly
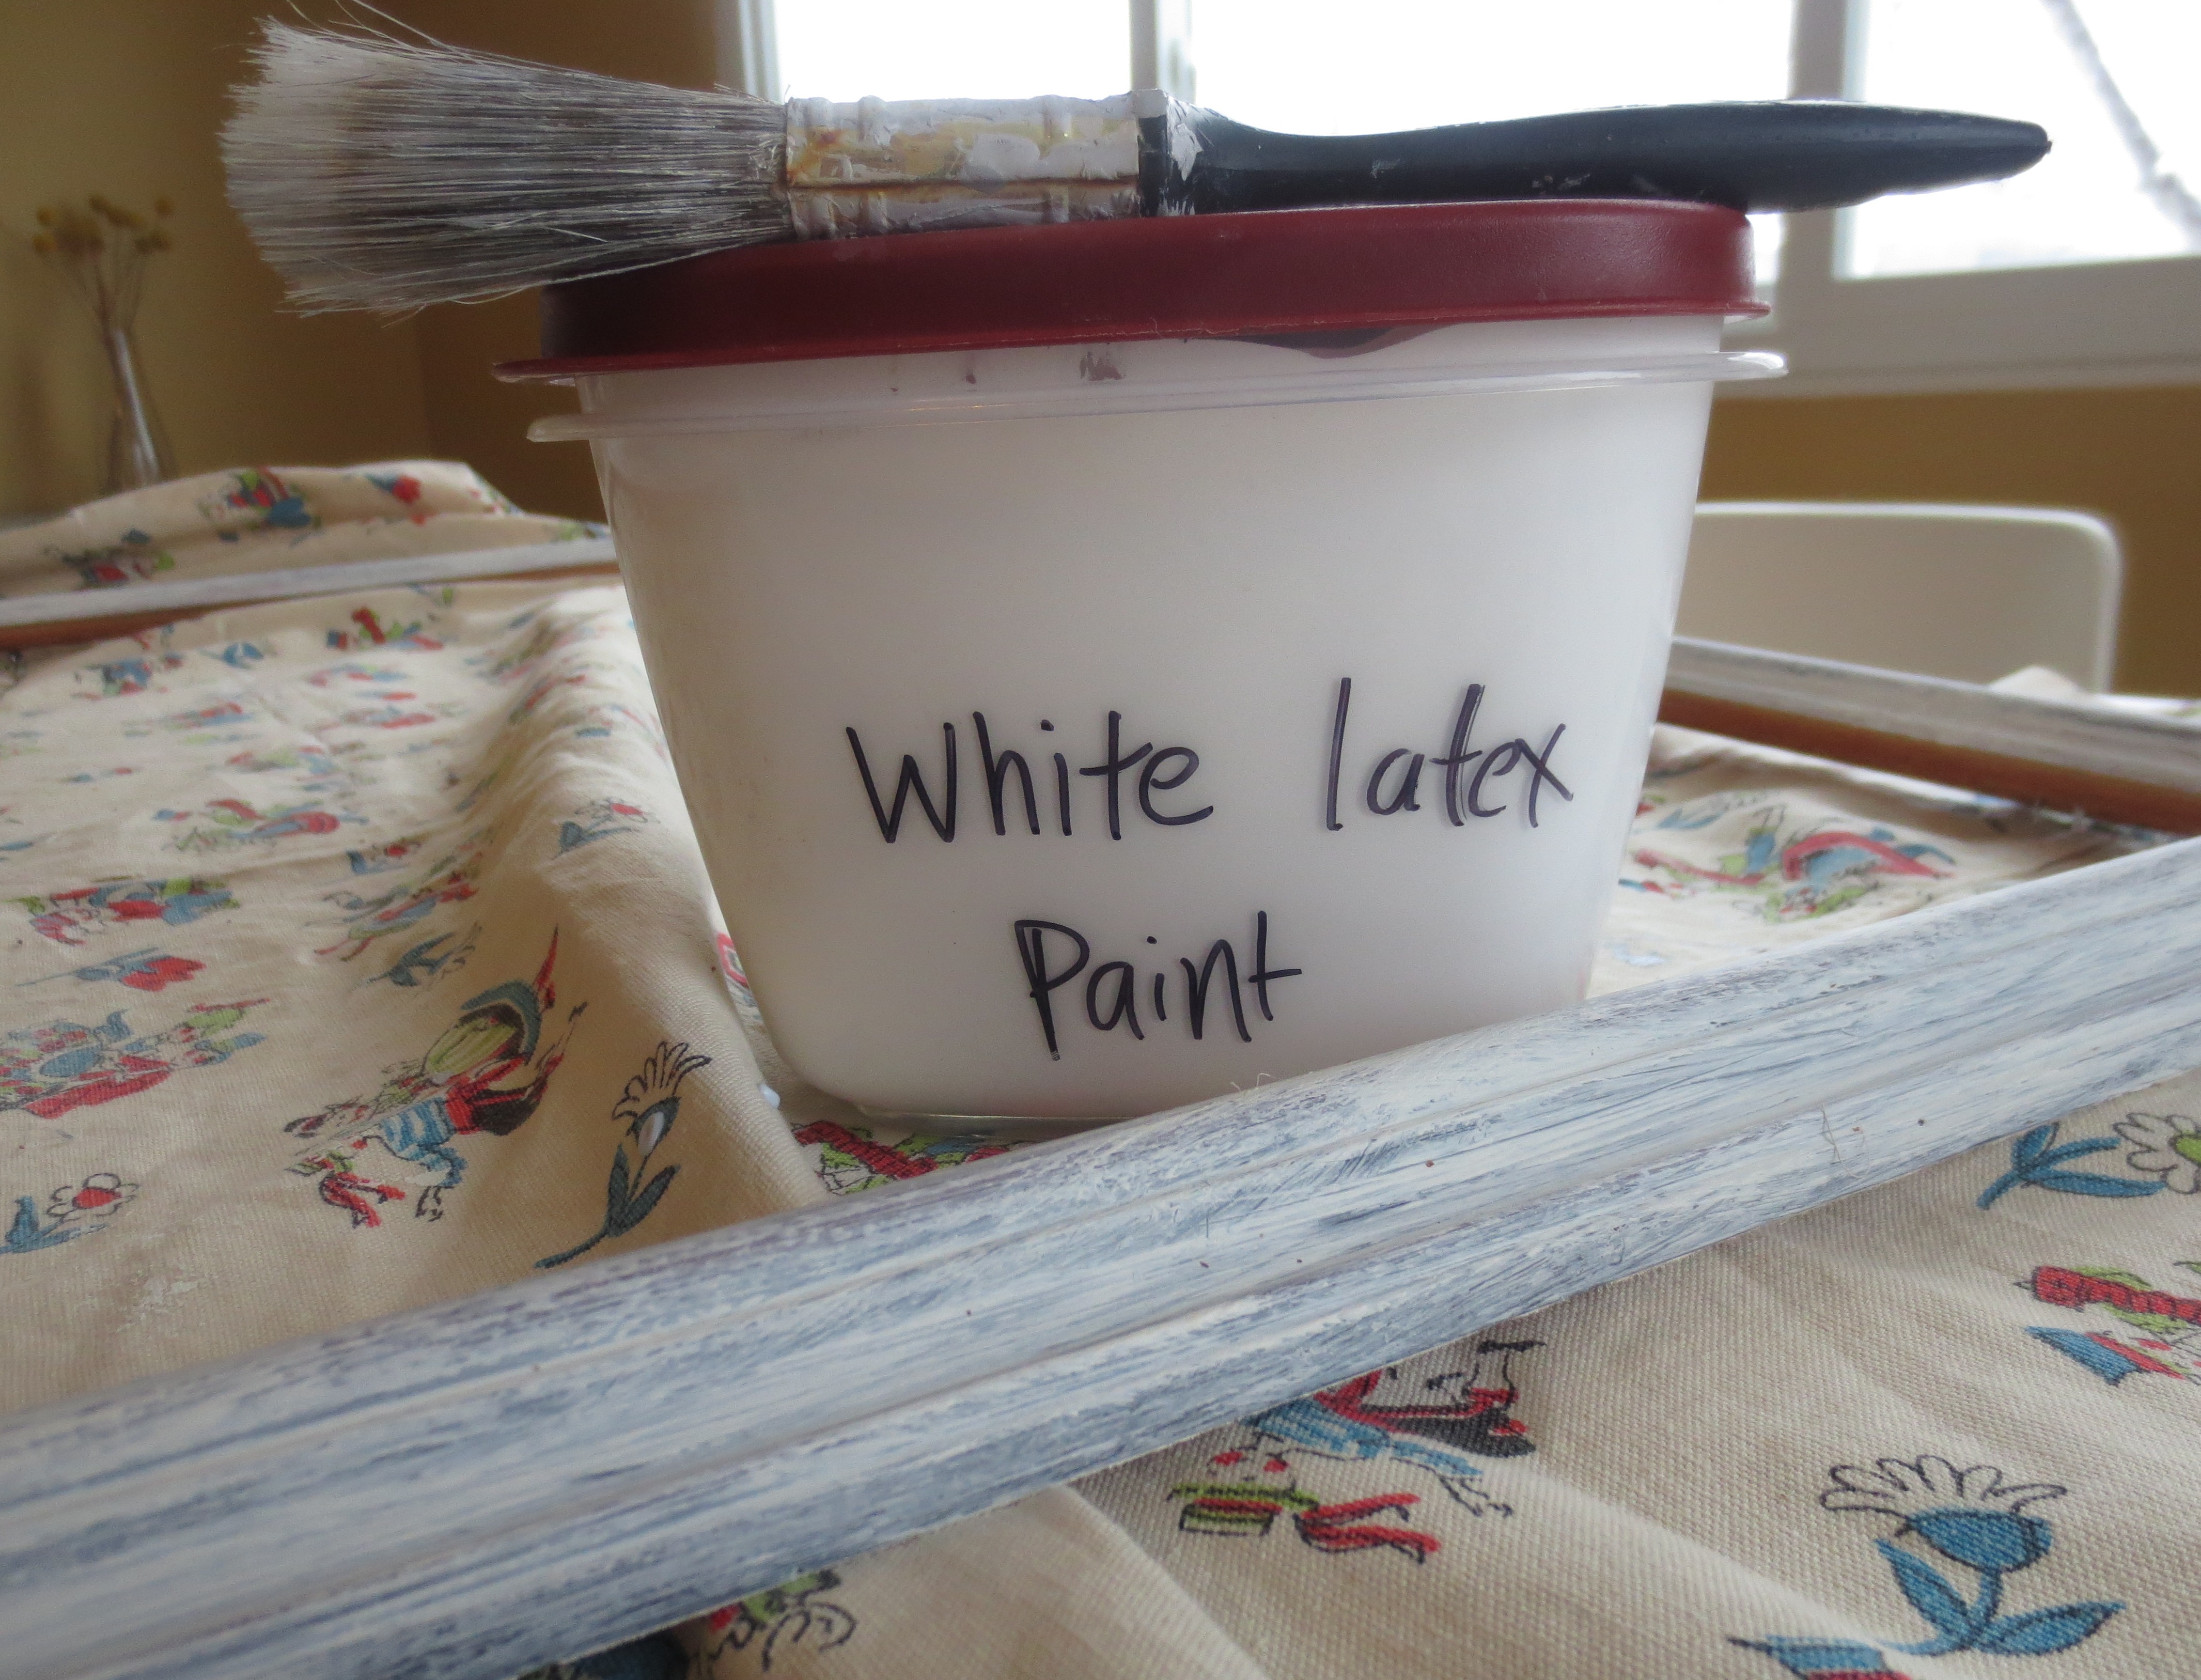
When the primer is dry, go ahead and paint it with regular latex paint. Have fun with the color. My idea of fun is white.
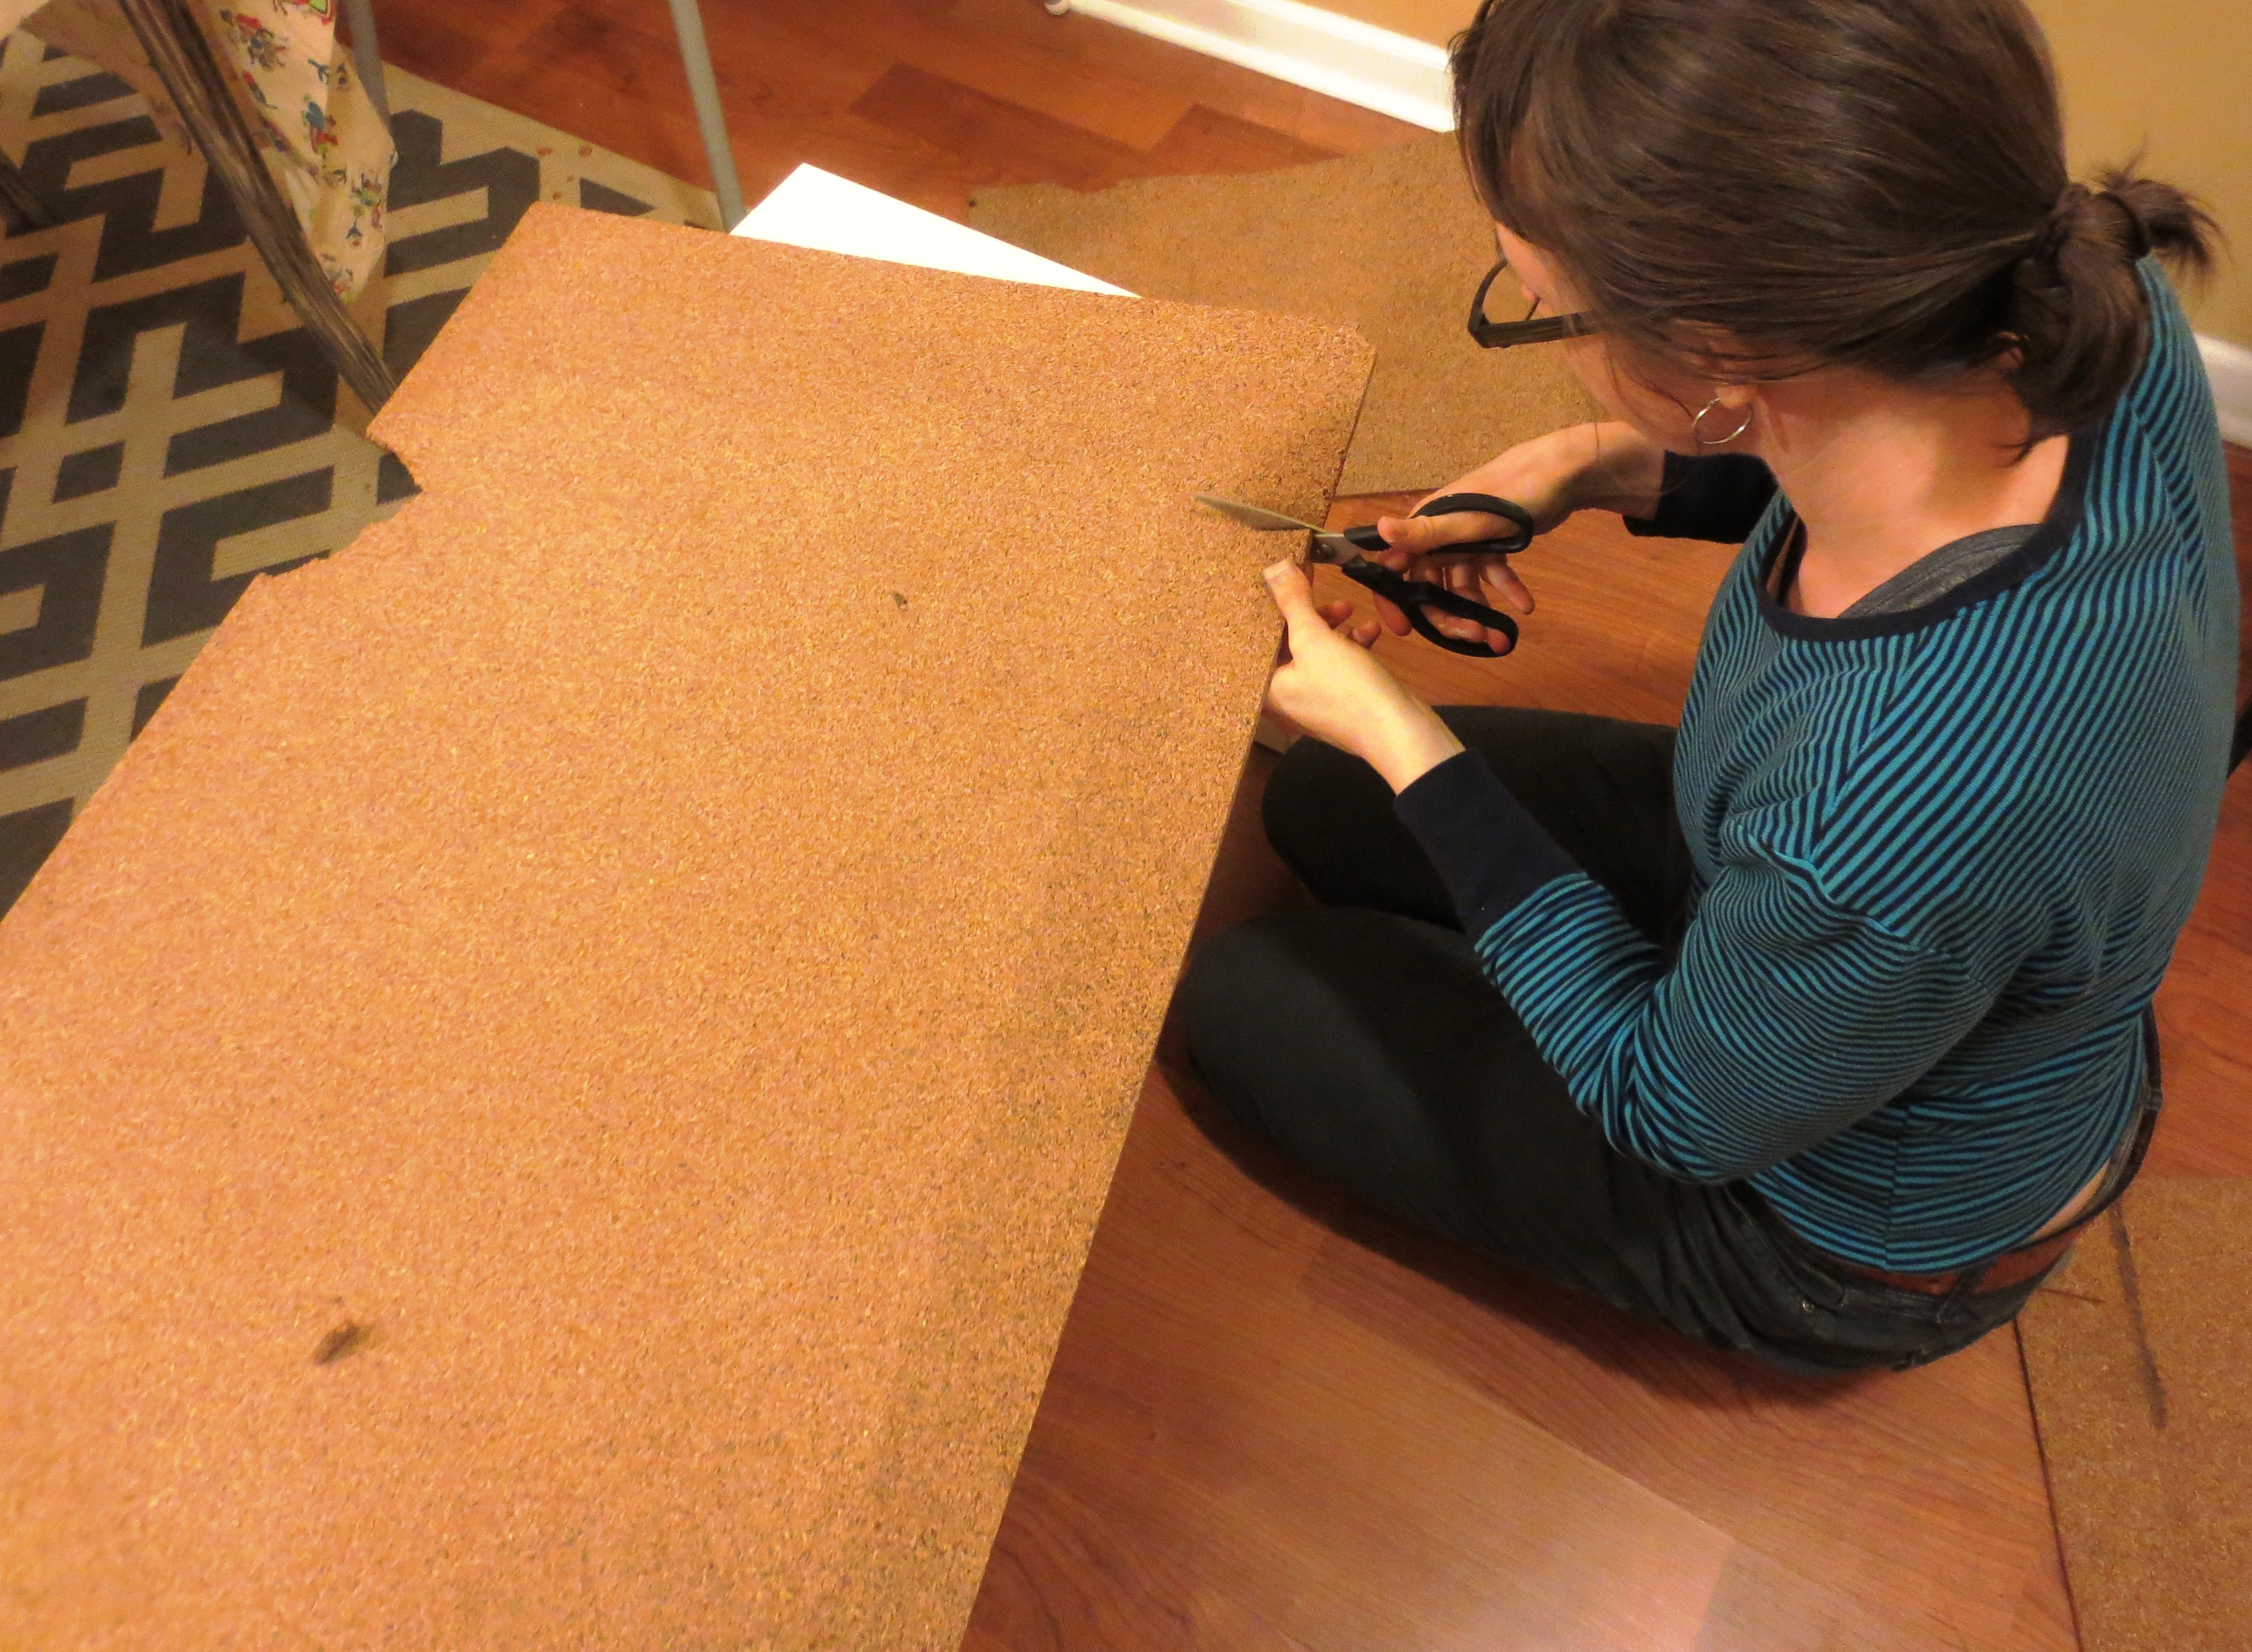
 STEP FOUR: Cut the cork to fit the frame. In my case, I used the foam core board backing inside the frame as my template. If you will be gluing the cork directly over the art, measure the frame on the inner rim and trace the measurements onto your cork. I used a combination of scissors and an Exacto knife to cut the cork. The cork was soft and crumbly, so expect a mess.
 STEP FIVE: Prepare your surface with sand paper – a sanding block is easier to hold. If you are working with foam core board, you’ll need to rough up the shiny surface to give the glue something to hold on to. Same goes for your thrift-store art. Don’t hold back now, really mess it up.
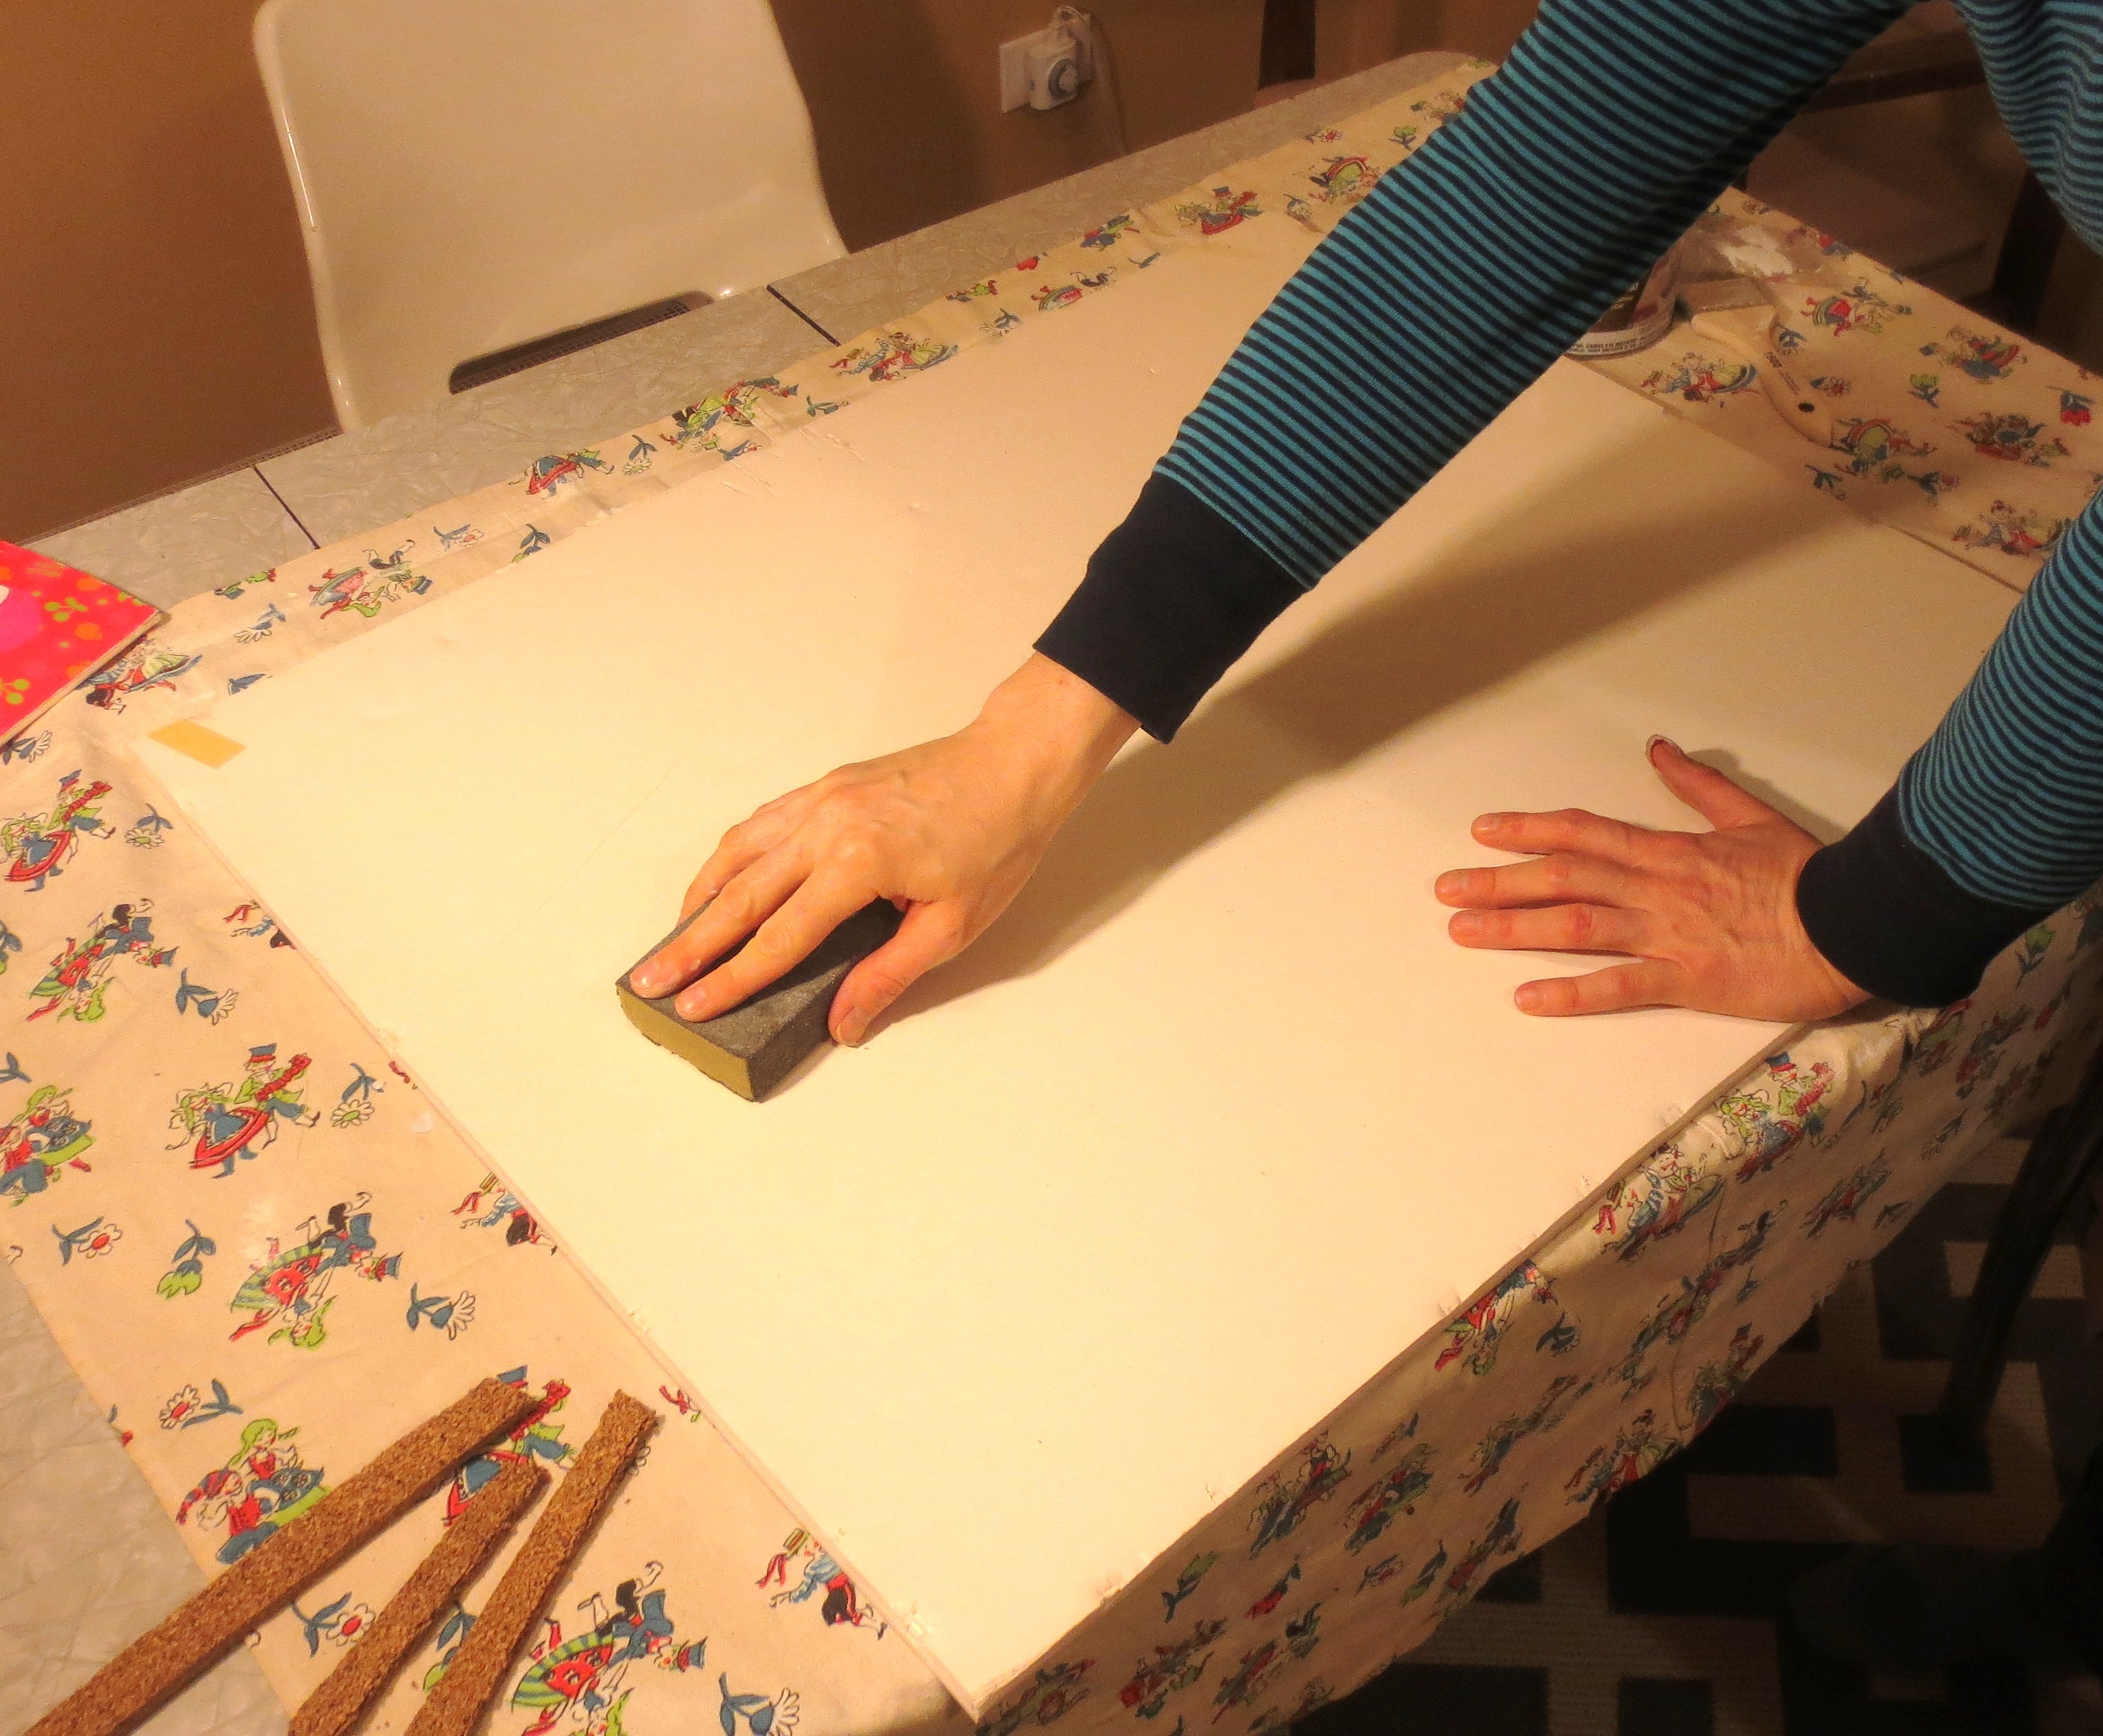
Sanding also helps to release that thrift store smell from the art into your home.
STEP SIX: Glue the cork to the frame (if you don’t know how to use glue, then you’re probably not old enough to be o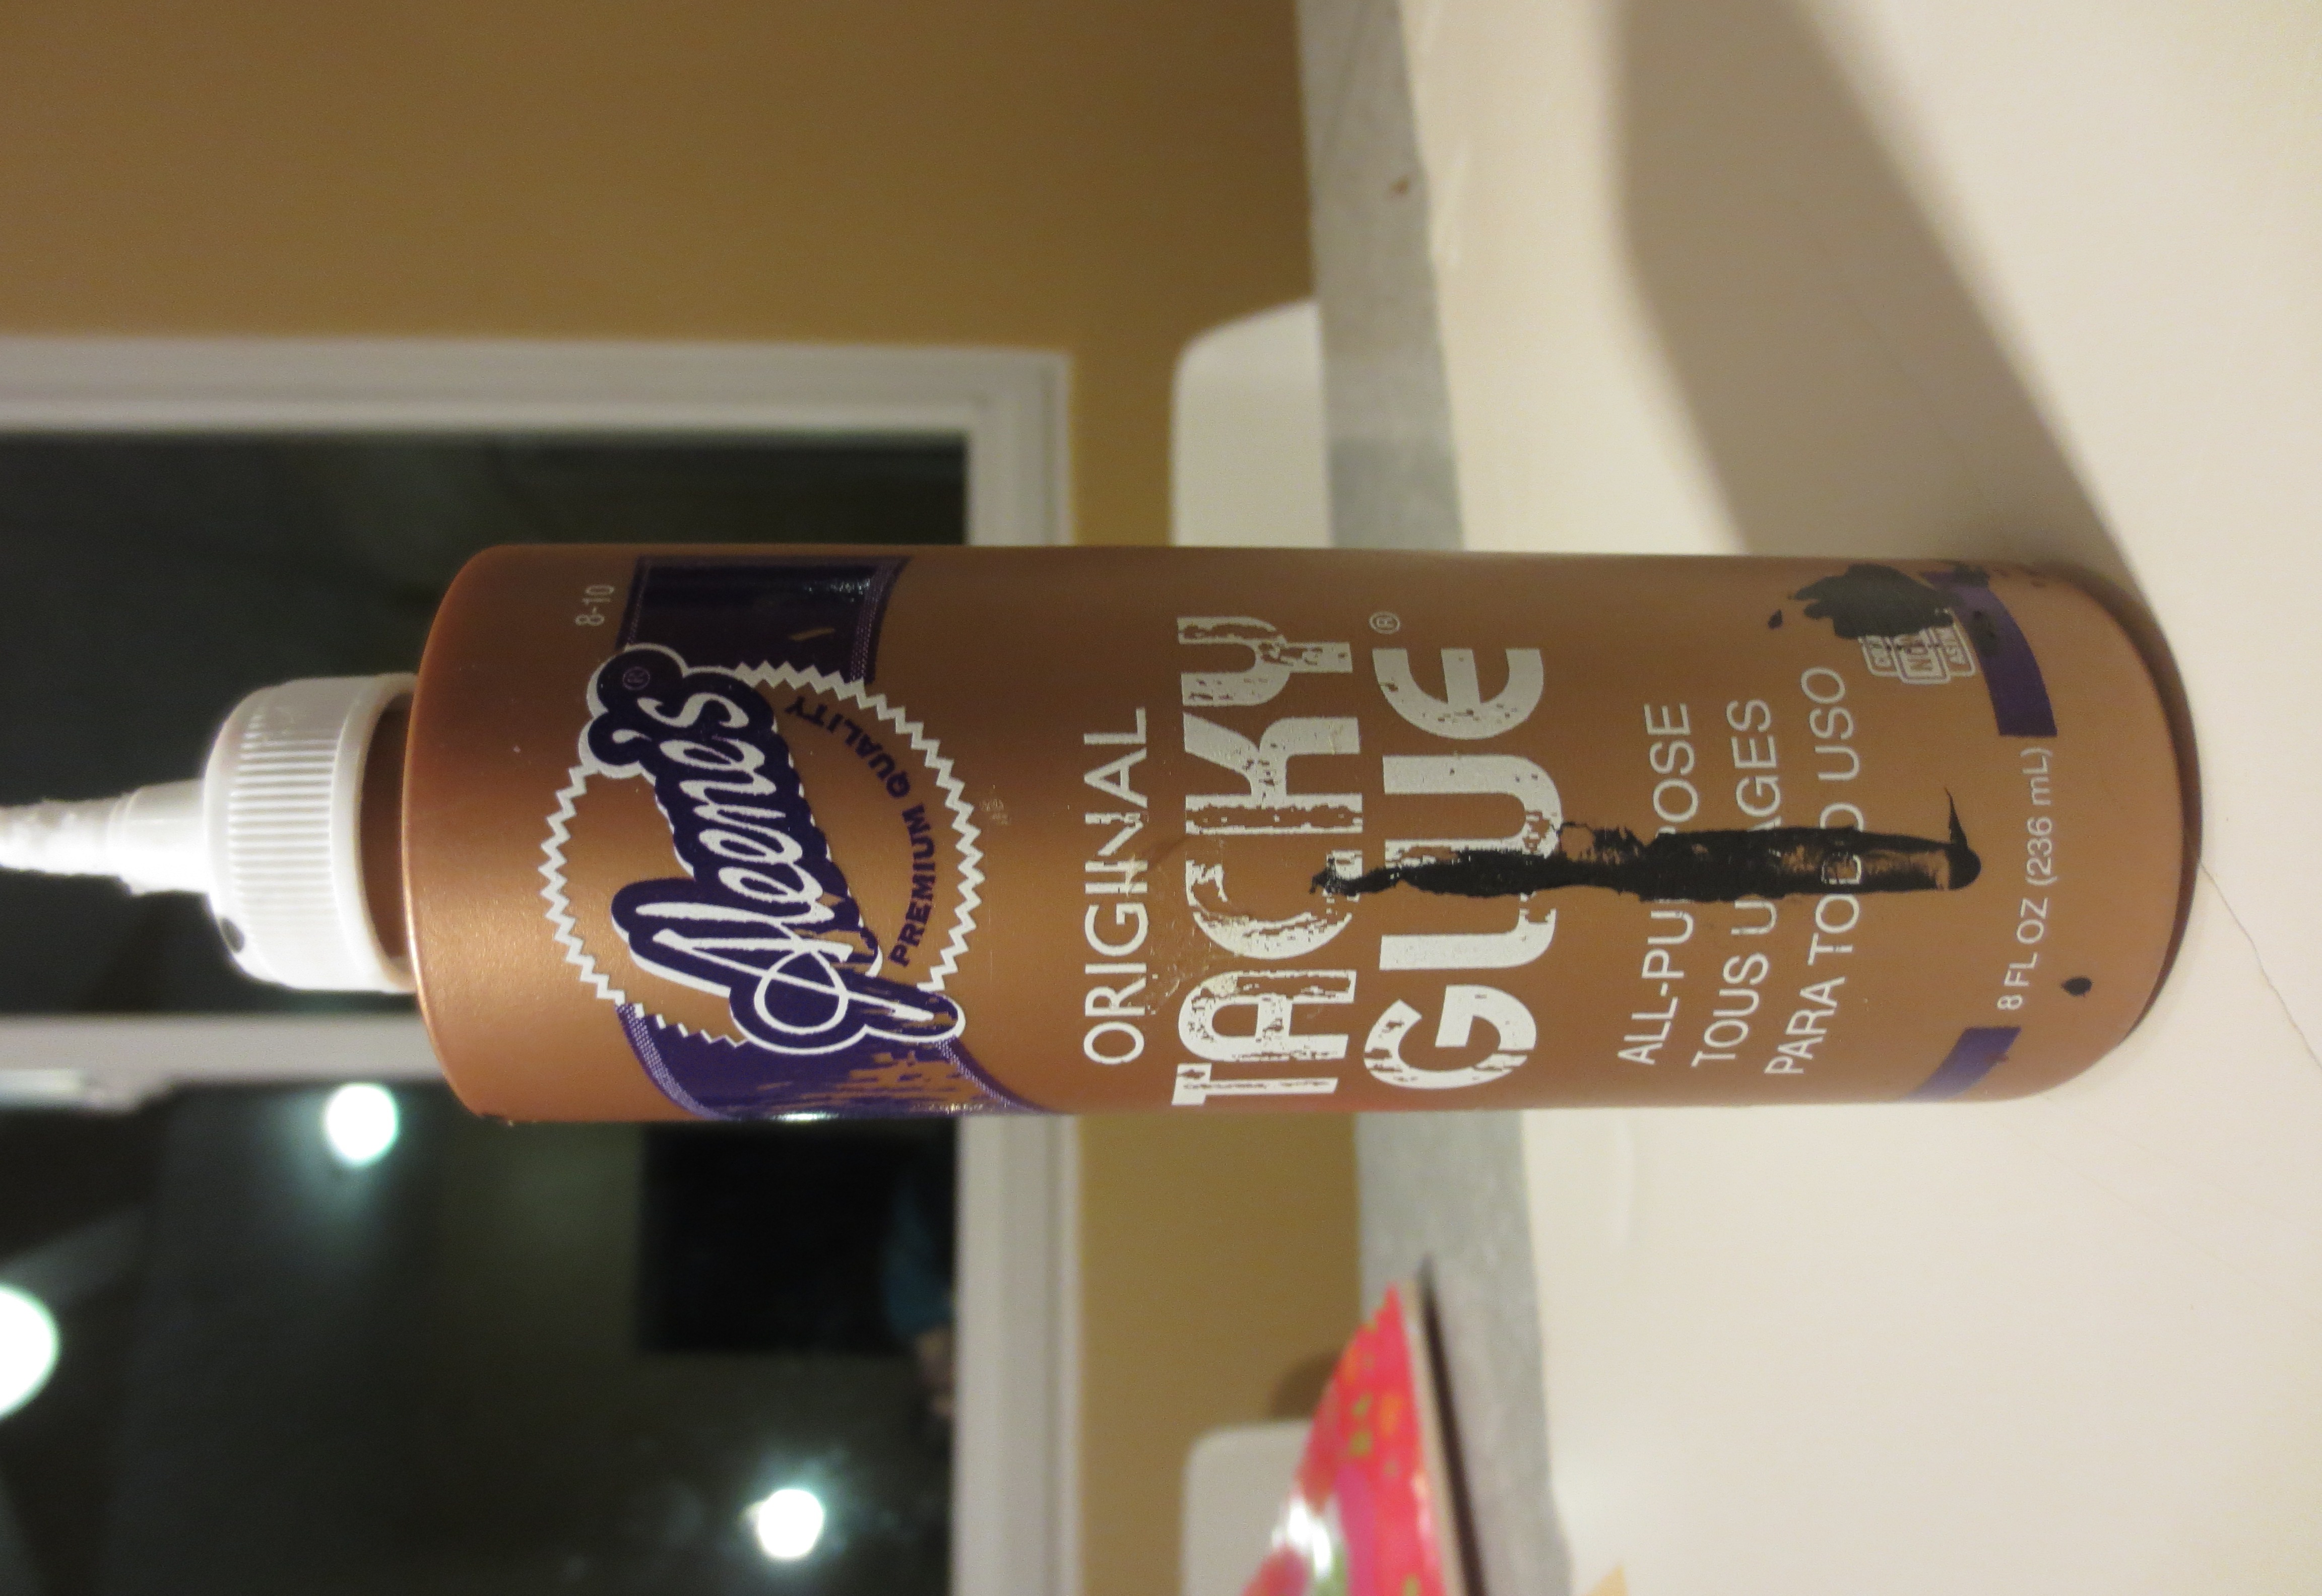 n the internet unsupervised). I used Aleene’s Tacky glue, because we had some sitting around. But the cork is so light, any glue should work. Press really hard, smooth it all out, then find a bunch of heavy things to place on top of it all. Now go to bed and finish this project tomorrow.
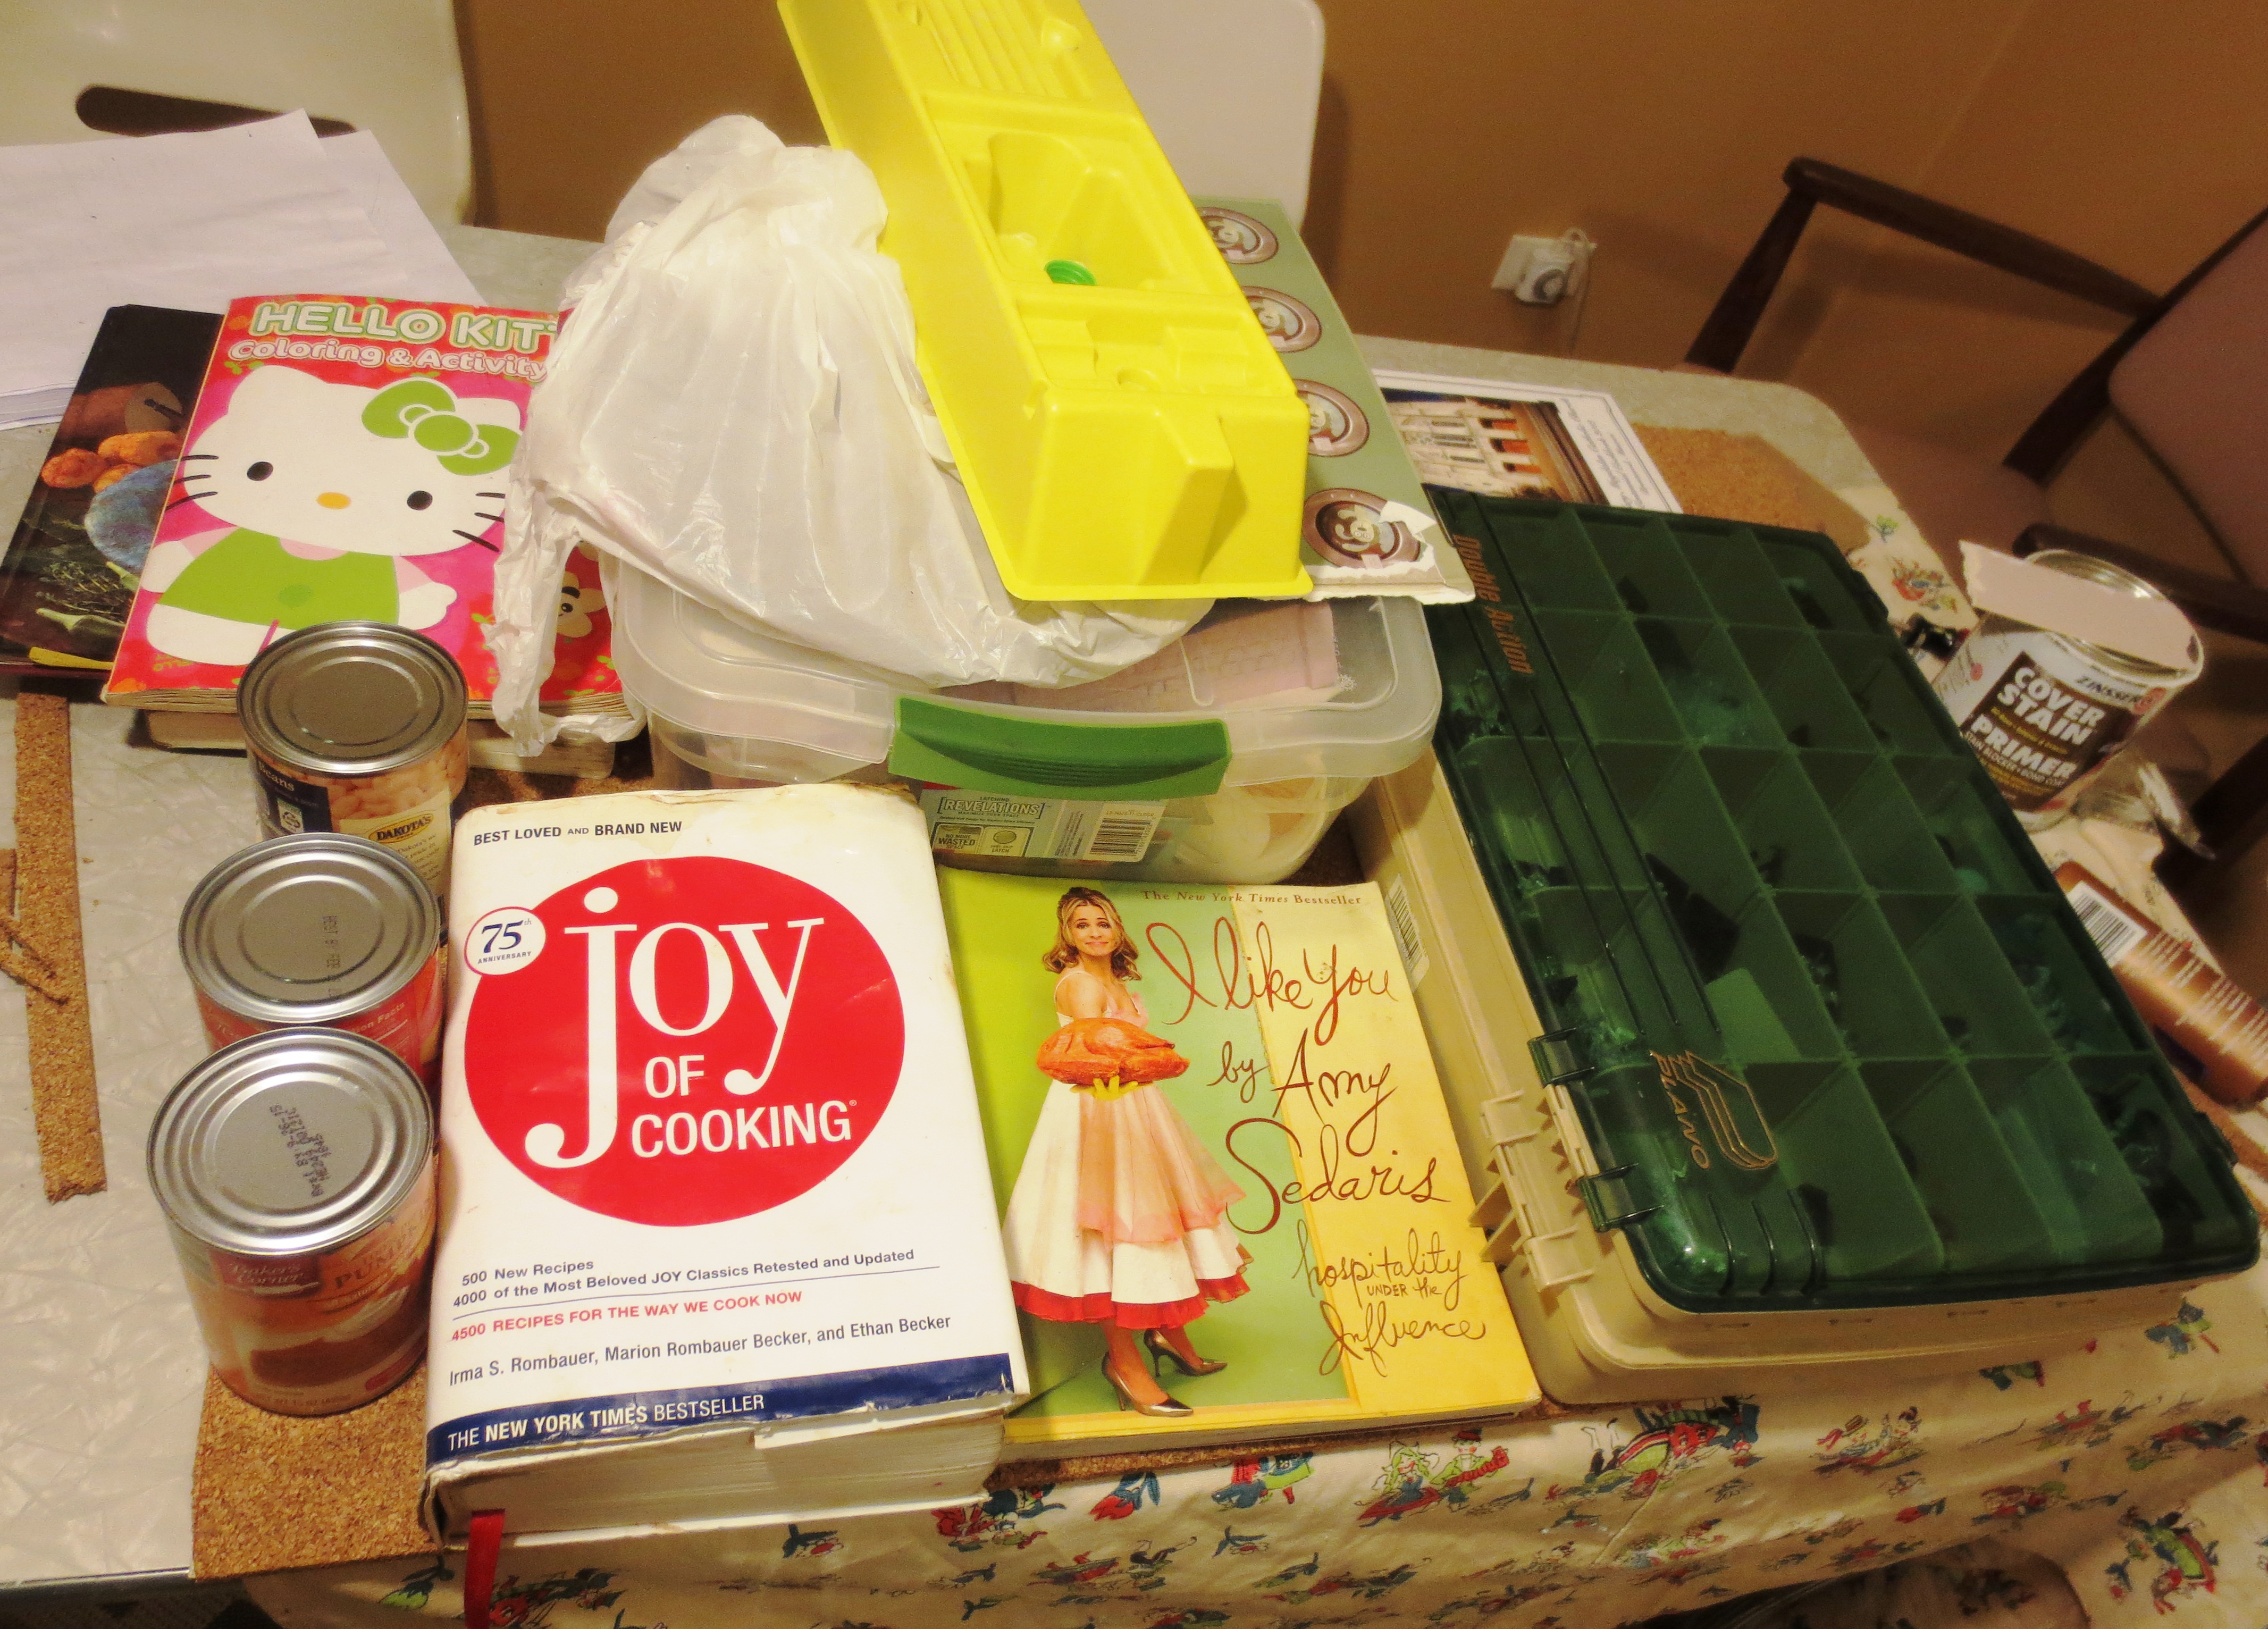
A bunch of heavy things. Note that we are not hoarders.
STEP SIX-AND-A-QUARTER: Hopefully this step won’t apply to you, but here goes. My biggest and most intact piece of Alley Cork had a big bite taken out of it. So like a good dentist or battlefield surgeon, I cleaned out the wound and cut it into a square shape. Then I cut a same-sized piece from another piece of cork, and glued it into place.
Arrow indicates the precise site of bite mark
You can still see the little patch in the finished project, but eventually this will all be covered in art work and detention notices.
STEP SEVEN: Paint the cork. This step is also optional, but it adds such pizazz to the project, I don’t think you should skip it. Also, the paint will help to mask that musty alley smell. Also, I think the color of natural cork is kind of ugly.
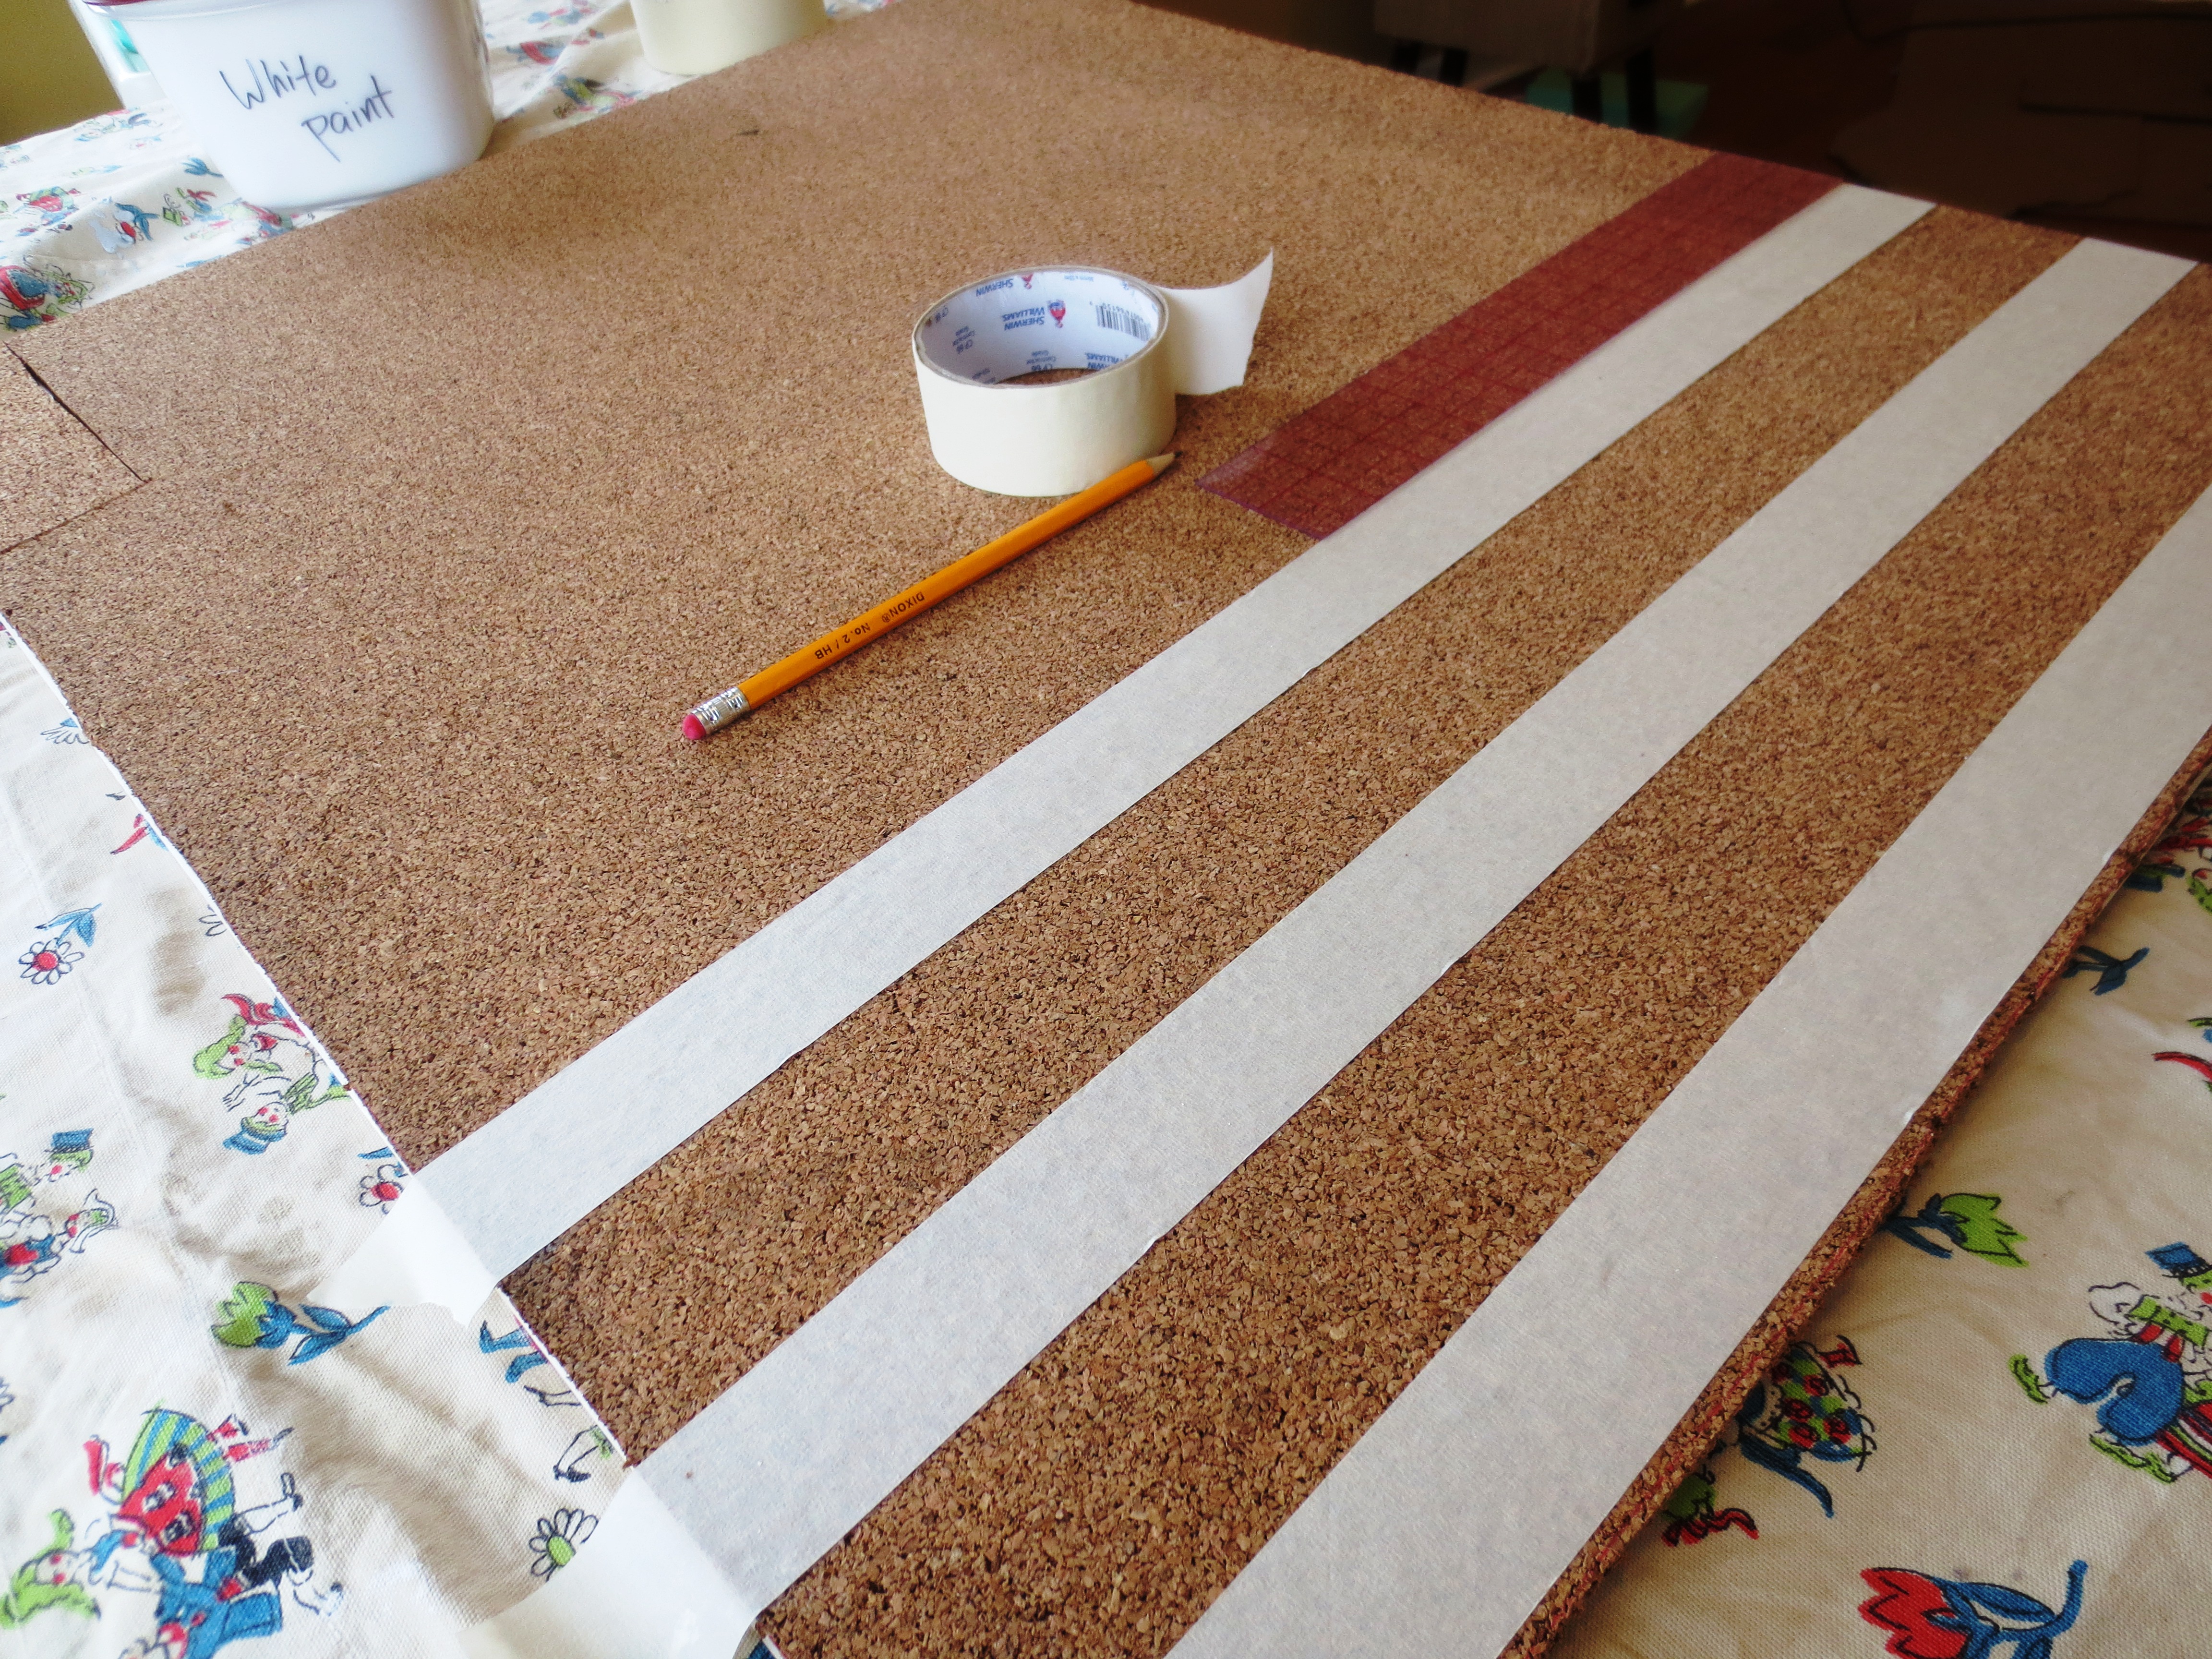
Originally, I planned to paint to cork in alternating grey and white stripes. I used masking tape to make the stripes, and a ruler to measure the distance between them.
 Then I painted over the tape, using leftover grey paint from our bedroom. You can use a brush, but a roller is much faster.
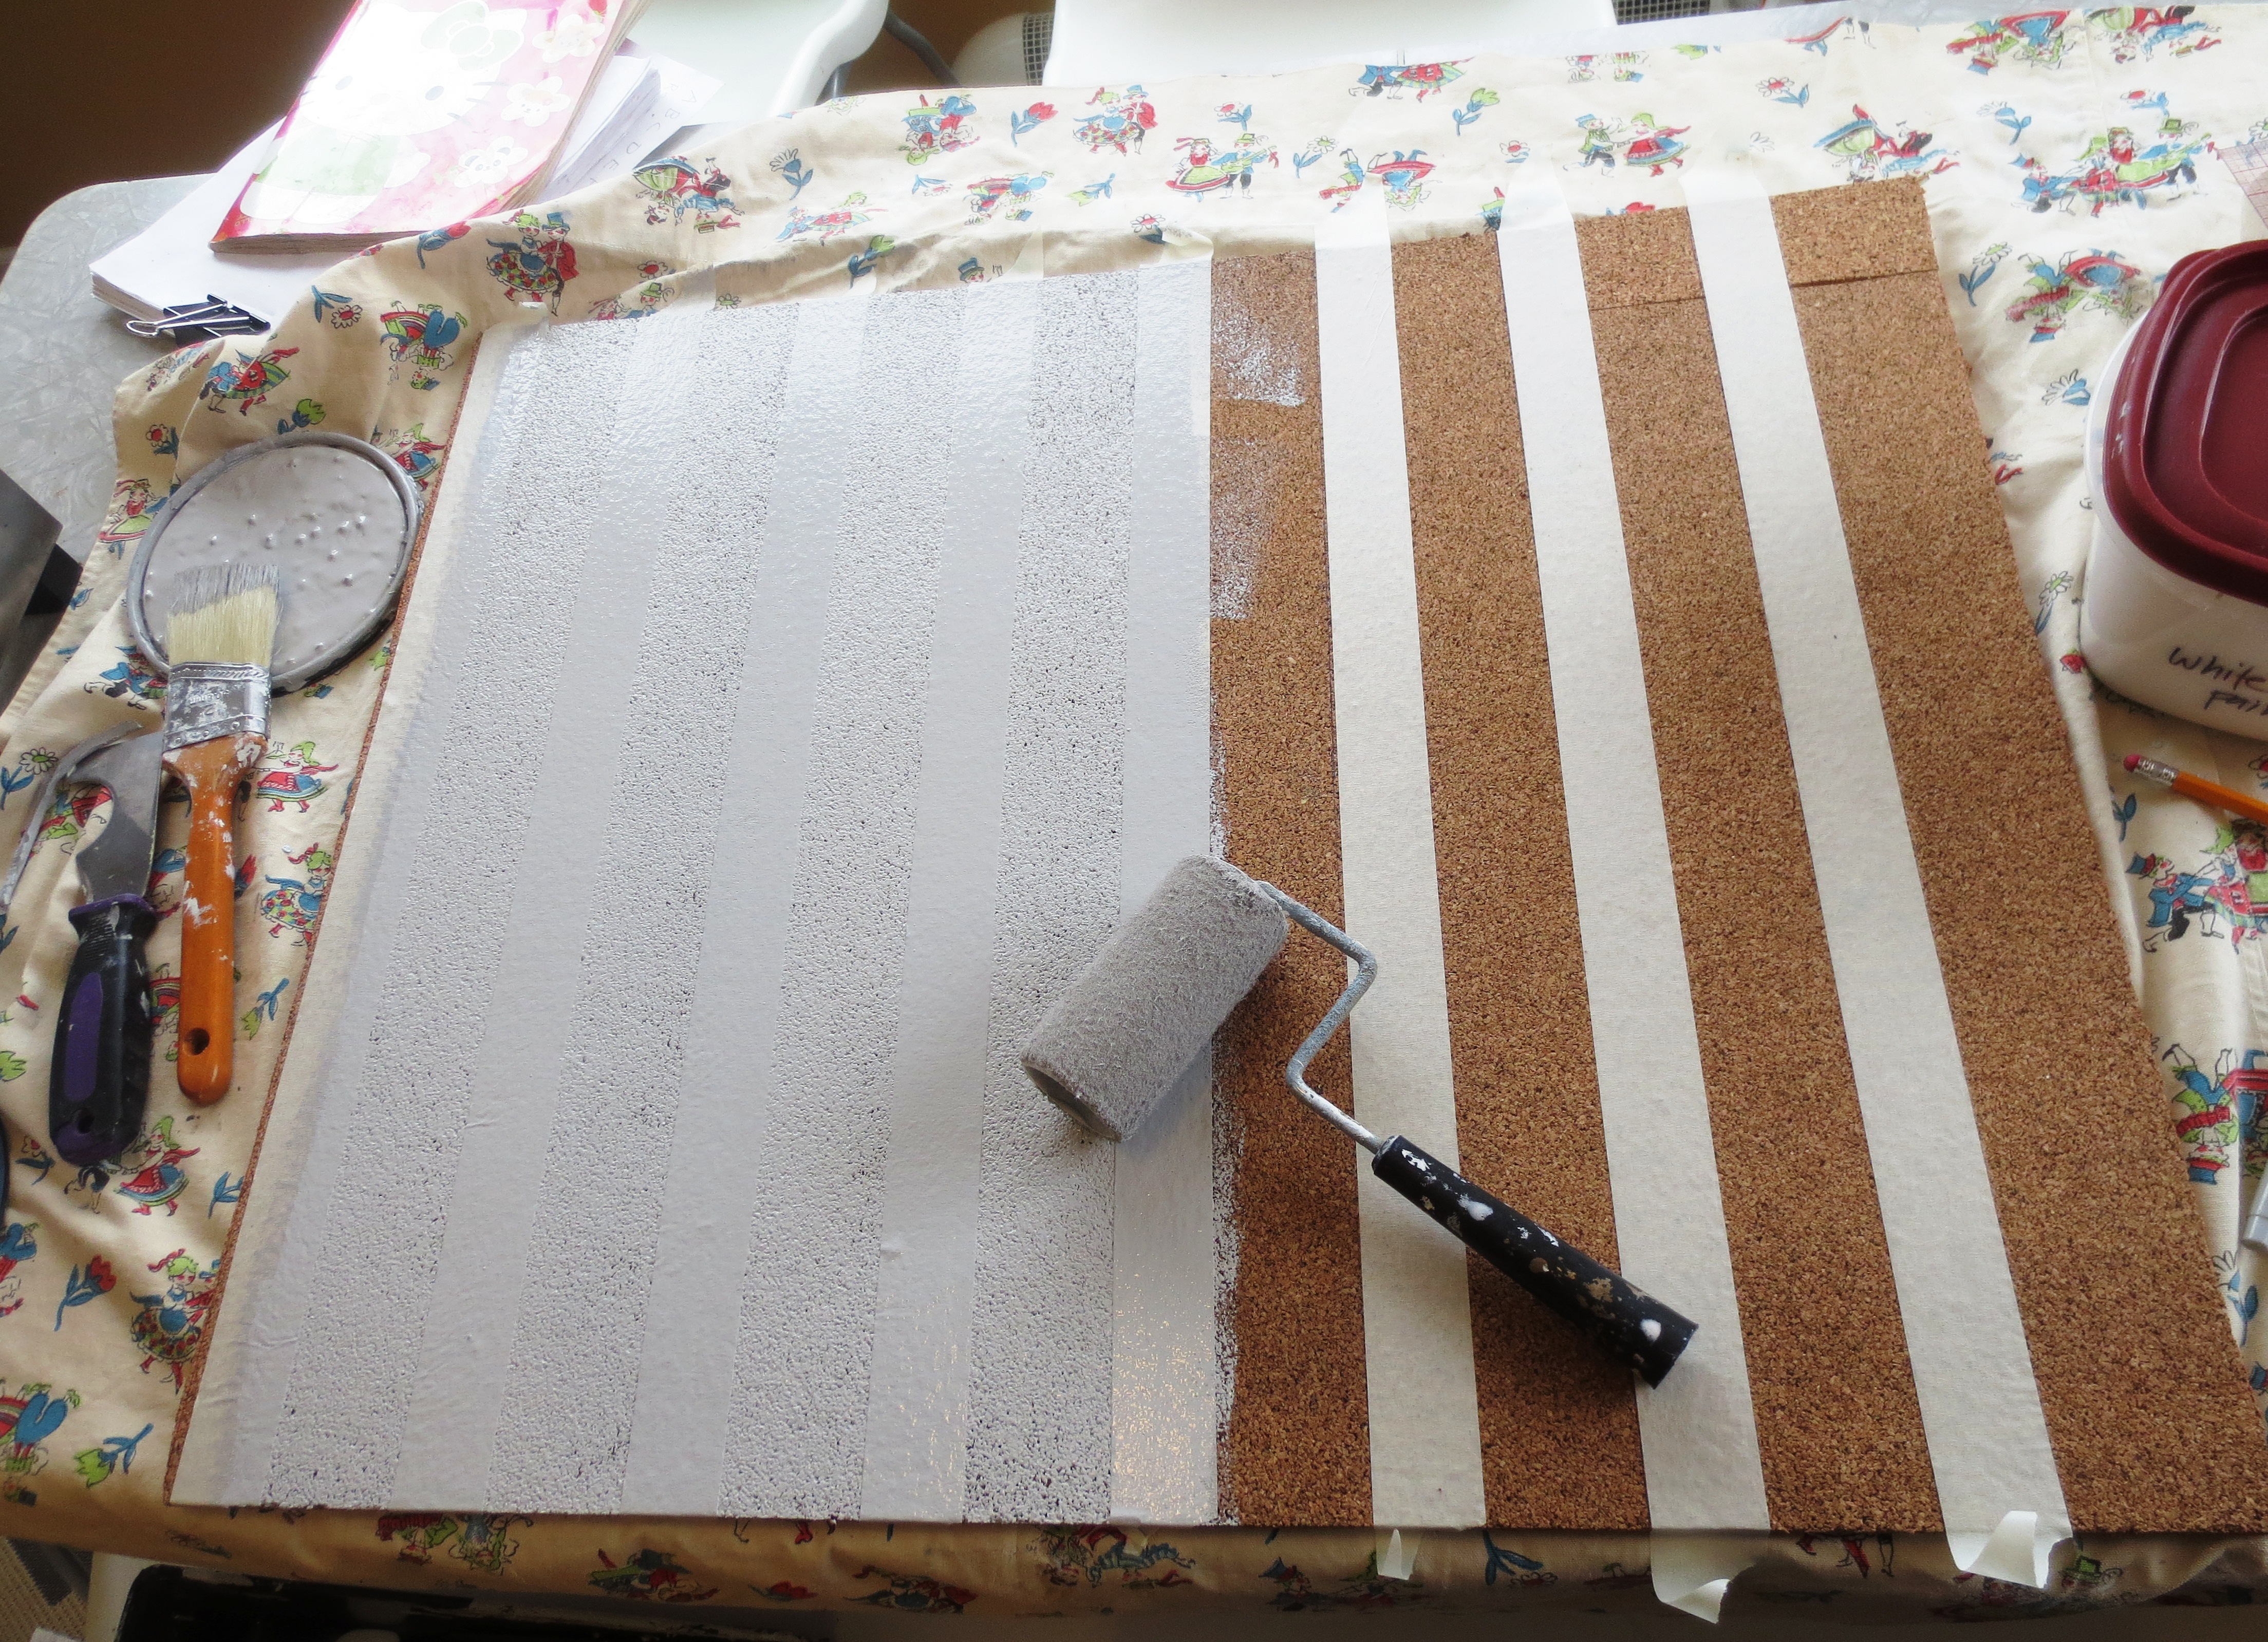
When painting, I use the curtains from my childhood bedroom as a dropcloth. It’s cheaper than therapy.
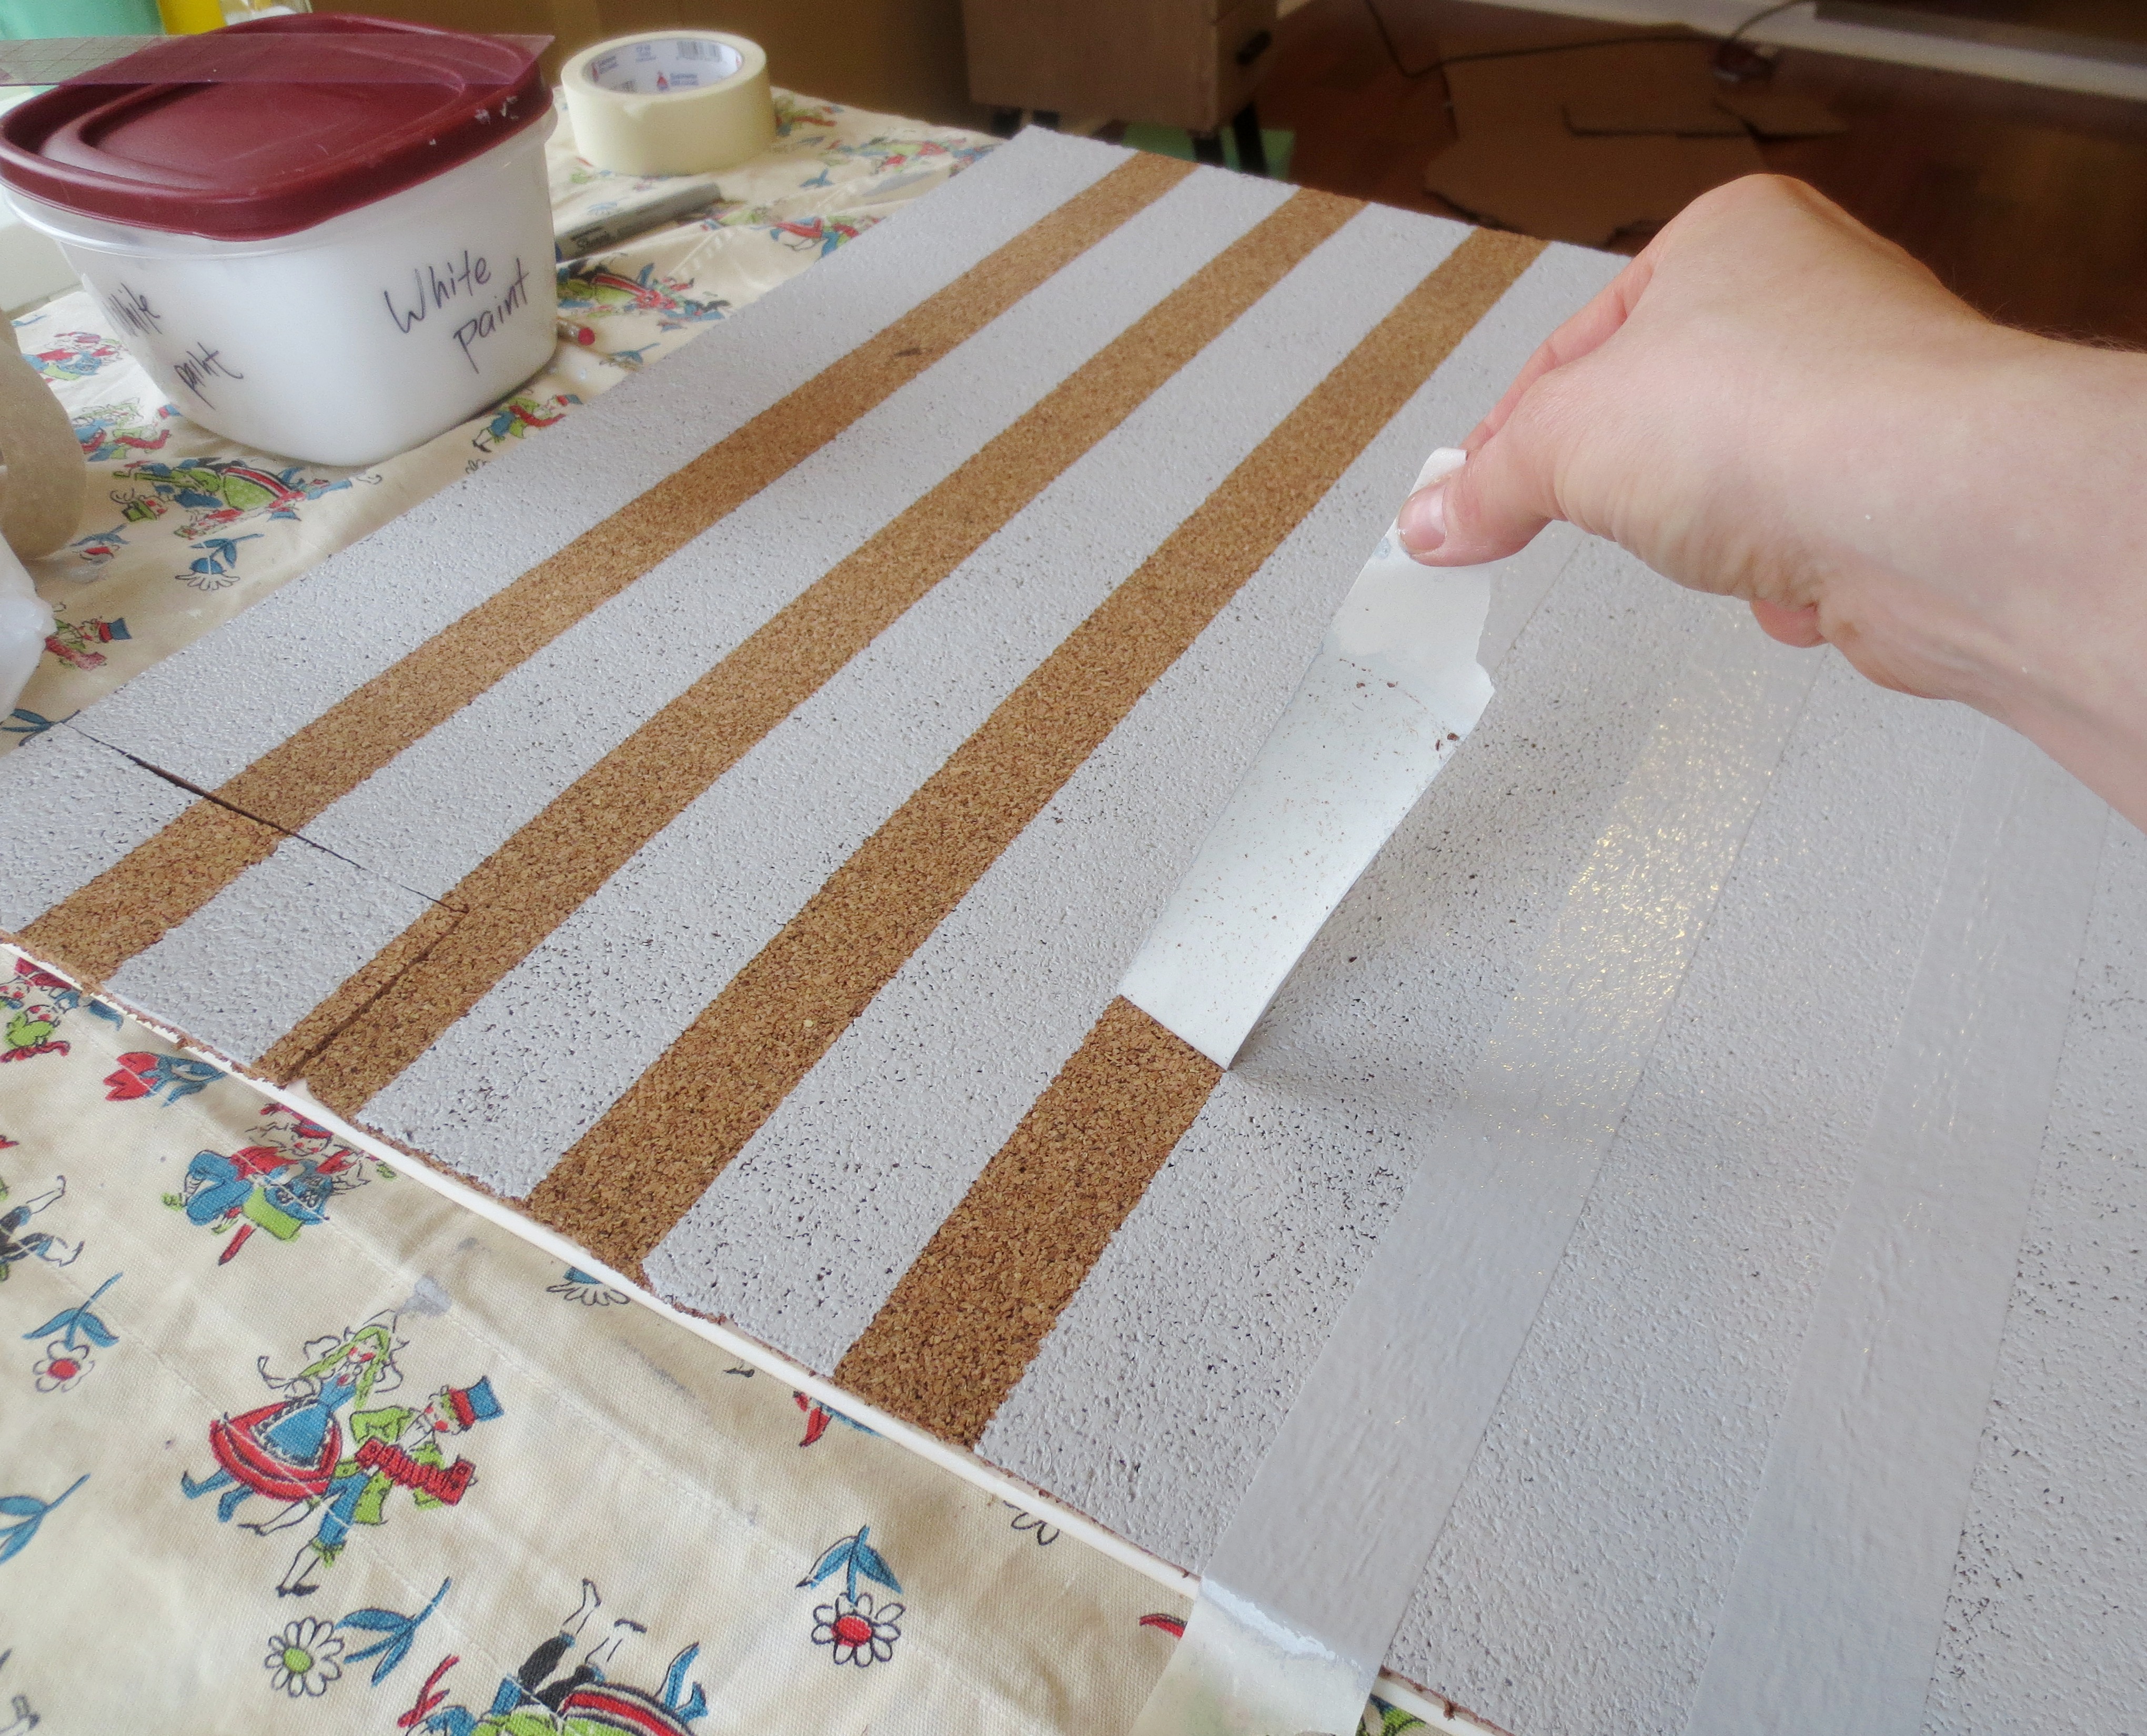
Be sure to pull the tape up right away so it doesn’t stick to the soft, crumbly cork. After this step, I was so happy with the results, I just stopped there and skipped the white paint. Also I was tired and wanted to eat lunch.
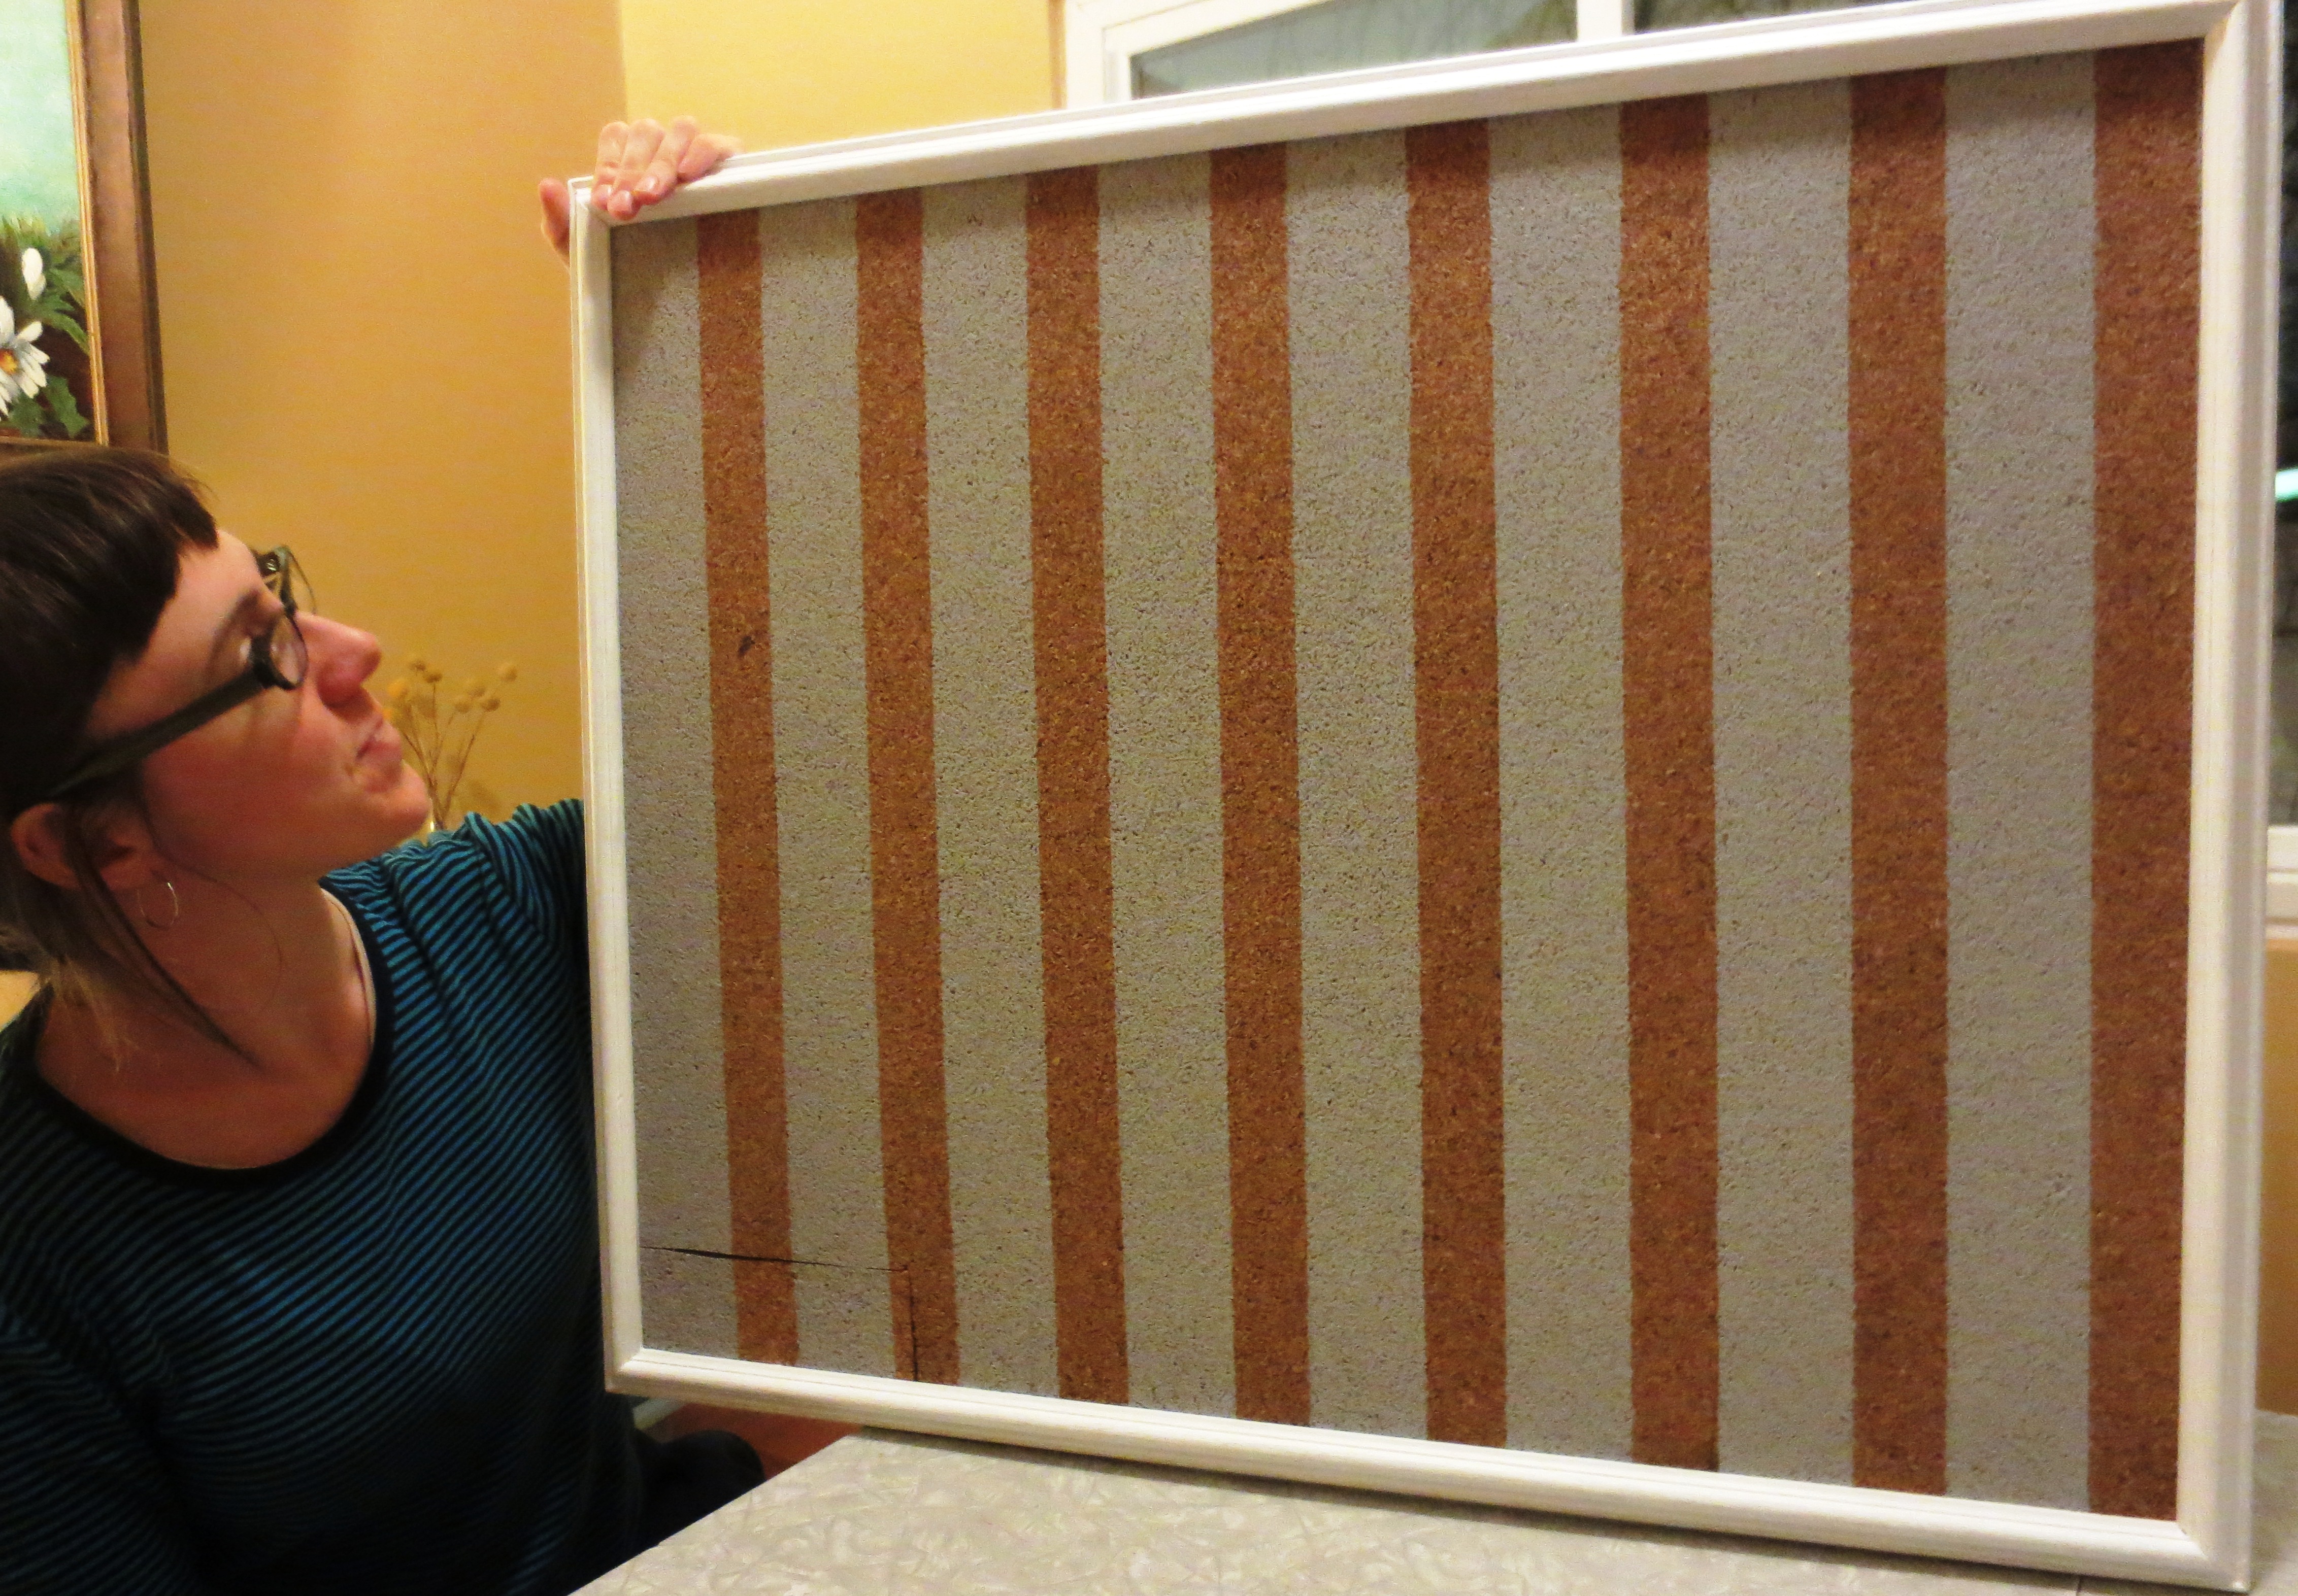
Good enough!
STEP EIGHT: If you used a frame like mine, you’ll need to insert the cork and board back into the frame. I had to trim a bit of stray cork from the edges with an exacto knife to make it fit. Use the flat-head screwdriver to push the staples back into place, securing the board into the frame.
STEP NINE: Make your husband take a picture of you with your amazing new trash-based bulletin board. Then hang it on the wall and fill it with your crappy kids’ art!
The fact that I’m wearing the same shirt in all these pictures could indicate that this is a one-day project.
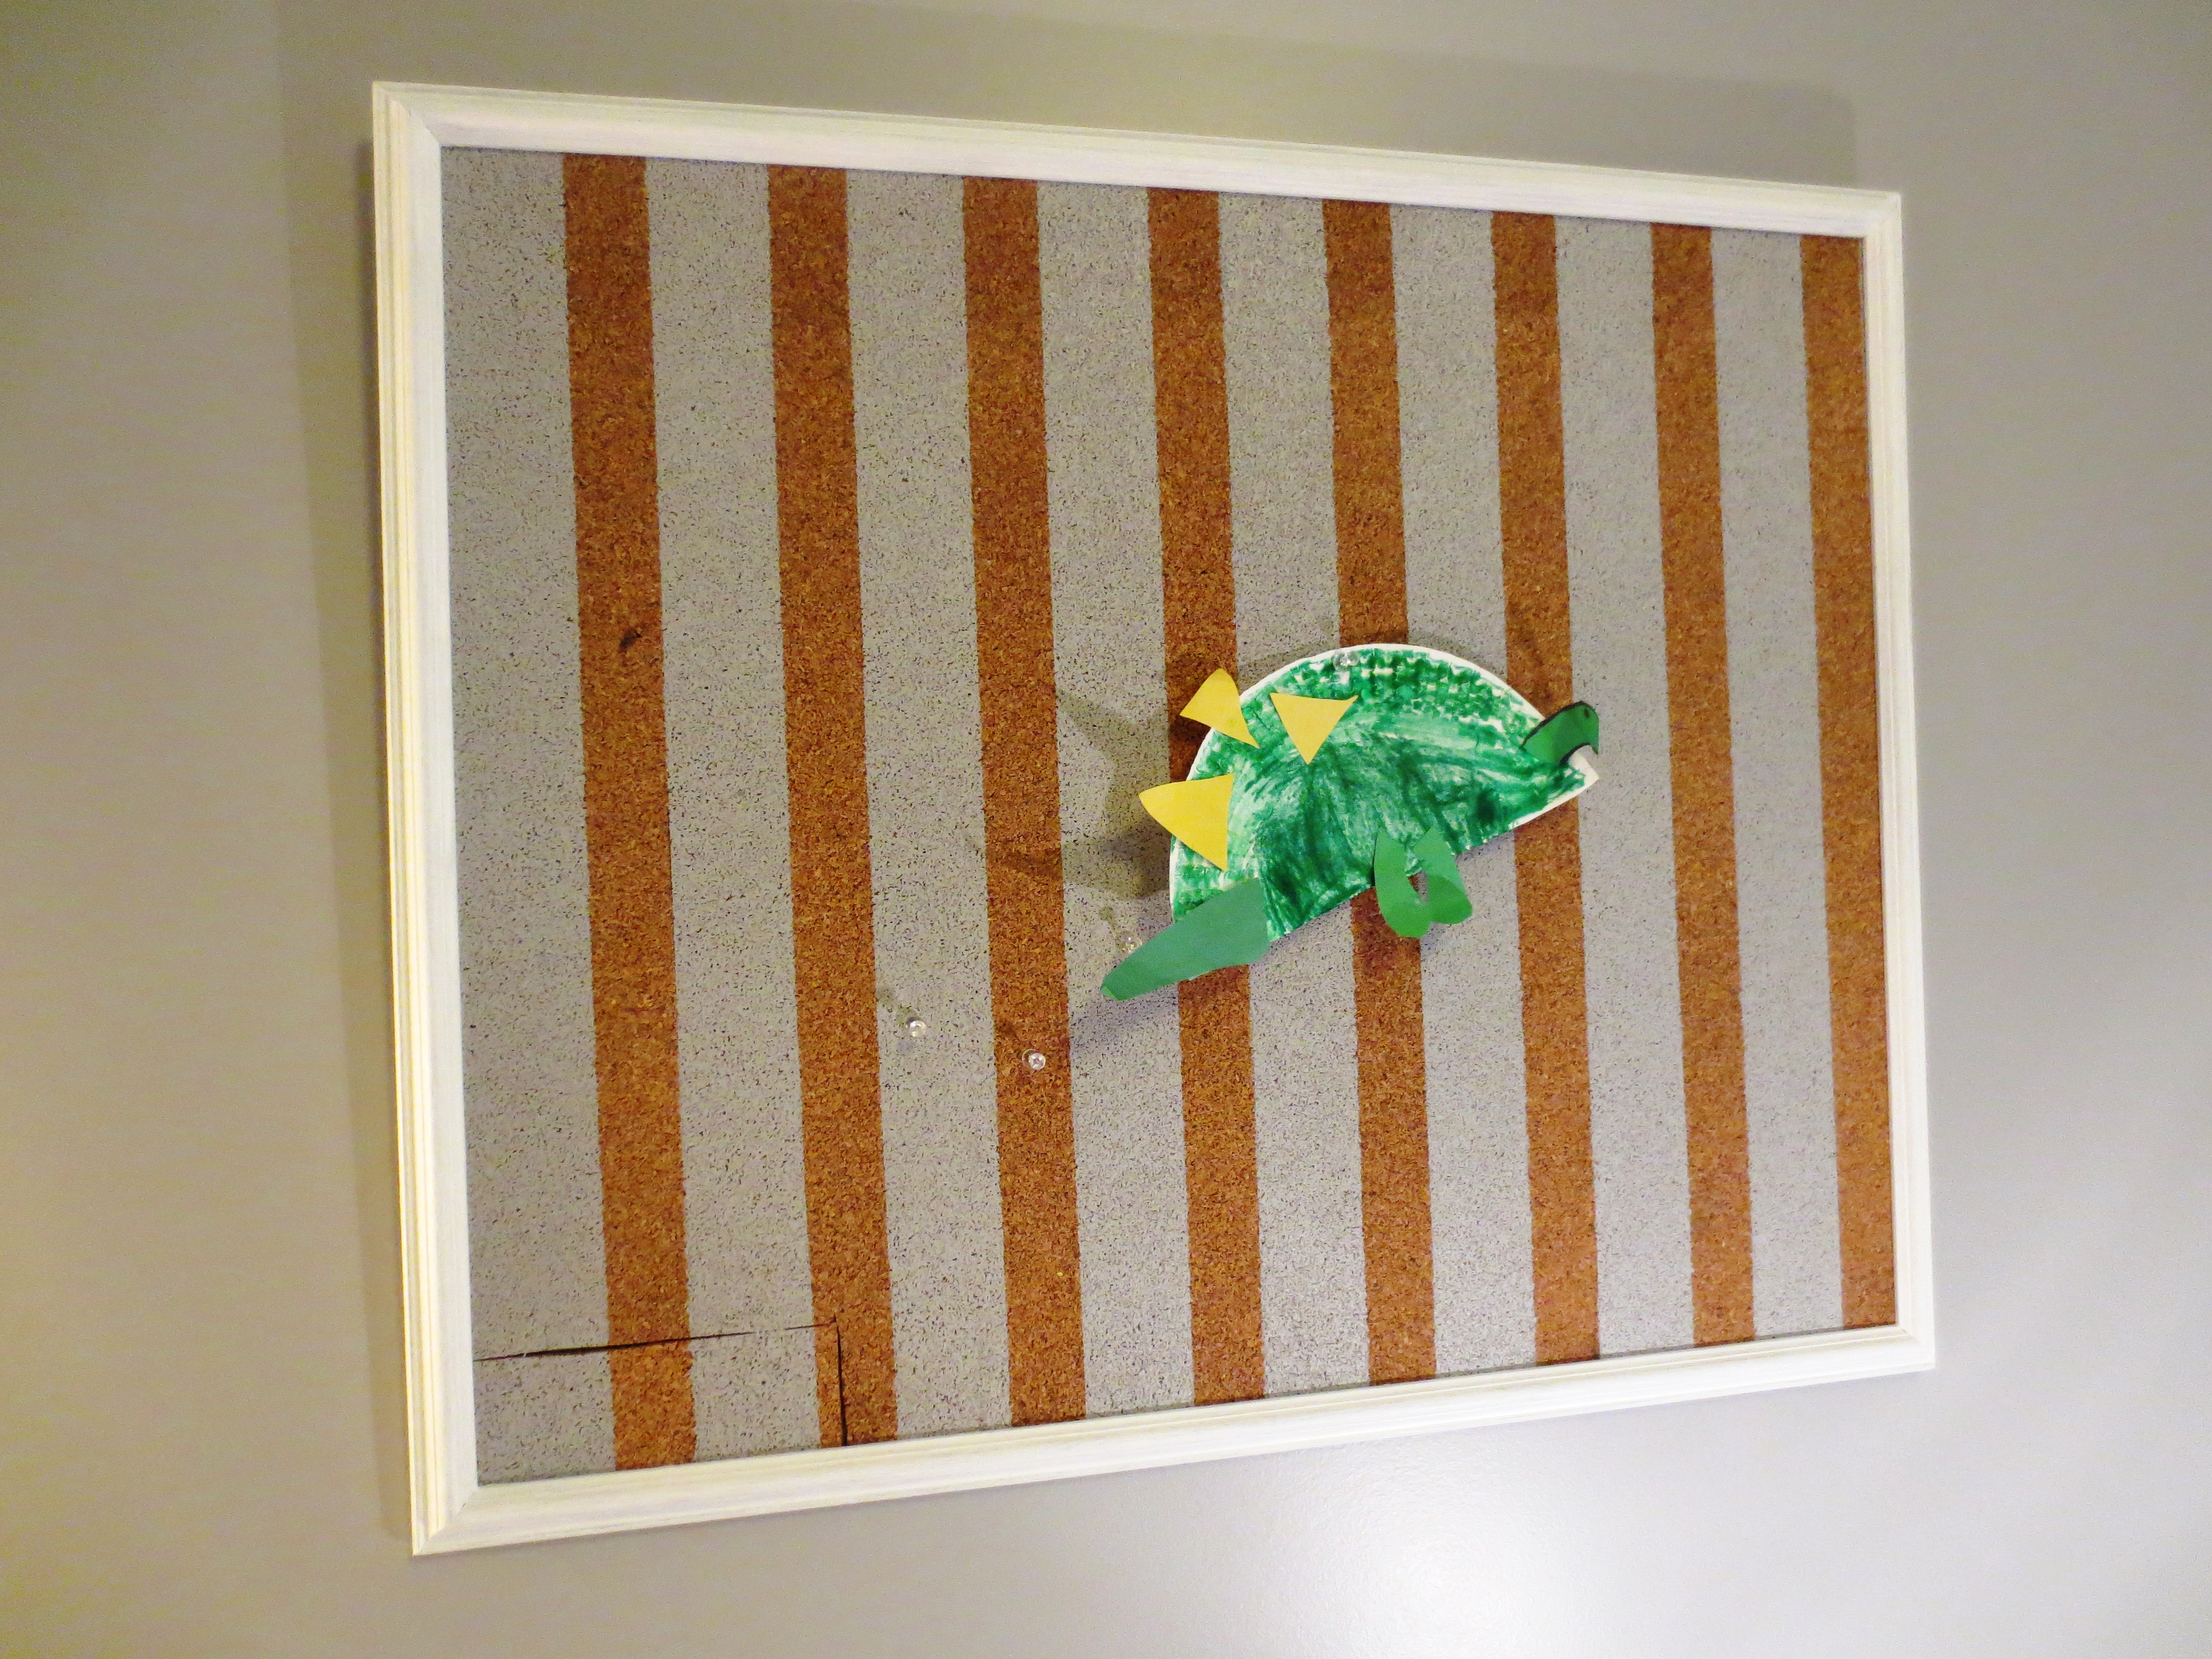
Look! it works.
*Expert = me.

Pingback: My Grandpa, the Outsider Artist | projectophile
Pingback: D.I.Y. Vertically Inegrated Produce Storage System (Hanging Fruit Basket) | projectophile