When I was a little girl, I dreamed of getting that doll whose hair you could cut over and over again. Inside her little doll head was an endless mane of golden hair, just waiting to be cut and styled. Snip it any way you like, and then just pull more out of her scalp and repeat.
Sadly, no one ever bought me that doll (probably because it didn’t actually exist).
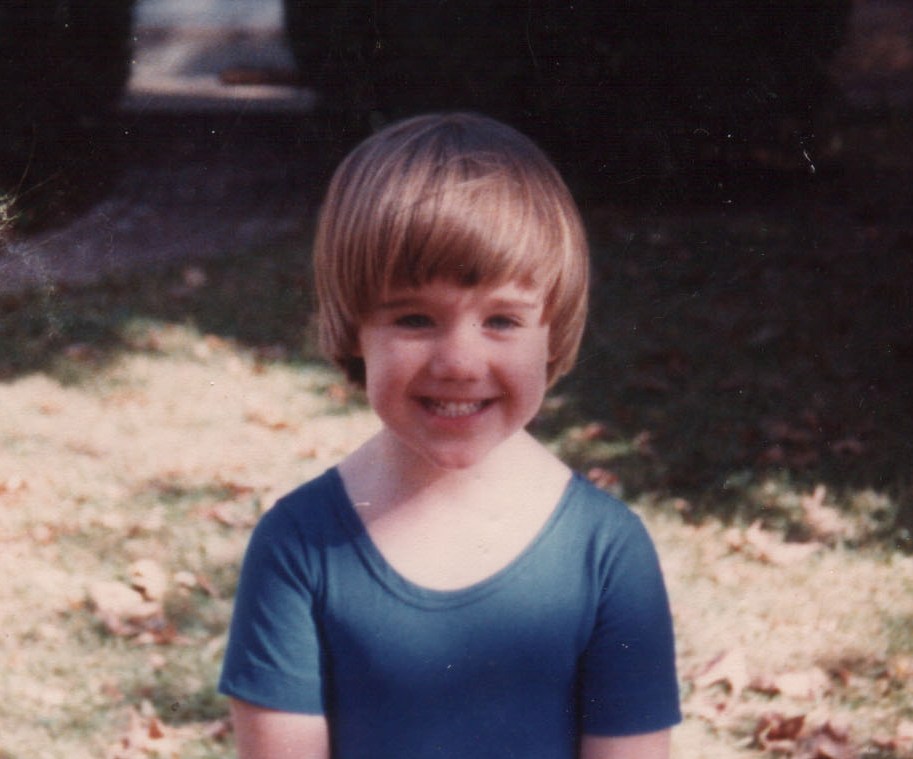
Me at exactly the same age Estelle is now, during the Golden Age of DIY bowl cuts.
But now I have my own! Her name is Estelle and she is three years old. I get to cut her hair, and then like magic, it grows back again.
I suppose I could take her to a Beauty Professional, but I can’t pass up an opportunity to be both cheap and creative. Besides, my mom cut my hair for most of my childhood. If it was good enough for me, then, well… you see where this is going.
And on a purely practical level—short hair is the only rational response to toddler hygiene. On a typical day, I might find one or more of the following substances woven into my children’s hair: jelly, bananas, spaghetti, glue, pancake syrup (only on weekends), hummus, stamps, boogers, sushi rice or hard candy (for children 3 or older).

A different child, expressing himself with chili
Before we begin the tutorial, my legal team needs me to say that I am not a professional beautician, I have no formal beauty training, I’ve never even watched a YouTube video on the subject. In short, I cannot be held responsible for what you do to your own children.
The four magic words to remember —it will grow back.
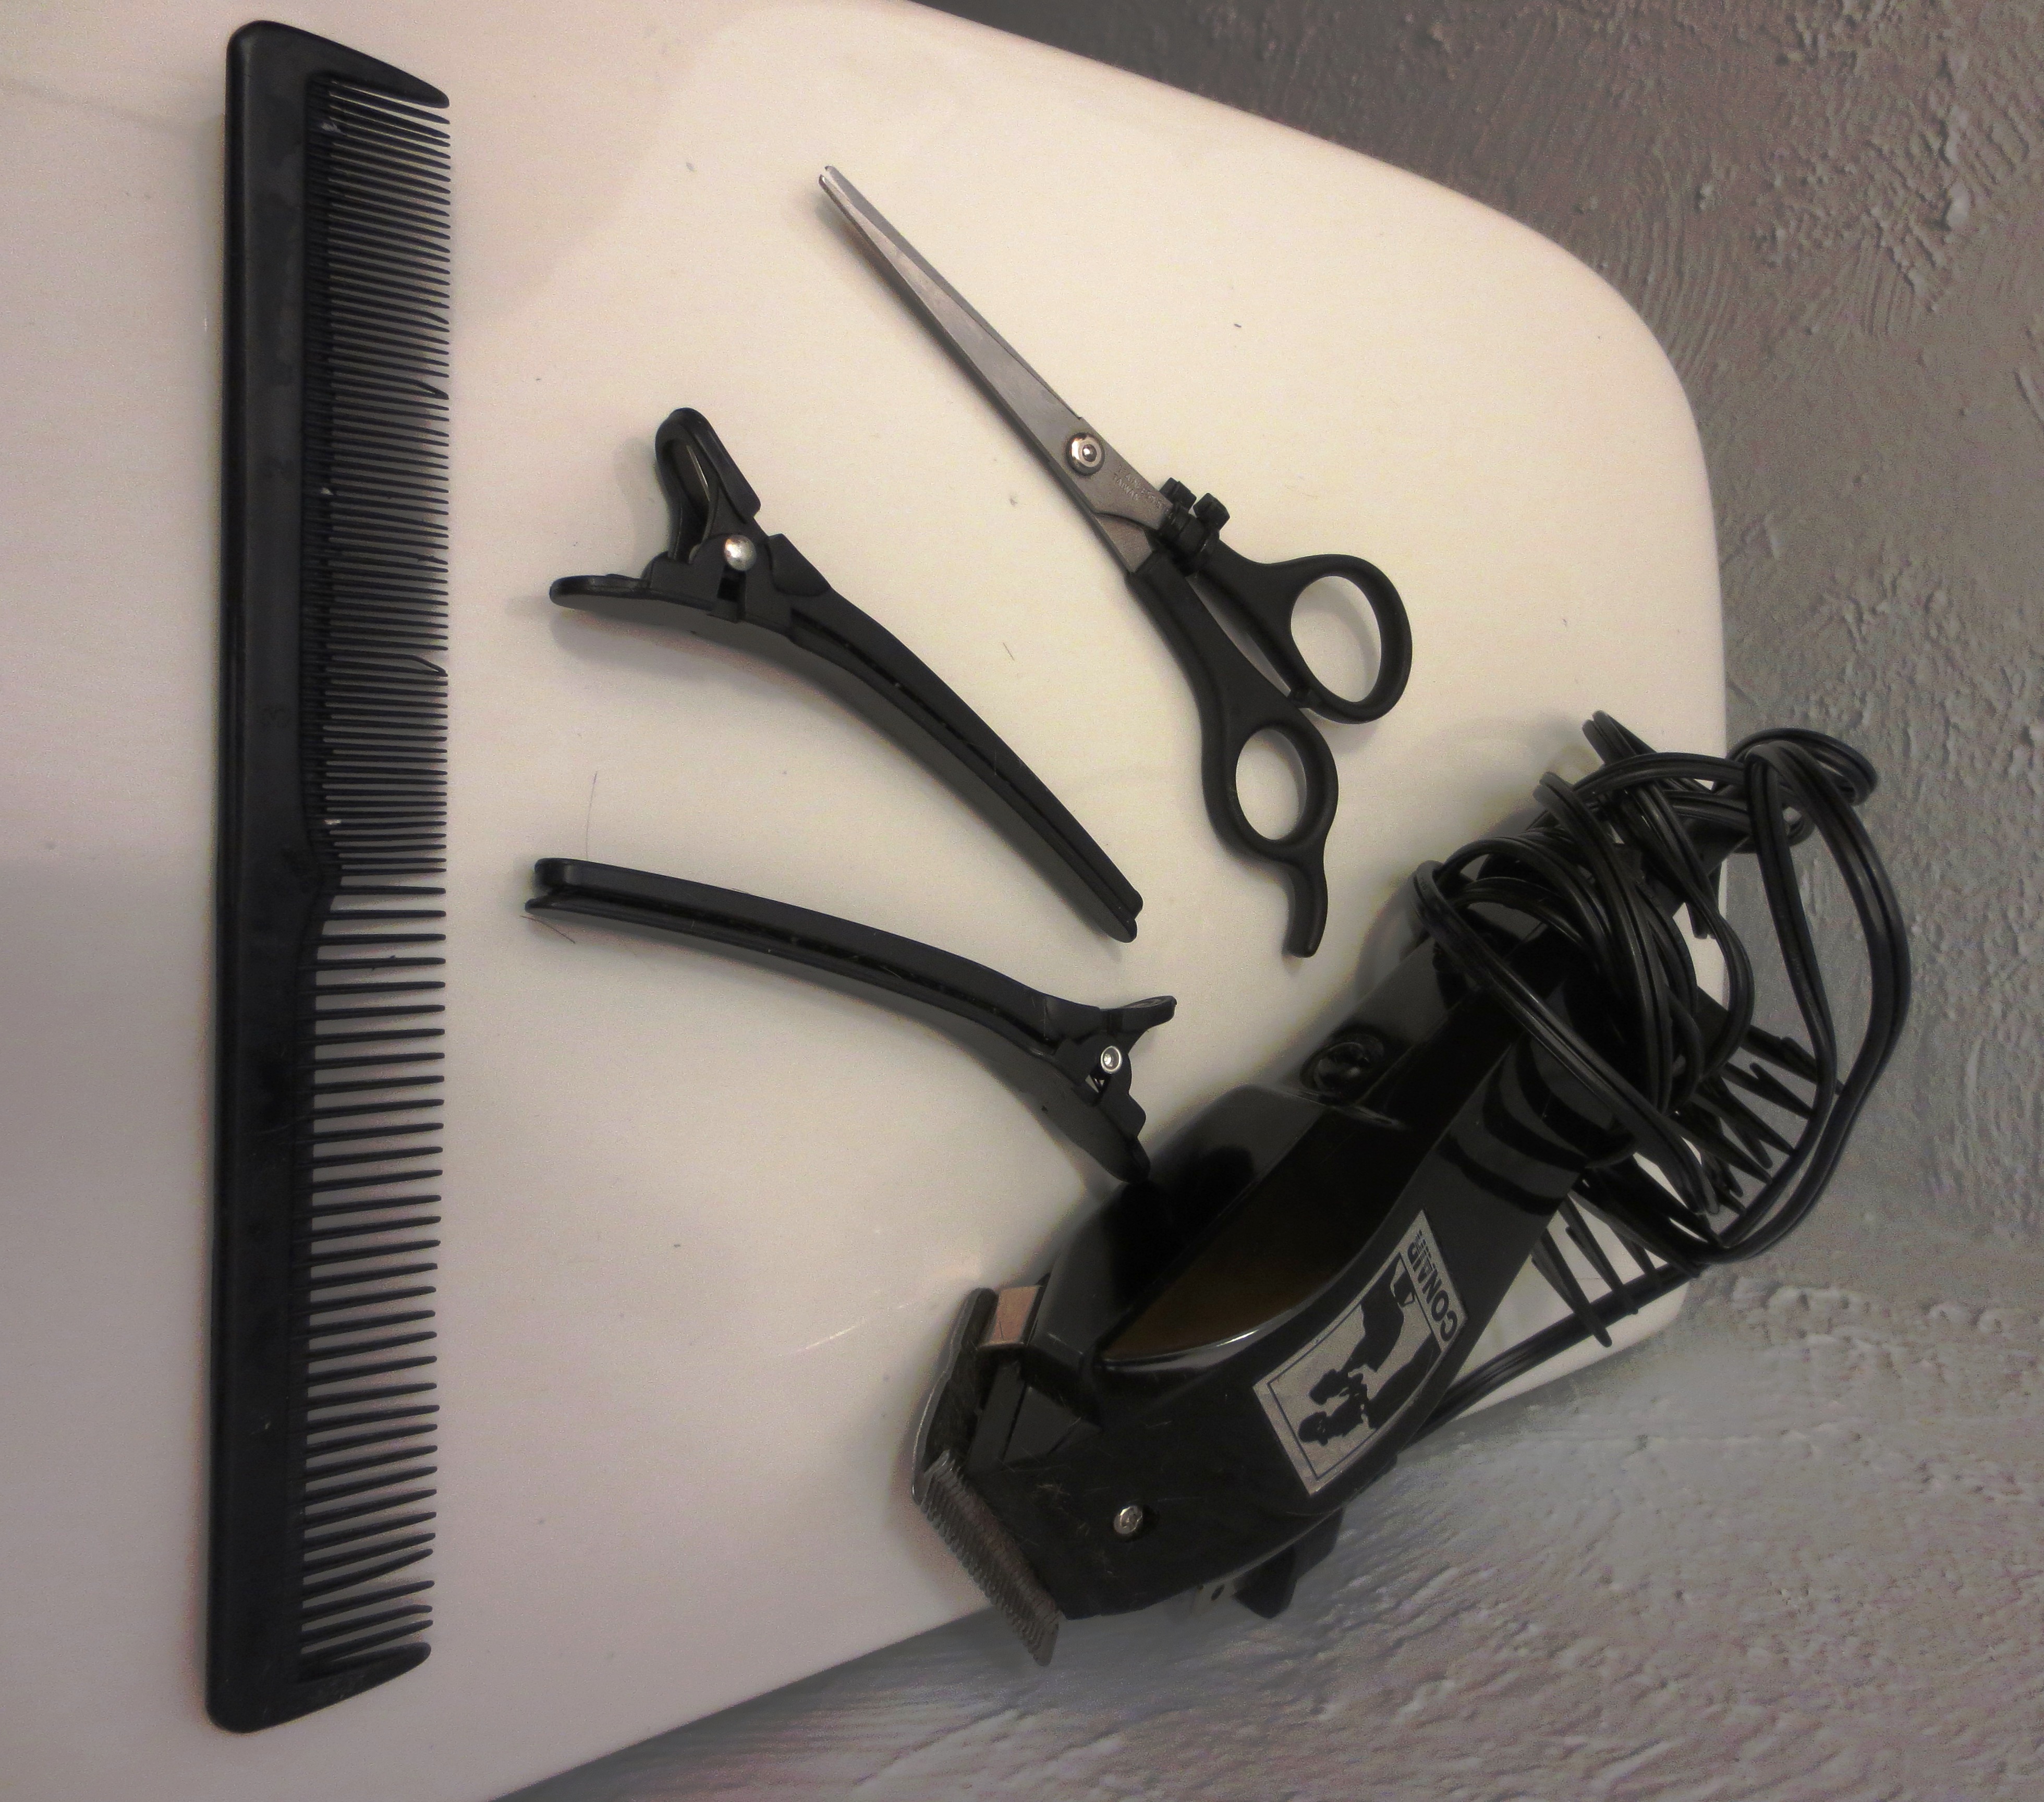
TOOLS:
- Comfortable chair; a high chair is good for little ones. For bigger
 ones, anything low-backed to give you easy access to their head and neck.
 - Bib or towel
- Scissors – Don’t just grab some from your craft drawer. Get proper hair-cutting scissors. They’re not too expensive and are sharp enough to get the job done.
- Comb
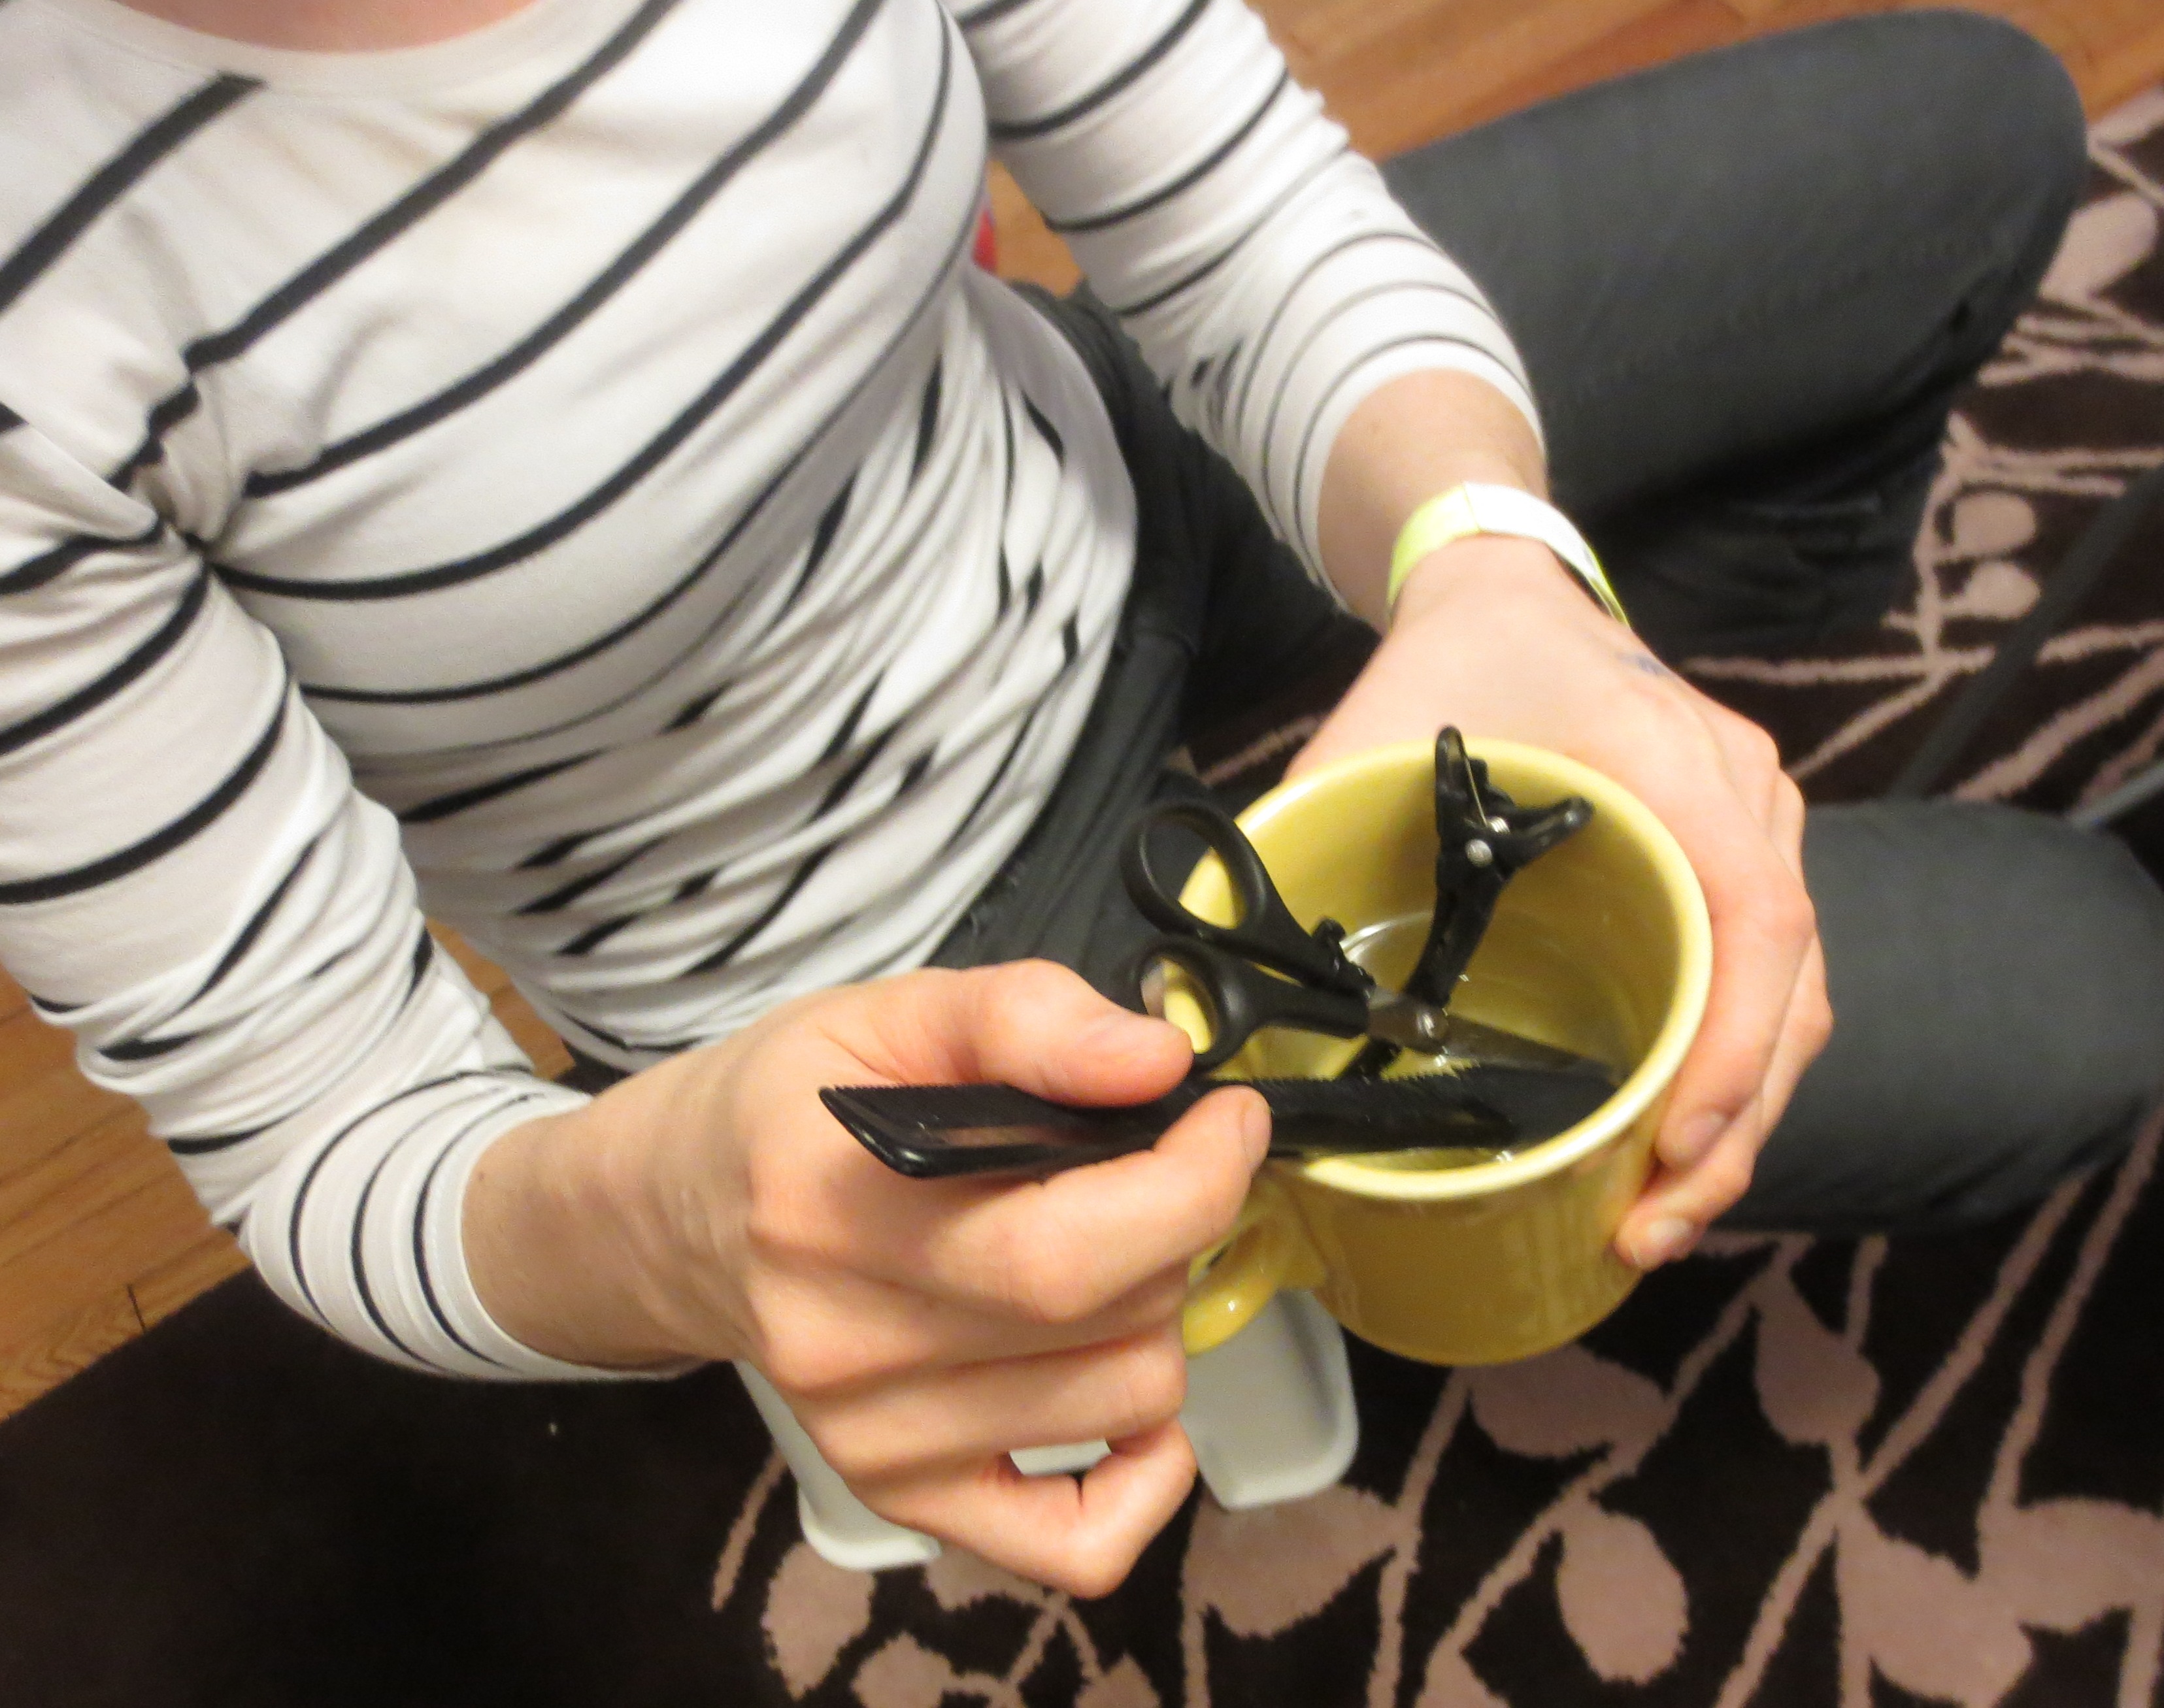
- Clip or barrette (or use a binder clip or one of those clips you use to close a bag of potato chips)
- Clippers
- Powerful Vacuum Cleaner
- TV and treats
STEP ONE: Choose your distraction
Don’t hold back – go straight for the Big One. For Estelle, it’s Thomas the Tank Engine. I could give her a neck tattoo and a frontal lobotomy and she wouldn’t notice, as long as Thomas is being a Really Useful Engine.
 And yes, this means you have to play beauty shop in the living room, or wherever you keep the TV. But really, it’s much easier to let the hair fall in the carpet and vacuum it up later. The kitchen might sound more appropriate, but do you really want all those tiny hairs drifting onto your deli platter?
Speaking of food, you may be tempted to distract your child with it. Don’t. Once I tried to distract Estelle with a slice of cake – a big one with extra frosting. She sat in her high chair, nervously picking at the cake while I snipped away. Soon all the little hairs started falling into her cake. Not surprisingly, she lost her shit – and both the haircut and the cake (the last piece!) were ruined.
STEP TWO: Prepare the victim
Sit your darling angel in the chair and fasten a bib around her neck. Go for a full towel if she can stand having her hands covered, but don’t be surprised if she gets agitated about not being able to stick her fingers in her nose or mouth. Better yet, dress her in long sleeves and pants, even a turtleneck if possible– those bits of hair feel like shards of glass to a fussy preschooler. Turn on the TV. If you’re feeling extra manipulative, place a plate of (covered) treats just out of her reach; tell her she can have one when you’re through. Dunk your comb and scissors in a cup of water to keep things a bit damp (spraying her down with a water bottle will agitate her even more).
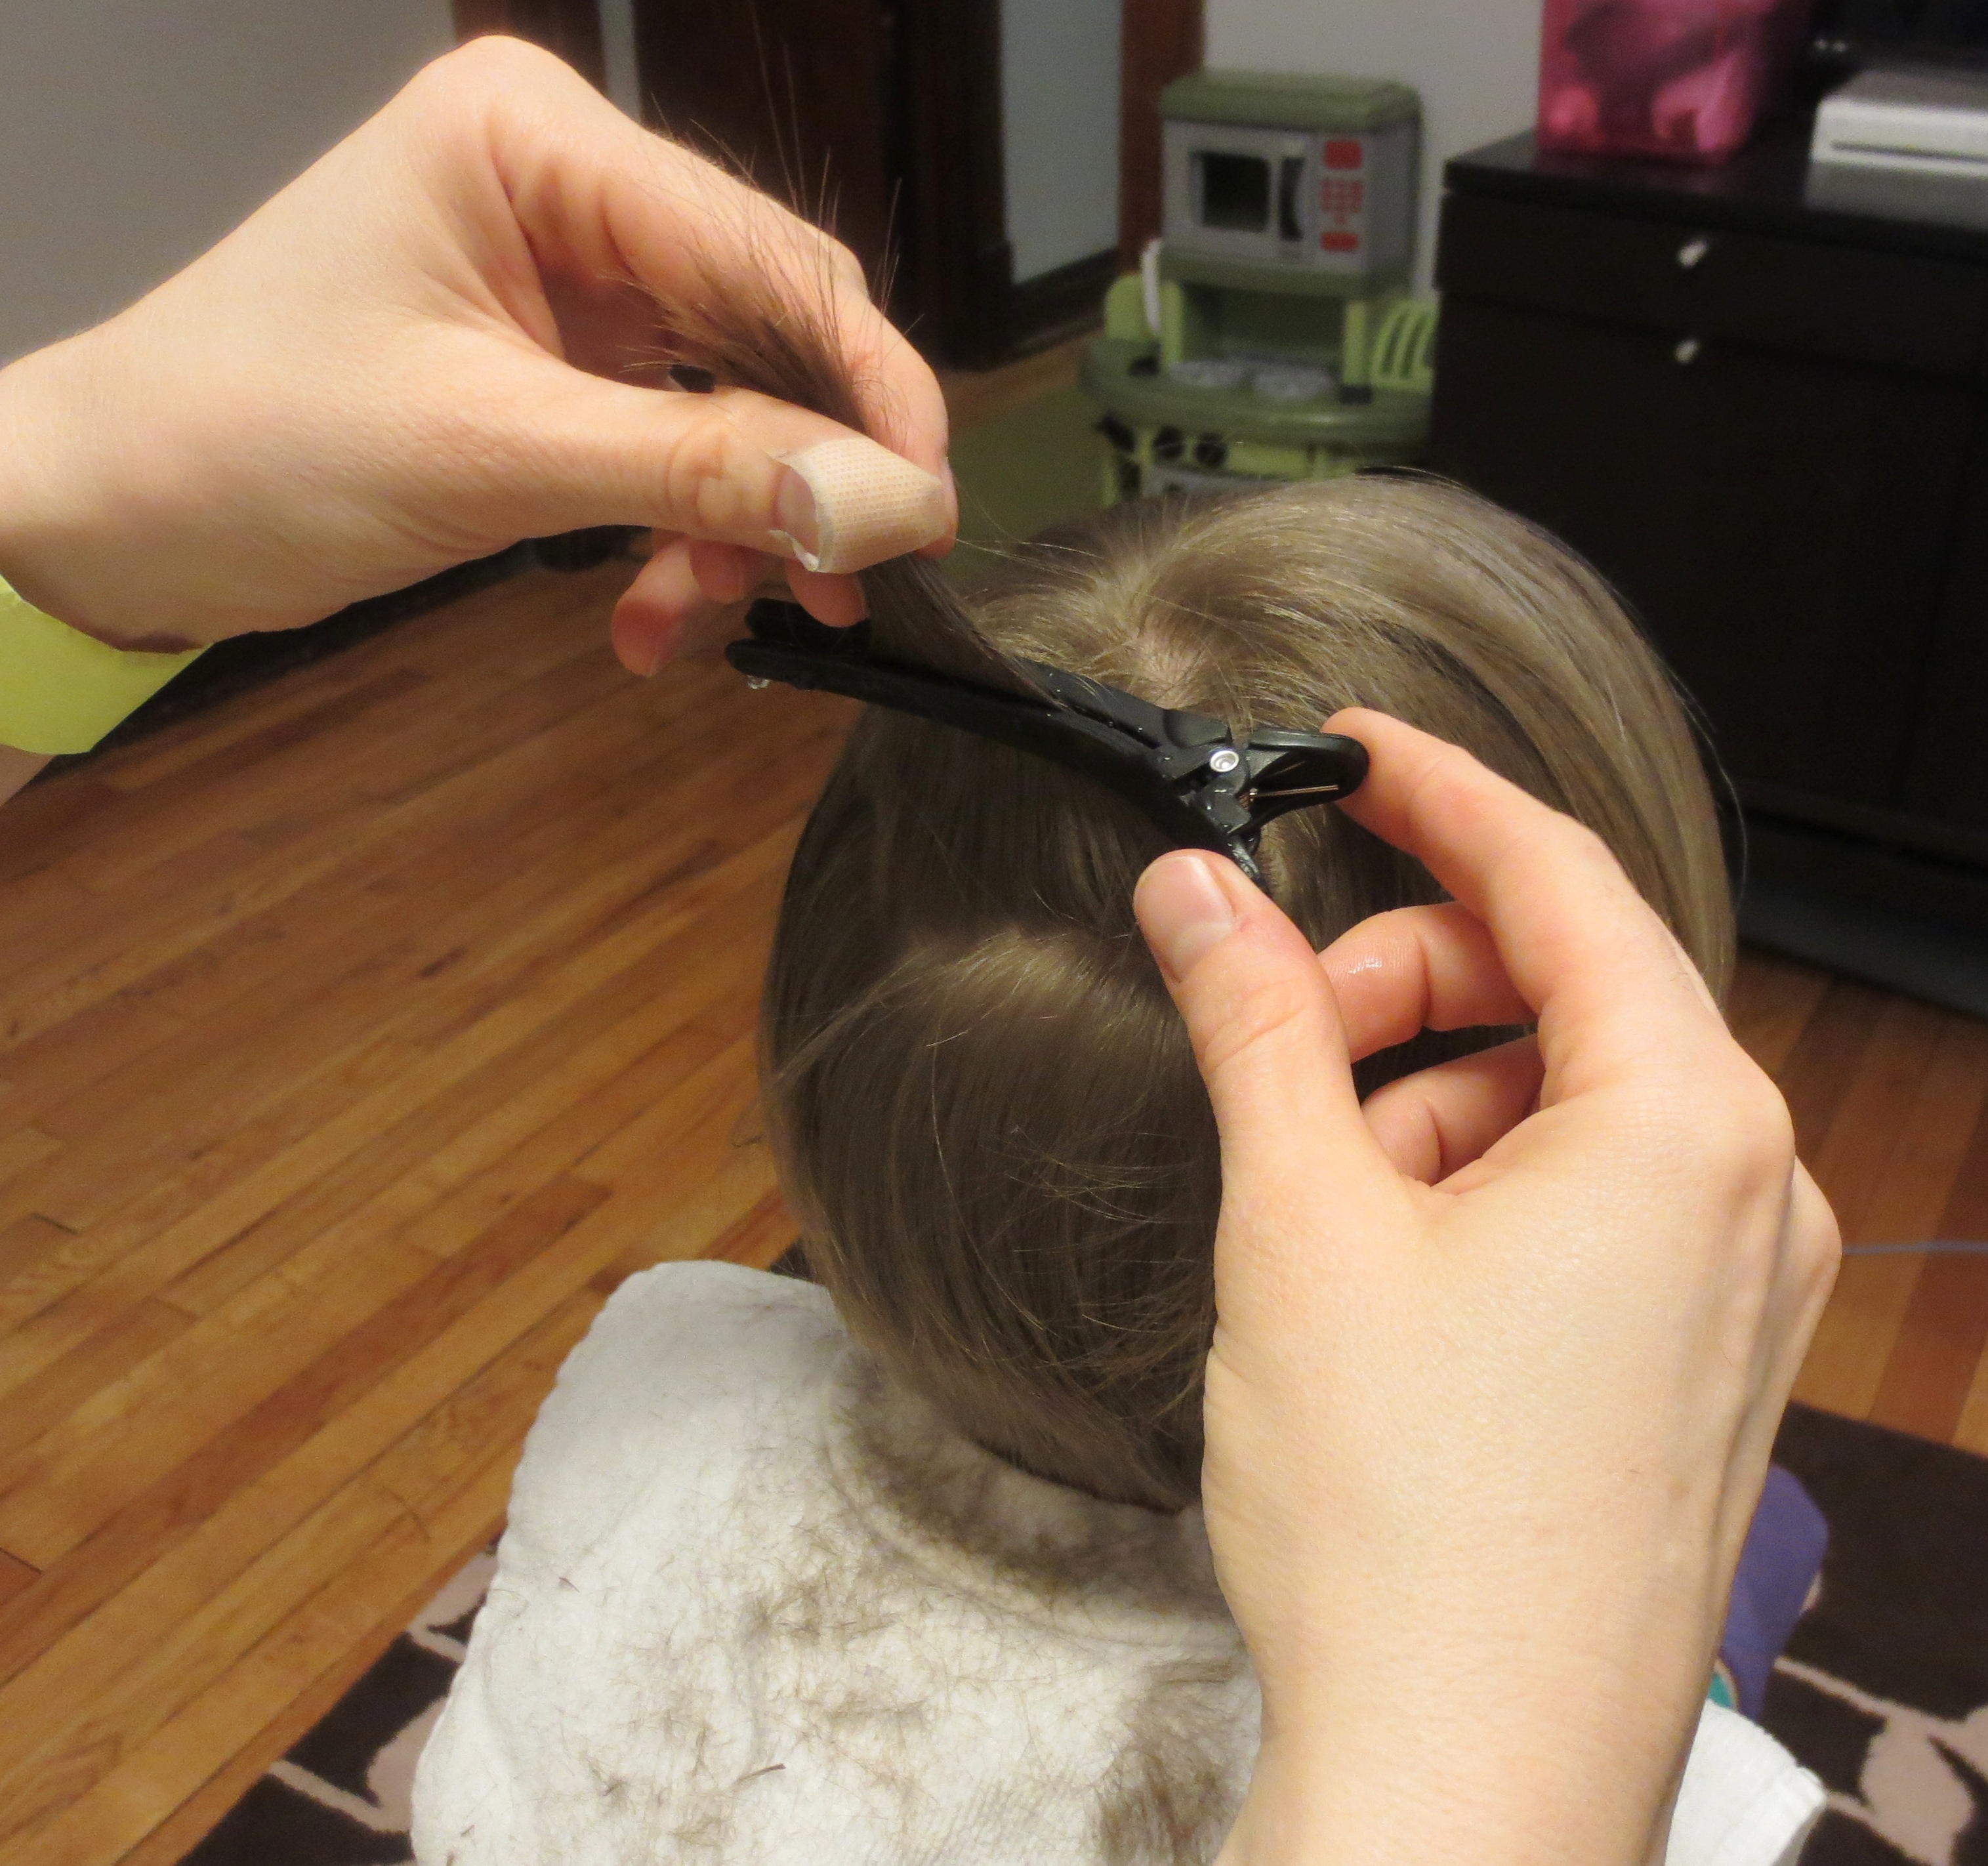
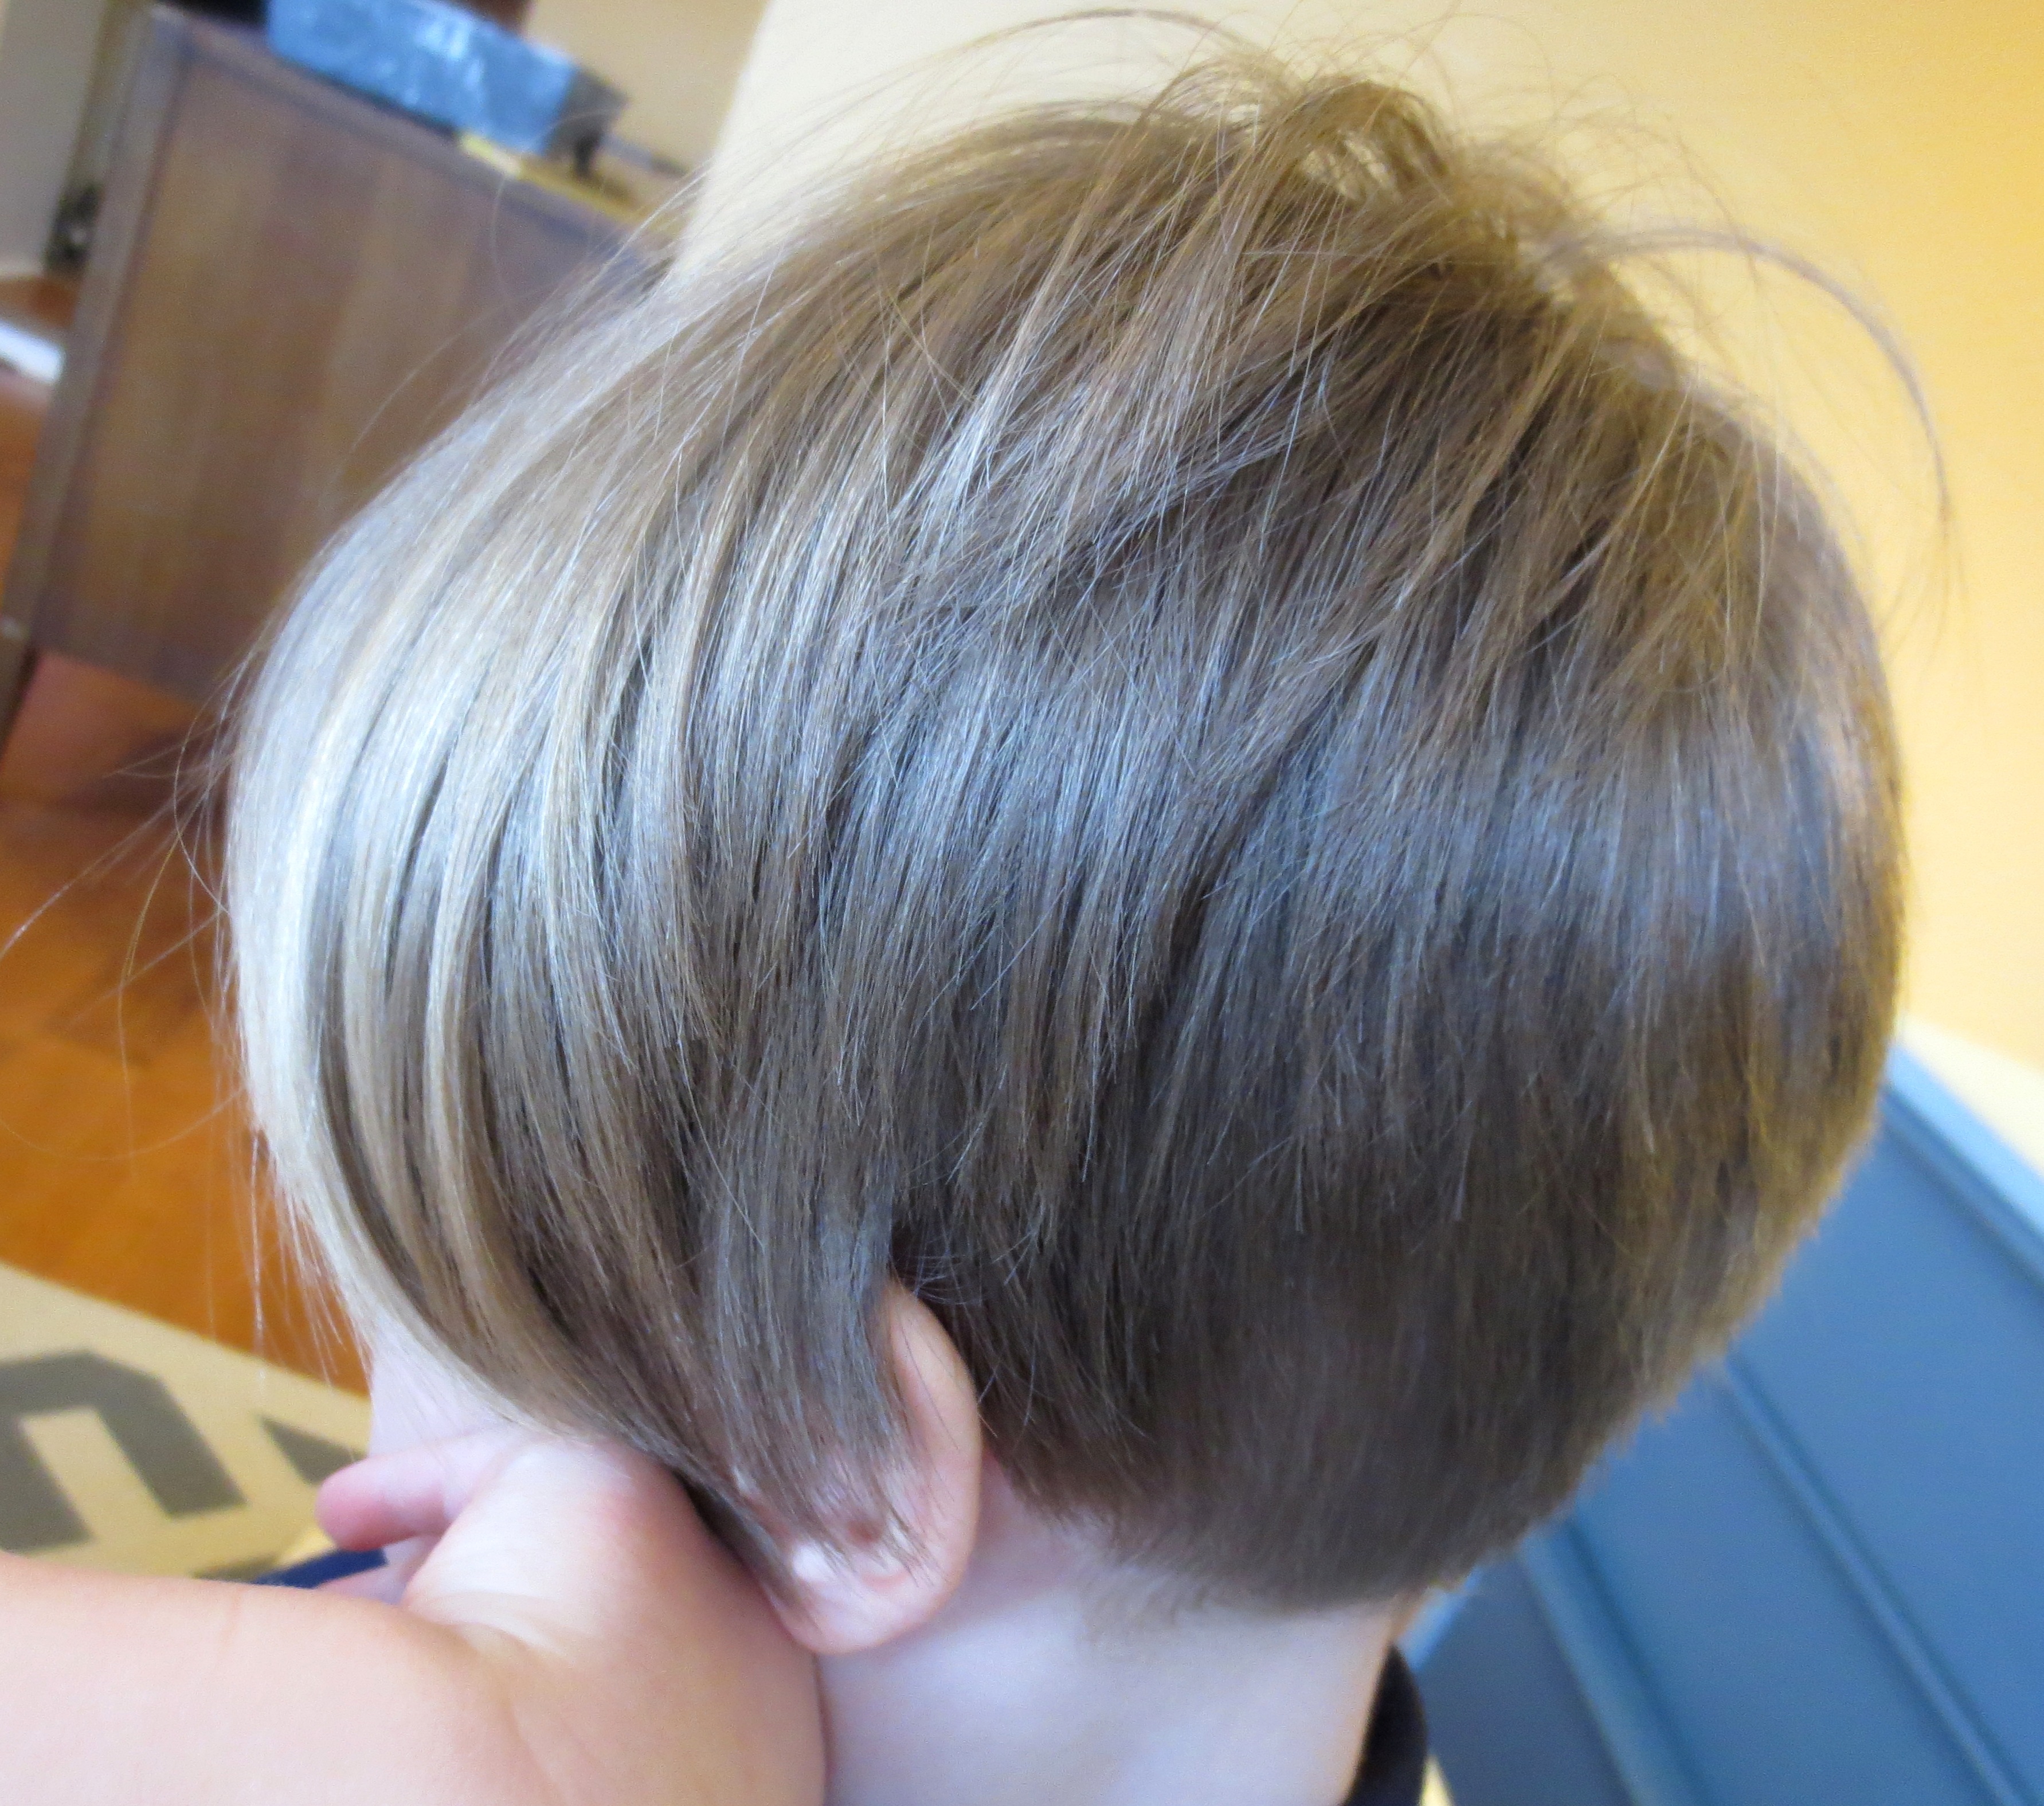
 STEP THREE: The back
I find it easiest to start in the back, then move to the sides, and finish with the bangs. I’ll show you how to “stack” the hair in back, resulting in a gradual tapering to the neckline.
Image your kid’s head as a sphere with four or five layers (which it actually is). Gather the hair in the top layer and pull it towards you, separating it from the rest of the hair.
 If you are cutting more than an inch or so, go ahead and slice it off horizontally. After that (or if cutting a smaller amount), start clipping “vertically” with the scissor blades parallel to the hair. Hold the hair between the index and middle finger of your left hand, cutting with your right (reverse for lefties). Cutting vertically ensures that each layer blends seamlessly into the next, without choppy piles of hair lying awkwardly on top of each other.
When you finish the top layer, gather it in a clip to keep it out of your way.
 Repeat with the next several layers, making each one slightly shorter than the top, and clipping it out of the way when you finish. I like to finish the back with a clippers, but not until the very end of our session.
 STEP FOUR: The sides
Move around to the sides. Since I like to give Estelle what I call an “angular sloping bob” (patent pending), I try to pick a spot above and slightly behind her ear, and then create a downward angle all the way to her chin.
When I’m cutting more than an inch, I go ahead and slice horizontally across to get the angle I want, then go back and cut vertically to smooth out the ends.
 On the sides, I like to make the top layer slightly shorter than the bottom layers, to give her stringy toddler hair some fullness and texture (remember Jennifer Aniston in the 90s?). Again, cut the top layer and pull it up with a clip while you snip the bottom layer(s). You don’t need quite as many layers on the sides as you used on the back, since it’s longer and a more even length.

SAFETY TIP! Mind those pesky ears! If I could, I would duct tape her ears down, so I wasn’t constantly folding them over and out of the way (though I probably wouldn’t post a picture of this on the internet, so I guess you’ll never know).
STEP FIVE: The other side
If your child has two sides to her head, you’ll have to repeat step four on the other side, taking care to cut at the same length and angle as the first side. If you’re going to screw something up, try to do it on the first side; you can duplicate the mishap on the second side and it won’t be as noticeable.
STEP SIX: The back…again… with clippers (optional)
OK, I know we already did the back. But after I finish the sides, I like to go round back and make sure the sides and the back connect in an even and pleasing way. At this point, your child is starting to loose patience, and will completely melt down while you are cutting her bangs, so finish up the back NOW.
If you are keeping things short in back, this is also the time to fire up the electric clippers. I find it extremely difficult to get a close cut near the neckline, and jabbing a scissors at the neckline of a wiggly toddler is a pretty easy way to draw blood and create lifelong emotional scars for both of you.

See how it’s kind of choppy in the back? The clippers will buff that right out.
The whirring of the motor will be a bit unnerving to your little one. No problem, just turn up the volume on the TV. Using a long or medium guard, place the clippers at the base of the neck and pull upwards in a sweeping motion, gradually pulling the clippers away from the head so that the hair at the base of the neck is cut shortest. Repeat with increasingly short guards until you reach the desired shortness.

It’s not your eyes, this picture really is blurry.
CLIPPER TIPS: #1– Don’t take “shortcuts” and reach for the shortest guard first. That is the quickest path to an unsightly bald spot. Start with a long or medium guard and work your way down, if needed. #2– I strongly advise you to buy your own electric clipper set. You can get a decent one for $20-30 at any department store; they will pay for themselves after only a couple of home-haircuts. Also, they can be used on pets (mammals only) and wool sweaters.
STEP SEVEN: The bangs (also optional)
We’re a bangs family. Like most of my hair decisions, this is more practical than stylish, since it means we don’t have to pull her hair back with barrettes or rubber bands that will inevitably be lost or swallowed.
Although this is the smallest area of hair by volume, it will be the most difficult to cut because you have to get between your child and the television. Warn her that you might get in her way, and stay off to the sides if possible. Remind her that this whole ordeal with be over soon. I told my kid to count to 50, because the concentration it takes for a 3-year-old to count to 50 is distraction enough.

Ain’t nobody got time for this.
Pull the side hair back with clips to keep it out of the way. Divide the bangs area roughly into thirds, gather the first chunk of hair between your index and middle fingers and cut vertically with the other hand. Repeat until you’ve cut all the hair.
STEP EIGHT: The aftermath
If you’ve got a valet or a lady’s maid, have him or her draw the bath while you’re finishing the bangs.
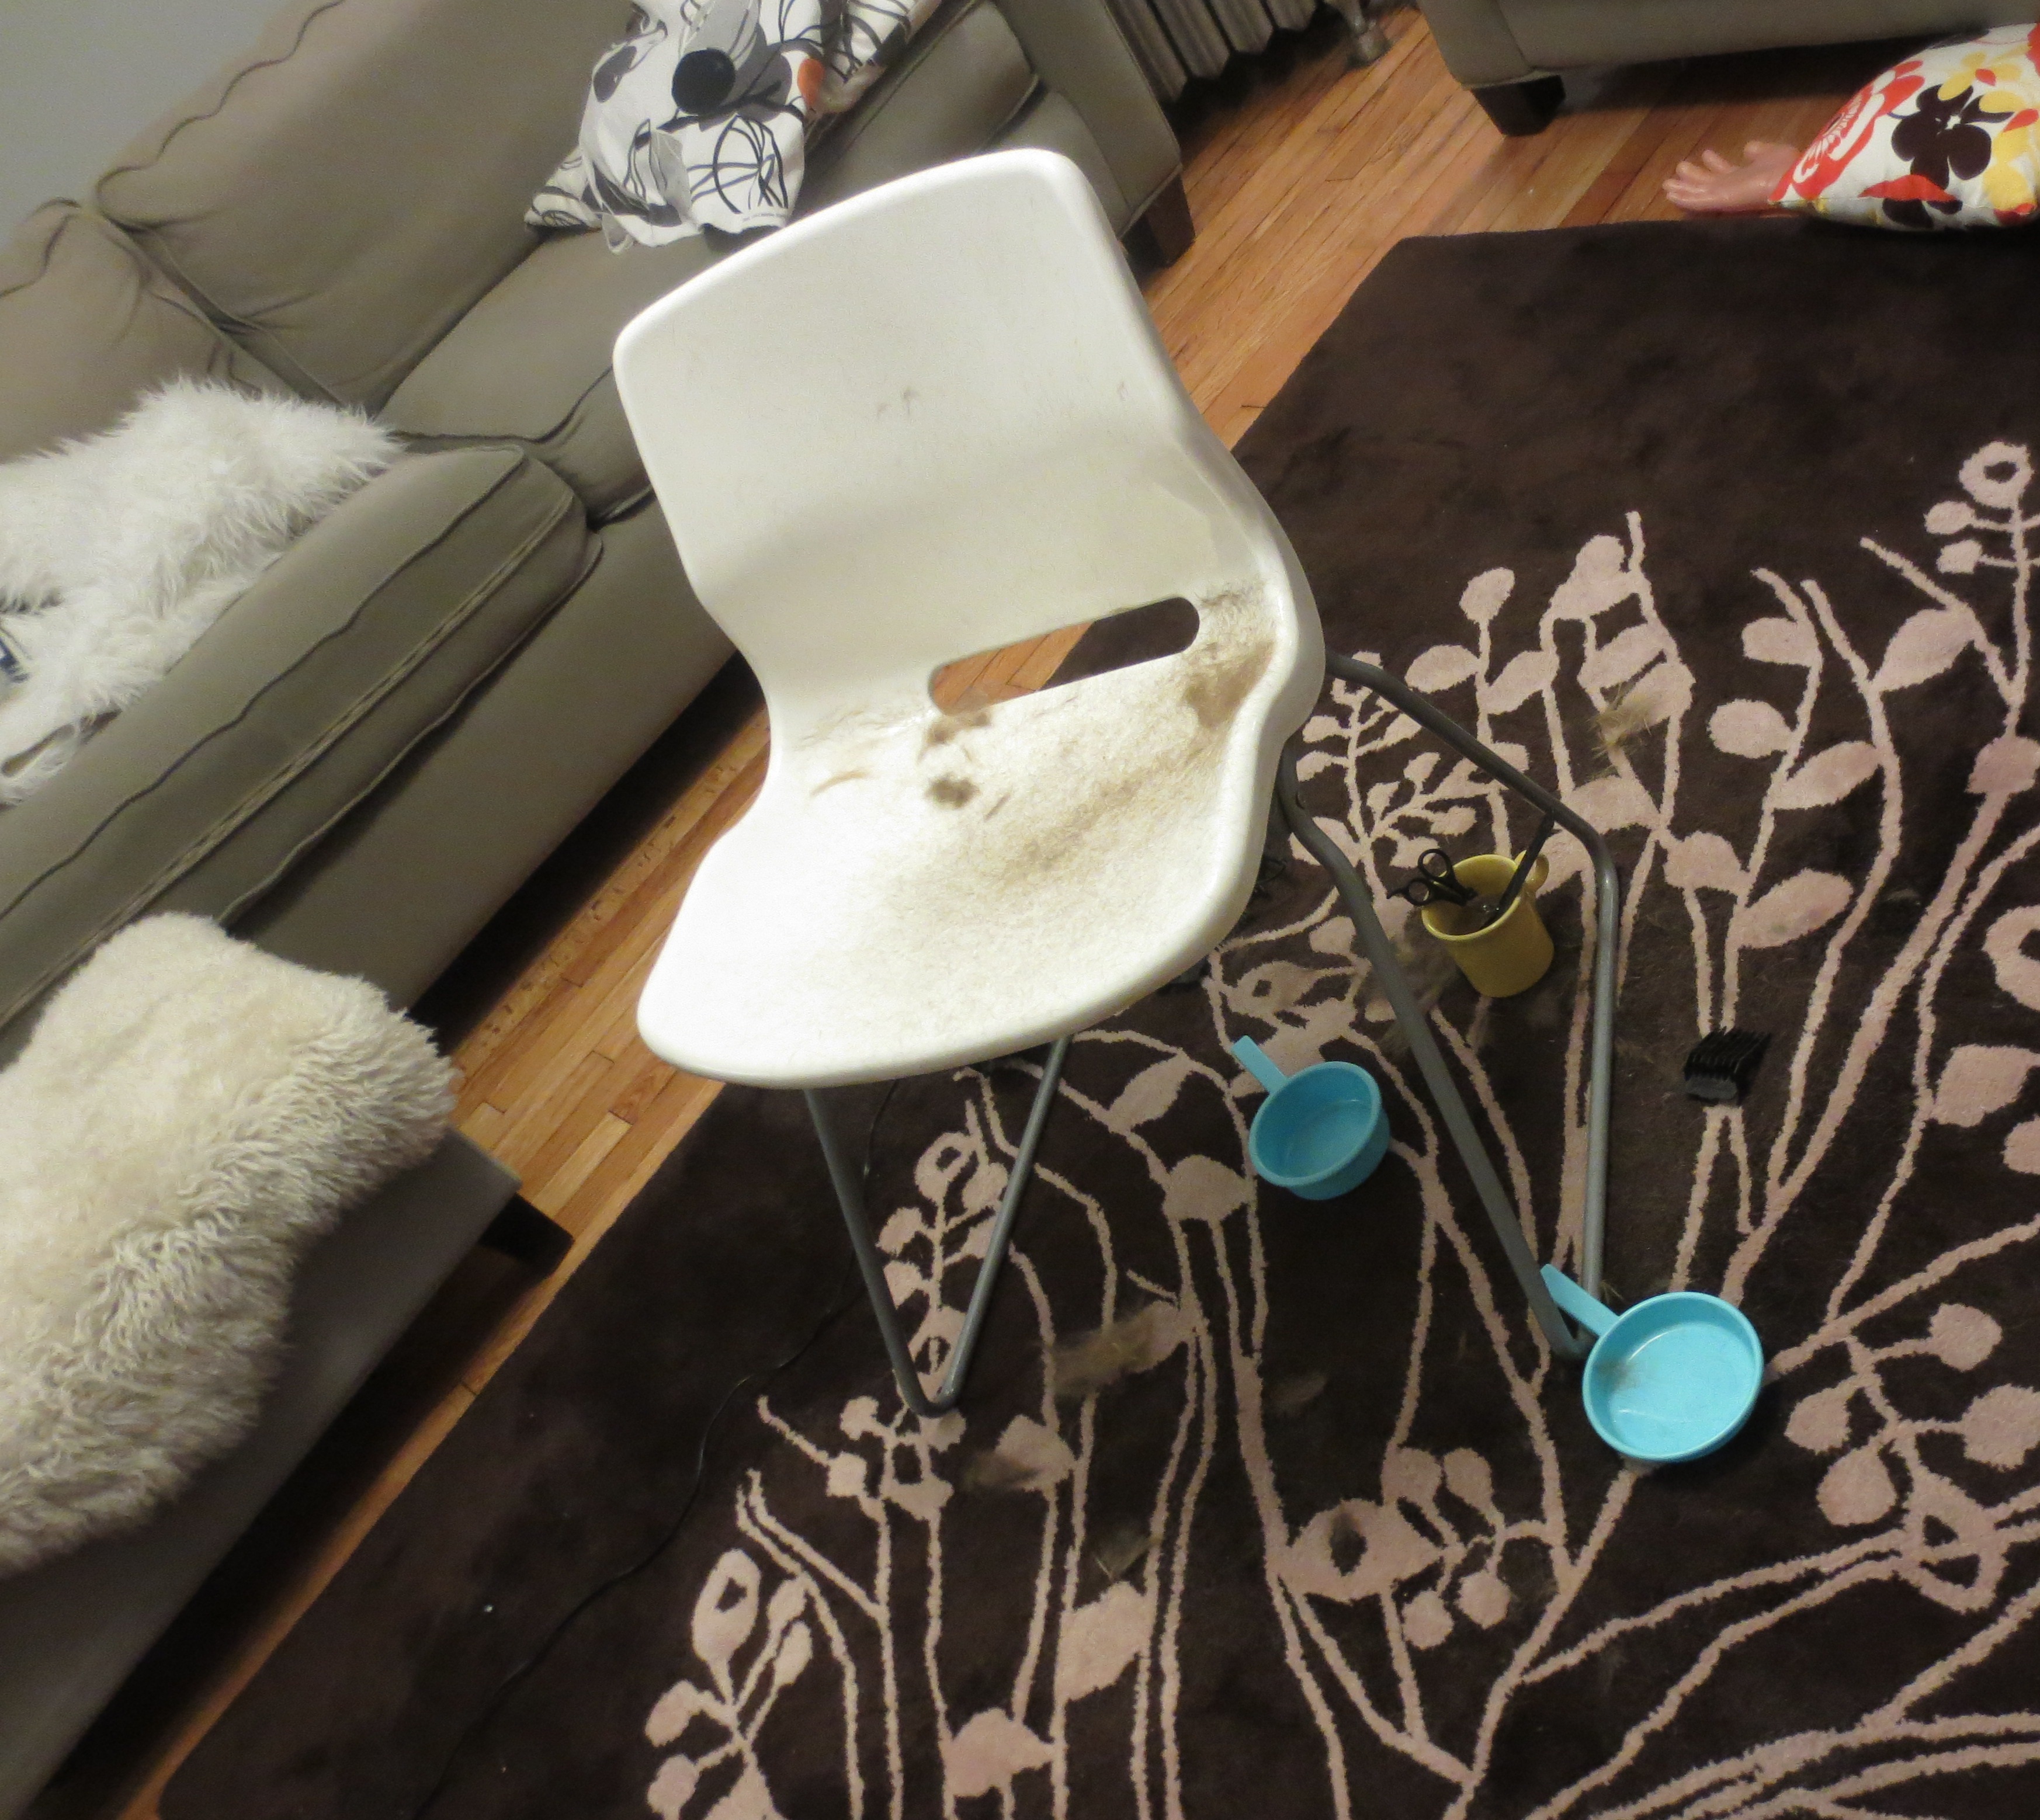
It helps to have a rug that is the same color as the child’s hair
Strip the kid naked in the same spot where you cut the hair – don’t let her run off in a cloud of hair clippings and contaminate the rest of the house. Hand her a cookie and send her straight to the bathtub for a wash down. Tell your helper to vacuum the hair right away, and offer him a dust mask if he’s allergic to baby hair trimmings.
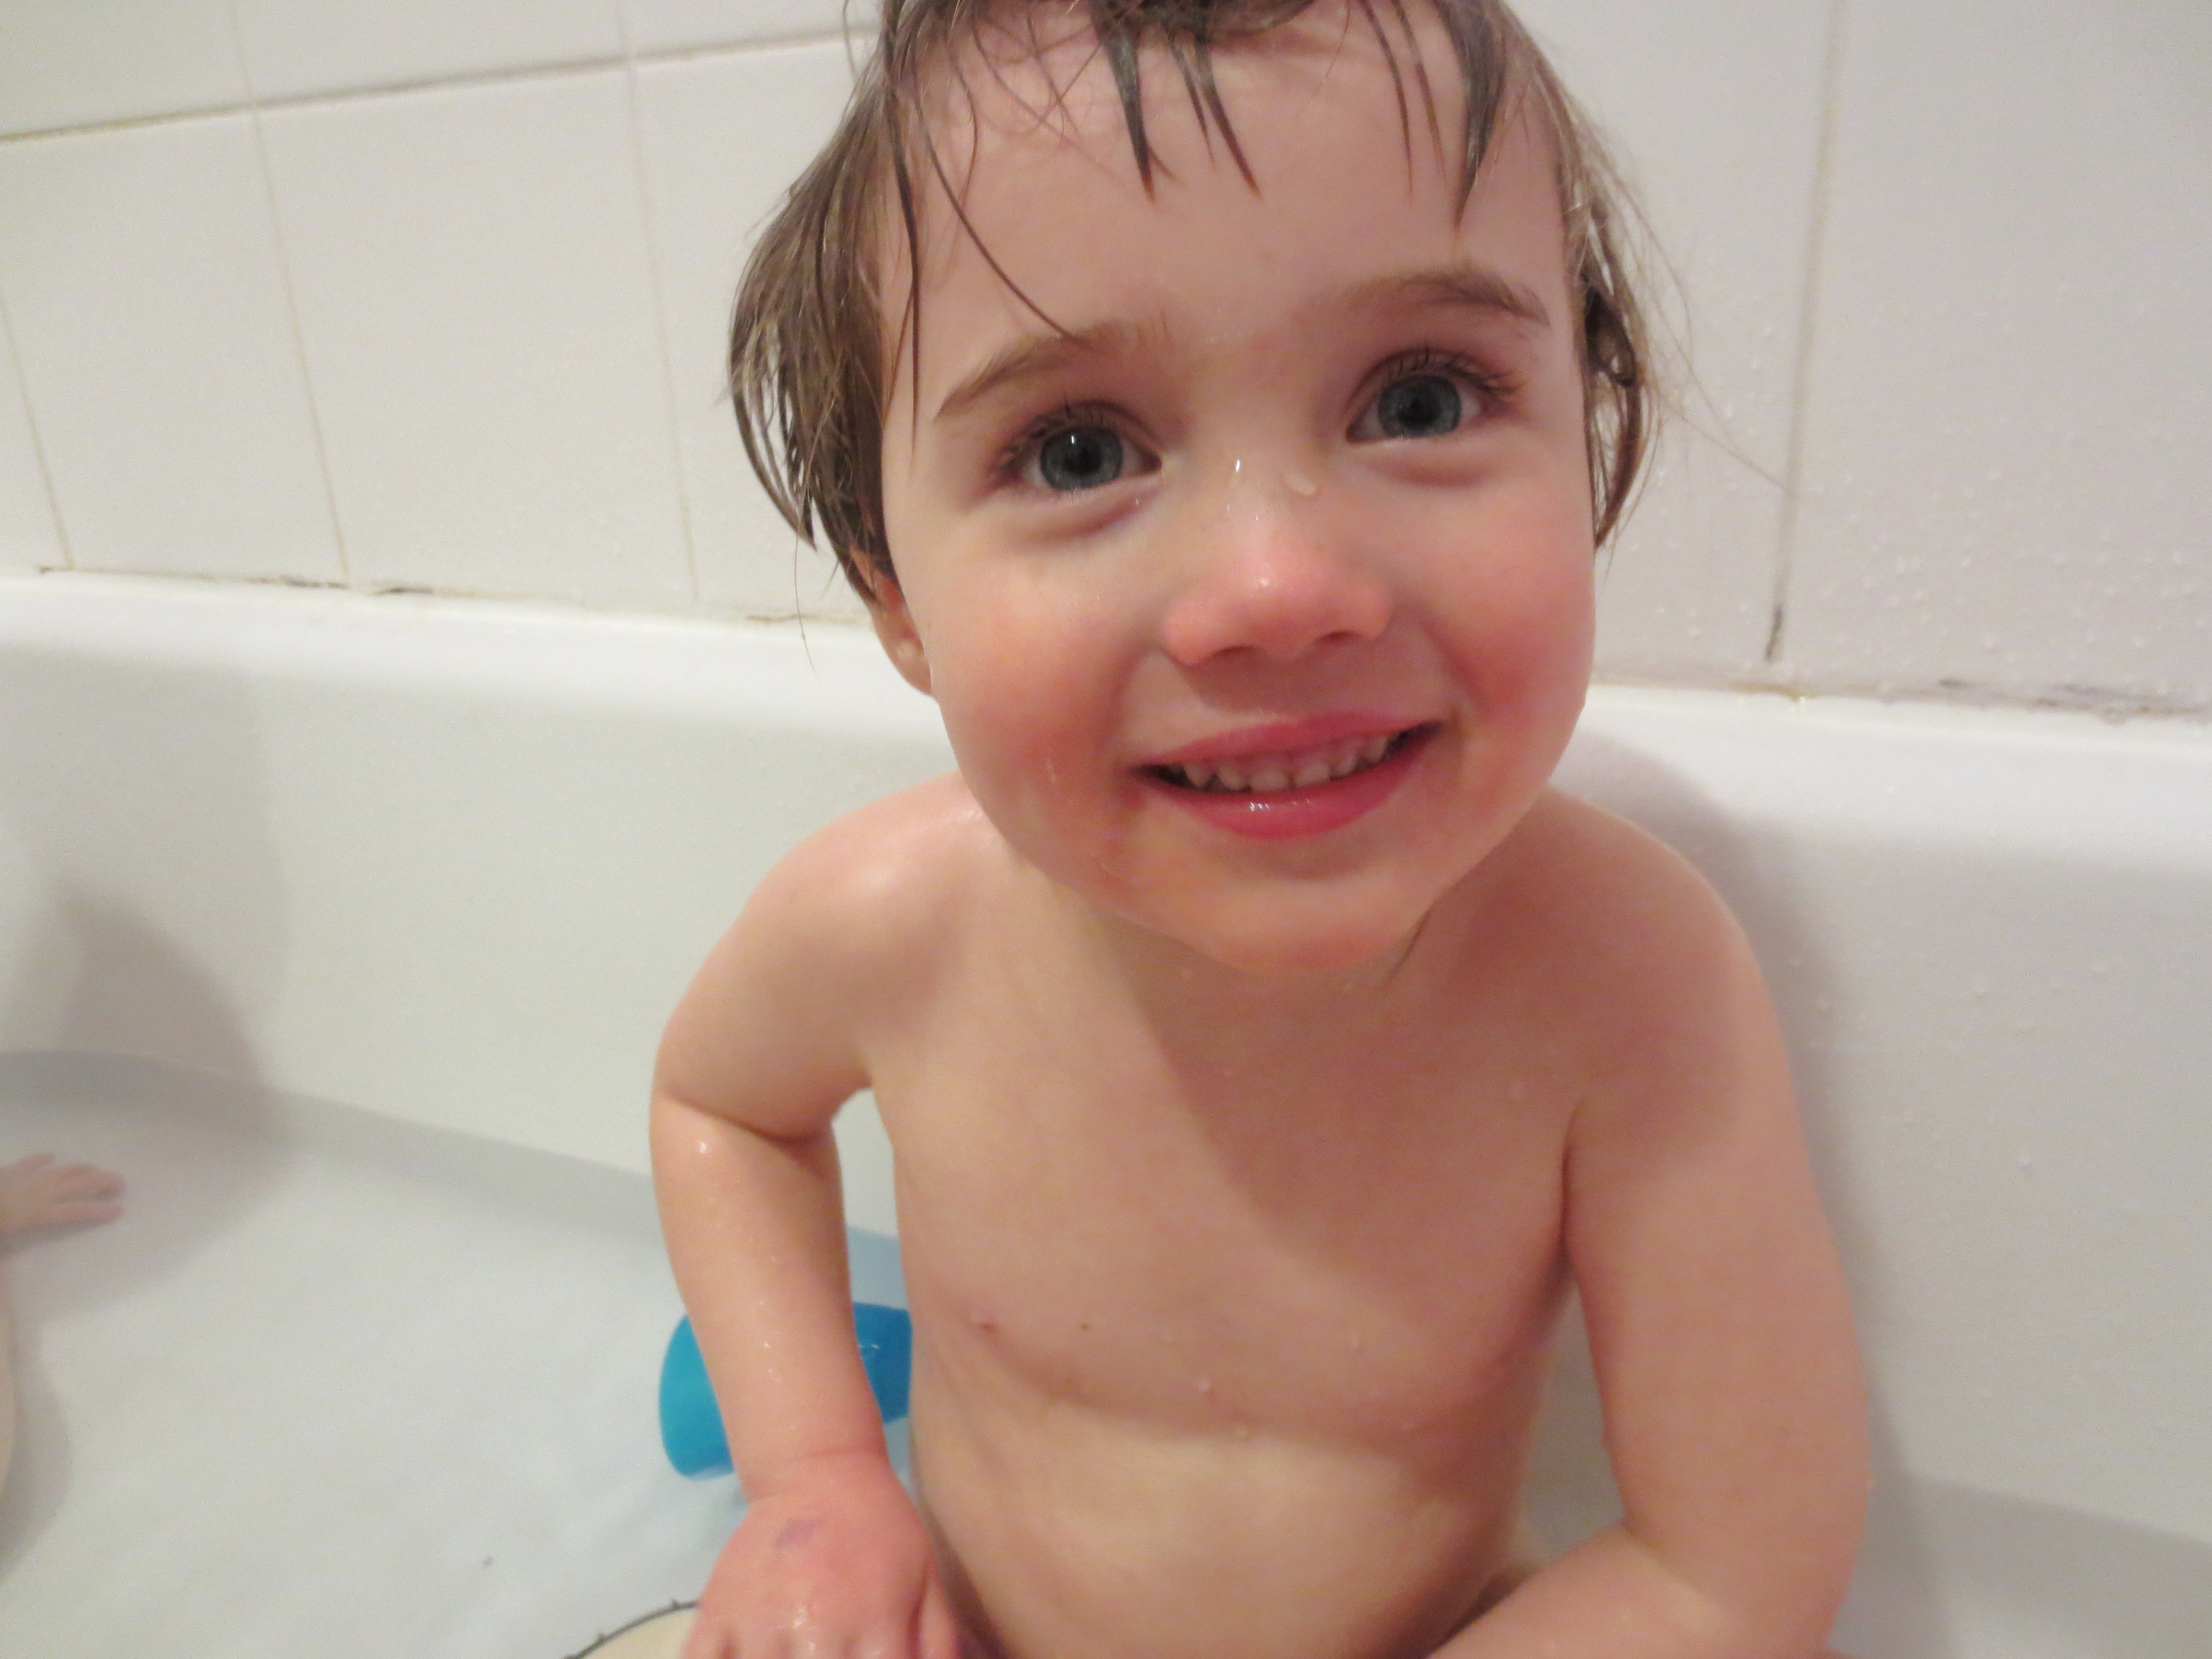
Spa treatments wash away the trauma.
TA-DA! Here are some obligatory before-and-after shots of my newly-styled babe:
———- BEFORE ————

Technically, this qualifies as a mullet, or as we say back home, a “Missouri Compromise”

Kid can’t learn math with hair in her eyes
———- AFTER ———-
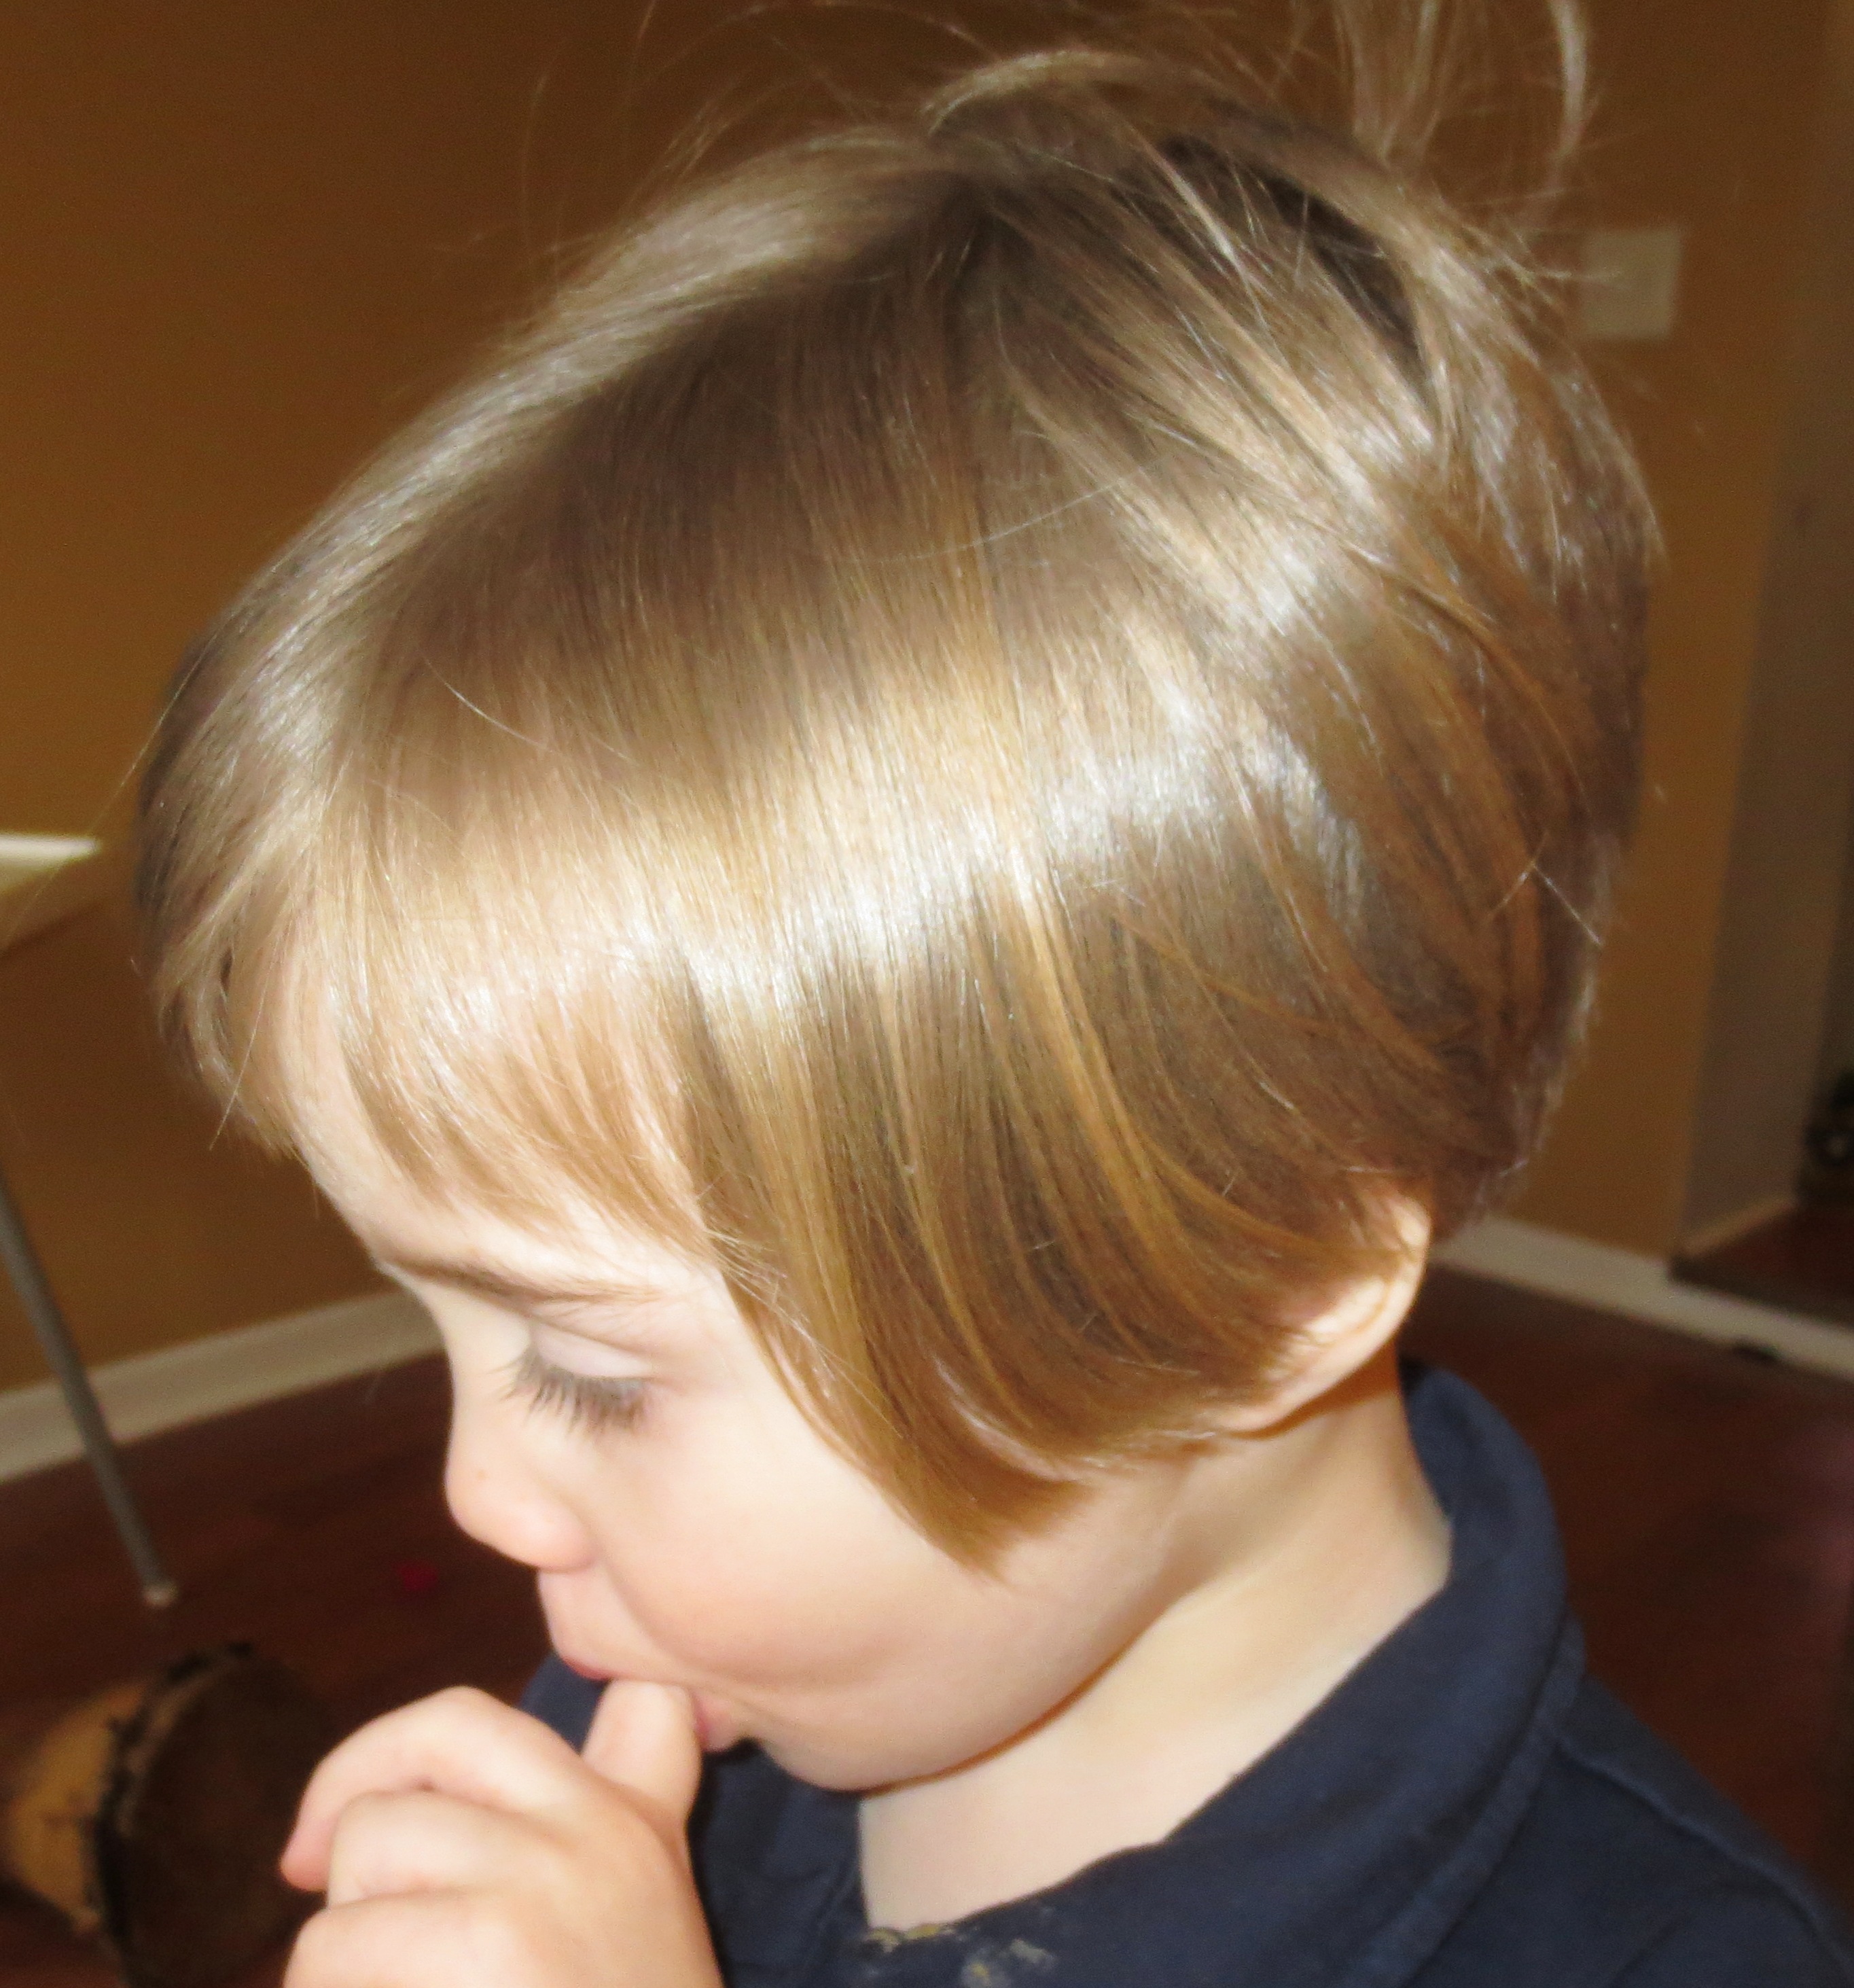


Very pretty. My mom cut my hair and it never looked this good. She was always on me about my bangs. She said when they were in my eyes, i was crabby. For years after that I never had bangs. I just cut into my hair and now have bangs for the first time in **ahem** let’s just call it 40 years. Whenever the hair lady trims them, I say shorter…! Get them out of my eyes. That is my mom speaking for sure.
LikeLike
Hi, came over here from Apartment Therapy and started browsing. LOVE this post. I cut my own girl’s hair (actually, I have girls plural but I haven’t cut the youngest’s hair yet).
I pretty much do the same as you but keep it sharp at the back – a sort of Amelie/French type do.
My heartache now is that she is doing ballet and has to have her hair in a bun! Been growing it since October and the fringe (bangs) still isn’t long enough…
Dance show is end of June and we are both getting excited about the planned “big chop” that we are planning for the day after…
My mum and sister keep telling me it’s cruel to cut her hair but she hates getting her hair combed/brushed and we both end up with frazzled nerves when she has long (er) hair.
Good on you – you wee one looks pretty and comfy.
🙂
Karen (Scotland)
LikeLike
I’m really confused about what you were writing about cutting vertically. Can you explain that more?
LikeLike
Our instinct is to hold the hair between our fingers and cut a line ACROSS the hair (what I call horizontal cutting). But it often looks super choppy, and you notice the inconsistency in length between the different chunks of hair that you’ve cut. Instead, if you hold the hair with your fingers or a comb, and point the top of the scissors at the ends of the hair and sort of snip away at them, the result is less choppy. It does take longer, since you’re not just slicing the hair with one big snap of the scissors. And if you’re cutting toddler hair, that might be a problem. But my 3-year-old is now chill enough to let me snip away for a whole episode of Thomas.
Hope that makes sense. I wish I could come up with a visual metaphor, but all that comes to mind is rope and spaghetti and most people don’t take the time to style those items (unfortunately).
LikeLike