
A week ago today, my two-year-old threw up on me in a neighborhood park. Within seconds, preschool forensic experts from every corner of the park swarmed around to guess what my boy had eaten for lunch.
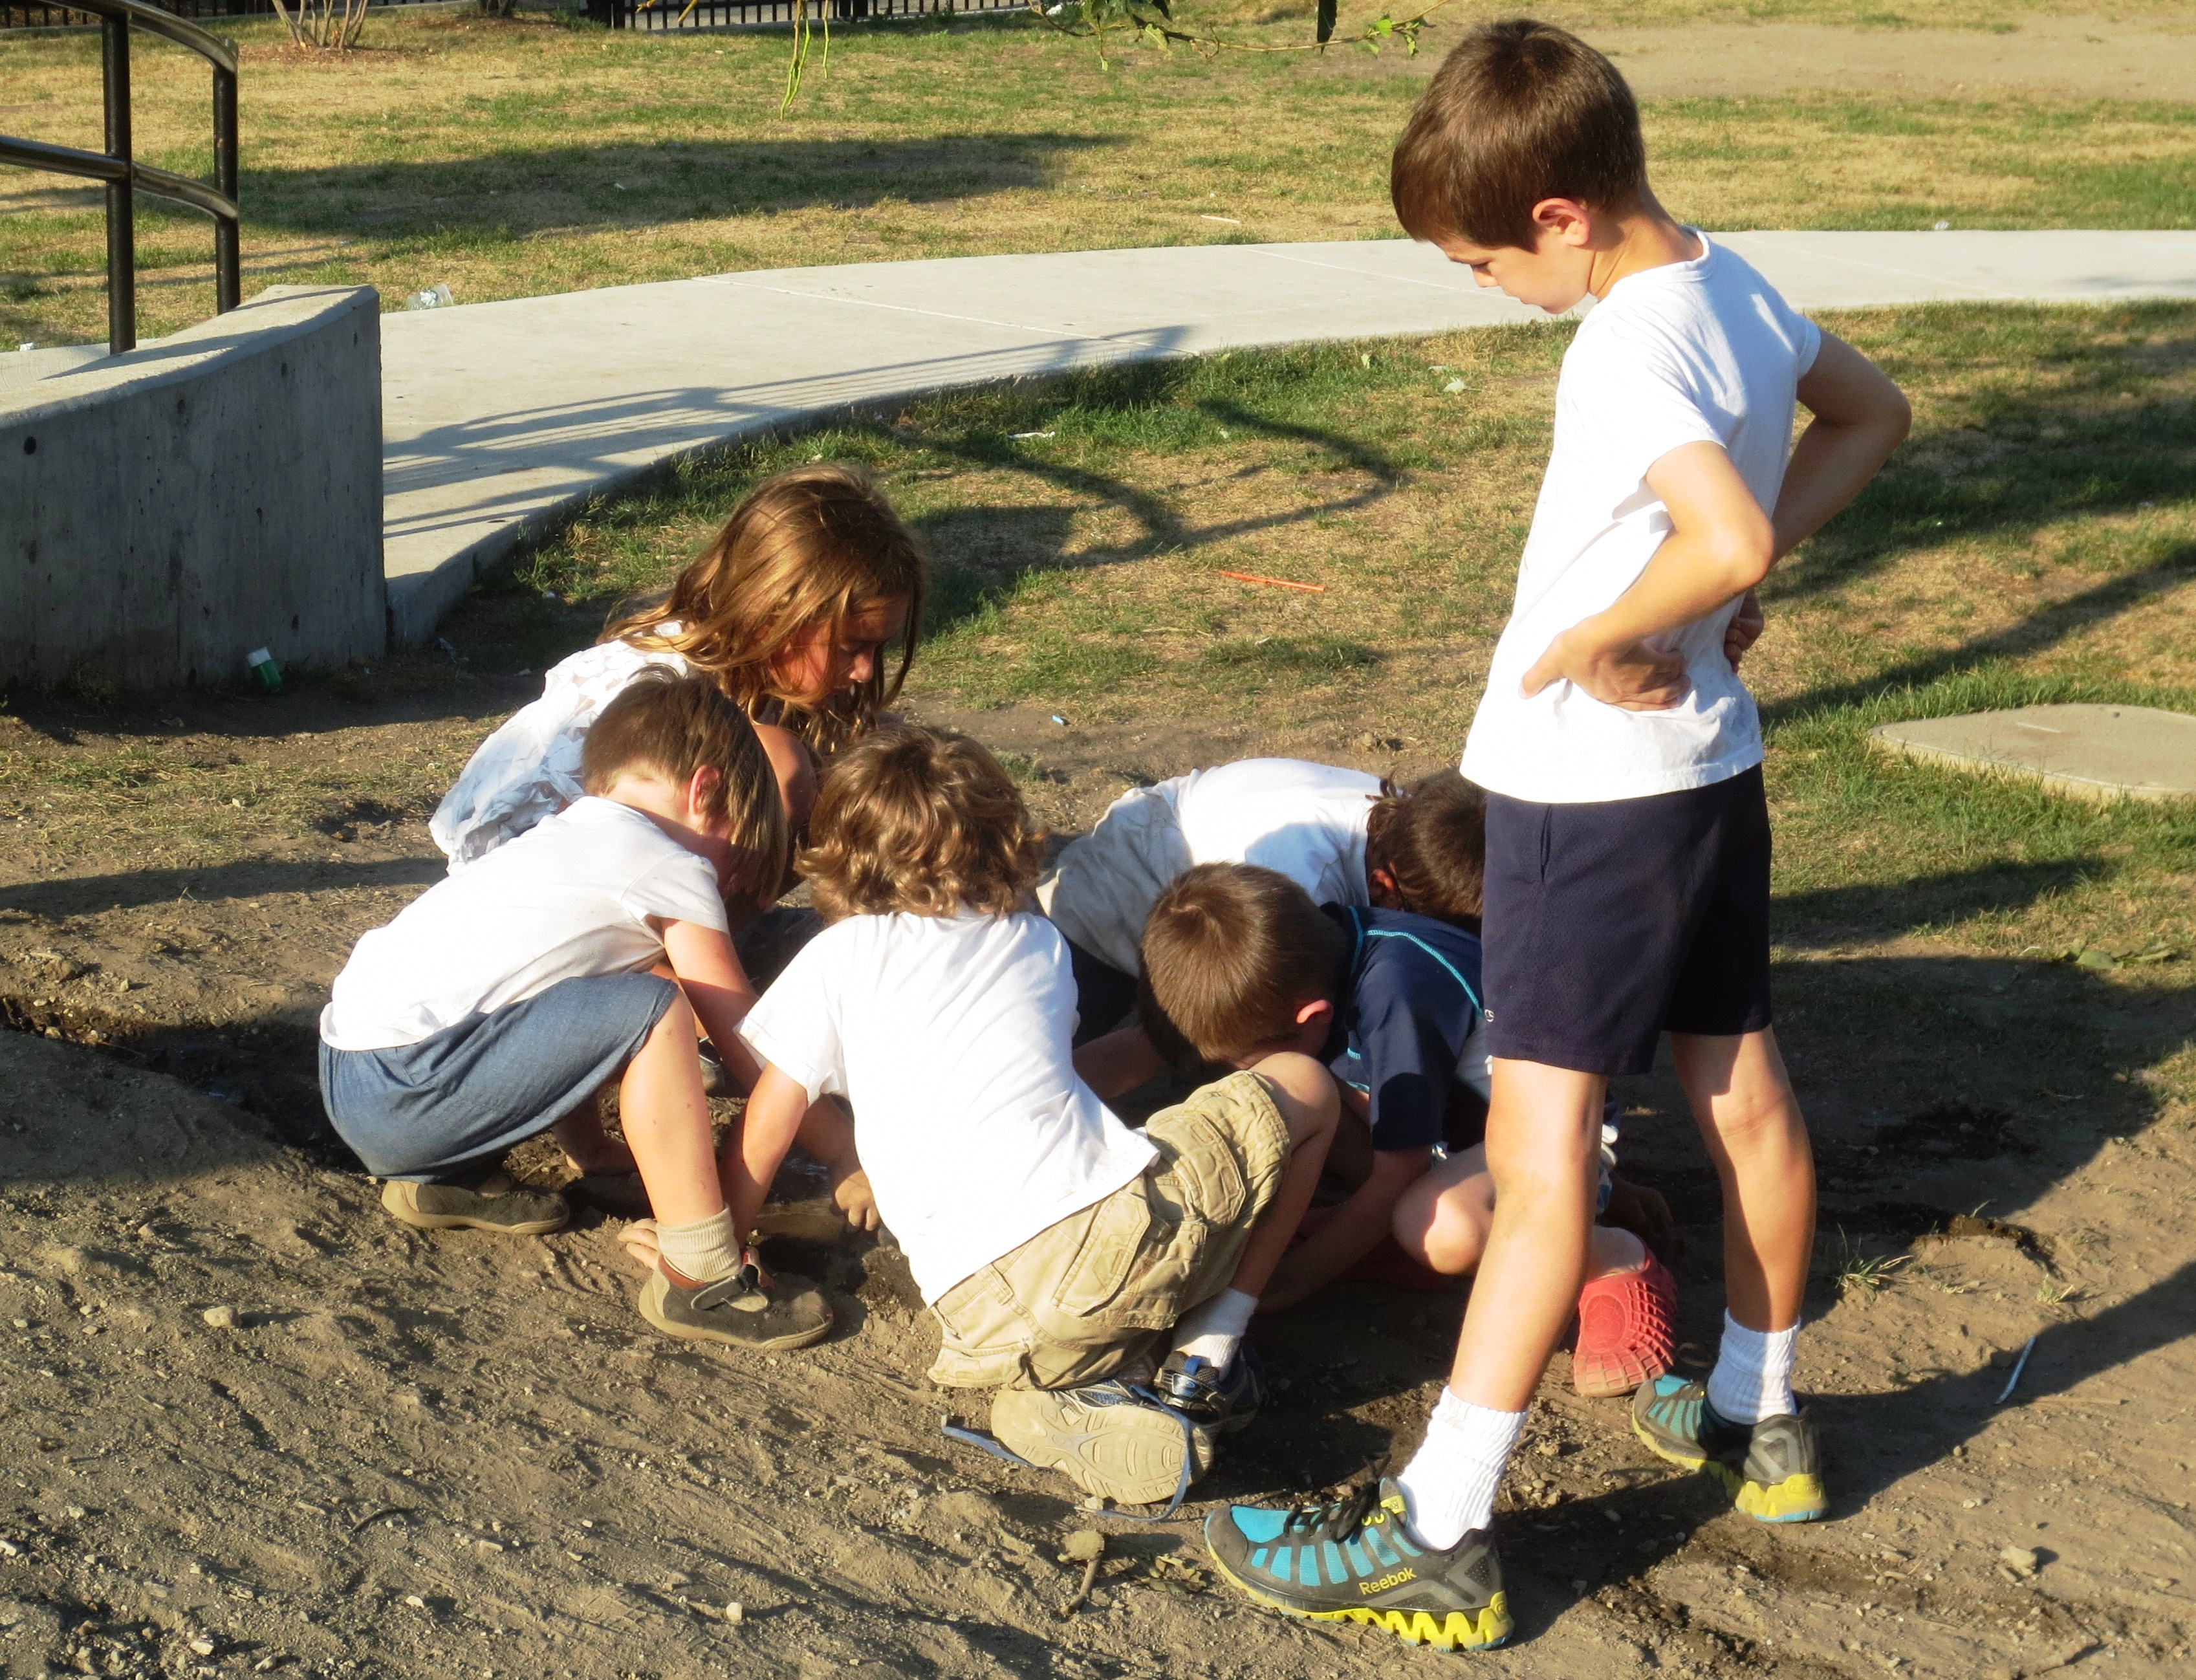
A re-enactment of the throwing up incident.
I’m not telling you this to elicit sympathy, or curb overpopulation by grossing you out of having kids of your own.
I want to share a story of silver linings, and serendipity. A lesson about slowing down and digging around.
The next day, instead of working, I had to keep this sick little boy home with me. By mid-morning he had nothing more than a mild fever. Out of sheer boredom, we rode the cargo bike to our favorite neighborhood thrift store, looking for nothing in particular.
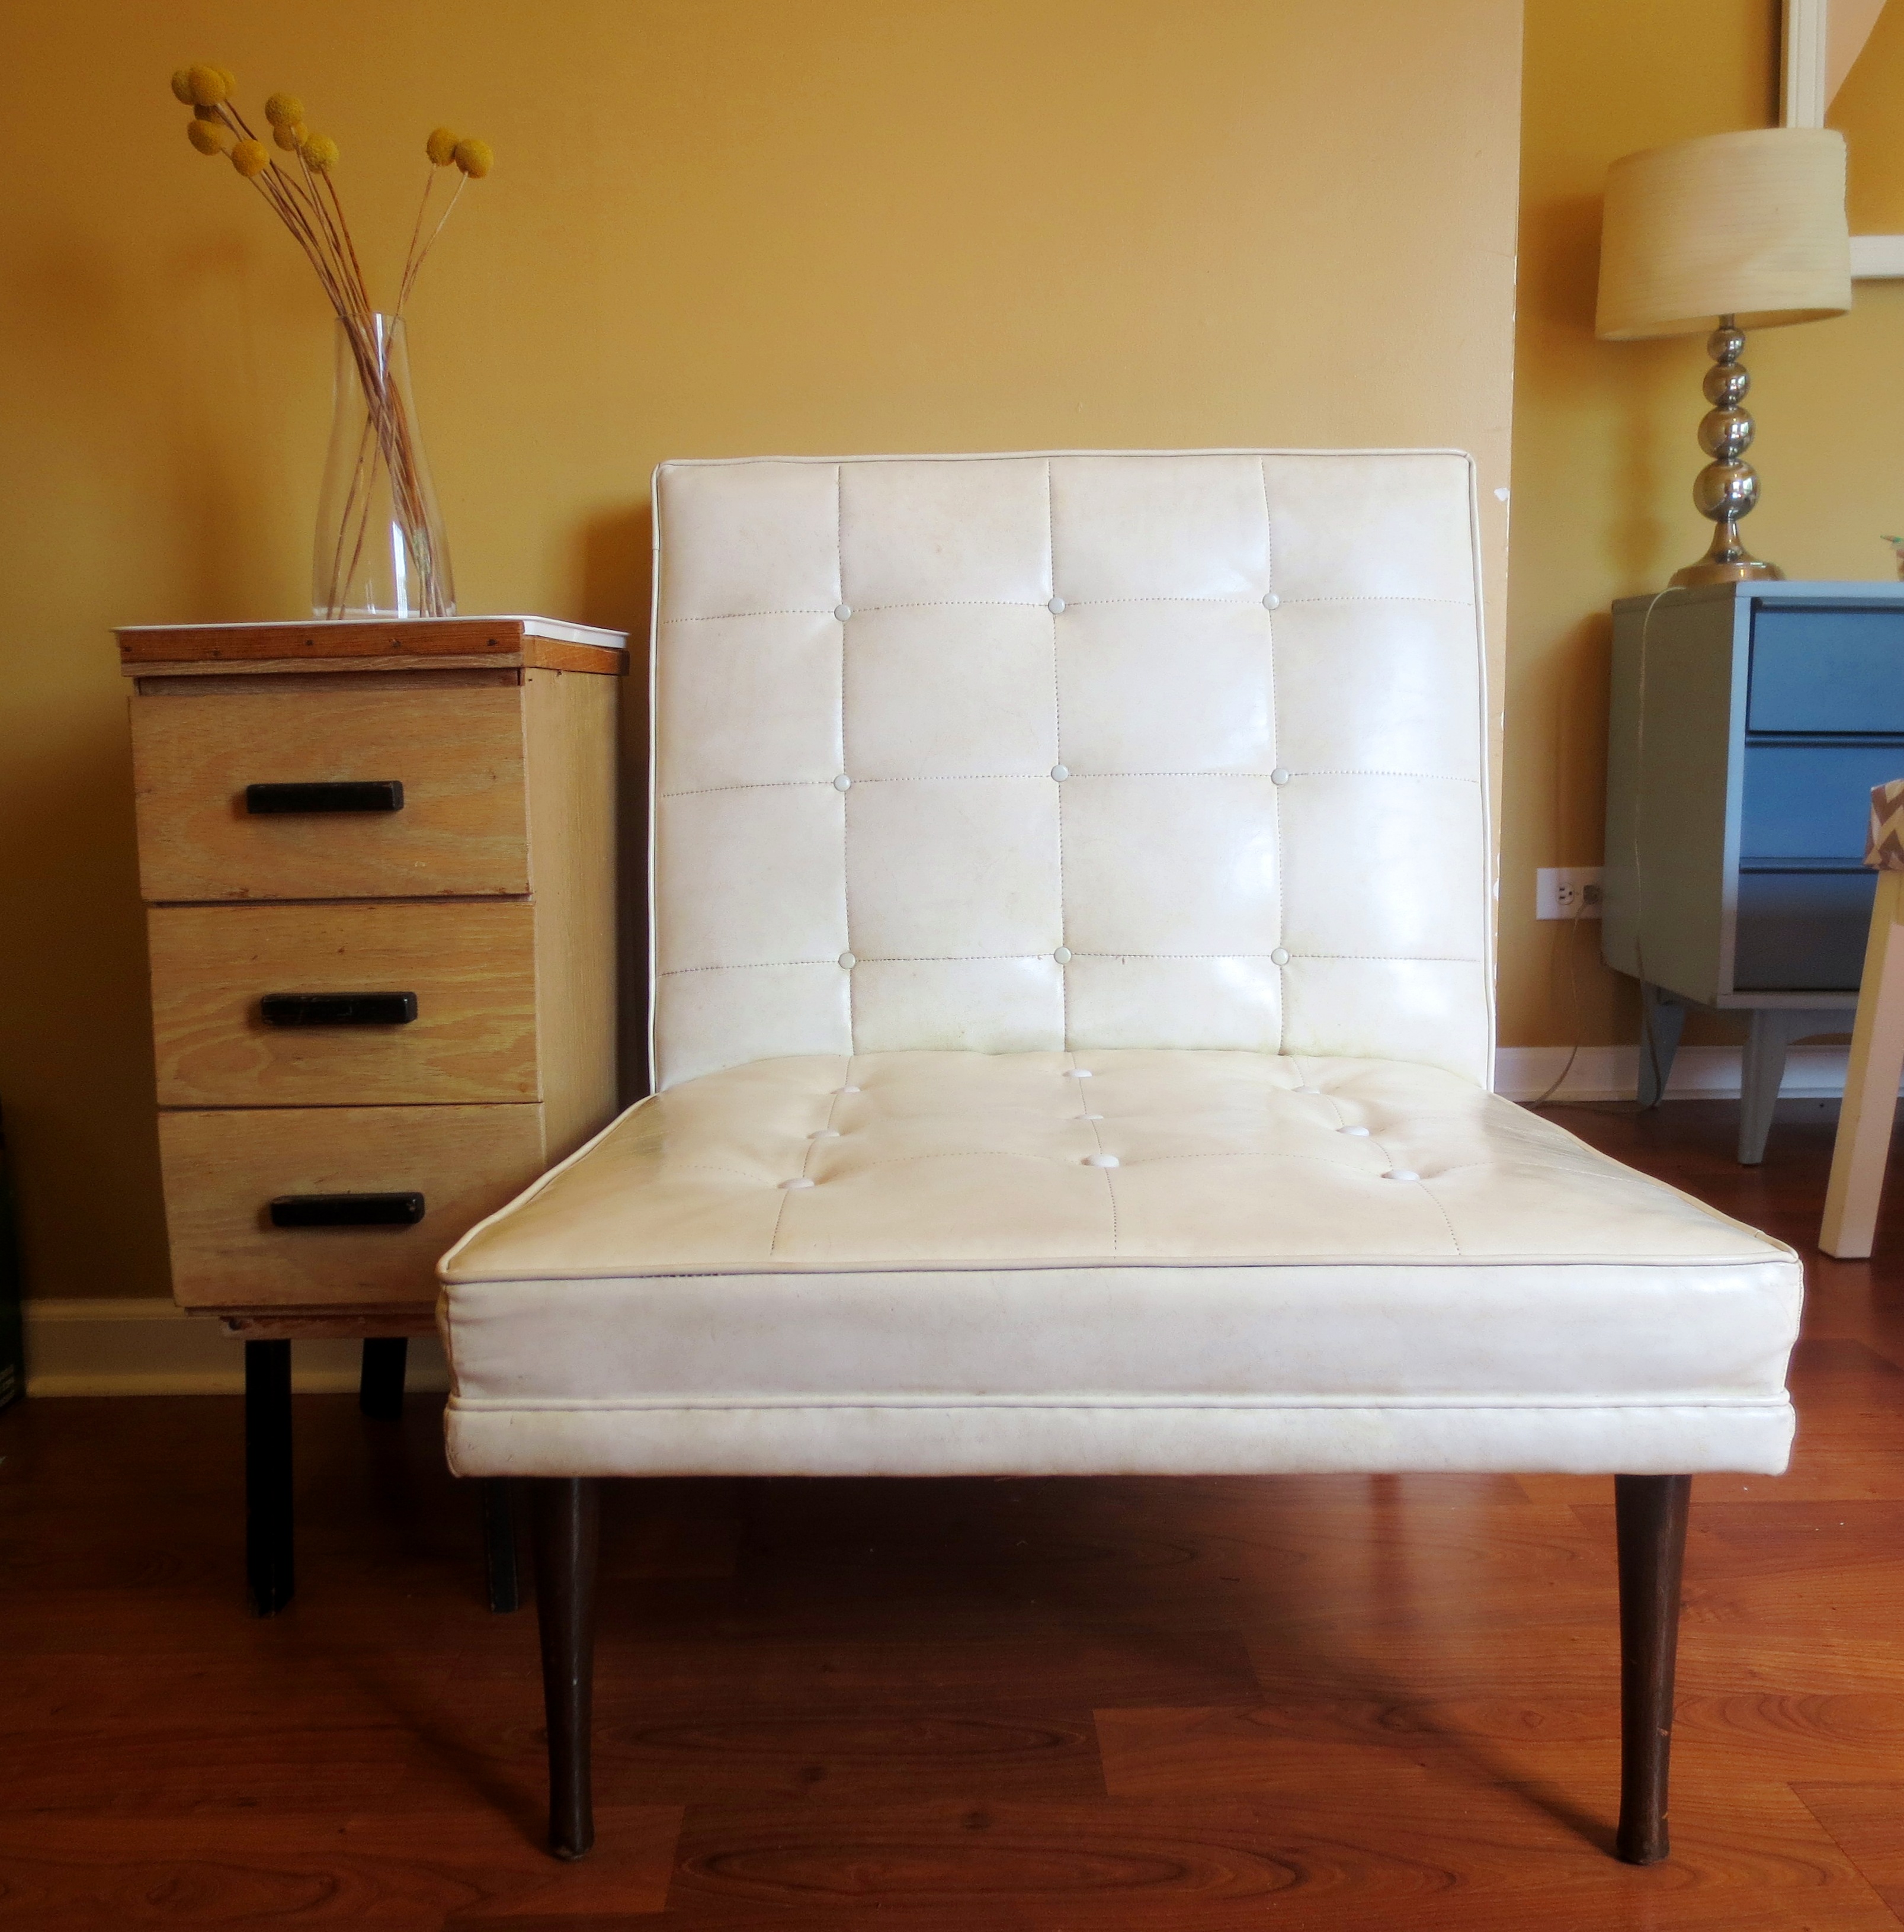
While digging around in the racks of bedding, I bumped my shin against something pleathery. I pulled apart the tangled web of musty Disney Princess comforters to find this: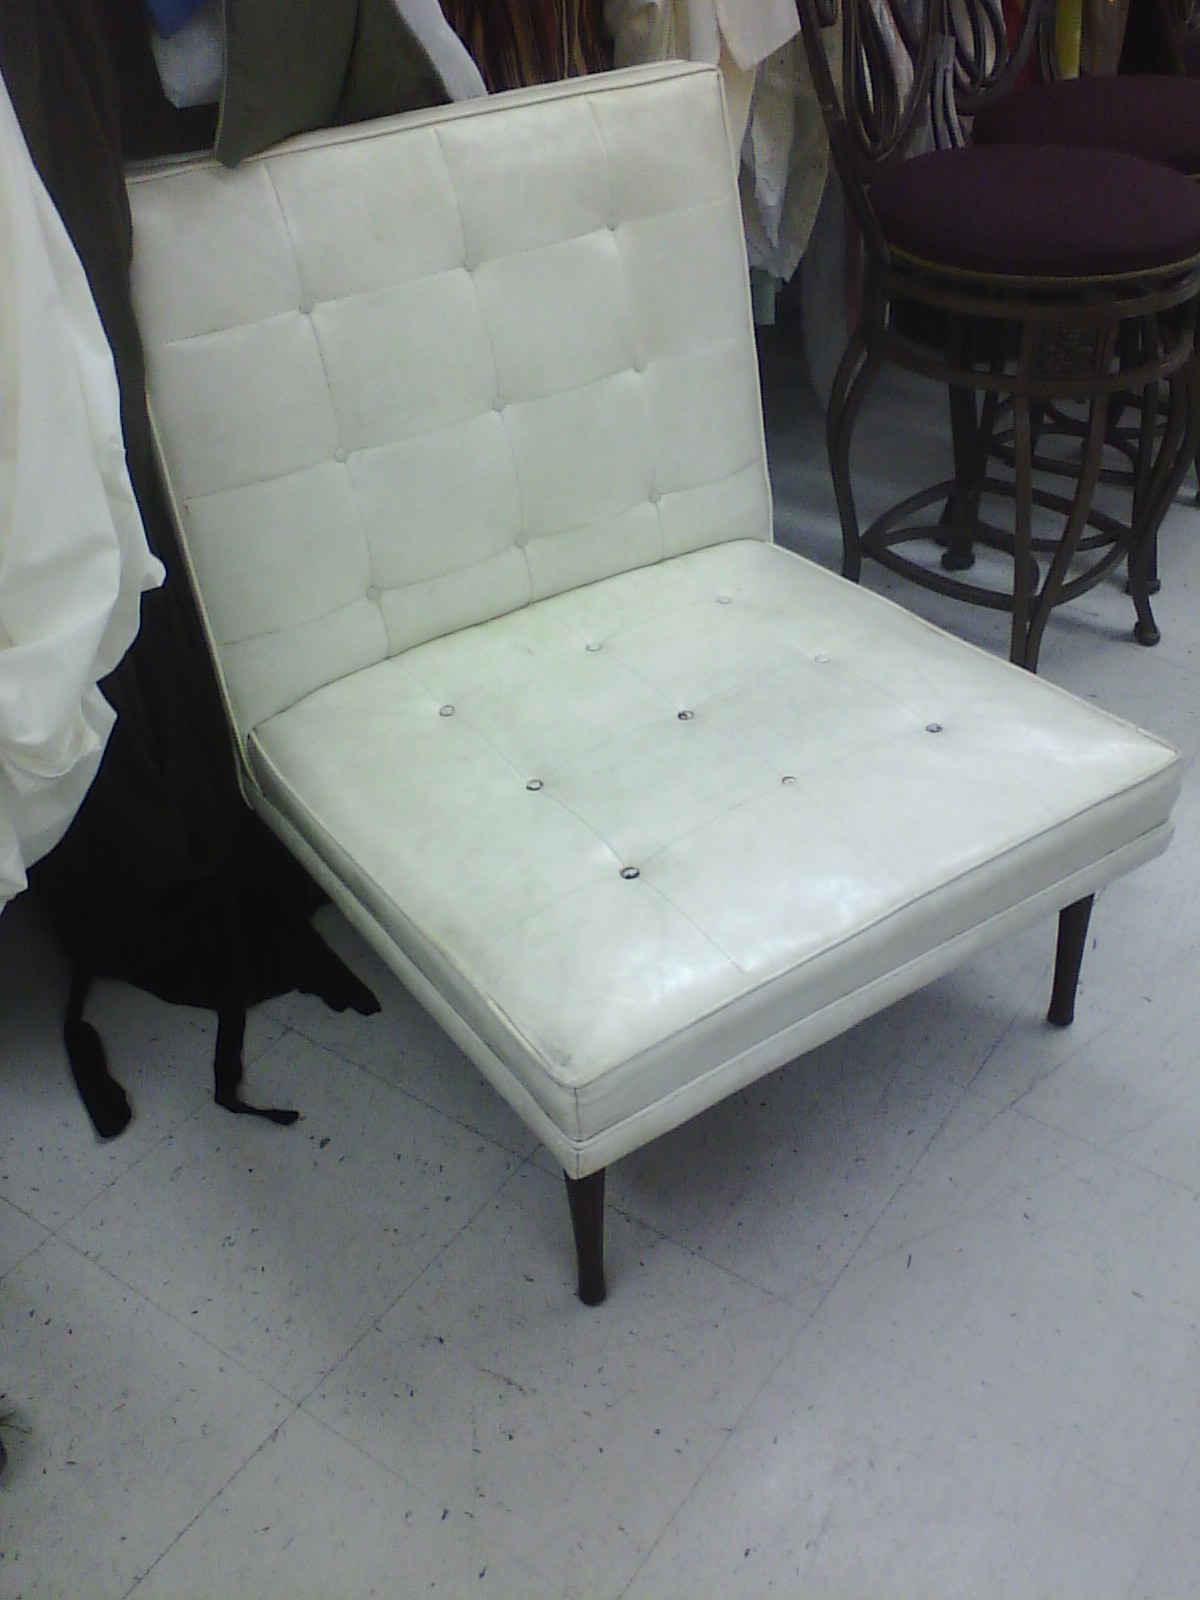 I texted the above picture to Scott, who has gotten pretty good at being my husband. His response? I trust your judgment, Love.
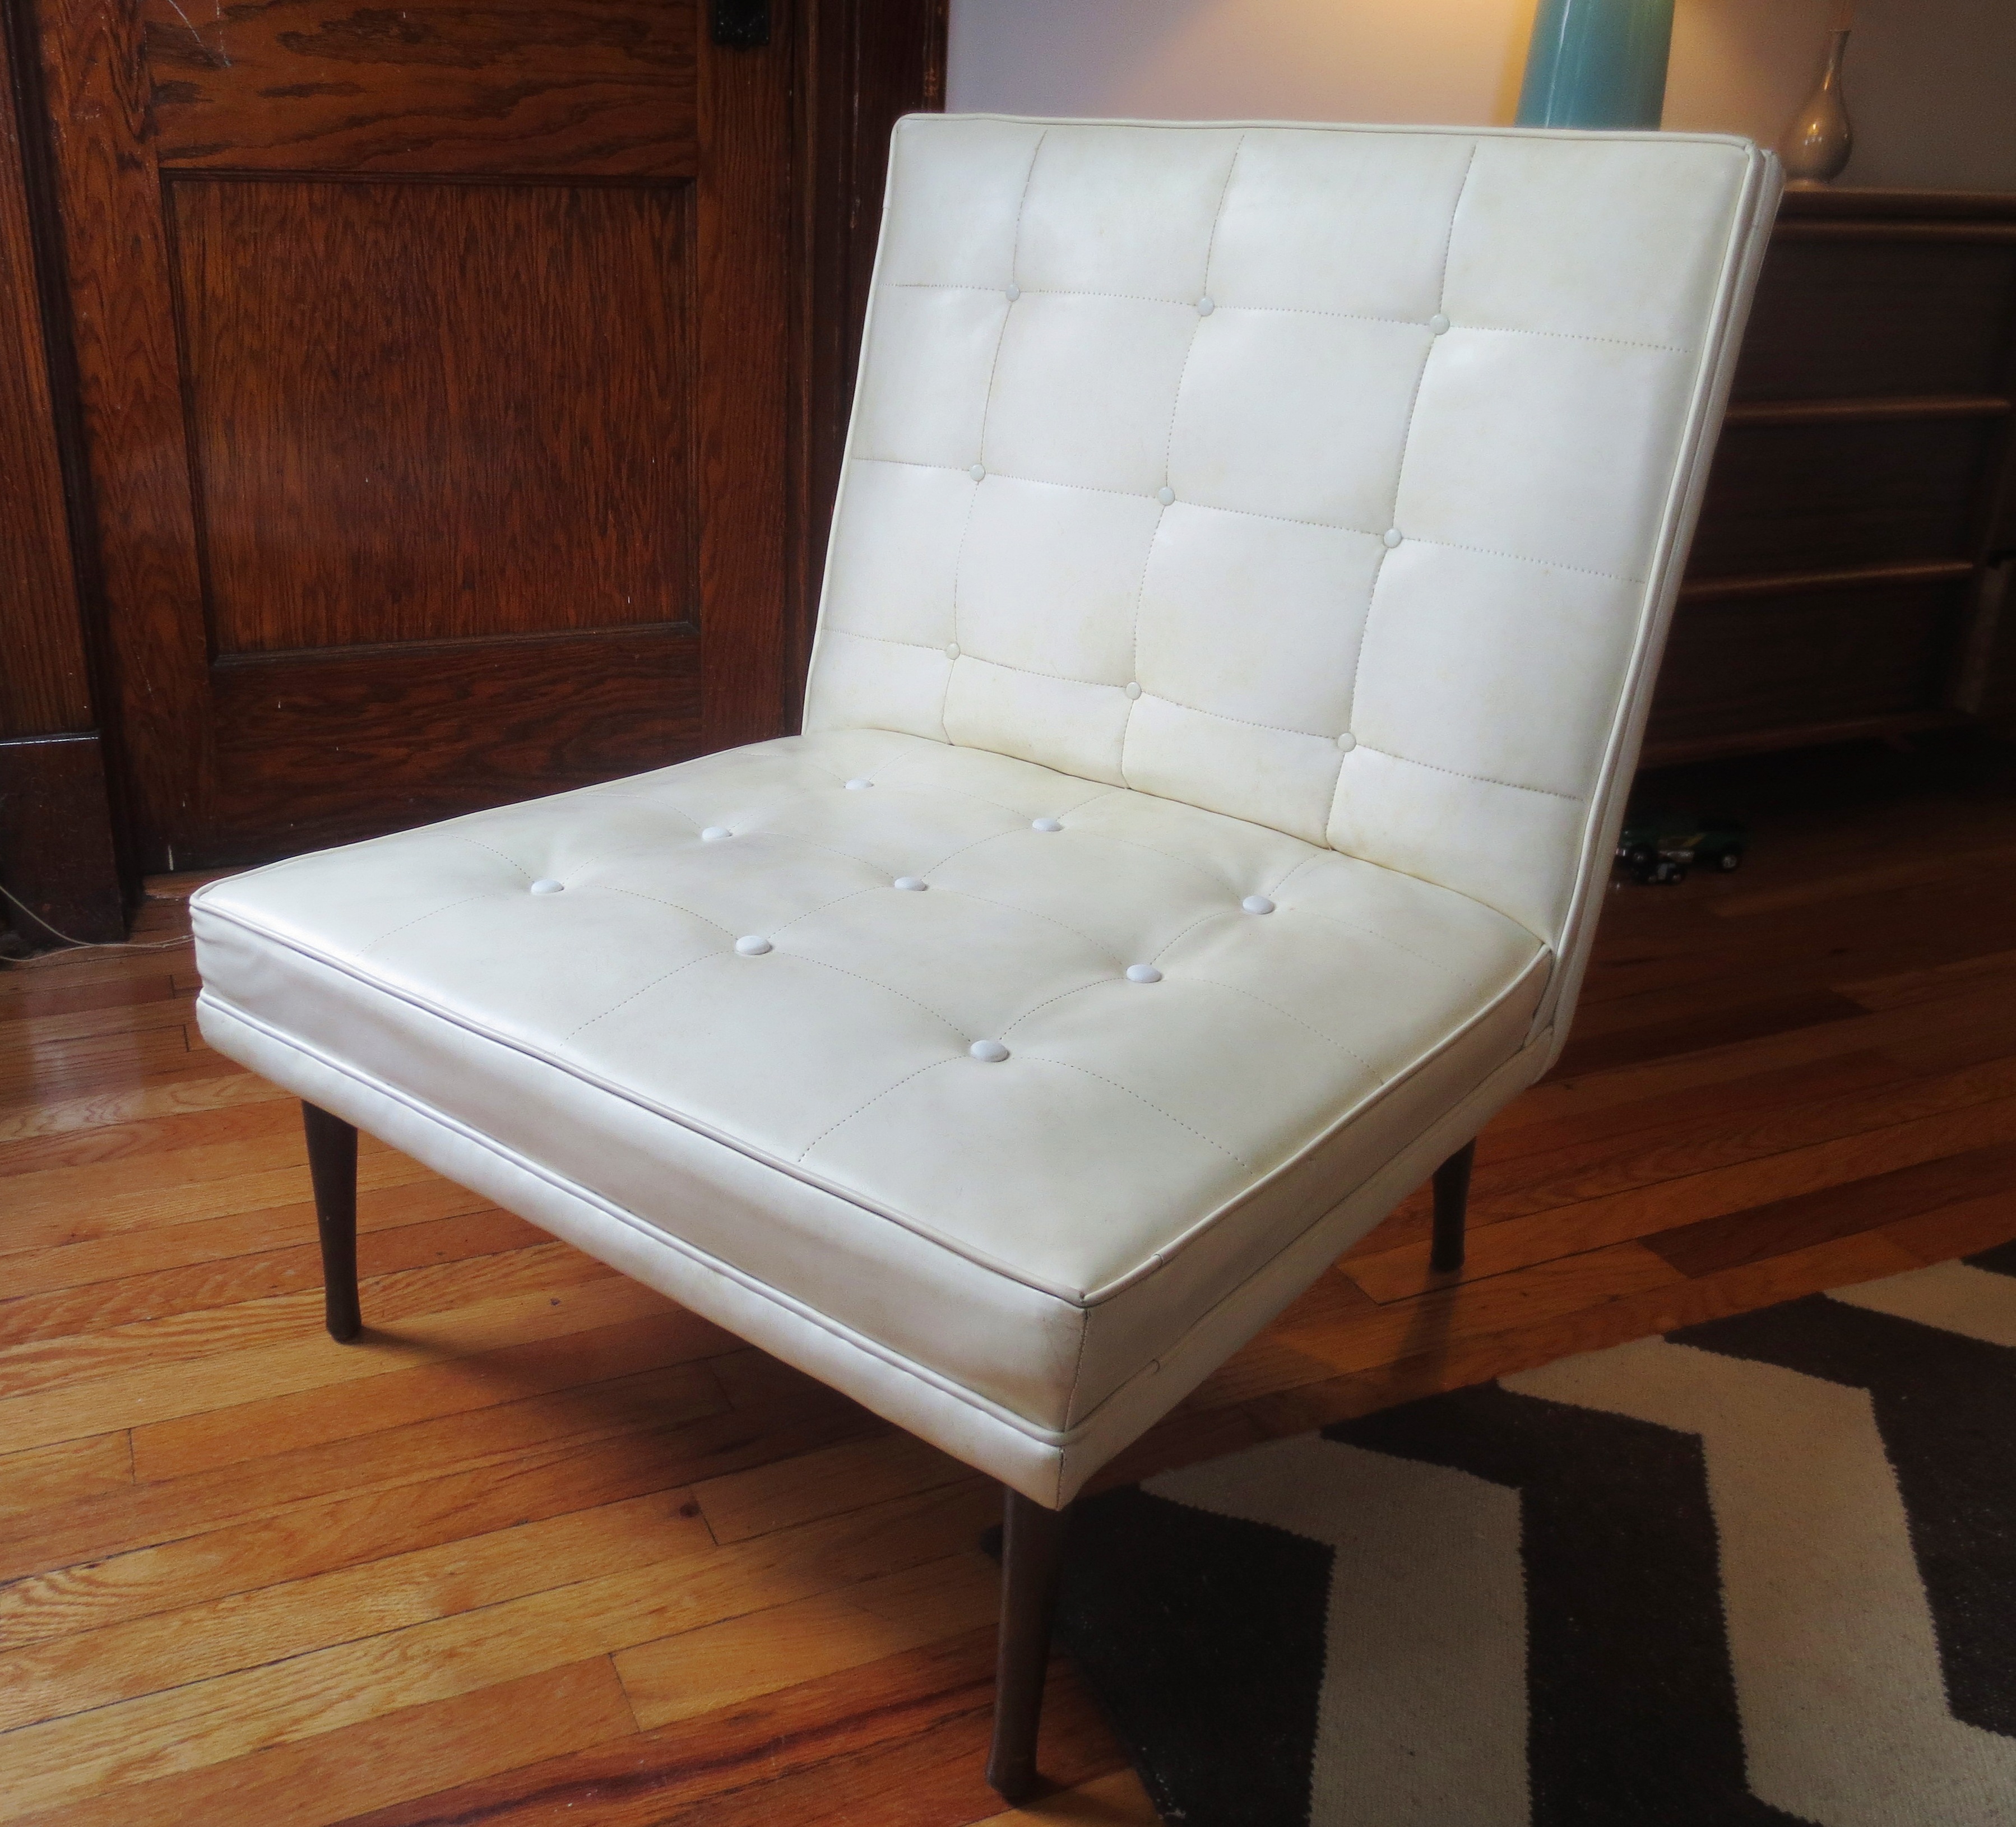
With its filthy vinyl skin and wooden legs, it’s not exactly a Barcelona chair. It’s not even a Toldedo (Spain) chair. More like a Toledo, Ohio chair.
But for $20, I couldn’t leave it behind.
Twenty bucks may seem steep for a thrift store, but to put it in perspective, (the horribly misnamed) Design Within Reach sells a “real” white leather Barcelona chair for $5,271. What other design bloggers might call an “investment piece.” The chair definitely needed some tough love: A thorough all-over cleaning, plus new tufting and buttons on the seat cushion.
 I found a few minor tears and scrapes in the vinyl, but nothing too visible or worth repairing:
 HOW TO RESTORE YOUR POOR MAN’S BARCELONA CHAIR
INGREDIENTS:
One crummy looking white vinyl (pleather or Naugahyde) chair
Vinyl cleaner + rag
Fabric-covered shank buttons or button-making kit
Big ball of twine
Large doll or decorator’s needle
Staple gun + scissors
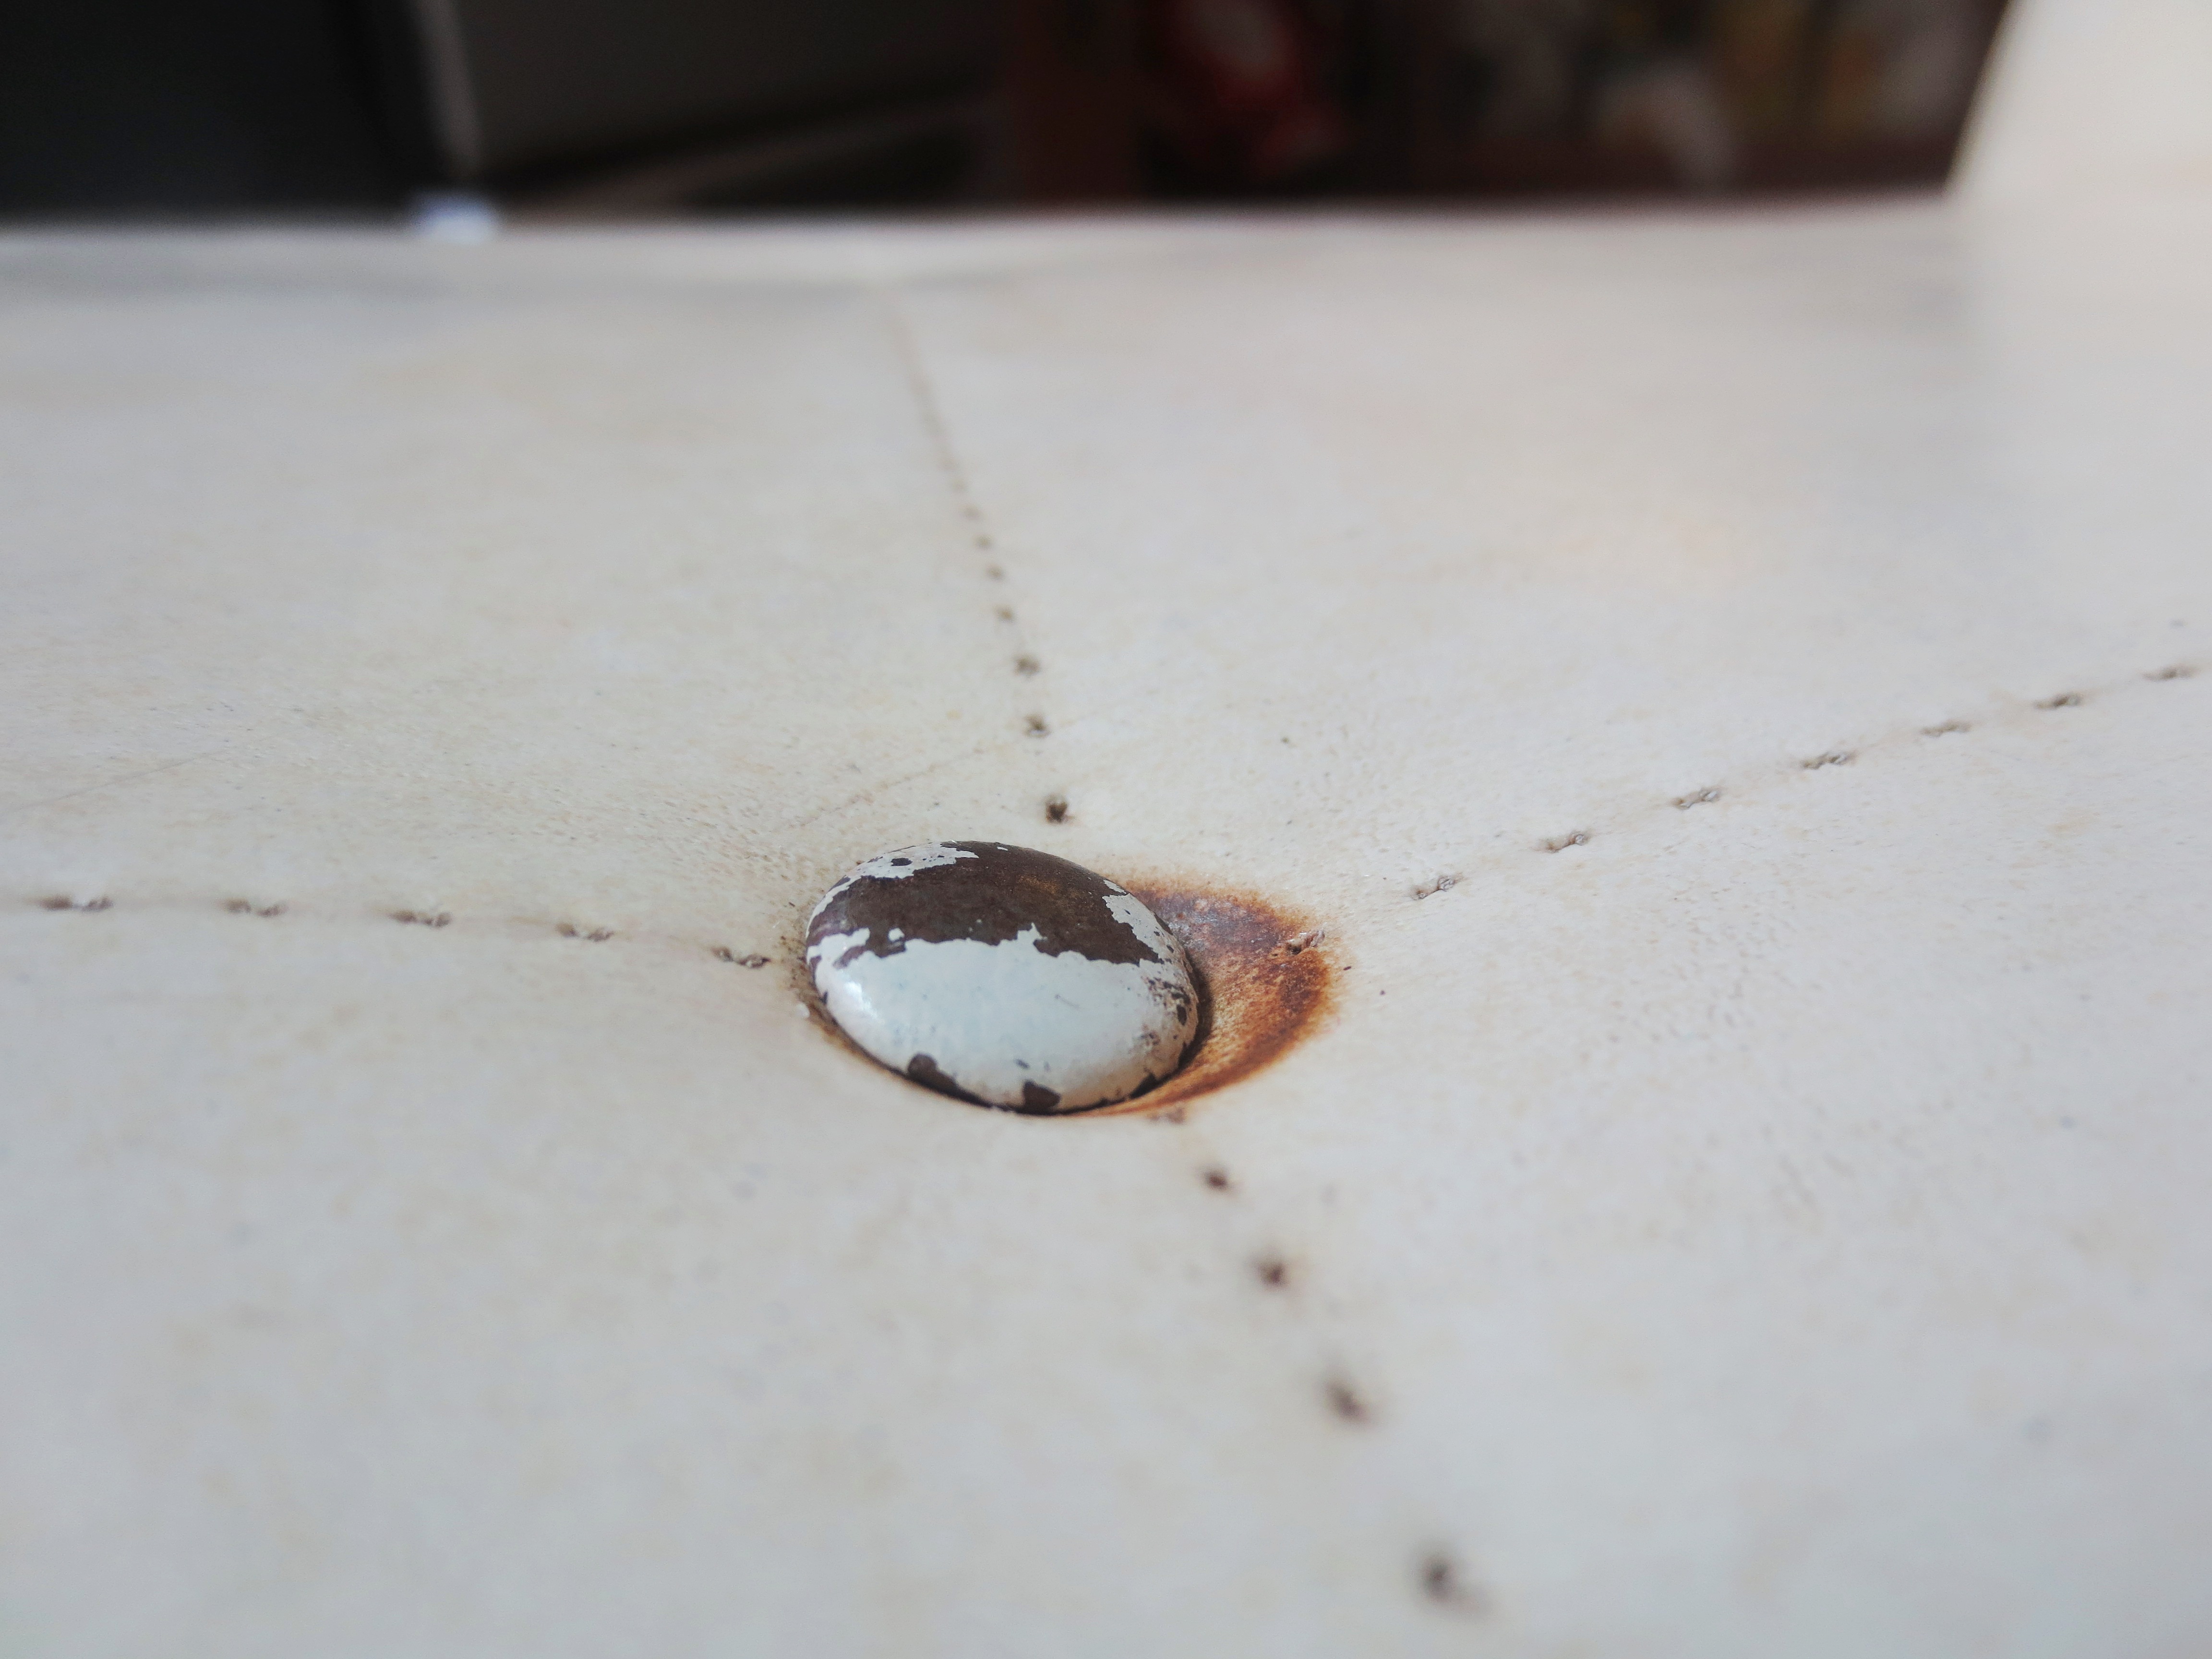
STEP ONE – UNBUTTON: The buttons and most of the stitching on the backrest are fine. But on the seat, the stitching is entirely gone and a couple of buttons are missing. The remaining buttons are loose and rusted, having stained the vinyl beneath them.
Since the bottom dust cover is missing, we can easily see where the buttons are attached to the seat base.
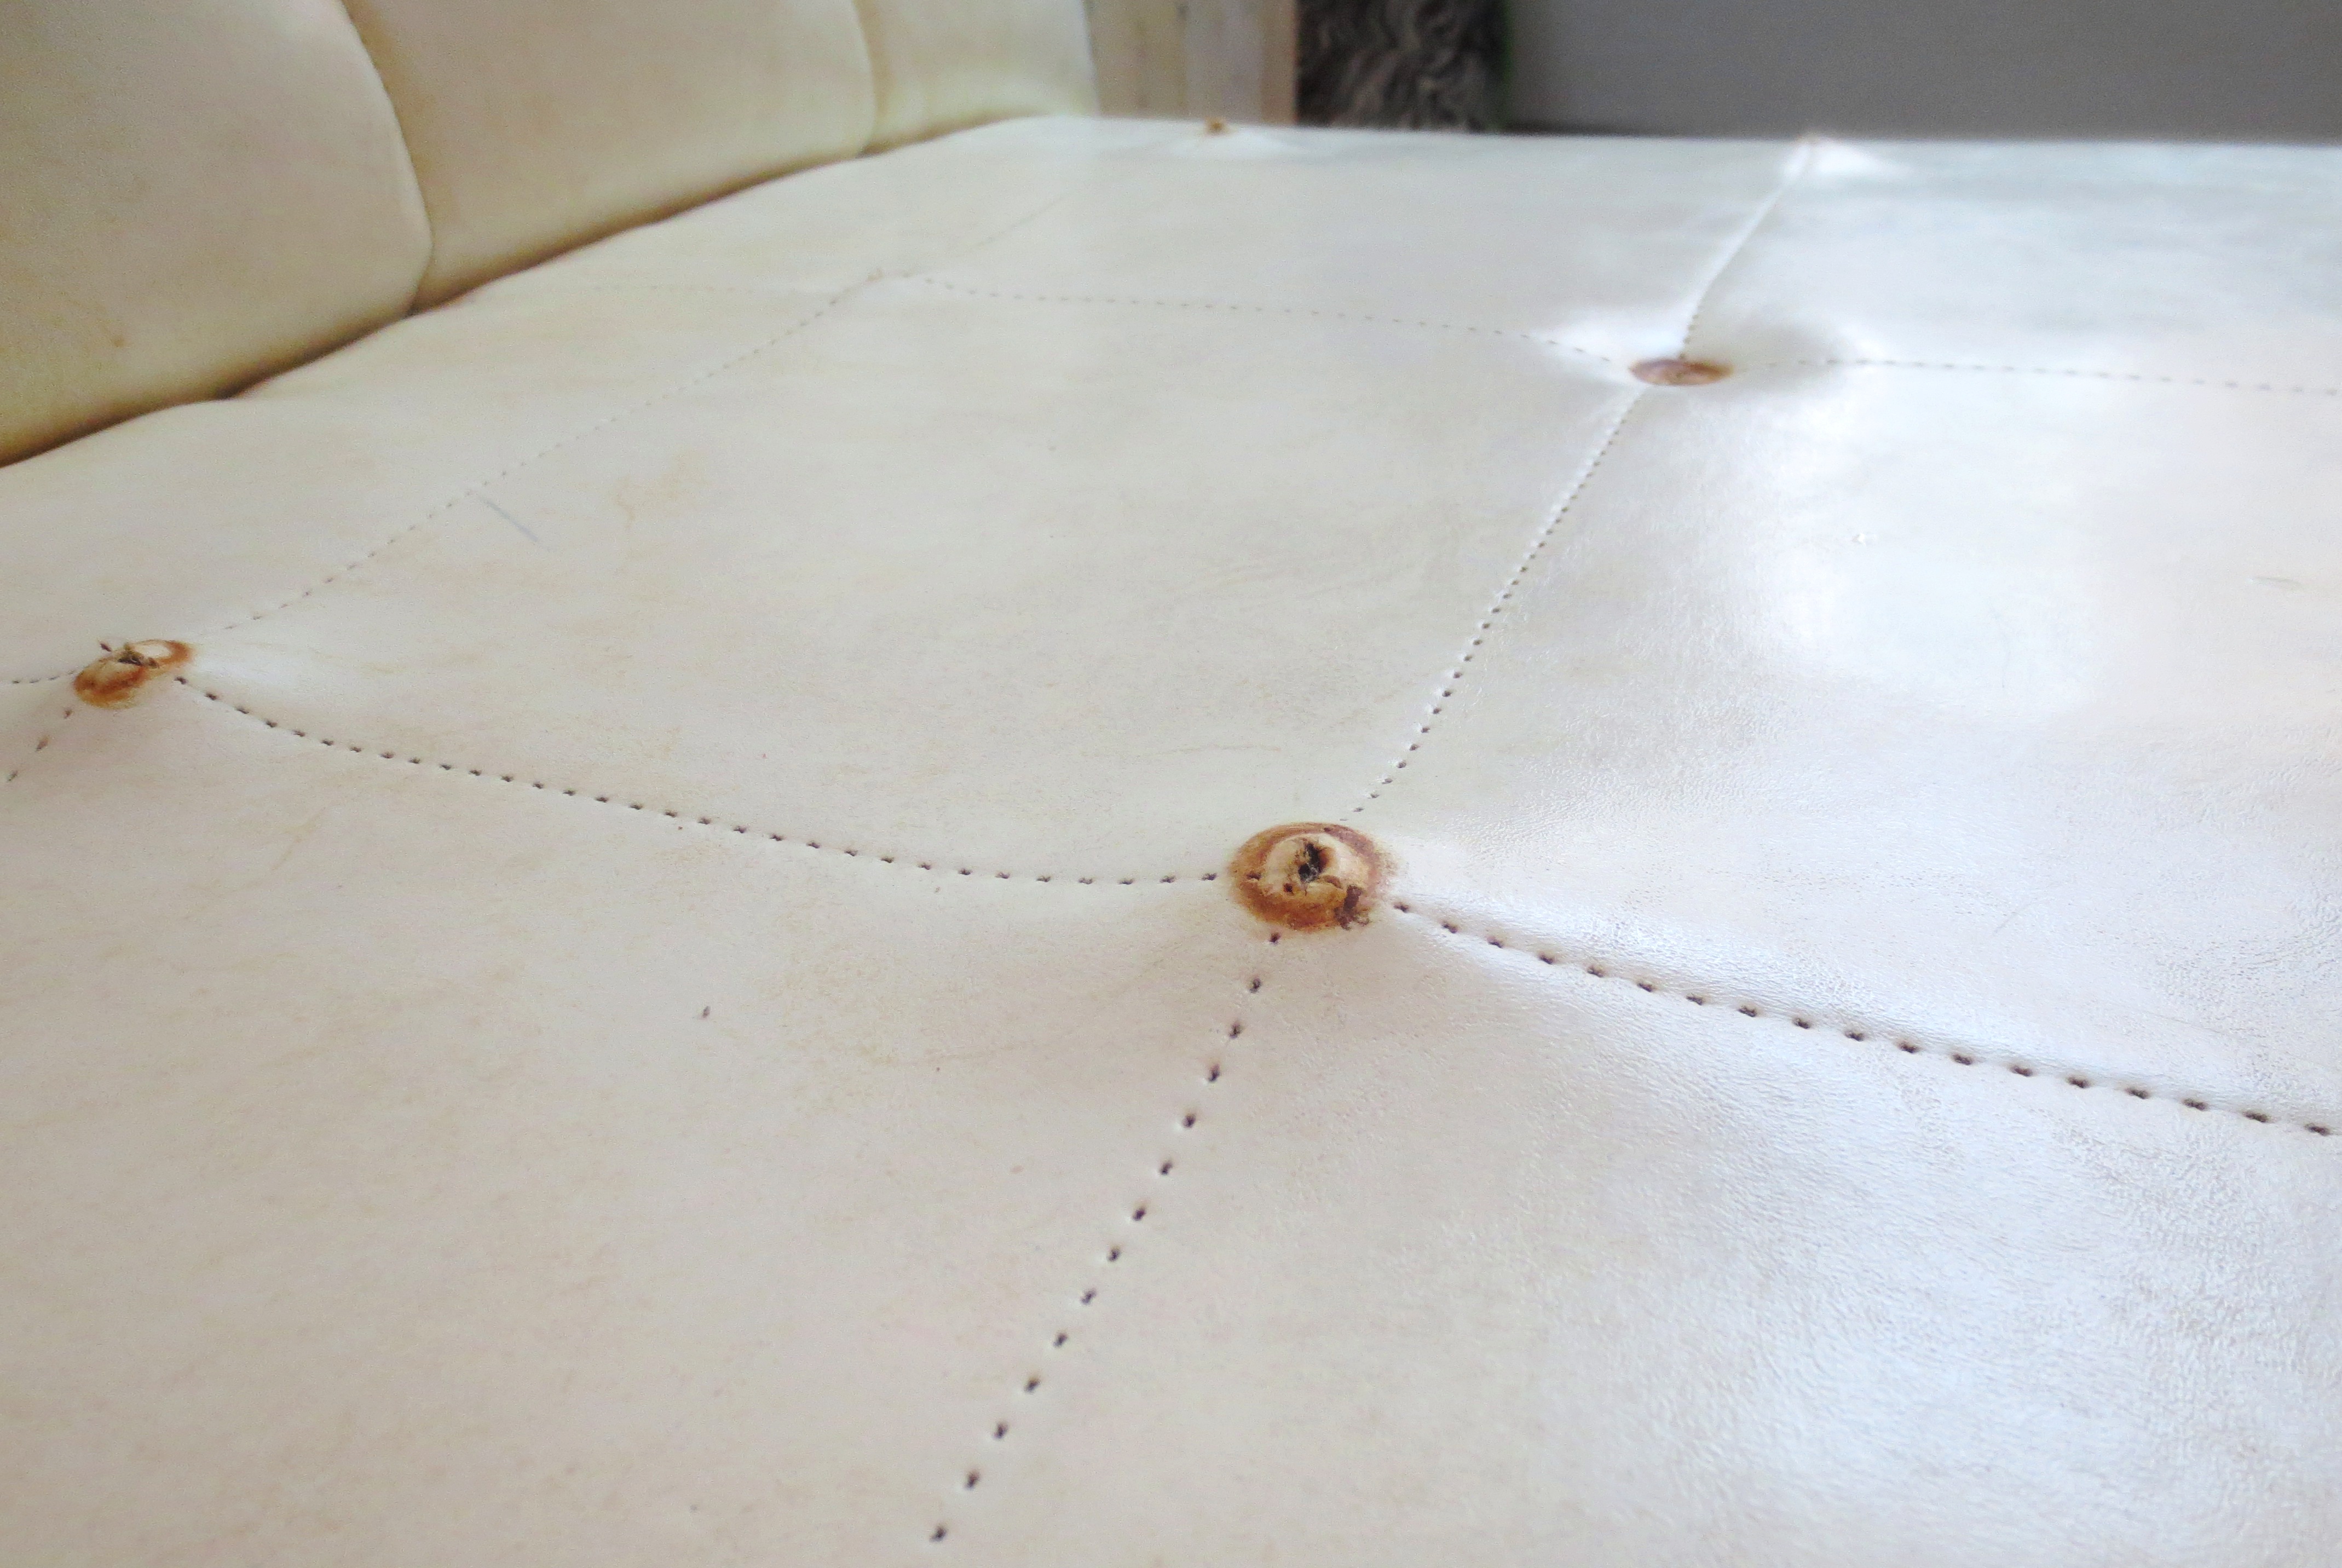
 Simply clip the twine and unravel it from the nails and staples, and pull the buttons off the top. Keep the nails in place for step three. Your seat now has puckered rust stains where the buttons once lived:
 STEP TWO – CLEAN: I spent some time in vintage car enthusiast chat rooms — the only place on the internet you’ll find an informed debate about how to care for old vinyl seats (in their case, car seats). I was told to avoid abrasives or harsh (acid-based) cleaners that will wear away vinyl’s plastic coating, causing it to dry and crack. I couldn’t keep track of the recommend brands, so I pedaled over to my nearest AutoZone and grabbed the first bottle I saw.**
 This stuff actually worked quite well, applied with a soft, clean rag and some muscle. I didn’t wear gloves, and it left my bare hands feeling strangely soft and supple, like the back seat of a ’68 Firebird. Next, use an old toothbrush to clear the gunk from the crevice between the seat and back.
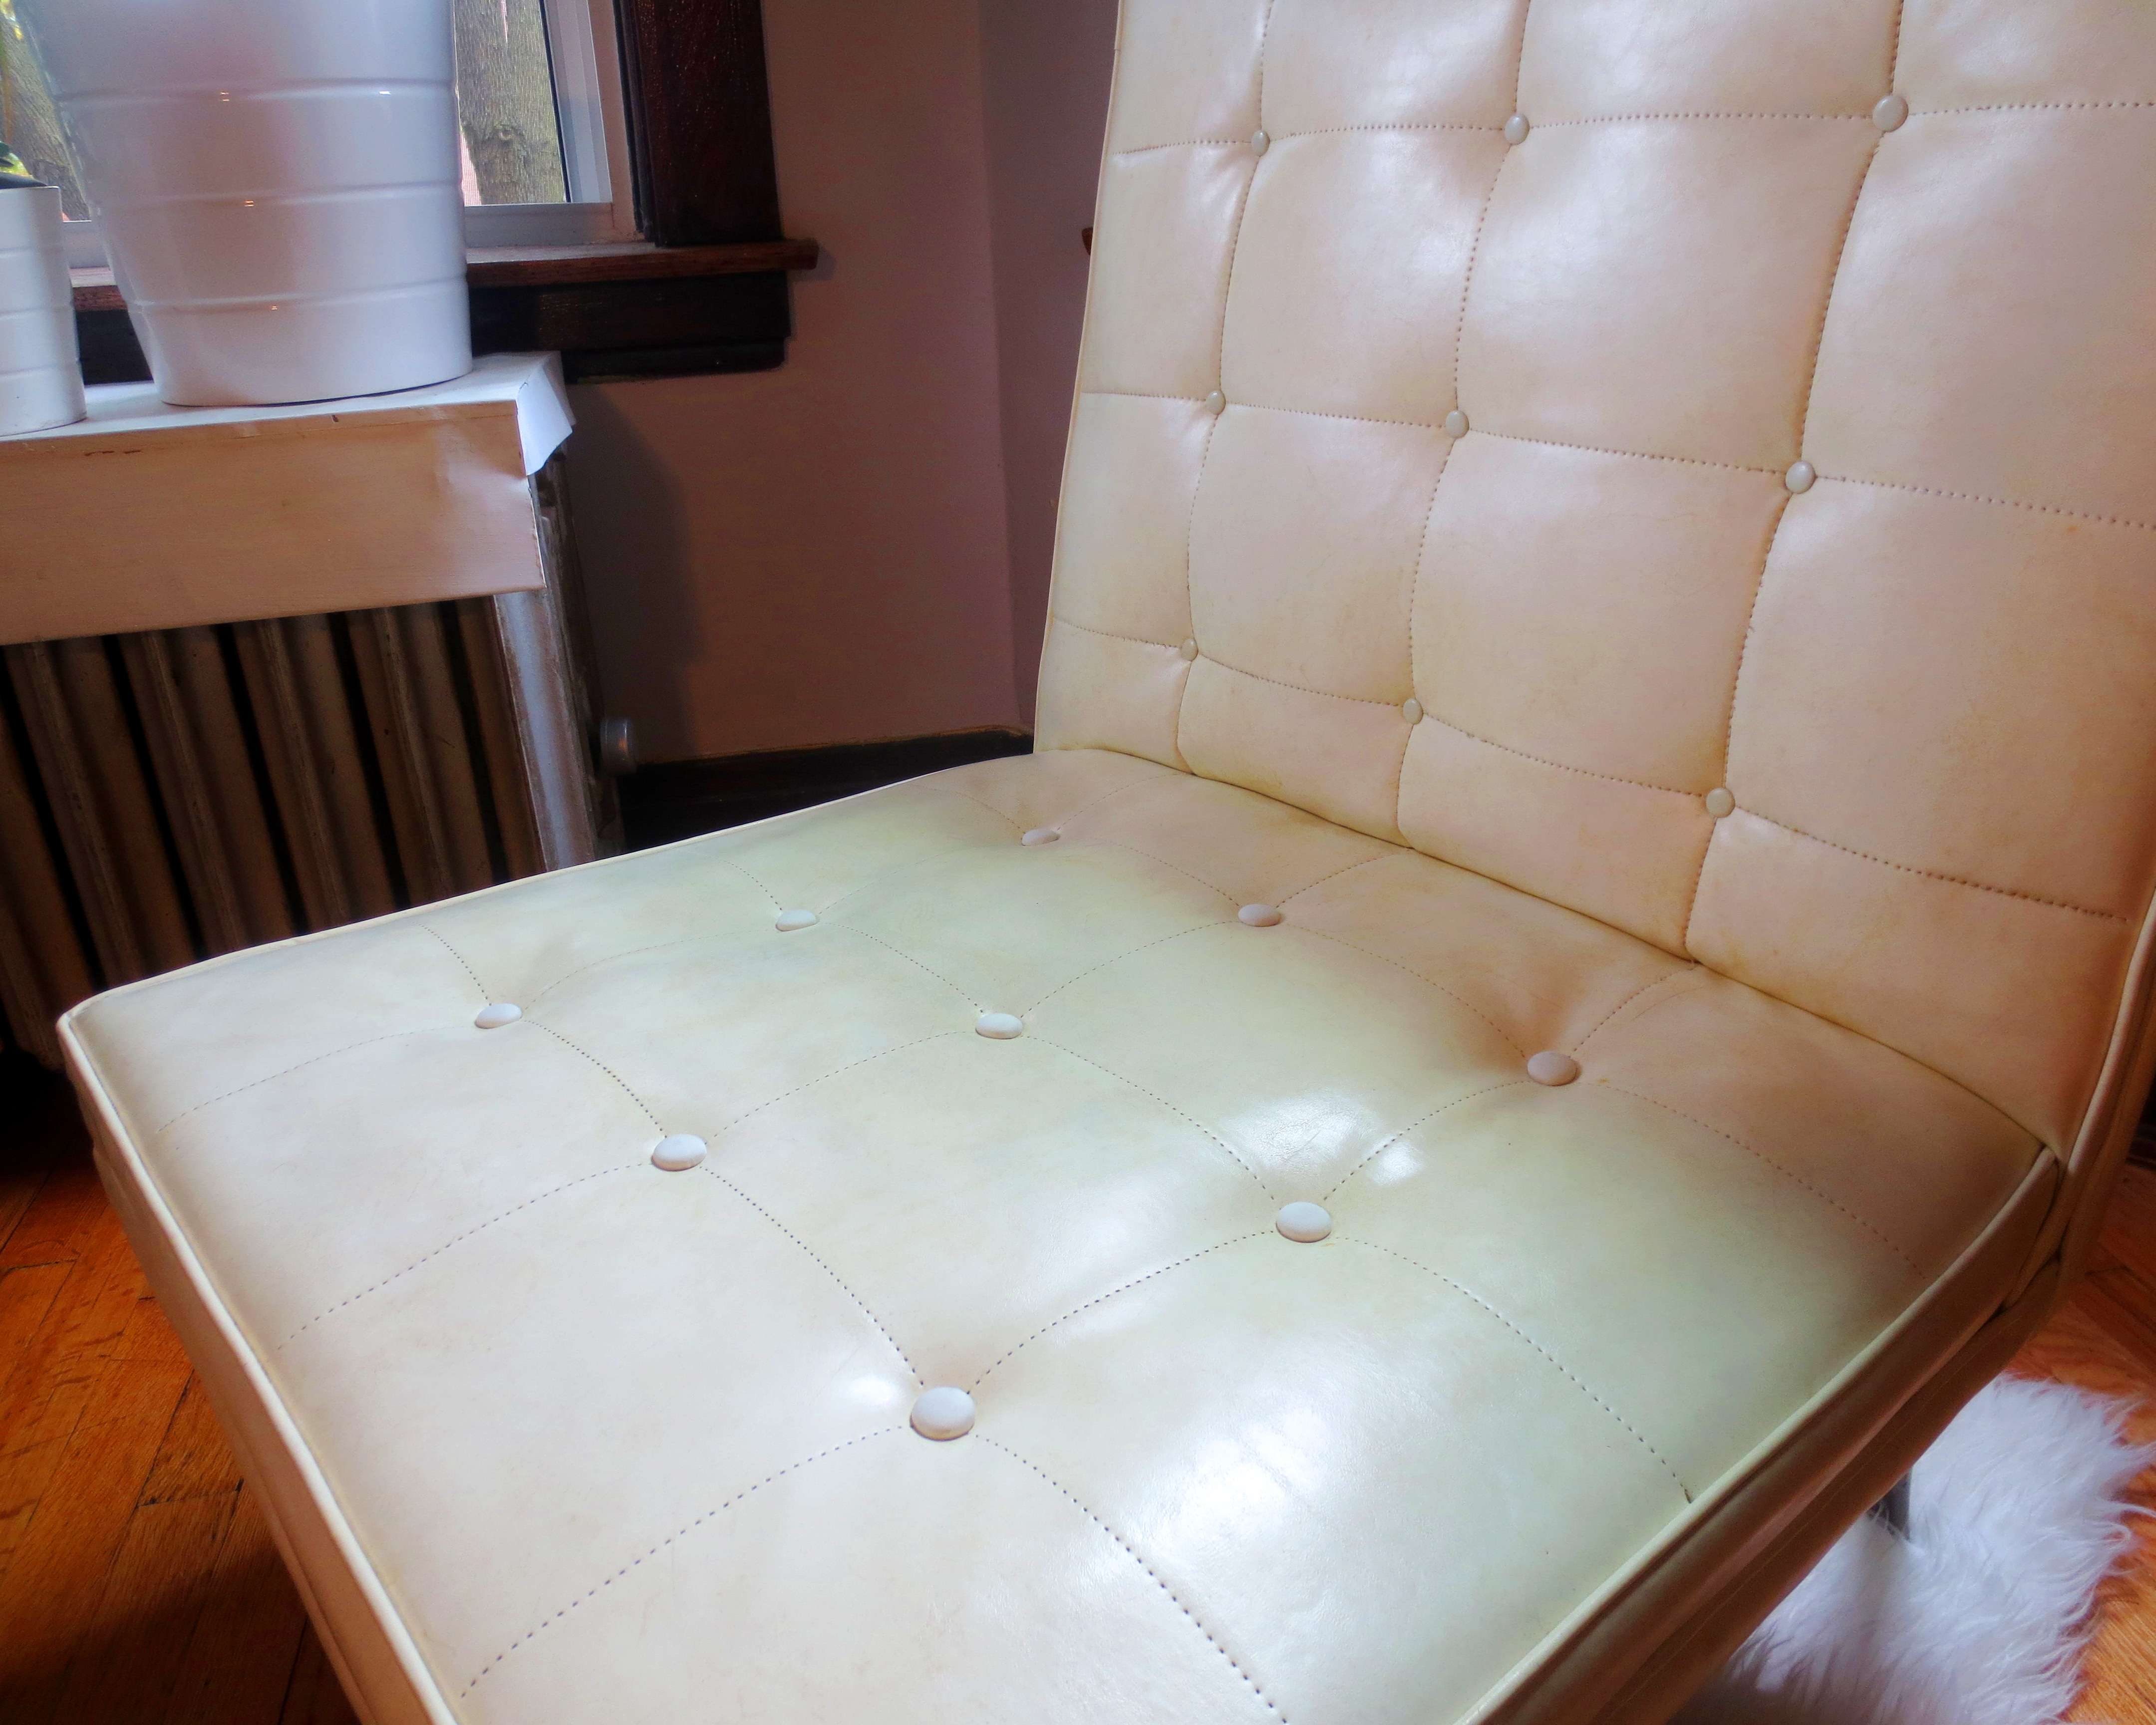
While cleaning, I discovered that the original vinyl is more of an creamy eggshell white than a pure white. And, perhaps in an attempt to look like real cow skin, the original vinyl has a swirly yellowish pattern imbedded in it. This might give you some perspective on the color:  PRO TIP! It’s time to talk about bed bugs. They are real, and have infested the homes of several people in my life, which makes me think twice about dragging home second-hand furniture. You won’t find much soft stuffing in this chair, but just to be sure I pulled a sample from under the seat and tried an old trick I learned as a kid when my cat had fleas. We would comb Kitty’s fur and set a tuft of it on a wet paper towel. If the bits of dust in her fur turned red on the towel, we knew she still had fleas because fleas (like lice and bedbugs) poop blood. Gross but true. Whew, Toledo passed the test!
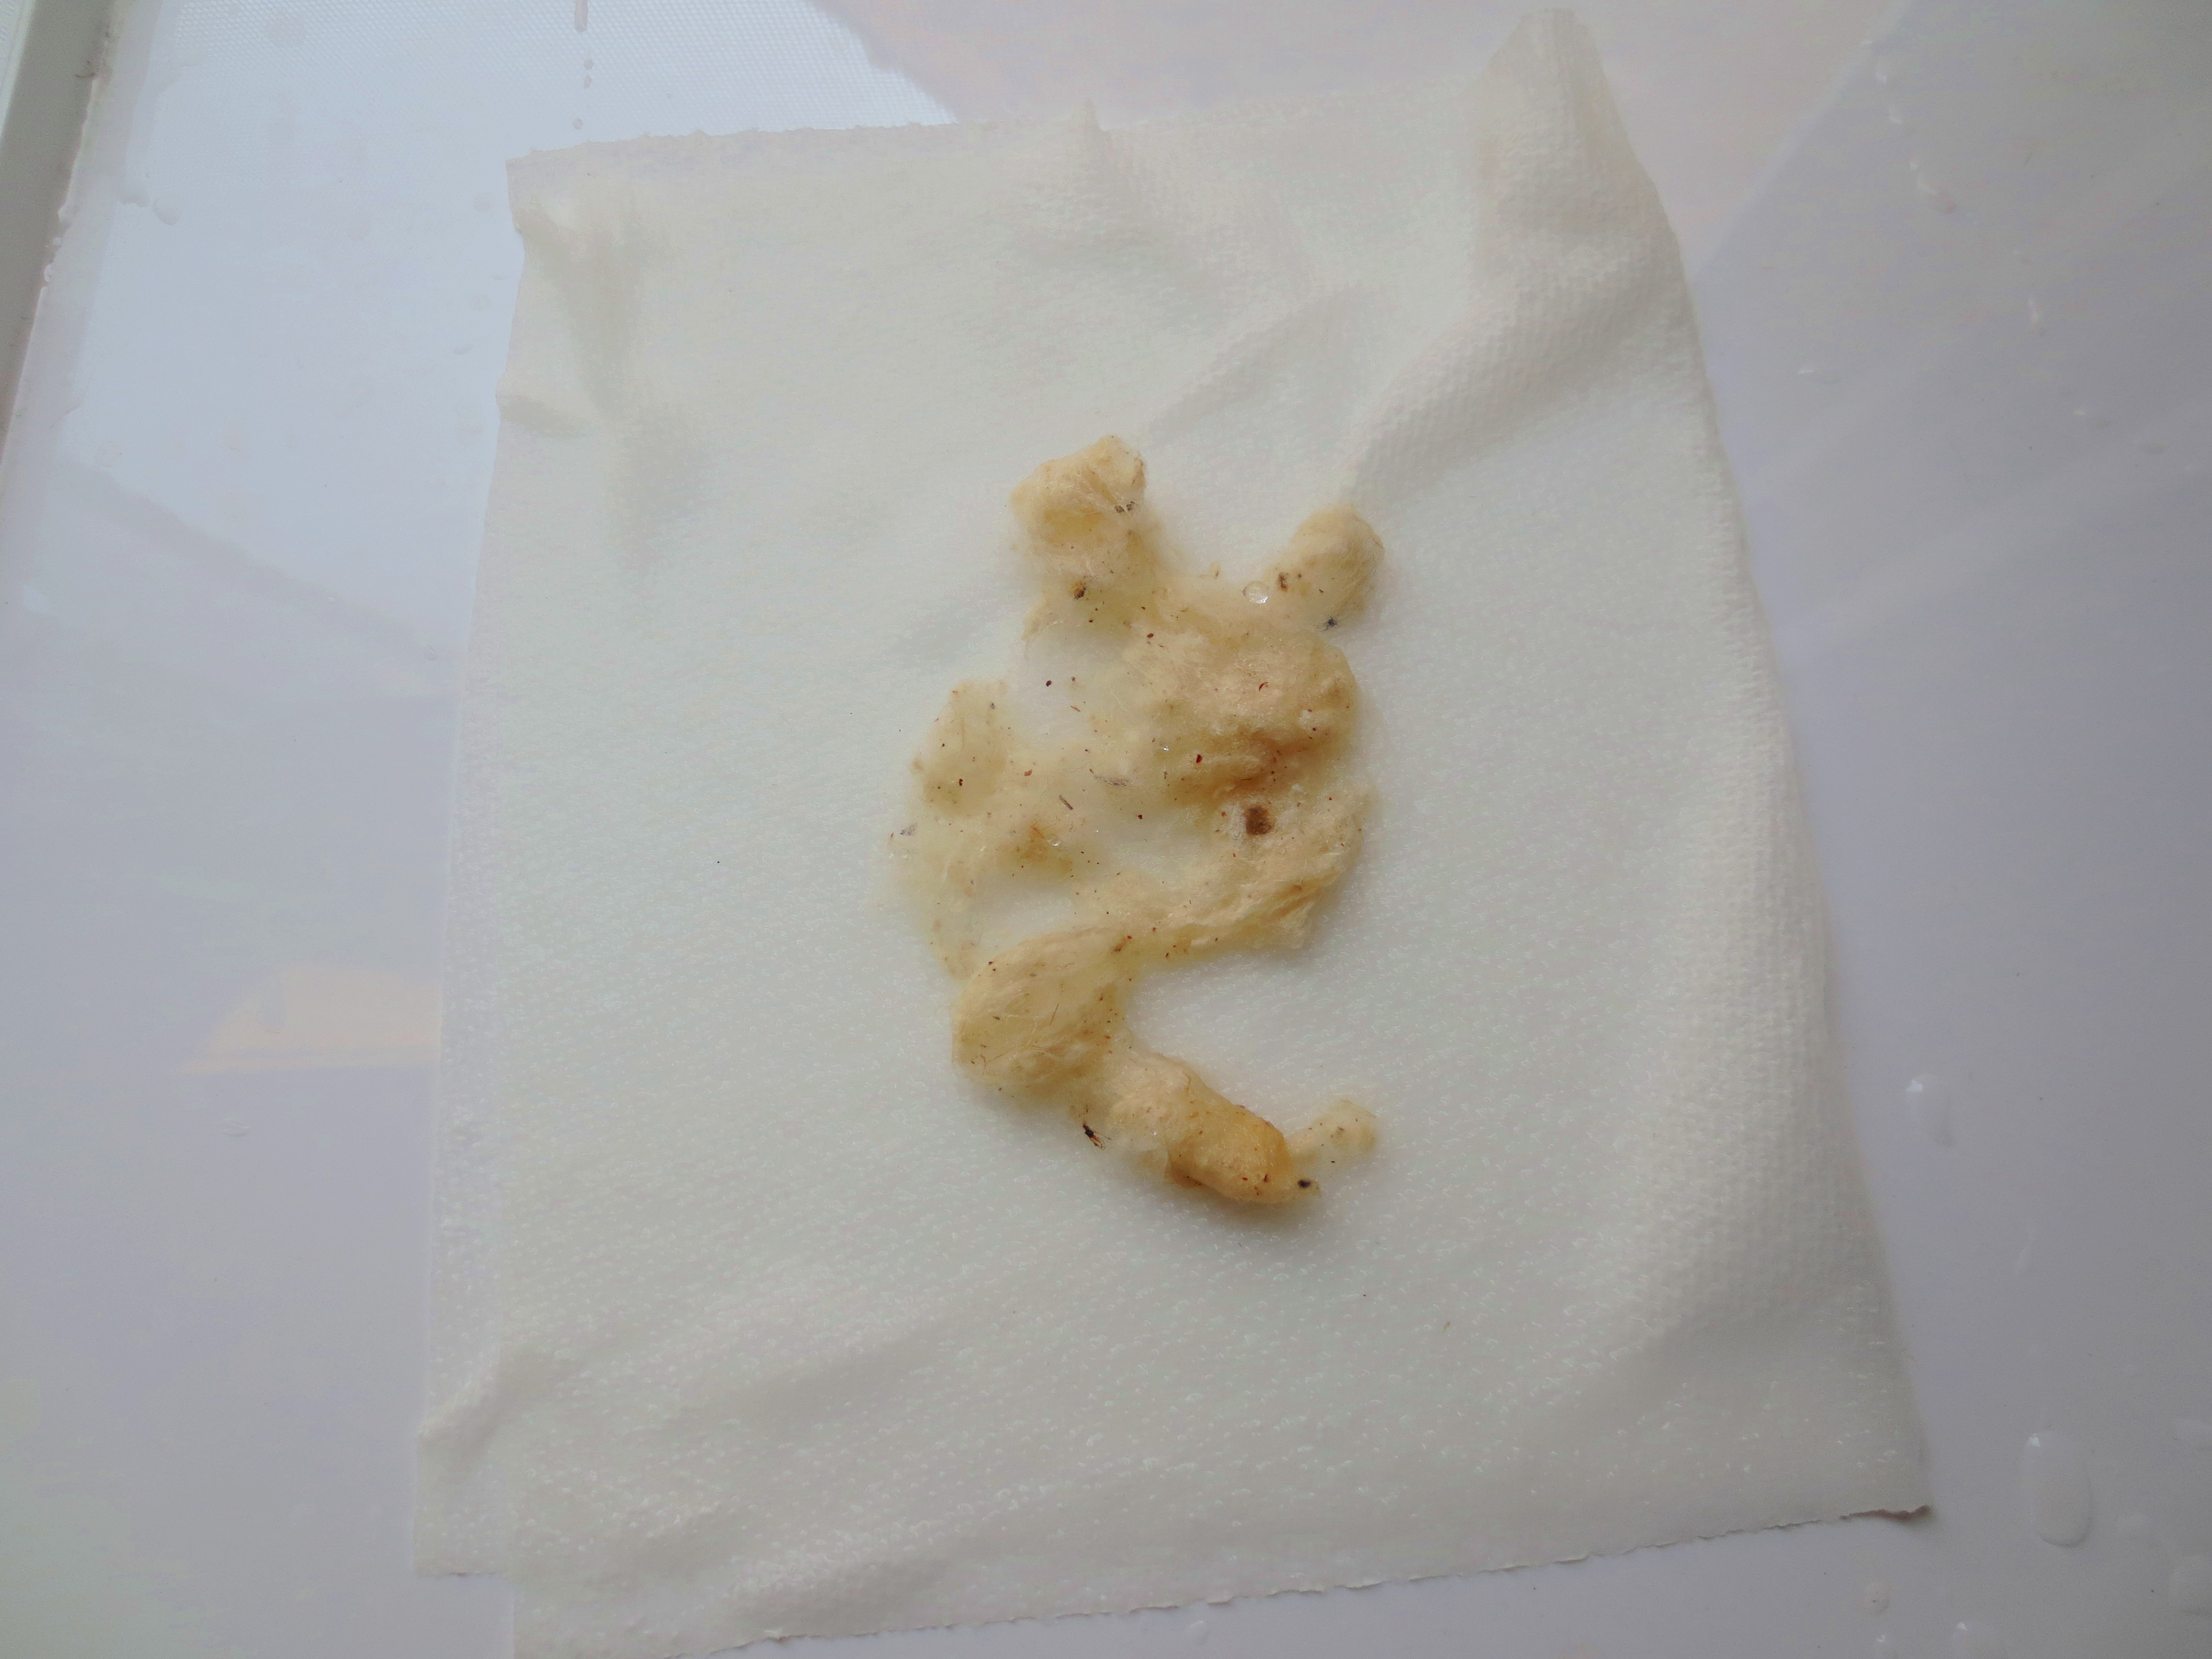
I sure had fun making Scott guess what this was when he got home from work.
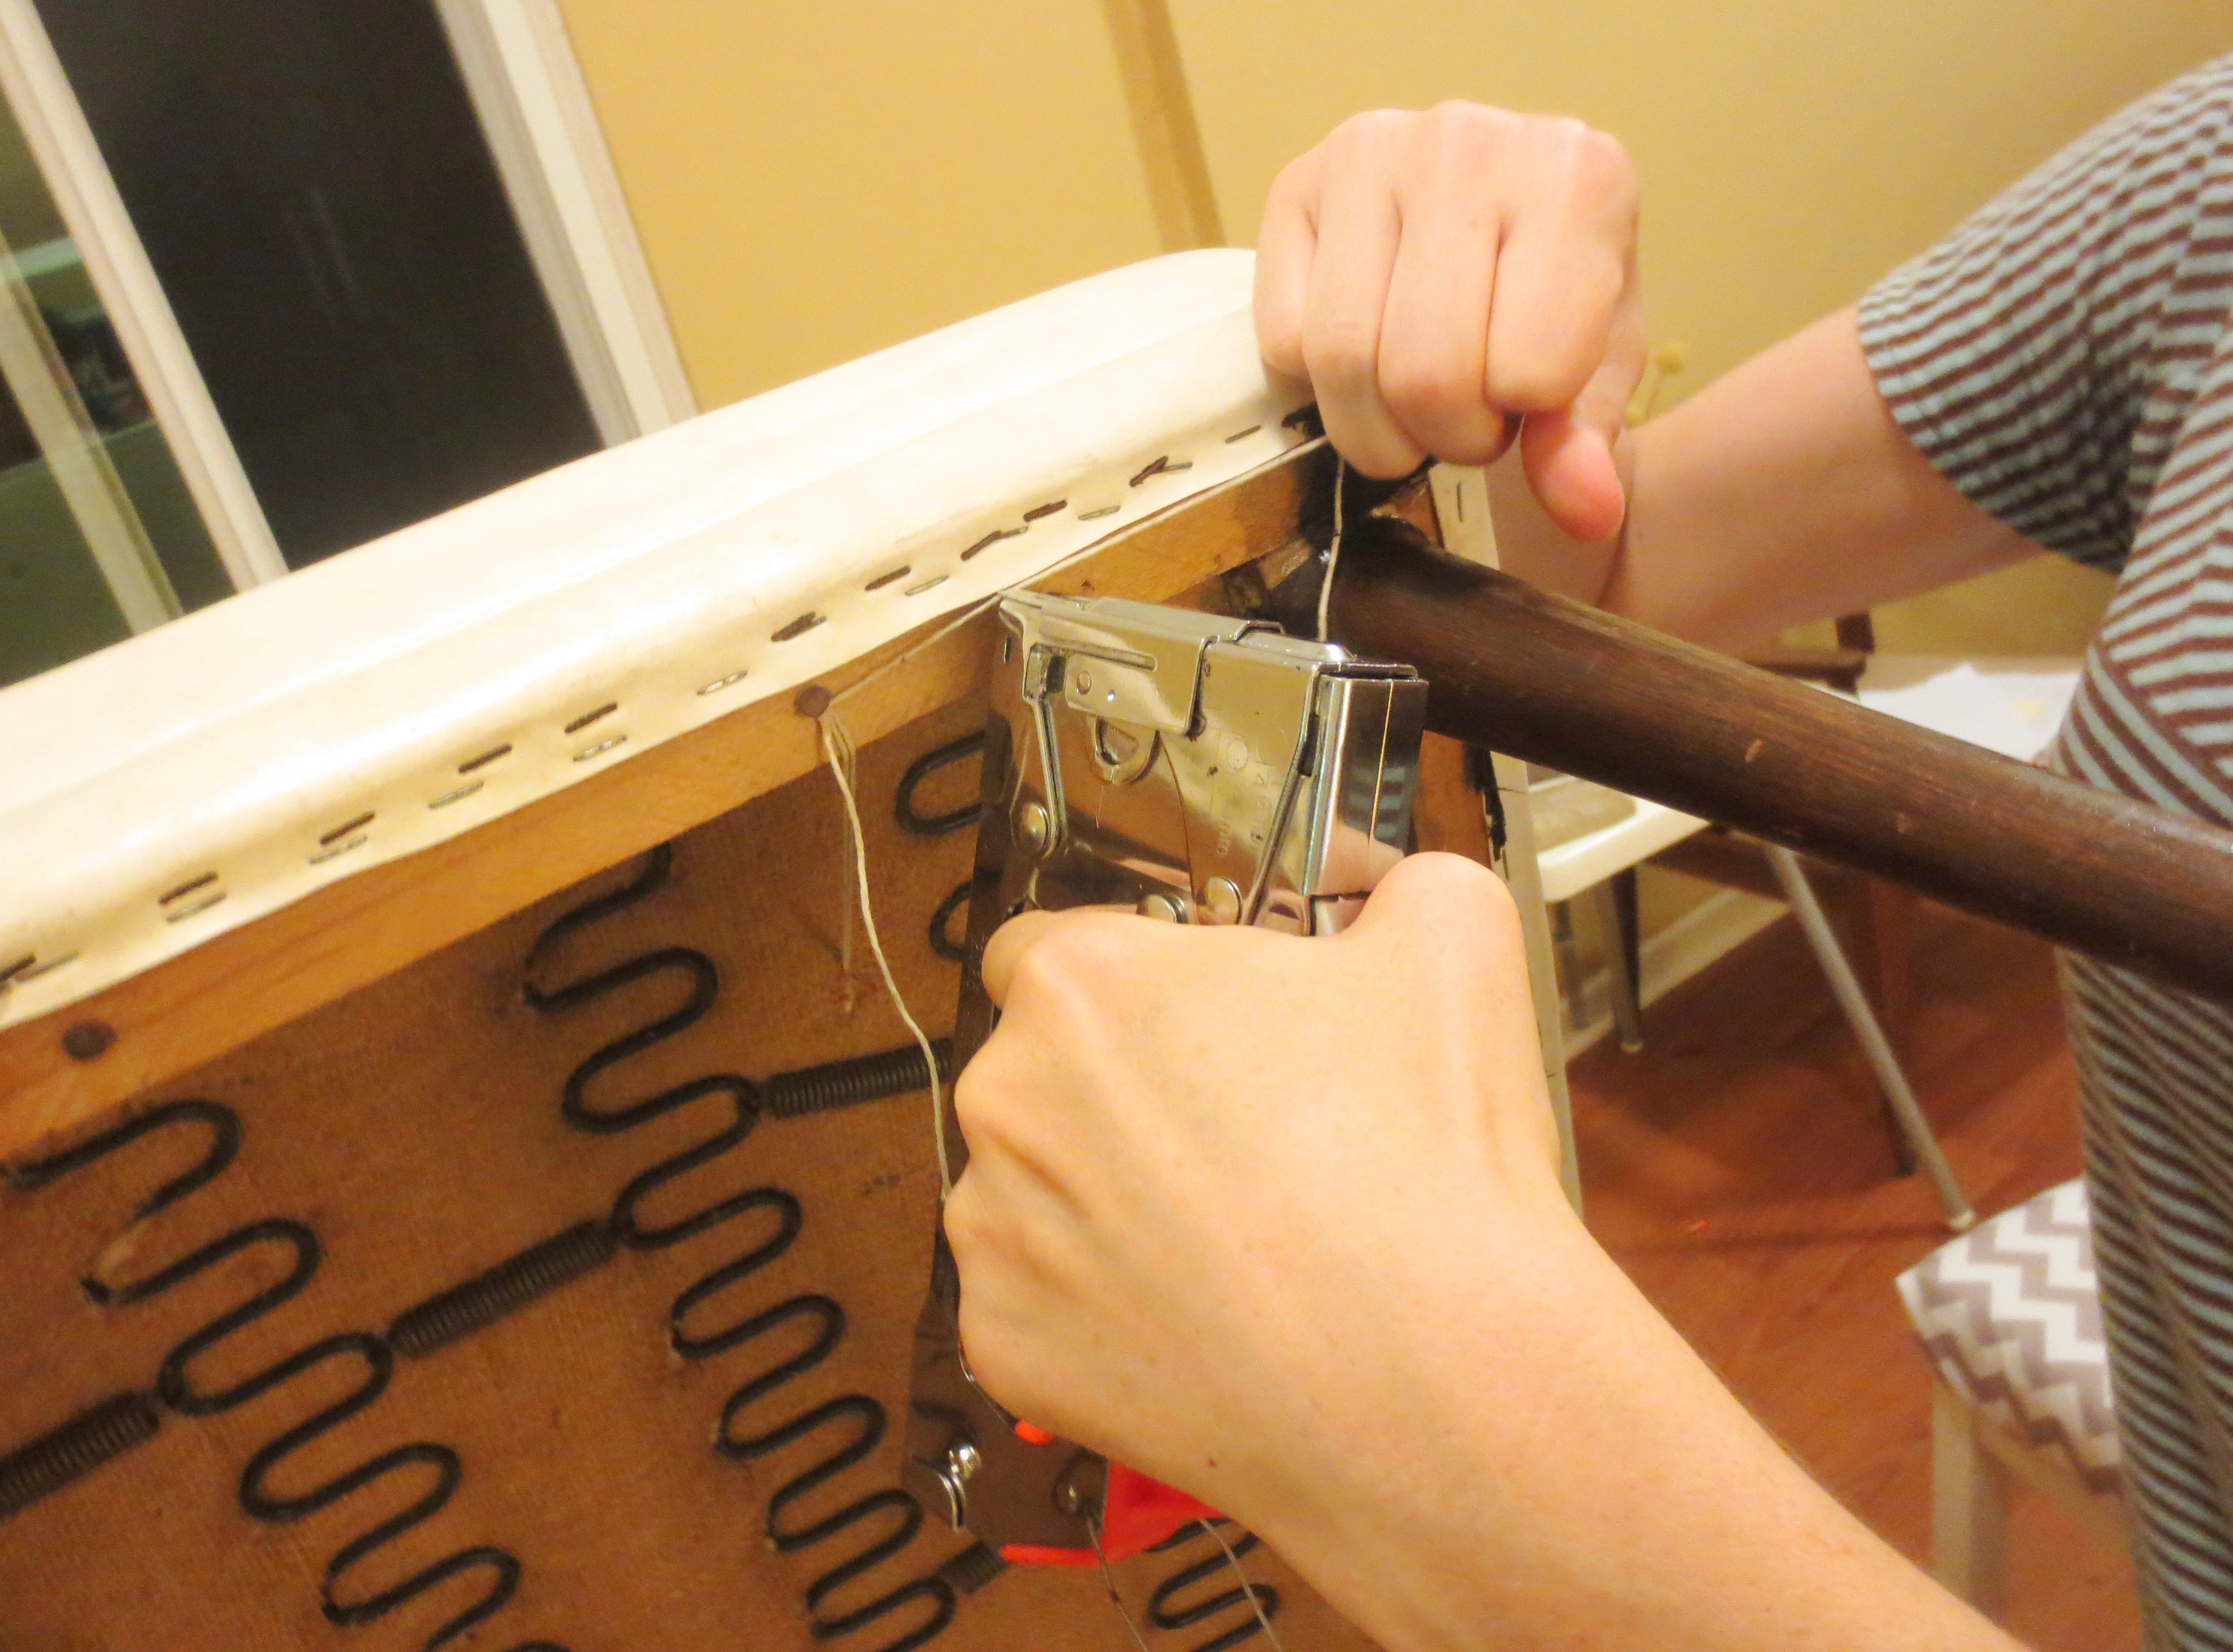
STEP THREE – RE-TUFT: Since the old metal buttons left permanent rust stains on the vinyl, I needed buttons that were slightly bigger than the stains. I bought two sets of covered shank button kits at my local craft store, and used part of an old bed sheet for the fabric cover. There’s instructions on the package in three languages, so you should be able to figure that process out yourself. Now the actual button tufting requires easy access to the bottom of the seat. Fans of hospital-based TV dramas will appreciate this opportunity to play doctor.

“We’re gonna need 500 cc’s of Twine, STAT!”
Gently lift the chair up on the “Operating Table” for the big procedure.
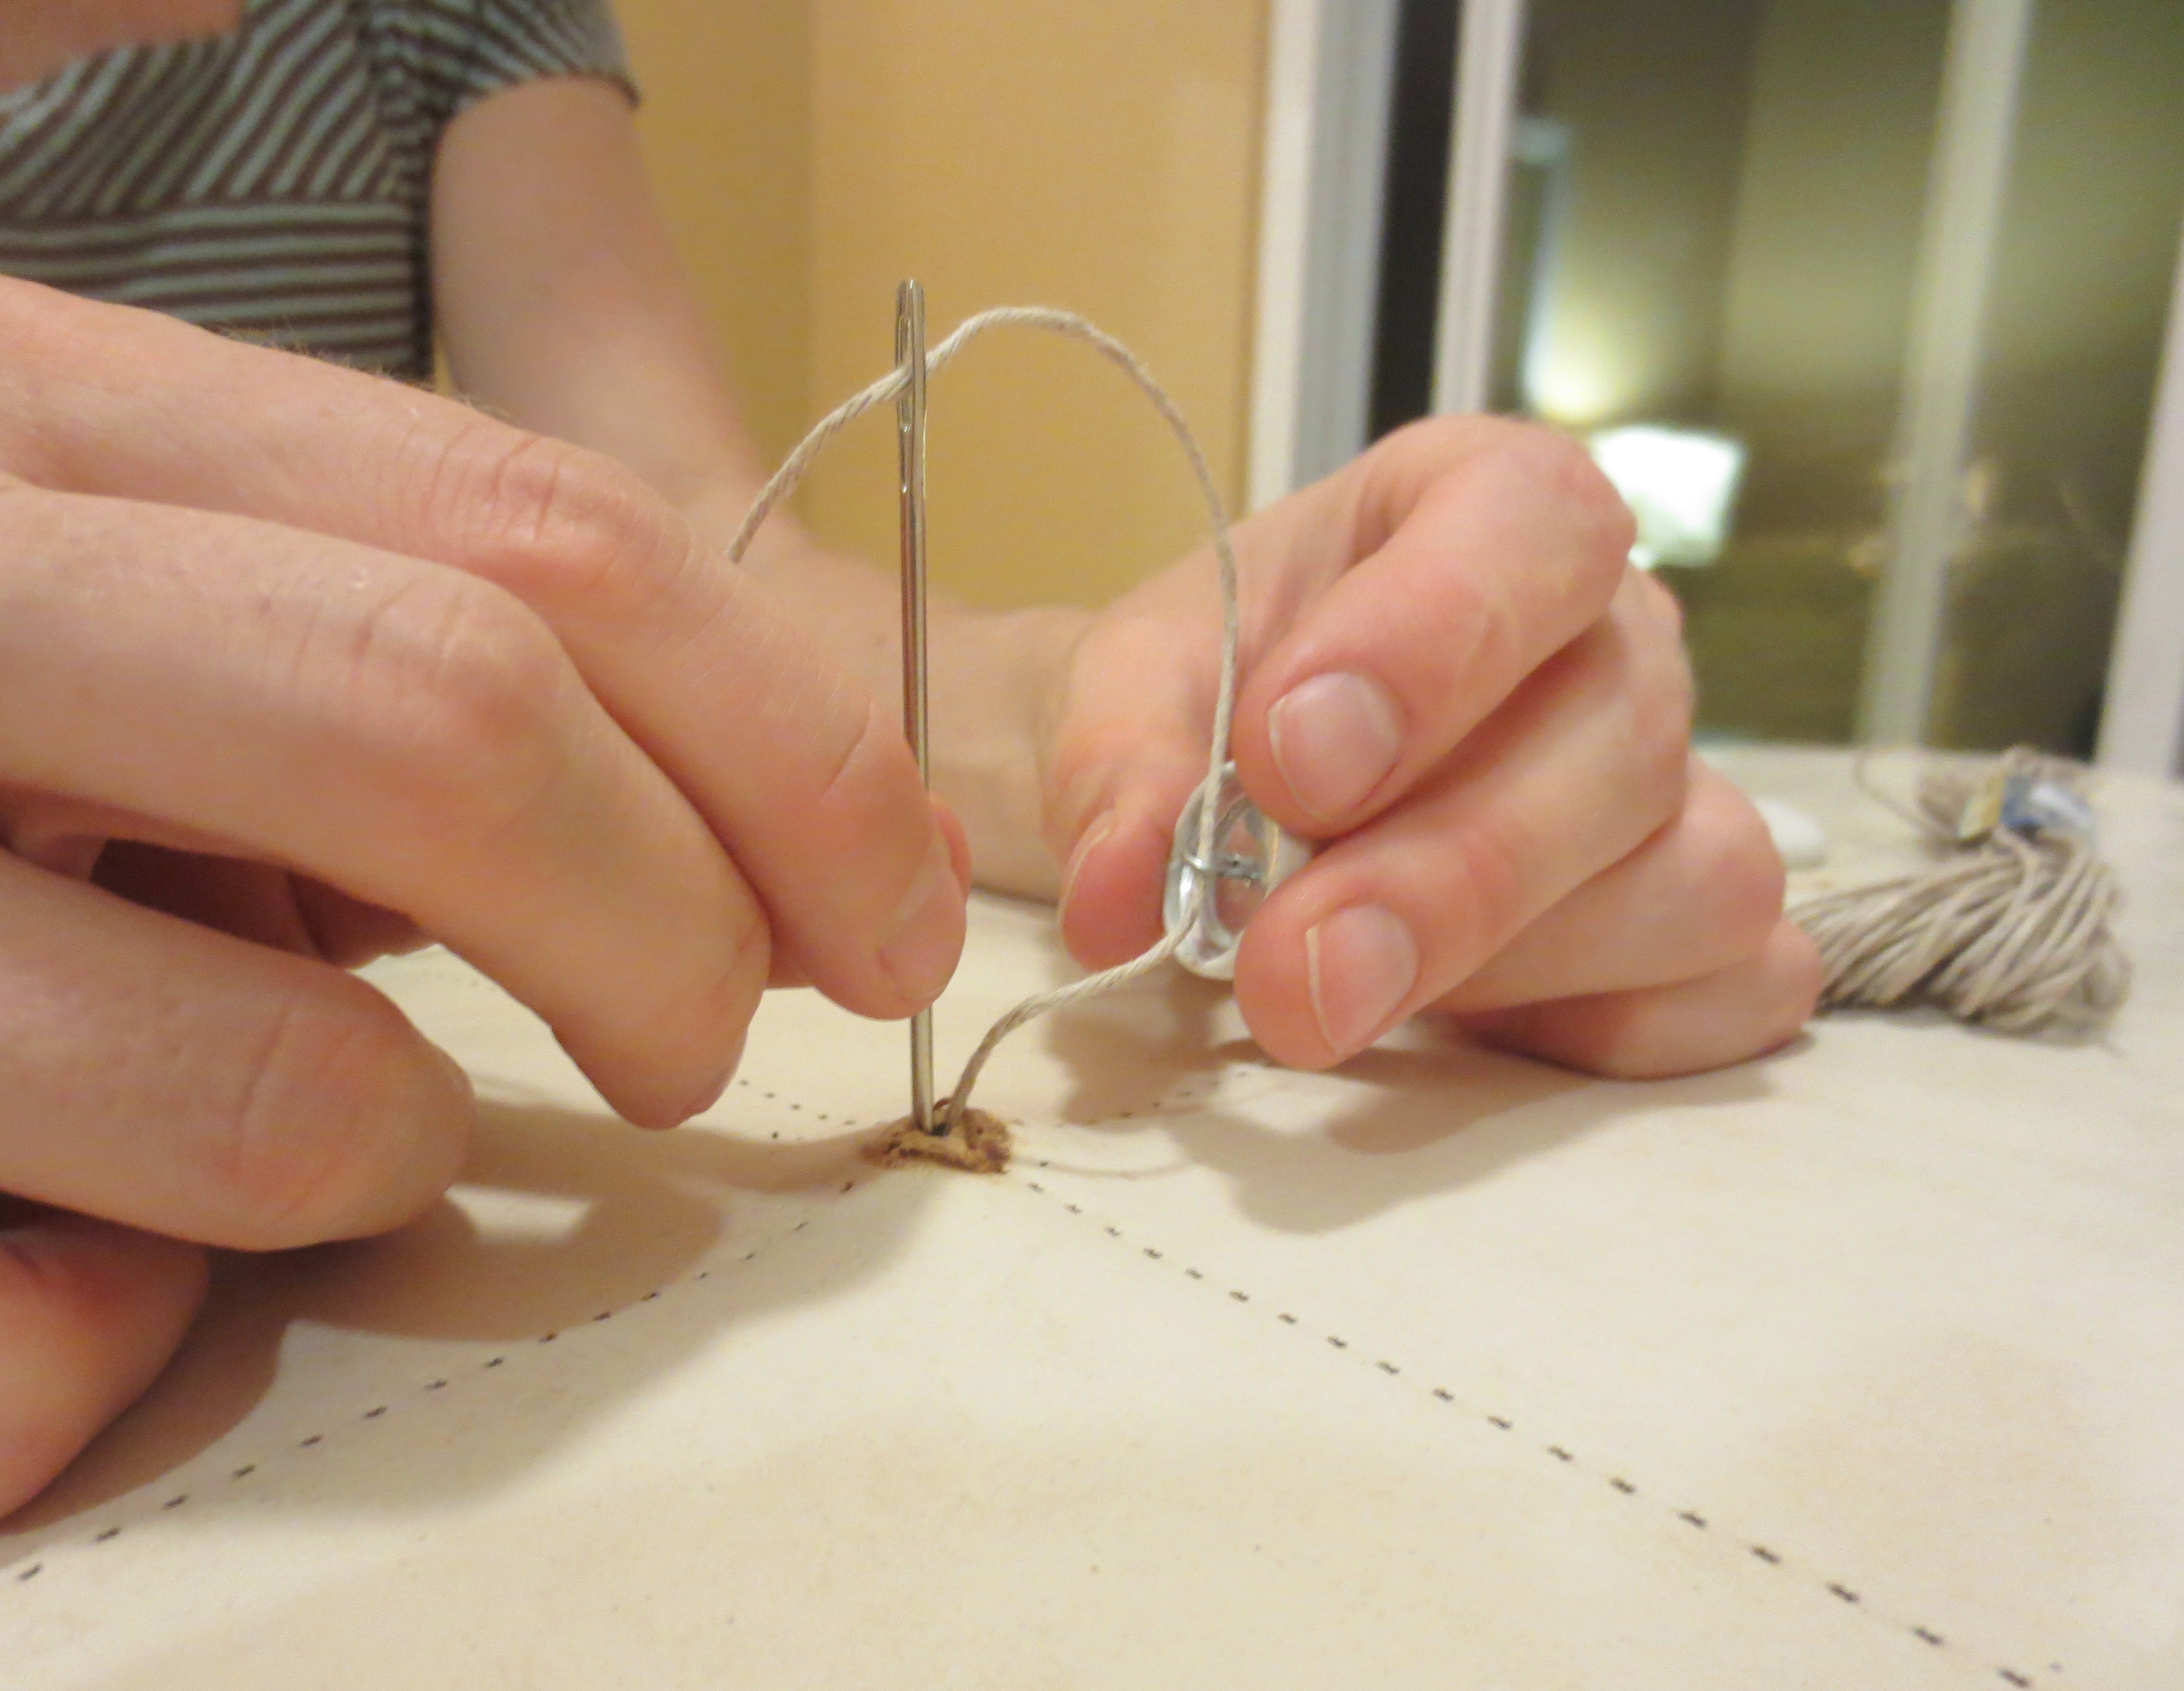
 Provide your nurse with twine, scissors, buttons and a very long doll or decorator’s needle. Estimate about a foot of twine for each button.
 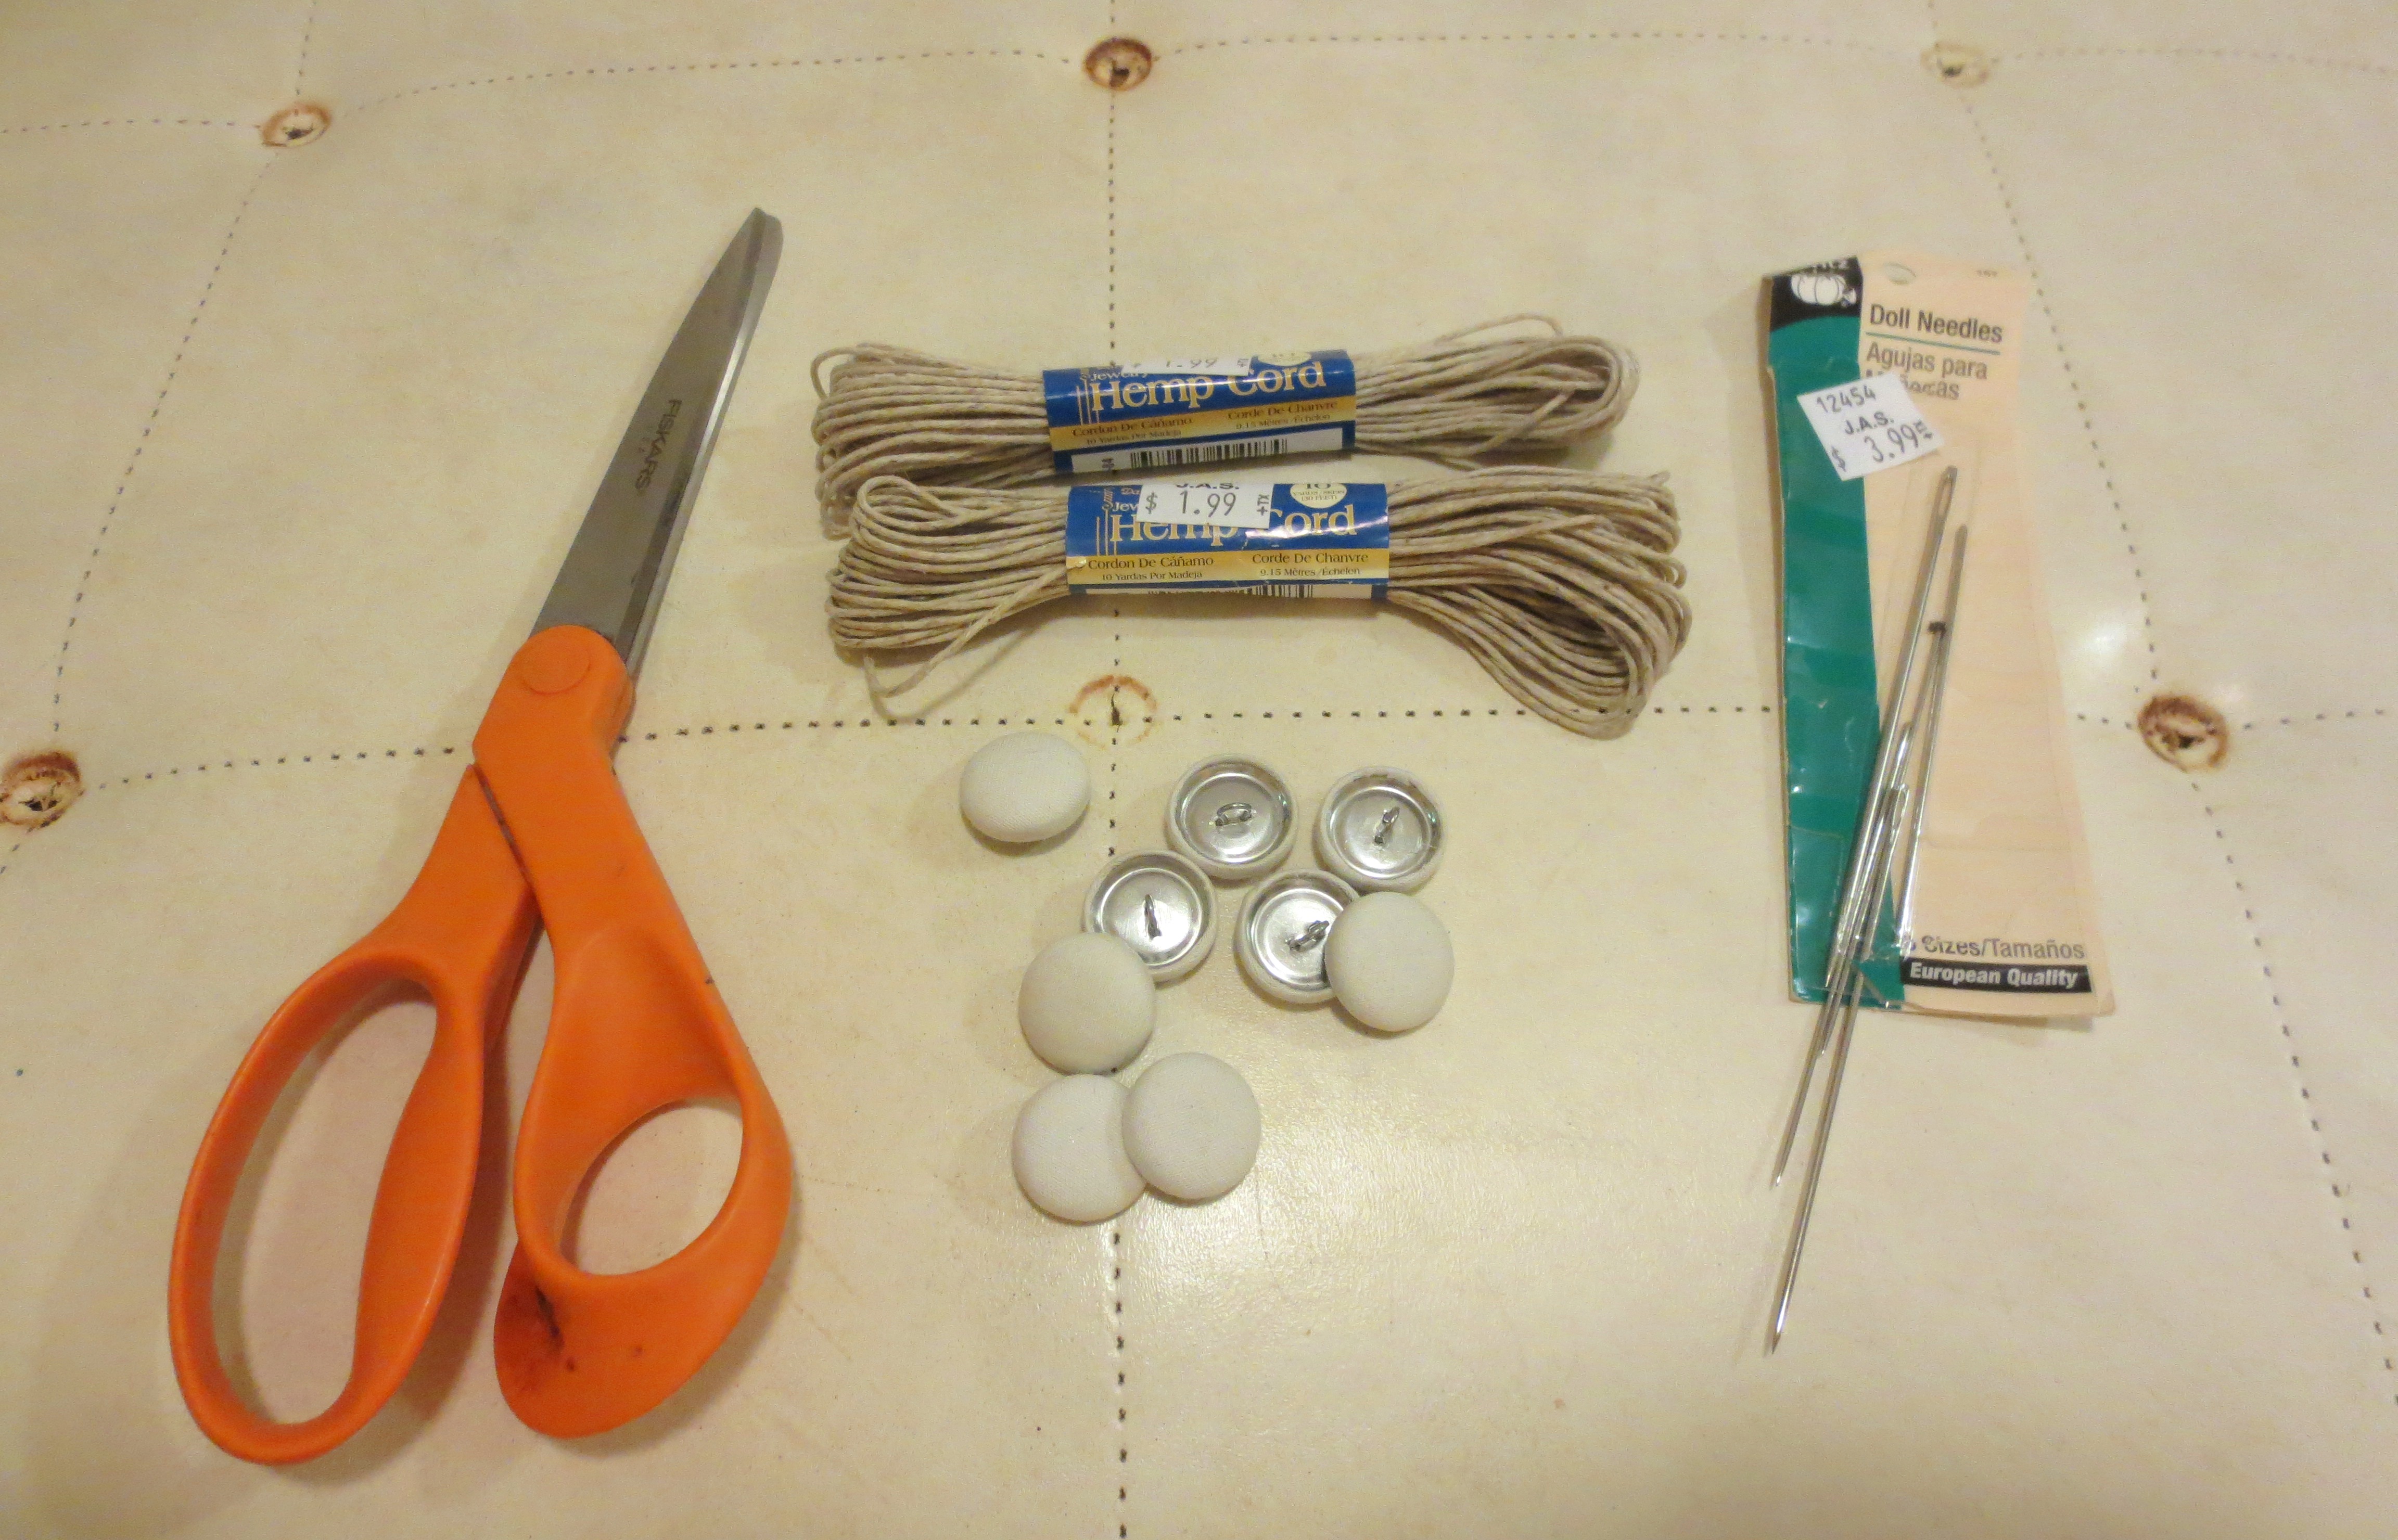 Thread a piece of twine through the needle and pull it up through the existing button hole:
 Thread the twine through the loop on the back of the button.

 Pull the twine back down through the same hole you came up from.
 Pull both ends of the twine as tight as you can, loop around the nail and staple to the base of the chair.
 Here’s the first row — two down, one to go:
 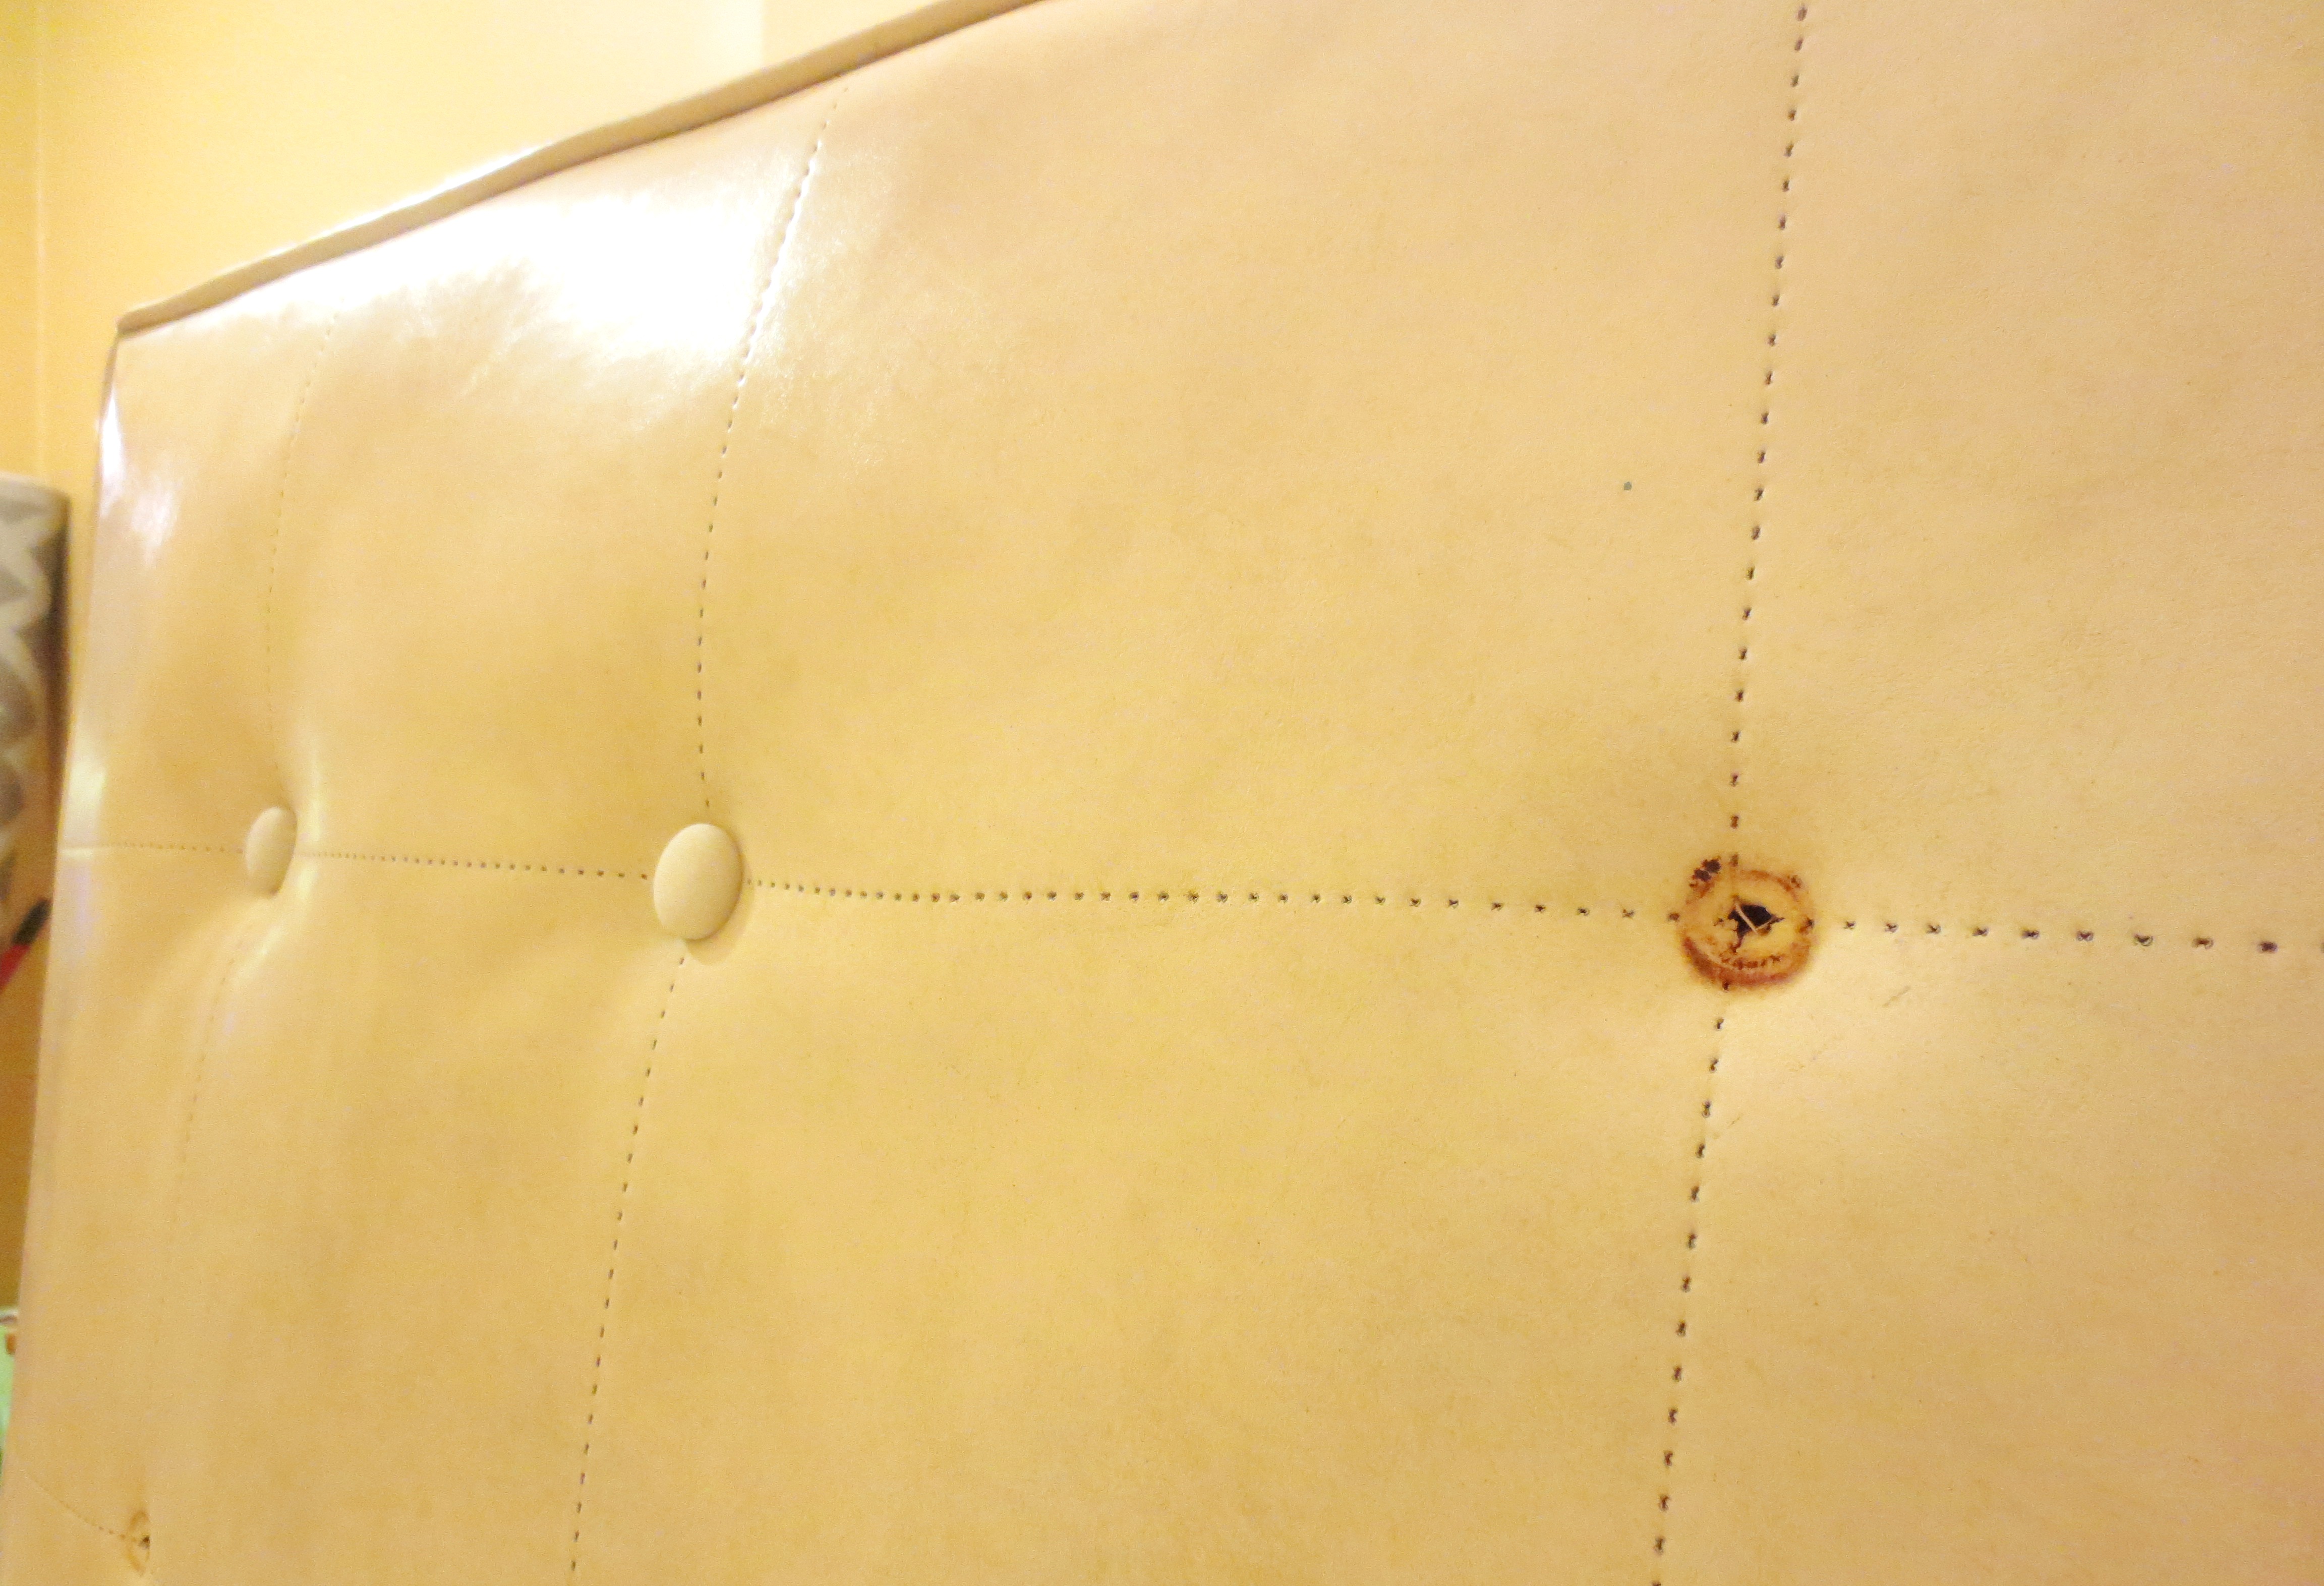 Repeat 8 more times.
 Now, figure out what to do with the $5,251 you just saved!

 ** Surprisingly, there are no bike racks at AutoZone.
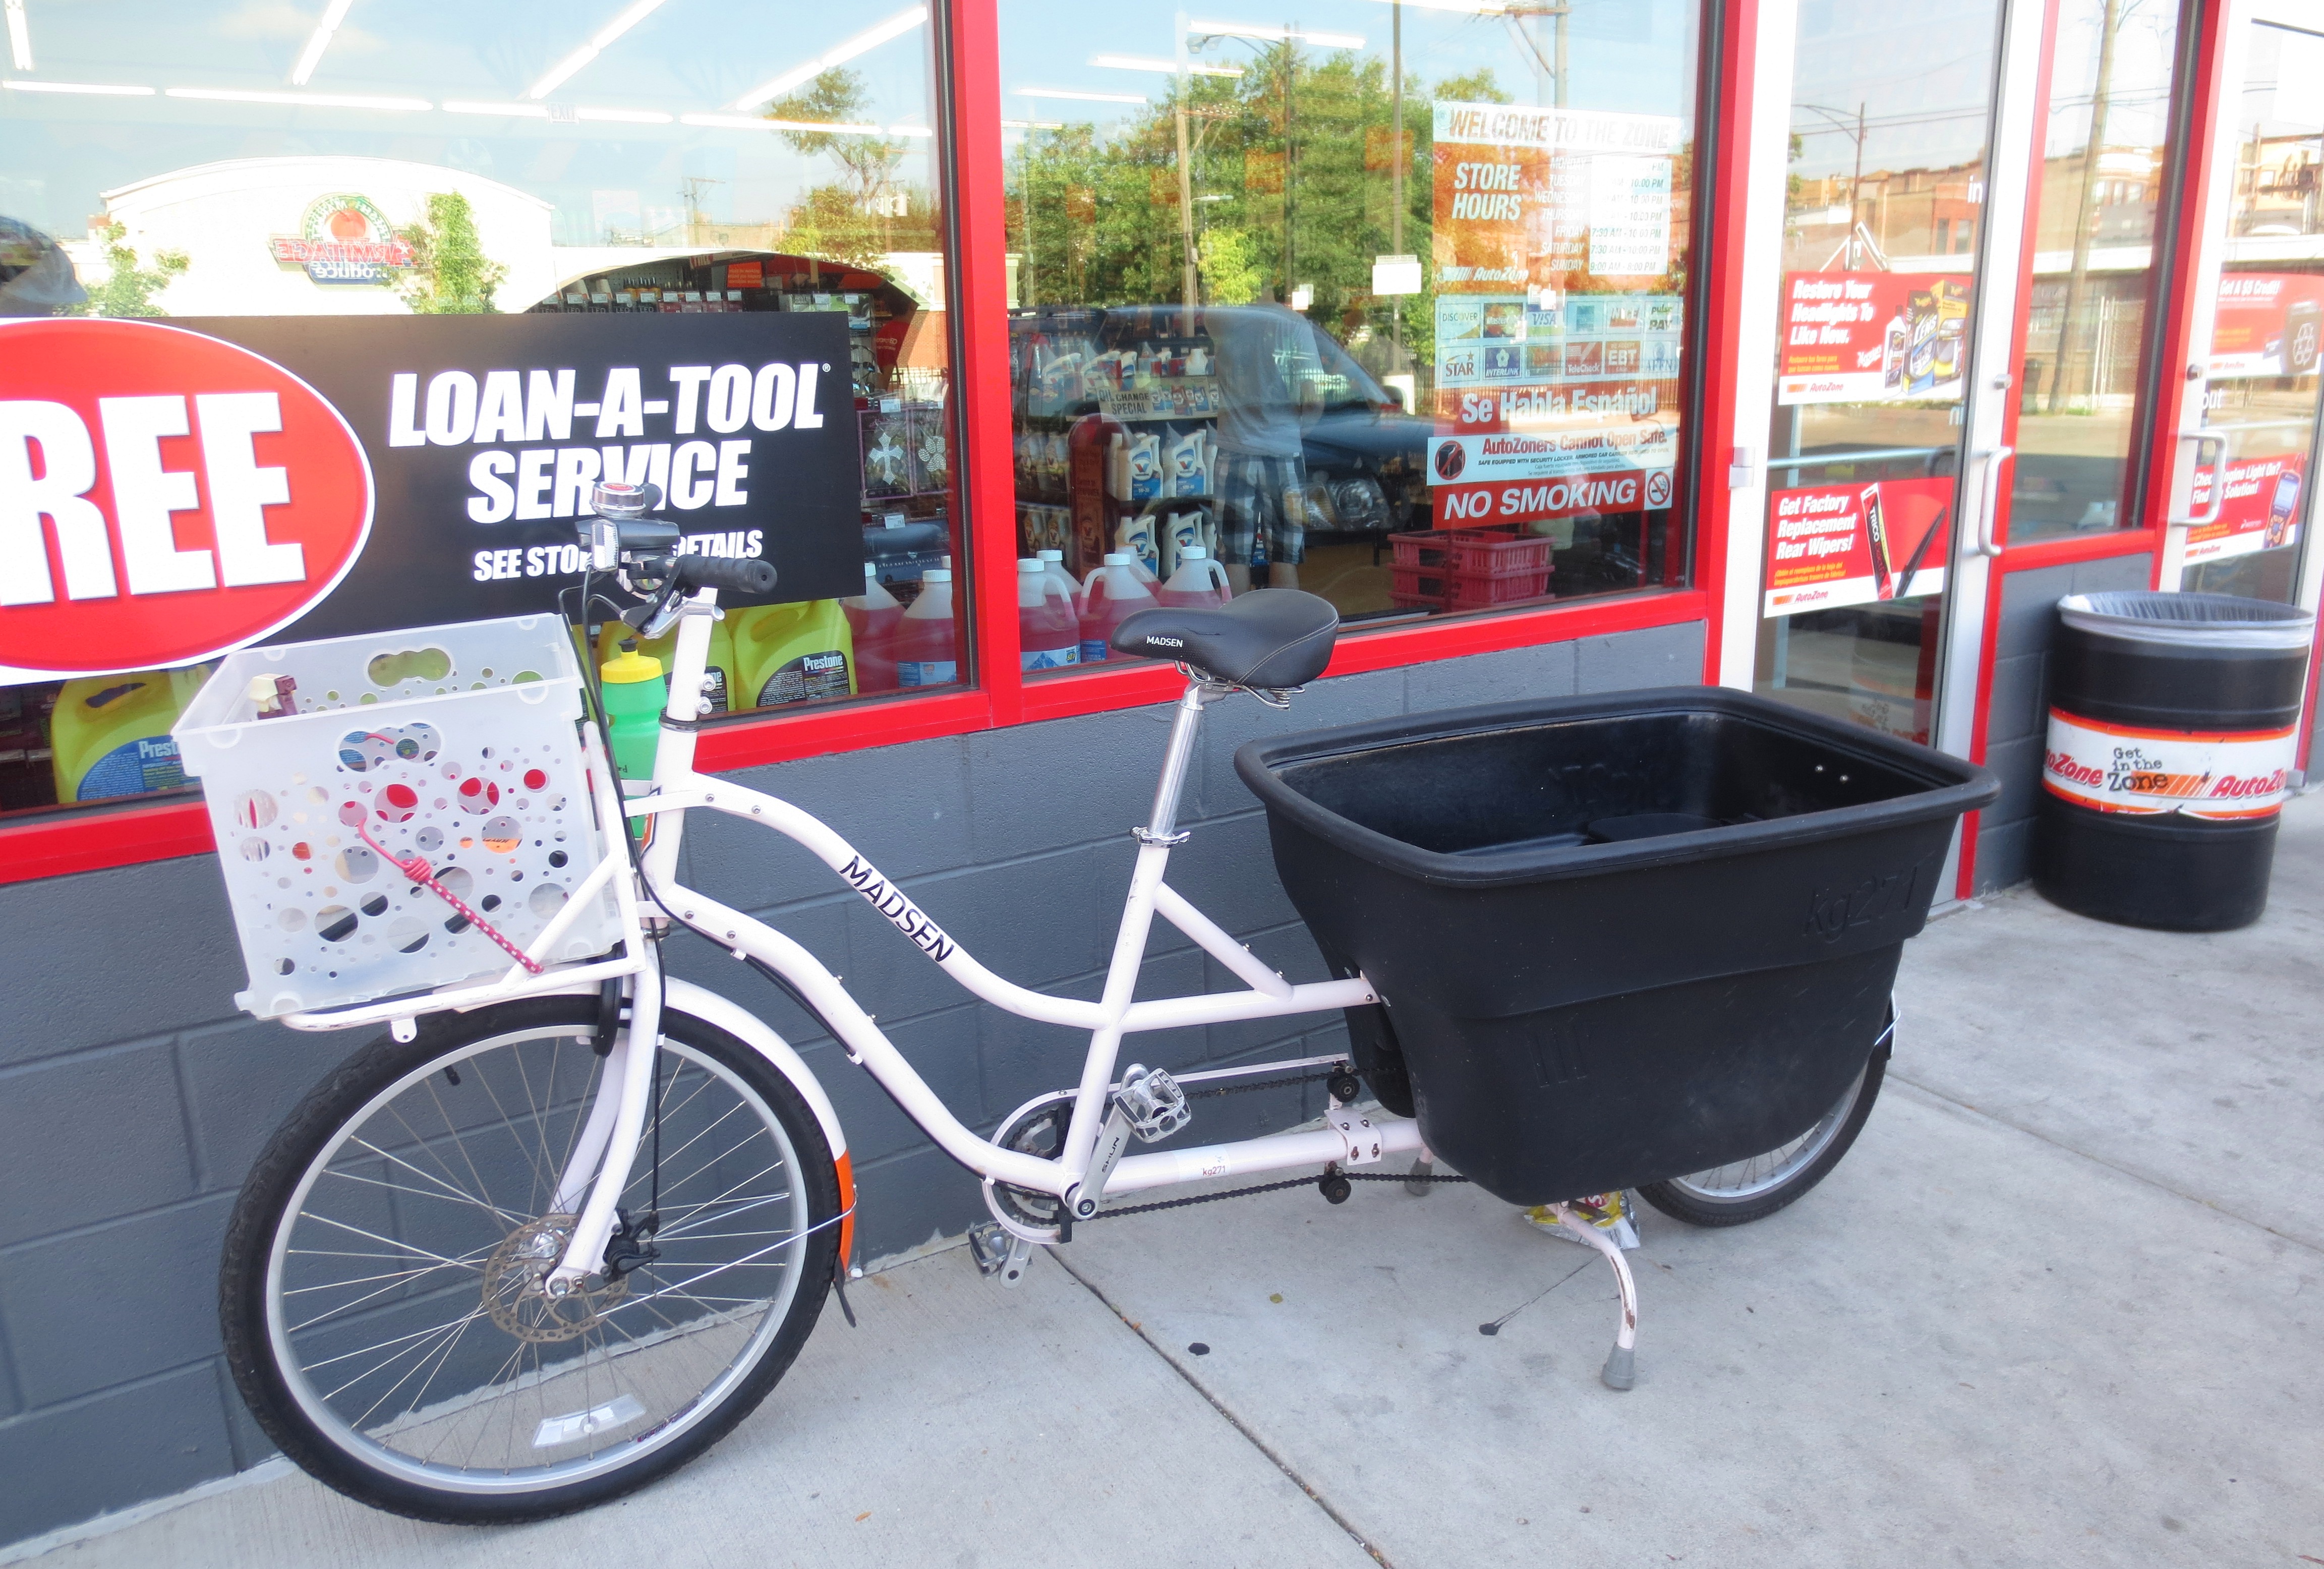

Uneffing believable. I love the word Naugahyde. Can’t wait to see/sit it. I am surprised the buttons were so accessible.
LikeLike
Situations great! Jealous here.
LikeLike
Situations?? What are my fingers typing? But 10 seconds later I am still jealous.
LikeLike
Good job!
LikeLike
Love how you always make these projects seem easy and thanks for that bed-bug tip.
LikeLike
Full marks for the old skool ER photo. 😉
LikeLike
Pingback: So, you Dream of Killing your Kids? The 26 Most Bizarre Google Searches that Brought you Here | projectophile
Pingback: Rescue and Restore: A Water-Damaged Chocolate Cupcake Vinyl Ottoman | projectophile
That is a *gorgeous chair! Well done!
LikeLike
I enjoyed the article &I it helped to redo a Naugahyde covered massage table. I’m anxious to see if it works to refurbish my used table.it is nice to find someone whom I can relate on restoring found treasures. That soooo much! LoreC
LikeLike
Lovely! And impressive…
LikeLike
Just bought a vintage naugahyde hamper/storage stool for a steal and your post is just what I need to help re-furb and funky-up up the piece. Now, if I can just spruce it up to my college daughter’s standards….Thank you!!
LikeLike
Pingback: Stunning Barcelona Chair Cushion Covers 2017 | Cushions Cover Ideas