
Lately, Scott and I have been having a bit of, um… trouble in the bedroom.
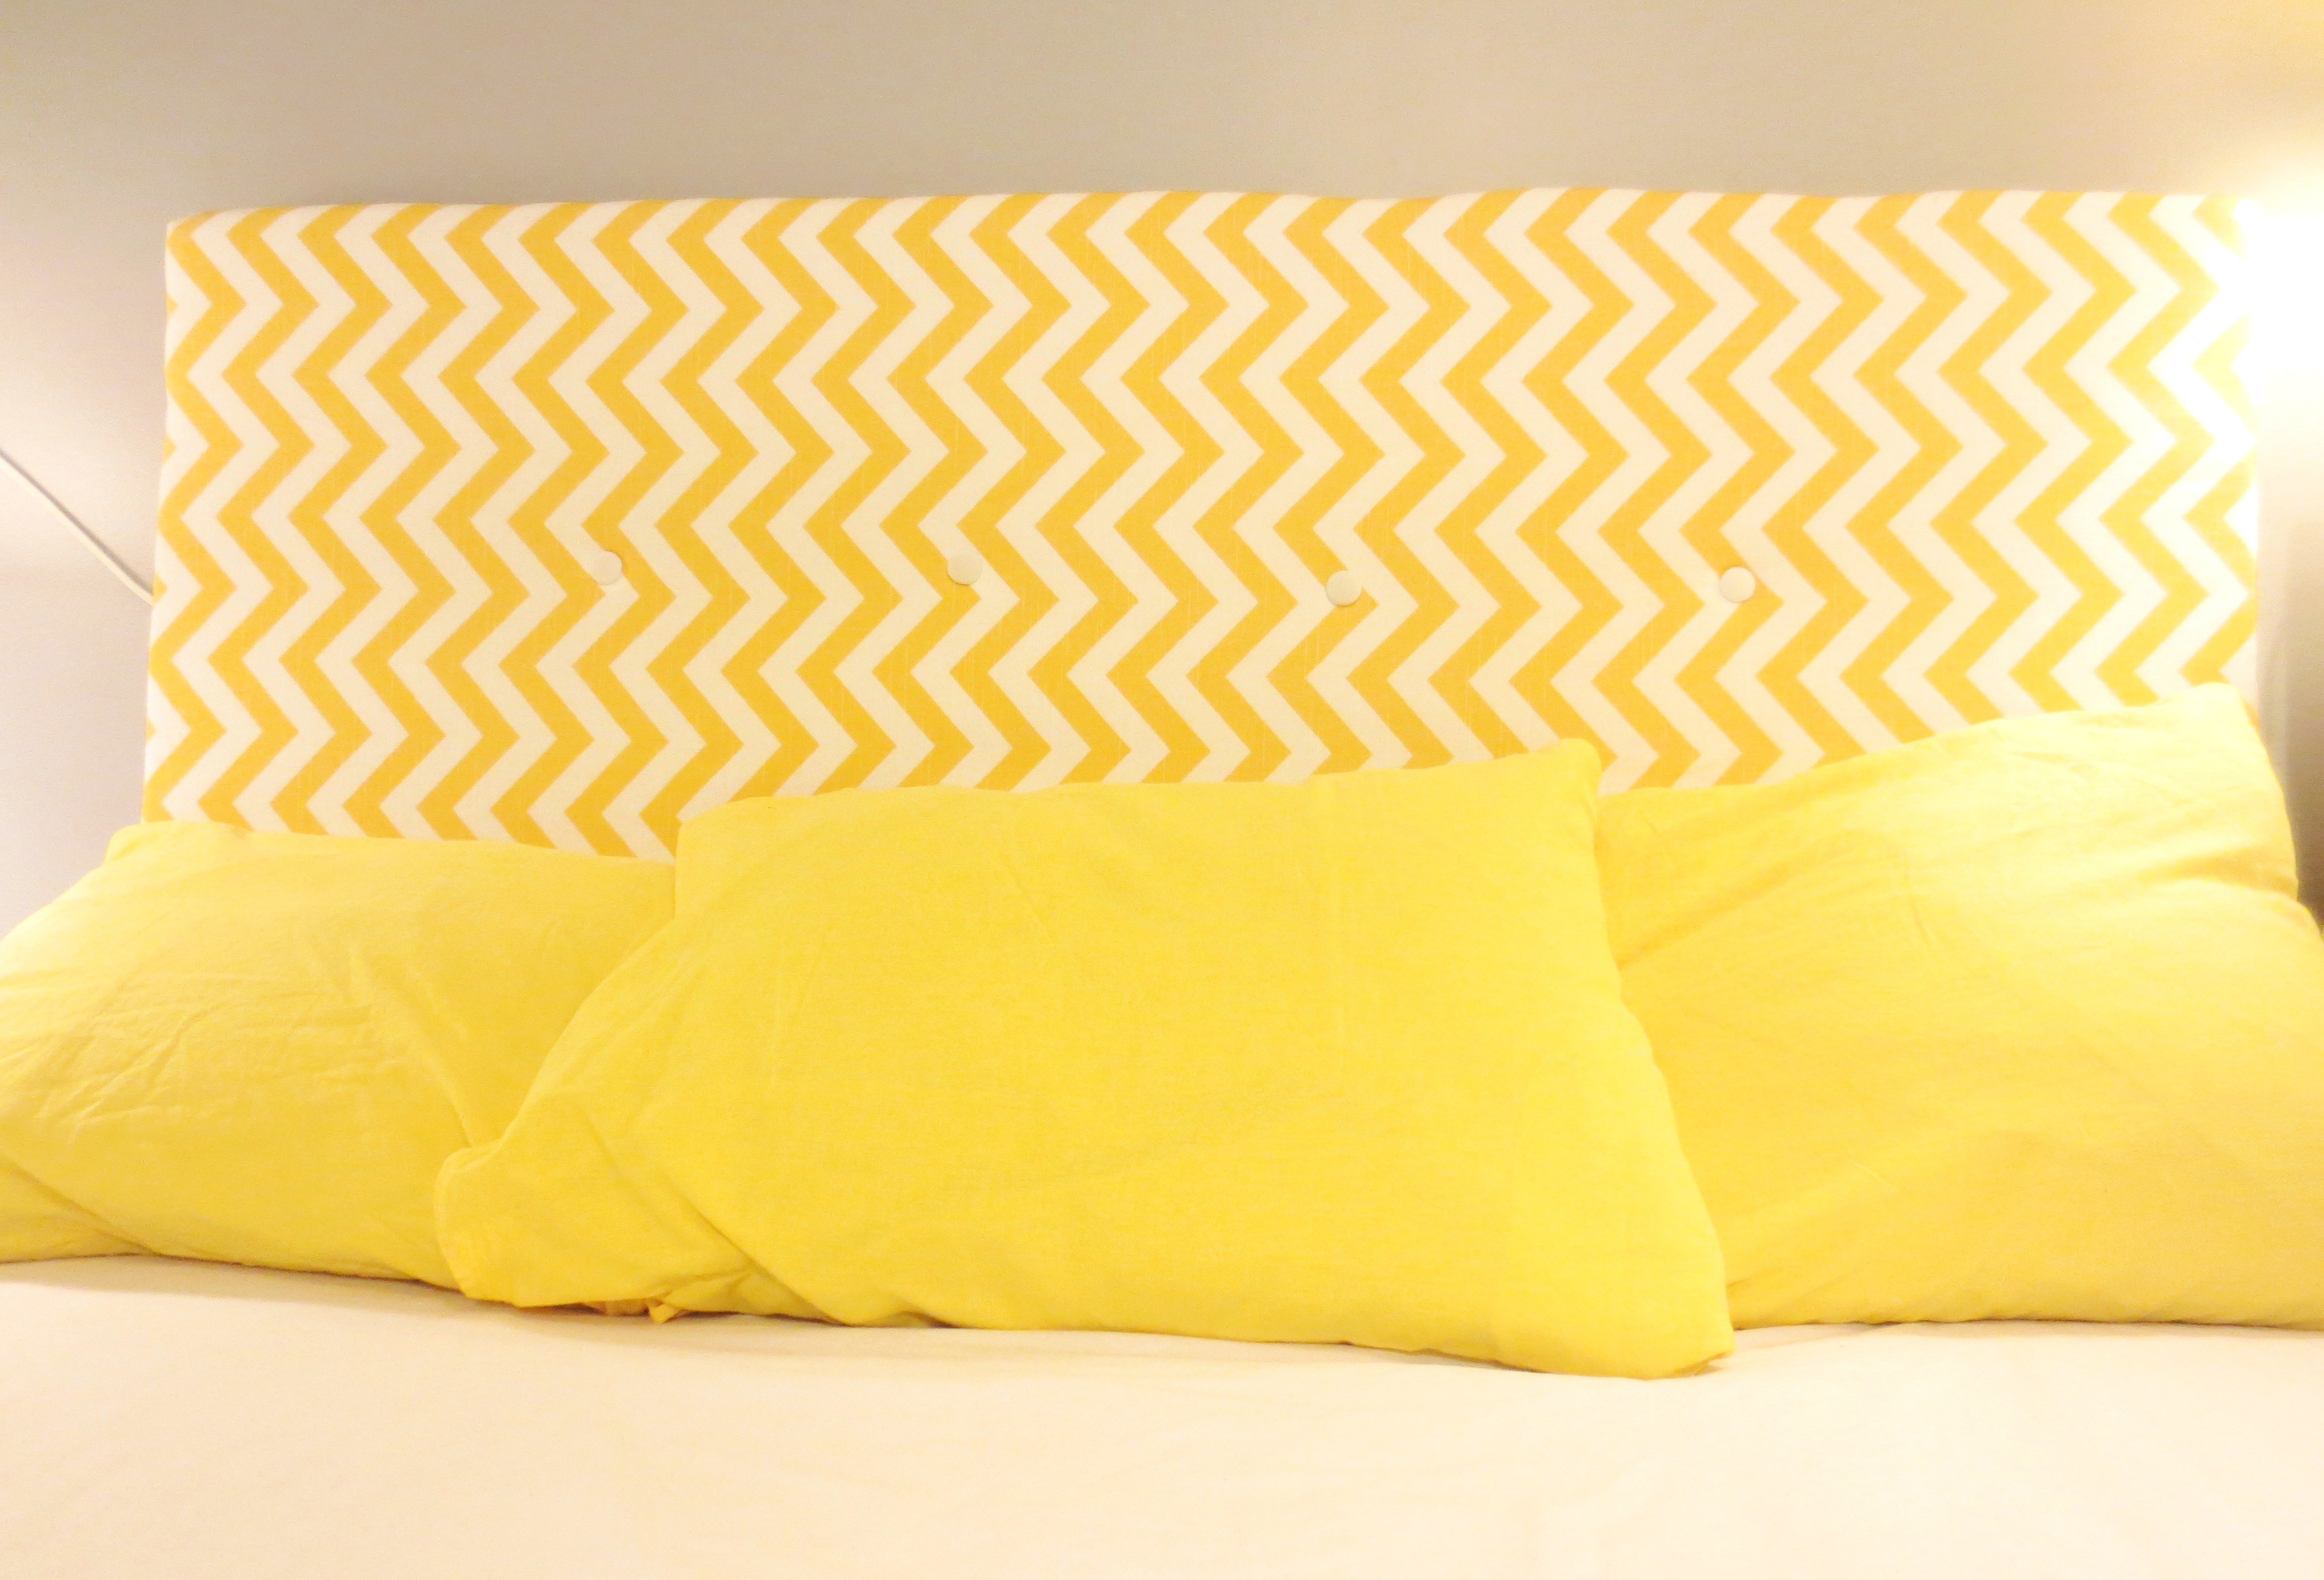
But not for lack of trying. When we first moved in, I painted the whole room a soothing shade of grey and hung floor-length white curtains over the window. Ahhh. A year later, I added a touch of five-star-hotel glamor with this white-and-yellow chevron tufted headboard.
 I adored my new headboard. But combined with my green apple-and-pear print pillowcases and this thrifted yellow circle bedspread, the room was starting to feel less like a peaceful grownup retreat, and more like Pee-Wee’s playhouse (minus the celebrity guest appearances).
 I swapped the busy bedspread for a simple white duvet cover, but just couldn’t let go of the apple pillowcases, which I lovingly made 3 years ago with designer fabric from my local independent Fabric Boutique.
Then last week, fate intervened. While we were stuffing a pillow back into a freshly-laundered* case, the case SPLIT in HALF. Two days later, one of its brothers suffered his own fatal tear. Shock, grief, than acceptance.
But this time, I didn’t run off to the fabric boutique to grab the latest adorable Japanese imports, because I’ve discovered a new fabric source: the Bedding Section at the Thrift Store! If you can overlook the flowery grandma prints and pee-stained Little Mermaid twin sheets, you can uncover yards and yards of great fabric.
Here’s the two key reasons why I chose thrifted bedsheets for my pillowcase project:
1) MONEY: Last time, I spent about $60 on fabric to make four pillowcases. Here’s a print from one of my favorite designers, at a cool $21 a yard. Even a set of the cheapest cases from Target would set me back at least $10.** Thrift store bed sheet = $1.
 2) TIME (AKA LAZINESS): By buying a sheet instead of raw fabric, we’ve just eliminated one big step from this project – folding and sewing the end hem. If we cut strategically, we’ll use the existing hemmed ends of the sheet for the ends of our pillowcase. See? And by folding the sheet lengthwise in STEP THREE, you also won’t have to sew the bottom end of the case. It only took me about 10 minutes to sew three cases.
 HOW TO MAKE PILLOWCASES FROM A THRIFTED BED SHEET:
STEP ONE – BUY: Head to your favorite and least-grossest thrift store and buy a double, queen or king-sized bed sheet (flat or fitted). Skip the twin sheets — they don’t have enough fabric and tend to sport 1980s Disney characters. I was looking for solid yellow to match my dresser/nightstand set and chevron headboard. Found it in 30 seconds!
 STEP TWO – PREPARE: Wash and dry your sheet. You want to eliminate any smell or thrift-store cooties (real or perceived), and also make sure the fabric is properly shrunk. Or is it shranked?
Now you’ll need to iron the whole sheet. But if you bought a fitted sheet, carefully snip off the elastic and the seams of the folded corners. This will make ironing much easier as the sheet will be flat, and you won’t accidentally melt the rubber. Don’t buy a sheet with the elastic that spans the whole perimeter of the sheet — you will have to cut it off and lose the built-in hem.
 STEP THREE – CUT: Fold the sheet length-wise so the two long ends are now touching each other. The folded edge will be the bottom (closed) end of your pillow case. You’re welcome –this is yet another step that I am saving you! Lay your folded sheet on on a well-scrubbed dining room table, and make sure it is inside-out.
 The width of the cases is a matter of taste. Do you like your pillows wrapped tightly like sausages or tube socks? Or do you prefer them loose and flimsy, in the European style?*** Personally, I can’t deal with my pillows slipping out of their cases in the middle of the night, which seems to happen pretty frequently in our bedroom.
The easiest way to measure your fabric is to take your existing pillowcase — or what’s left of it — and lay it flat over your (folded) sheet.  Add about a half inch to each side (not the ends — they’re done), and trace the outline with chalk, or just cut it freehand if you’re brave. I had enough fabric to make three pillowcases.
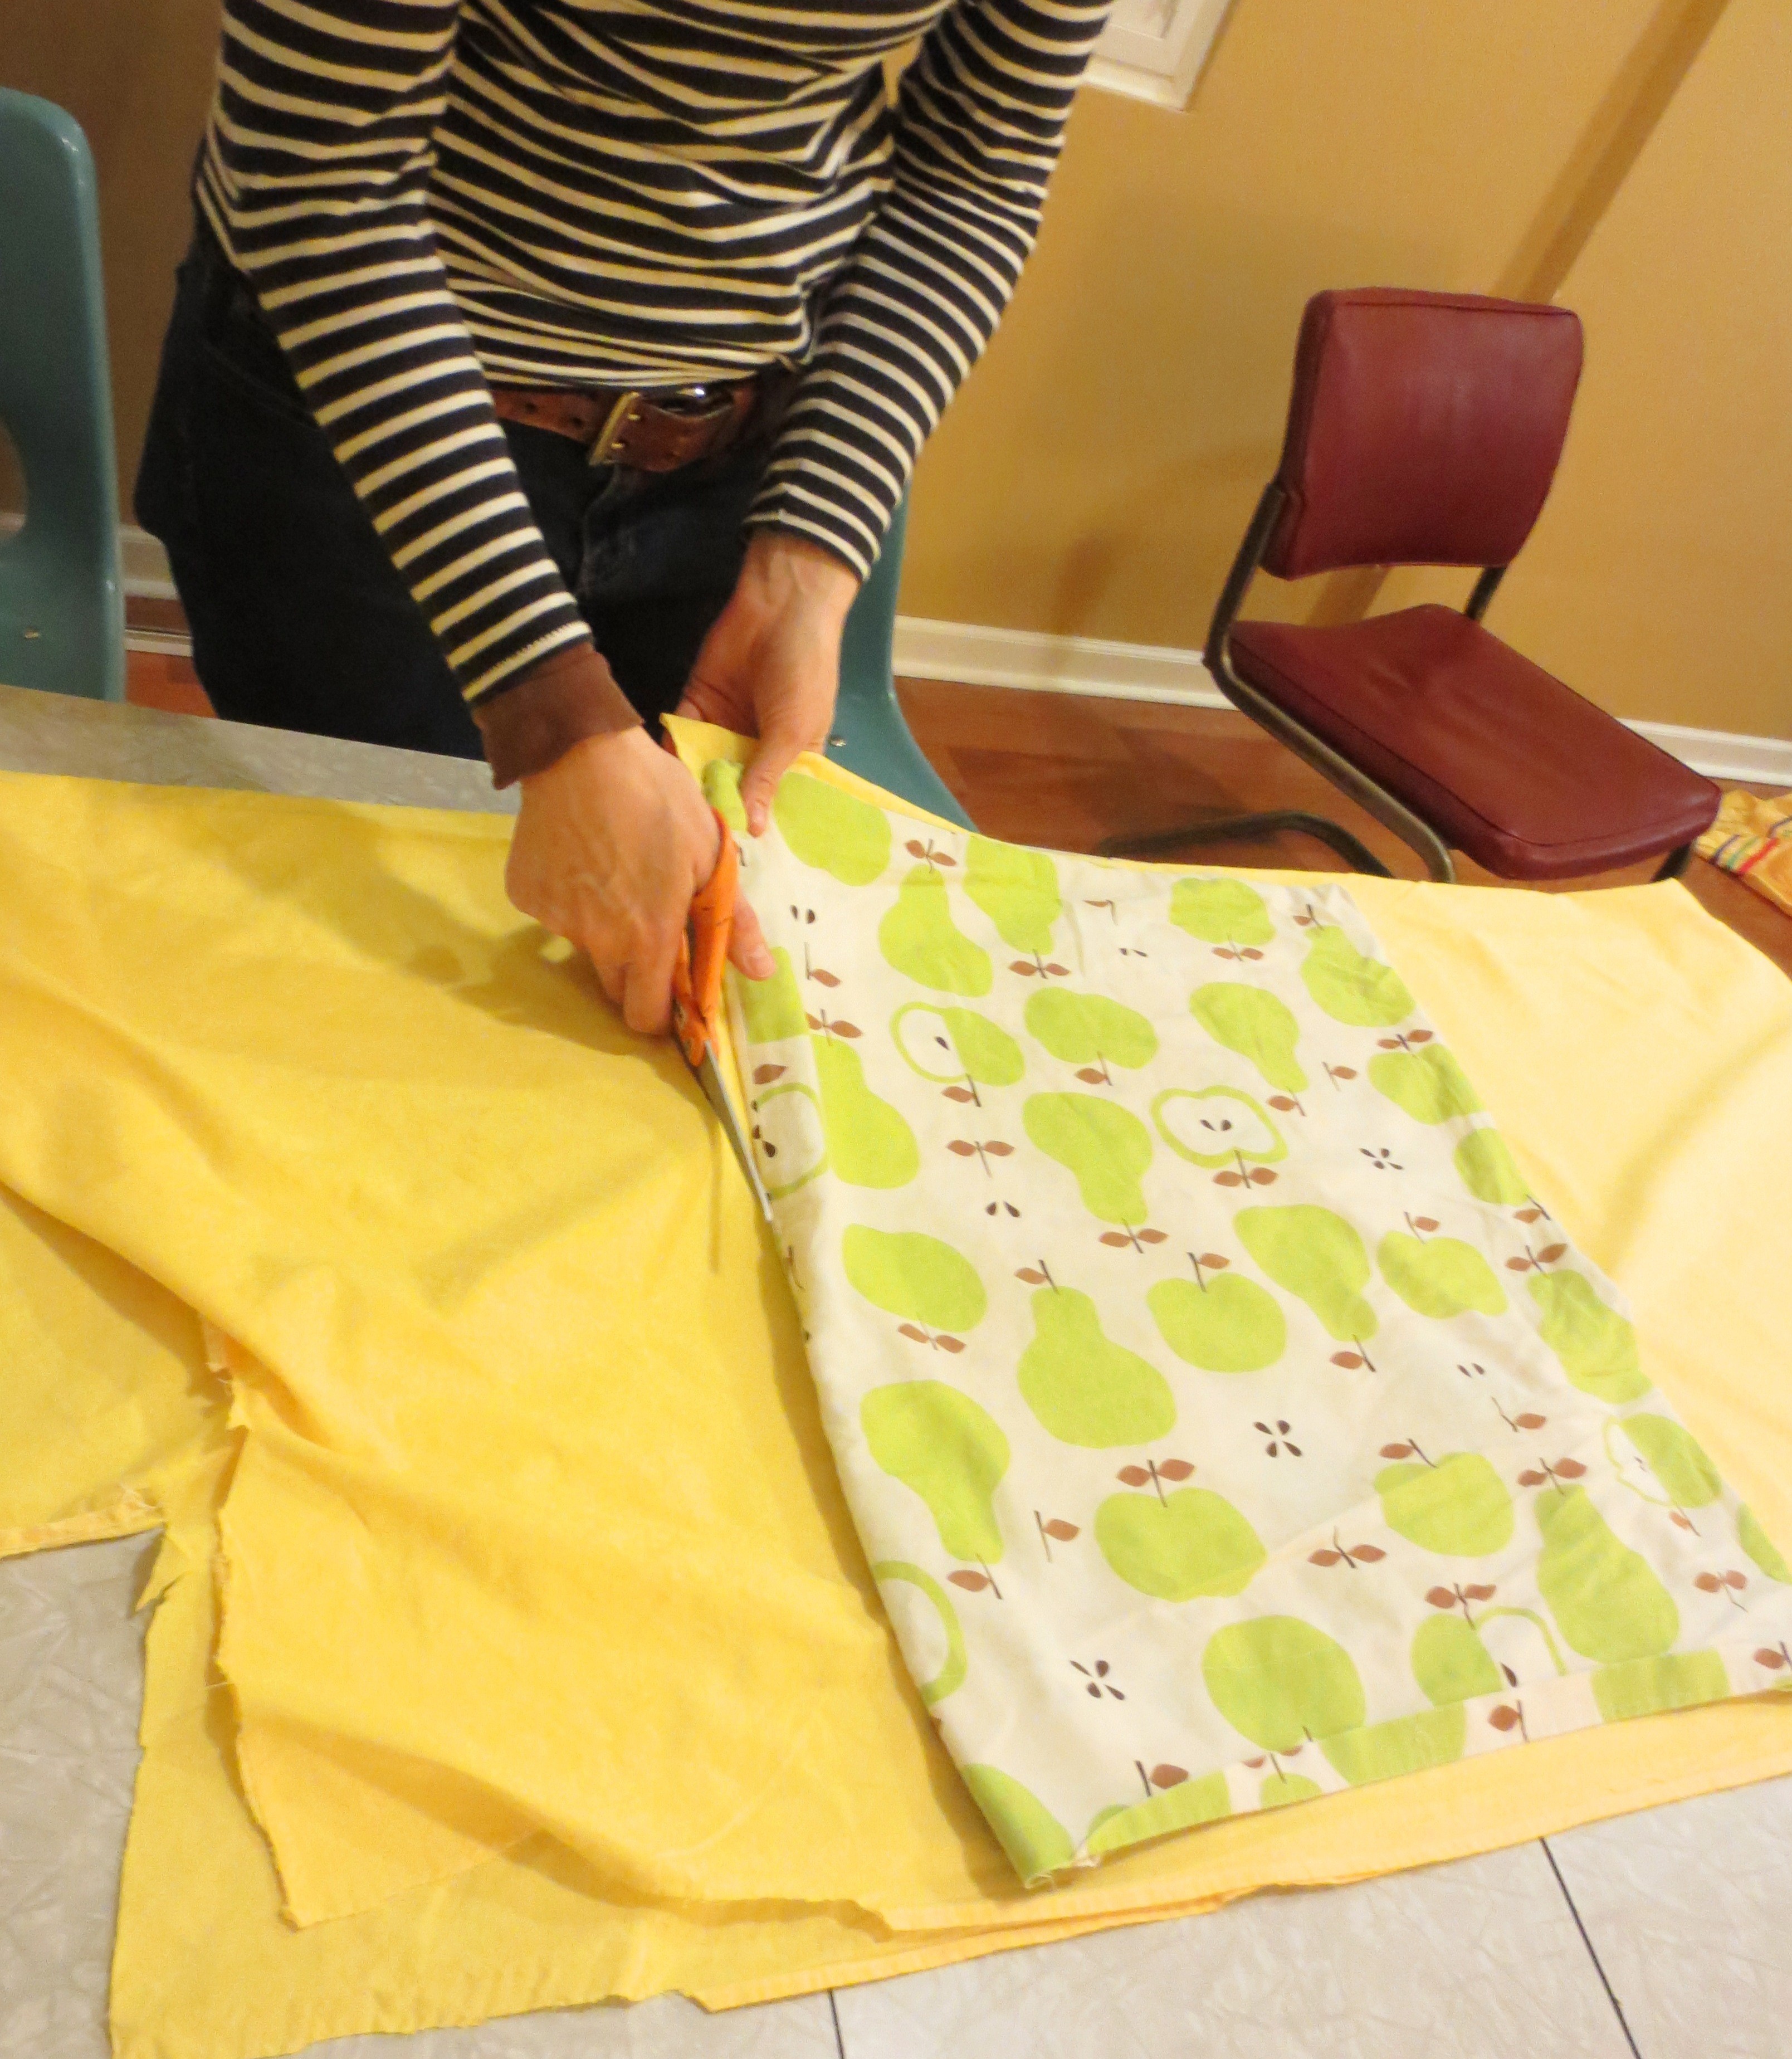 STEP FOUR – SEW: Insert pins along the cut edges, perpendicular to the seams, about 2 inches apart. This is a straight stitch, but you want to keep your fabric from bunching up as you sew.
 Sew a straight line along the open edges on each side.

Remind me not to use red permanent marker the next time I write someone’s address on the top of my hand.
Repeat STEP FOUR three times, or once for each case.
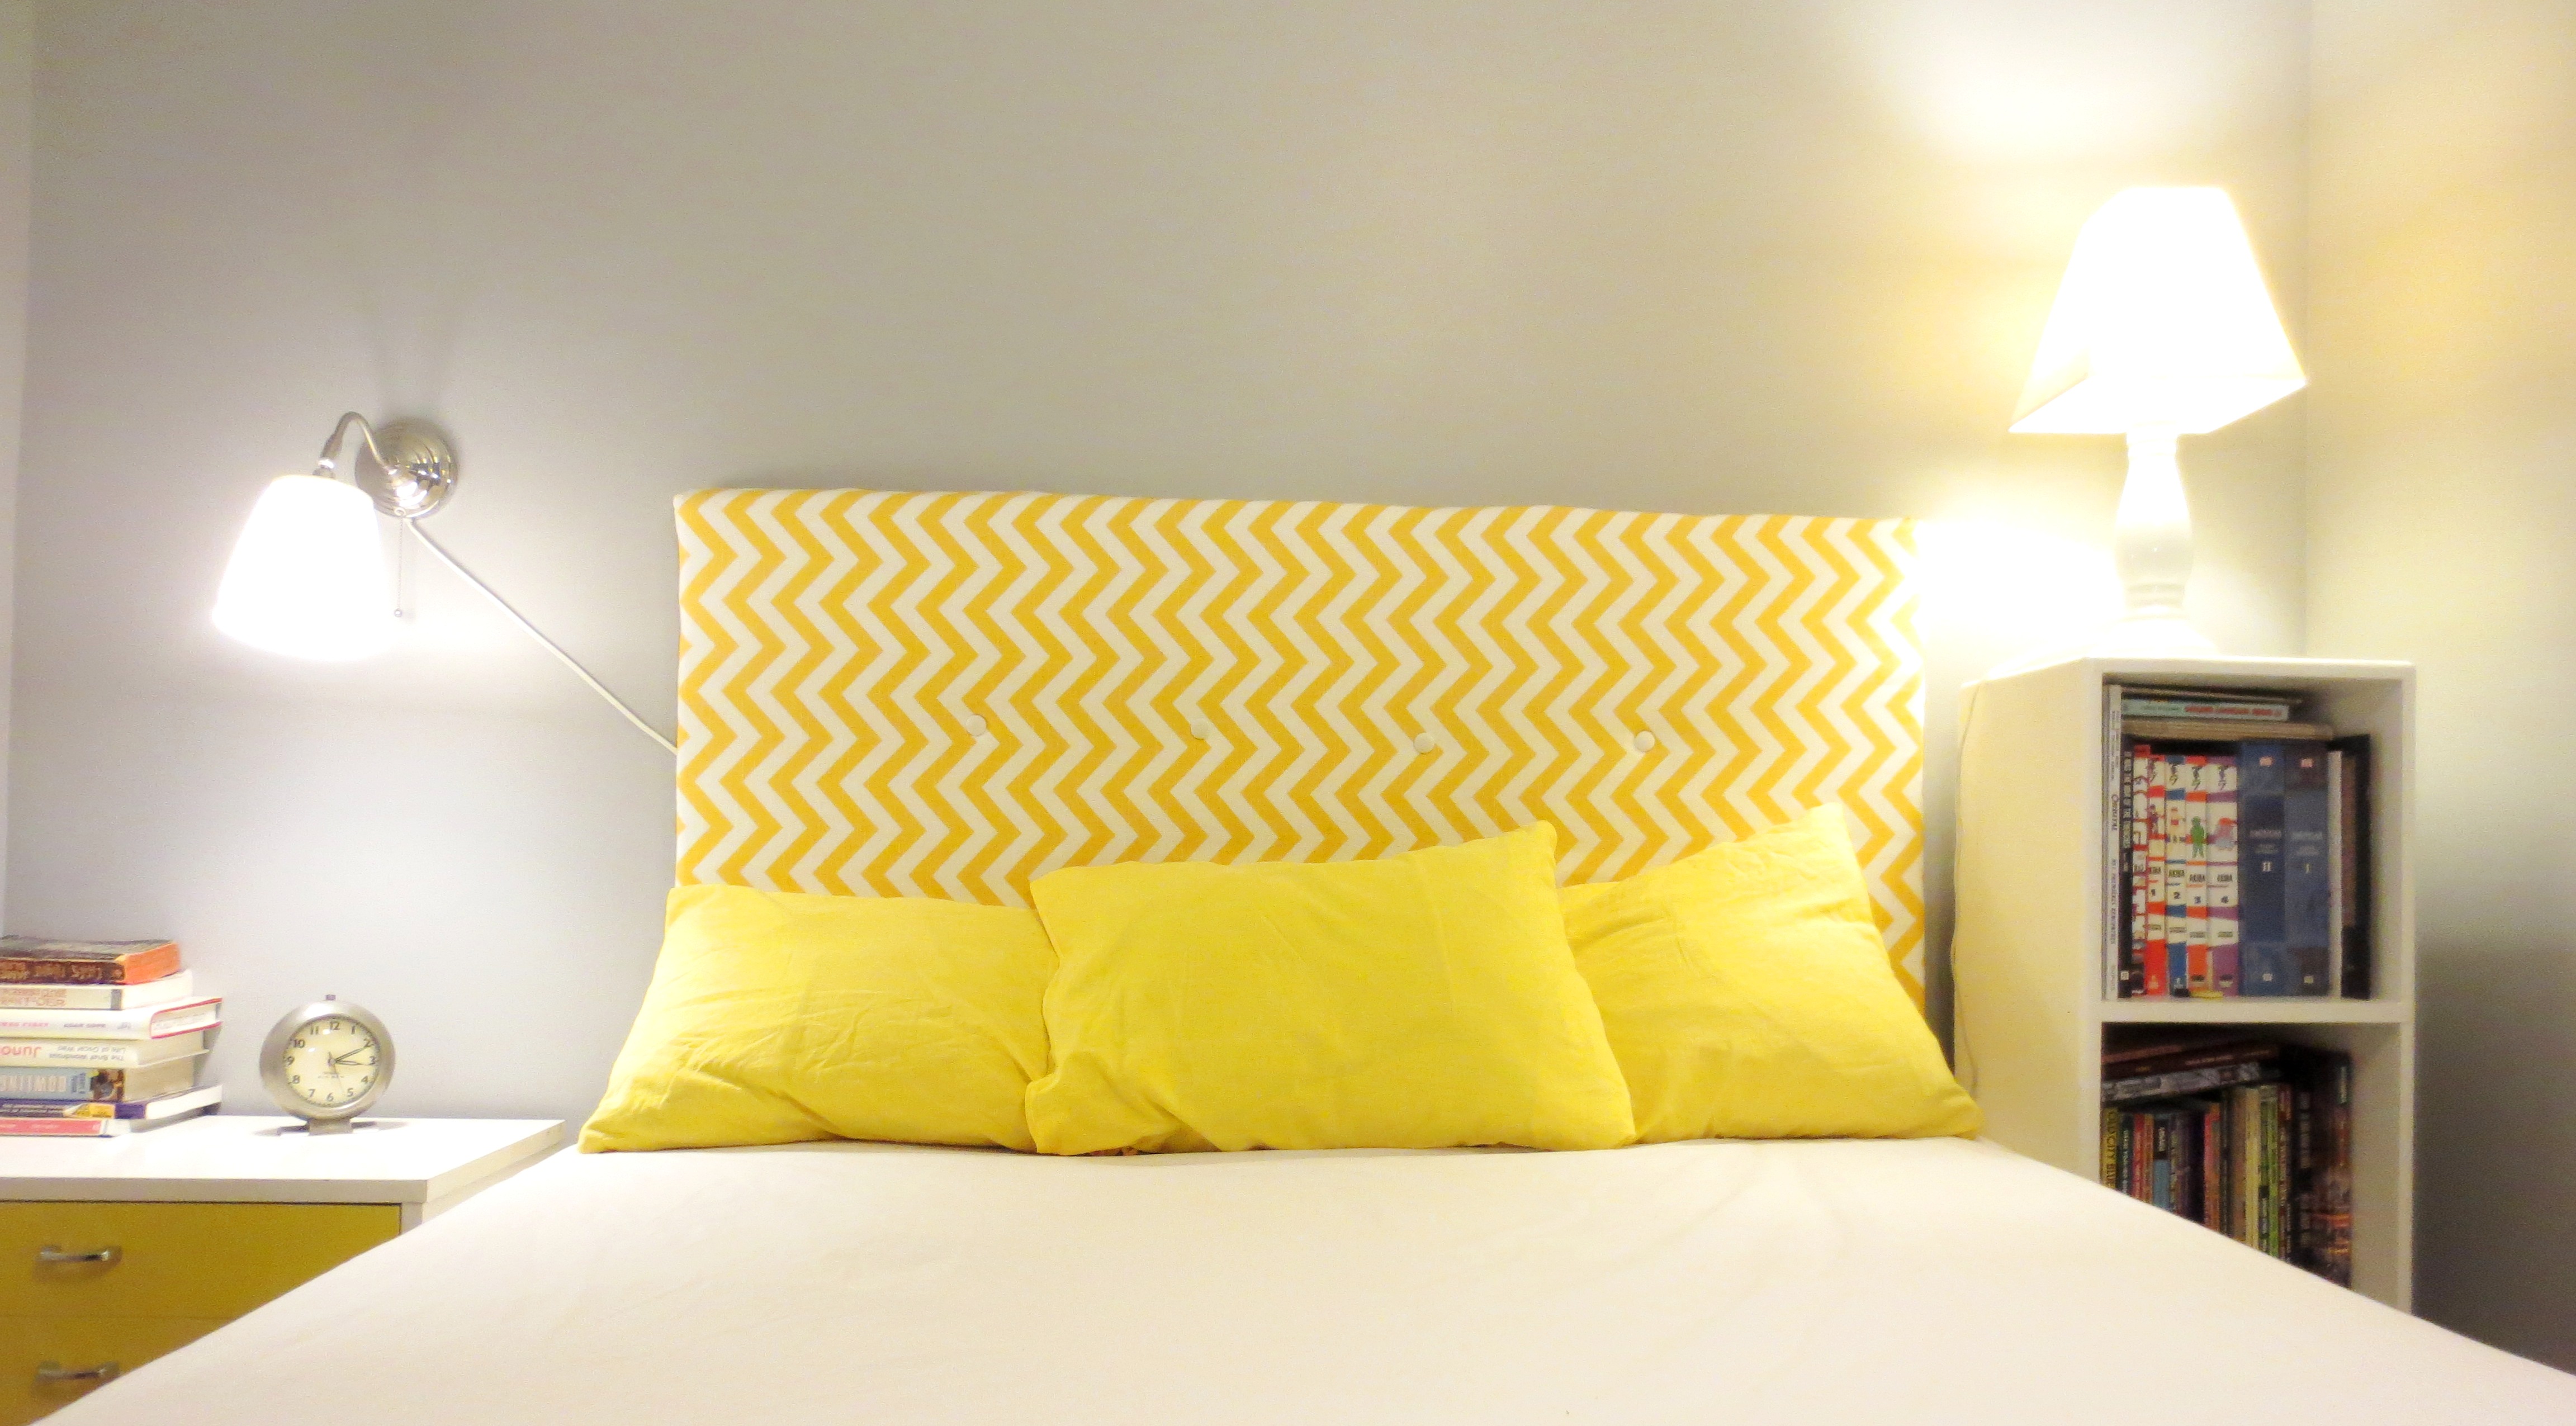
Turn each case right-side-in and insert a pillow. Now lay back and enjoy your happy lumps of sunshine!
 * I recommend that you wash your pillowcases at least twice a year.
** Buying pillowcases at Target is obviously not an option for a self-respecting DIY blogger.
*** “European Style” is a stereotype I just made up from looking at the loose, flimsy pillows in the IKEA catalog. We ‘Mericans like our cases tight, like cowboy jeans after a big ‘ol slice of Apple Pie.

Well done, Clare, as usual. I hemmed and hawed (pun intended) before posting this, but indulge me. Yes, it adds a step, but if you 1) add another 1/2″ hem around the outside, 2) pin your cases right-side out and sew around the edges, 3) flip it inside out and 4) sew around the edges again … you no longer have a raw edge on the inside, which — with a few washings — tends to unravel. I believe this is called a French seam. I know, I know … more work, but can be worth it!
LikeLike
Thanks, Sarah. What you suggest wouldn’t really be much more work. 90% of this project is getting the fabric, washing, drying, ironing and cutting it. The sewing is the easy part. I will definitely try that next time around. Besides, anything called “French” is certainly worth a spin….!
LikeLike
Pingback: Alley Lamp Make-Over: Just Add Spray Paint and an Old Pillow Case! | projectophile