
When it comes to prioritizing housework, my mom is my role model. Mom’s a reluctant housewife who fills out the “Occupation” box of her tax returns with jobs like: Assassin, Witch Doctor, Drug Dealer or Arsonist. Her self-worth isn’t measured by her gleaming kitchen counters or cat-hair-free living room curtains. Like me, she gets a job done when she’s “sick of looking at it.”

My beautiful Mama getting revenge on her little sisters by making them sit on the floor.
A typical conversation at my house might be: Hey look, you finally put away that laundry that’s been sitting on the couch for two weeks!
Yeah, I just got sick of looking at it.
Honey, you finally threw away that tupperware full of last Thanksgiving’s mashed potatoes, which have since turned to Vodka.
Well, you know… I just got sick of looking at it.
Yesterday, I finally got sick of looking at a yucky, but well-loved, ottoman in our living room. I bought it a few years back at Target, in a moment of desperation. We lived in a one-bedroom condo. With a new baby in our bedroom, my stepson was sleeping on the living room sleeper sofa. We urgently needed a place to store extra bedding so it didn’t look a flophouse. The beige booger-toned fabric and espresso wood legs matched our Craigslist couches almost perfectly.
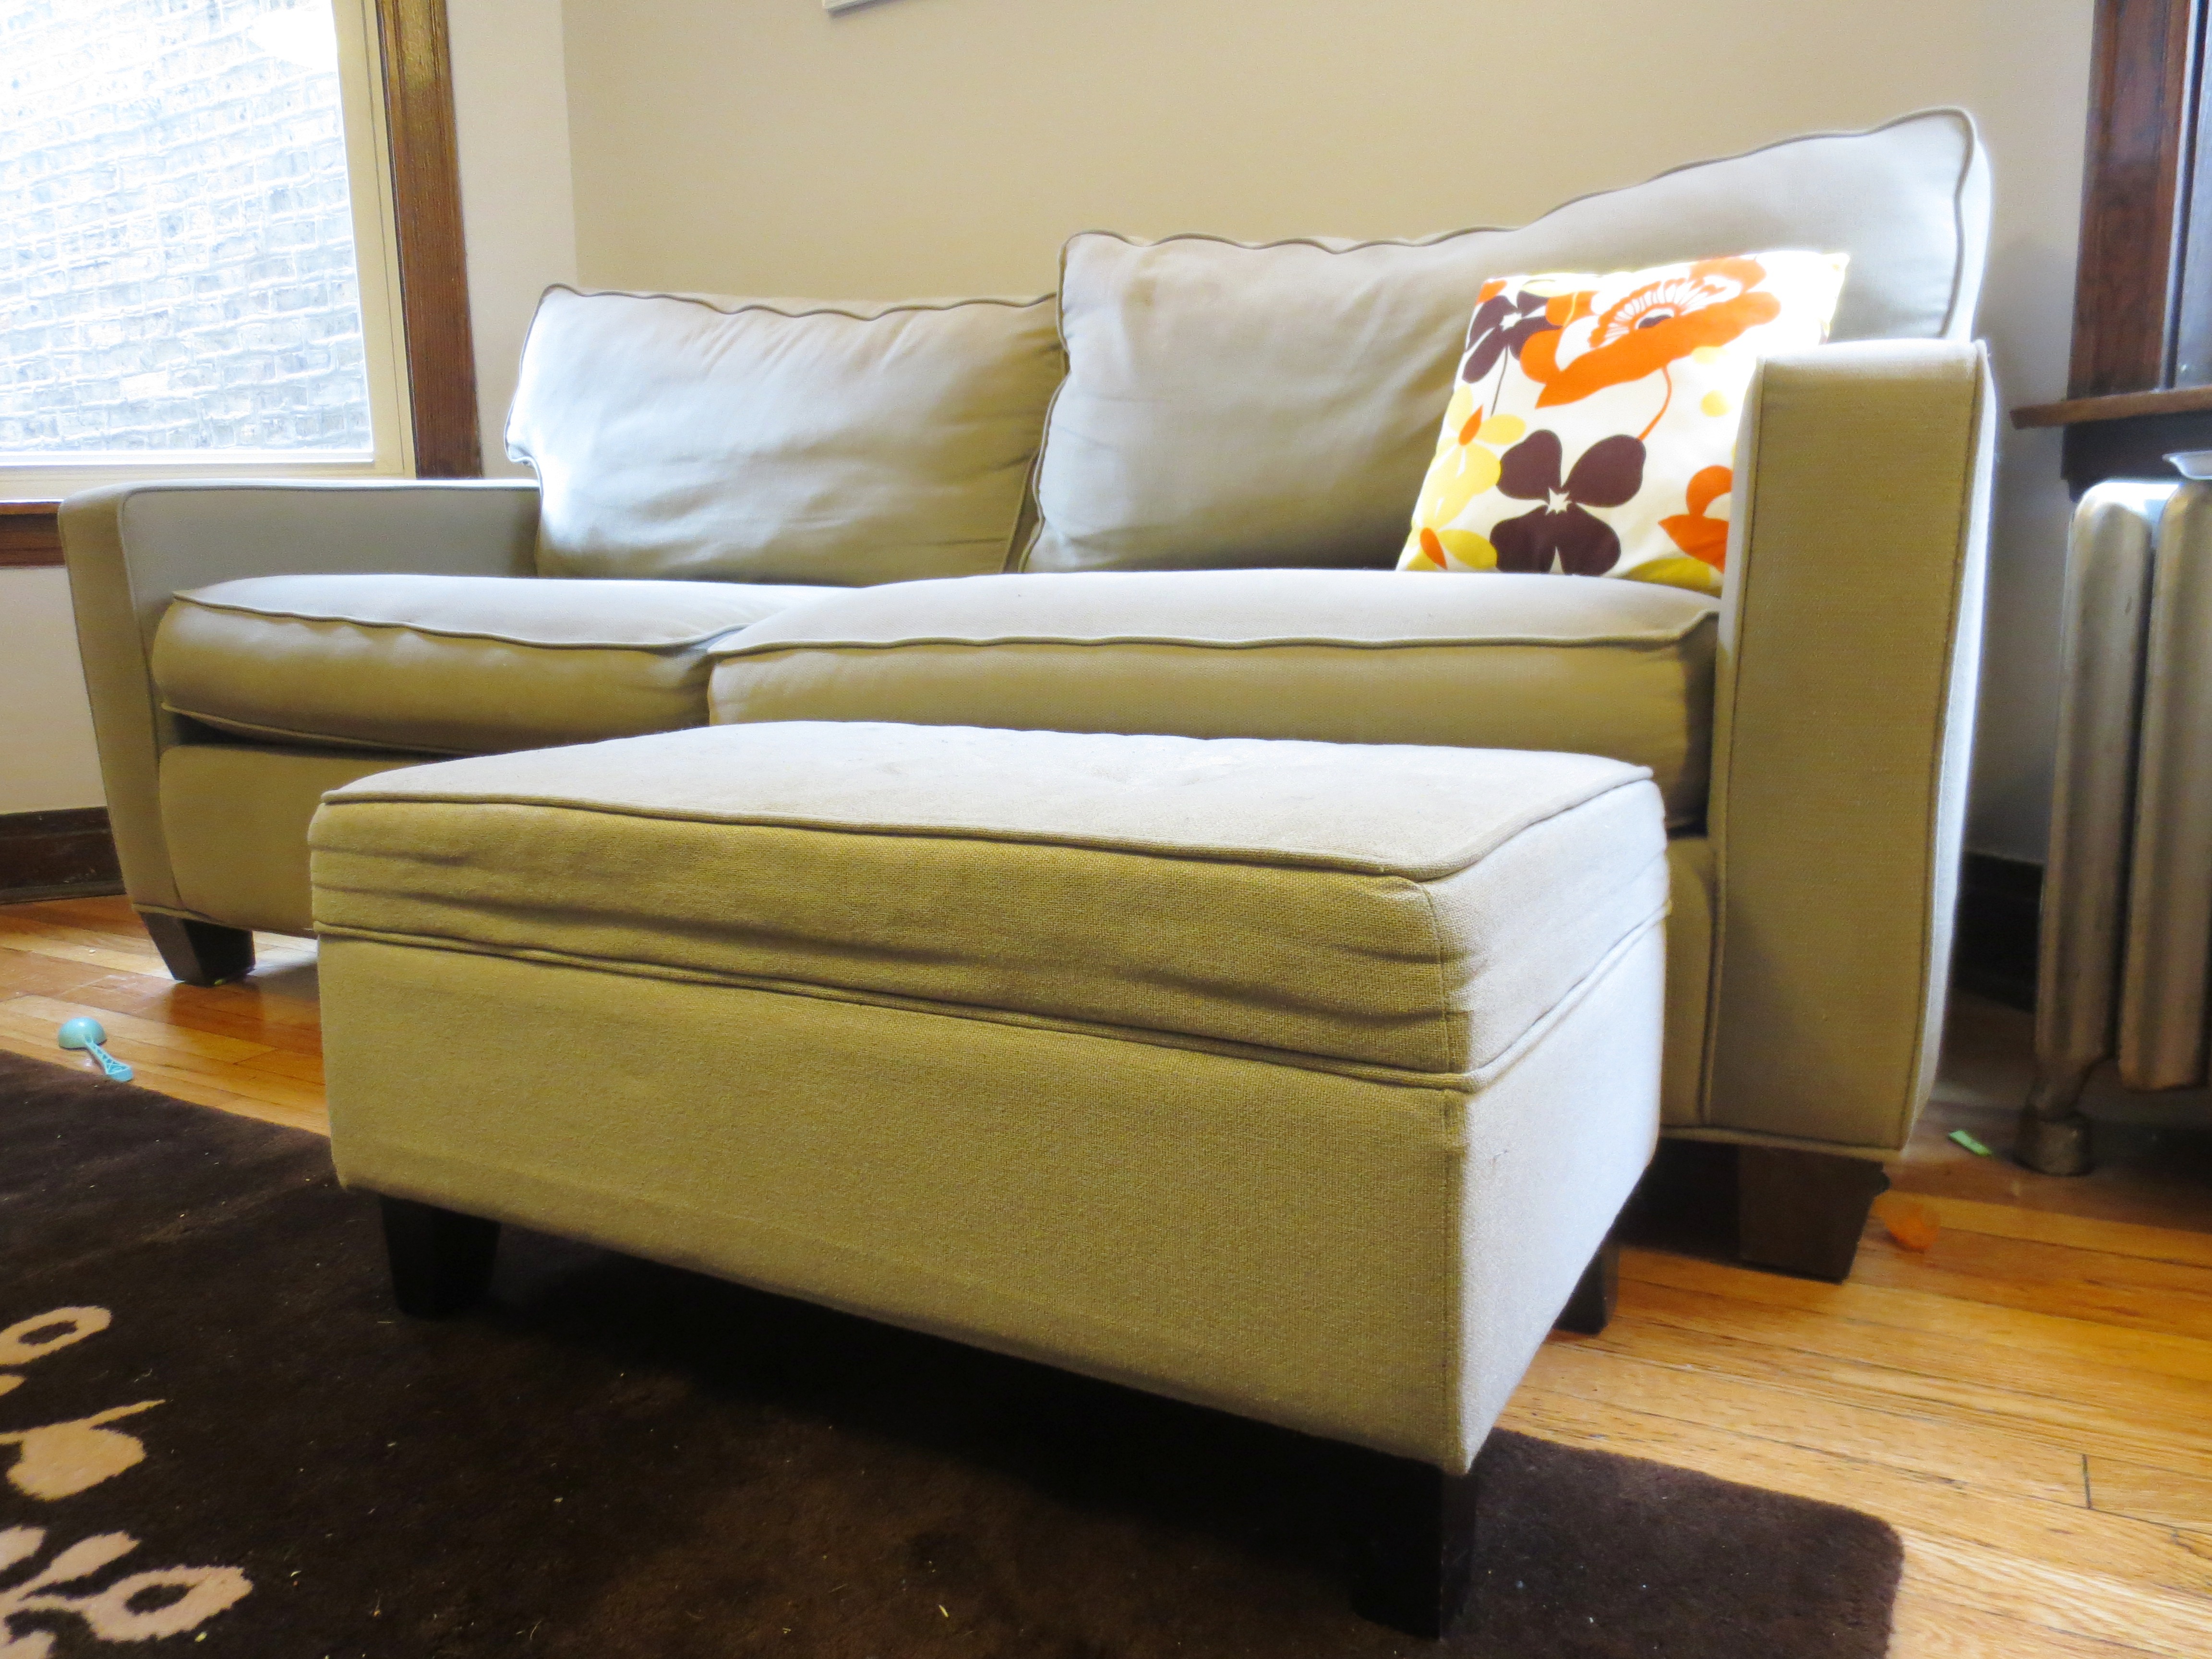 But it didn’t take long for nastiness to set in. Even though our family motto is “Leave Your Shoes at the Door and your Food in the Kitchen,”* somehow all the sticky hands and baby tears converged, and dried, on the top of this poor ottoman. And unlike the couch’s removable cushion covers, you can’t just throw the whole thing in the wash.
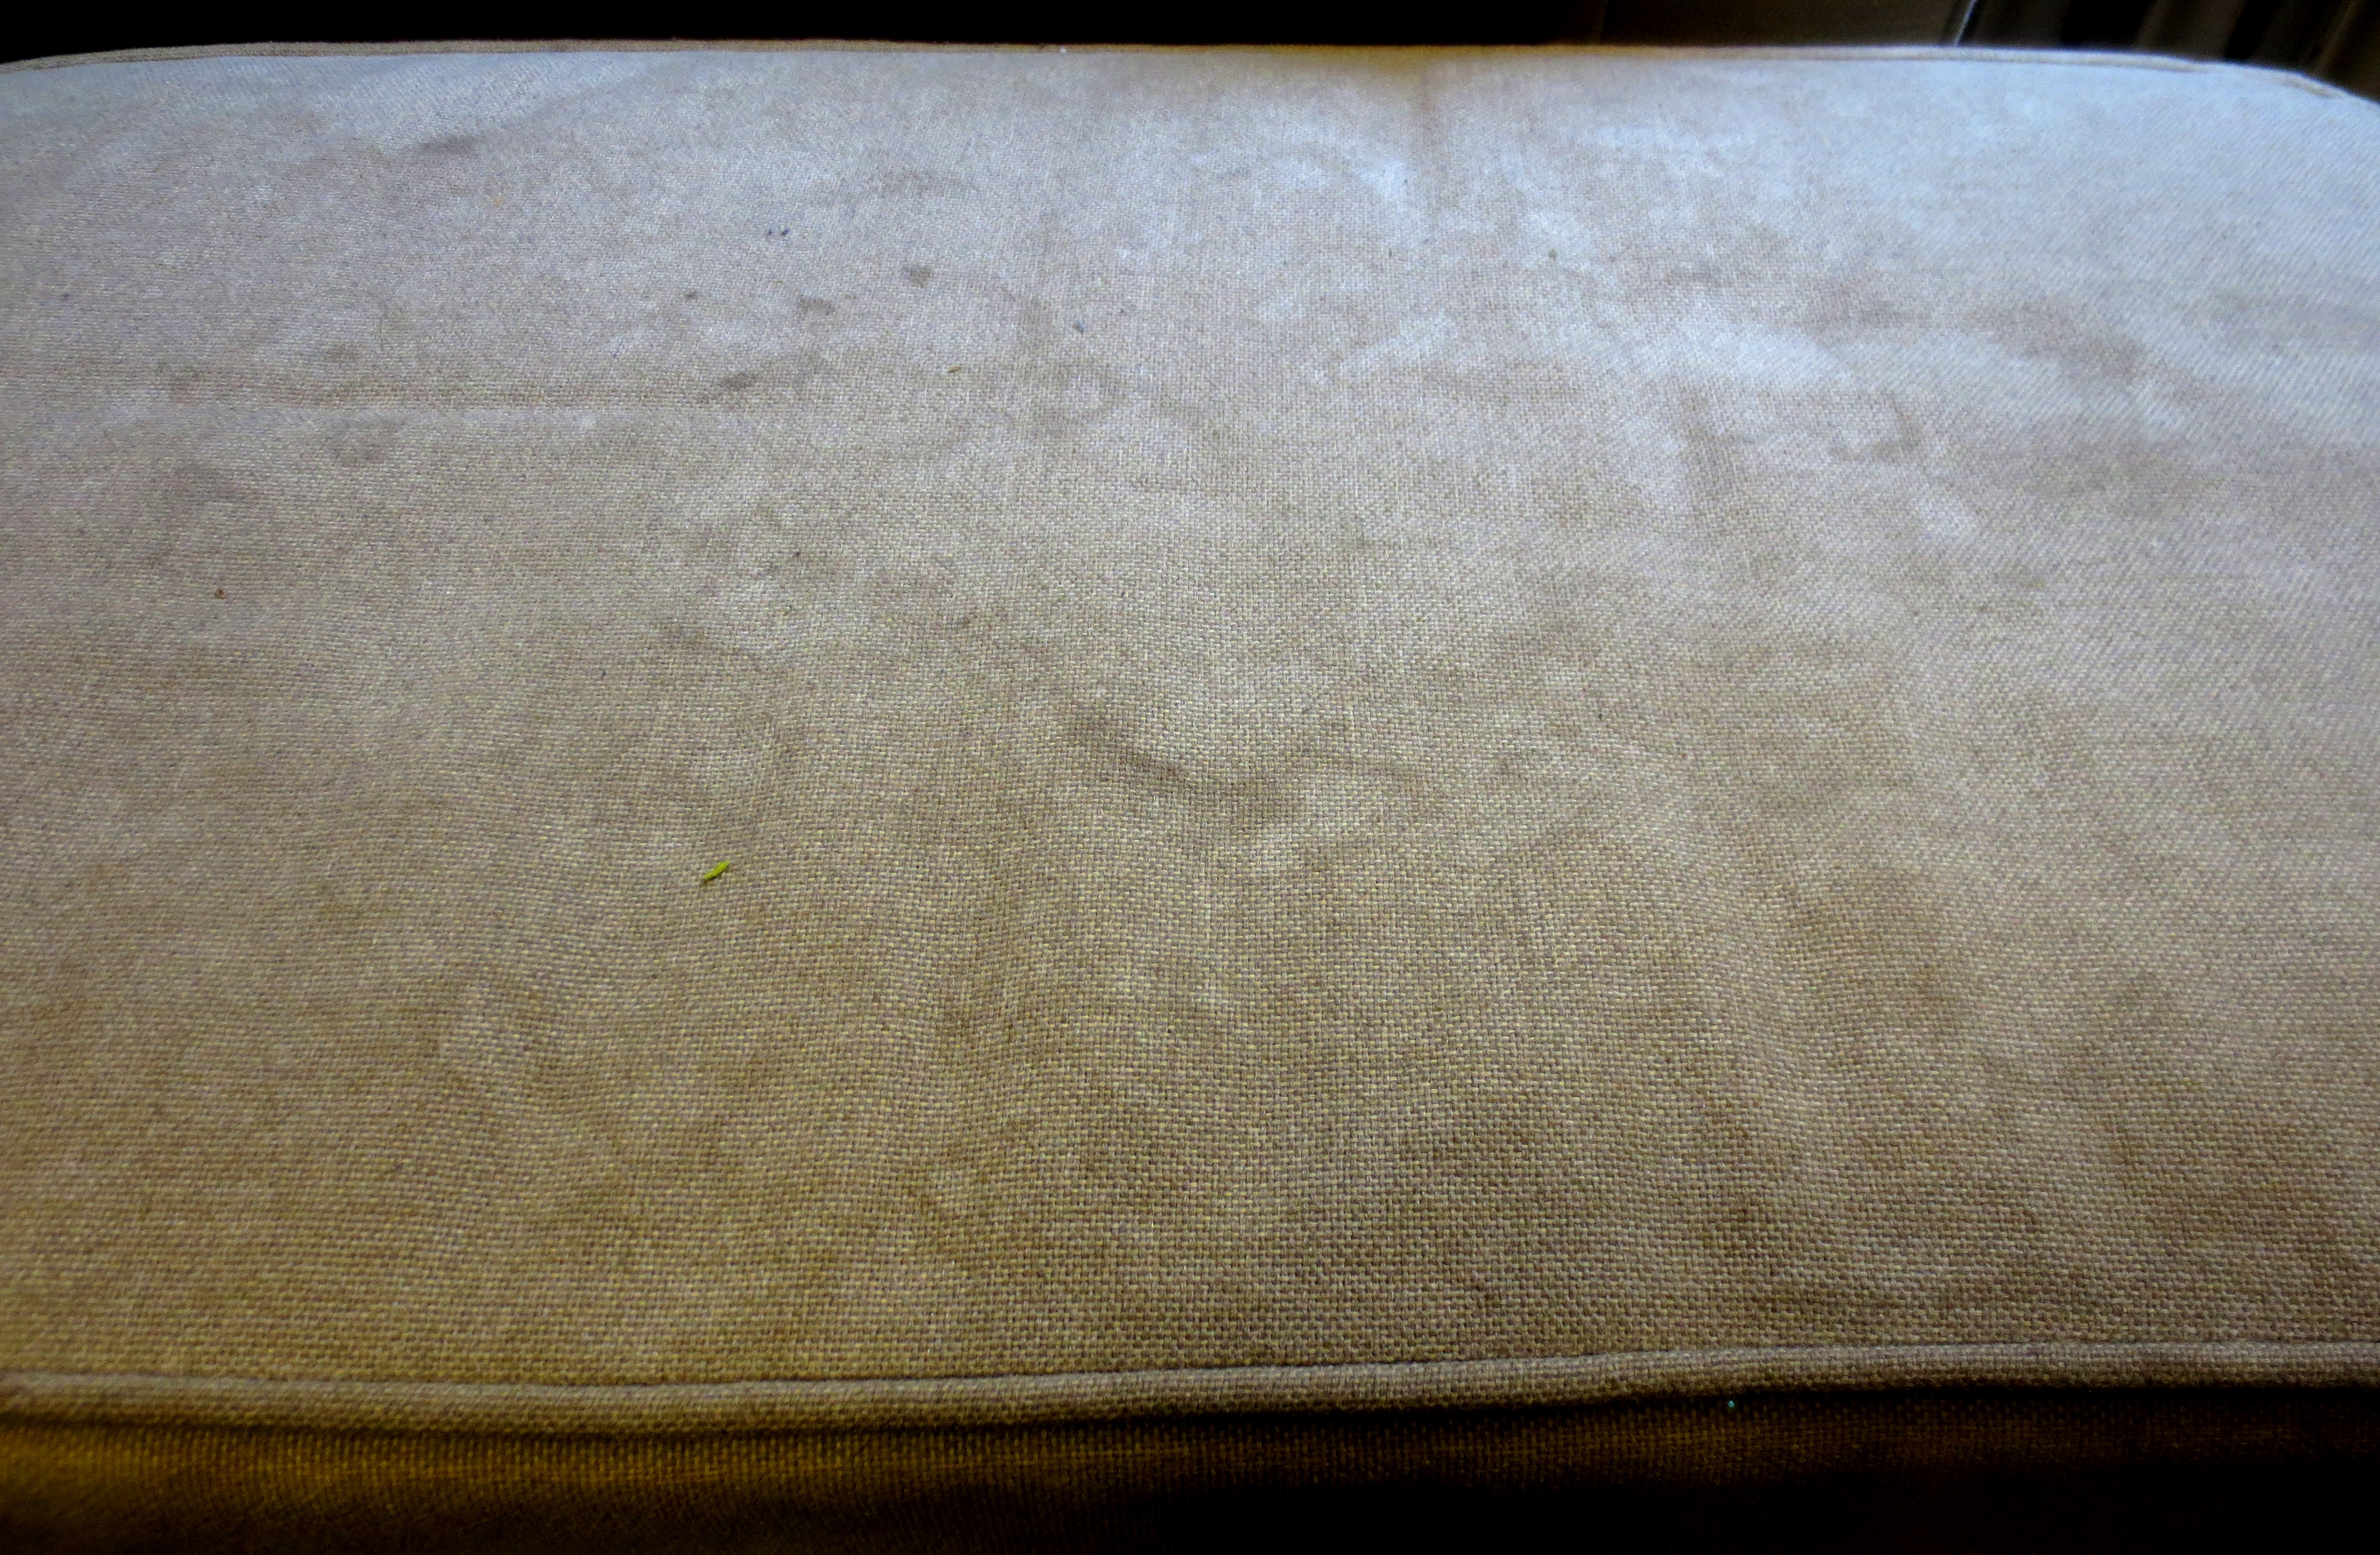 Can we get a better close up?

I can’t believe I’m showing this to you.
Whenever guests would arrive, I would hide my shame with this IKEA sheepskin.

Nice try.
But perhaps because it is furry and smells like wet dog, any child under 12 will instinctively pull the sheepskin off and roll around in it. No amount of thread or safety pins could keep it in place.
The only option was to recover. A few weeks ago, I impulsively bought several yards of vintage fabric at the ambiguously named “Collector’s Bazaar” event at my new favorite place in the whole world, the Chicago Rebuilding Exchange.

Don’t worry — I talked her down to $3.
Now, because of my inherent laziness and years-long inertia on this project, I decided to keep it simple and only recover the “lid” of the ottoman. Plus, I have quite a few “two-toned” objects in my living room. If you want to cover the rest of the ottoman, find another blog.
HOW TO RE-COVER YOUR GROSS TARGET OTTOMAN IN THREE HOURS OR LESS:
You’ll need:
– Screwdriver, Scissors and Staple Gun
– Decorator’s Needles and Twine
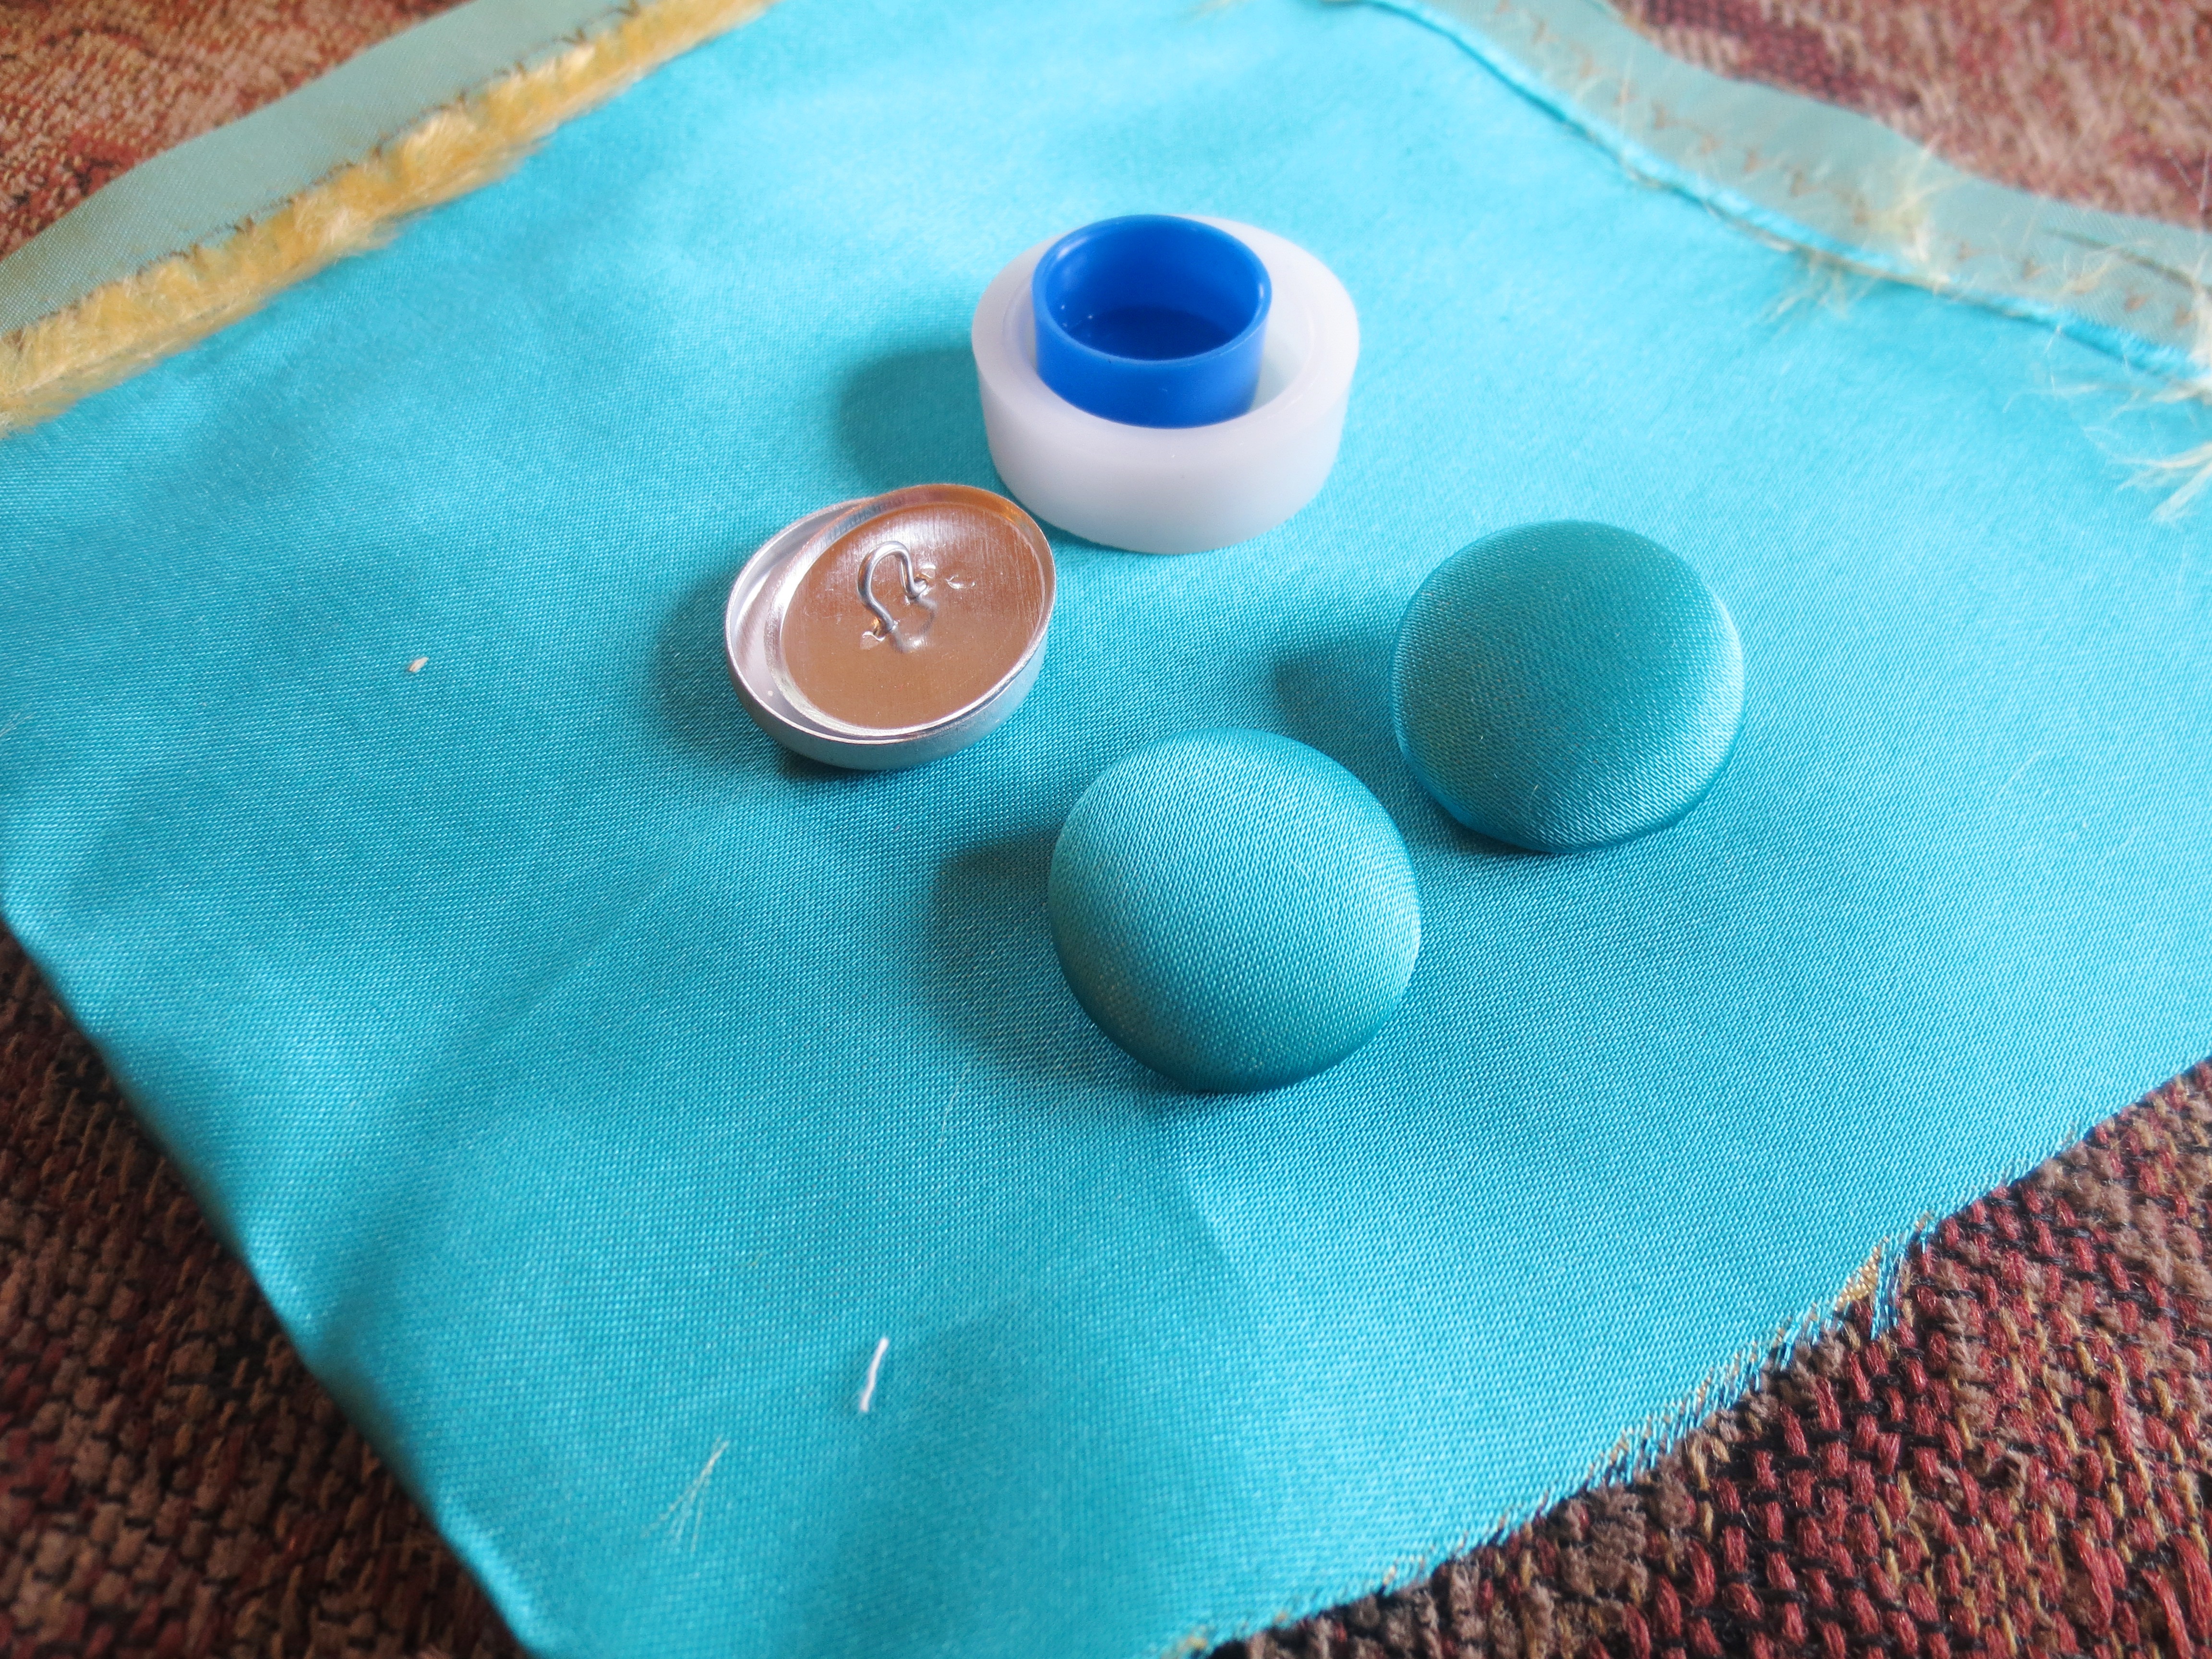
– “Shank” Button Making Kit, plus fabric to cover buttons
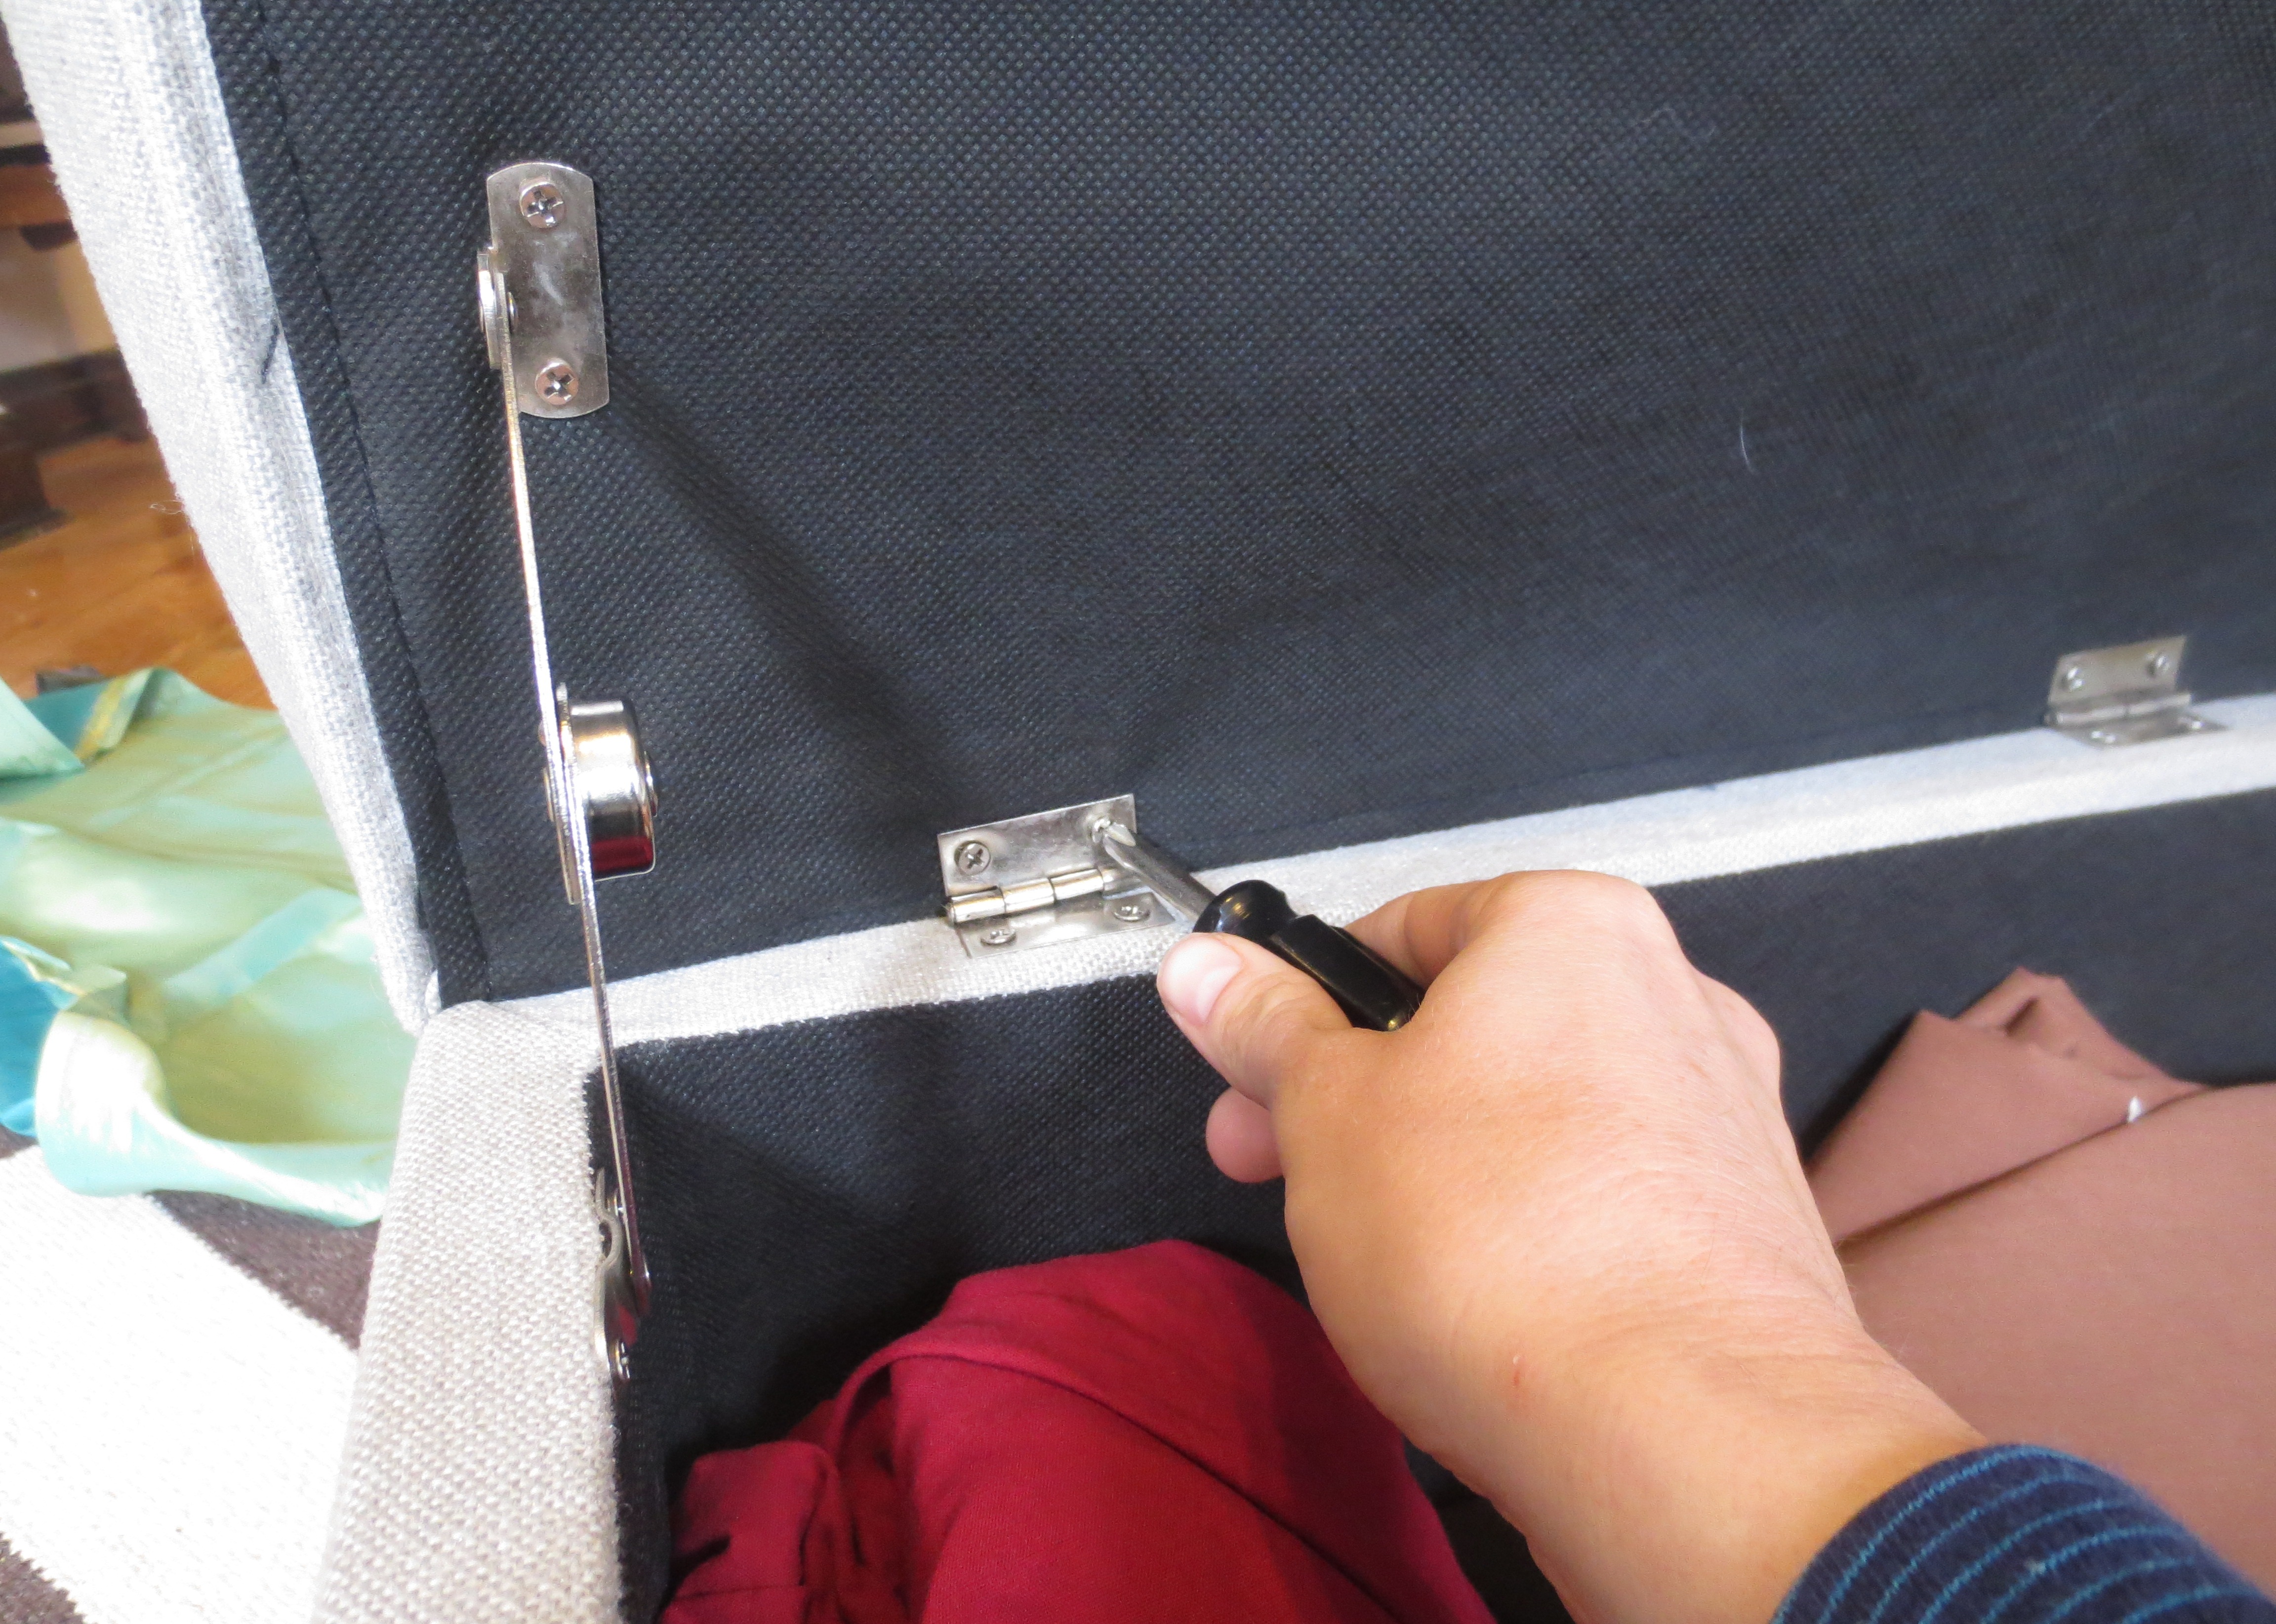
STEP ONE – PREPARE: First, unscrew the Lid of the ottoman from the hinges attaching it to the base.
Flip the lid over and pull the dustcover off the bottom. Don’t worry if you rip it a little, nobody can see this part anyway. If you pull any staples loose, remove them with a flathead screw driver or pliers.
 Notice that, even though you bought this new at Target and it was probably mass-produced in China, the foam is held in place by what is unmistakably used — and kind of dirty– upholstery fabric from some old couch. Try not to think too hard about why this is, or the Global Supply Chain generally.
Now lay the lid face-down on top of your fabric. Pull the end of the fabric over the sides to get an idea of where you should cut.
 After you’ve cut the fabric to size, iron it. Especially if you are using vintage fabric, ironing will smooth out the decades-old fold lines and subdue any musty smells. If your fabric smells more than a little bit musty, wash it before you cut it down to size to account for shrinkage.

Before you iron, spray your fabric with a little vinegar to eliminate mysterious “vintage” smells.
STEP TWO – RE-COVER: Grab your staple gun! Veteran Projectophiles will have already mastered the following technique from our Tufted Floating Headboard and the IKEA Bench Recover projects: Lay your fabric face-down, and center the Ottoman Lid over it, also face down.
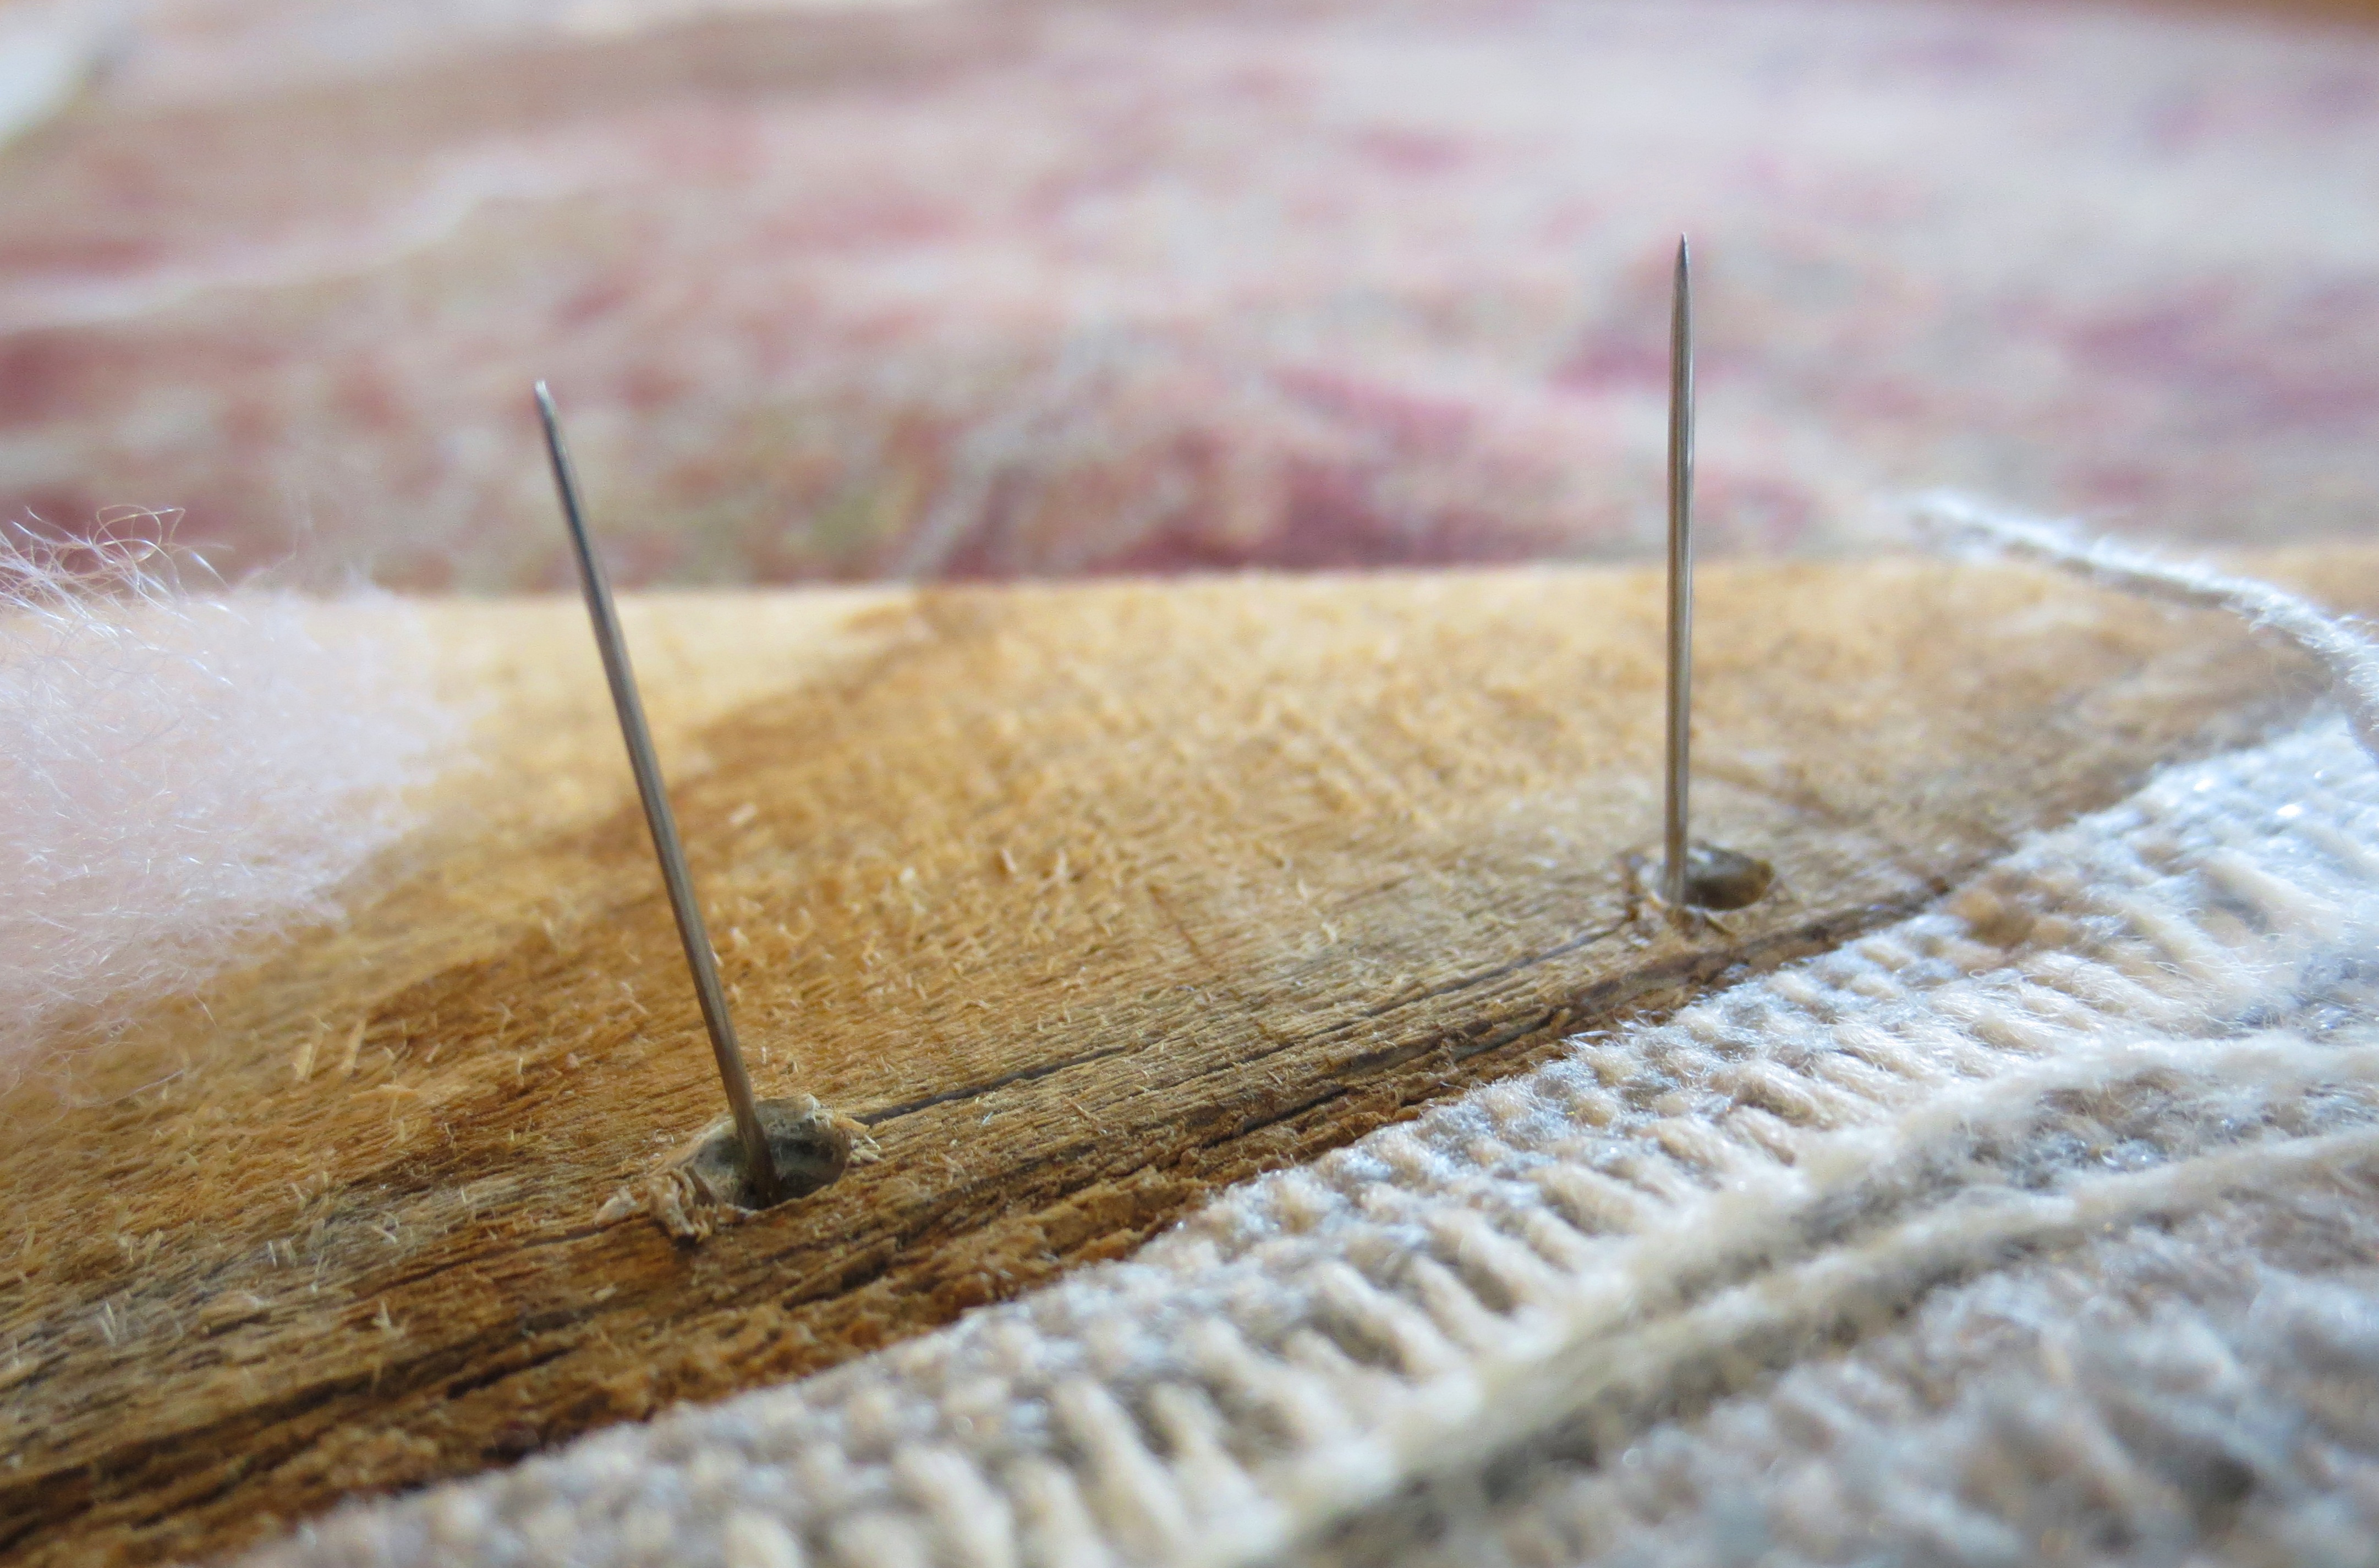
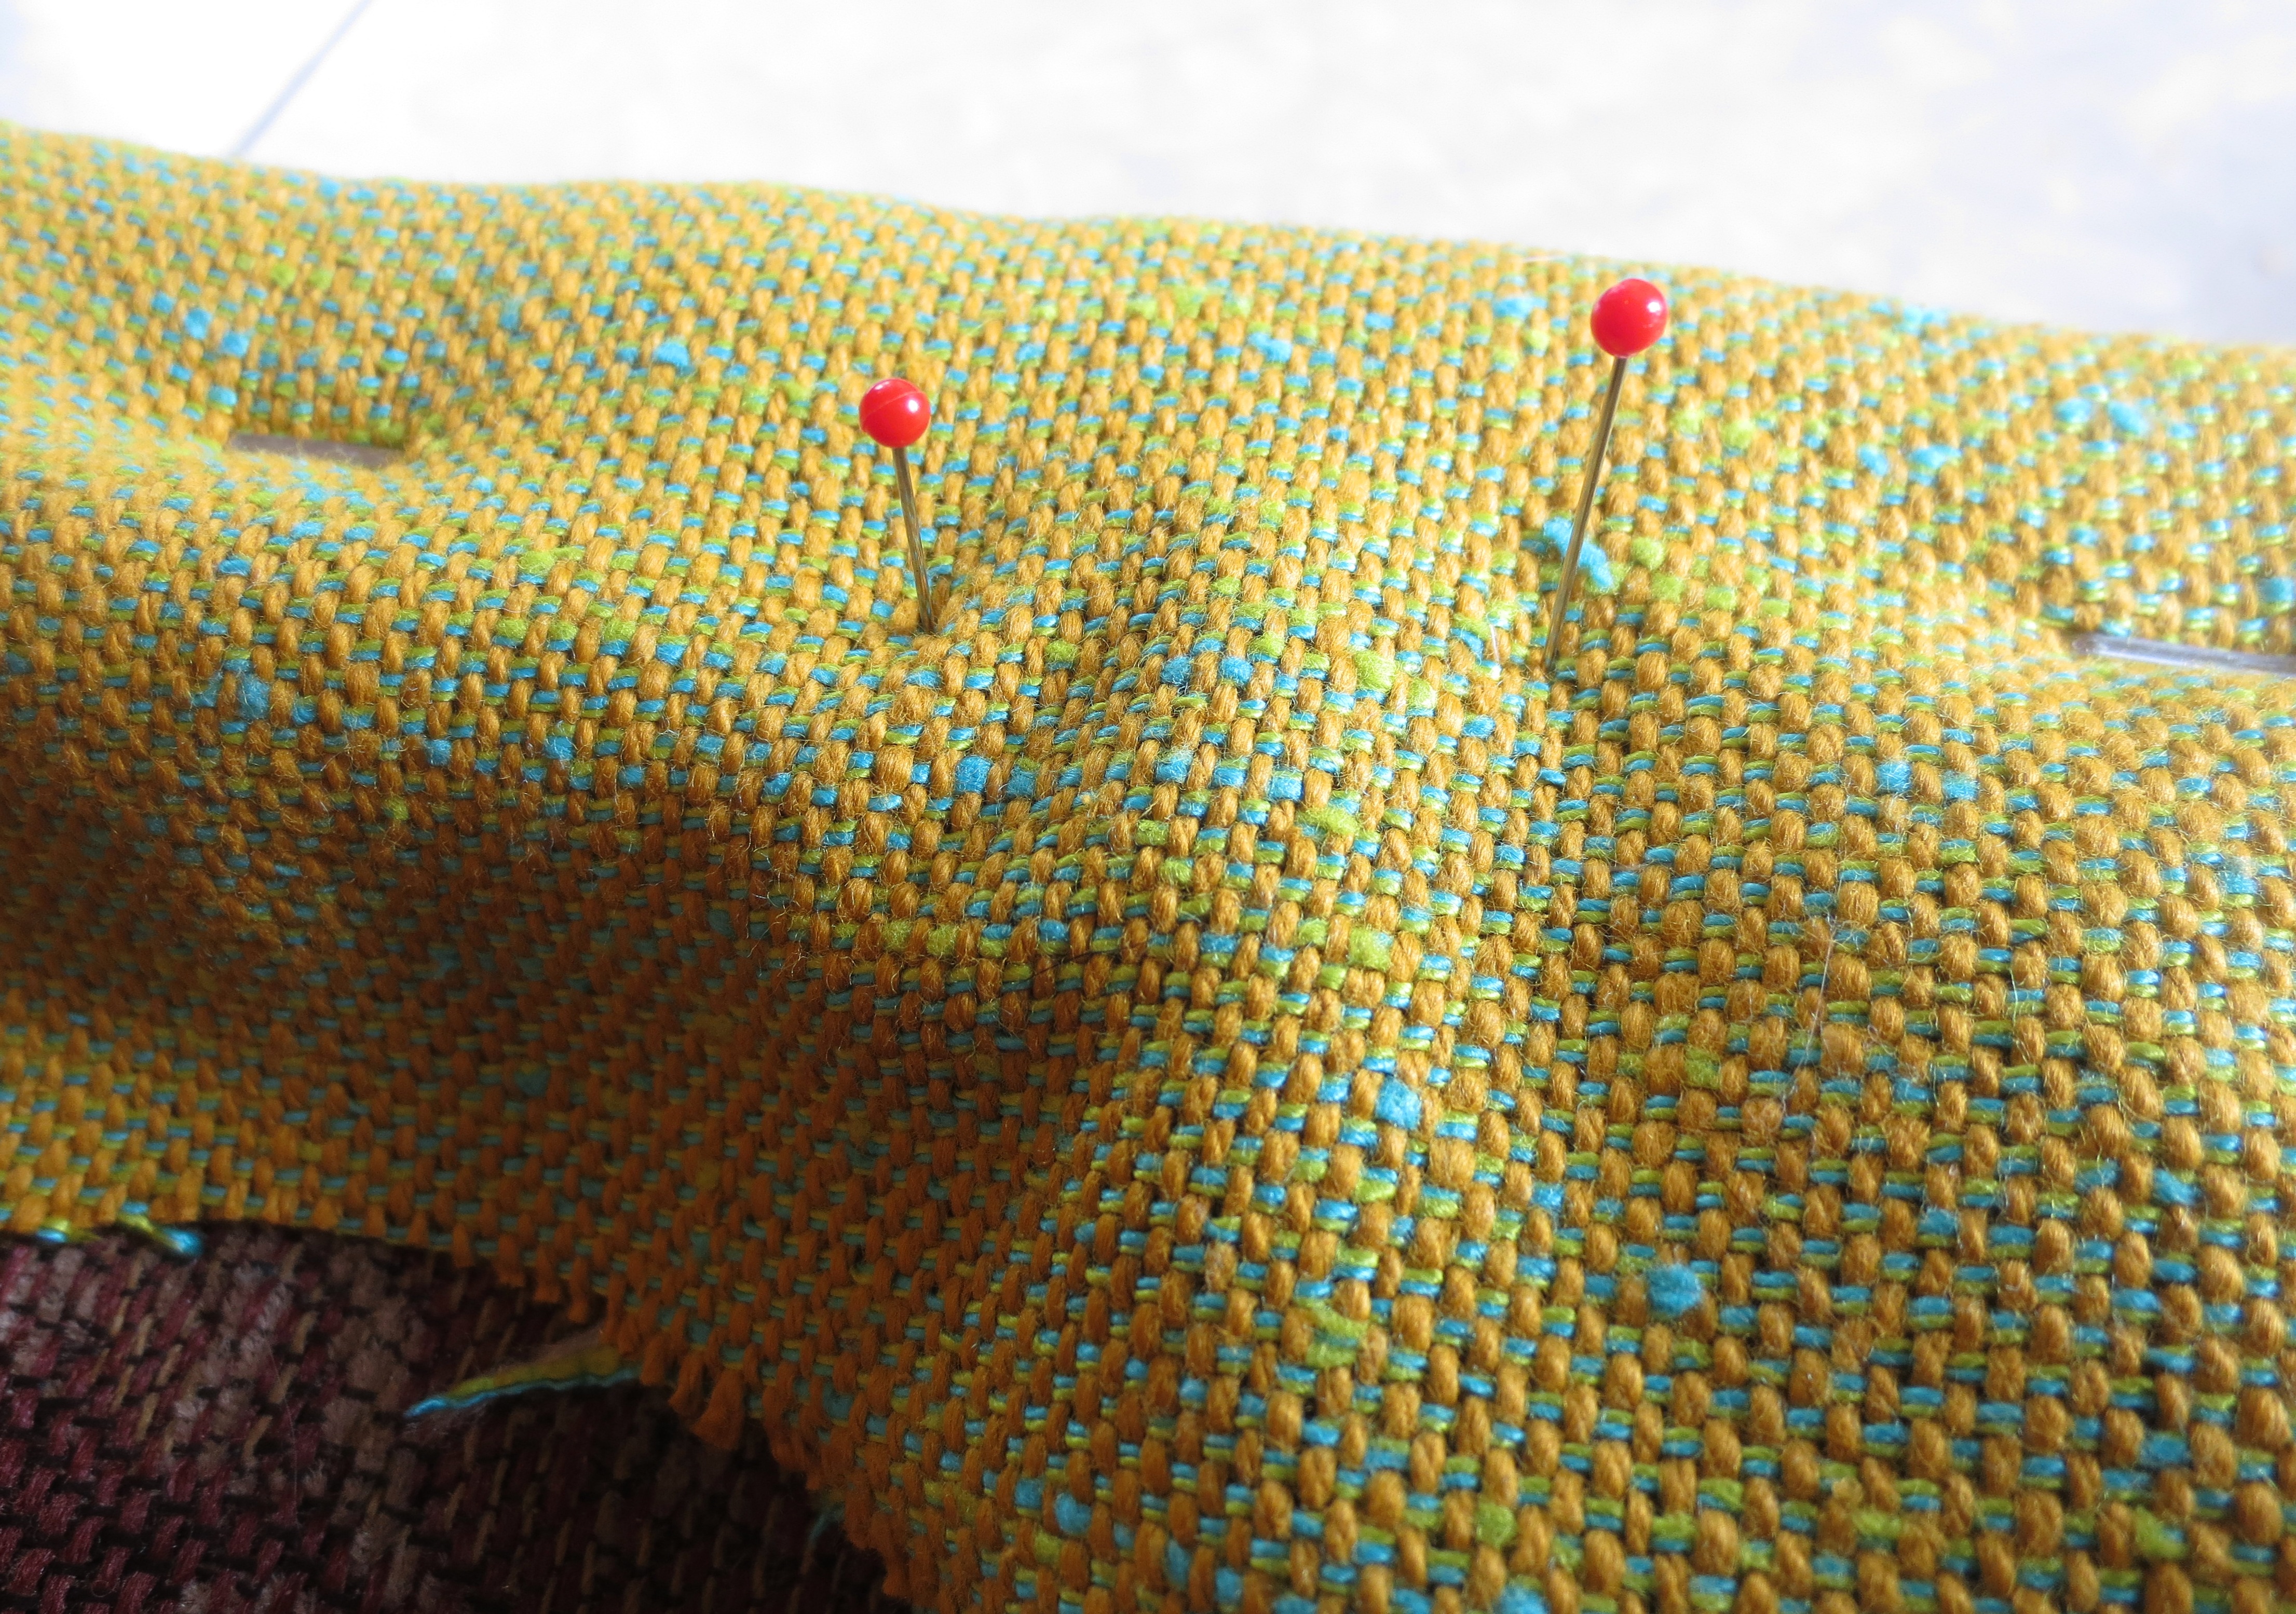
But before you start stapling, remember that we need to find those screw holes again when we re-attach the ottoman lid to the hinges on the main box. Insert sewing needles — pointy side up — into any screw holes that you expect to cover with fabric.
 Pull the fabric up over the side, and staple it to the lid frame, one staple every couple of inches. Don’t forget to pull the fabric over your “screw hole” needles.
 PRO-TIP! Don’t be afraid to cut unneeded fabric if it’s too bulky around the corners. Sacrifices must be made. This whole process is like wrapping a present, except that the wrapping paper is really thick and stubborn. I wish I had better guidance, but I never learned how to properly wrap a present and am relieved at recent ubiquitousness of gift bags.
After you finish stapling your fabric in place, replace the “pointy side up” screw-hole-locating needles with more skin-friendly plastic-head pins. I learned this the hard way.
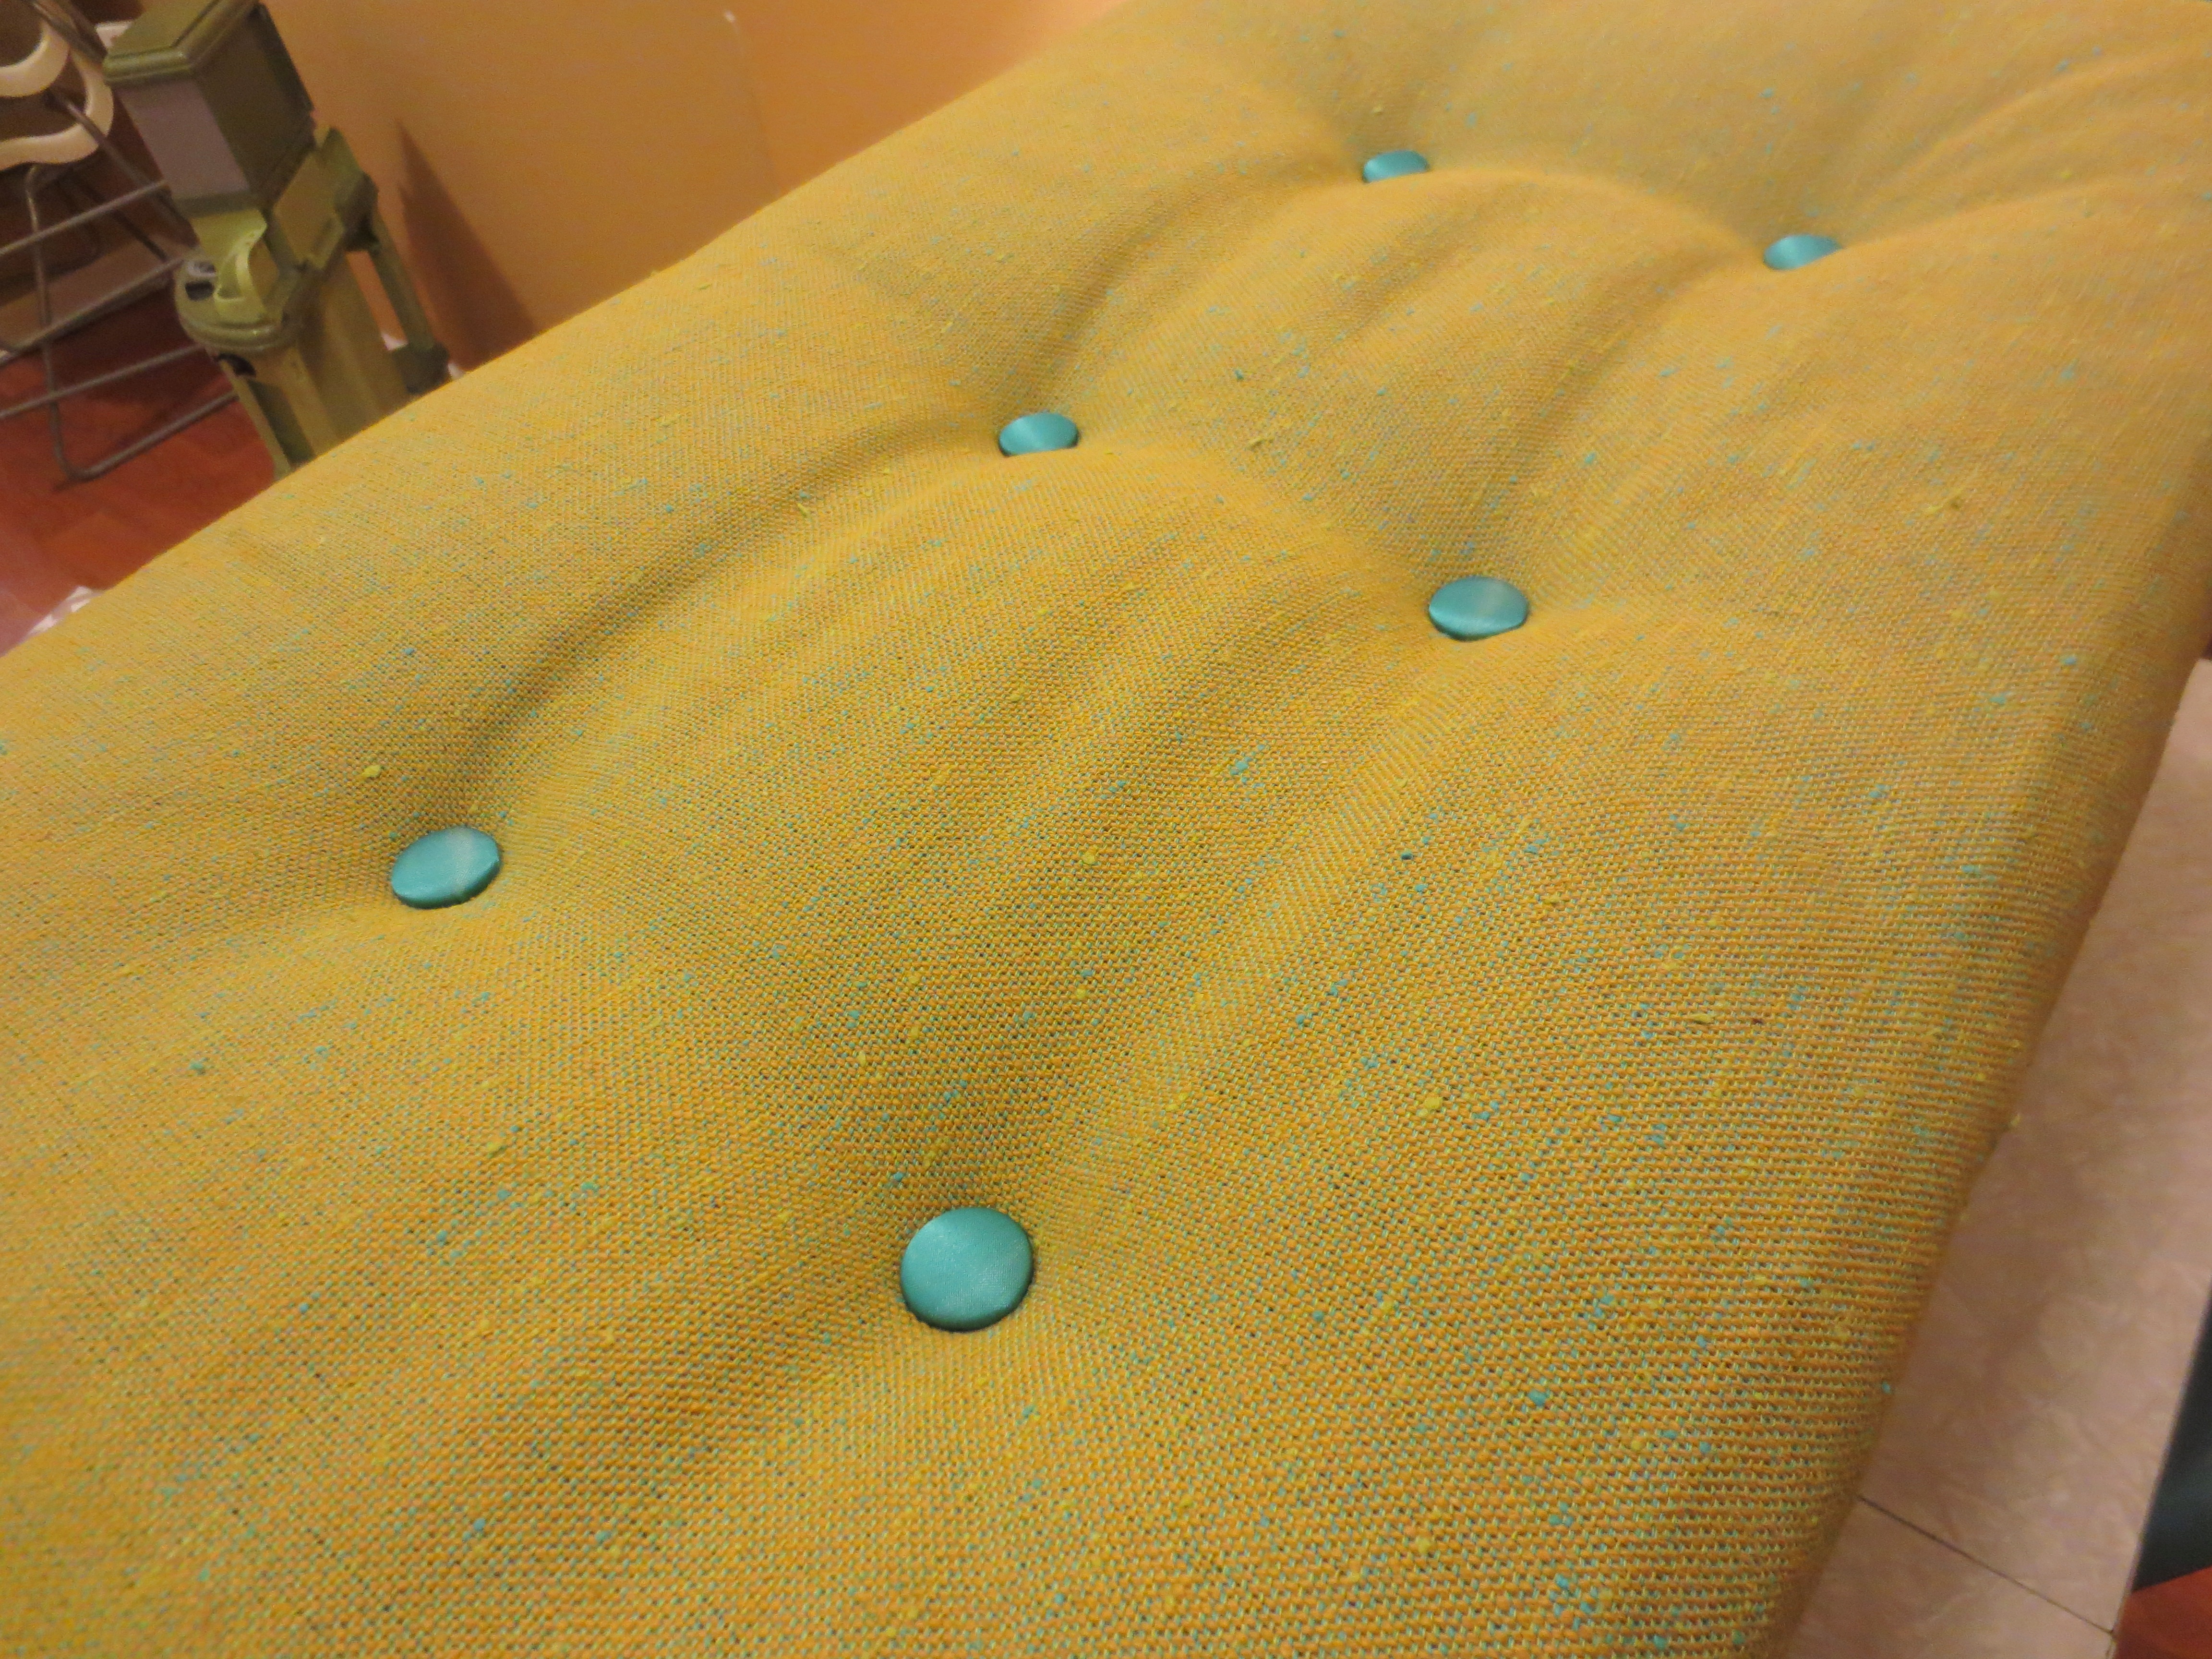
 STEP THREE – TUFT: At this point, the Ottoman lid seemed too plain to me. If you like plain and boring, skip to Step Four. What’s the best way to spice up an upholstery project? Tufting! In fact, the phrase “Cute as Button” was coined in reference to DIY ottoman projects that included tufting.
I still had six buttons leftover in my shank button-making kit, which you can get at any craft store. To cover my buttons, I dug up some shimmery teal curtains that I had made four apartments and two boyfriends ago. I bought the fabric at an Indian Sari store up on Devon Avenue. The buttons made the hints of turquoise in upholstery fabric really pop; their shininess was the perfect antidote to the ottoman’s rough burlapy texture.
Measure your lid to determine proper button placement. I measured the width and divided by four (for three buttons), then measured the height and divided by three (for two buttons). Draw a gridline and clearly mark the intersections with a marker.

I’m not left-handed, I just had to use my right hand to take this picture.
Thread an upholsterer’s needle with twine and push the needle through the first mark:
 Once pulled through to the other side, use your needle to thread the twine through the hook at the bottom of the button.
 Then plunge the needle back into the fabric, pulling out in roughly the same spot on the backside:
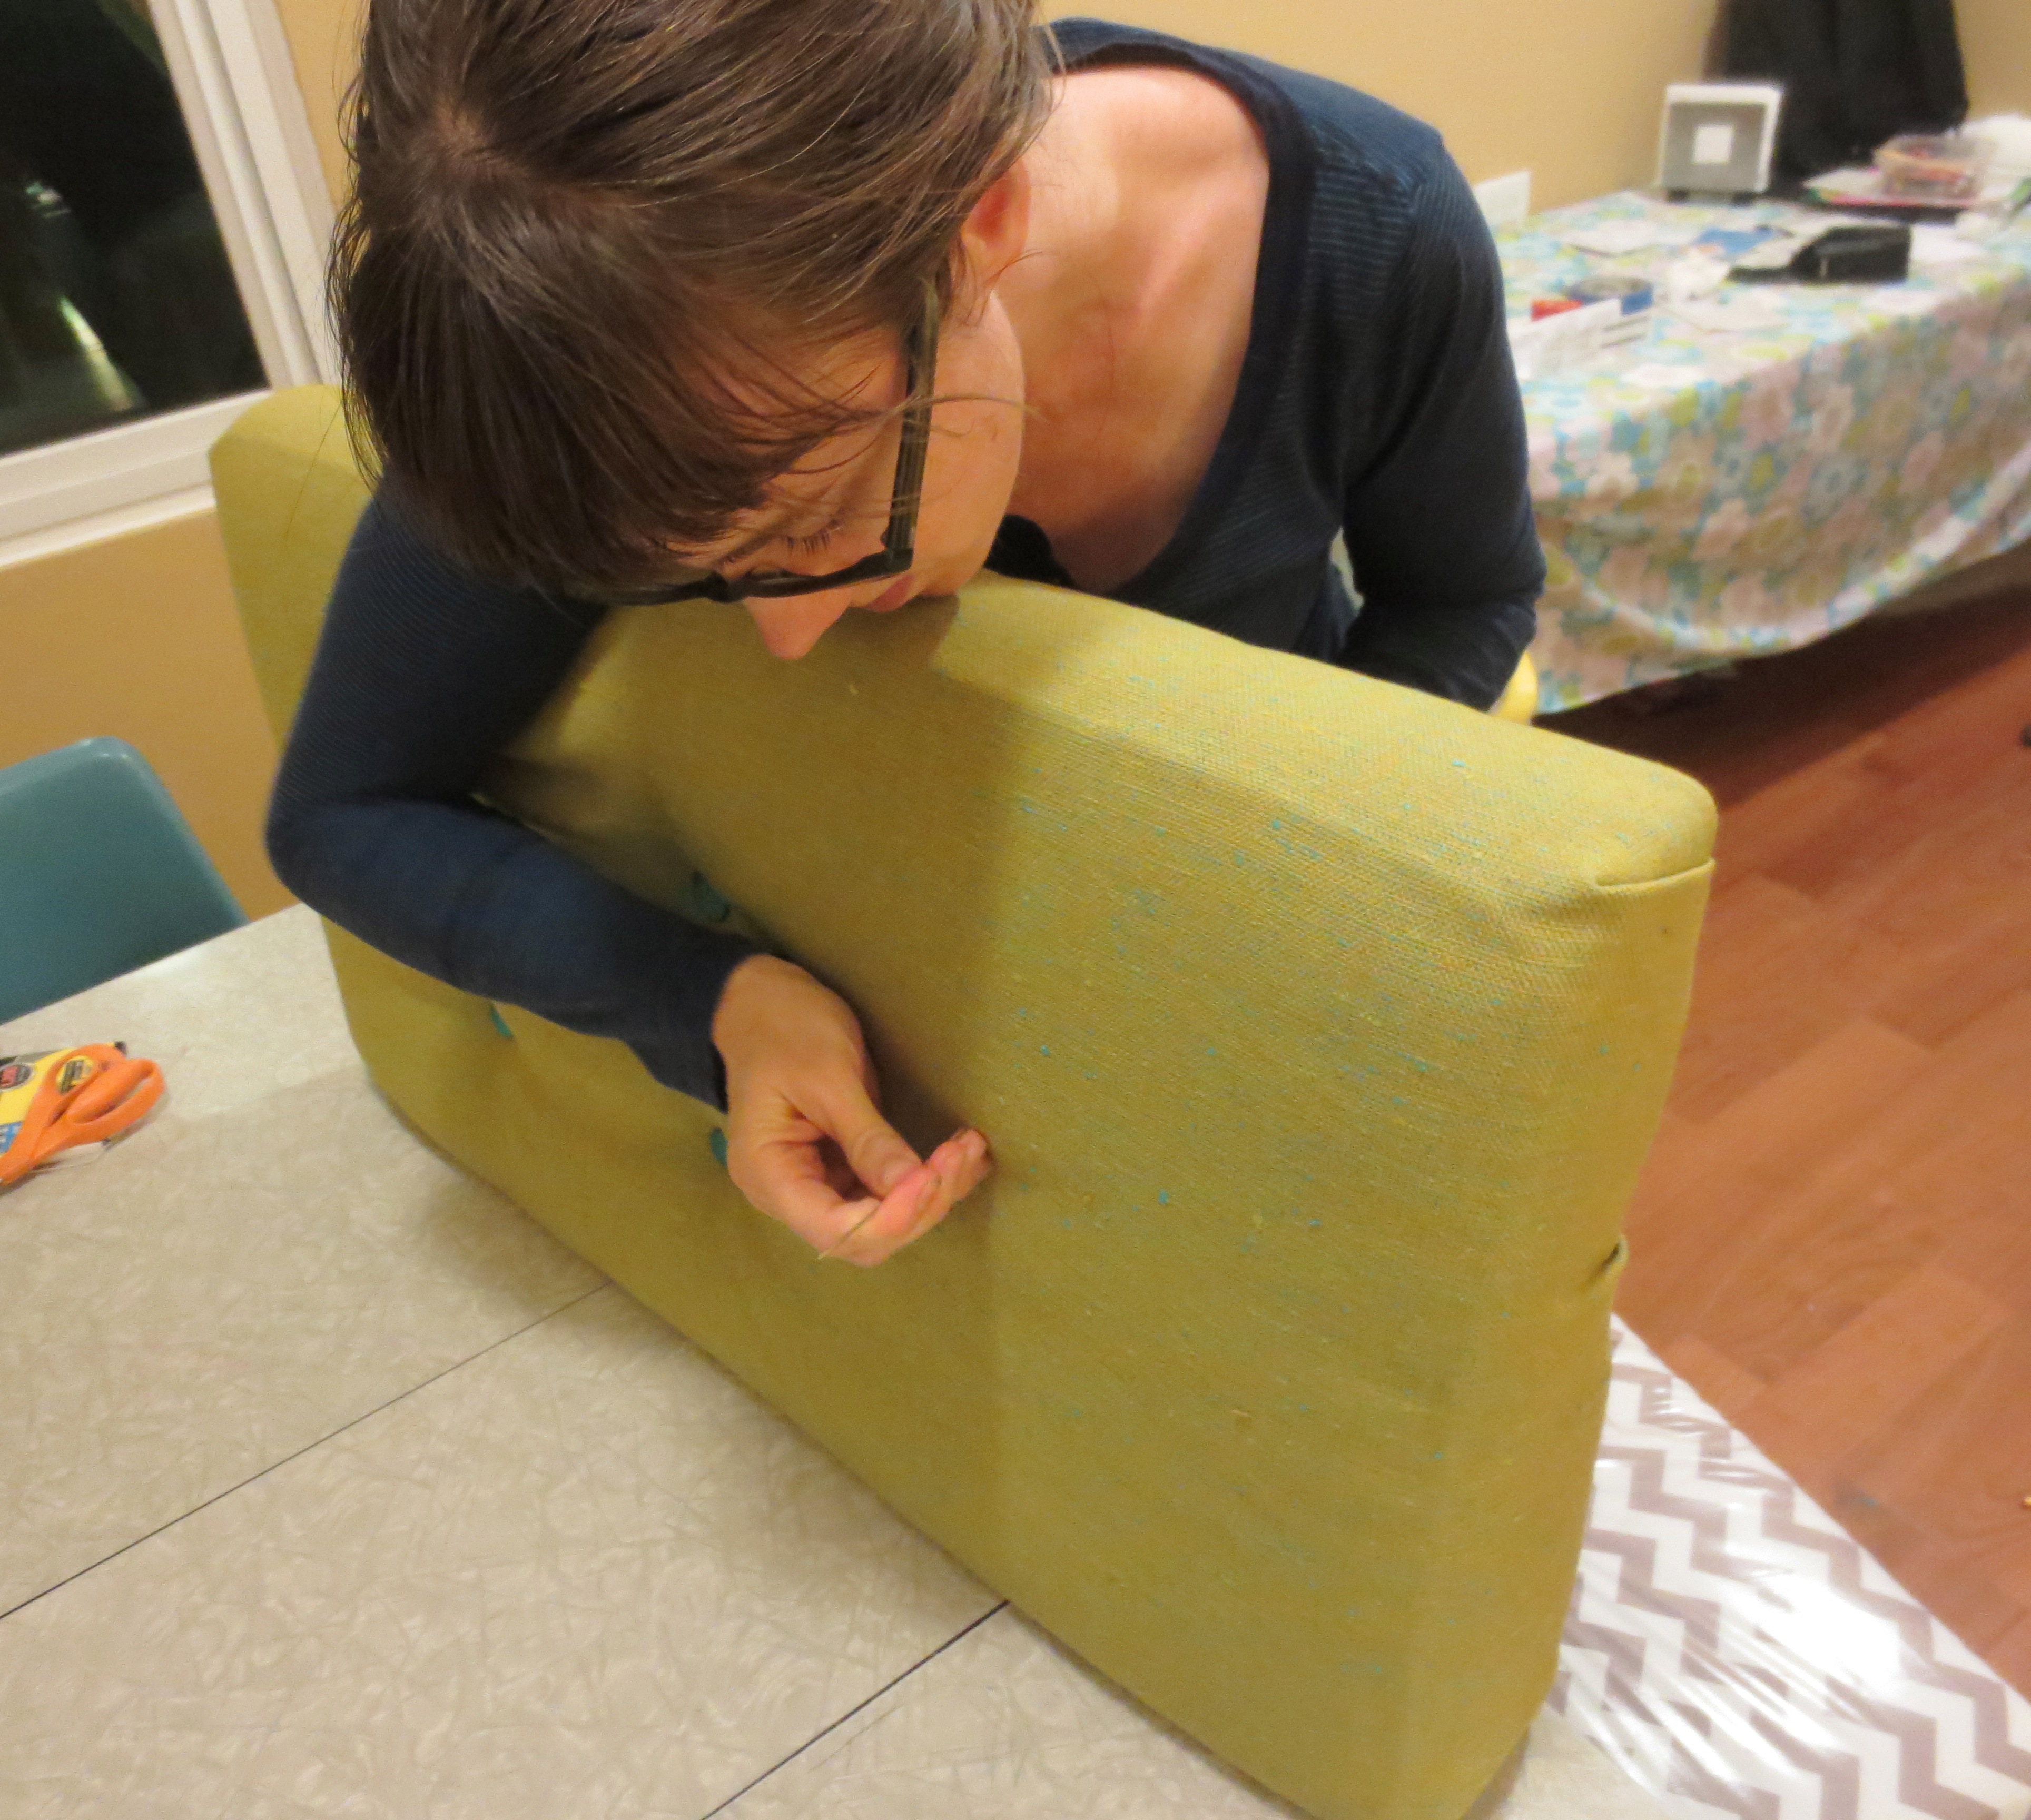
This whole process is quite awkward.
Pull the twine as tightly as you can and staple both ends to the frame. Use two staples on each end, for good measure. Repeat six times.


STEP FOUR – RECONSTRUCT: If you’ve still got energy, staple the black dust cover back on to the bottom of your lid, although this is entirely optional. Get a helper to hold the lid in place while you screw the hinges back on, using your pins as a guide.
 Fill the box back up with all your crap, scoot it back to the couch and put your feet up. But for goodness’ sake, take your shoes off first!

Now the ottoman is way too good for that crappy old couch.
Shall we let the Poor Man’s Barcelona Chair have a turn?

 * Not really our Family Motto.

that is fabulous, but in the transformation, you do lose a certain Beauty & The Beast quality…
LikeLike
I’ve found that when you make something in your home nicer, it makes everything else around it look worse. Our couches seemed fine next to the gross ottoman, but now that the ottoman has been recovered, the couches suddenly seem horrible.
I’m sure the couches feel terrible about themselves. Maybe some new throw pillows would cheer them up?
LikeLike
ooh, I wasn’t trying to insult your couches!, I was referring to the shaggy ottoman, it reminded me of the enchanted doggie footstool from B&tB. But, maybe rocking out those throw pillows with some of that turquoise fabric — buttons or a band/sash?
LikeLike
Oh shoot, the link you posted doesn’t work — so I didn’t catch the Beauty and the Beast reference (don’t worry, I didn’t feel insulted, though my couches are looking pretty busted these days). I did like having the fuzzy sheepskin on the ottoman and would have been happy to leave it there. I tried pinning it down, sewing it on — but somehow my kids would manage to pull it off every time — so sadly, the sheepskin wasn’t a permanant option. I would love an enchanted doggie footstool, though! Any tips on making one?
LikeLike
easy DIY: be an arrogant prince, piss off a witch, get her to enchant you and your castle and voila… enchanted doggie footstool!
here’s a video w/obnoxious music added:
LikeLike
Oh wow- Thanks for the laugh! I really needed it today, as everyone in my house has a stomach bug except me.
I’m sure there is a Disney enthusiast out there who has made an exact replica of the enchanted doggie footstool. If we are lucky, s/he posted pics somewhere on the internet with accompanying instructions.
LikeLike