
(YES, YOU CAN PAINT OVER TILE)
When we left our bathroom remodeling heroes, they had fixed the toilet, tore out the floor, installed a new floor, and then stepped out to get cigarettes.*

The bathroom was now officially “functional,” and cleaning was a breeze because they could just sweep dirt into the ½-inch gap between the floor and wall. But there was still the case of the Missing Ceiling: Local toilet-goers could gaze upon the underbelly of the upstairs bath tub, imagining themselves in their favorite Steampunk novel; a fine mist of rotting house dust drifting down on them with every upstairs bump and stomp.
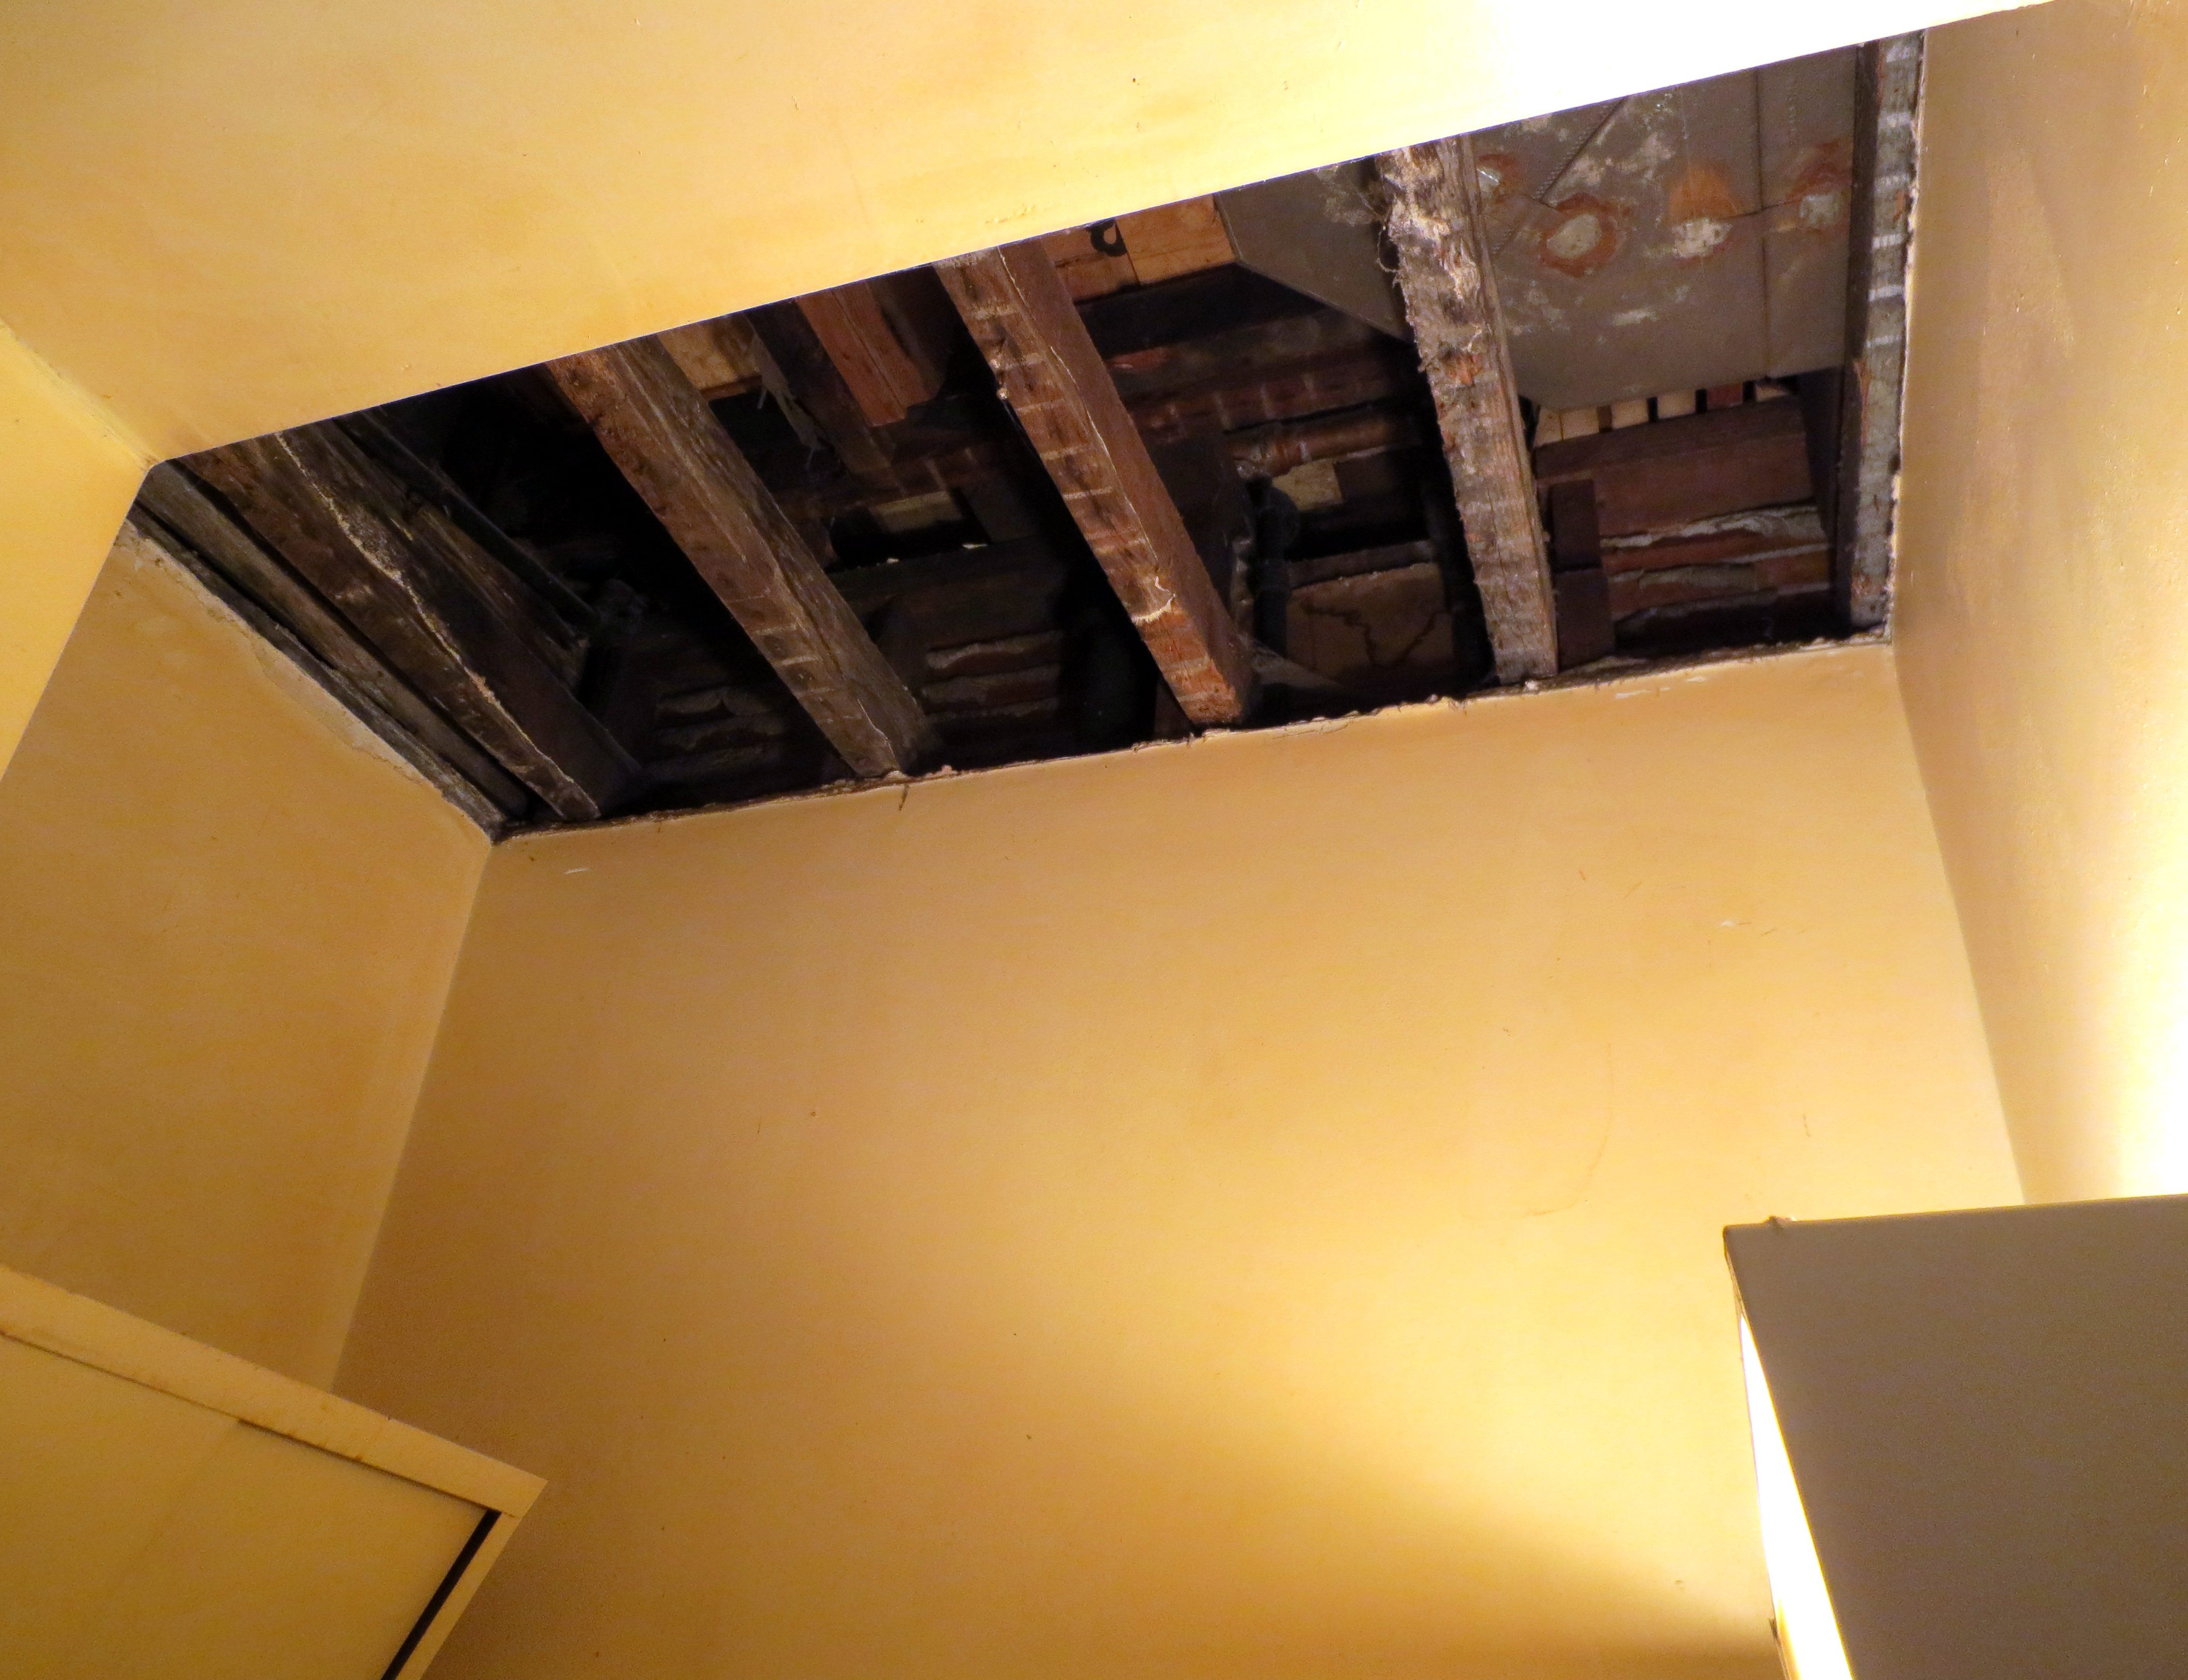
Our Heroes (now downgraded to Protagonists) left the open sore of the ceiling exposed for more than a year. They were trapped in the awkward adolescence of fixing-upping: Things functioned well enough to sustain life, but they weren’t exactly nice. Why couldn’t they just have one single room that was finished?
And since a “ROOM” is generally defined as having a floor and a ceiling,** they started by mending the ceiling wound with a fresh sheet of drywall, handily scavenged out of the neighbor’s garage:

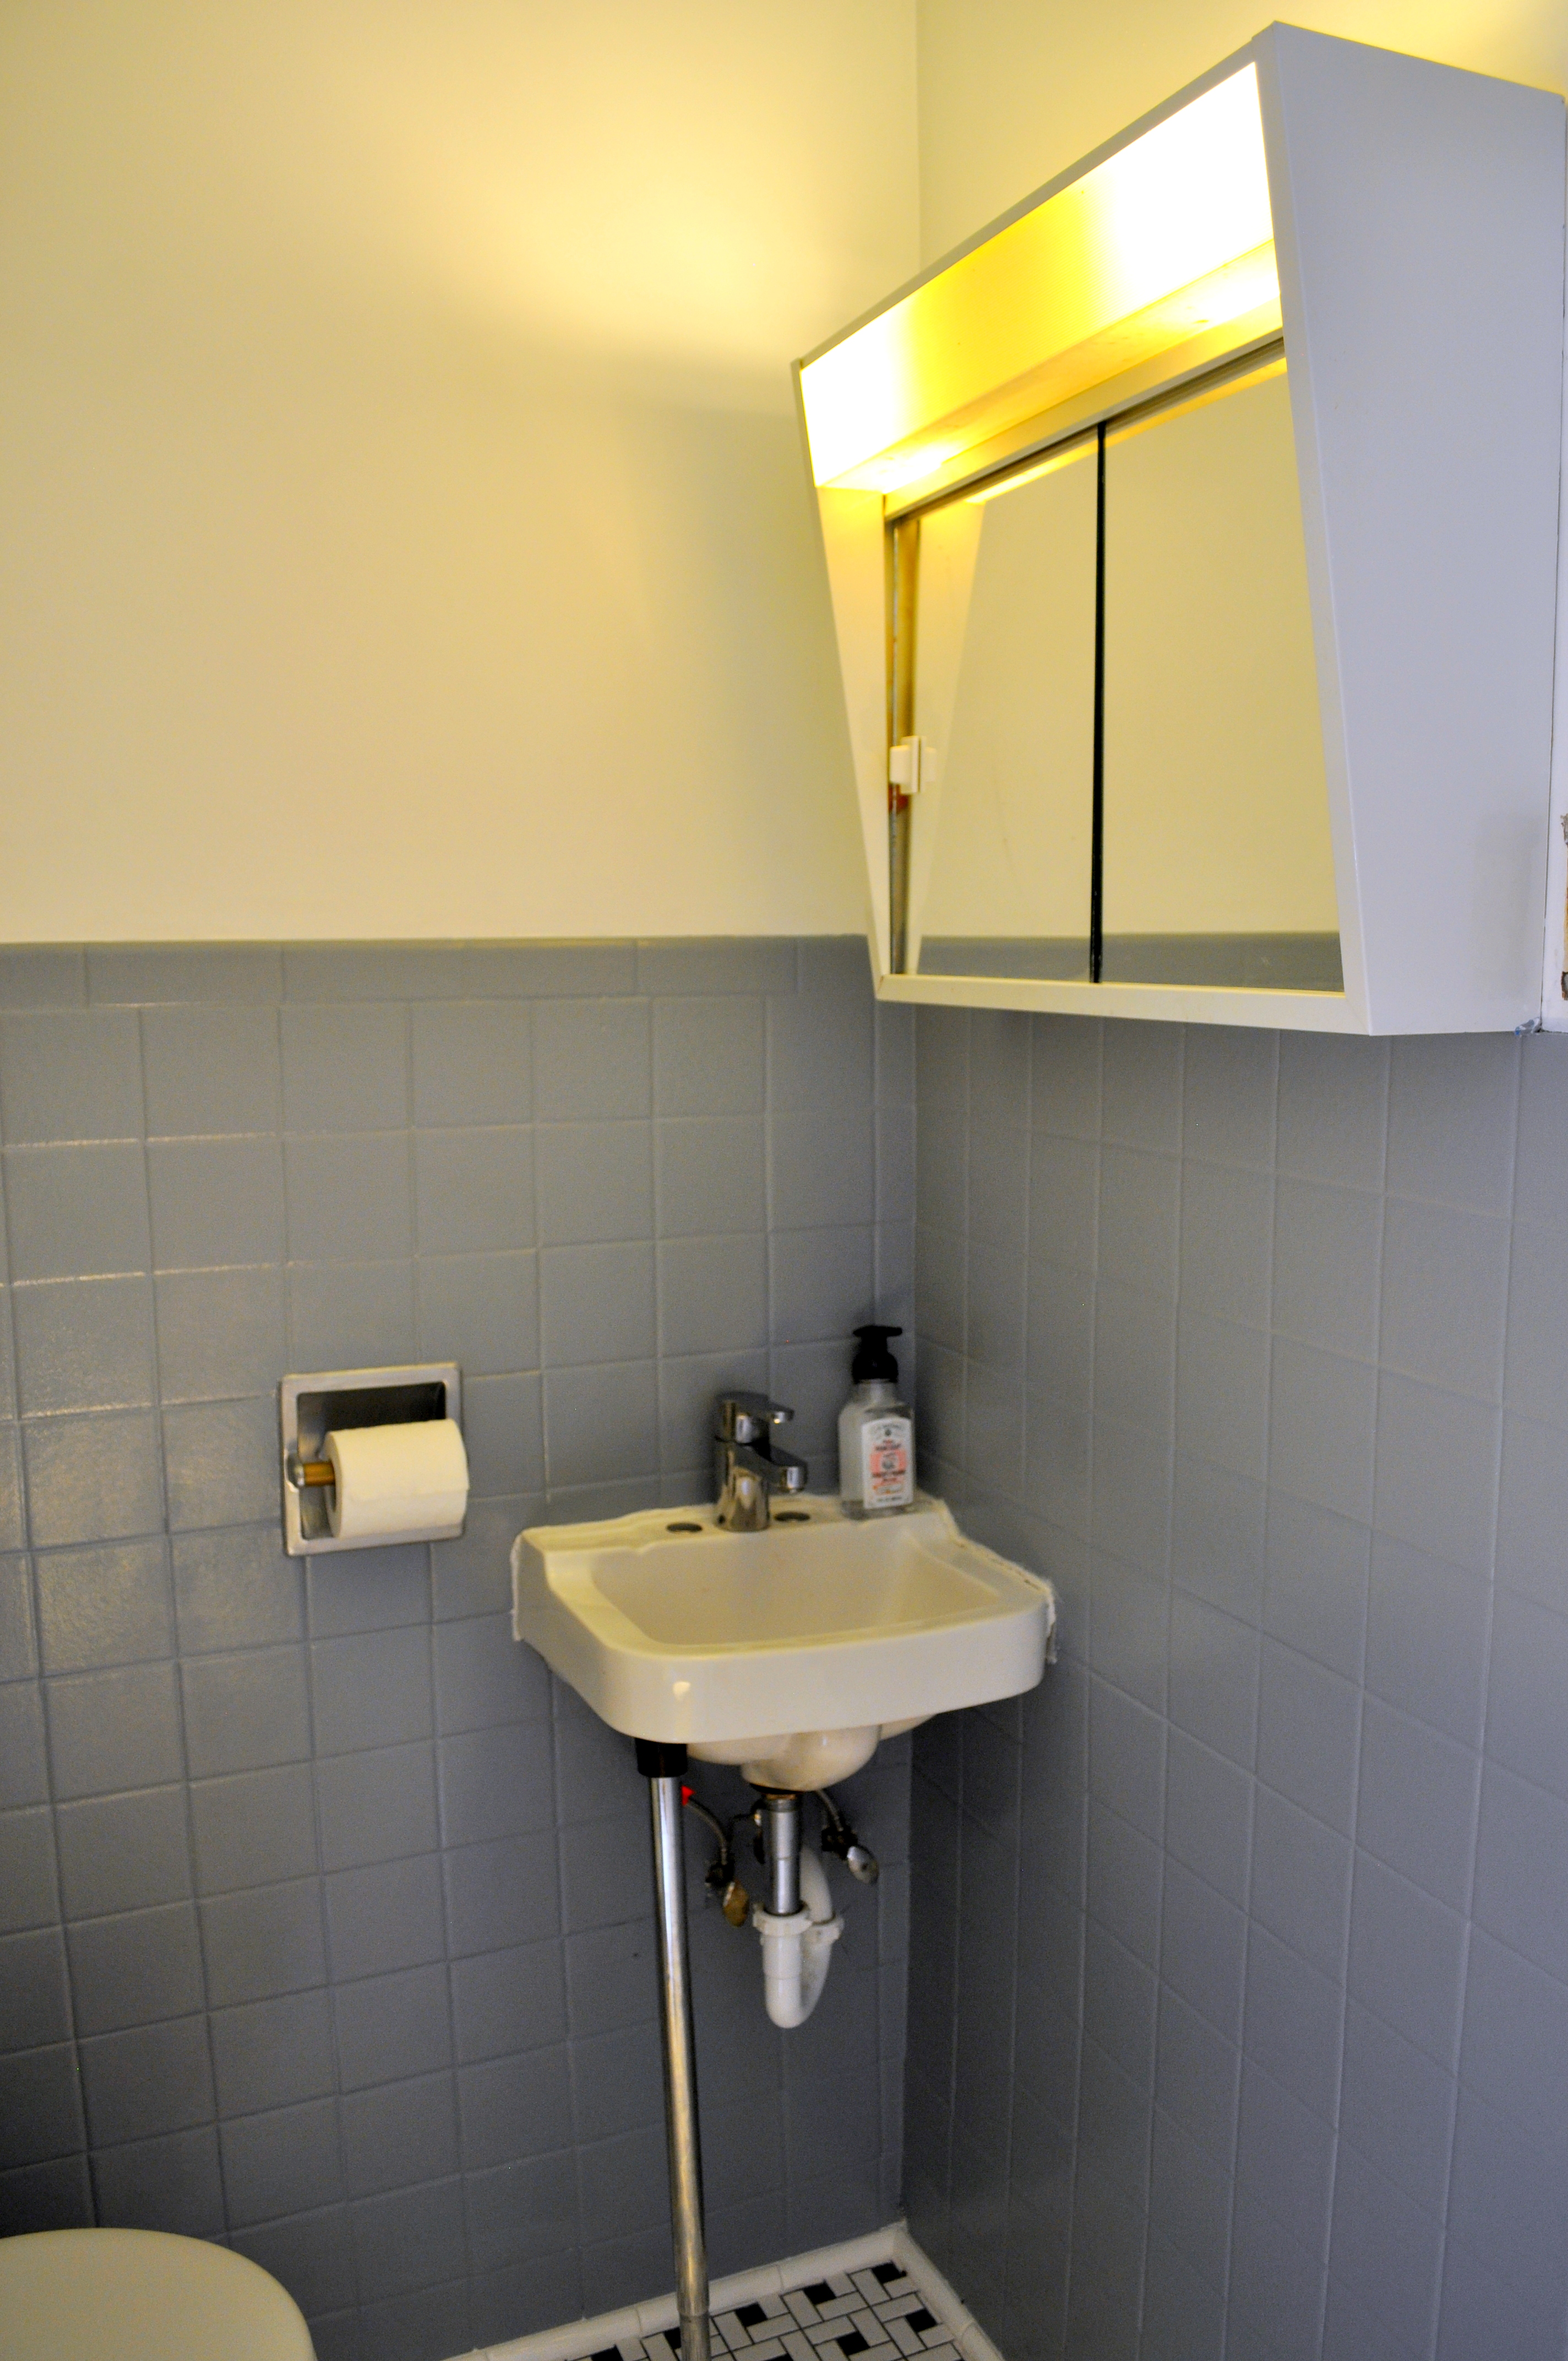
While waiting for the spackle to dry, I pulled out that funky trapezoid cabinet over the toilet – both to give our toilet passengers some extra breathing room, and to give our kitchen some much-needed Secondary Bean Storage.
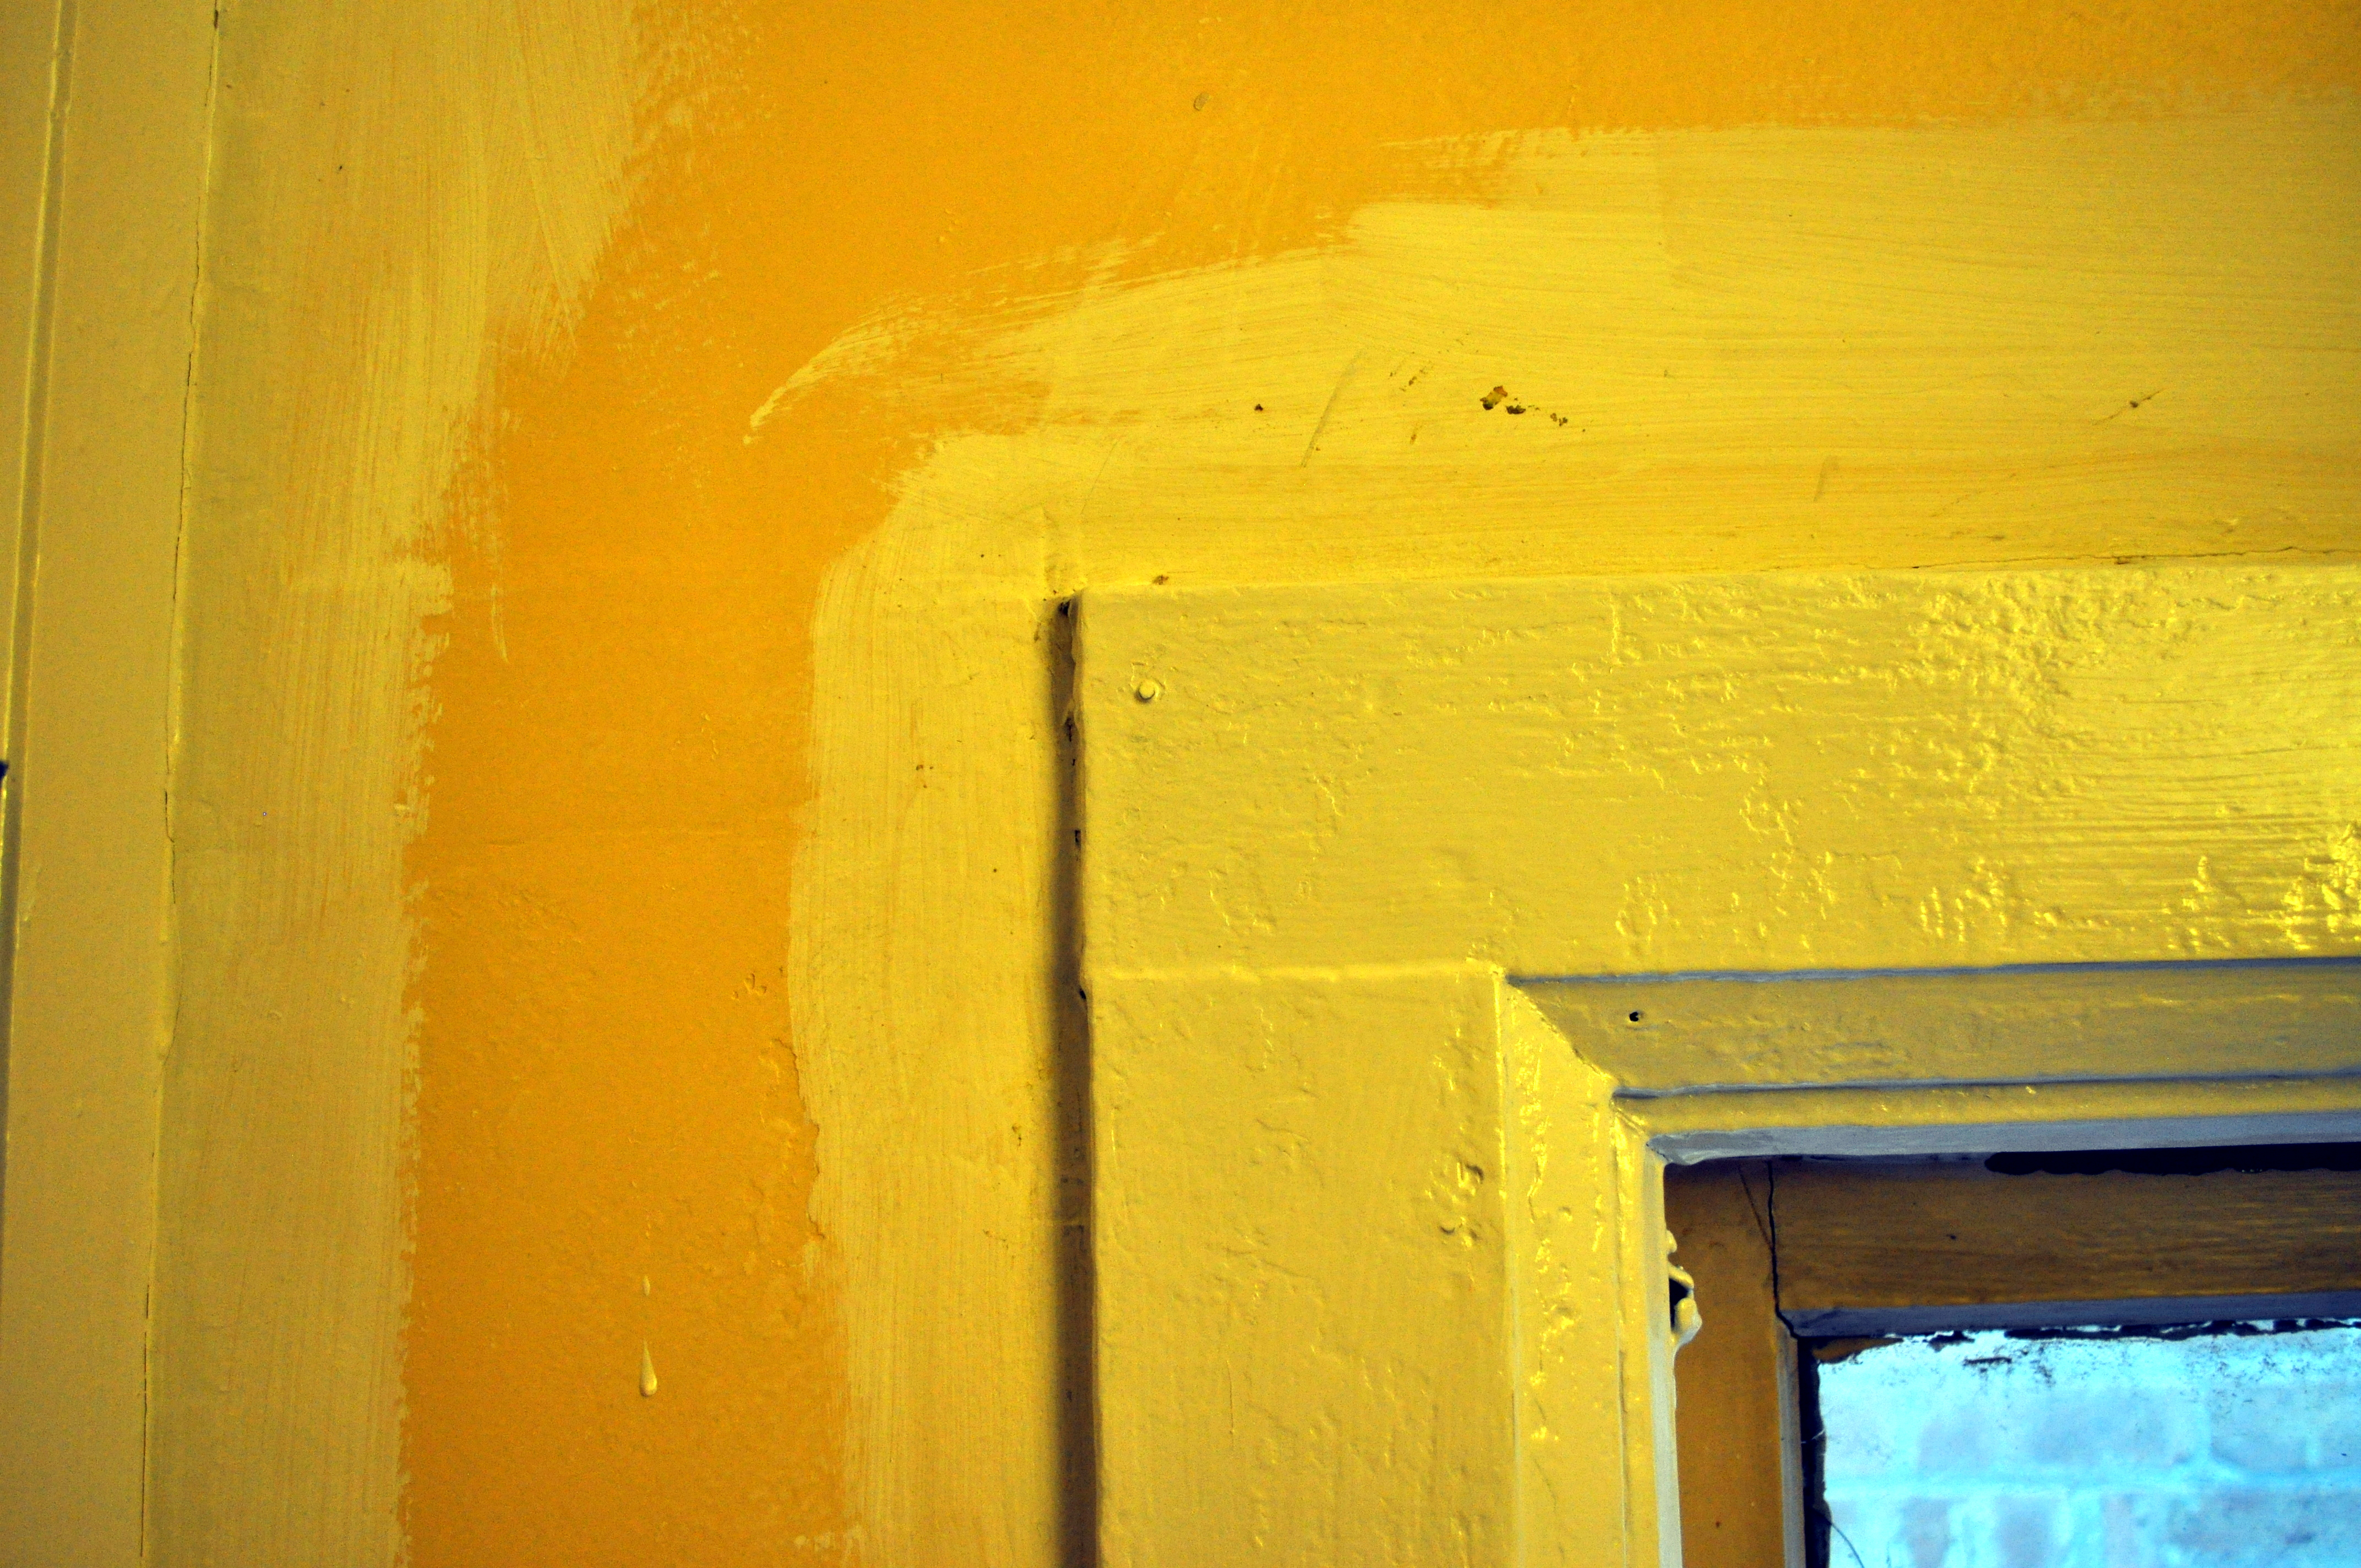
With the cabinet down and the new ceiling up, the bathroom was flush with light! But just like when the tavern lights flicker on at closing time, that new brightness revealed walls that had yellowed to a shade of nicotine-stained teeth.***
That margarine yellow couldn’t be scrubbed away, even with a strong dose of TSP solution. So after a light sanding, I reached for my industrial-sized bucket of white primer. Putting a layer between me and the Bathroom of Babushka Past provided instant relief, and reinforced the decision to paint the walls a crisp, clean white (also, we had half a can of white paint leftover from whitewashing the bedroom).
Painting the walls and ceiling white was the easy part. But what to do about that nasty tile and its grid-work of yellowing grout?
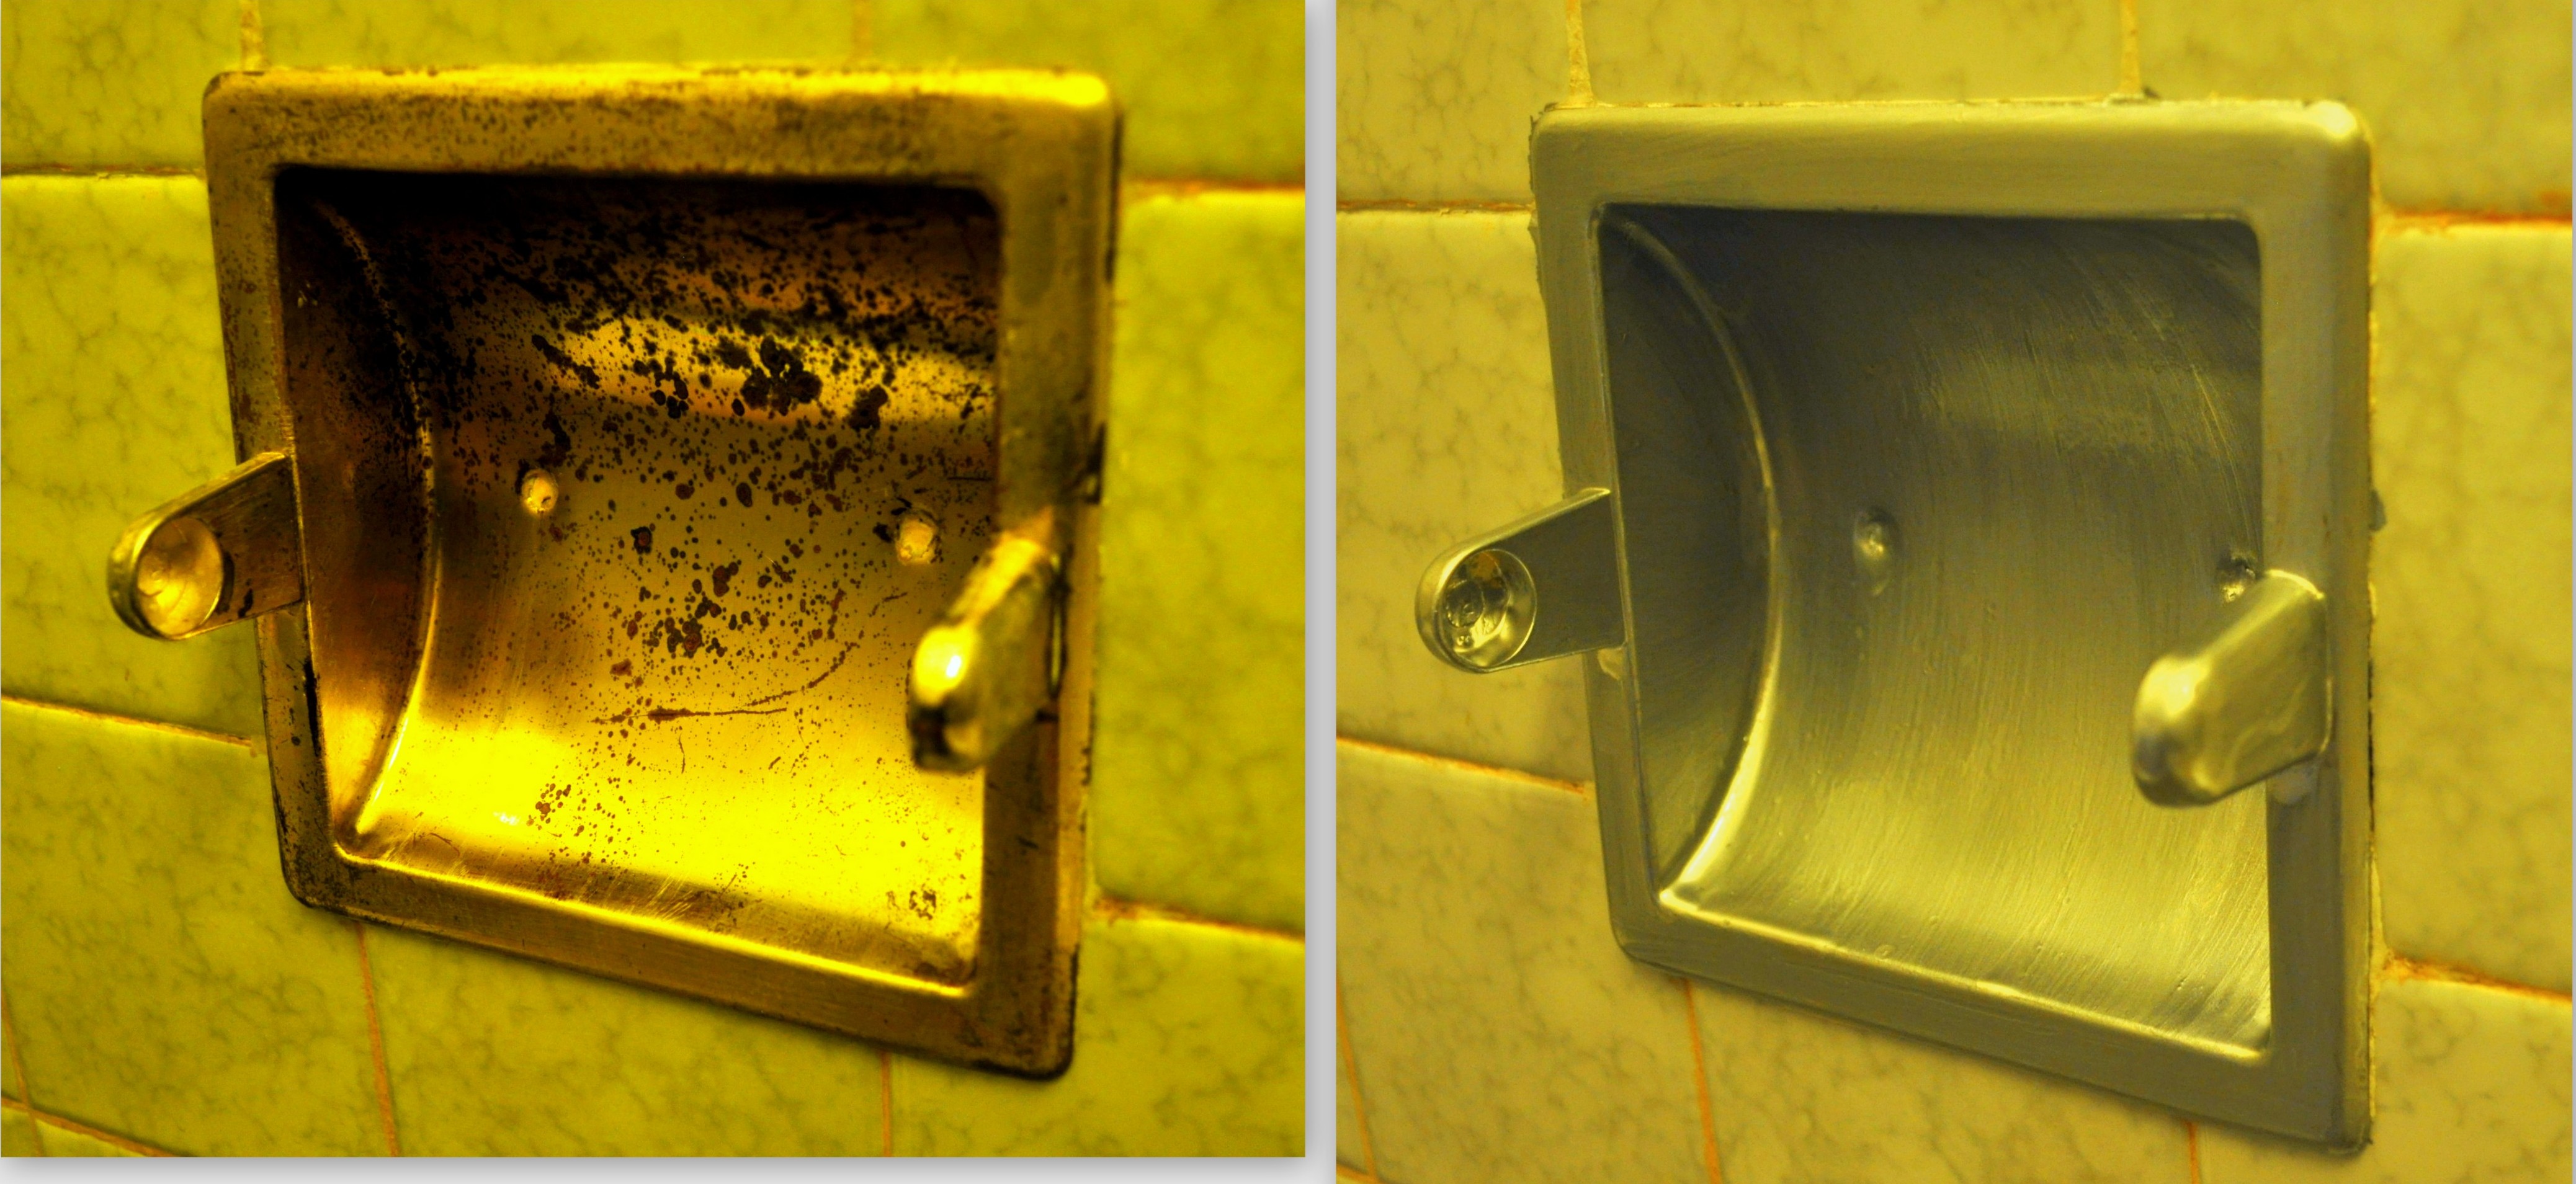
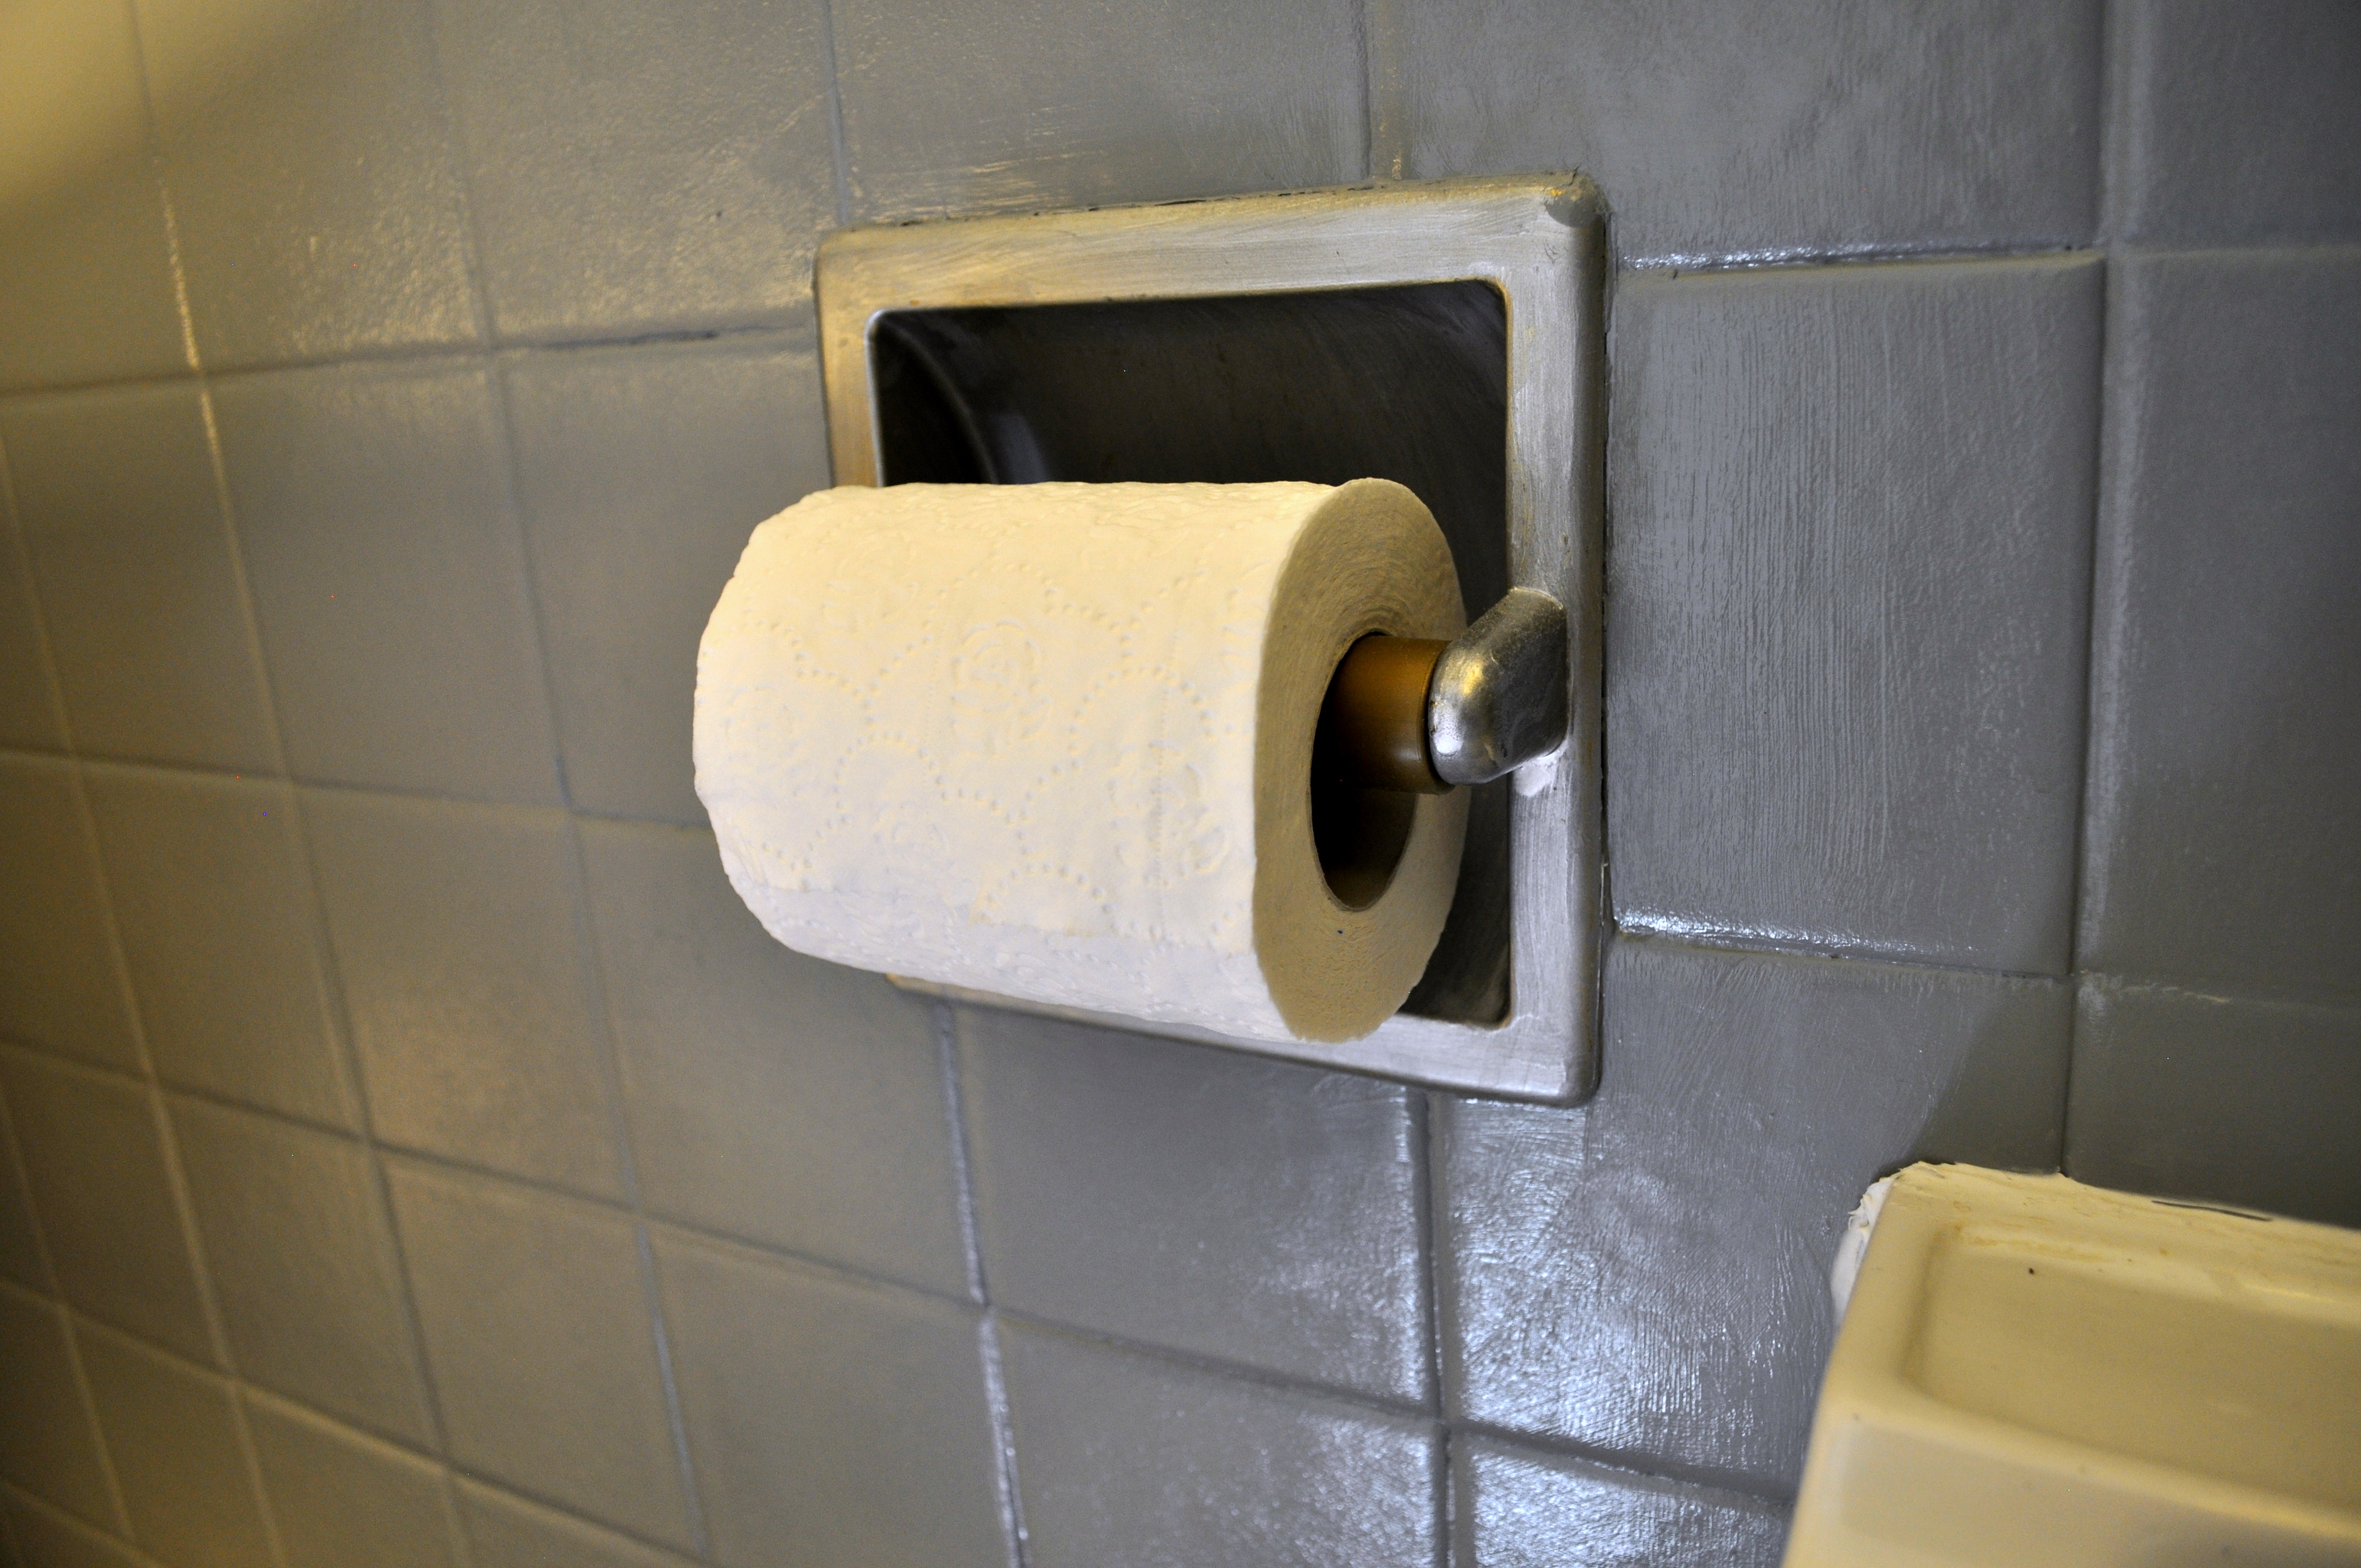
Since most problems can be solved with procrastination, I pivoted to this rusty gold toilet paper roll holder. I’d briefly considered pulling it out of the wall to install a new one, but Scott warned me in an appropriately low and spooky voice, “We don’t know what lies behind that toilet paper holder.” So I painted it silver, dipping into my stash of Rust-Oleum’s Liquid Mercury™ Line of extra-toxic finishes, recycled from old thermometers.
When my vision returned to normal, I turned back to the tile, and learned the hard way that tile can’t be simply popped off the wall like a dried up booger (can’t you kids just wipe it on your shirt like normal people?). We either had to live with the haggard old tiles forever, or tear out the walls and start fresh. Like Scott said, who knows what lies behind those walls?
Like most of life’s problems, there’s usually a shortcut. No, shortcuts are lazy. Let’s call it a compromise. And today’s shortcut compromise is: PAINTING THE TILE.
My local paint store carries a special kind of super-charged EXTREME BOND**** primer made especially for “problem” surfaces like tile, which I’m sure resents being called a “problem” surface:
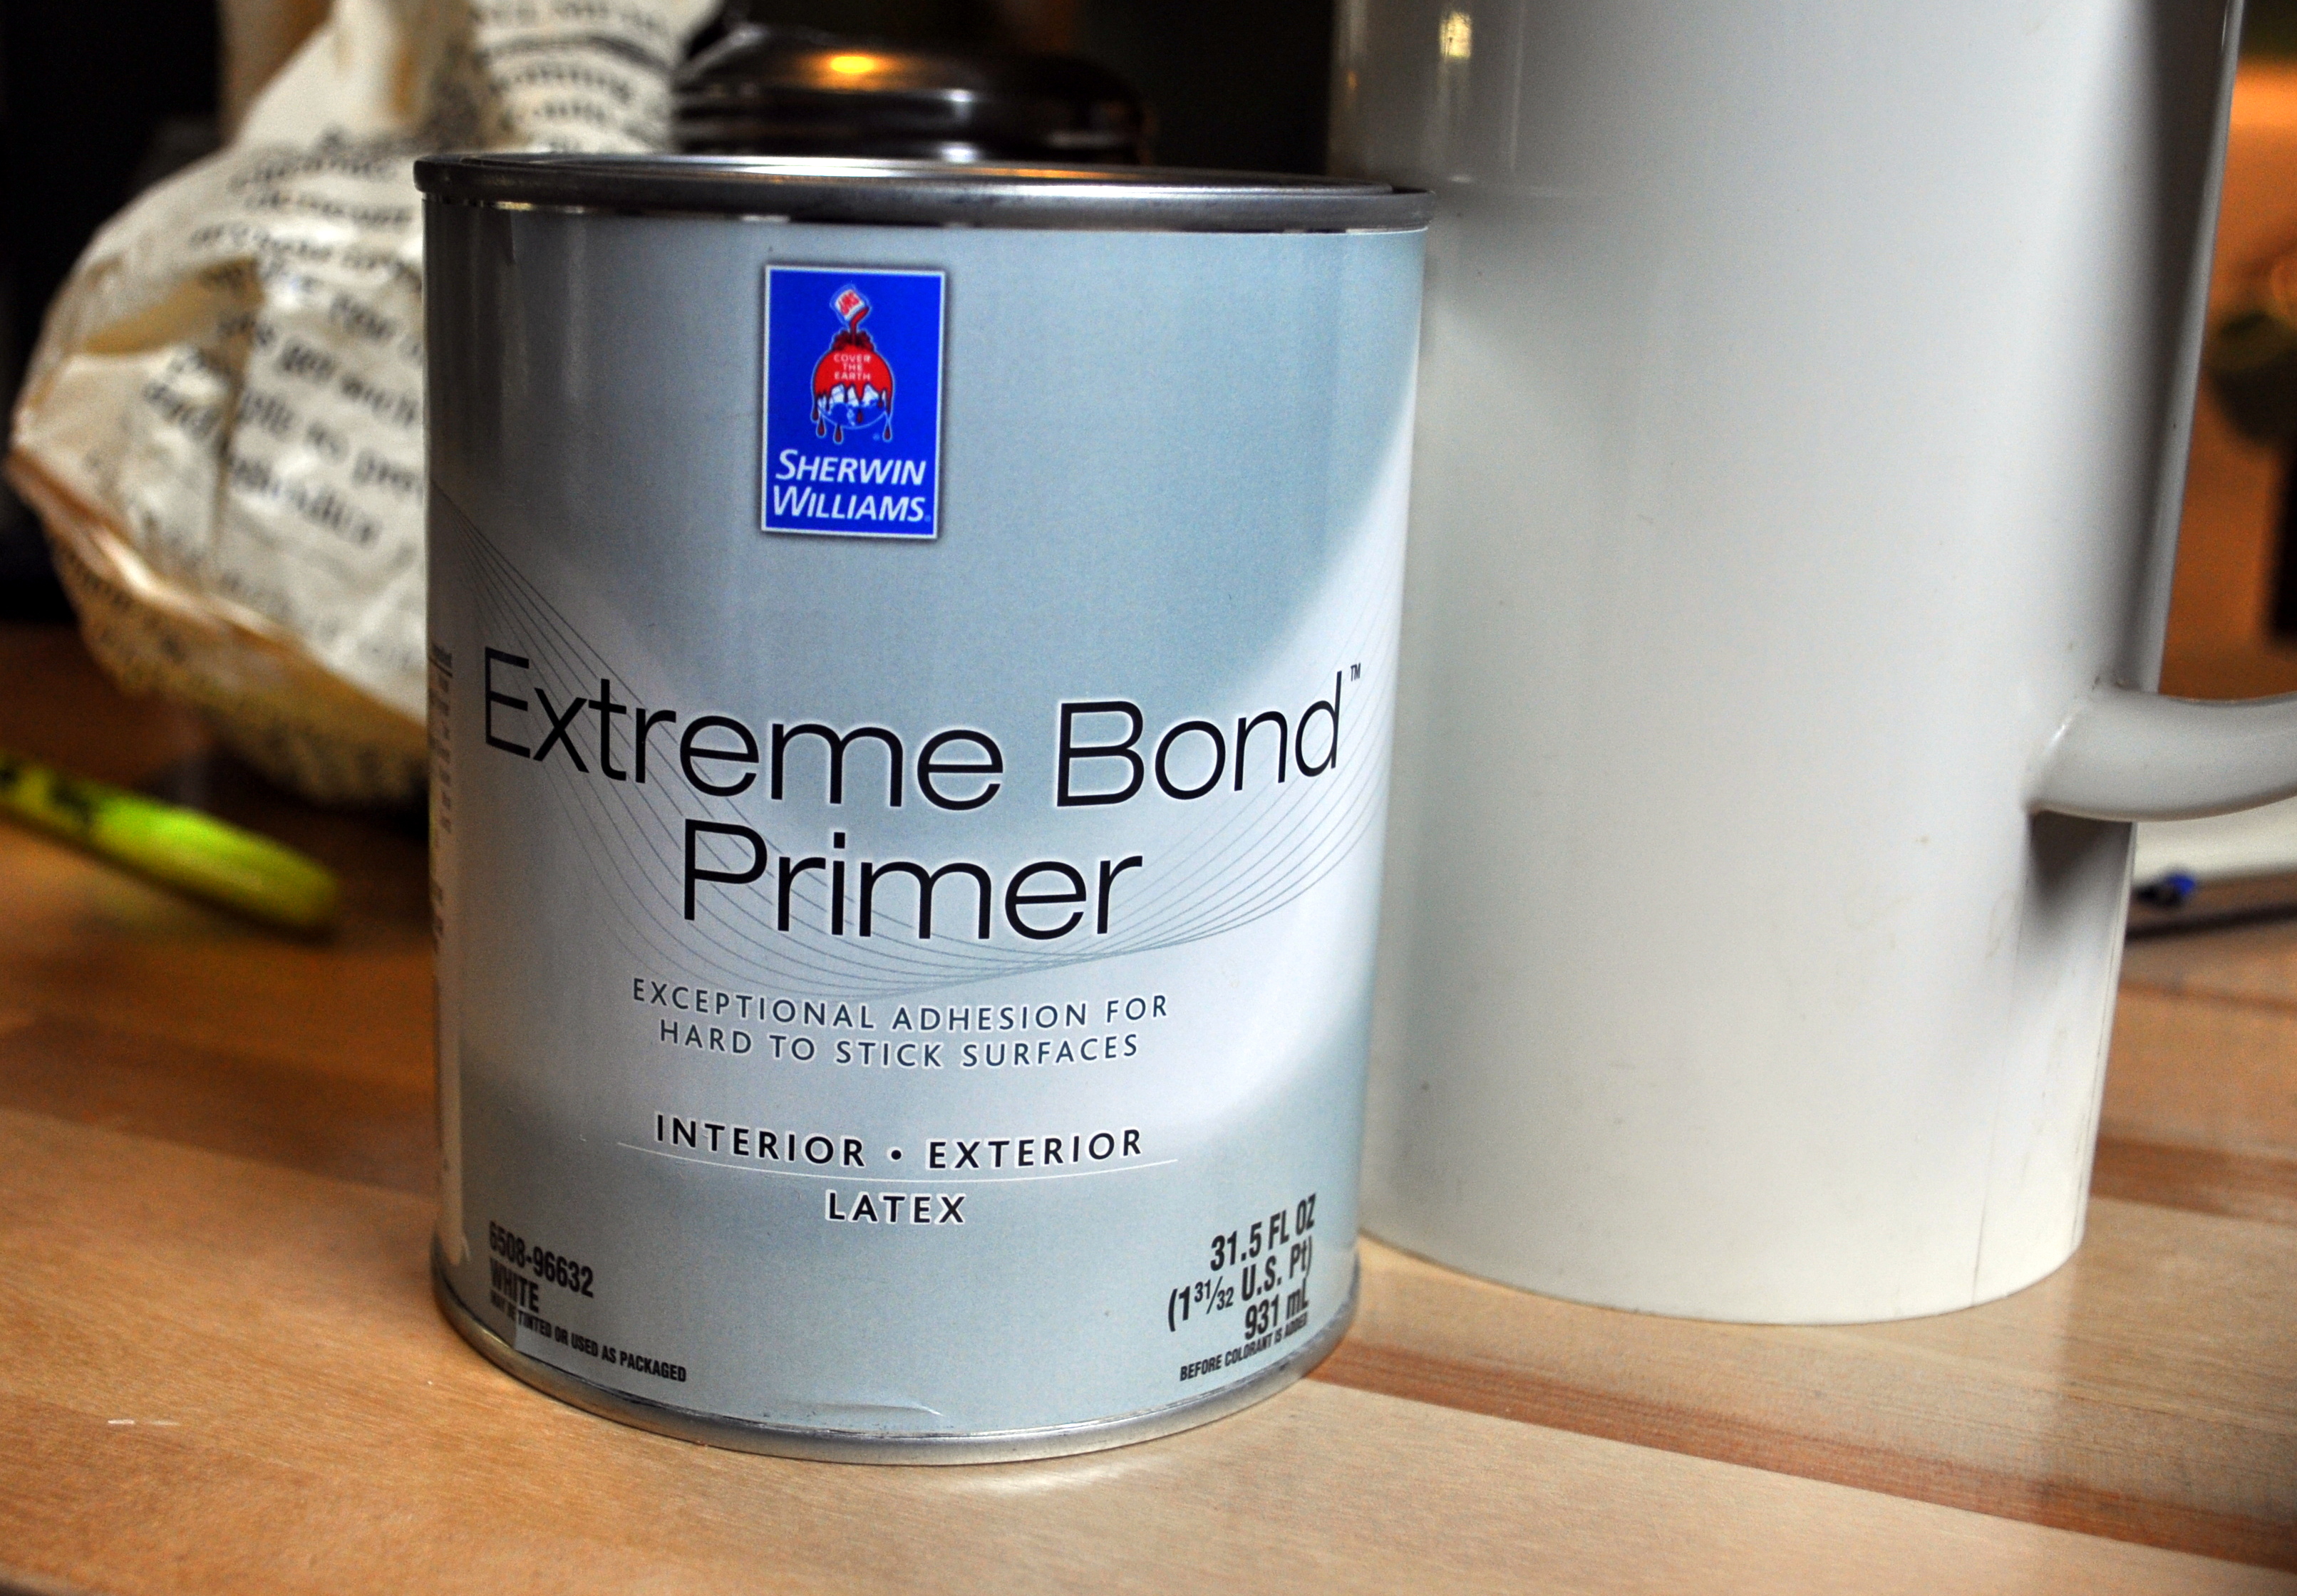
Let the Extreme Bonding begin!

Another coat, just to show that problem surface who’s boss:

No need to adjust the settings on your device: The light in the bathroom really is that bad.
PRO-TIP: Though I would normally advise you to sand any surface before you prime and paint, I skipped this step. The glaze on the tile is so slick and shiny, it would be like trying to sand Jell-O. Like trying to sand… something just out of reach, like a quickly evaporating dream first thing in the morning, or like this sentence. Like trying to sand post-modernism, which is already so slippery. Also, my friend Megan just painted her kitchen tile and tried sanding it first and sanding achieved absolutely nothing, so the real tip is: Just Wait for Megan to Do It First and then Copy Whatever She Did.
Next, I slathered on two generous coats of high-gloss latex paint, a cool shade of grey that roughly matched the color of the floor grout, which makes it seem like we actually planned all this out ahead of time: 

Finally, there was the issue of that pesky gap between the floor and the wall. I could have thrown down some bland wood trim (also scavenged out of the neighbors’ garage), but now I say: No more shortcuts compromises! Wood trim would have been like wearing a burlap cummerbund over a sequined tuxedo (yes, I did just watch that biopic about Liberace).
I found a deal on some glossy white ceramic trim at my local Big Box Store. But since our bathroom was designed by a Victorian-era madman, we had to cut the trim to accommodate FIVE corners. I dropped more money on a new diamond-wheel attachment for our Dremmel than I did on the actual tile.
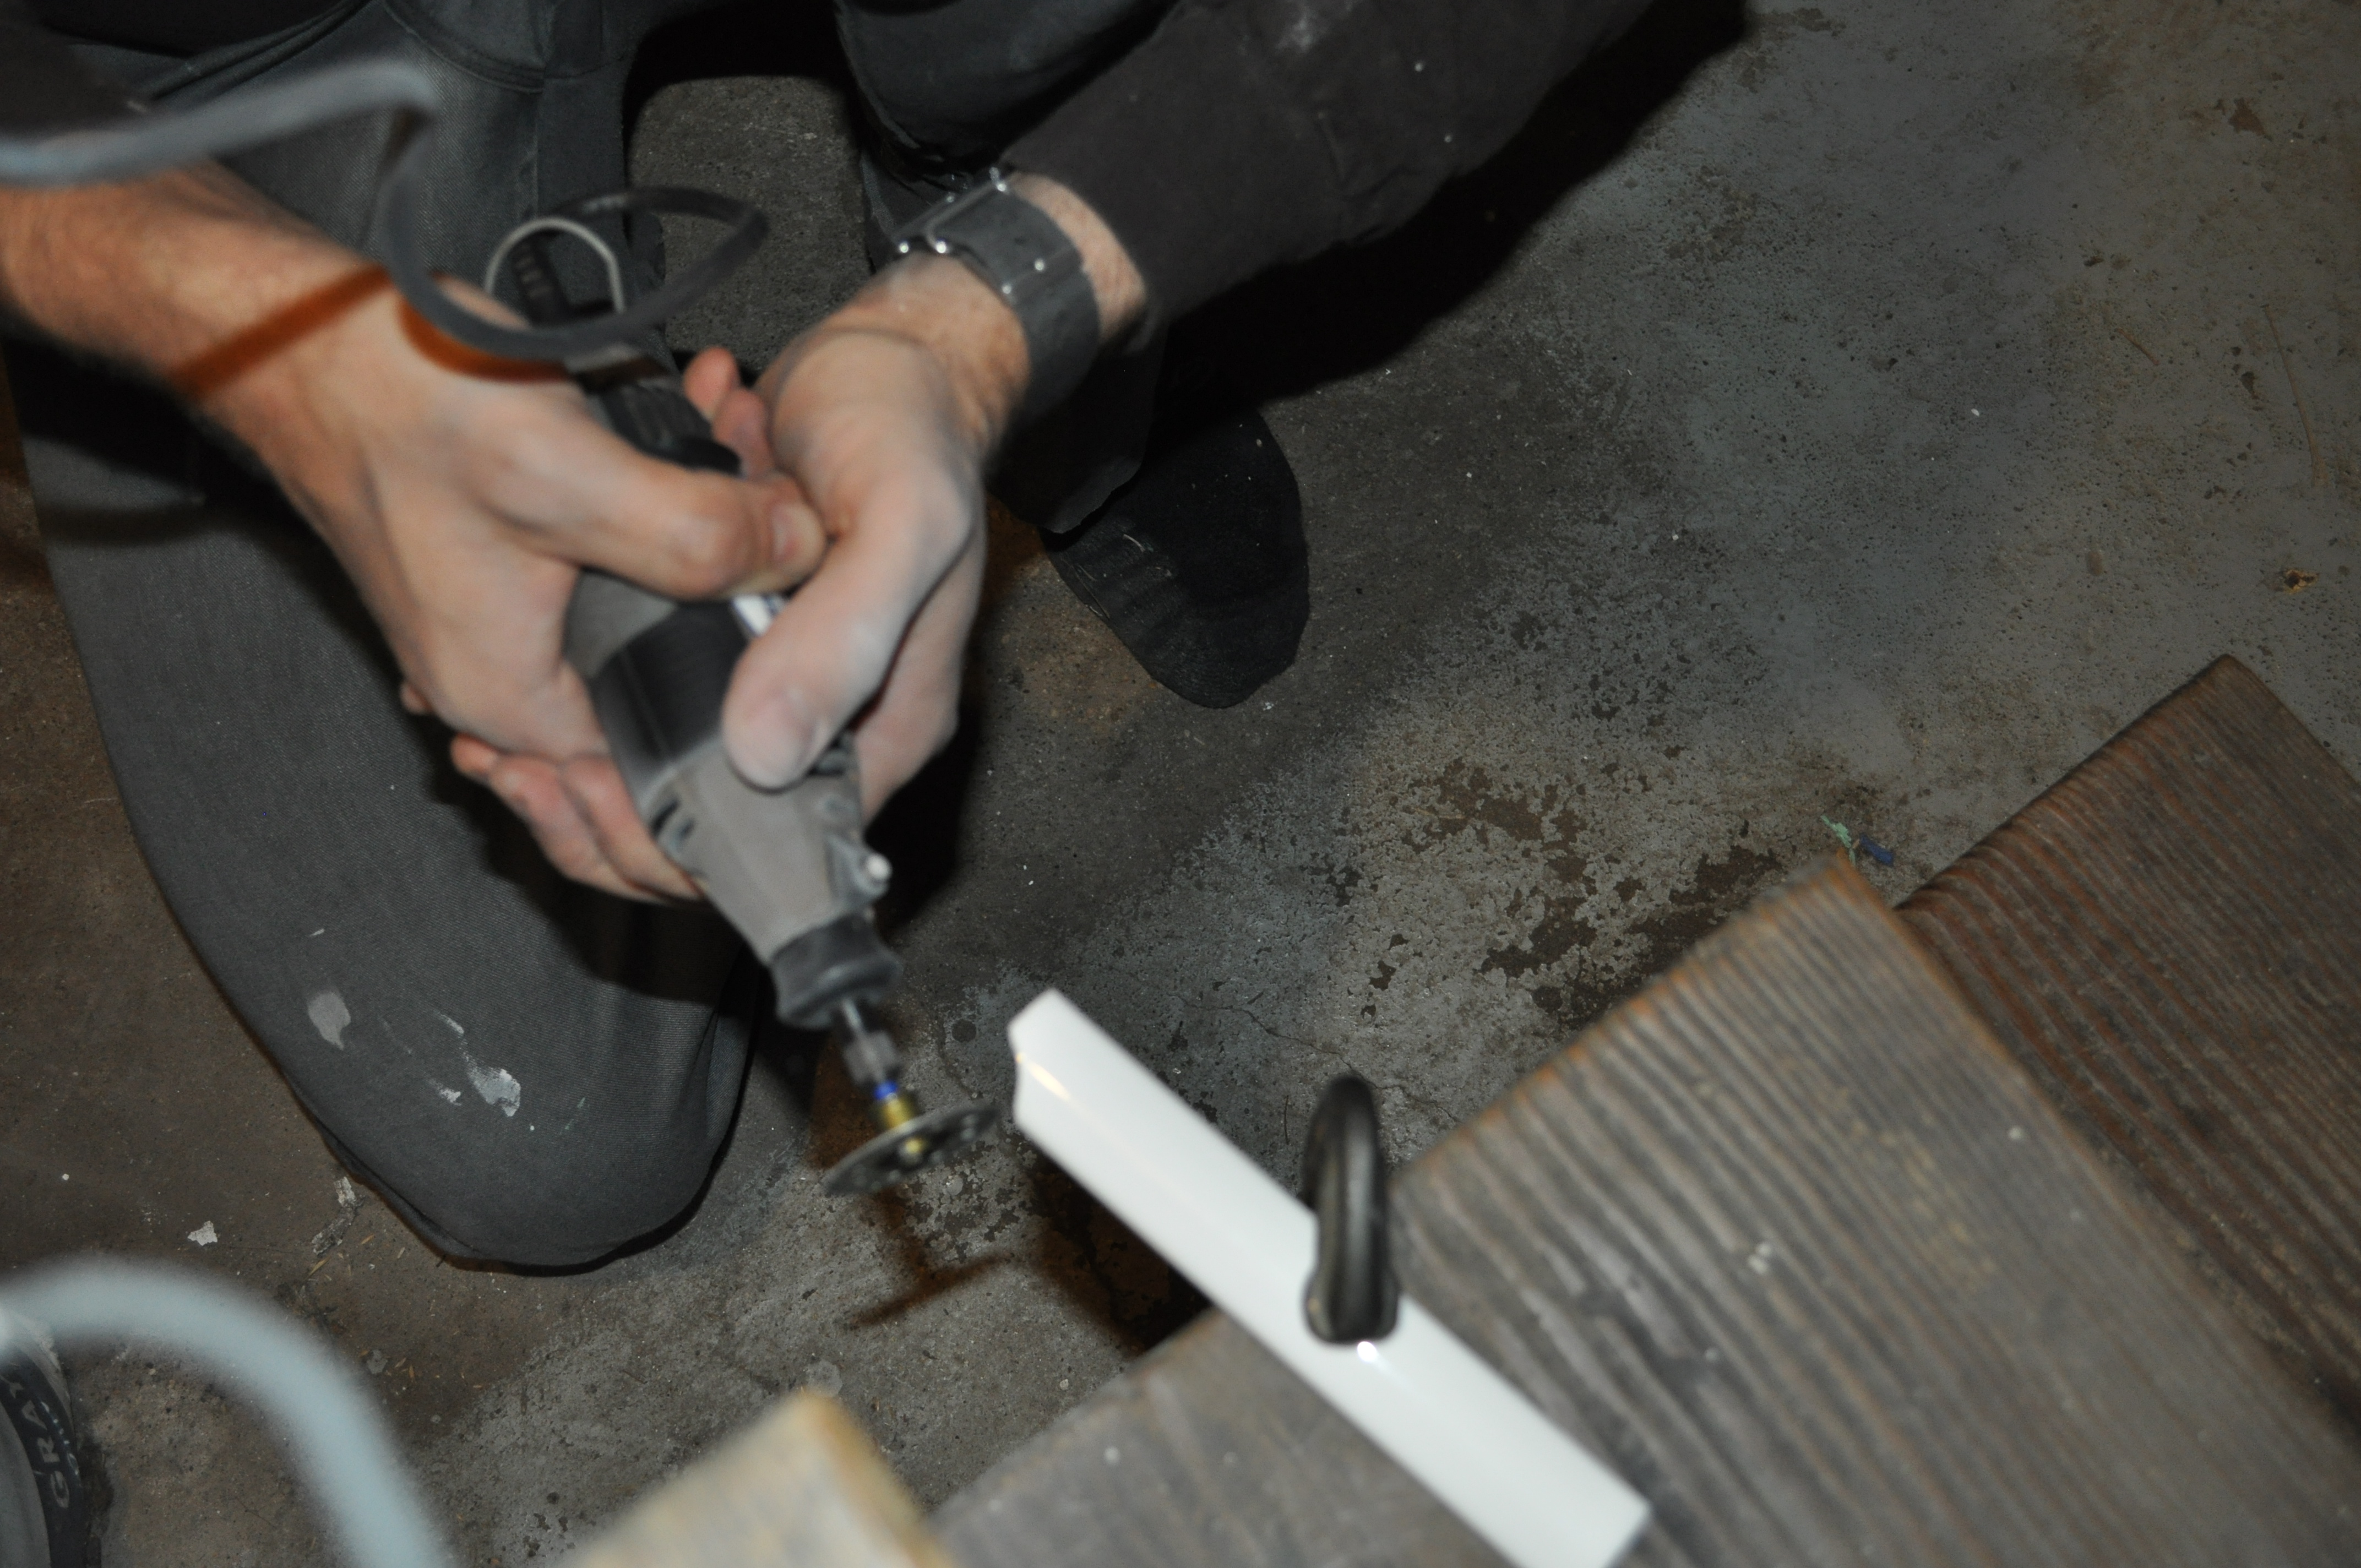
Liberace exclusively used diamond-encrusted tools as well!
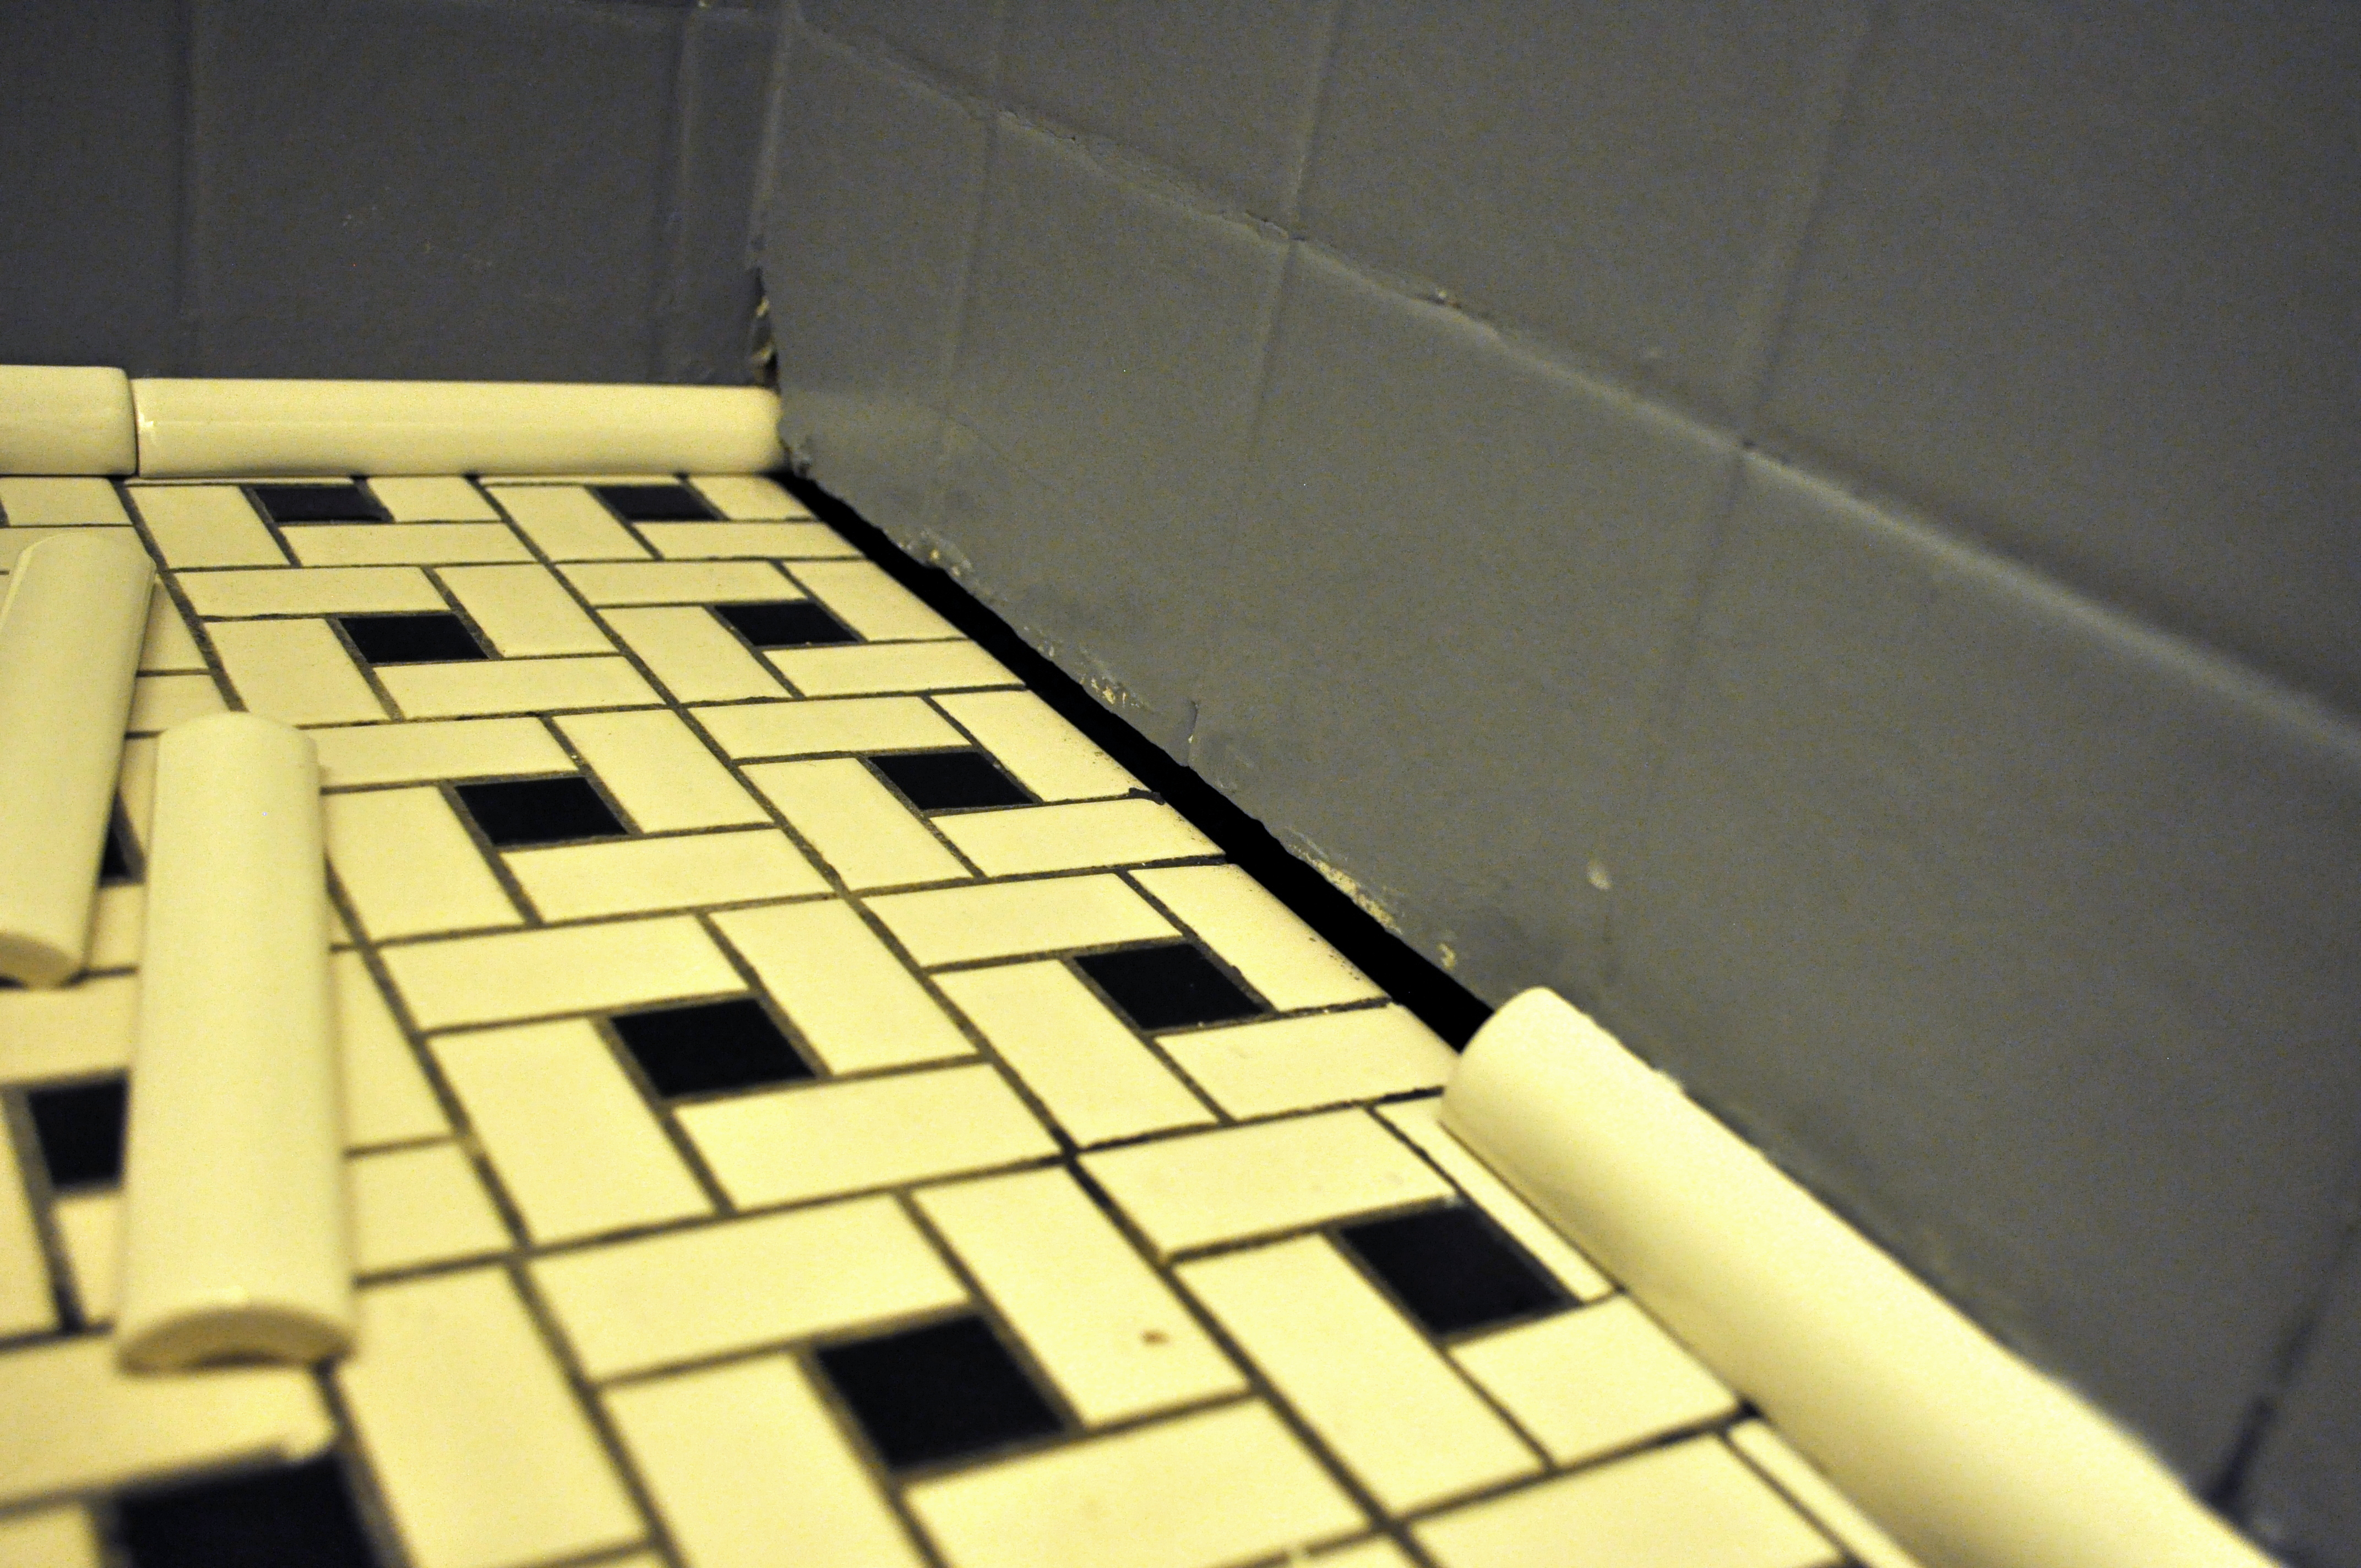 We secured the trim to both the wall and floor with a stinky construction adhesive called Liquid Nails, and filled in the weird gaps with plain white caulk.

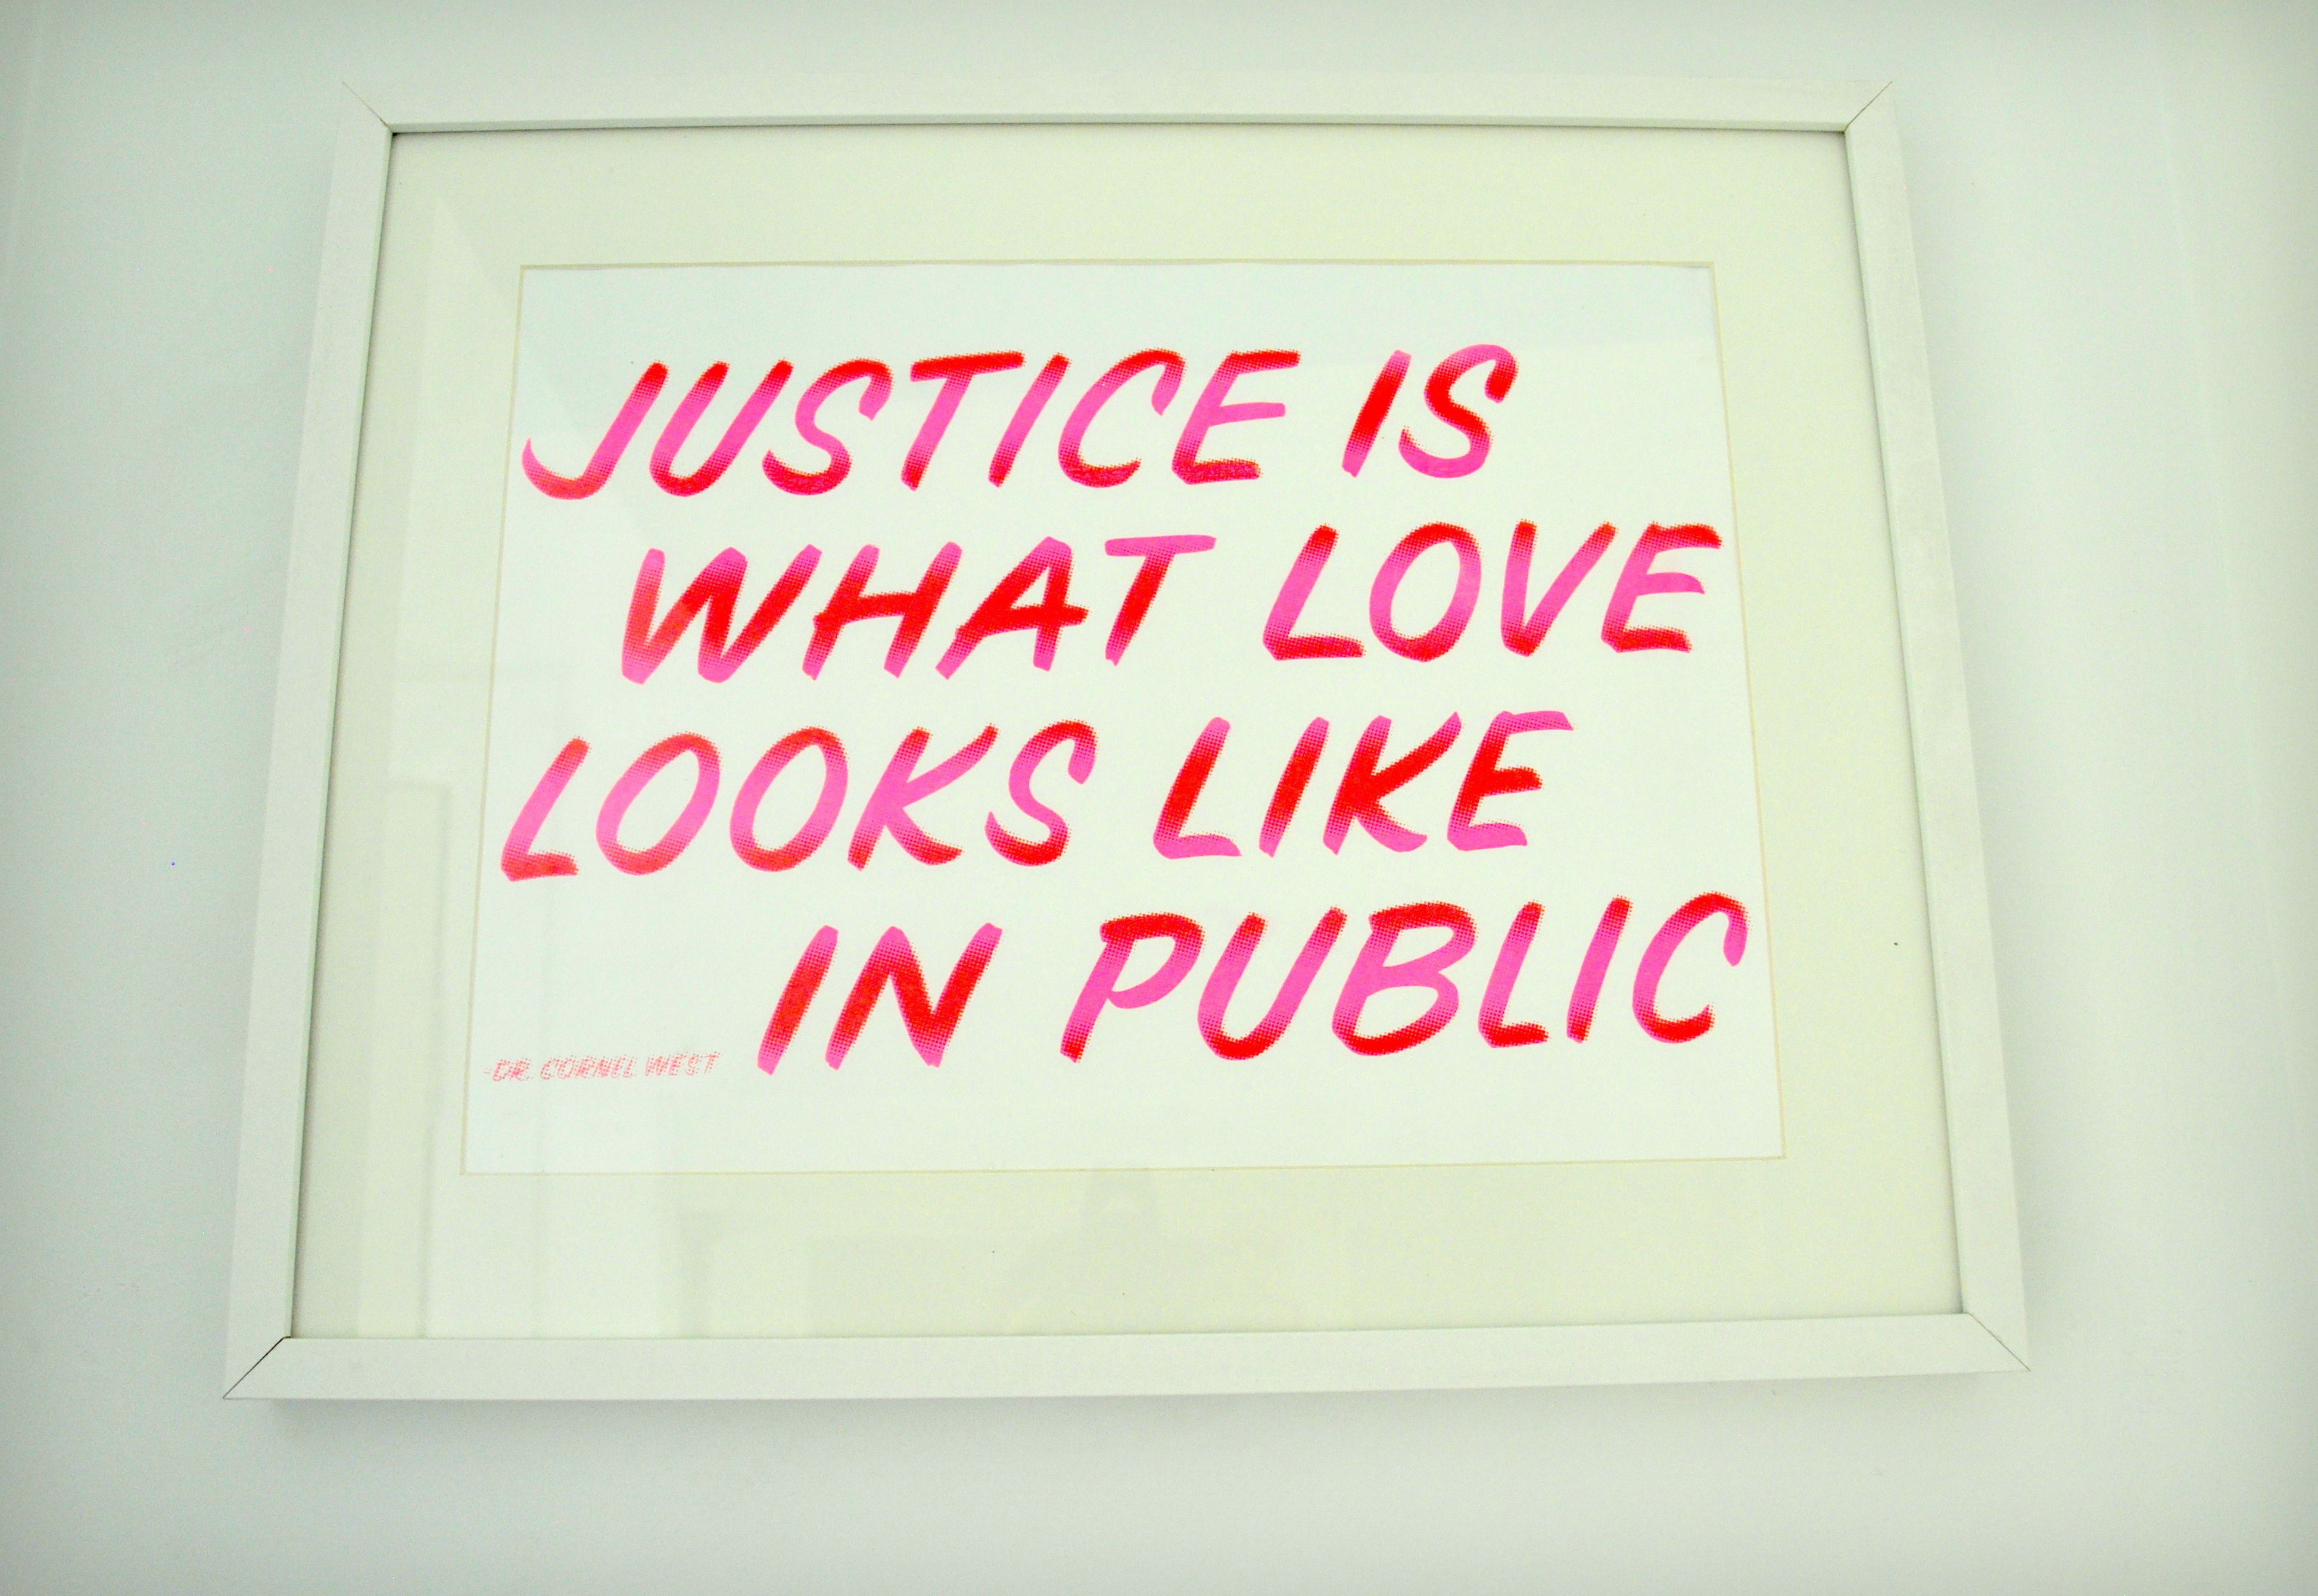
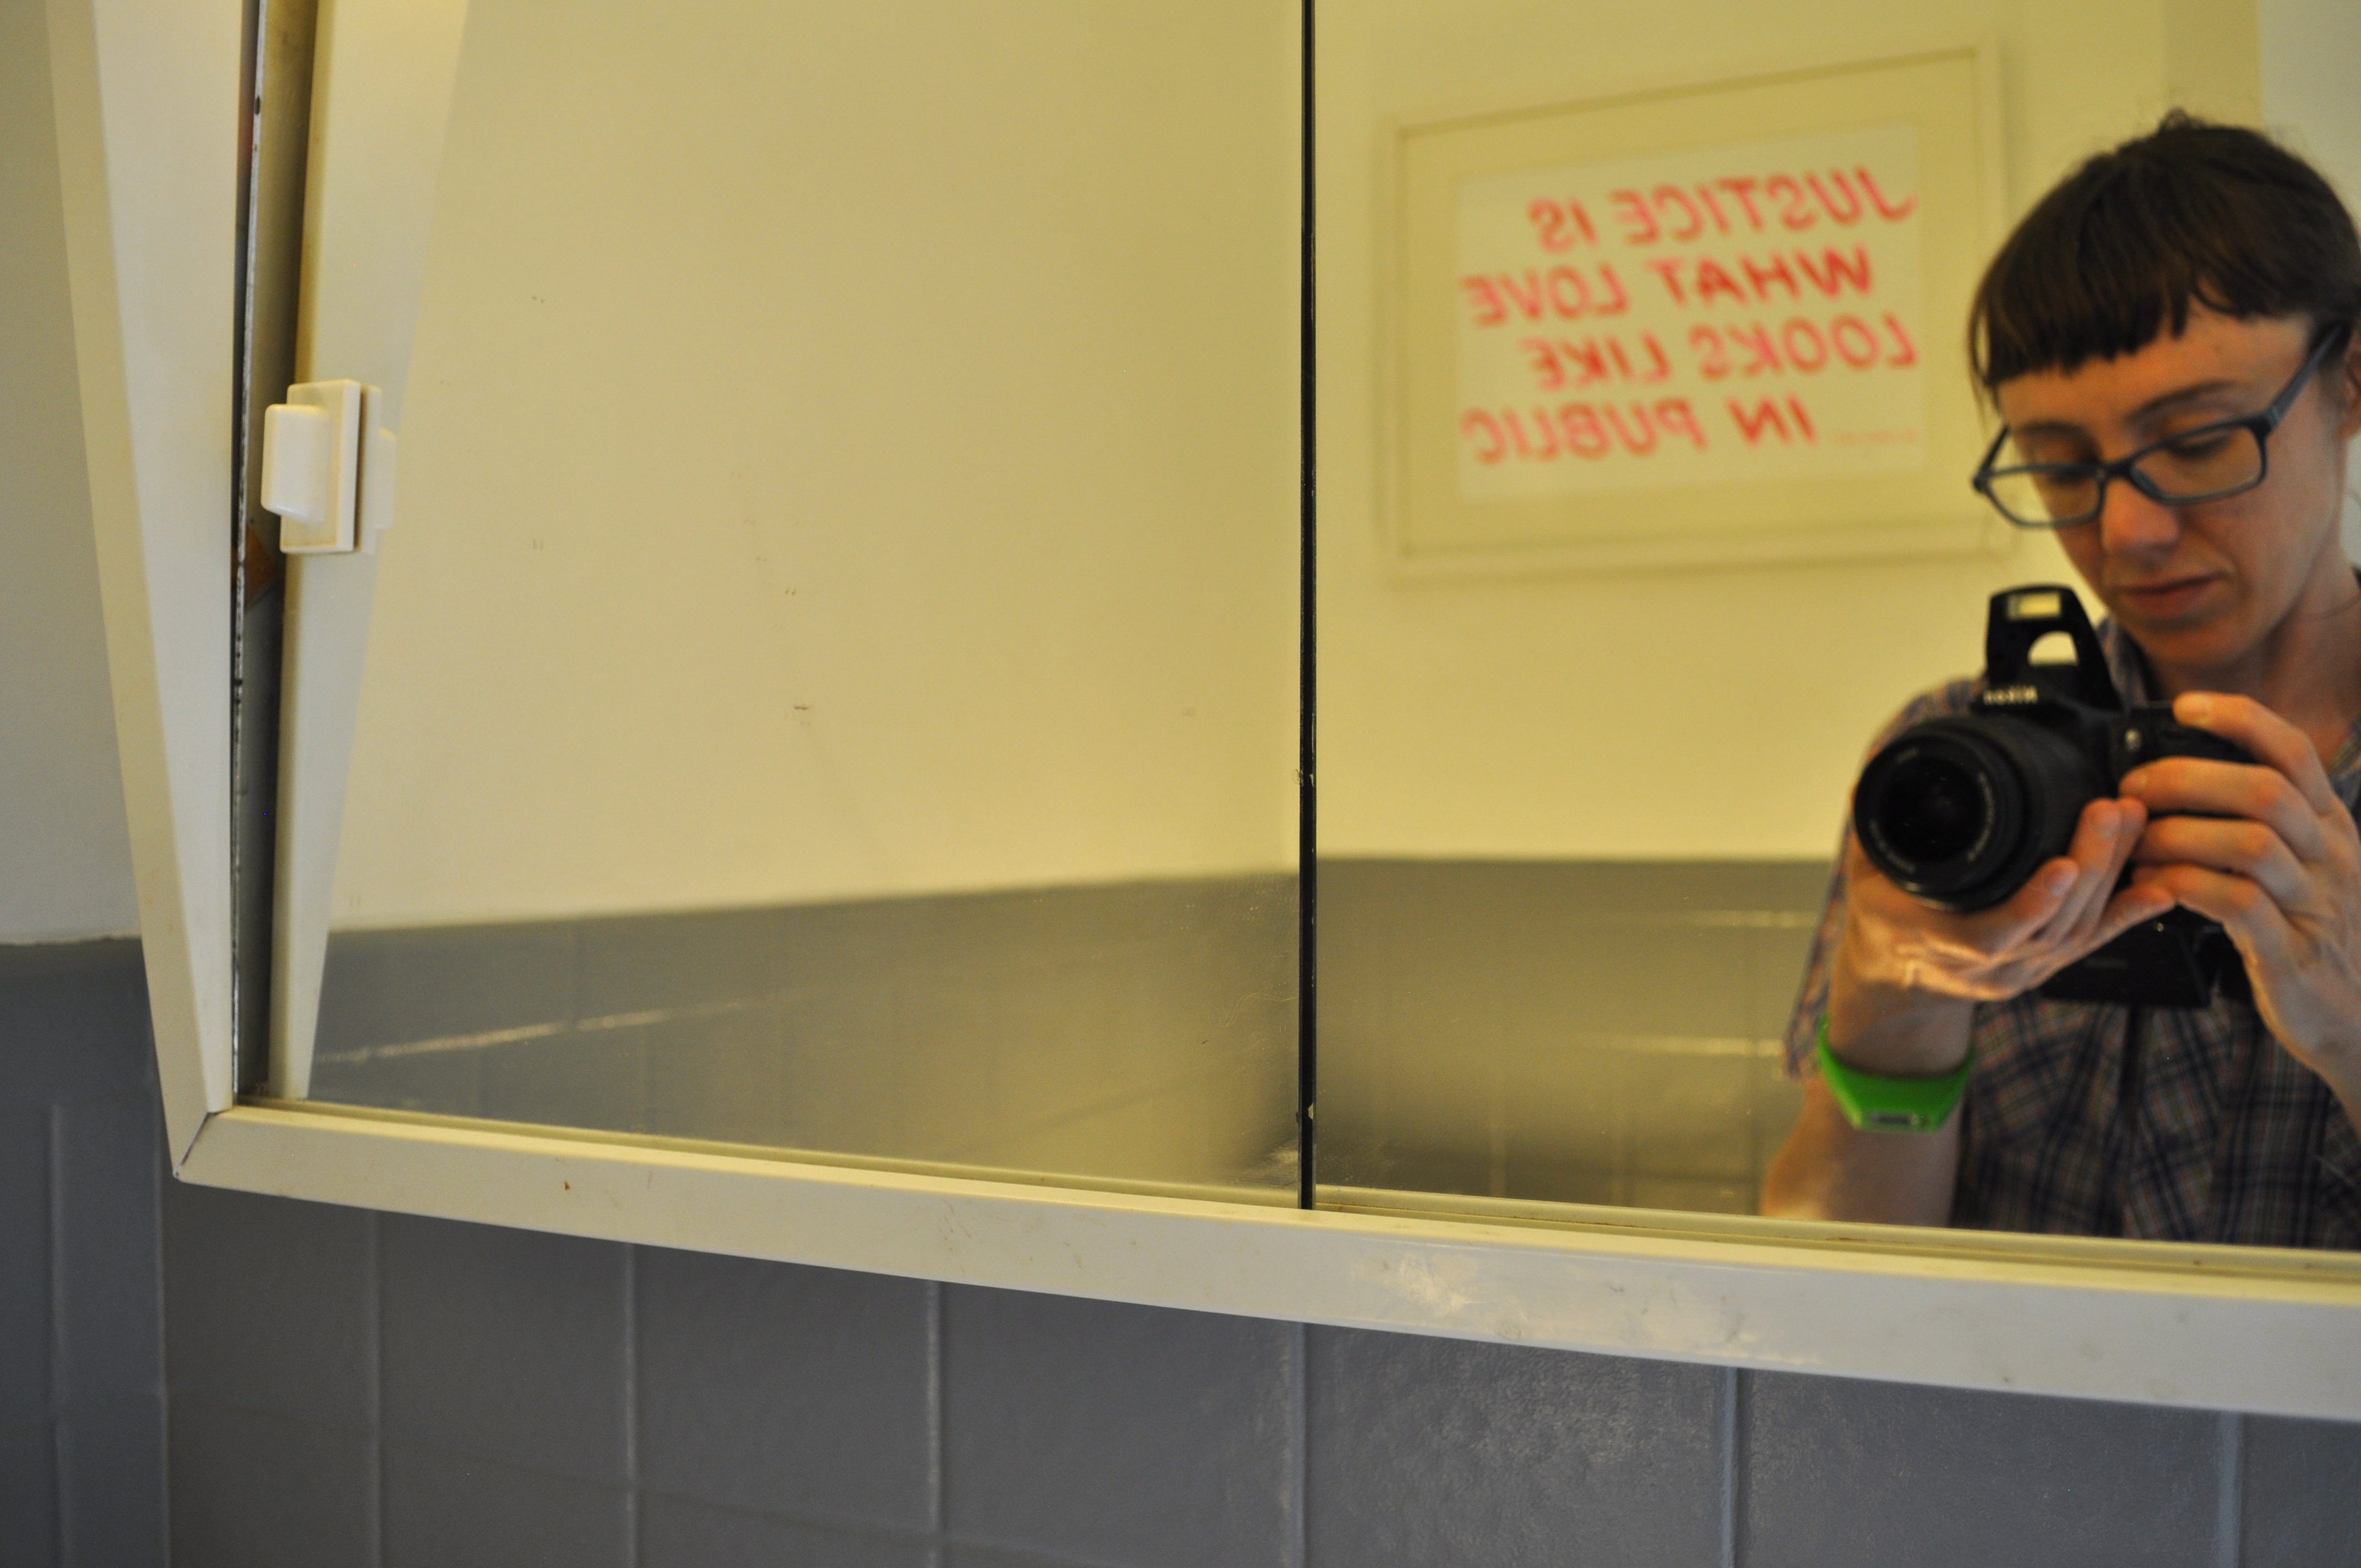
Since bathroom guests could no longer stare up at the ceiling entrails for amusement, I gave them something new to contemplate while doing their private business. This print by my friend The Book Designer and Collage Artist Matt Avery added a pop both of color AND social justice theme to our two-toned water closet:
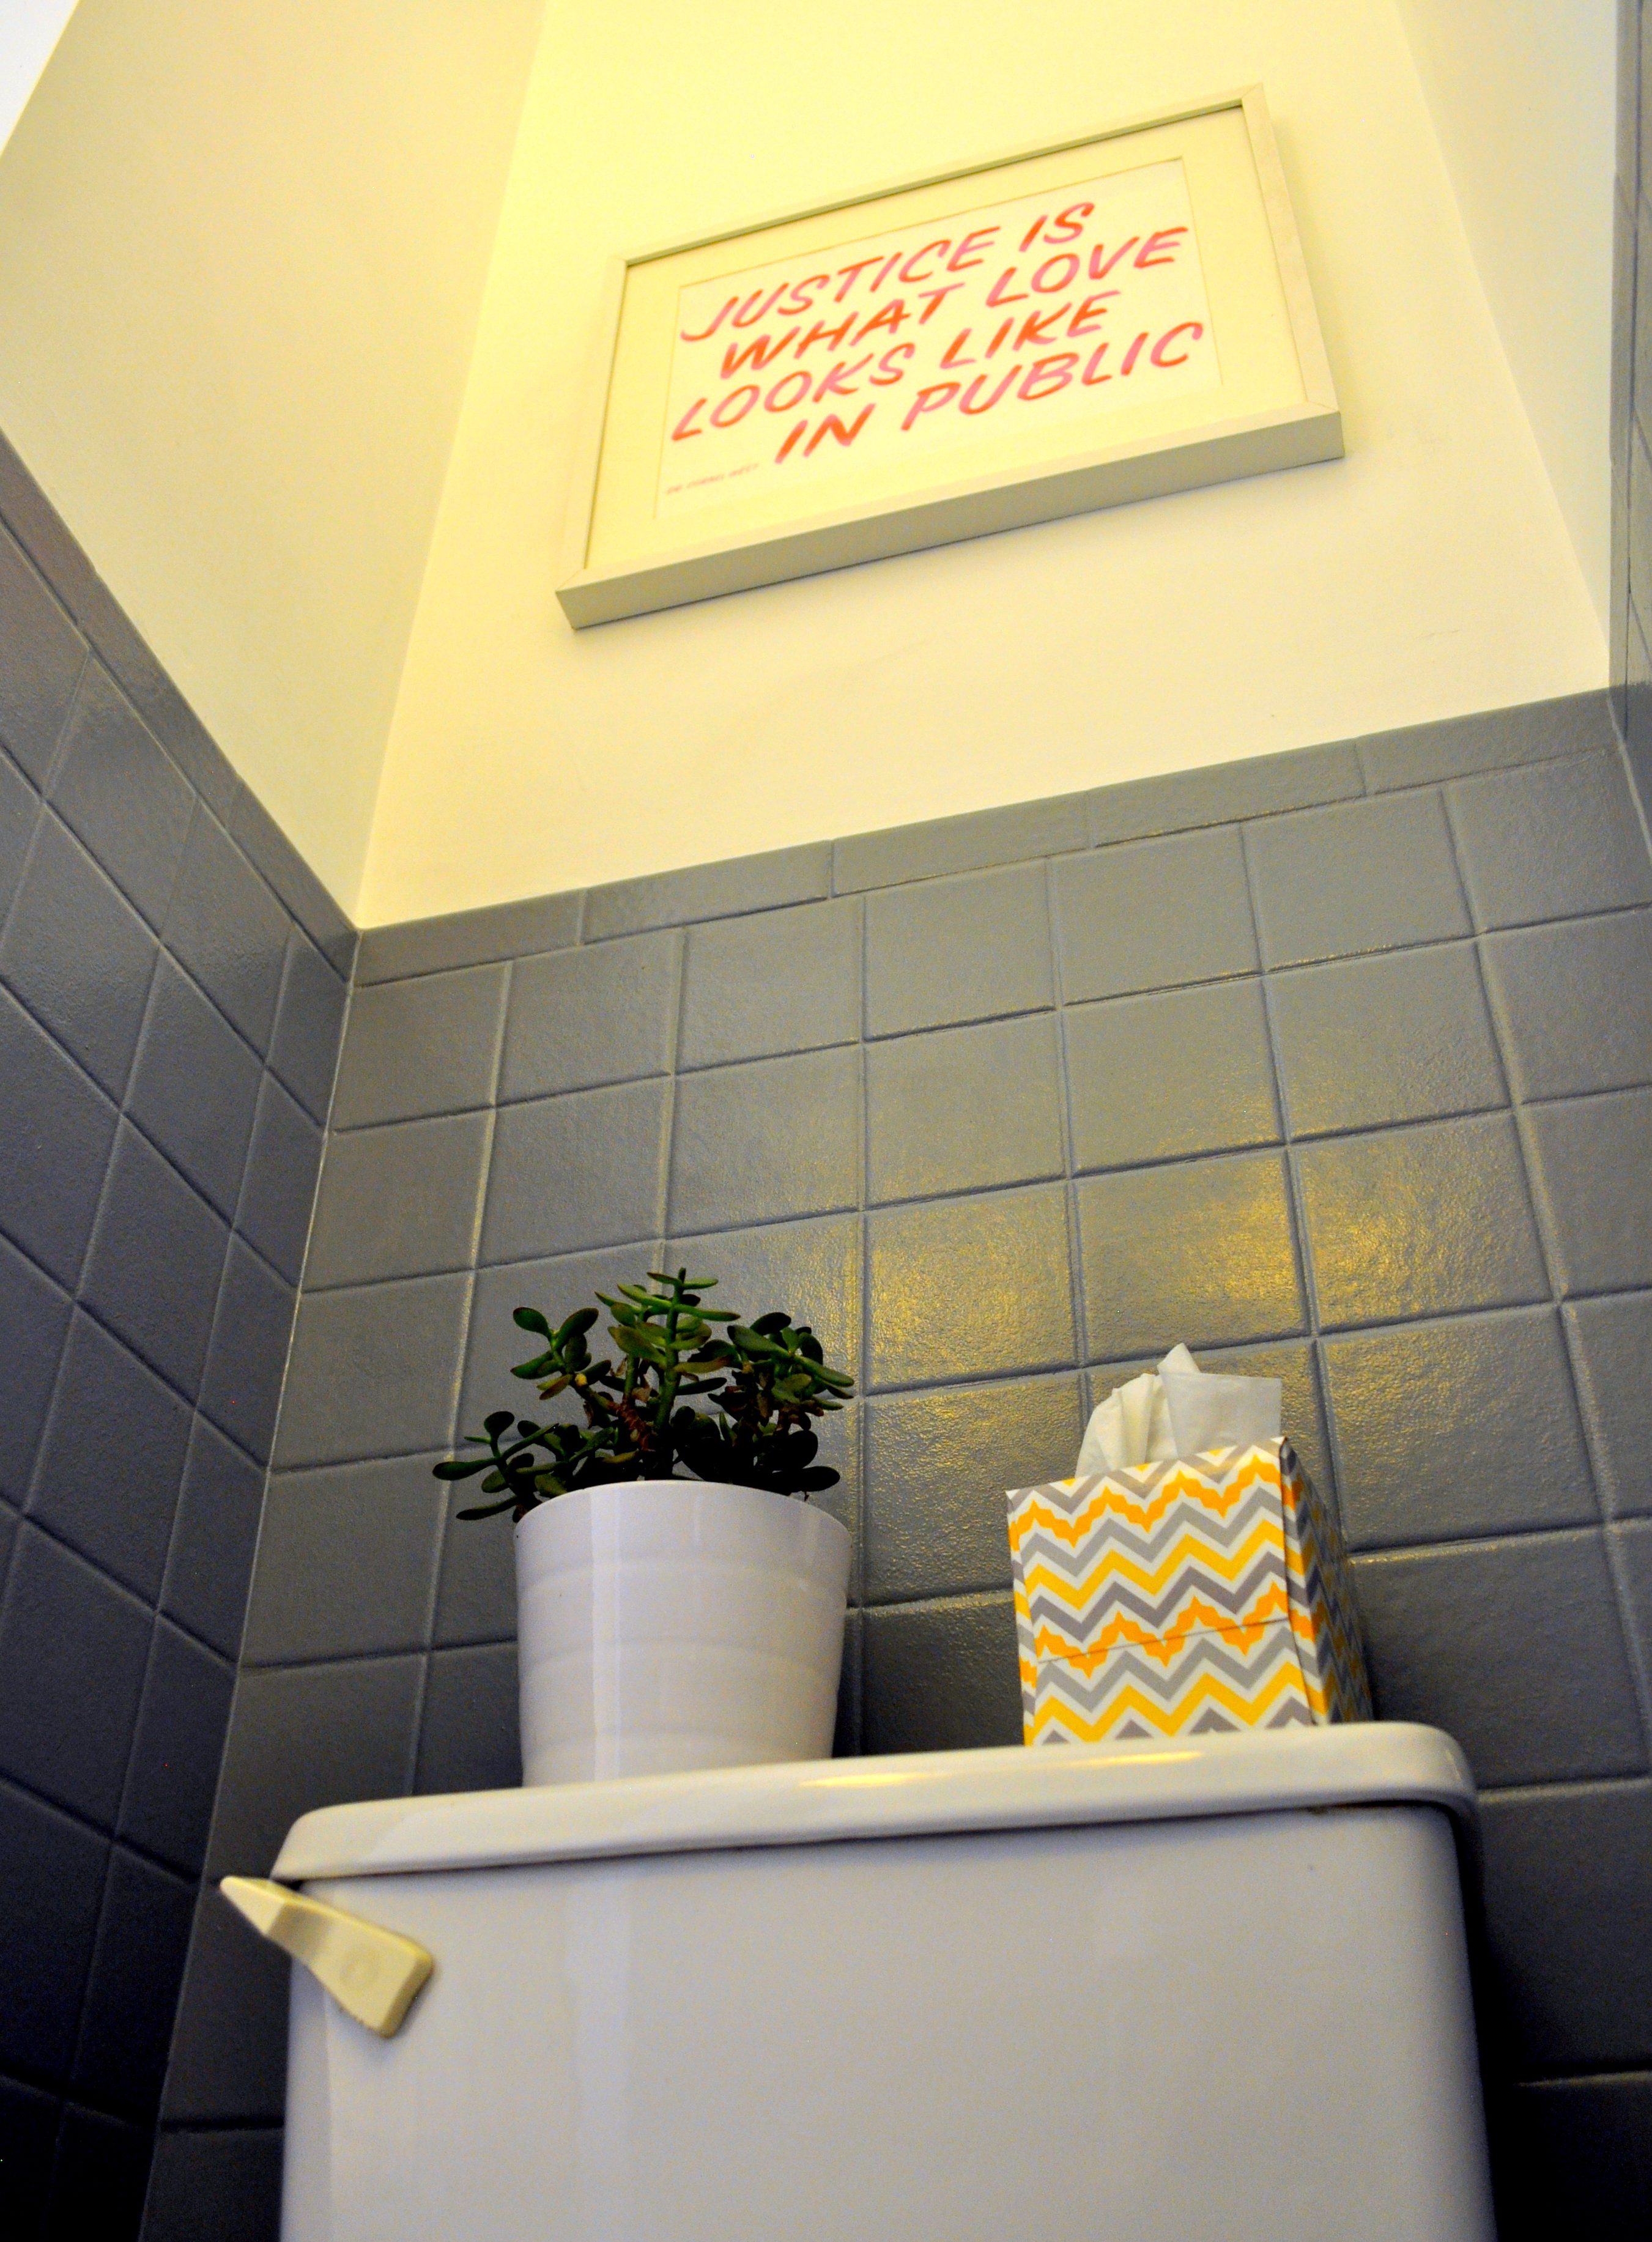
With the finishing touches in place, Scott and I both exclaimed, “It looks like a bathroom in a restaurant!” But, you know… a nice restaurant; not those restaurants that have cold bathrooms that you can only access by walking through the kitchen and that have weird puddles of liquid in unnerving locations and ashtrays on the toilet. No, a nice restaurant bathroom.

——endnotes———
* Don’t worry, it’s just a metaphor – Scott and I don’t actually smoke. But when we were kids, “running out for a pack of smokes” was a euphemism for when a grownup casually walked out the front door and never came back, or came back a week later with a mustache, a bad sunburn, and – if you were lucky– a puppy.
** Each of you define “room” differently, and I honor that journey. Your room doesn’t have to have four walls and a floor and a ceiling. I’m not the Room Police (though they do bring me in for questioning from time to time).
*** I’m sending some pretty negative messages about tobacco use in this blog post. However, I still maintain that smoking on the toilet is hopelessly glamorous, and 90% safer than smoking in bed.
**** This is also a new style of attachment parenting, as seen in the classic children’s book, “Love You Forever.“

Looks great!
LikeLike
Tile paint is the best invention in the universe for burnt out renovators. After the Dremel, of course. The number of times I’ve used it and had people waltz in and say “Looks so much better now you’ve re-tiled!”. And it really covers. I’ve gone from avocado to white and burnt orange to white. The first time, tile primer hadn’t been invented, and I used two ultra thin coats of the enamel top coat first. It worked fine. The second time there was tile primer, and proper high gloss tile paint, and that was a lot better but also a lot smellier. Tell me, is the ceiling in there really as high as those photos make it seem?
LikeLike
I was also thinking of using oil-based paint and primer. The stuff is nasty, but it’s tough. Given the dimensions of the bathroom (you can reach out and touch both walls), I thought it best not to poison myself over it. So, we’ll see how the latex stuff holds up. Since its a half-bath (no shower or tub) I don’t expect it to get much wear and tear.
The ceiling is quite high (9 or 10 feet?) but it may seem higher since I had to lie down on the floor in order to get a picture of it. It is so hard to photograph such a tiny room.
LikeLike
At least you had a nice tile floor to lie on!
LikeLike
This was hilarious. Great walk down reno-Hell memory lane (without my actually having to live in the mess).
Painting tile is da bomb! It took me years to ‘risk’ it and finally I ended up with tile in the kitchen and living room that didn’t scream 1970’s!
Job well done!
LikeLike
Thanks! I’m really happy we did it. It’s definitely something I can live with for a long time. We have a lot of tile in our upstairs bathroom as well. I don’t like the color, but it’s in very good condition. Its sort of a brownish-pink…. like the color of overcooked salmon. Which, unfortunately, is also the color of the bathtub, the walls, the floor, the toilet…. Monochrome overload. I think a fresh coat of paint on the walls would go a long way to freshen things up. Maybe even white.
And thanks for the perspective. Hopefully someday Scott and I can look back on all this and laugh.
LikeLiked by 1 person
Even though I am no longer living in my Logan Square fixer-upper that never got fixed up, I ate up every word of this CSI-like process walkthrough. The end product is GORGEOUS. Congratulations! Renovations: a thing of the past for me now that I am living in a retirement apartment, but I still enjoy seeing how it’s done. What’s that saying? Oh yeah: “You can take the girl out of the house but not the house out of the girl.”
LikeLike
Thanks, Betsy. Do you miss having projects to tackle? I dream of the day when everything will be “finished.” However, I think we’ll still find things to fix up. We were in a rental for three years before this and still found plenty to do. There’s always the movable objects!
LikeLike
It seems I still have projects to tackle, even though I’m now i an apartment. I’m renting so it’s not like I’m “building equity” any longer. But so what? It’s all about the space we live in, the objects we like to see when we walk through a room, the logic of the wayfinding, the color of the walls, the comfort. I’m still paring down, striving for more of “less” and less of “more.” And then there’s that storage unit up on Fullerton: 56 square feet and 7-foot high shelves packed with negs, unframed prints, framed prints, collectible artwork and films I shot back in the day. That storage unit: that’s My Big Project. Stay tuned.
LikeLike
I NEVER create accounts for blogs but I adore you! I had no idea tile could look that grand! I love love love love it.
LikeLike
i’ve been reading your blog for two years <333 i do delicious binge reads now and then. you are HILARIOUS and such a badass. #lifegoals. please write a book so i can savor your wit and learn your creative ways!
LikeLike
I’ll be honest, I was expecting much less when i clicked on this but this is a really cool transformation for a small room. The little changes have made a huge difference!
LikeLike