
Do you have a friend like Megan? If not, you should run out and get one right away.
We all love Megan. But then again, sometimes we hate her. Because in fleeting moments of fitness ambition we agree to run with Megan the next morning at 6:15 a.m. When the alarm explodes at 5:55 a.m., we thaw ourselves out of deep sleep, one limb at a time, and wrestle our way into a sports bra.
It might still be dark, it might even be snowing, but we have to go because Megan is ALWAYS there. She is the friend who shows up when she says she will, on time, every time, with an easy cheerfulness that doesn’t seem quite right at that time of day.

The Gorgeous Ladies of Running Year-round (G.L.O.R.Y.) laughing in the face of a Polar Vortex.
But Megan’s not just a maddeningly reliable fitness partner. She is the friend who brings the giant jar of homemade granola to your shared beach house – the jar that you slowly pick at for days until all that remains are sweet, greasy crumbs, no questions asked.
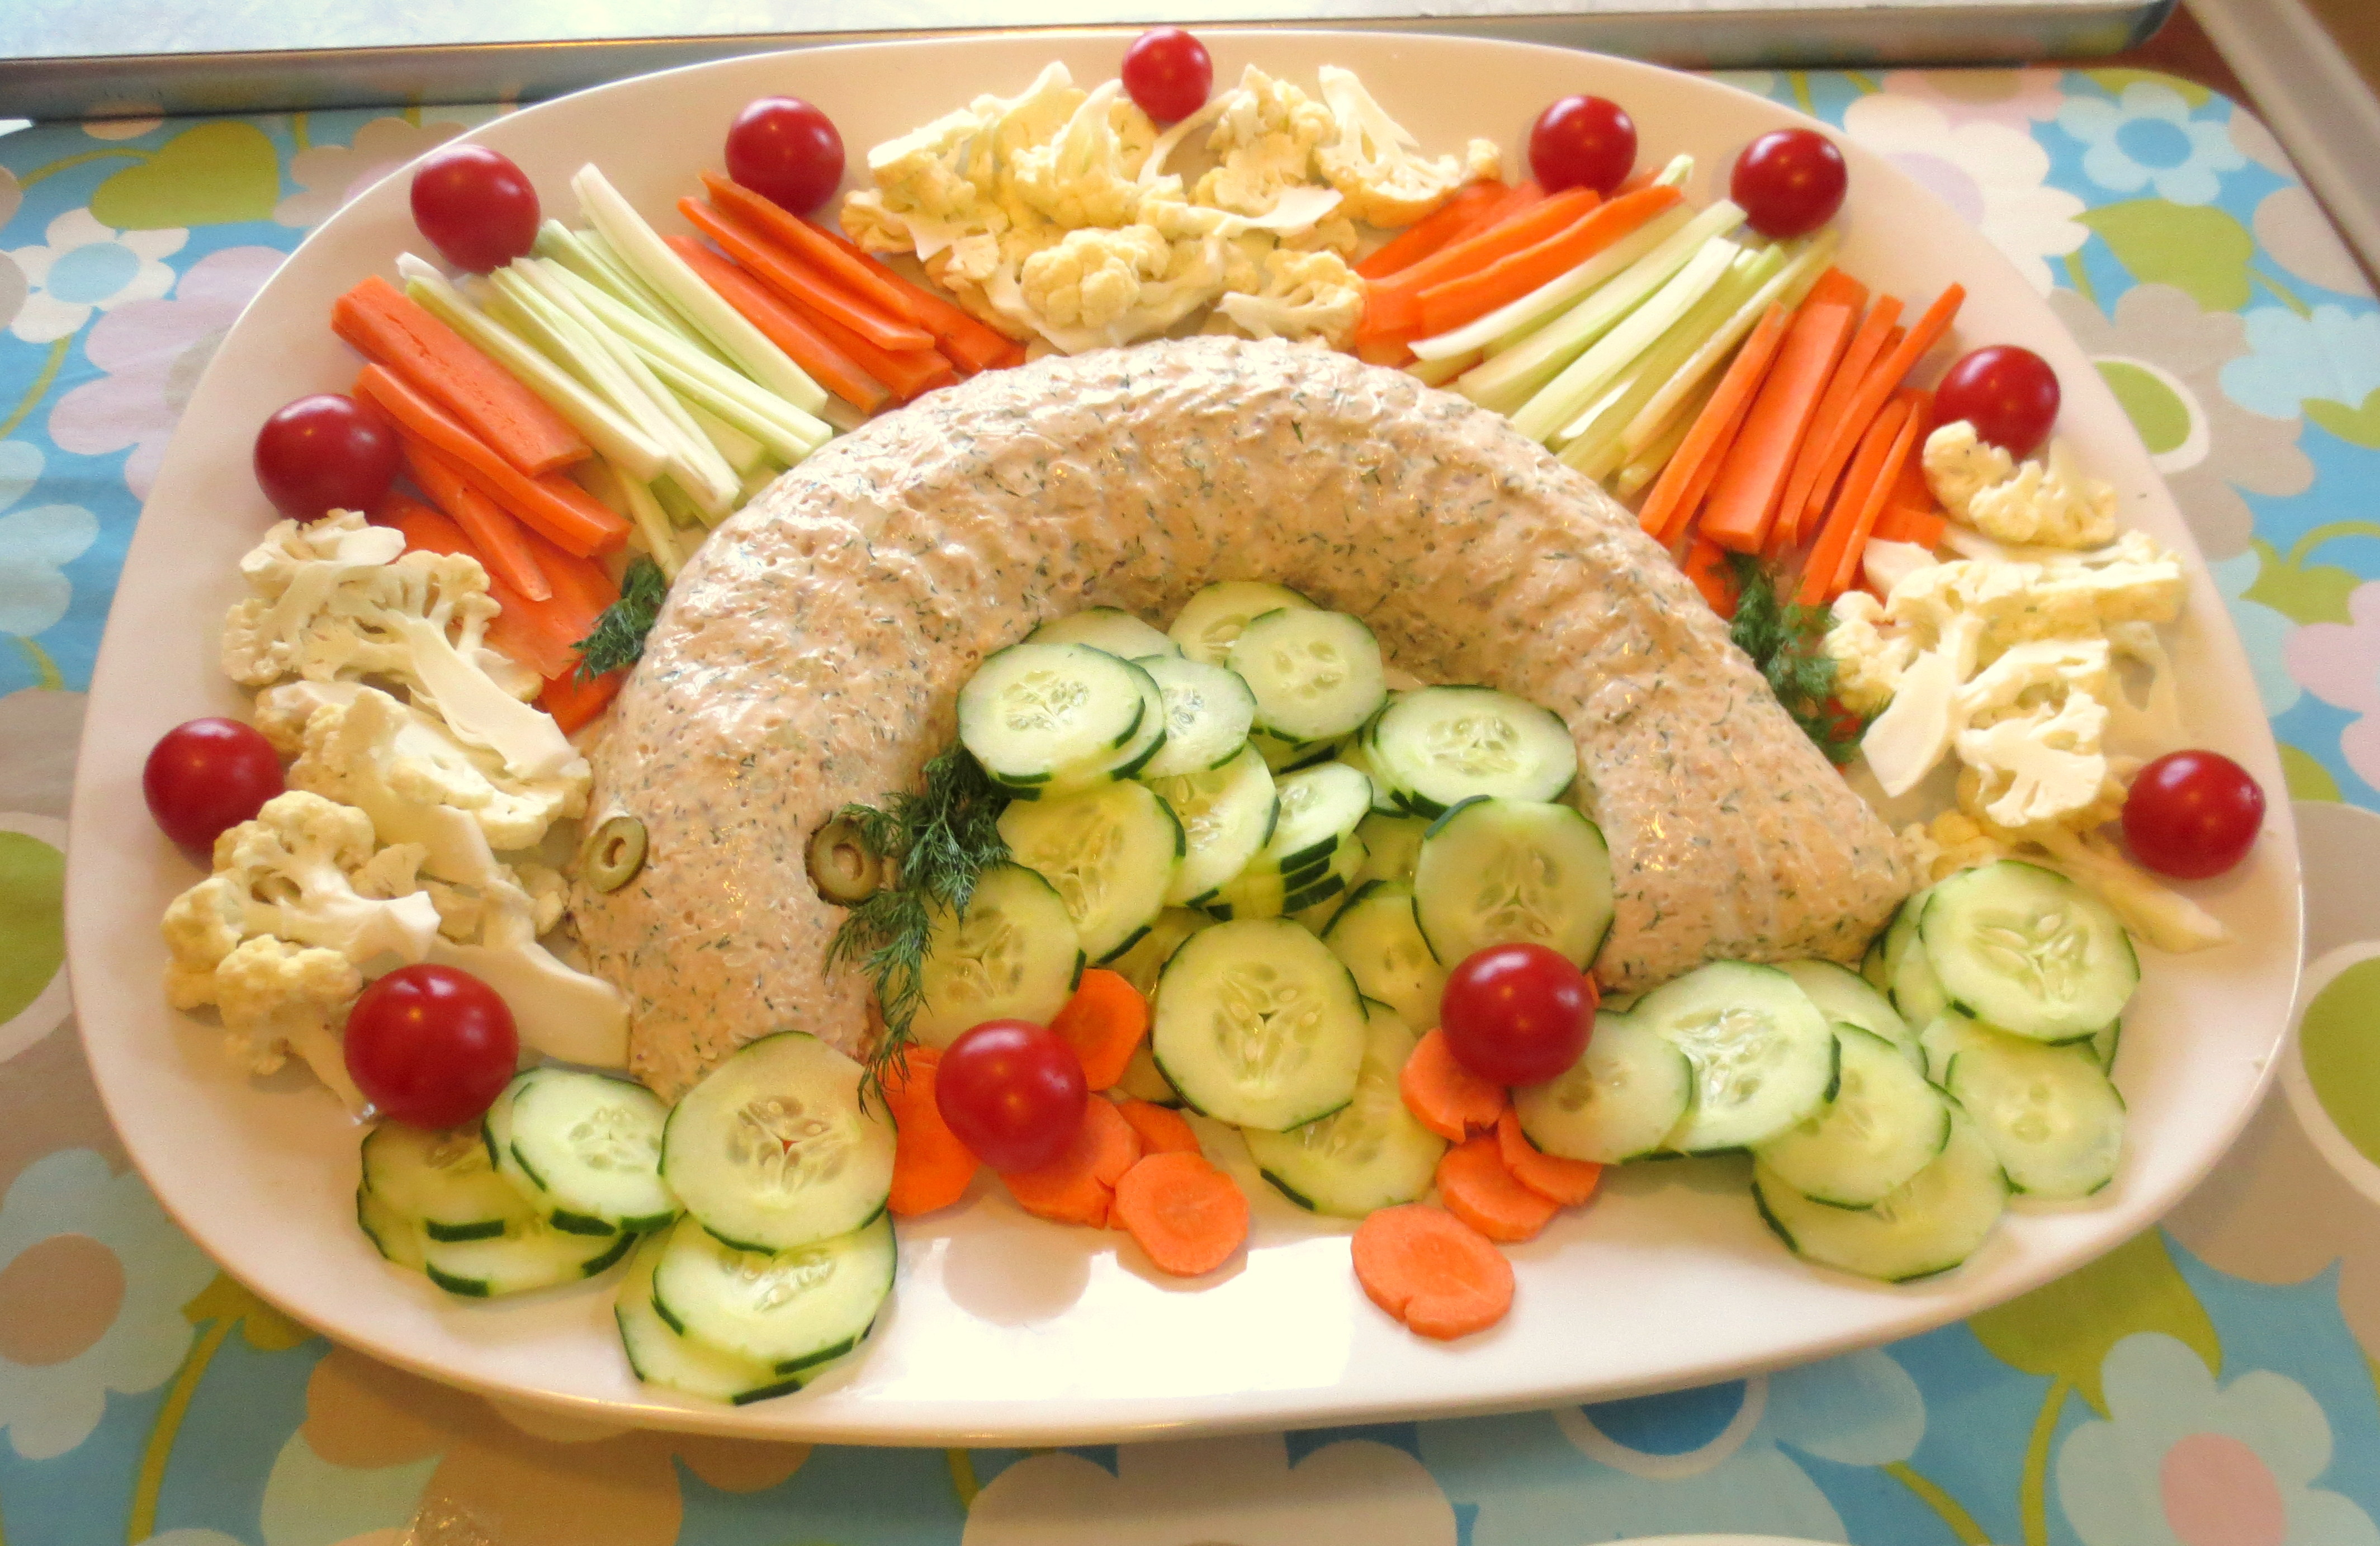
She is also the friend who brings a gorgeous salmon mousse to your Superbowl Party – in the shape of a salmon, no less – but frets because she forgot the the eyes (green olives worked in a pinch). To everyone’s surprise, all the little kids devour it in minutes.
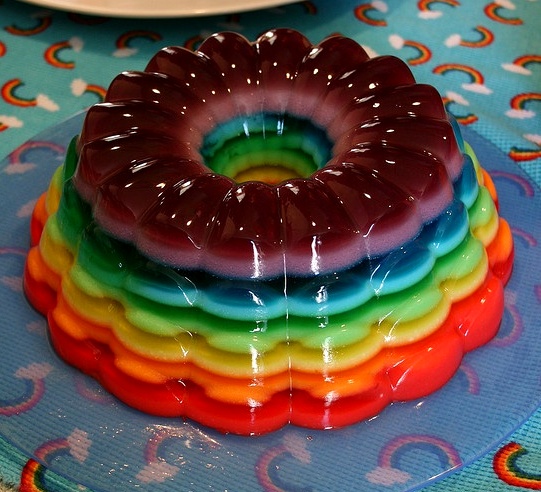
 And without any fuss, Megan arrives at the neighborhood potluck with a 12-layer Jell-O® mold that would fit right in at the most exuberant pride parade. We stare at its wonderous glimmering layers. We nudge the plate and watch it dance. We hope nobody notices that all we brought was a six-pack and a bag of stale corn chips and she brought THIS:*
 That night, I savored Megan’s non-Newtonian treat with another neighborhood hero (and running buddy), Gin. We decided that something must be done to acknowledge Megan’s understated awesomeness. And her birthday was only three months away….
D.I.Y. BIRTHDAY PLAQUE FOR THE FRIEND WHO BREAKS THE MOLD
STEP ONE – PREPARE THE MOLD: Head to your friendly neighborhood thrift store and go straight to the corner where they keep all the miscellaneous kitchen trinkets. At our store, the kitchen wares are grouped by material – a shelf each for plastic, wood, metal and appliances. You’ll have to dig around for a few minutes in the metal pile, but you are guaranteed to find at least one or two molds; They are the detritus lurking in the underbrush of the thrift store. This one seems cheerful:
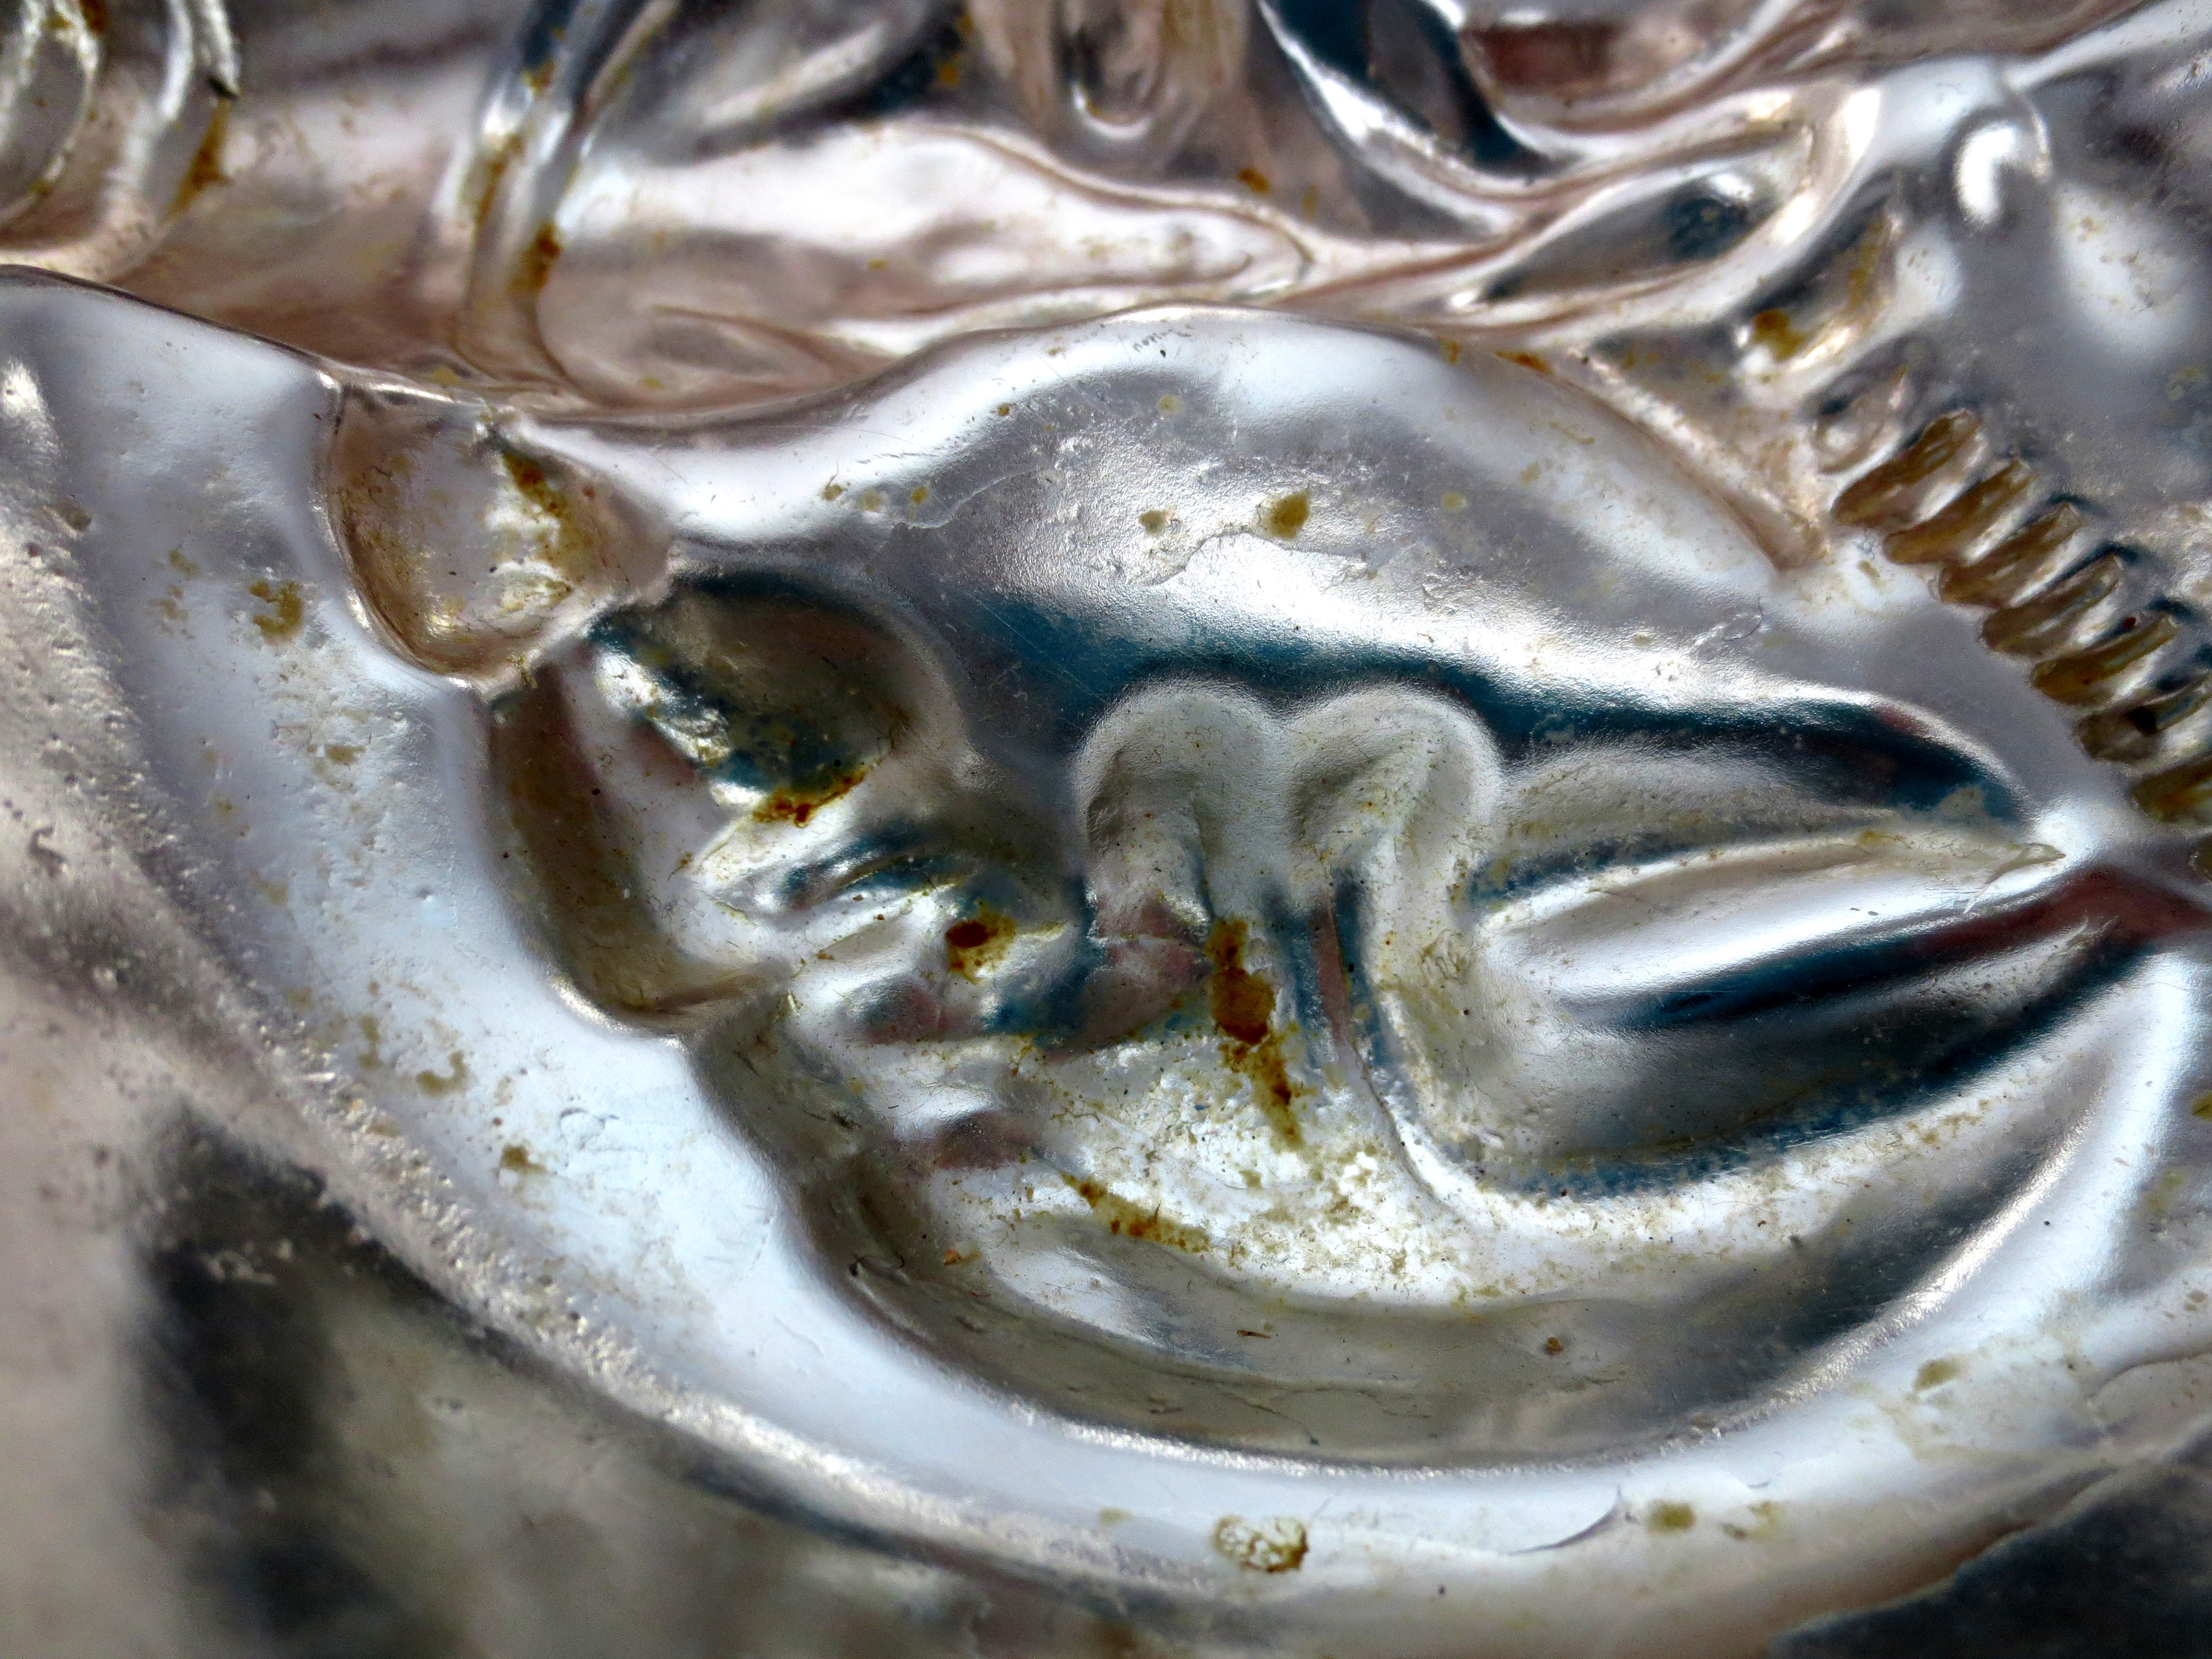
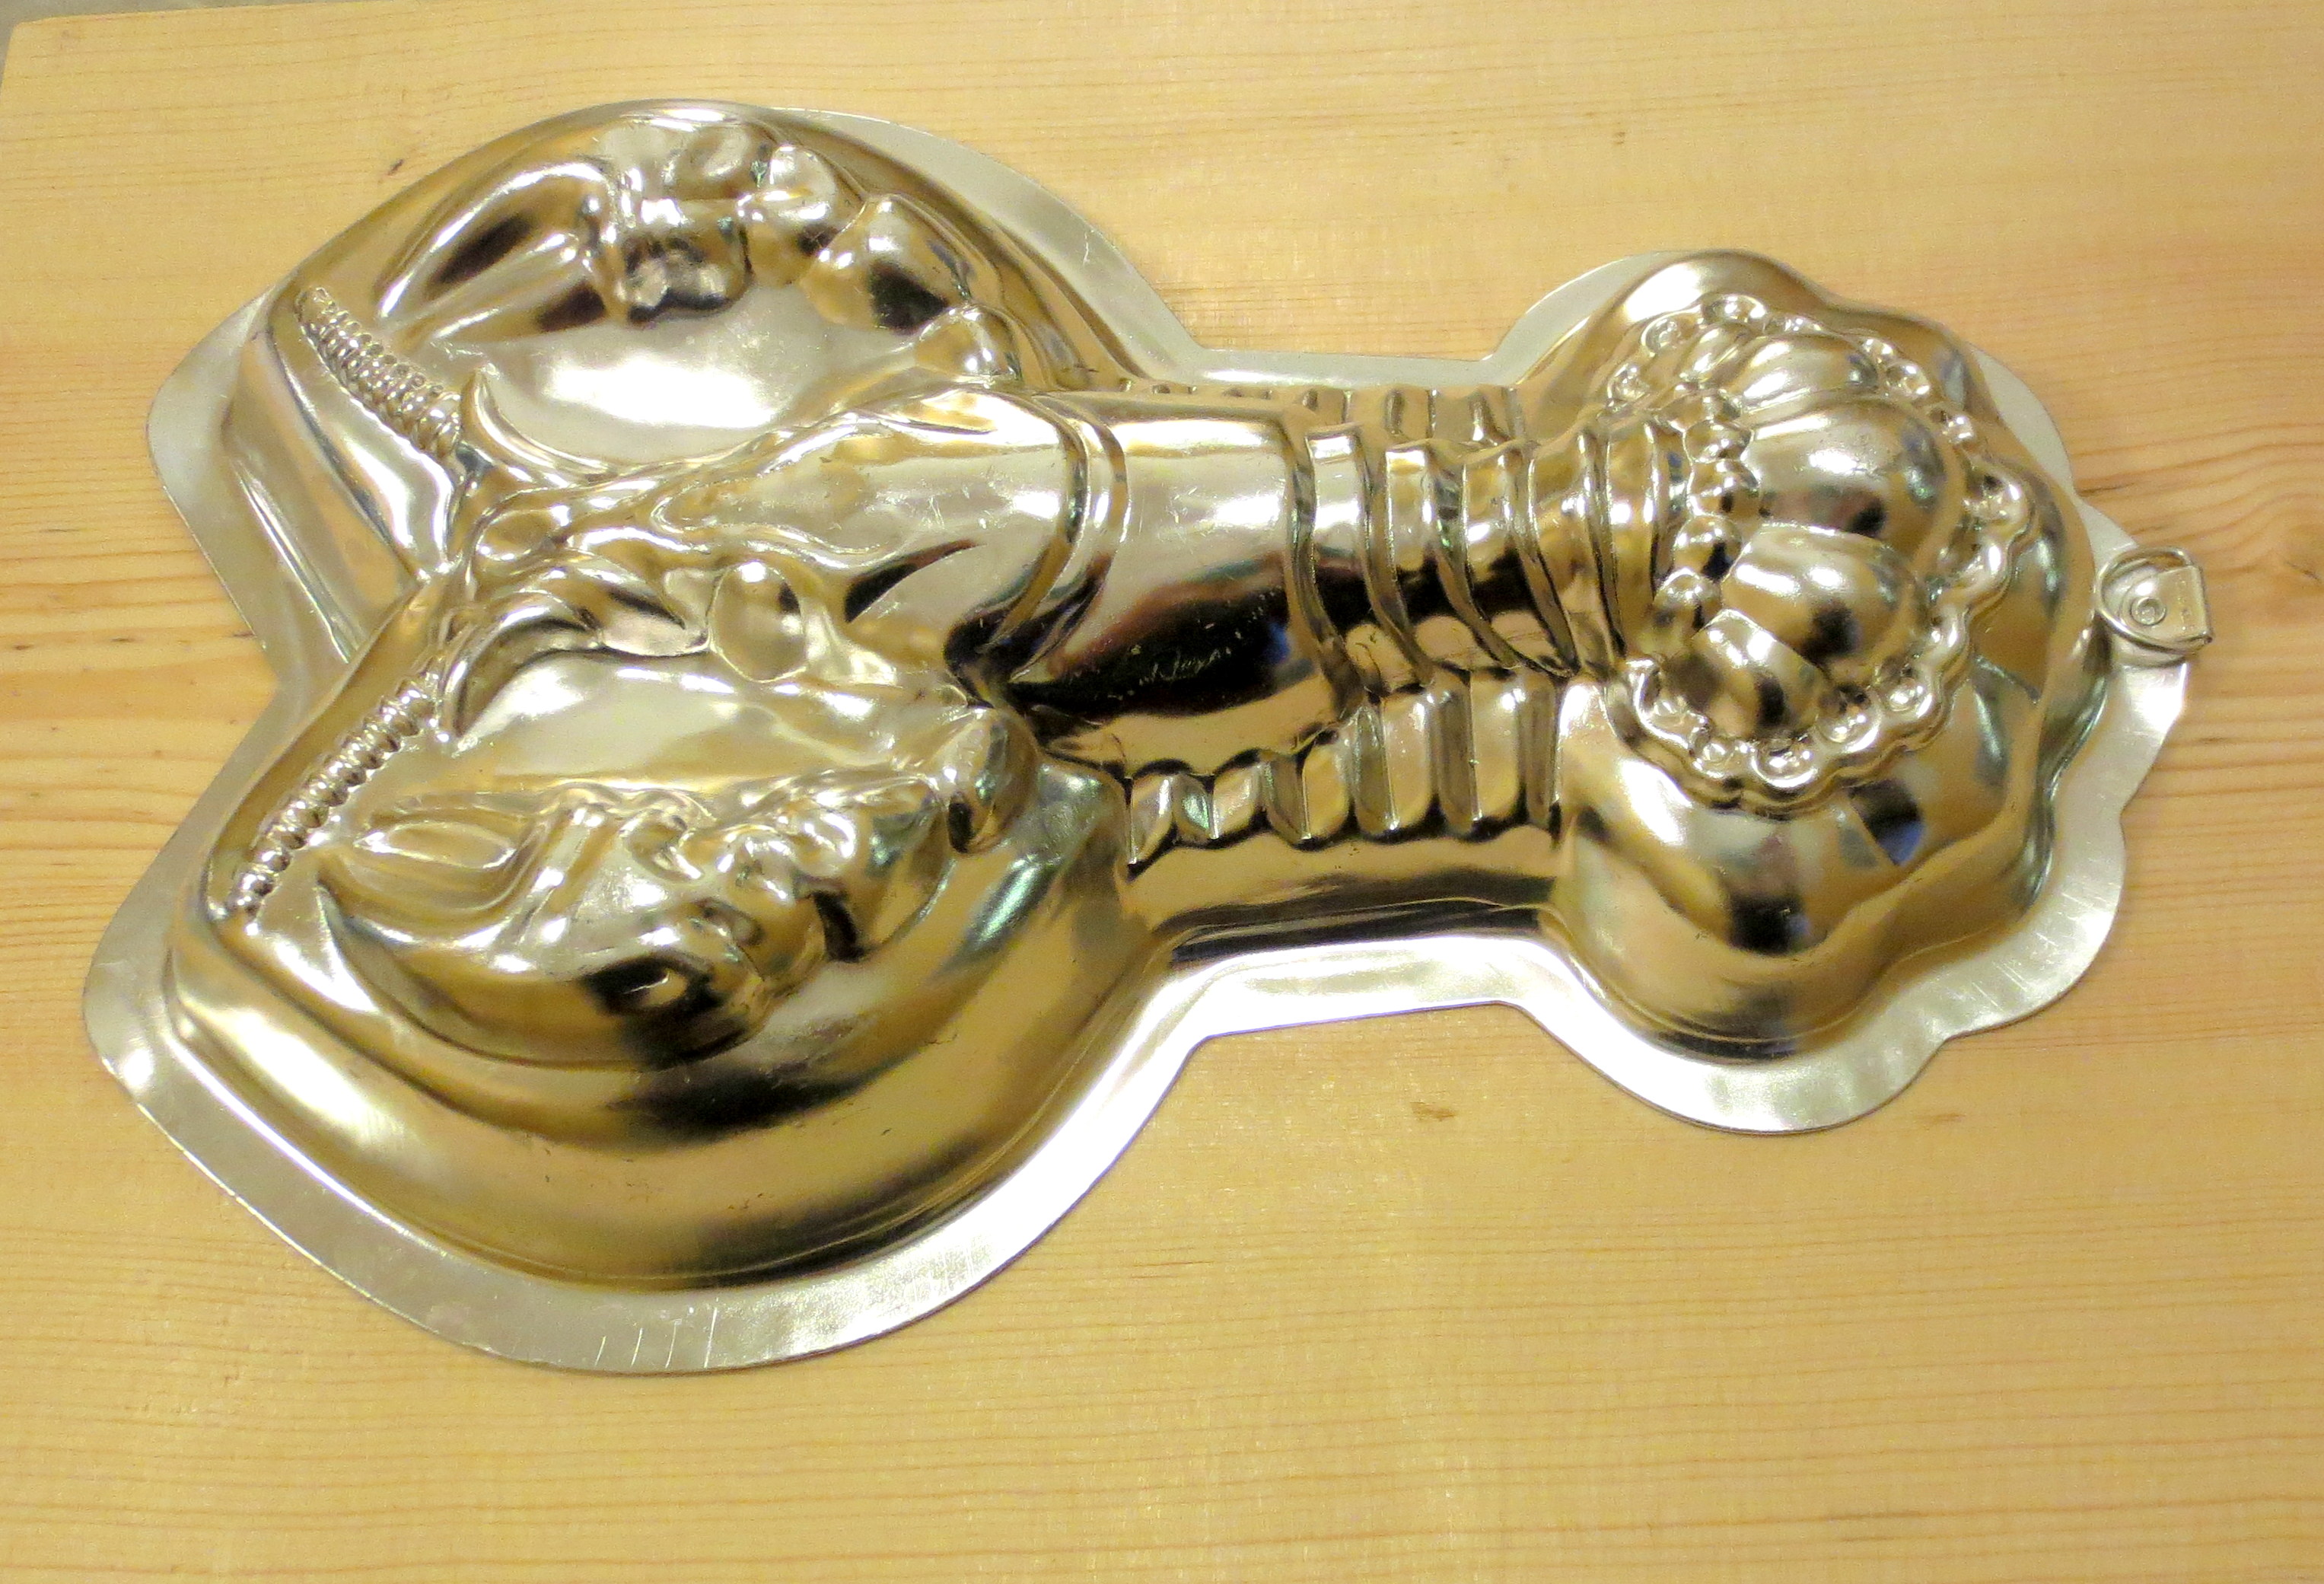 You may have to scrub off any residual aspic, especially if you chose a fish-shape (remember the salmon mousse?).
 STEP TWO – CRAFT THE PLAQUE BOARD: Normally I would just scavenge a piece of scrap wood from the construction pile next door. However, this was a special occasion, so I shelled out $2 for a plank of the hardware store’s finest pine. I bought a piece that was at least twice as big as needed, in case of screw ups. Also, I was really in a hurry and there was nobody staffing (or even guarding) the scary, blood-splattered cutting station.
 I played around with a few plaque shape designs, and settled on a simple – but elegant – arrowhead model. Then I used one of Scott’s dozens (!) of stencils and rulers to trace the shape onto the wood.
 I clamped the wood securely to my dining room table and used my new jigsaw to cut semi-circle shapes off the top corners of the plank.


 PRO-TIP: If you are new to jig-sawing** – like I was a week ago – you’ll want to start the motor at its slowest setting while you establish your dominance over the tool. Gradually increase the speed until you reach that sweet spot where you are just about to lose control over the saw, but don’t. Never let the saw see you lose control. You will lose all respect, and possibly, a finger.
Flip your wood, clamp it down, and slowly cut your bottom shape with the jigsaw.
 Since my orbital sander was out on loan, I smoothed down my freshly-cut wood with a sanding block, paying special attention to the jagged edges left by the blade.
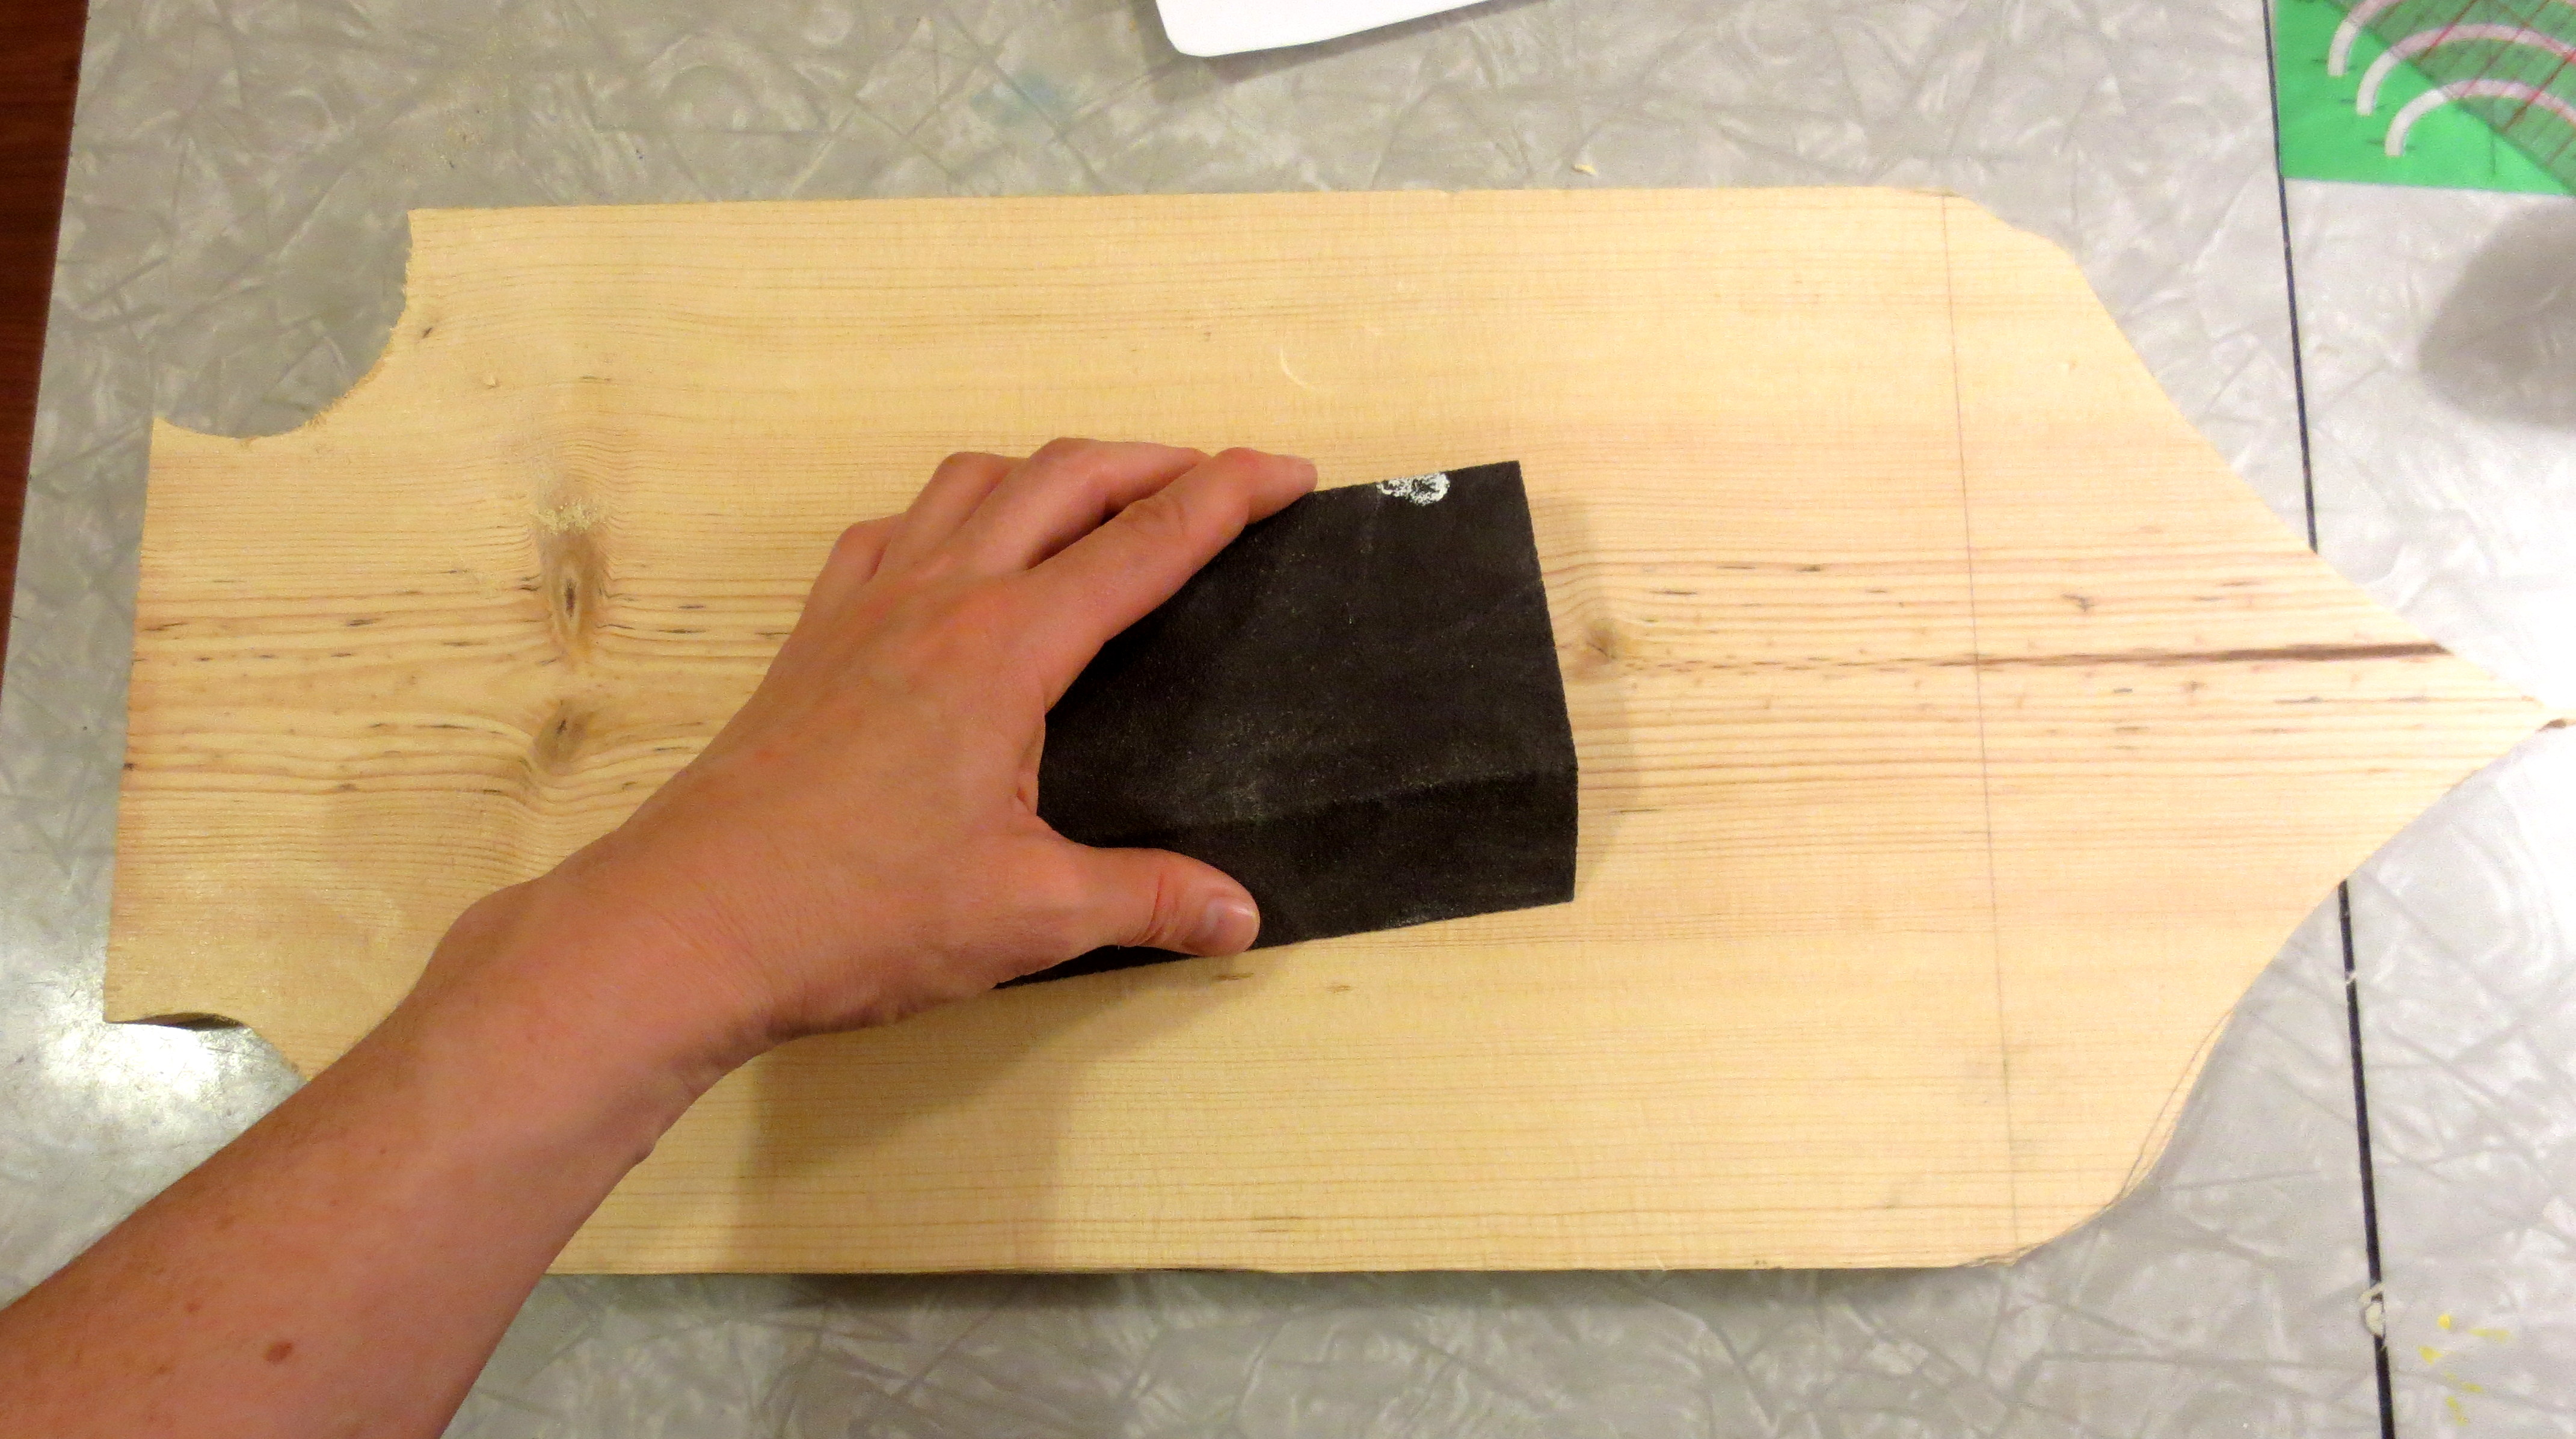 Wipe off the sawdust with a damp rag and air dry.
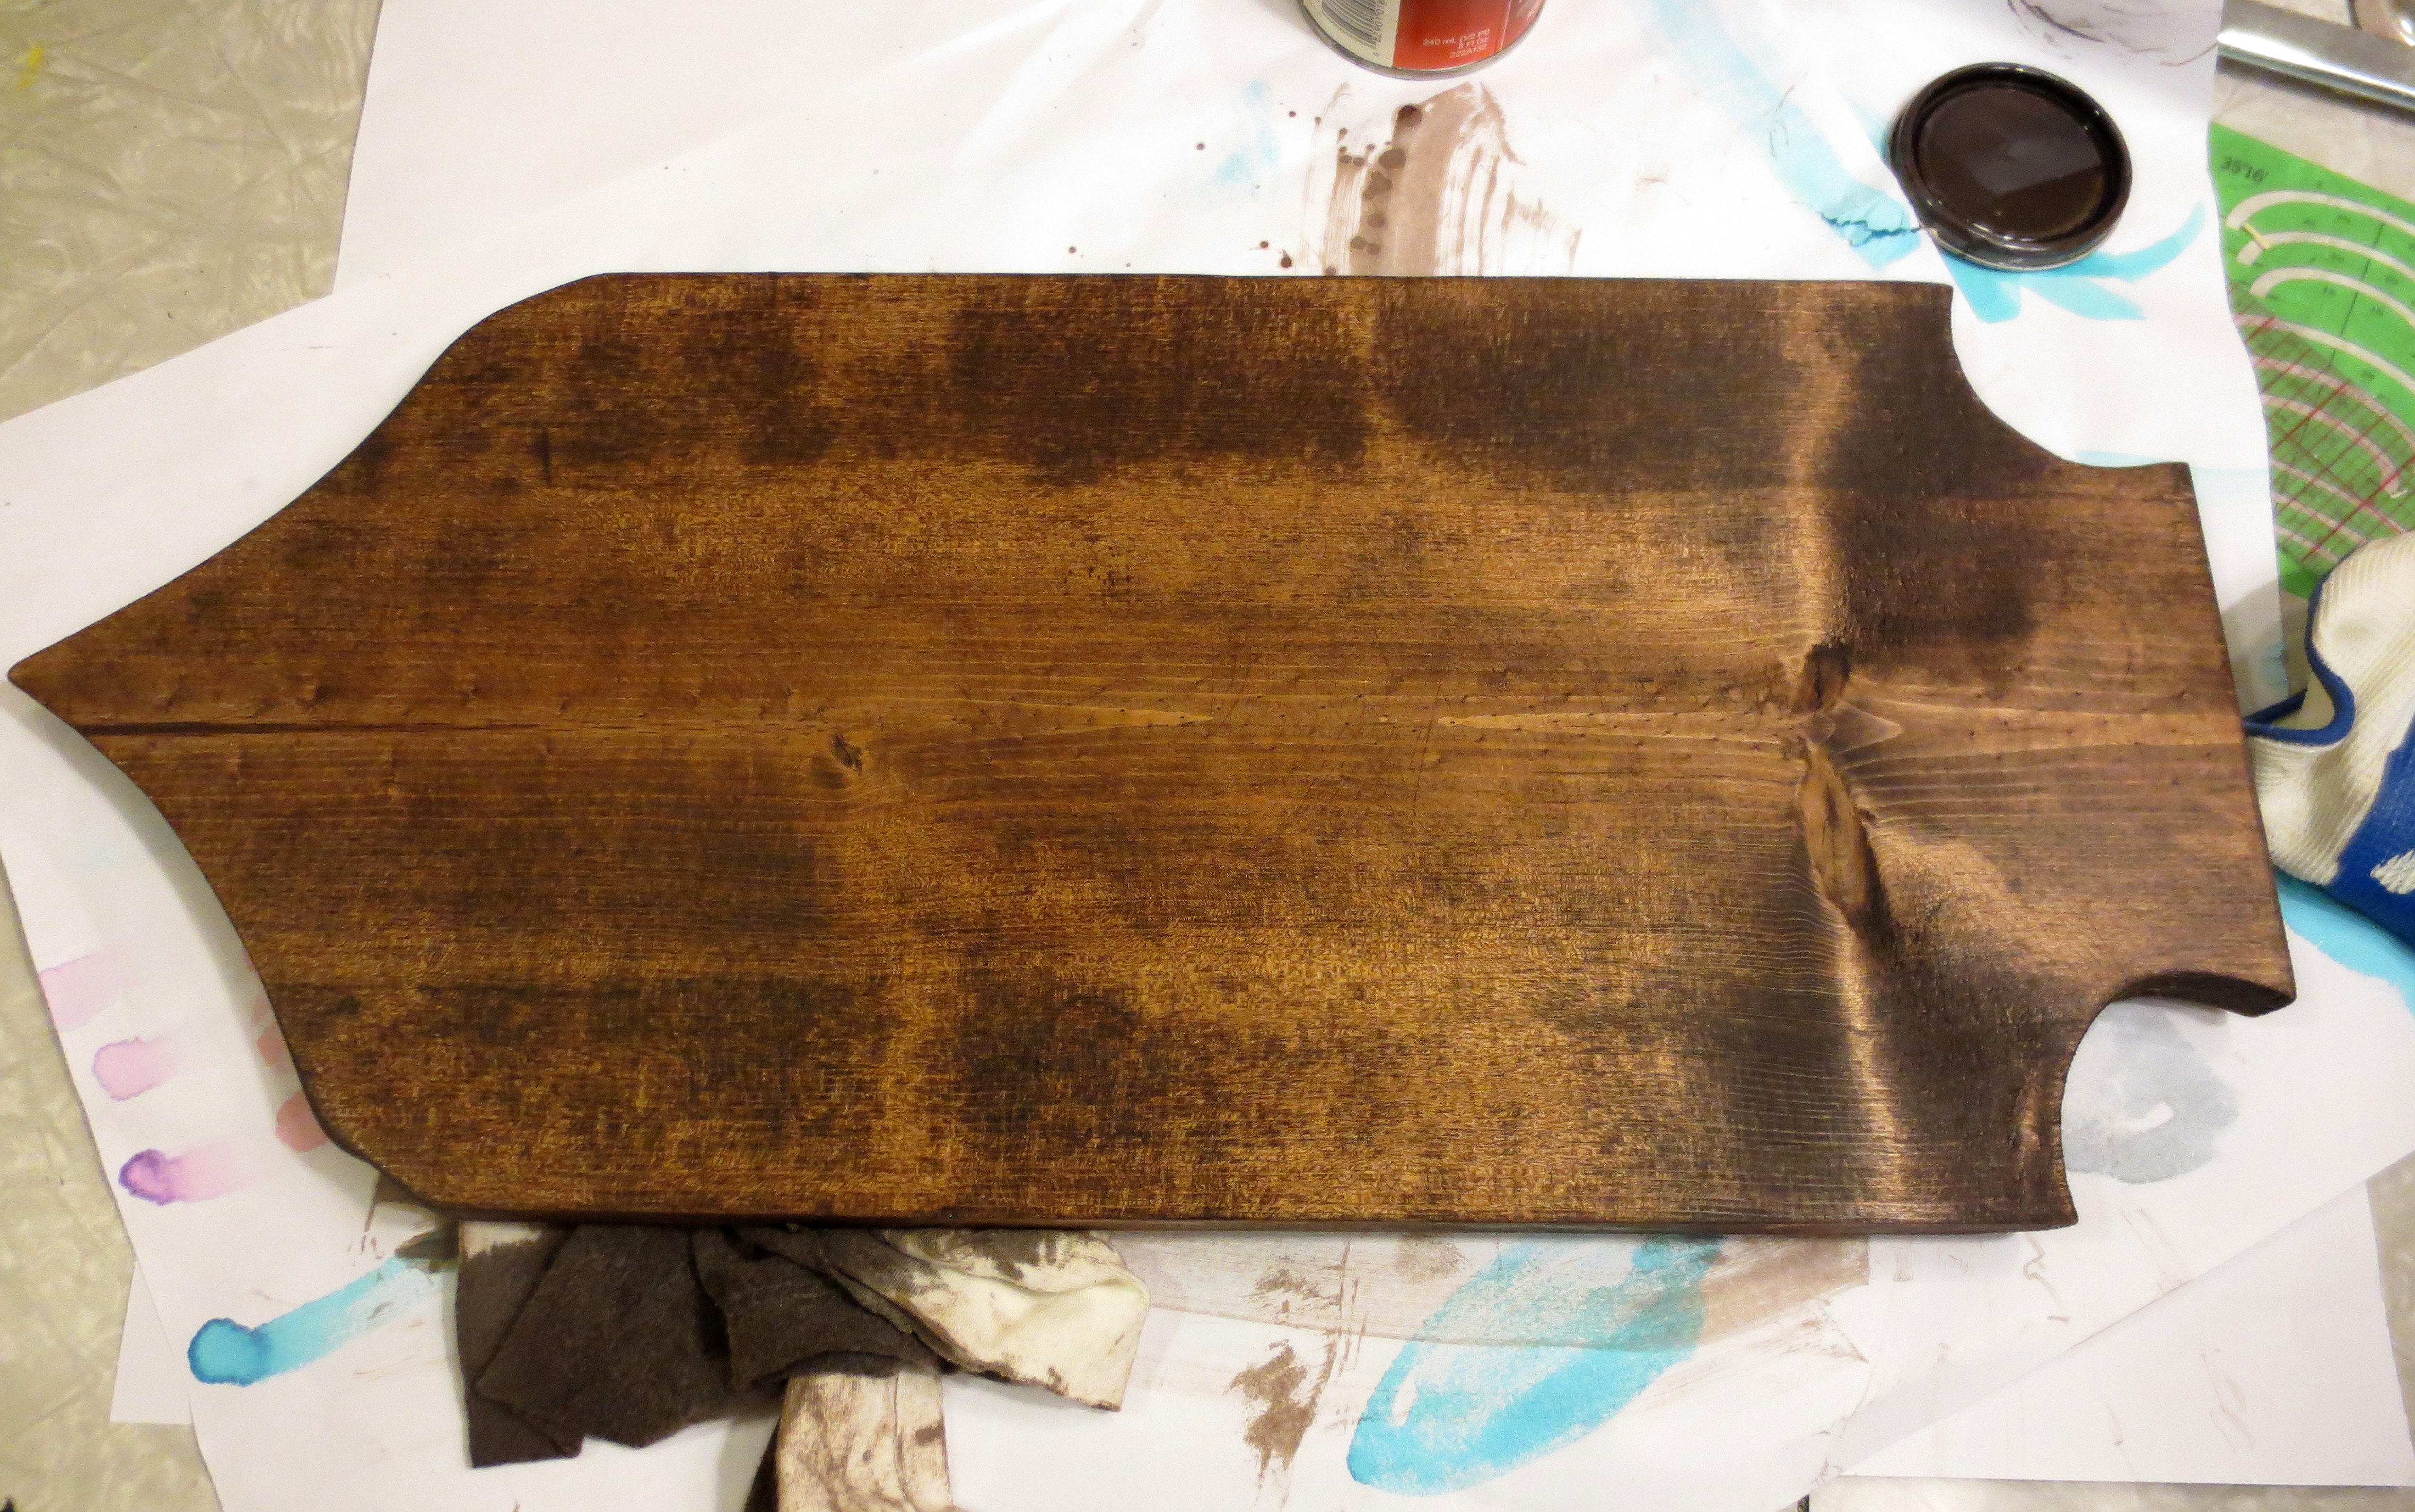
Next, slop on a coat of wood stain with a rag or old baby sock. I used “walnut” flavor – leftovers from the can I bought to refinish the Church Chair.

 Let the stain sit for about 10 minutes and rub out any remaining wet spots with the rag. Give the stain between 12-24 hours to dry before applying the clear coat. Or, if you’re a big cheater like me, put it in a 150 degree oven for half an hour to speed up drying time. Actually, no, please don’t do that. That’s a terrible idea. Even though 24 hours is a really long time to wait for anything.
 When your stain is dry, apply three very thin coats of water-based polyurethane with your nice brush. Wait two hours between coats, and be sure to lightly sand out any weird bubbles or boogers that appear. If you seem to have a lot of bubbles in your finish, it’s probably because you didn’t read the directions and shook the can. Don’t shake the can.
 STEP THREE – FINISHING TOUCHES (AND A TRIP TO THE PET STORE): It’s not a plaque without an engraved message. Otherwise, it’s just an aluminum fish glued to a cutting board. Think of something sweet, yet clever, to say to your friend. A pun would be ideal. I agonized for days, but like most great ideas, it flew into my brain as I was trying to fall asleep the night before the surprise party. I sat straight up in bed and elbowed Scott: “SNAPPY BIRTHDAY – get it? Like, lobsters?!” He did.***
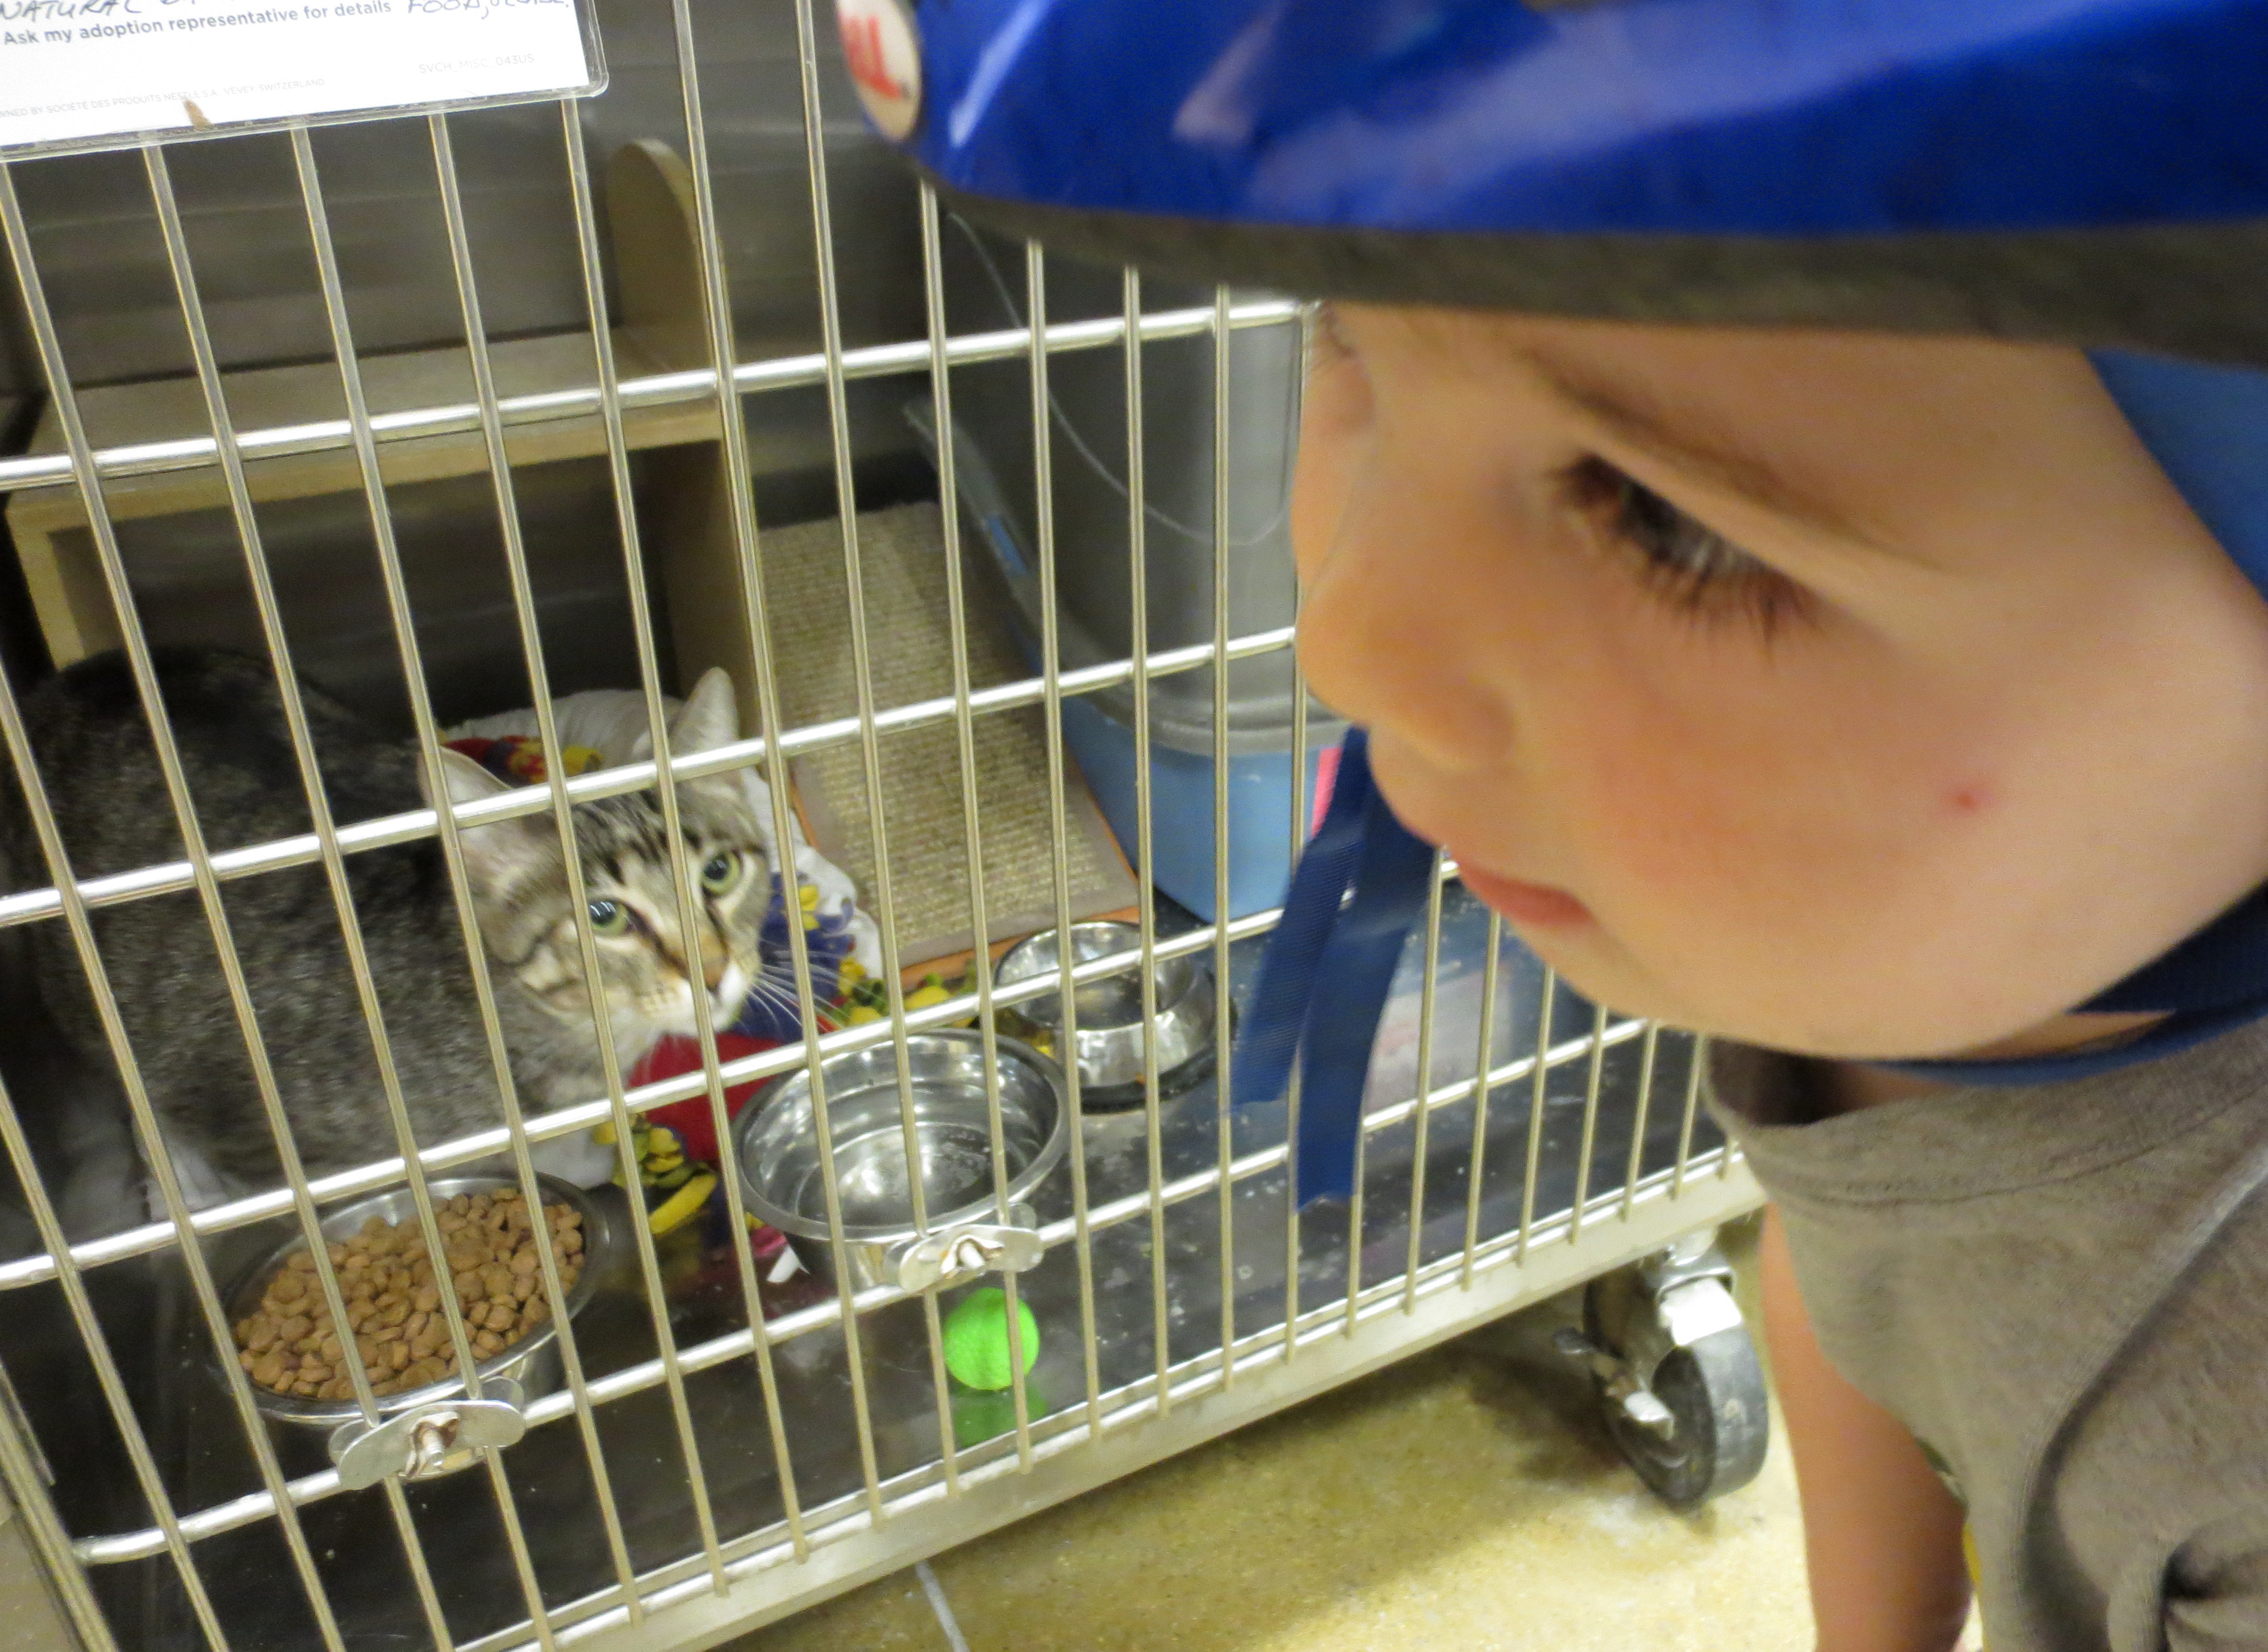
But where do you even get stuff engraved? The mall or something? We don’t even have those around here. But we do have a big box pet store about a half mile away. Sam and I headed there first thing in the morning, first visiting the shelter kitties in the back:
 Then back to the very front of the store for this futuristic machine:
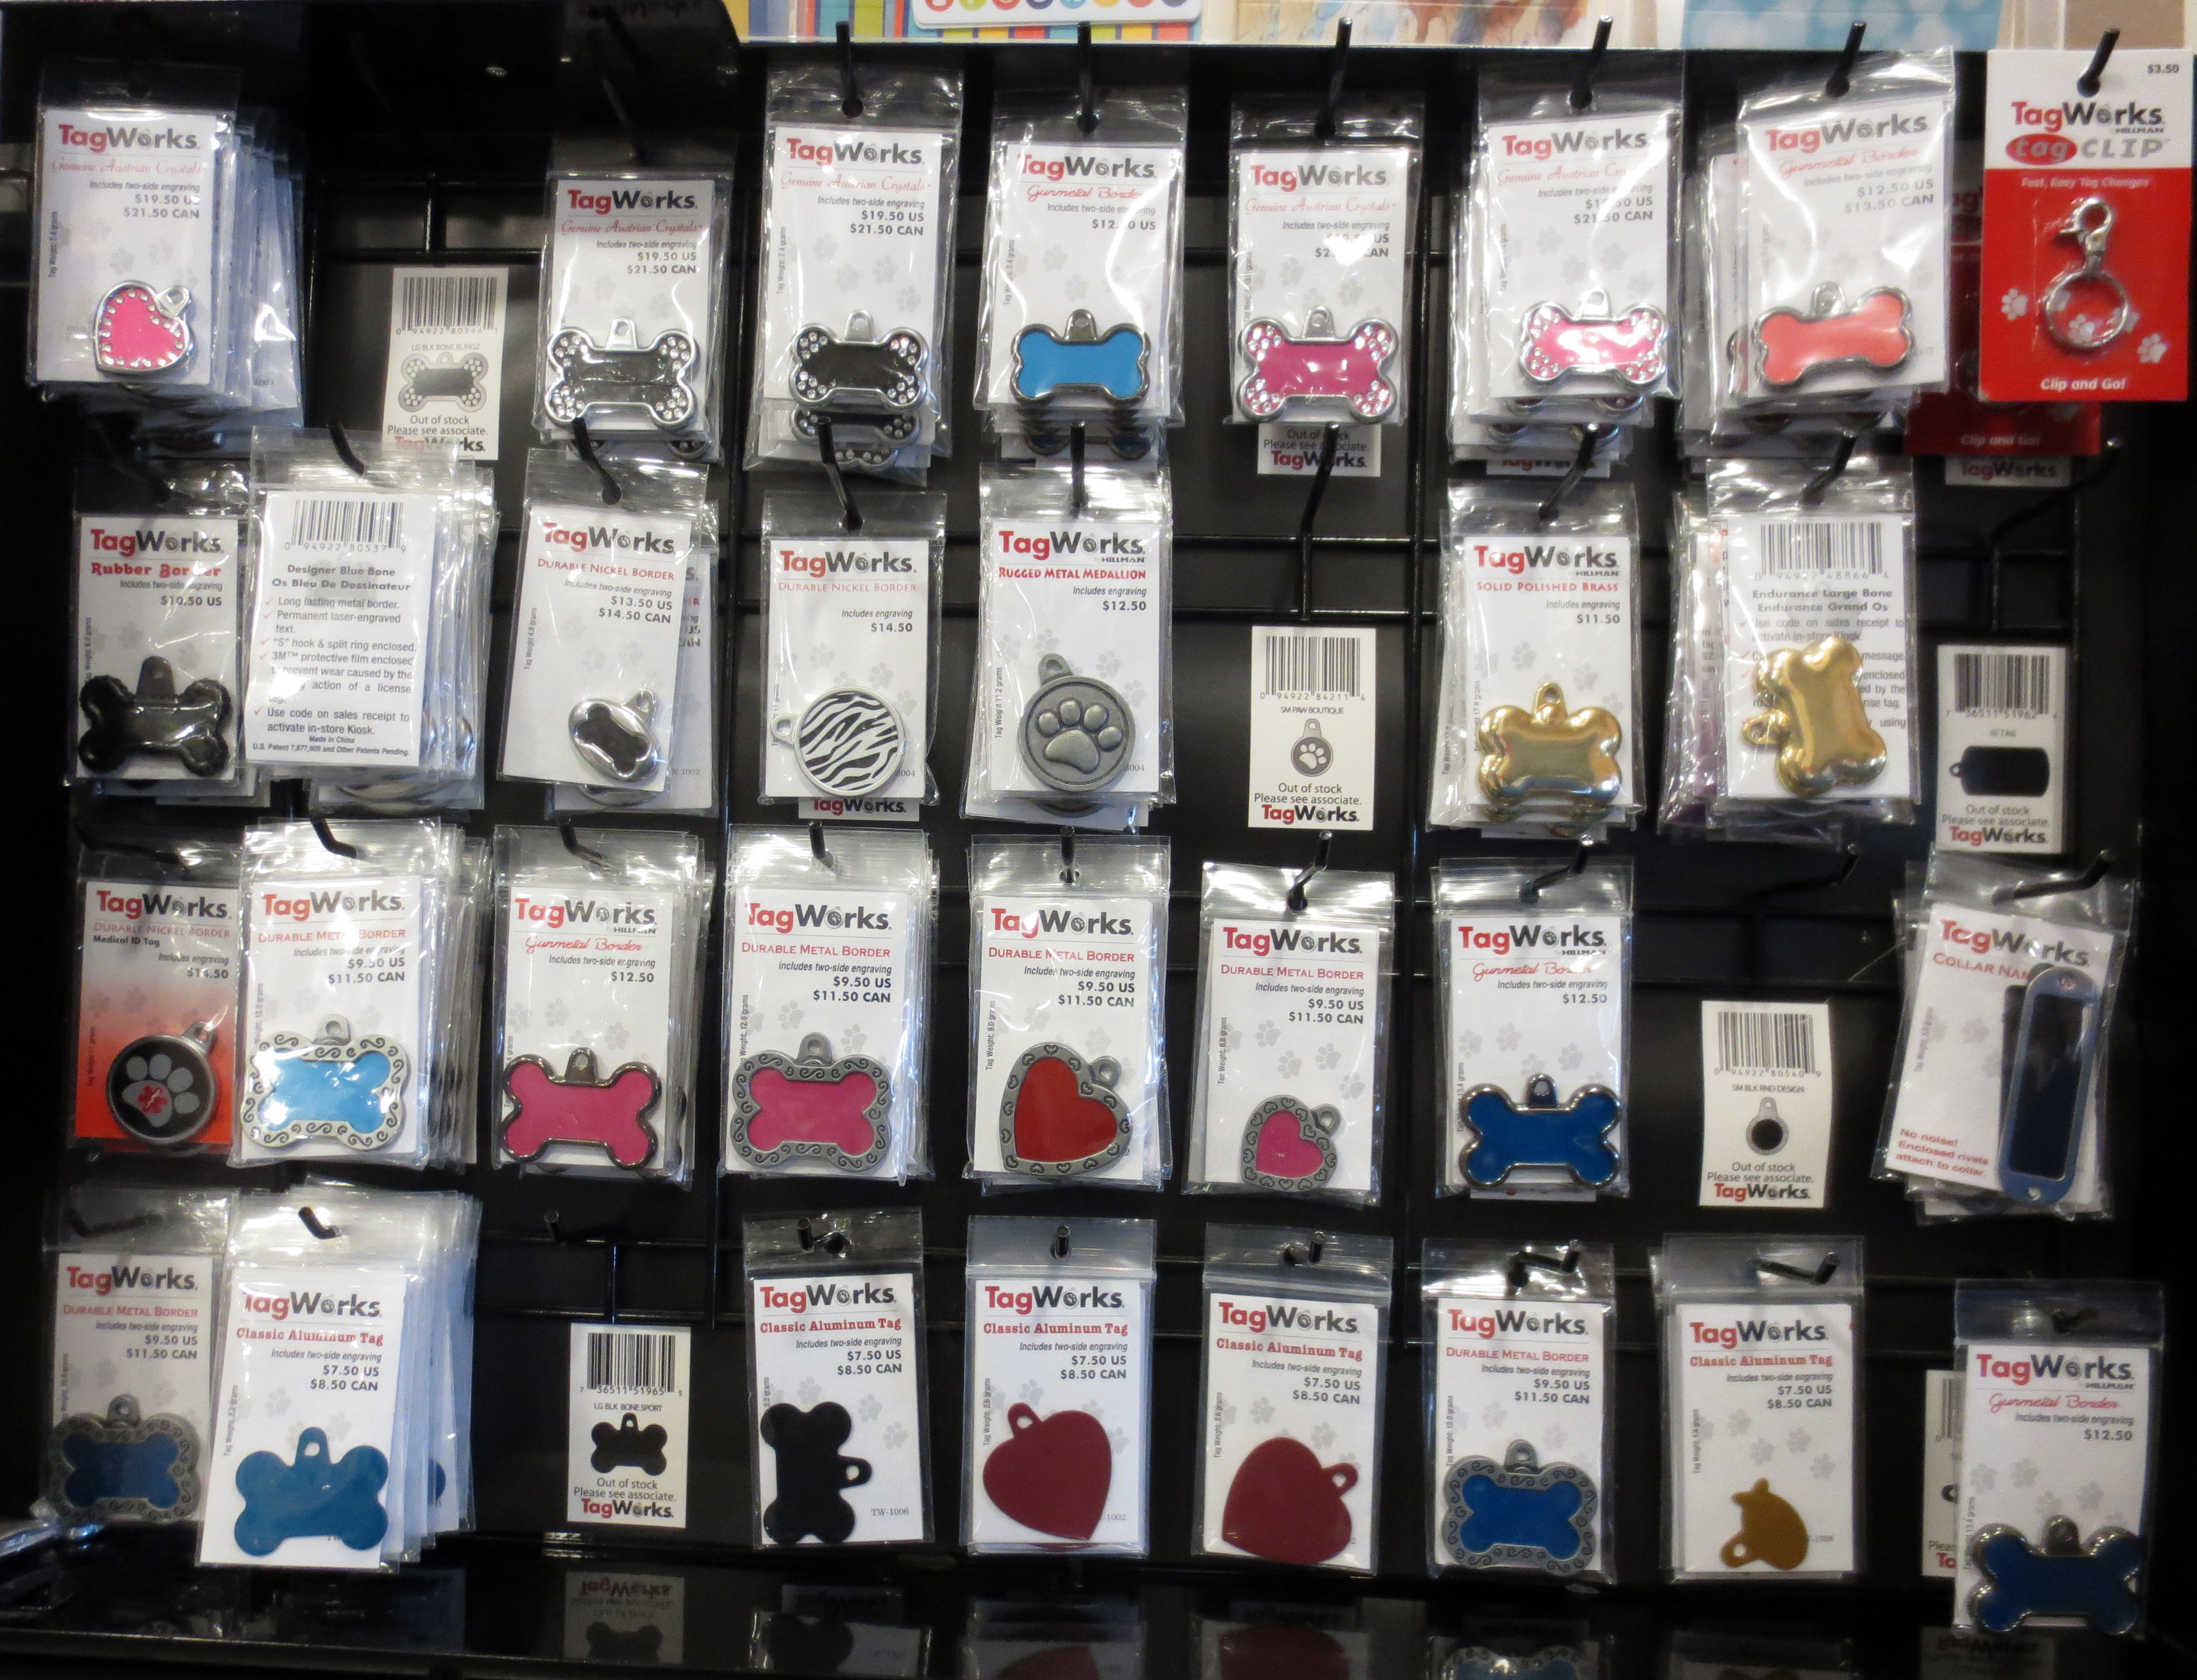
 Buy one of these dog tags from the cashier (not a bone-shaped one) to feed into the machine.
 Use the touch-screen to type out your message. It doesn’t even have to be the name of a dog! It can be anything you want. Even a birthday pun. Or worse.
 When you get home, use a black permanent marker or a dash of black paint to mask this tacky display of branding:
 Mark the spot on your board where you want to screw your engraving, and drill pilot holes. Not surprisingly, the dog tag didn’t come with wood screws, I had to forage some out of my screw stash. Screw the engraving into the plaque.
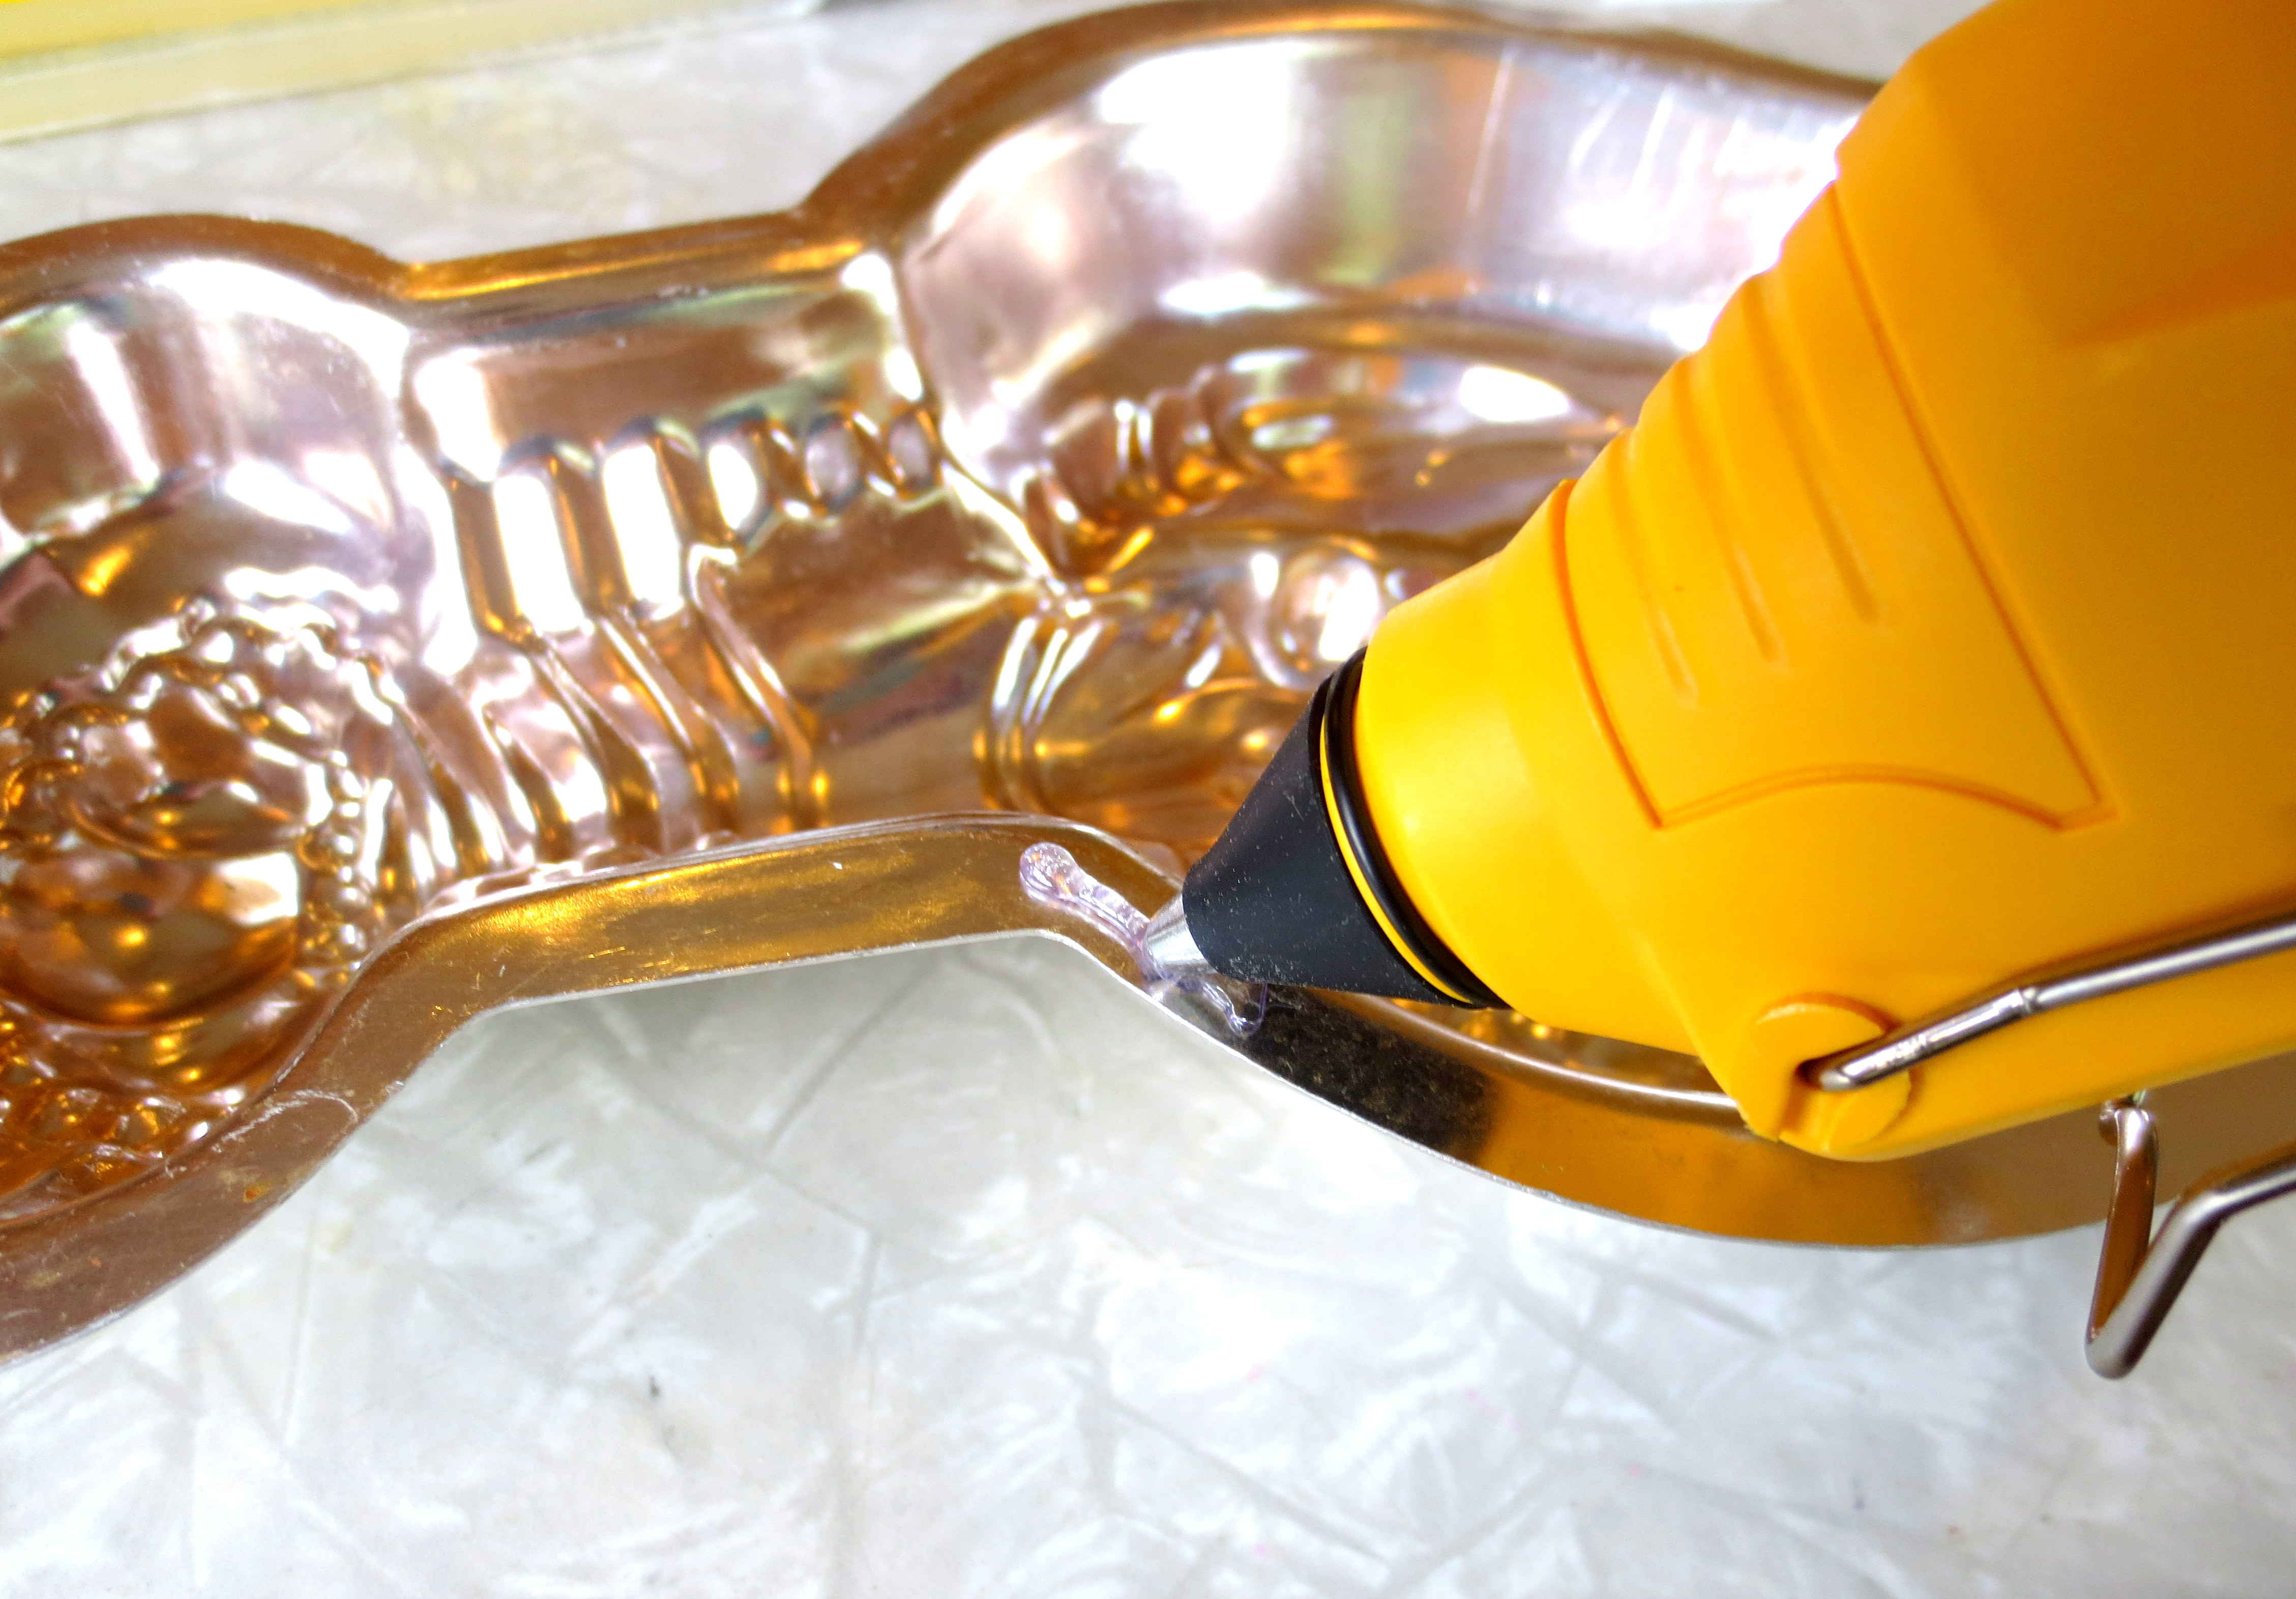
 Finally, fire up the hot glue gun and squeeze a bead of adhesive around the underside perimeter of the lobster. Work quickly, this stuff dries fast.
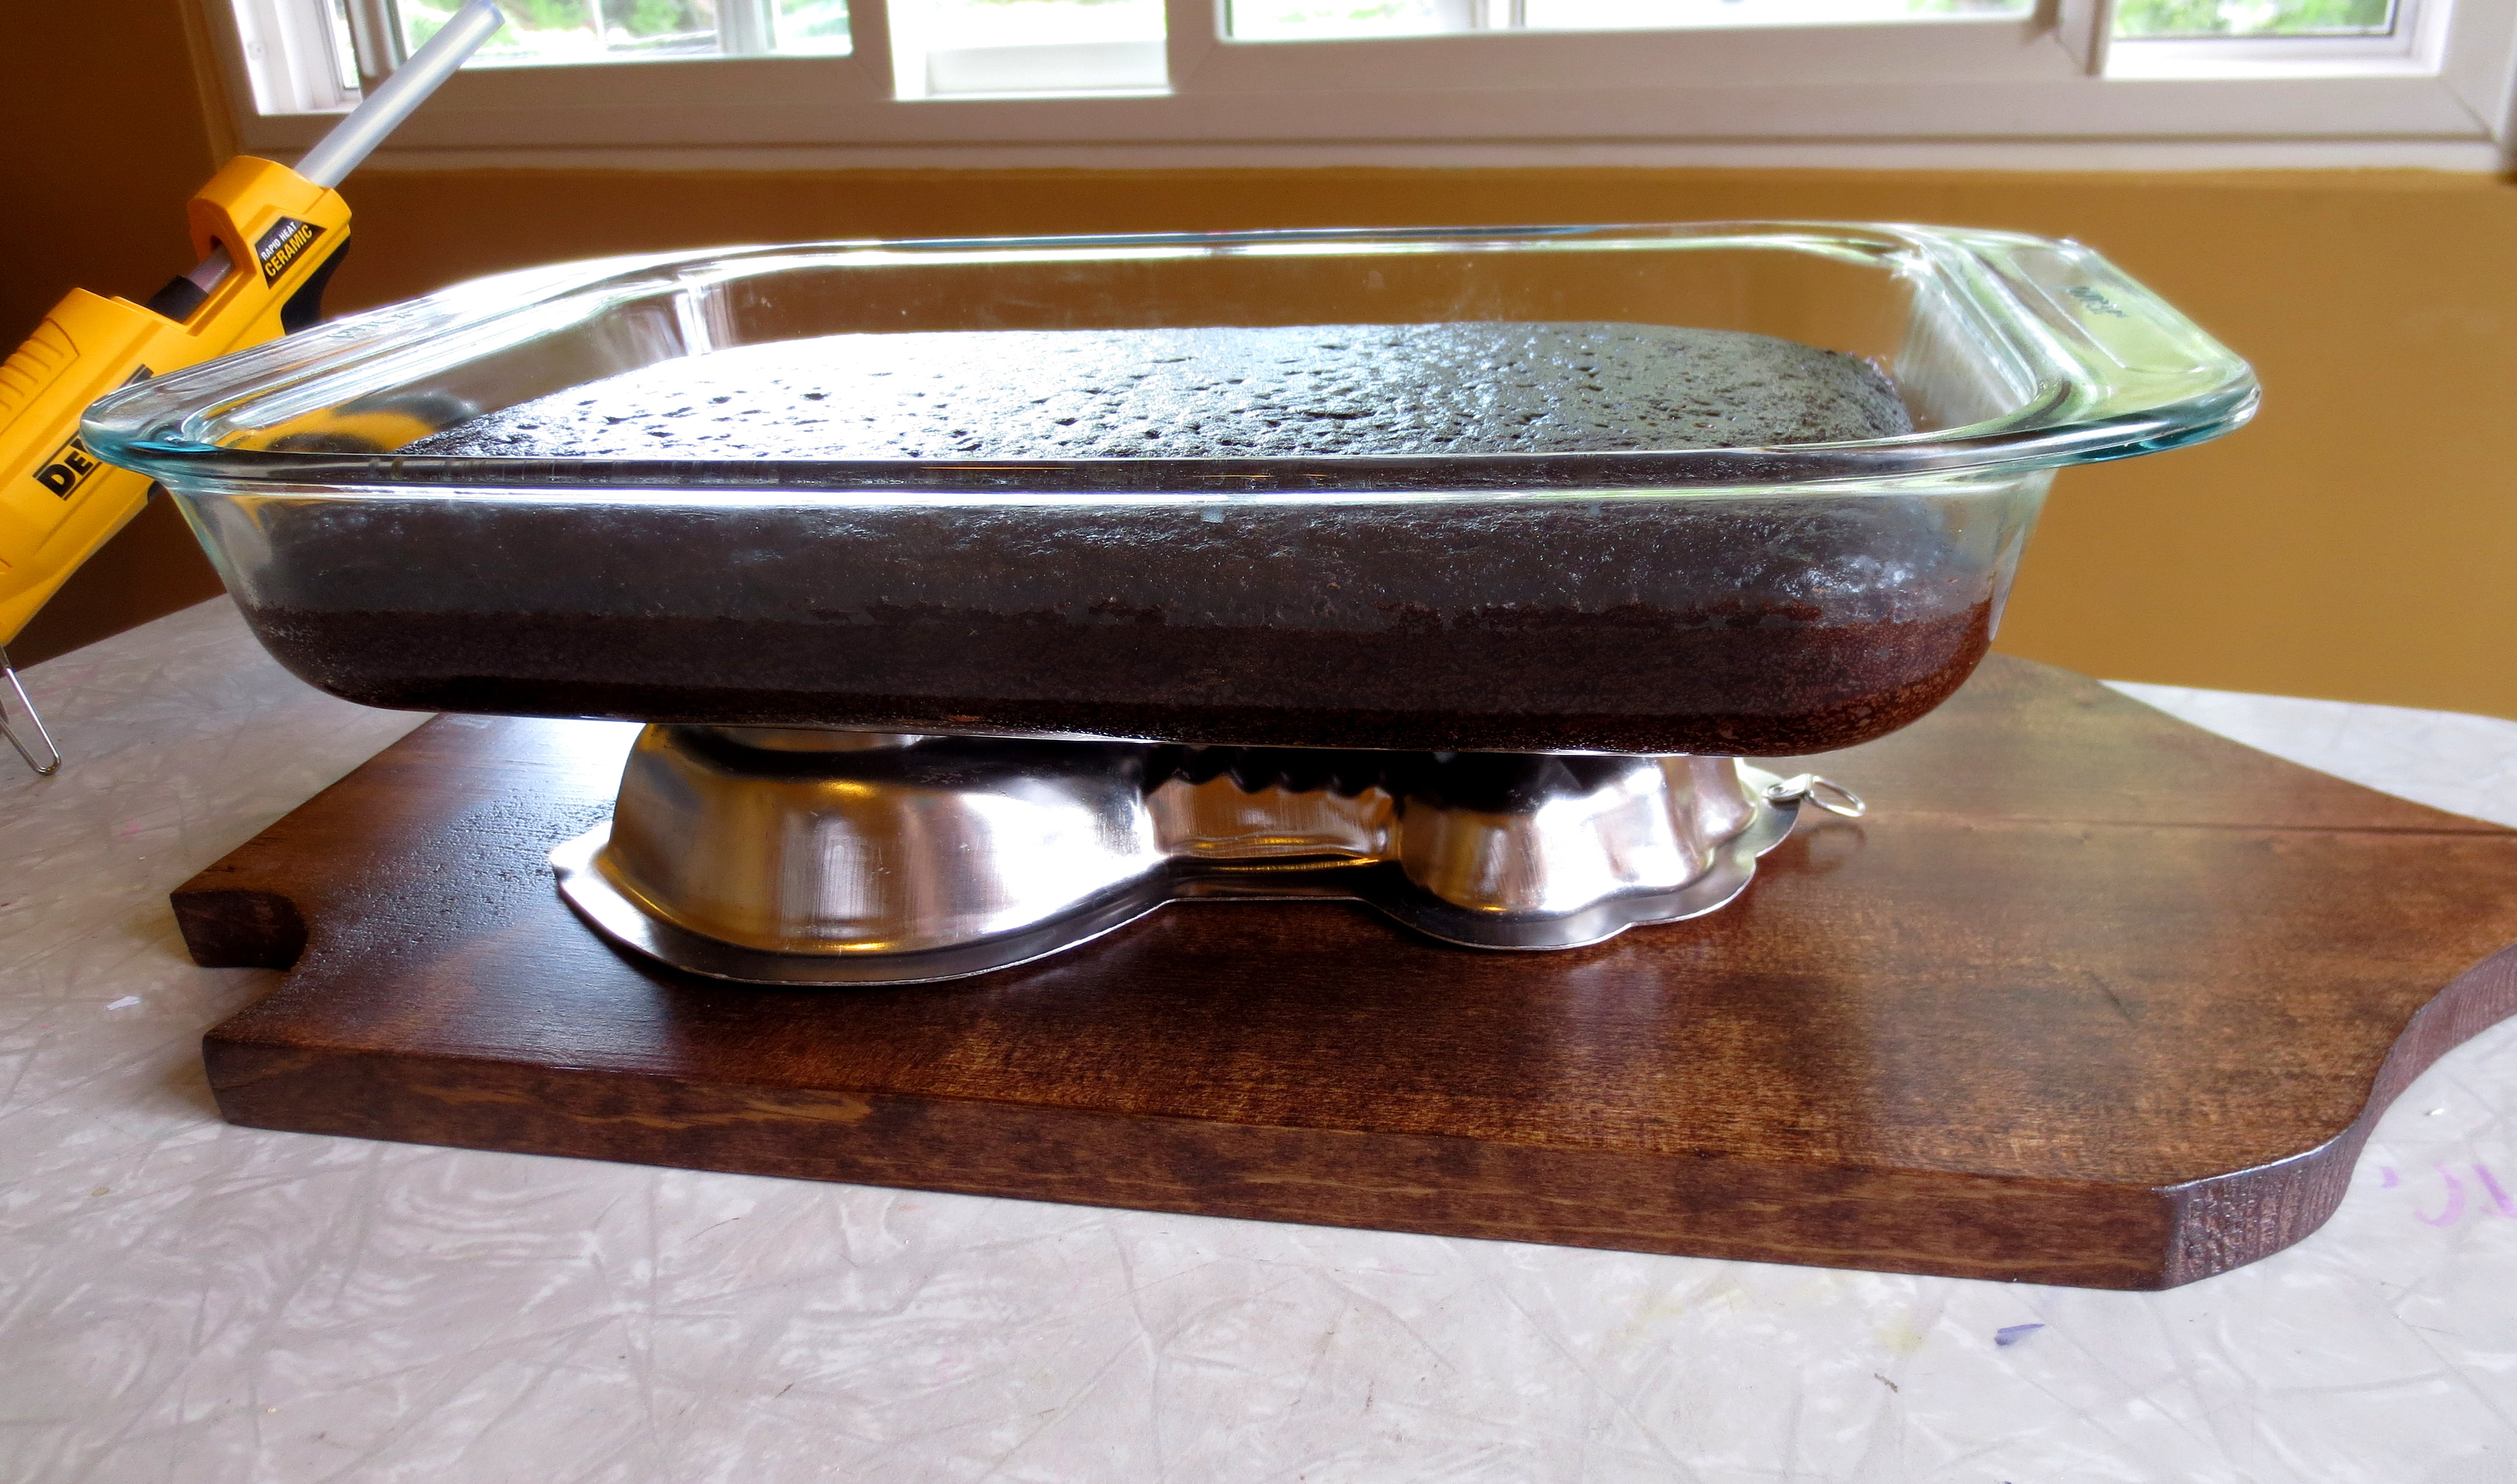
 Place the birthday cake on top of the freshly-glued lobster to hold it down while the glue sets.
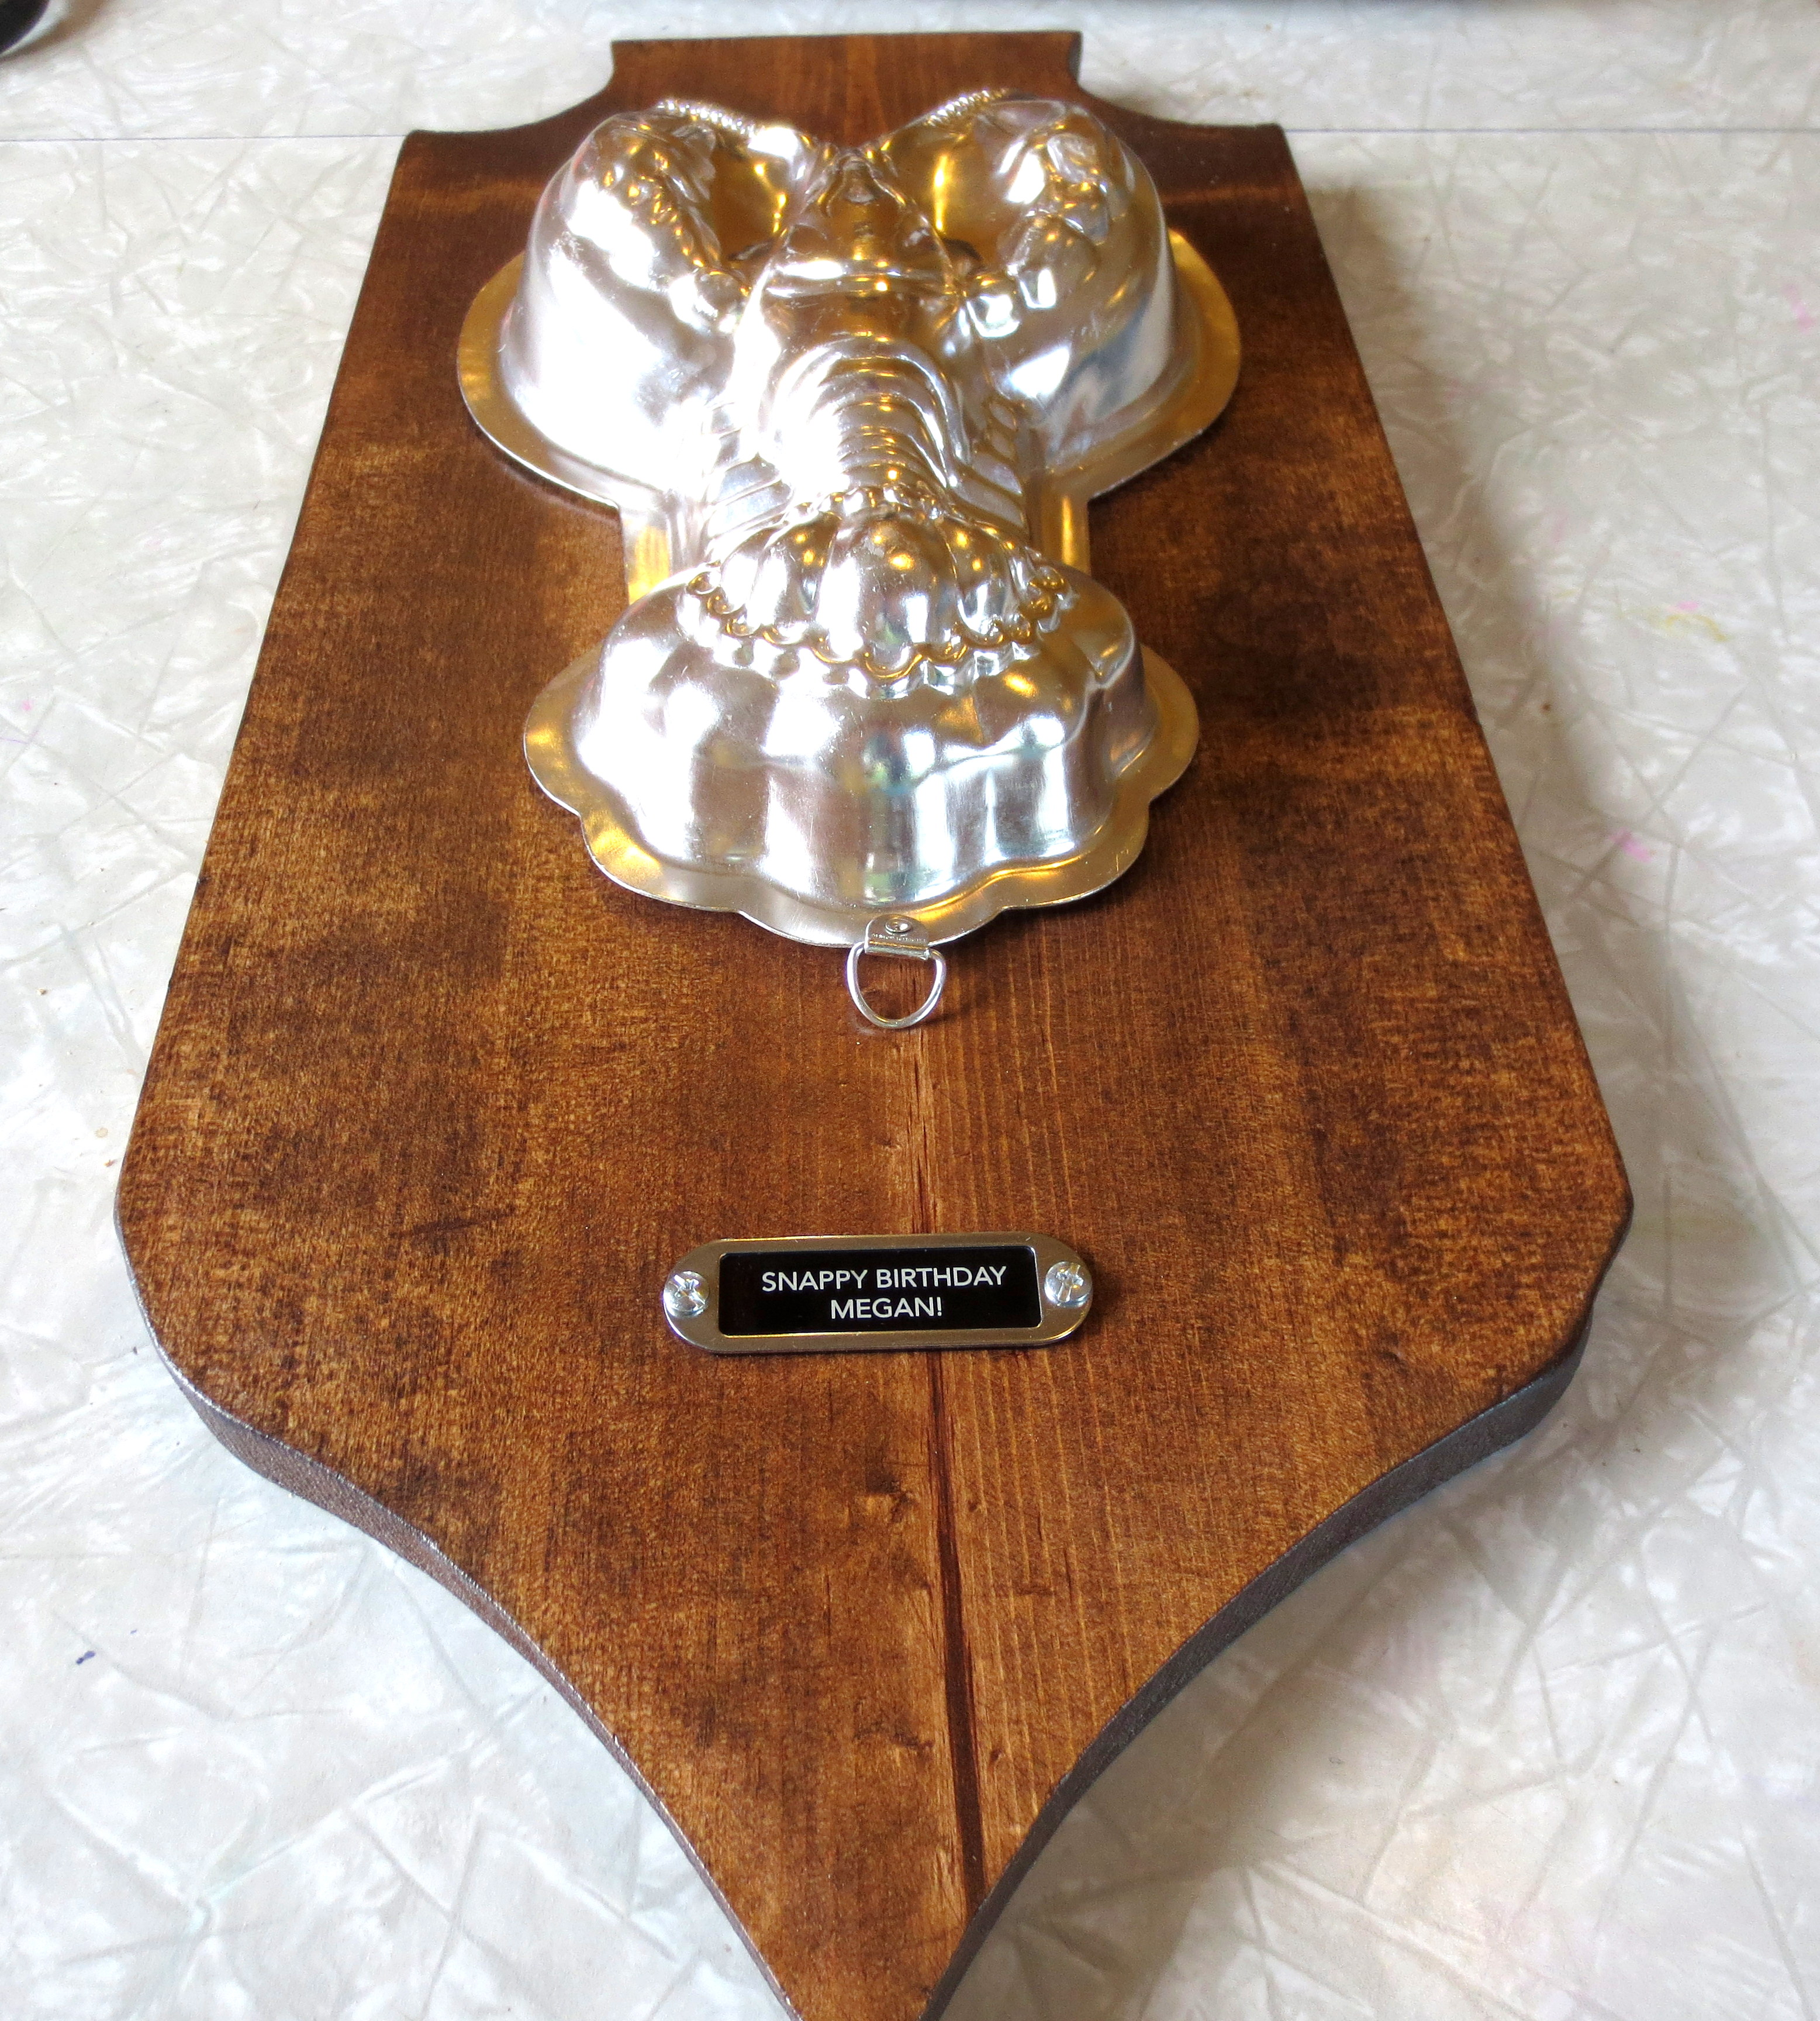
 Take a few pictures of your finished plaque before heading to the party.

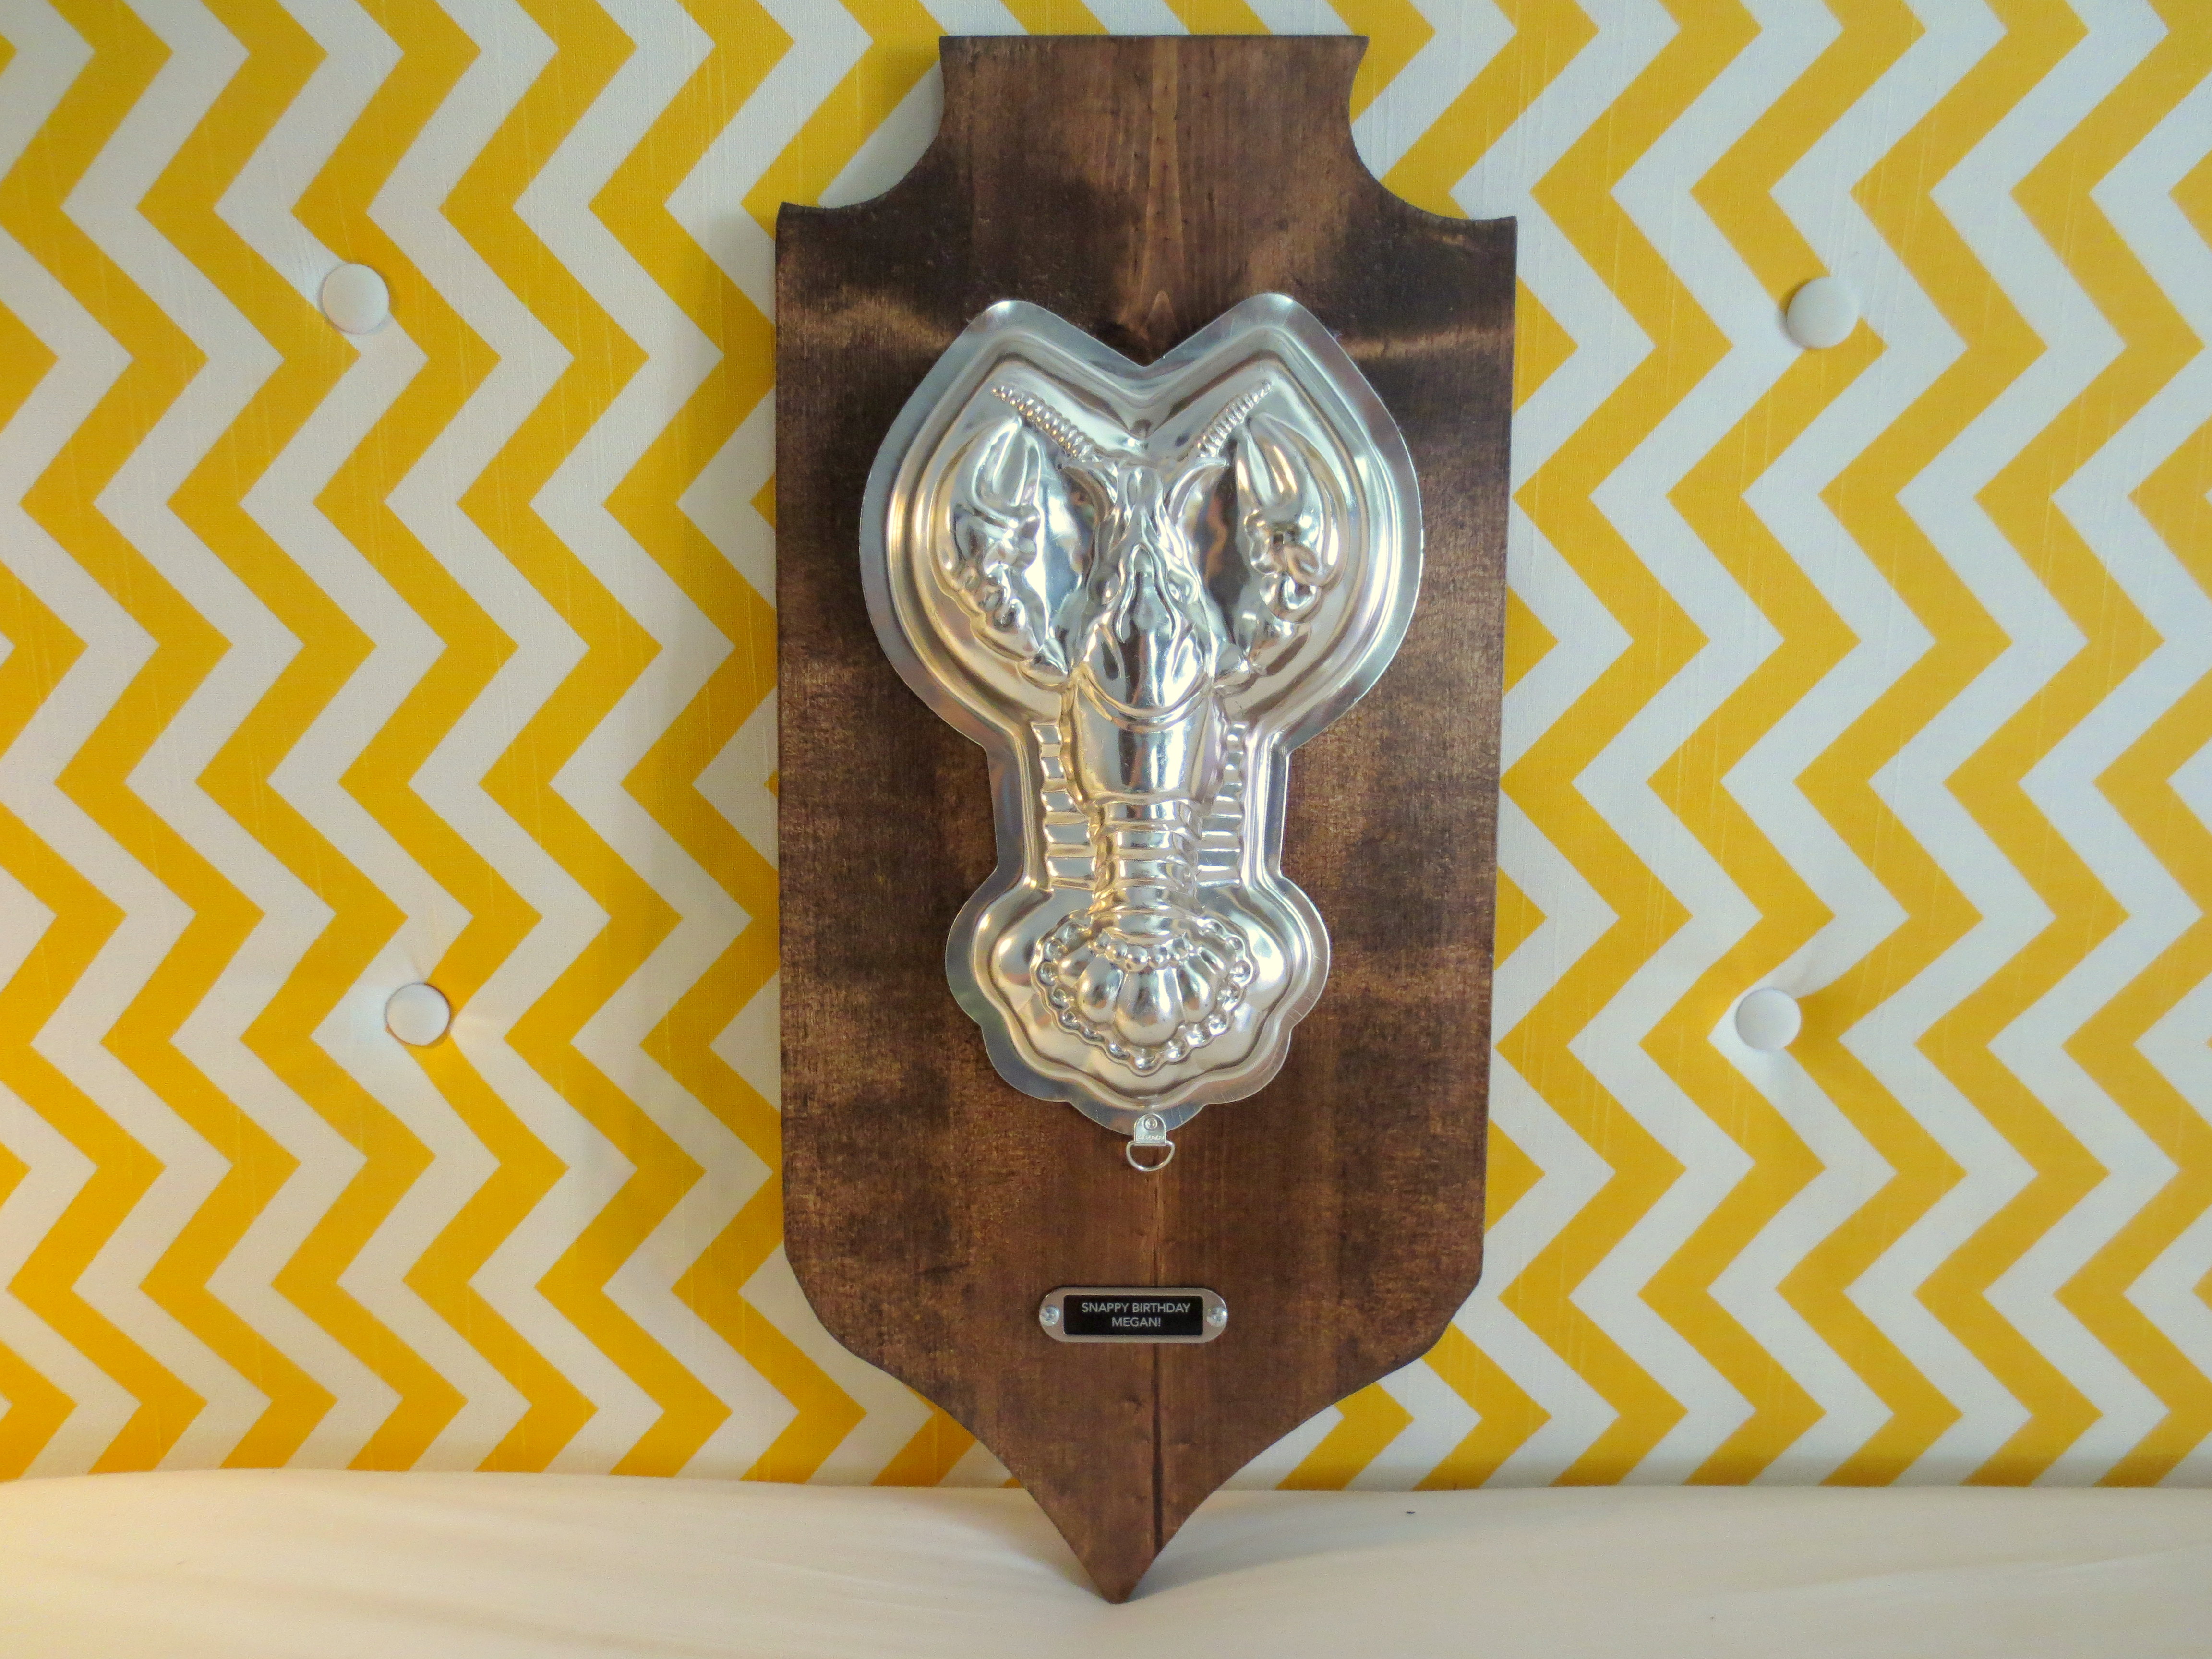 Send ten more frantic text messages to Matt (the husband), checking again that Megan will definitely be at tonight’s party, and to Gin, to make sure she printed the half-marathon registration that we all pitched in to buy her. Carry the plaque in an Aldi freezer bag, cause nobody would think to look in there for something as classy as this. After a few beers, present the birthday girl with her honor:
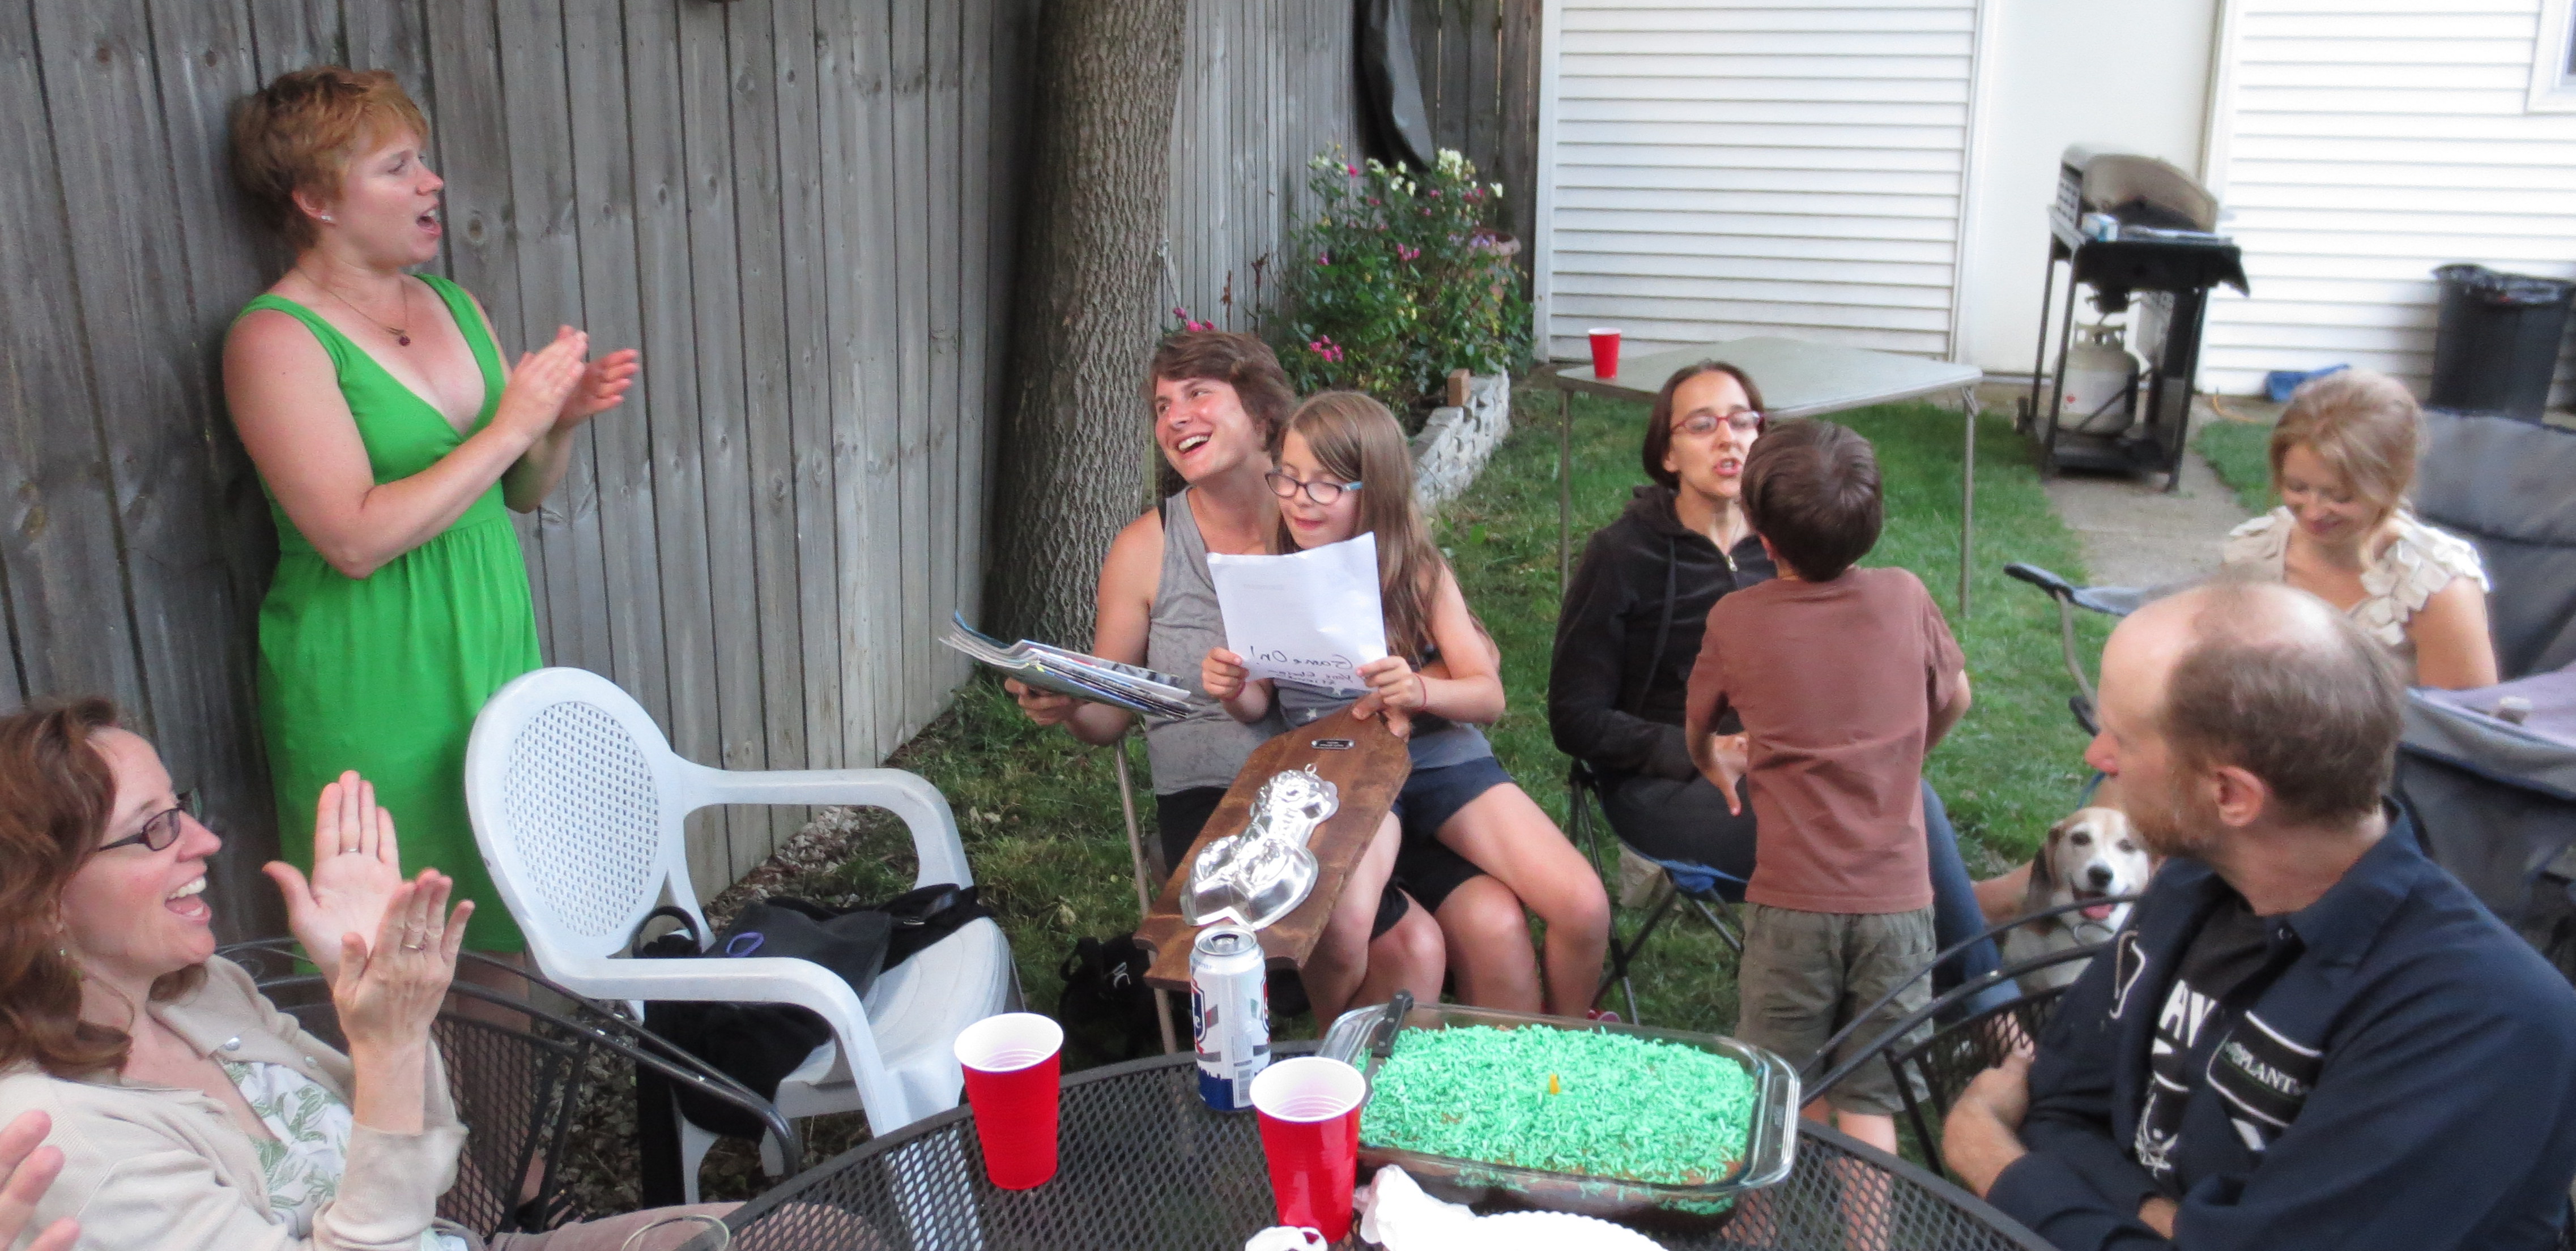 SNAPPY BIRTHDAY, MEGAN!
 * This photo is a simulation. Sorry, we didn’t take a picture of the actual dessert that night, but you get the idea.
** Is Jig-Sawing a verb? It is now. Or possibly a gerund.
*** Scott had suggested, “They broke the mold when they made you,” but it seemed a little clunky, too long for a dog tag, and it’s not clear who “they” are. Also, you never want to tell a lady that her existence will cause anything to break.

The classy tag was definitely the finishing touch! I don’t thing engraving machines like that have reached Australia yet, but it’s definitely time! I can think of all sorts of things to use it for….
LikeLike
Pingback: Everyone’s a Winner at the Super Bowl of Snacks | projectophile
Pingback: World’s Slowest Before-and-After: Micro-Bathroom Makeover, PART 2 | projectophile