This is the story of a chair that had fallen from grace, a chair in need of salvation.
Not to get all spiritual on you, but sometimes the universe sends a sign, a calling.
In this case it was an actual phone call, from my friend Lisa. “Just wanted to let you know the church down the block is throwing a bunch of cool old chairs into the alley. You better get some now before they’re gone. Also, could you grab a couple for me?”
The call came on Saturday morning, and I was at the Lincoln Park Zoo with three preschoolers. Scott was in another state. It was the worst possible time for me to scavenge furniture. Perhaps it was a sign – the chairs weren’t meant to be.*
Then a miracle: A couple of days later I got a message from Gareth, another neighborhood hero. He had grabbed some of the chairs, and asked if I wanted one. “Sure,” I said. Like an angel from scavenger heaven, Gareth was at my front door ten minutes later. “If you do something real nice with this one,” he promised, “I could maybe give you a couple more.”
 It was the best kind of alley chair – a simple mid-century design in a sturdy, solid wood frame. It was just kind of … crummy. Disgusting, actually. The wood frame looked as though it had been used simultaneously as a napkin, a floatation device and a chew toy.
 The wood had dulled to a jaundiced, sickly yellow, where it wasn’t black with years of grime. I found three pieces of gum; one was sporting a mustache of little black hairs.
 By some sort of miracle, the vinyl seat and back cushion were perfect. No tears or blemishes. It was just so… filthy.
 I had been given a new mission that day — to resurrect this fallen chair; to give it new life through the healing power of sandpaper, wood stain, polyurethane and spray paint.
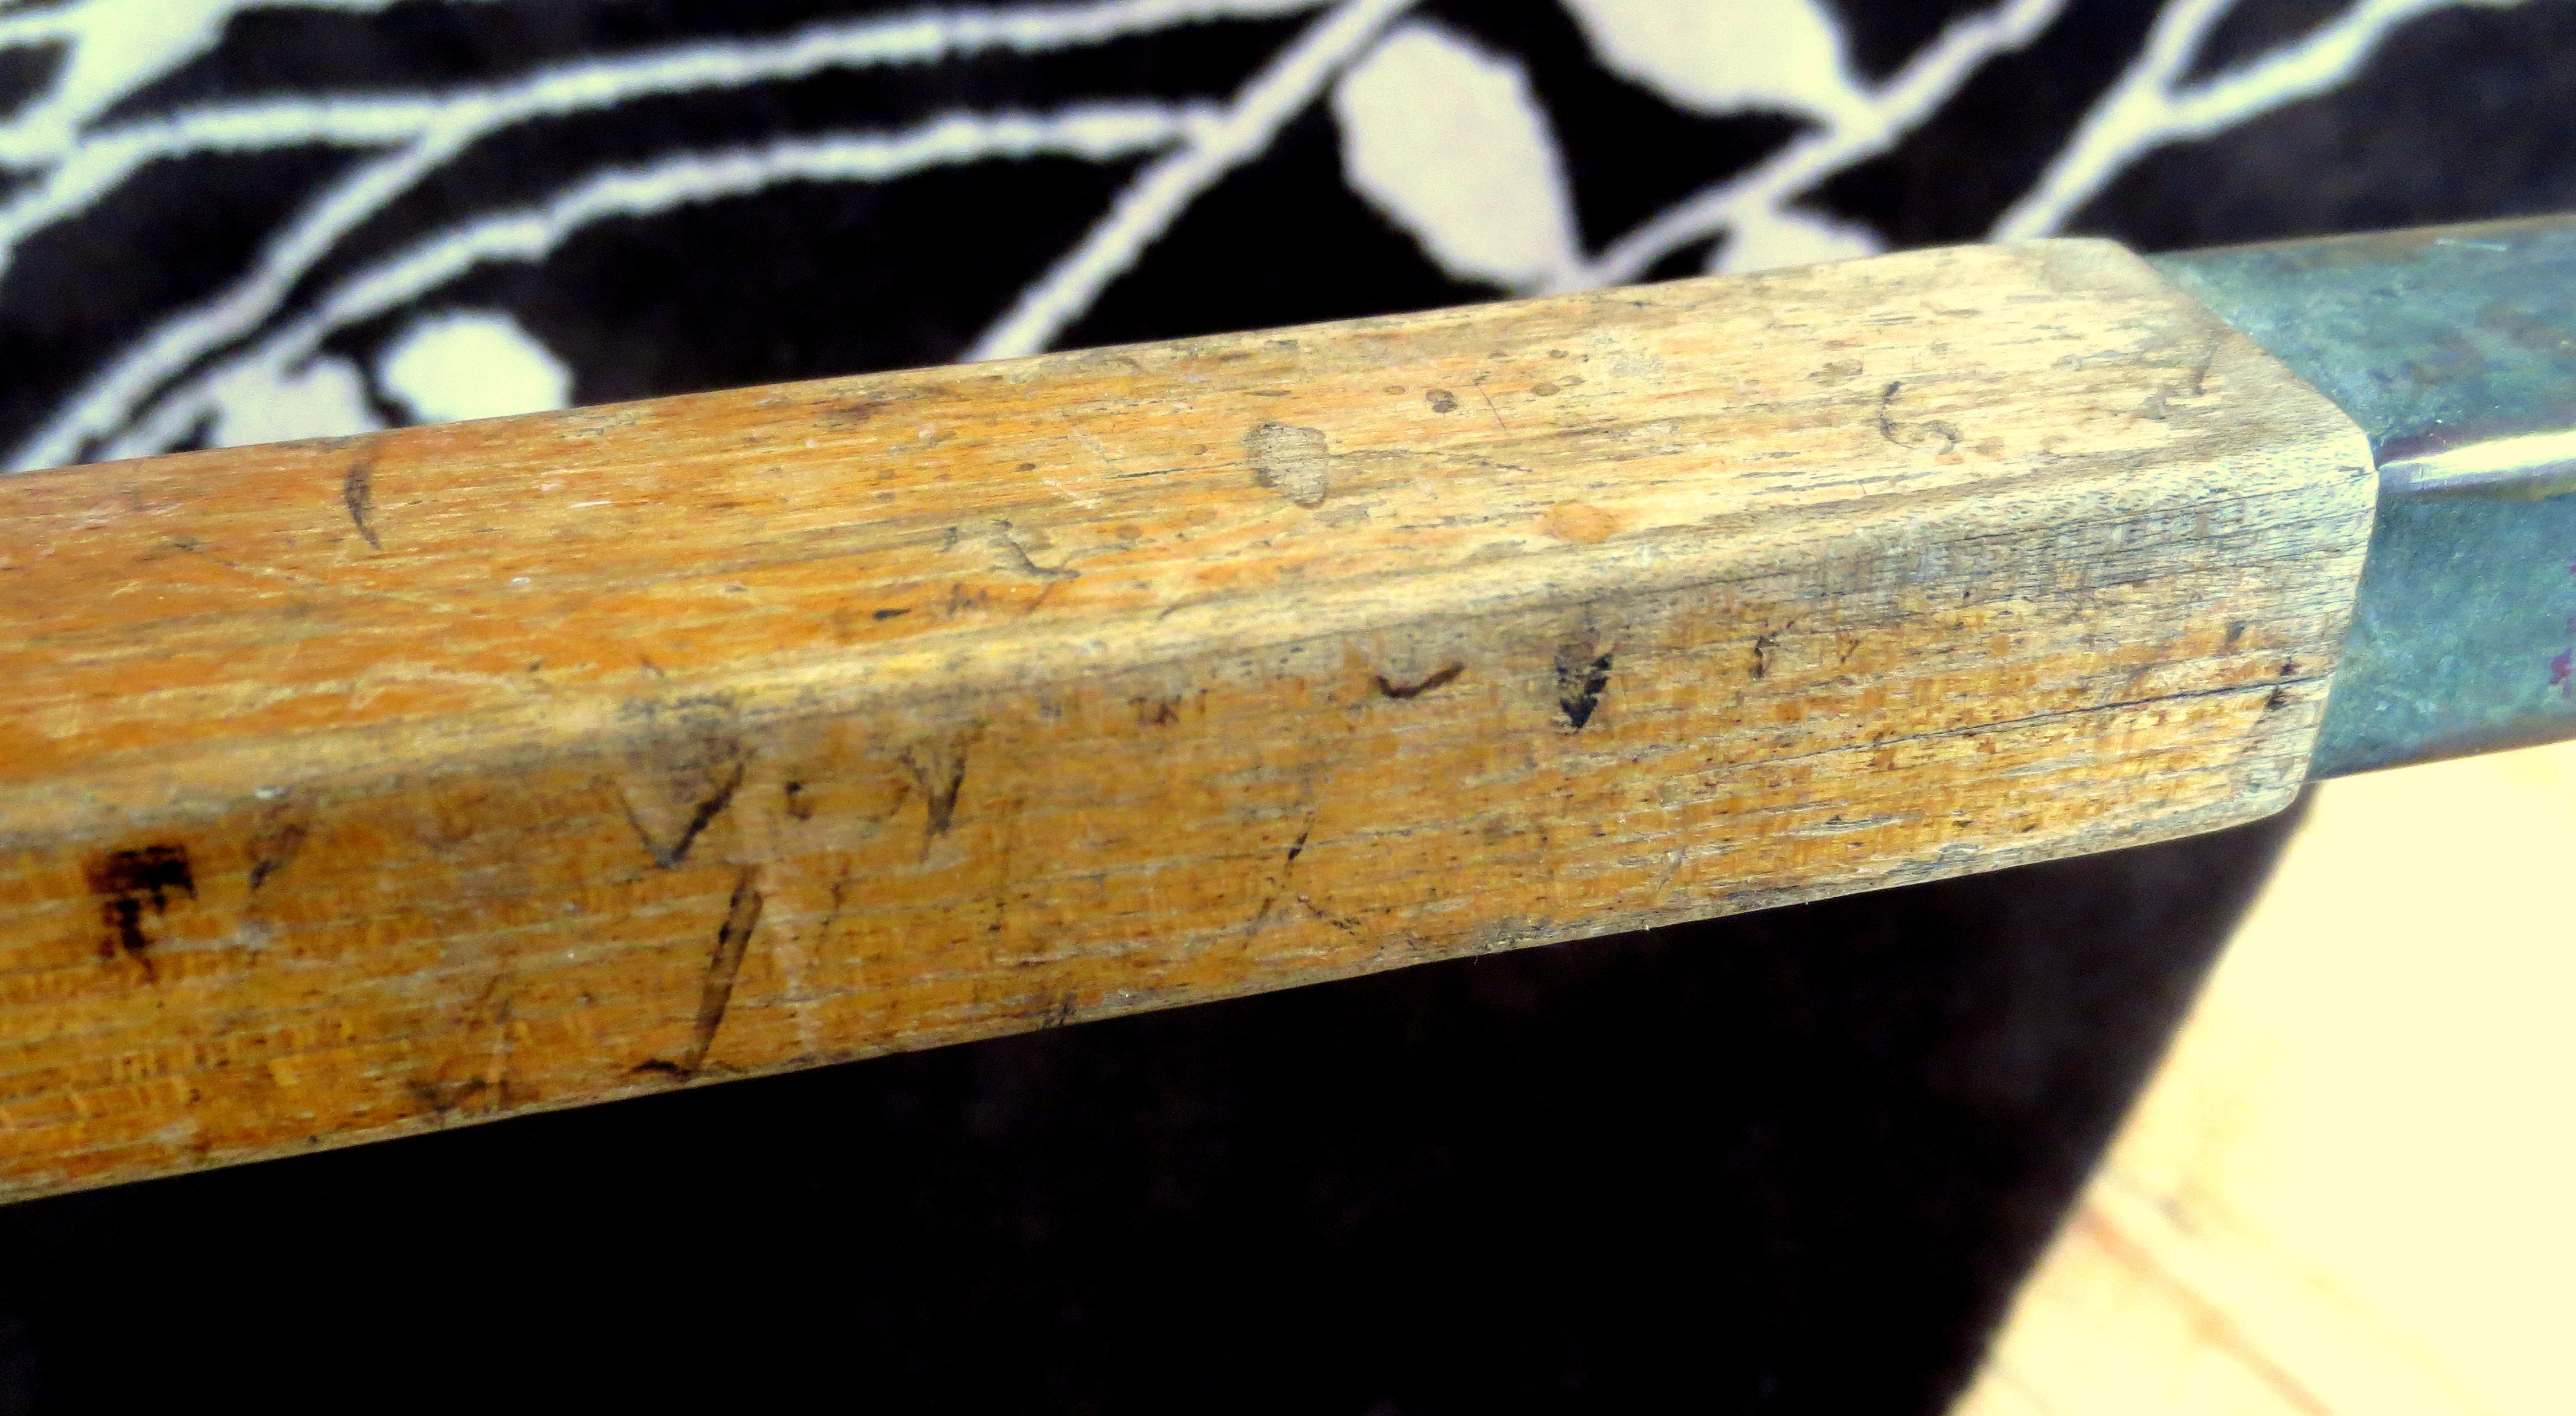
STEP ONE – DISSASSEMBLE: The autopsy has always been my favorite part of furniture restoration. Taking a chair apart satisfies a curiosity both about how it was made, and about its personal history.
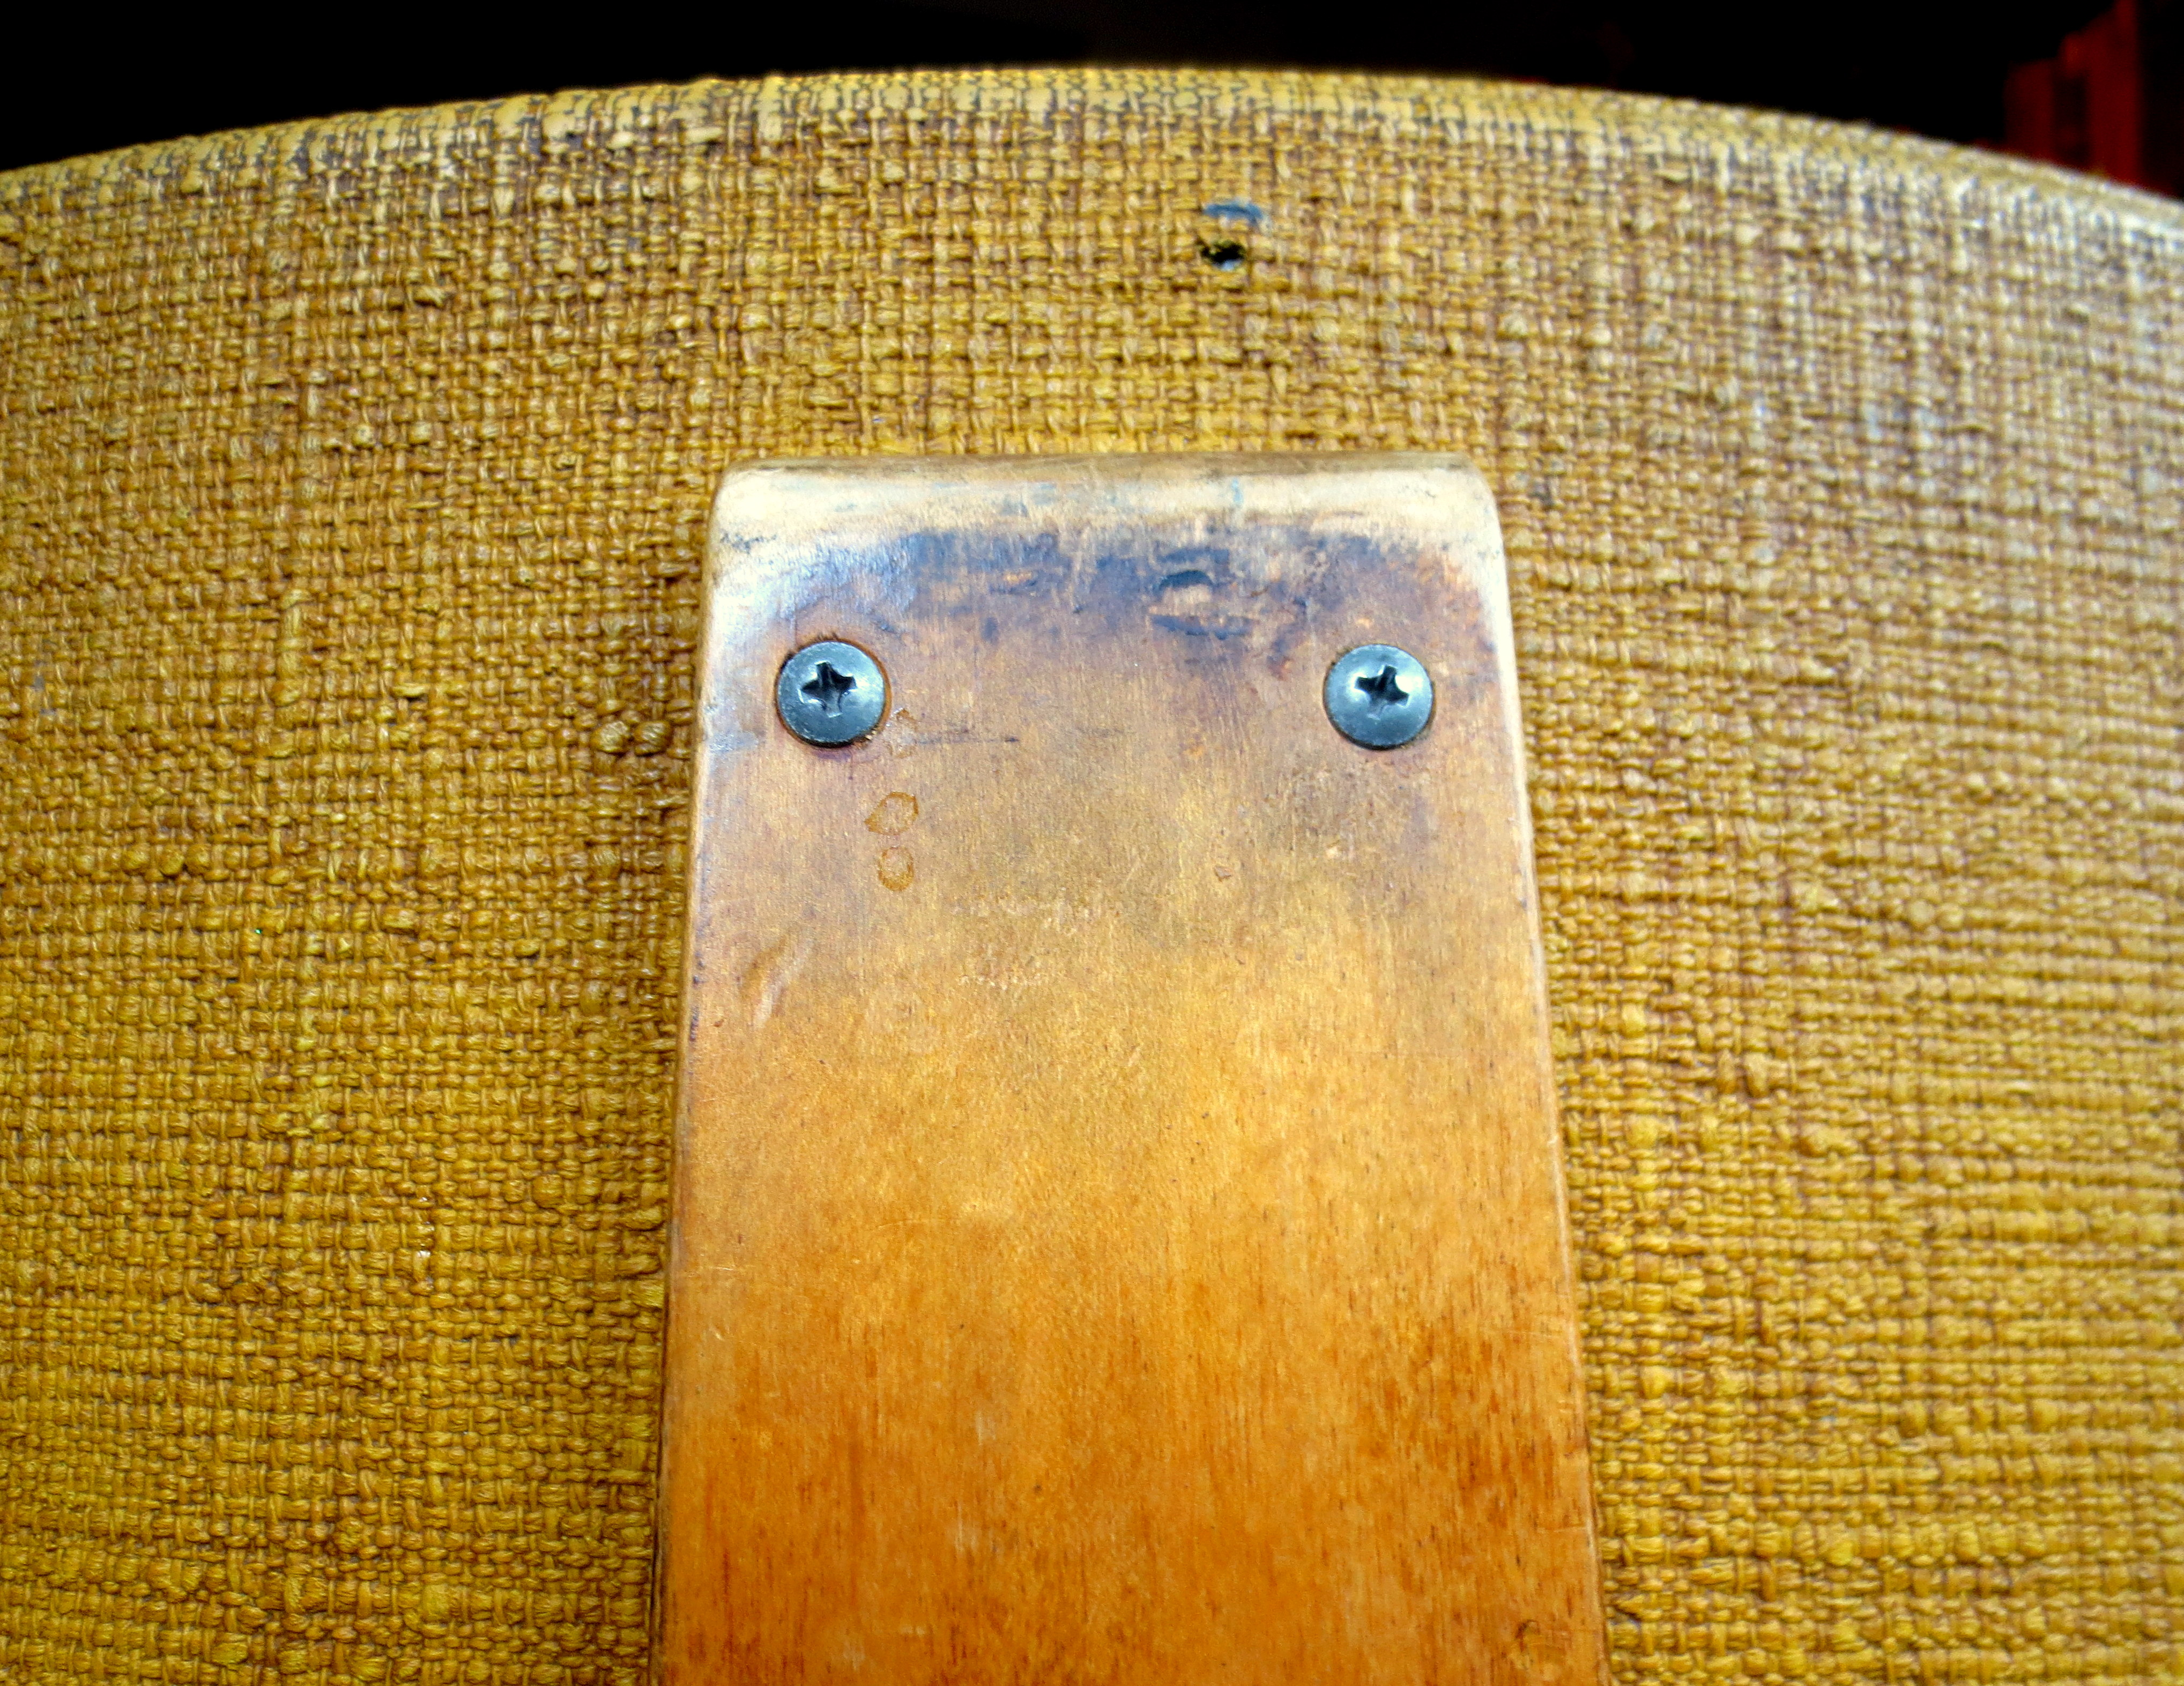
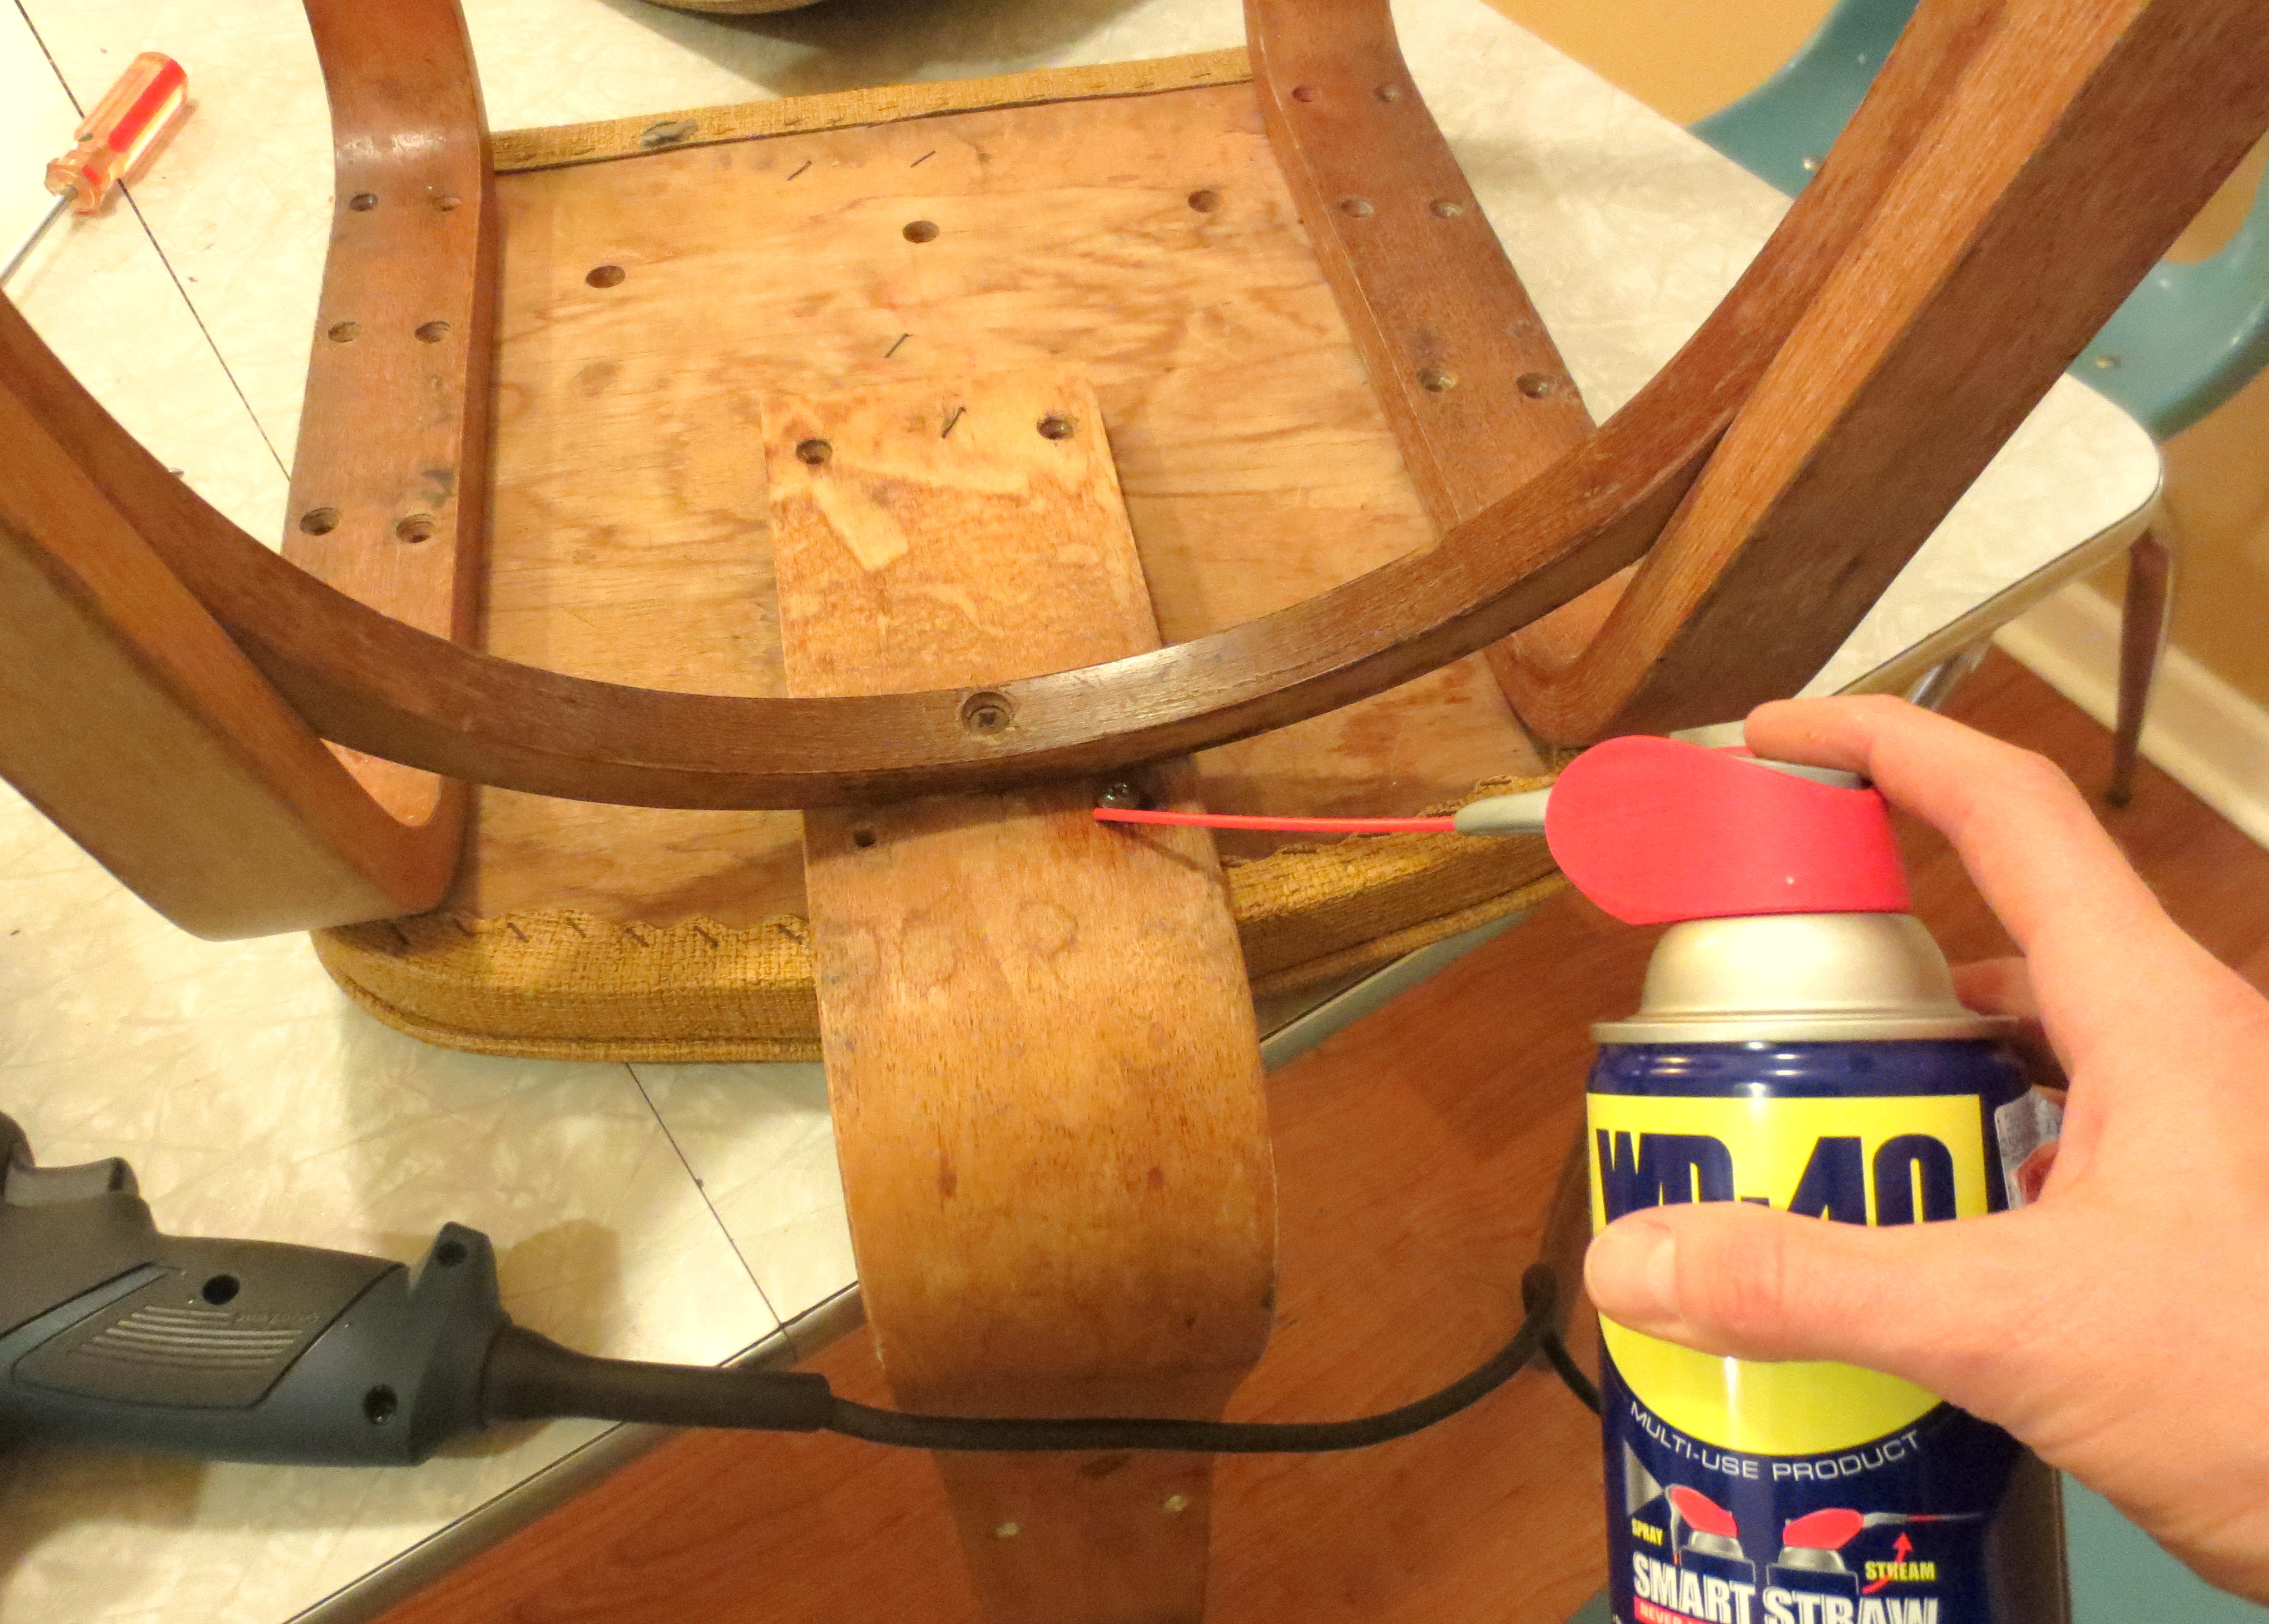
First, determine which screws are holding the seat cushions to the frame, and which are actually holding the frame together. I started unscrewing by hand, but with more than two dozen screws in all (see blue arrows below), I thought it best to use my power drill. Be careful not to use full force. The drill may strip the heads of your screws, especially if they are old, stubborn and rusty.
 Without the seat cushion attached, the frame was actually quite delicate. I decided to remove the piece holding the back cushion (we’ll call it the “spine”), so that it wouldn’t snap off from the bottom frame while I was sanding. The screws were super rusted, so it required a few squirts of WD-40 (which smells like my landlord’s cologne) and a lot of swearing to get them loose.
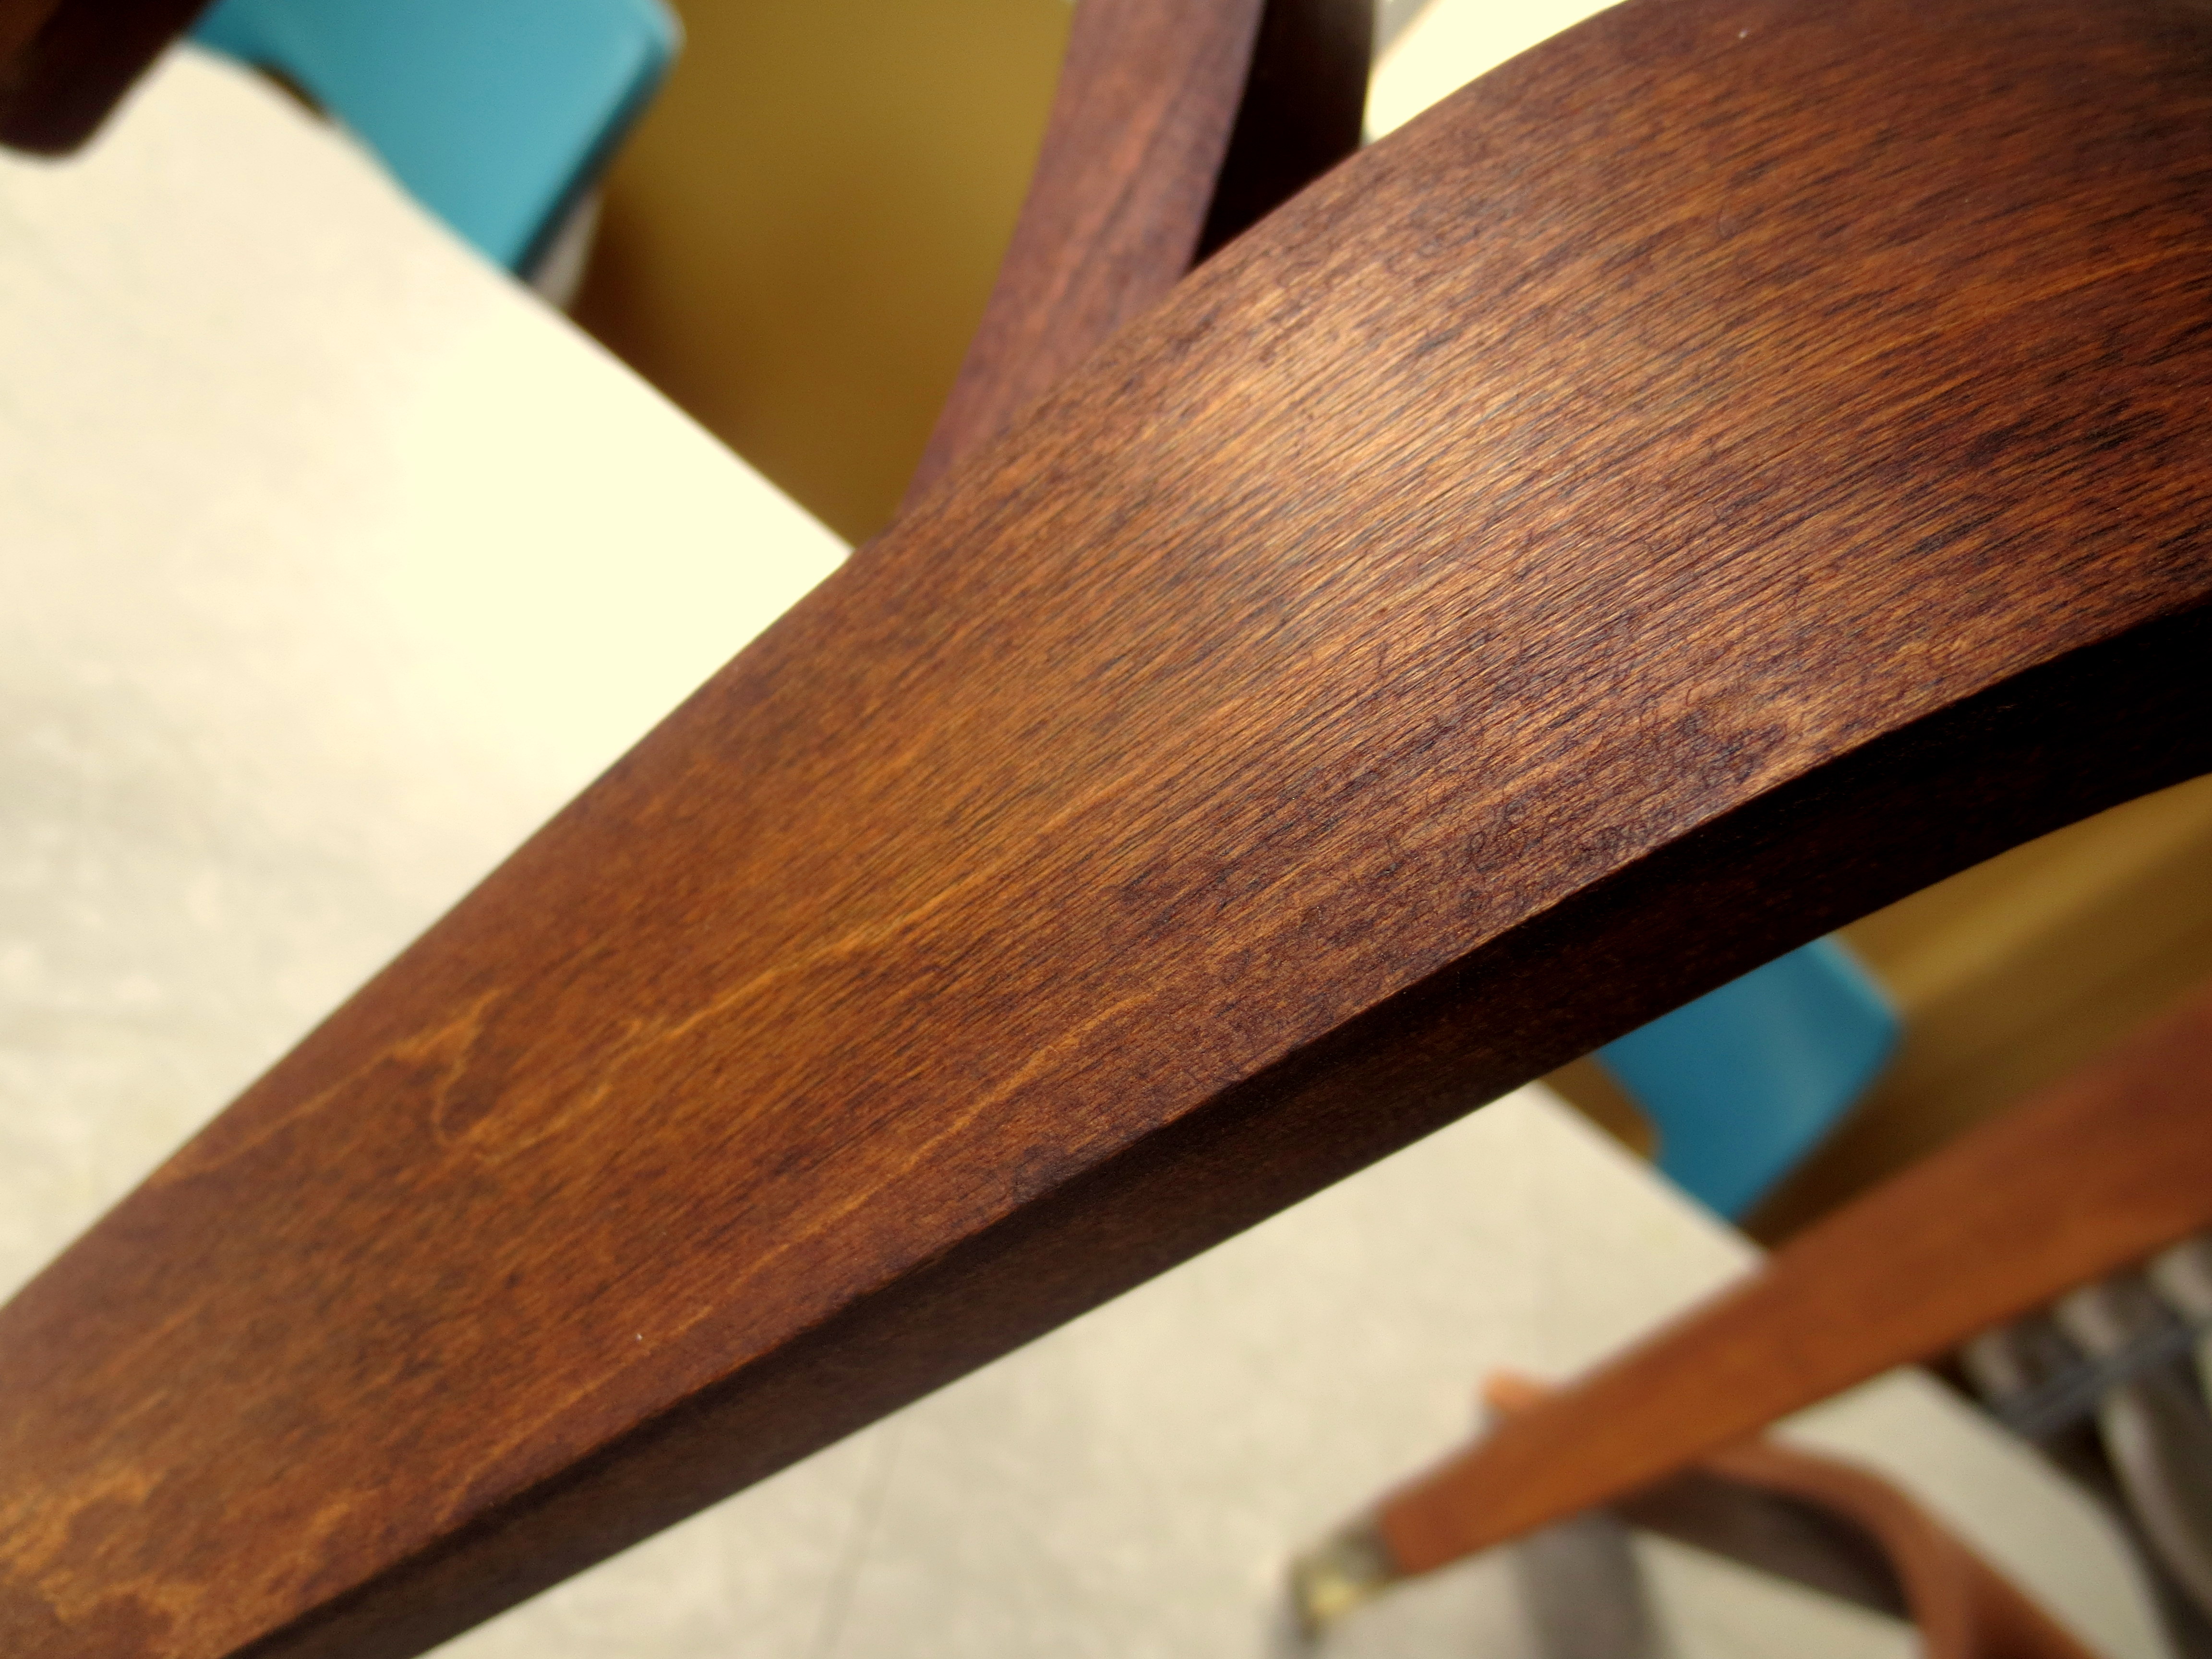
 Here’s the frame, with the spine still attached, ready for sanding:
 STEP TWO – REFINISH THE FRAME: With the spine and legs separated, use a power sander with 80-grit paper to sand down to the bare wood, grinding away both the scratches and the old finish. Feel free to skip the parts that will be hidden by the cushion.

Sweatpants don’t necessarily mean you’ve given up.
My orbital sander couldn’t quite caress the sexy curves of this frame, so I had to use a sanding block to get into the awkwardly round spots. Finish with 150 or 220-grit paper, and wipe the dust off with a damp rag. Let it dry next to the space heater.
 When the wood is dry, use a clean rag to apply a coat of wood stain. Now, I’ve got a never-ending can of dark walnut stain that I’ve used on my coffee table, my two-toned credenza, my Gentrified Alley Chair , and my Standing Desk (whew). Feeling a little burnt out on such a dark color, I grabbed a can of “just plain walnut” from my local hardware store.
 To keep the color light, I wiped on a thin layer and wiped it off after only a couple of minutes – because the longer you let the stain sit, the darker the color.

AHHH….Just the right amount of walnut!
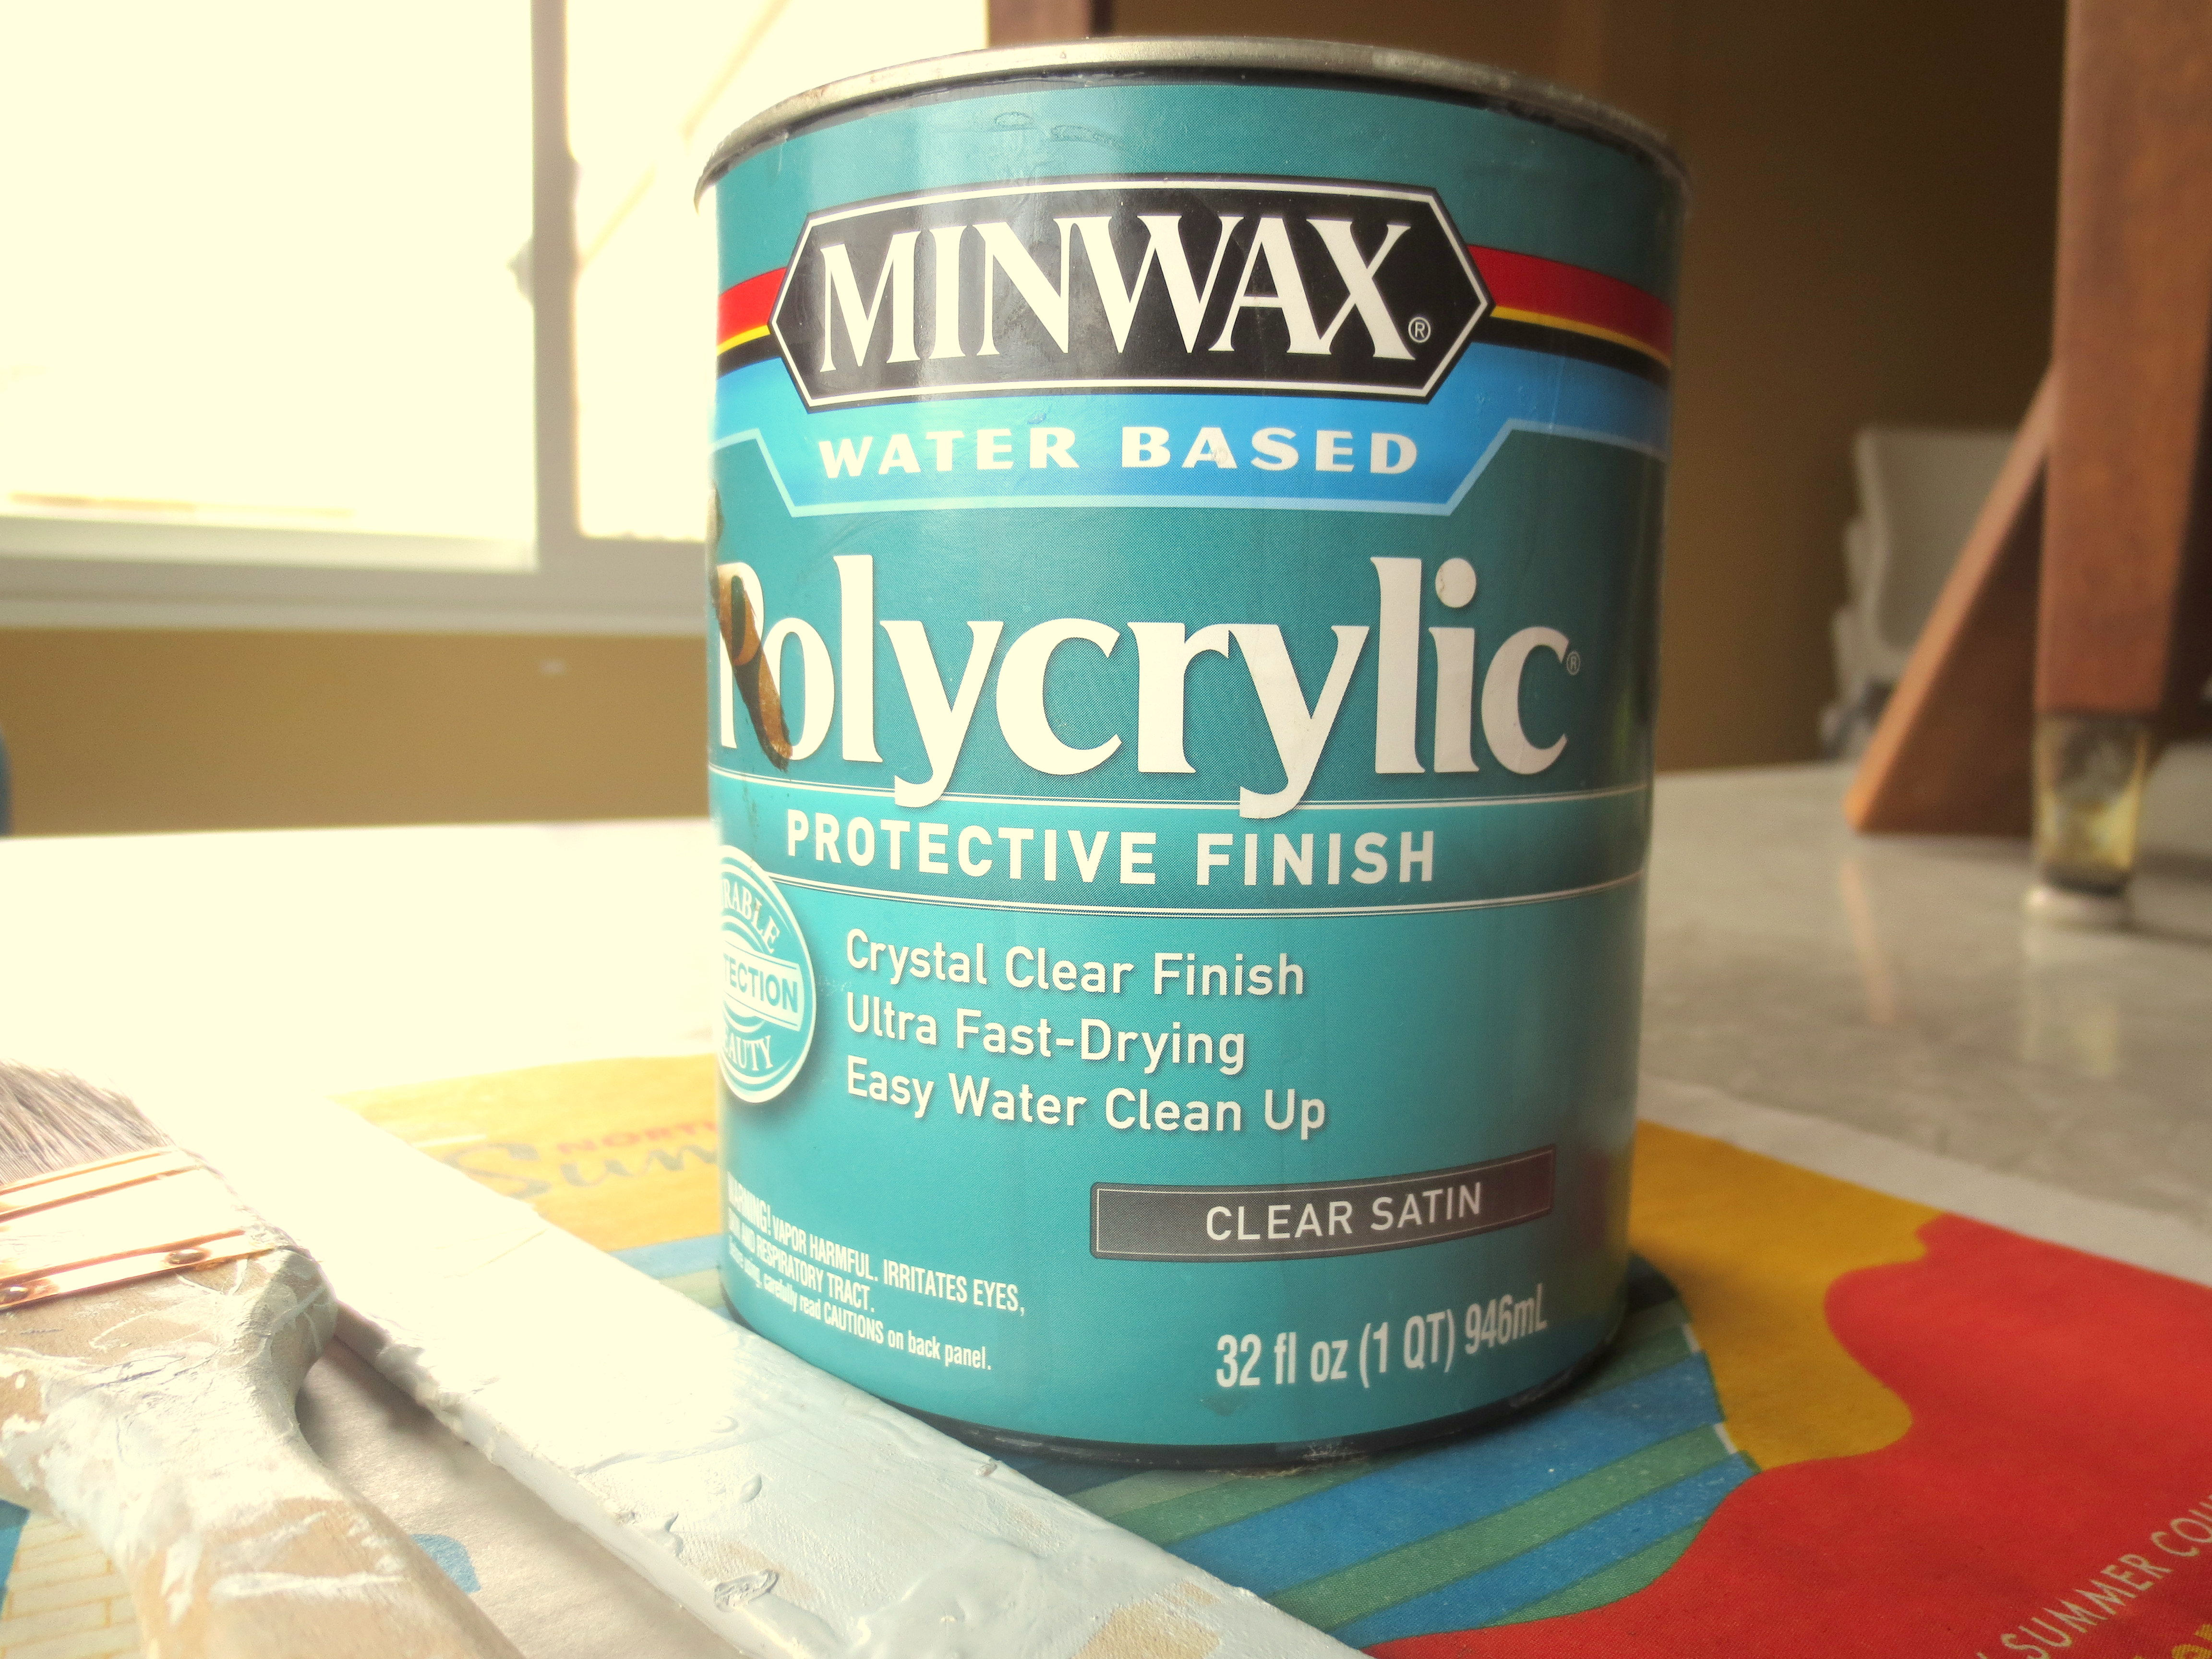
Allow the stain to dry for about 24 hours, and then apply a water-based polycrylic in three light, even coats.
 STEP THREE – PAINT THE CUSHIONS: Yes, you read that right. Paint. You see, the vinyl was in astonishingly good condition. I loved the “woven” texture, and even the pale mustard yellow was growing on me. But the years of grime, dirt, boogers and gum had been ground permanently into the “fibers” of the vinyl, and no amount of cleaning could release them. It seemed silly to re-upholster a perfectly good cushion, but I had to mask that unsightly perma-grime. Then I remembered a magic chemical I had used to paint chevrons on my vinyl roller shade: Vinyl Spray Paint.
 PRO-TIP!! As loyal readers know, the sale of spray paint is banned in Chicago. But the smart urban crafter will befriend a family of equally crafty Piano Tuners. Neighborhood heroes Anika and Mike** make frequent tuning trips to the suburbs (there’s pianos there, too!) — and are always happy to grab me some contraband spray paint. I suppose you could order it online, but really, what’s the fun in that? ***
Take your cushions outside and spray them with thin, even coats of paint.

 Let the cushions dry for about 8 hours before re-attaching to your frame.
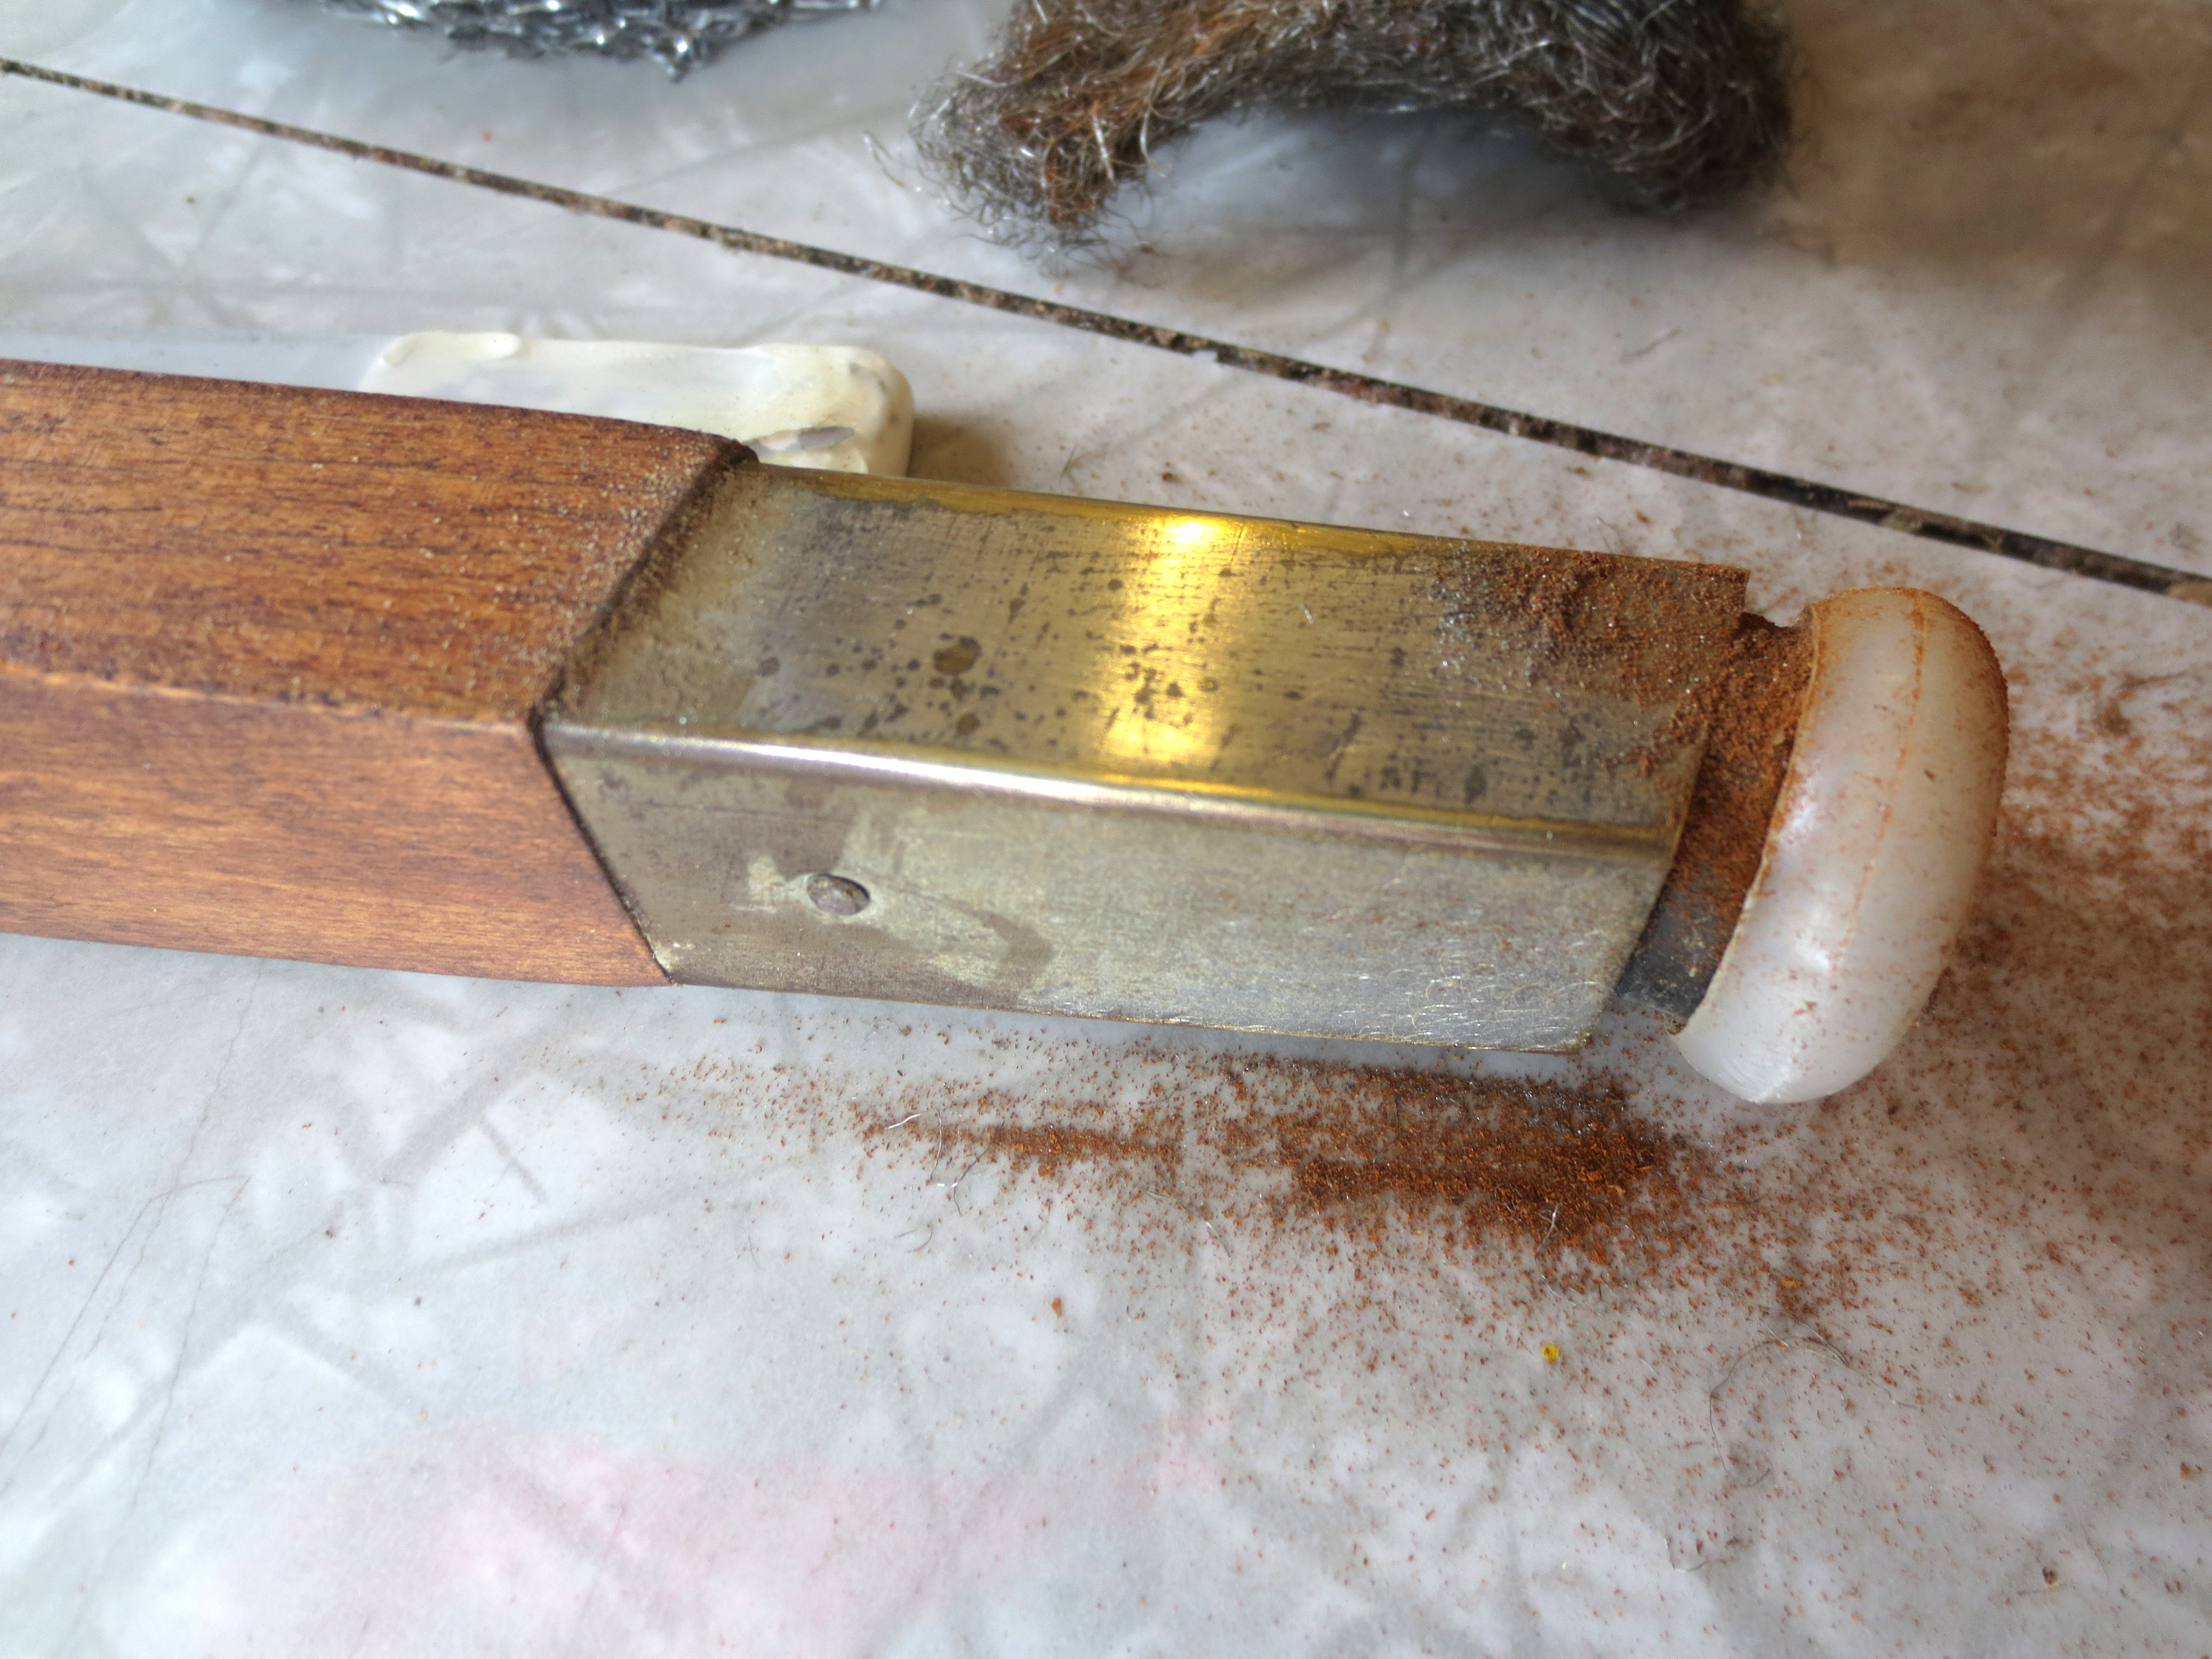
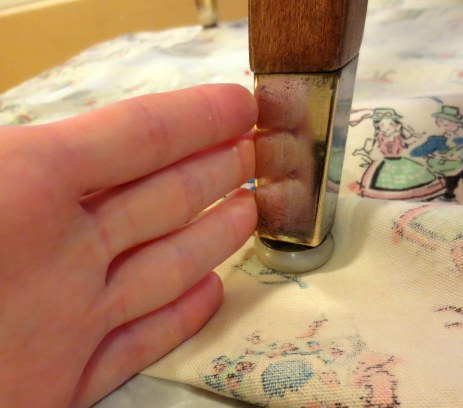
STEP FOUR – POLISH THE FEET: The chair feet were also sturdy, but covered in a film of rust and white stuff(?).
 Use fine-grit steel wool to scrape off the layers of church basement crud.
 Then, polish to a shine with some goopy metal polish stuff you found under your sink:
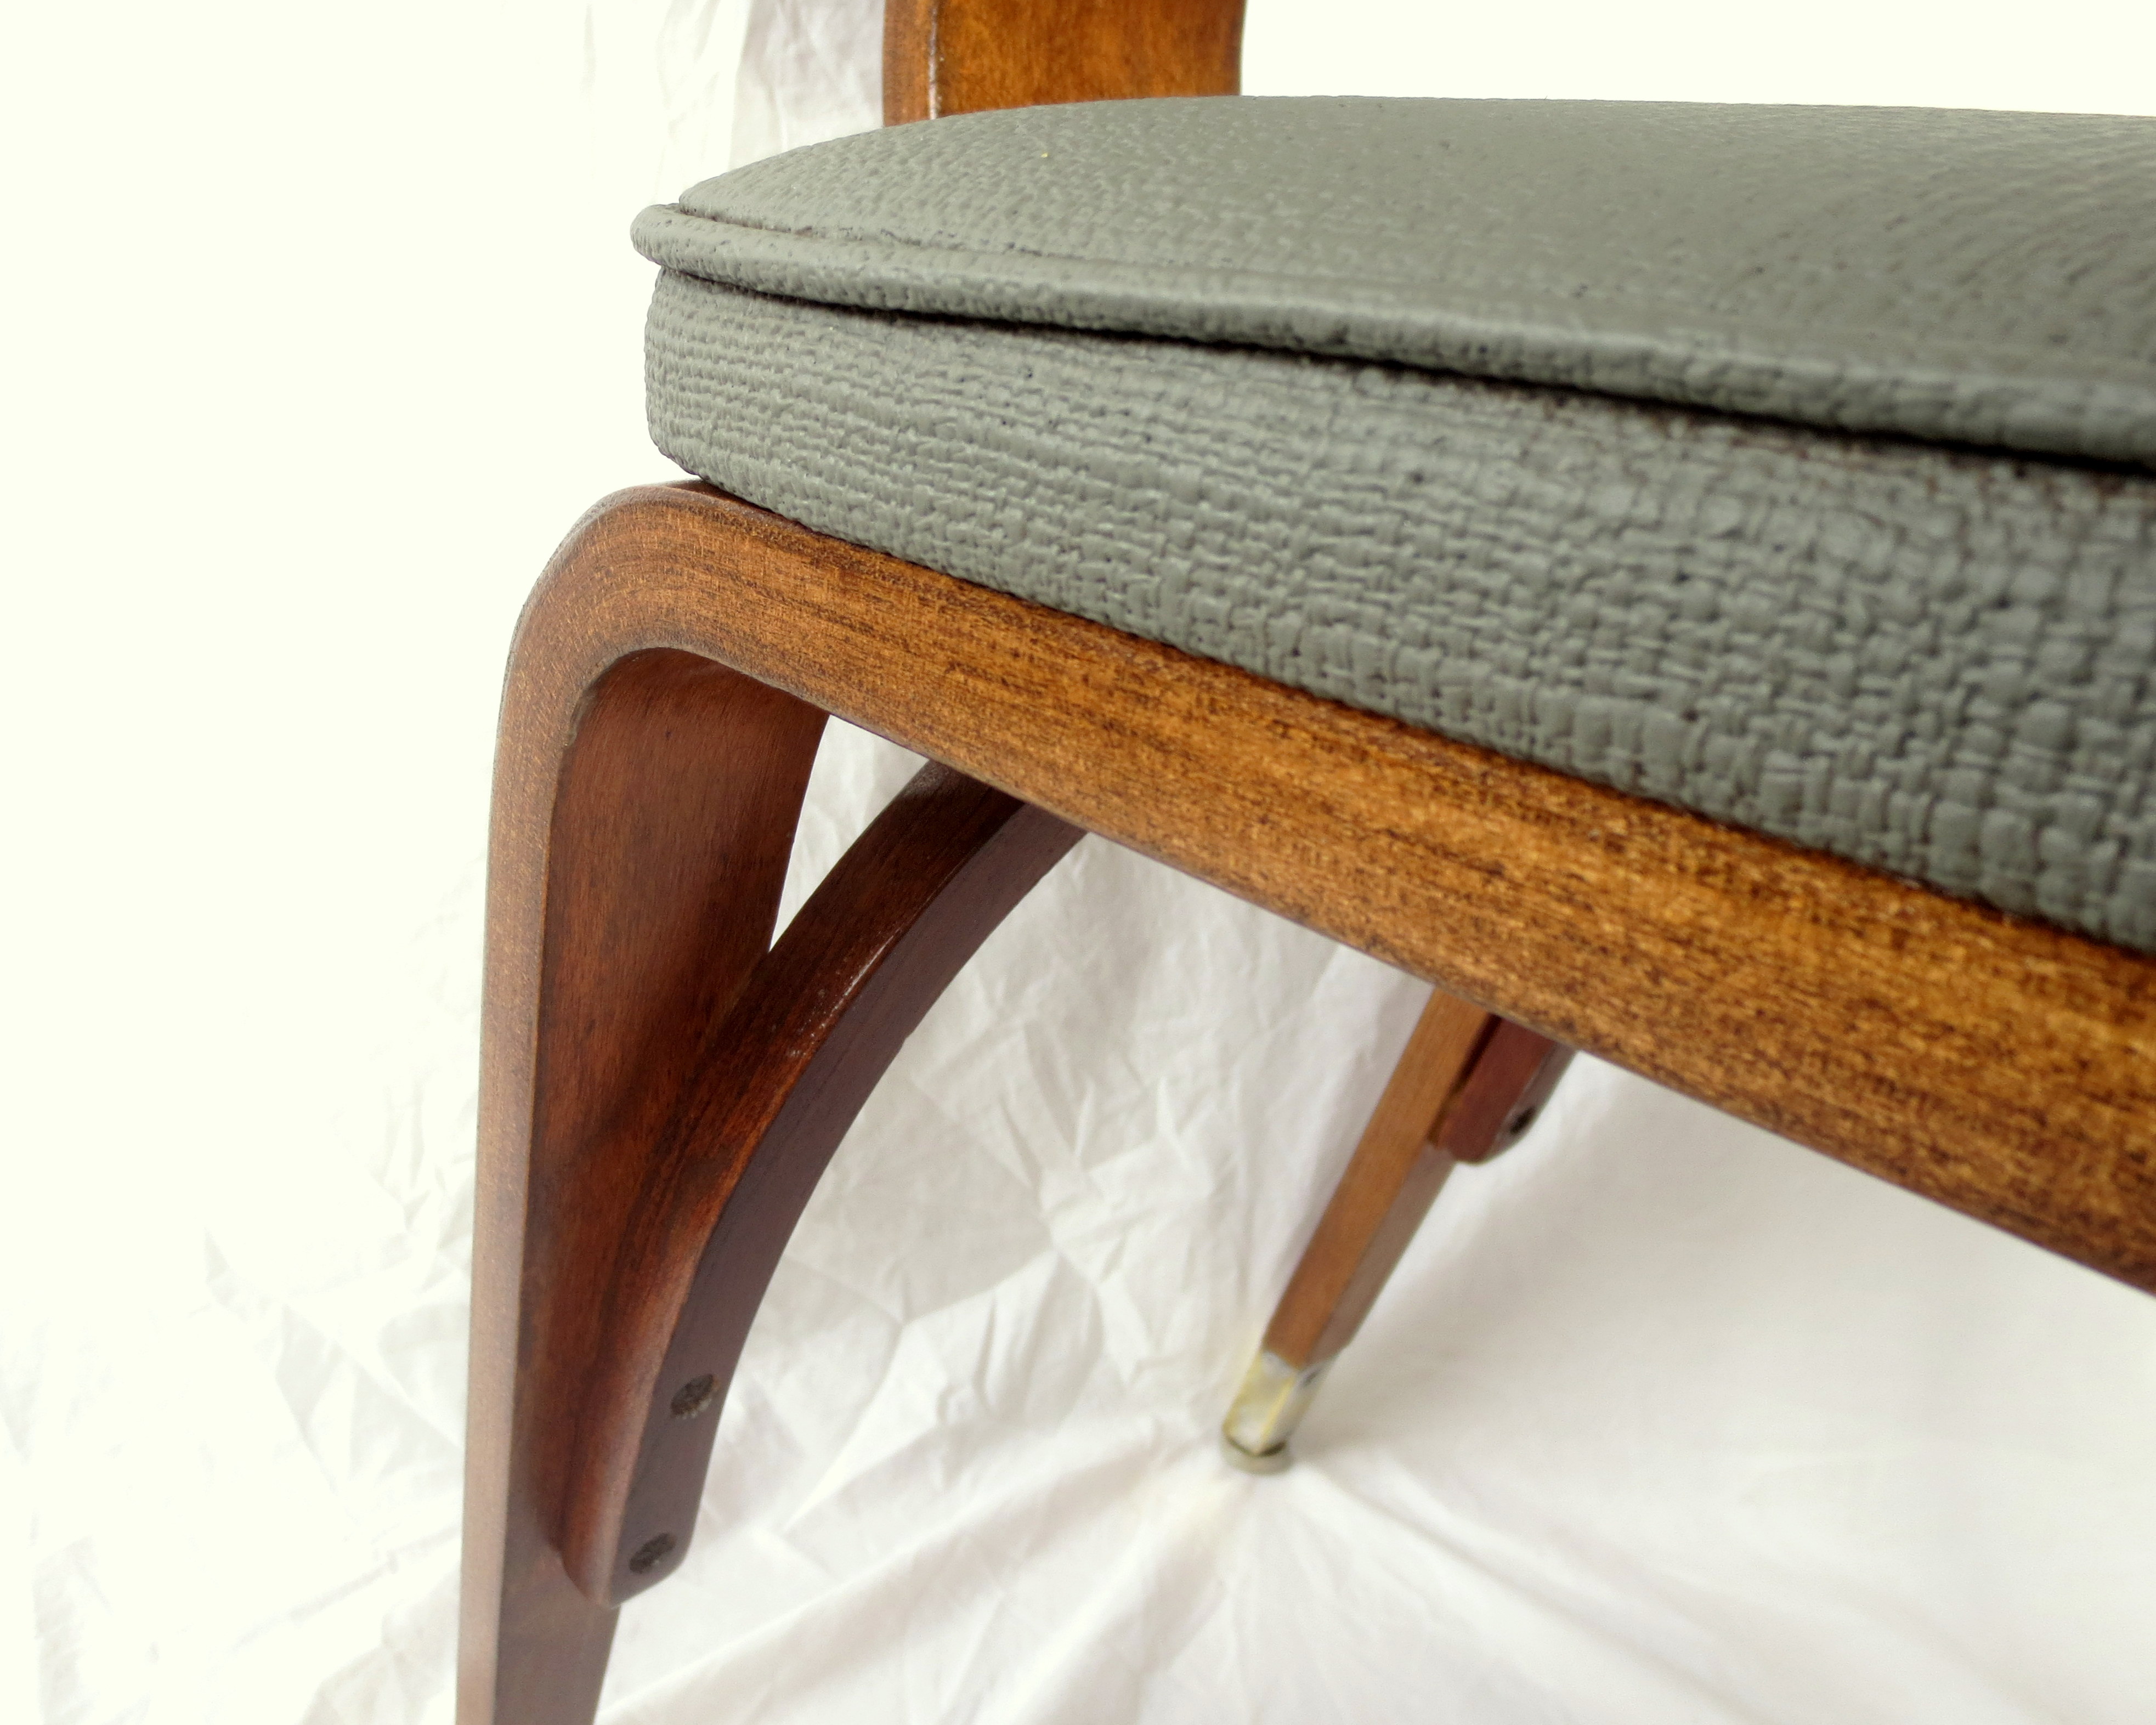
 Here’s my attempt at showing you how shiny the chair feet are now. See the reflection?
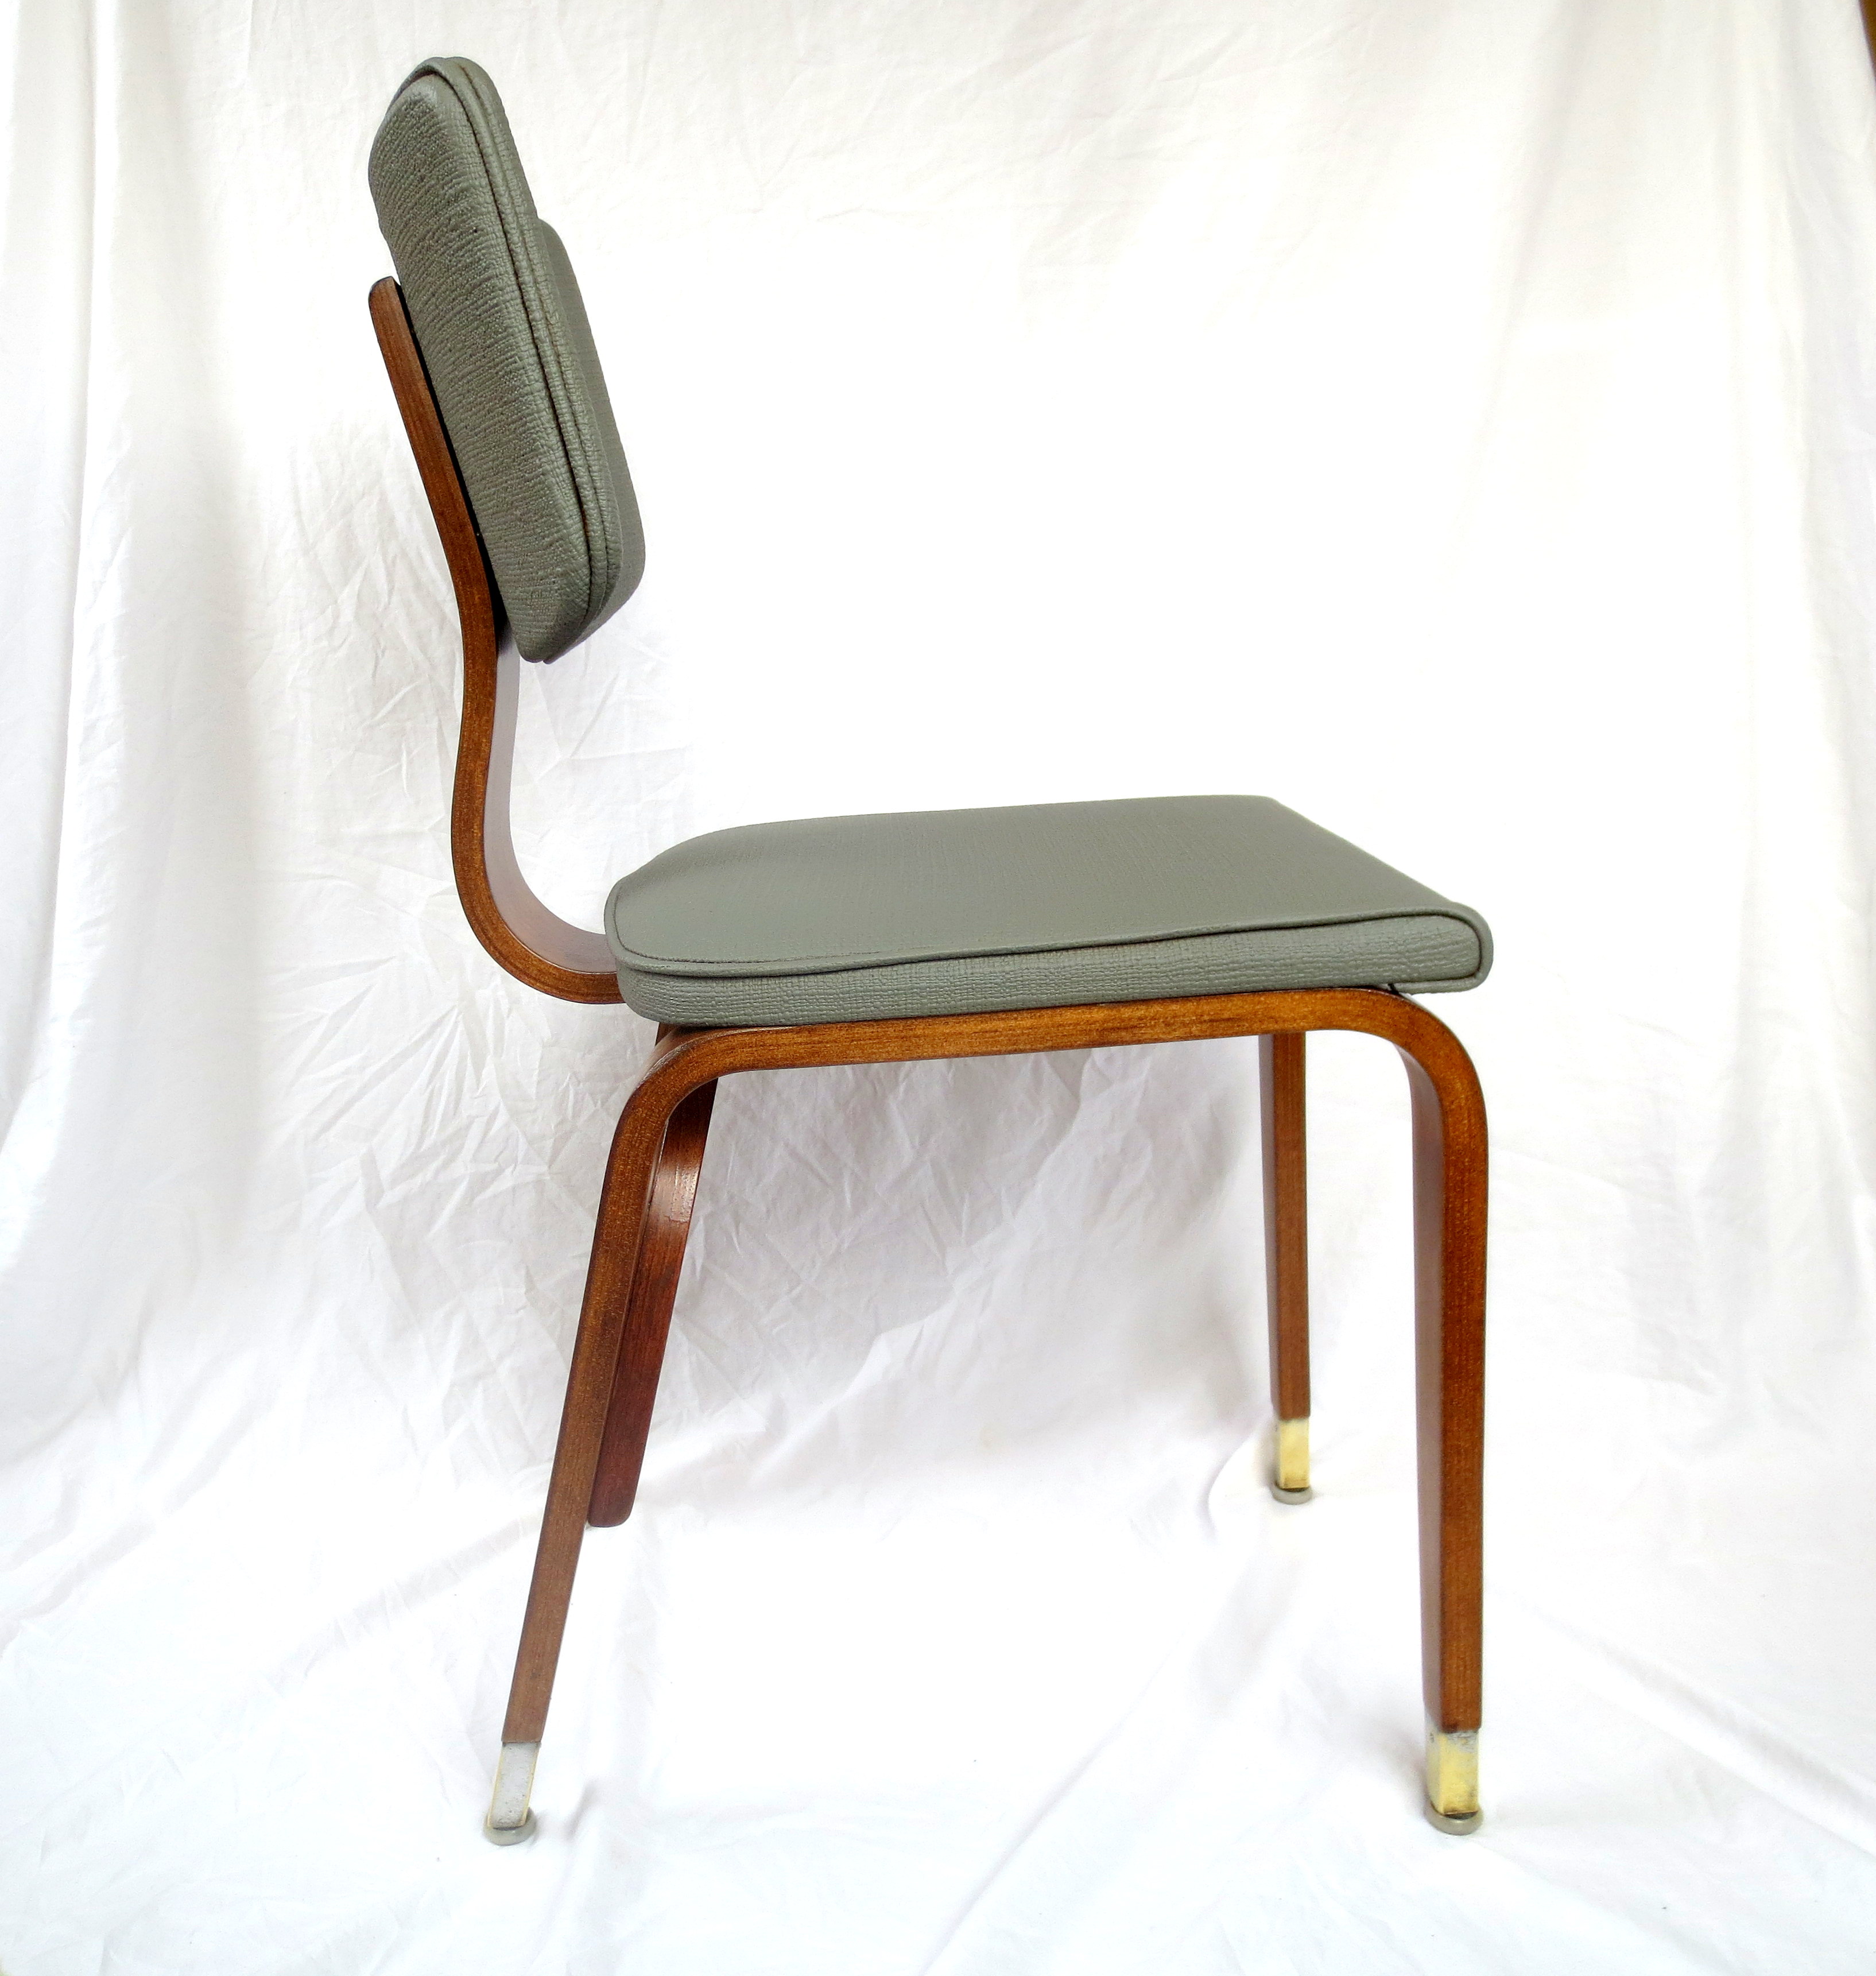
Finally, screw the pieces back together, drape a bedsheet over your kitchen table and document the rebirth of your church chair!


* I’ll add it to the list of crushing sacrifices I’ve made for my children, which I’ll give them on their 18th birthdays.
**For those keeping track at home, four Neighborhood Heroes have contributed to the restoration of this chair. It takes a Village of Scavengers and Travelling Piano Tuners to make this miracle happen.
** Actually, the fun is in the customer reviews. My favorite: “Works perfect on soiled boat seats.” The imagination runs wild.

Wow. Amazing to watch the transformation. I wish I good do that with my hands.
LikeLike
beautiful! you need the sound effects of a choir of angels though.
LikeLike
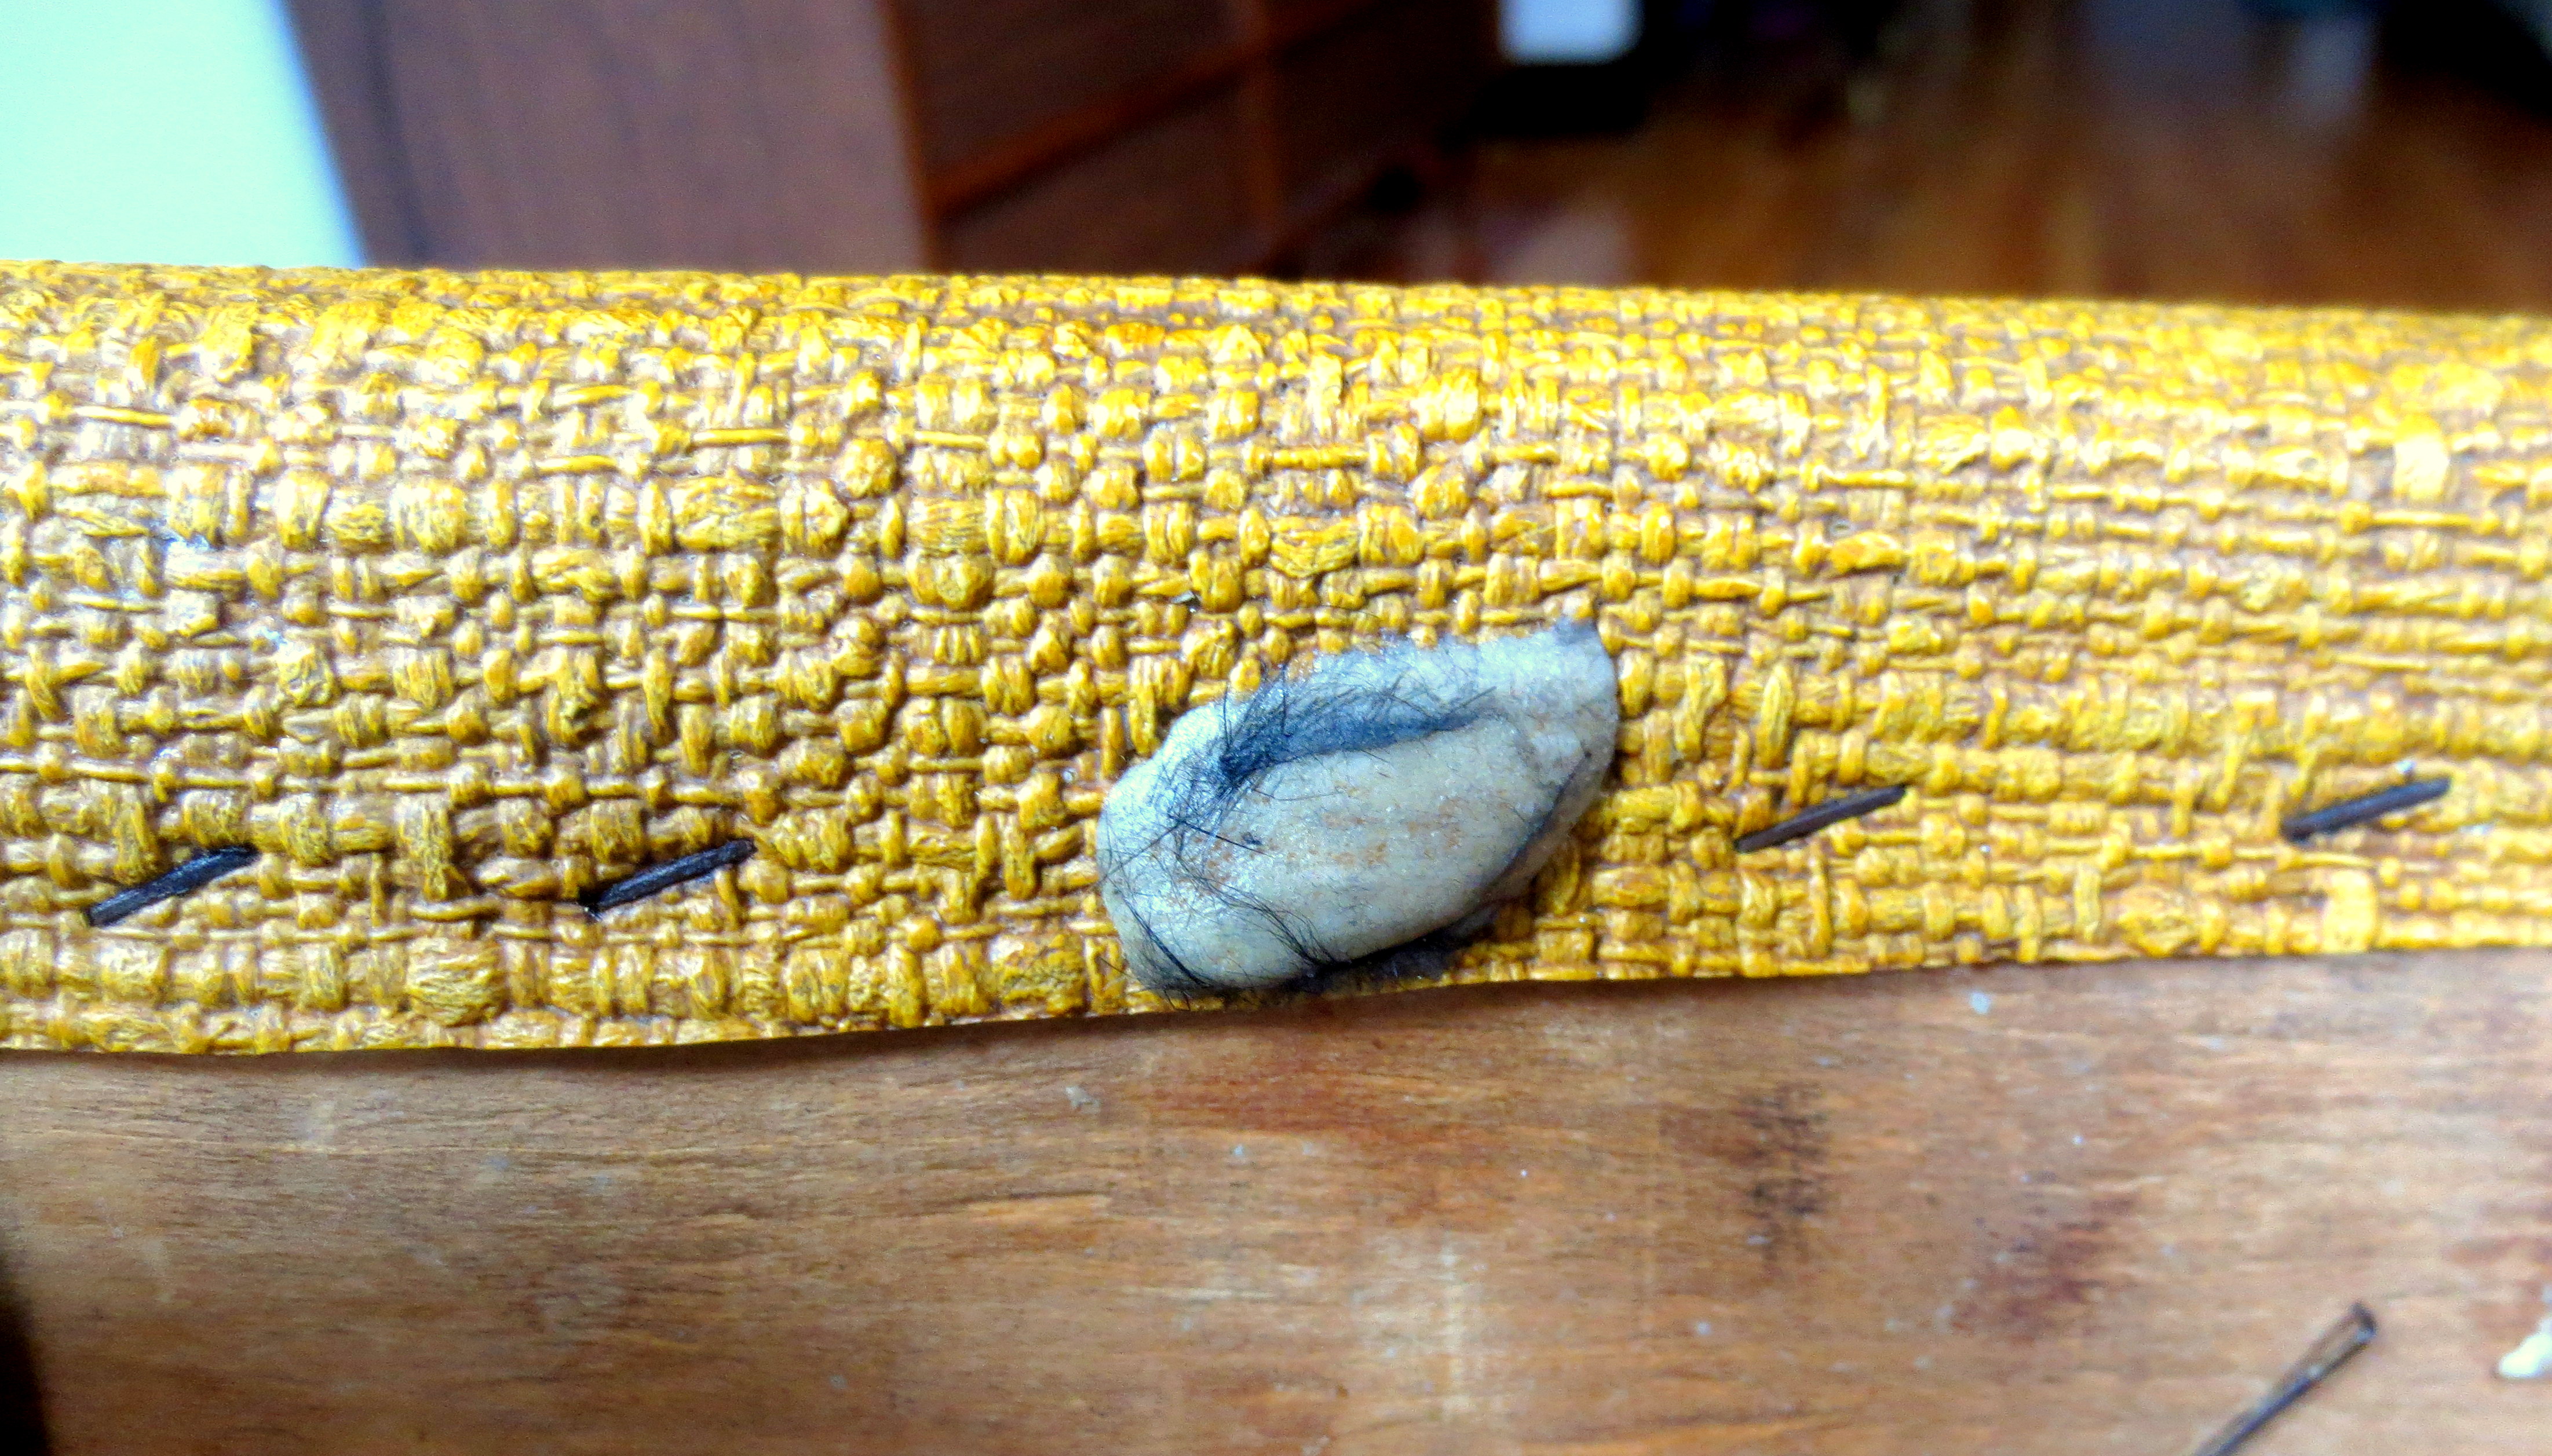
Just one question: what did you do about the chewing gum? Is it still there as a secret reminder of its past life, just painted over, or did you find a way to peel it off without leaving a sticky residue and throwing up just a little in your mouth…? Beautiful job as usual, ma’am.
LikeLike
One piece of gum was old and hard and permanently fused to the “spine.” I had a lot of fun sanding it off with my power sander. Luckily I was wearing a safety mask, so I didn’t breathe in any toxic “gum dust.”
Another piece on the seat was fairly fresh; I just pulled it off and tossed it (I’m not THAT desperate for gum, heh). The last piece was pretty old, stuck to the bottom of the seat cushion, and yes, I just spray painted right over it. Not on purpose — I just forgot it was there until after the paint had dried. So now I have a special souvenir from some naughty church-going kid.
LikeLike
Pingback: Homemade “Snappy Birthday” Plaque | projectophile
Beautiful! Great job! It’s so funny to me that Chicago won’t allow VINYL spray paint. Like recalcitrant youths are going to start tagging diner booths.
LikeLike
Funny, I never thought of it that way — putting vinyl spray paint in it’s own legal category. But why stop at diner booths? If you’ve got the right fabric spray paint in hand, you can tag awnings, bus seats, banners, flags, and sleeping people. I just hope there’s no thuggy teens reading this right now.
LikeLike
Gorgeous! I love how beautiful the wood turned out too. It’s 2 years later and I’m curious to find out how well the paint has held up. Can you give us an update?
LikeLike
Hi Sandra, the chair is still going strong! Right now it lives in my teenage son’s room as a desk chair, though it makes the occasional cameo in the dining room when we have a lot of people for dinner. And if you ever want to test a piece of furniture, leave it in a teenager’s room. It’s like Mentos in a can of Coke (something I’m told teenagers are also fond of, at least in Europe in the 80s). We’ve learned the hard way that veneer over particleboard is not a good choice in this brutal environment. Solid wood is always your best bet for teens (they are pickers!).
LikeLike
The chair looks great. I have a question about the vinyl. I am assuming that you cleaned it before spray painting. If so, what did you use?
LikeLike
In this case I just used soap and water; I was concerned about harming the vinyl or drying it out because its so old. I later discovered that you can buy special vinyl cleaner at the auto-parts store. More on that here: https://projectophile.net/2013/09/12/the-poor-mans-barcelona-chair-restoring-a-thrift-store-surprise/
LikeLike