My husband will gladly tell you that I’m never wrong about anything. Ever. But lately, I’ve been thinking that perhaps I’ve given you, my loyal readers, some bad advice over the past year.
Remember when I was a big know-it-all about “How to Live in Style with Small Children”? I bragged about how smart I was to buy a polypropylene indoor-outdoor rug for easy cleaning in the dining room: 
After about a year of scrubbing oatmeal, bananas, rice, spinach and avocado out of its repulsive synthetic fibers, I simply gave up. A burst of adrenaline bubbled up out of my shame at our filthy existence: I pushed the table to the side, rolled up the rug and hauled it down to the alley, where it slumped, rejected, against our back fence.
The ugly truth is that no rug on earth – aside from a plastic tarp – would survive the daily shower of slop falling from our dining room table.
To my delight, a couple of days later I peeked out the back window to see one of our bachelor neighbors hosing the old beast down in his backyard. The cycle of stuff continues!
 Then, later that day, as if pulled by some cosmic scavenging force, I went out the back gate only to find a little present waiting for me between our trash cans. Normally, I’m not a scavenger of anything with wires, but I just had… a feeling about this one.
 Scott declared, That thing will never work! So I screwed in a light bulb, plugged it in and there was beautiful, stunning, FREE light! As usual, I was right.
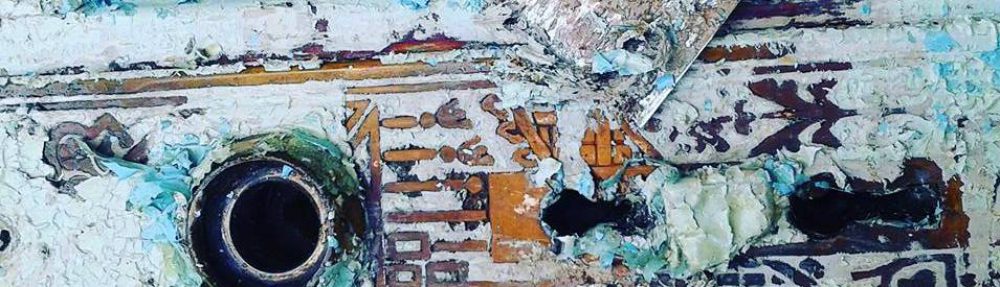
So what’s the catch? The lamp was ugly (in my opinion): Black with a translucent coating that made it seem like it had developed a nasty blister, and a shiny, flowery pattern on its bulbous parts. It was also scratched, and (for some reason) really, really SANDY.
 But, I needed a new lamp for Estelle and Max’s room, so it was time to get to work. Nothing a little paint and a new lampshade can’t fix.
STEP ONE – CLEAN: Use a damp rag to wipe off the outer layer of dirt and sand (!). You may have to do this several times if your lamp was buried at the bottom of a swamp, as mine appeared to be.
 Did I mention how nasty this thing was? Let’s see that old baby bib now:
 STEP TWO – PAINT: First, I needed to rough up the shiny surface of the lamp to prepare it to grab on to the paint, but the delicate surface would require very fine sanding. I found this very fine 400-grit sanding paper in my pantry, among Scott’s table-top-war-gaming supplies. I didn’t even know they made sanding paper this fine.
 “Oh girl,” Scott enticed, “I will bring you the finest sandpaper from the deepest, sandiest caves of Madagascar. When you complete your extra fine sanding, I will suck up your dust with the most luxurious and powerful shop vac, like the one they use on This Old House.”
Then we will wipe down with a damp rag and let everything air dry.
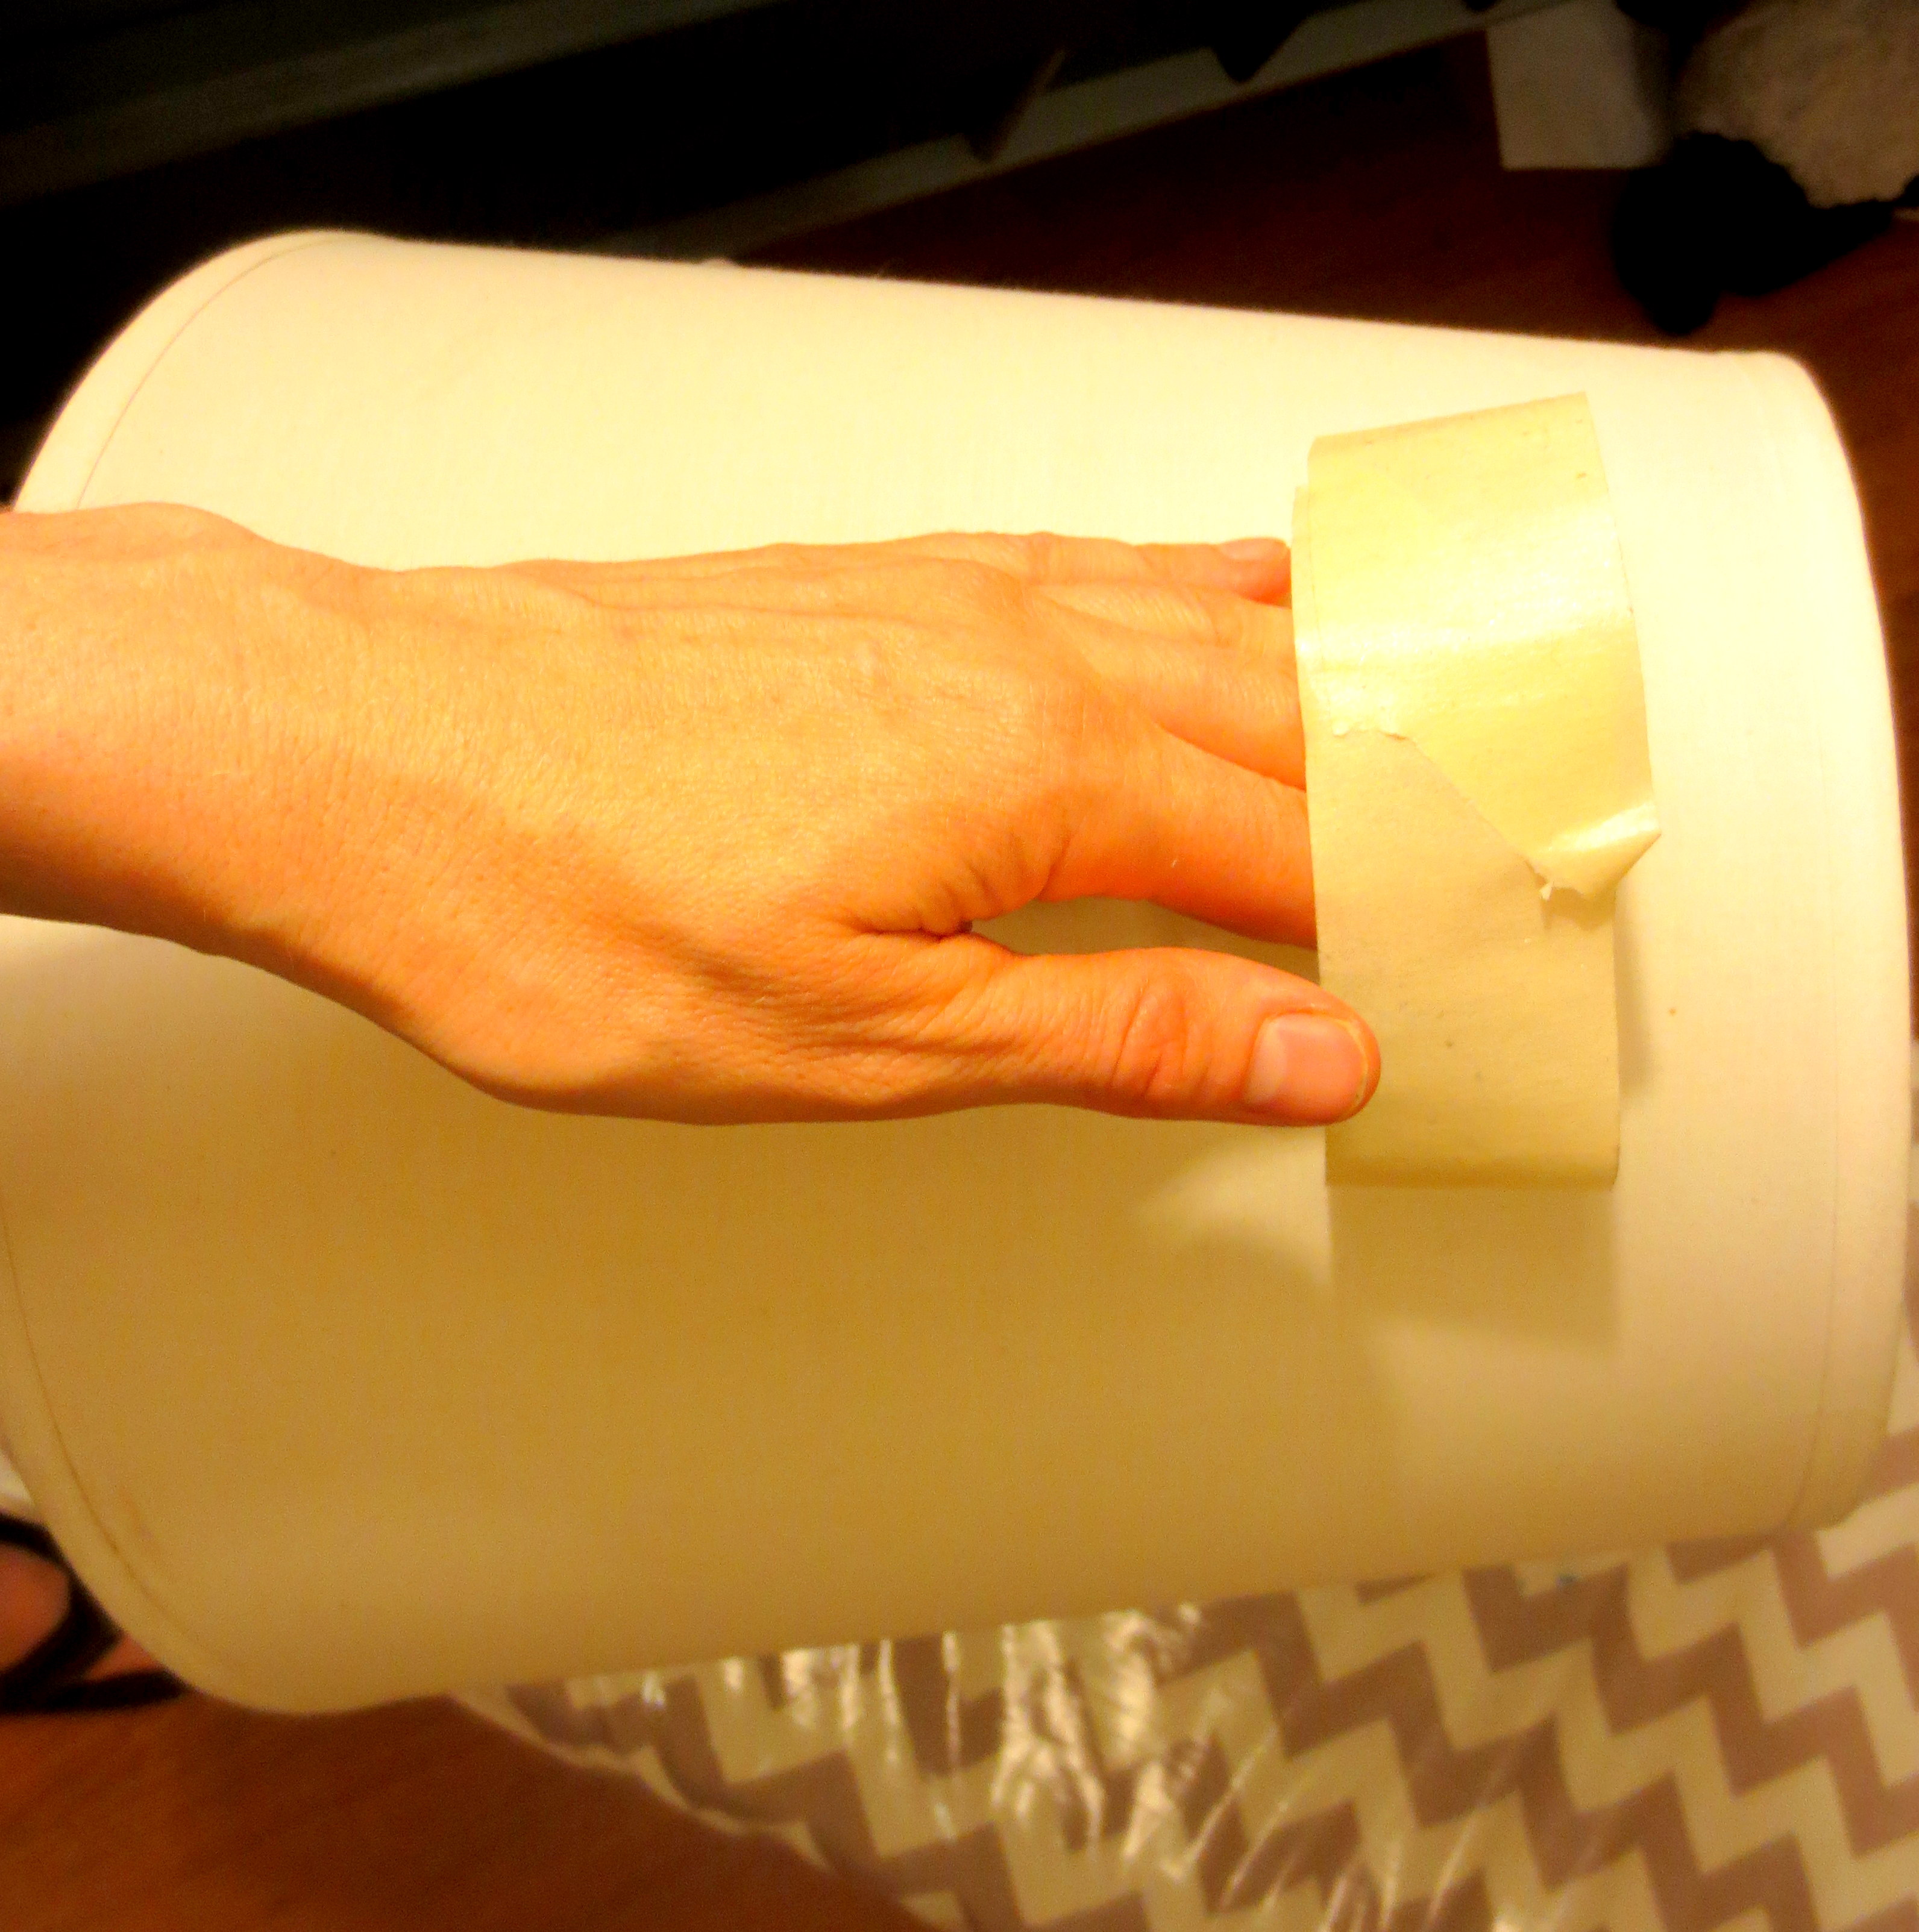
Ahem. Next, wrap the cord and neck/socket in a plastic bag.
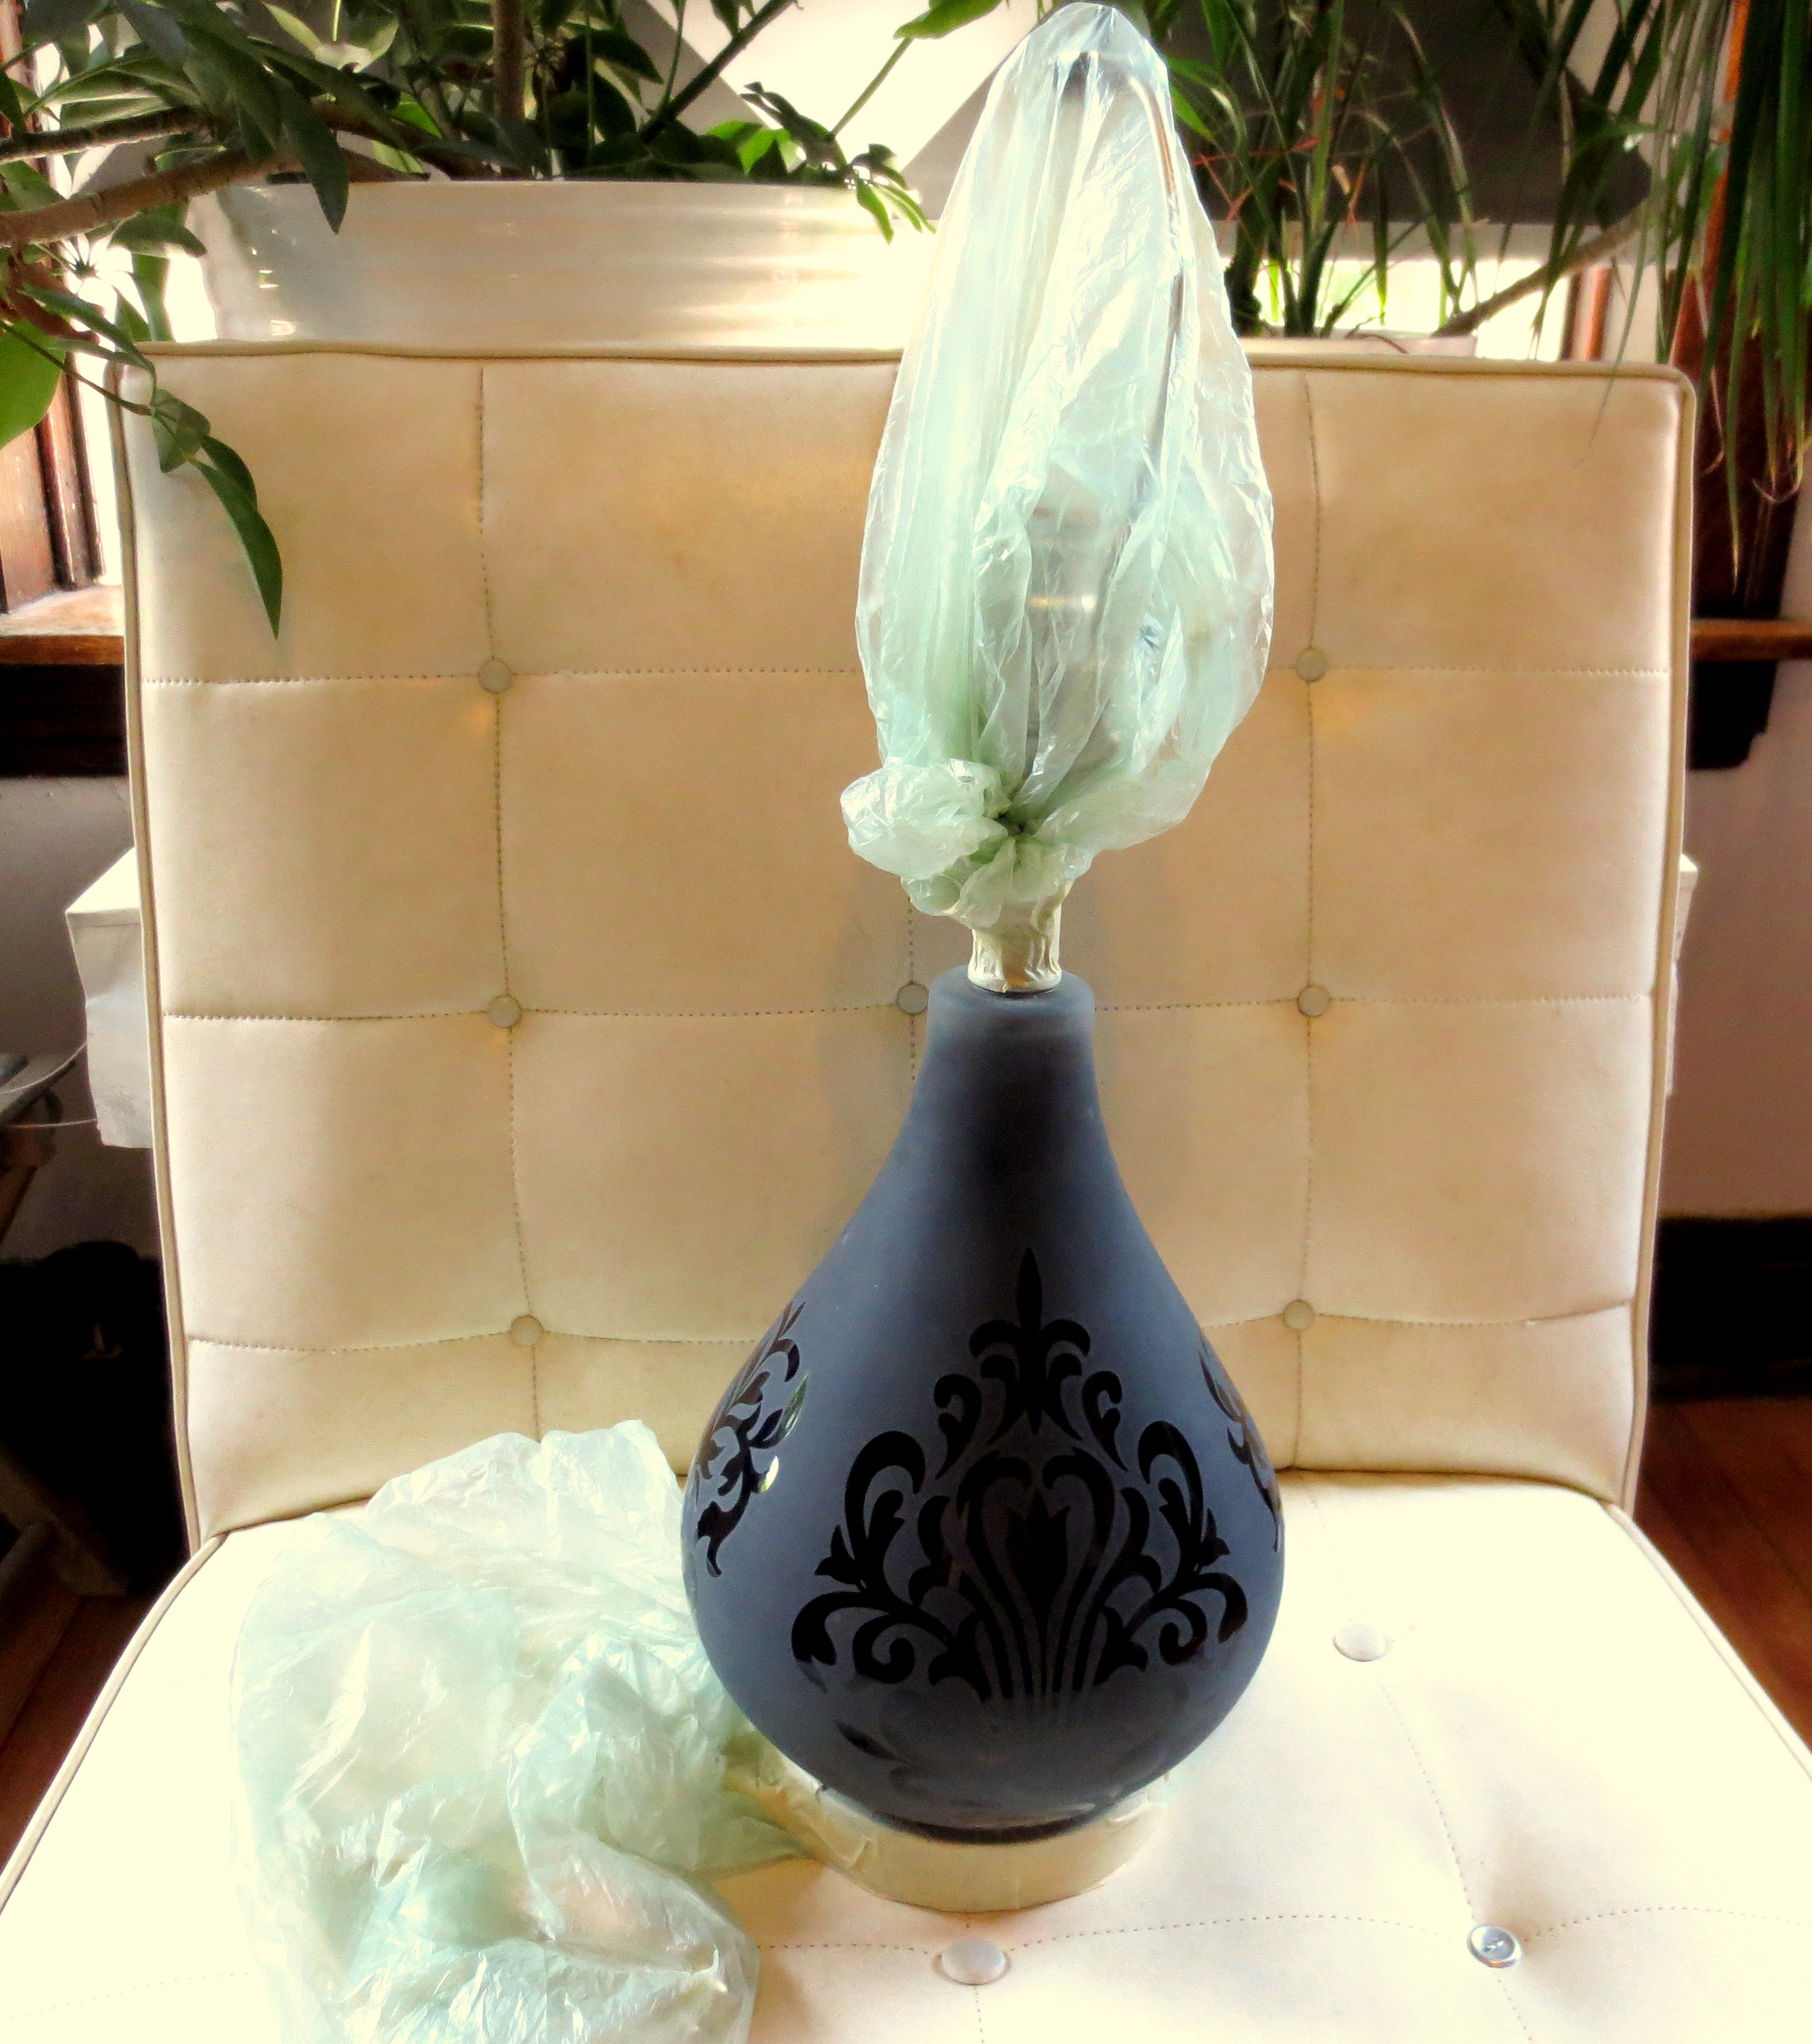 Use masking tape to guard all the other shiny parts you don’t want to paint, attaching the bags to the base with the tape.
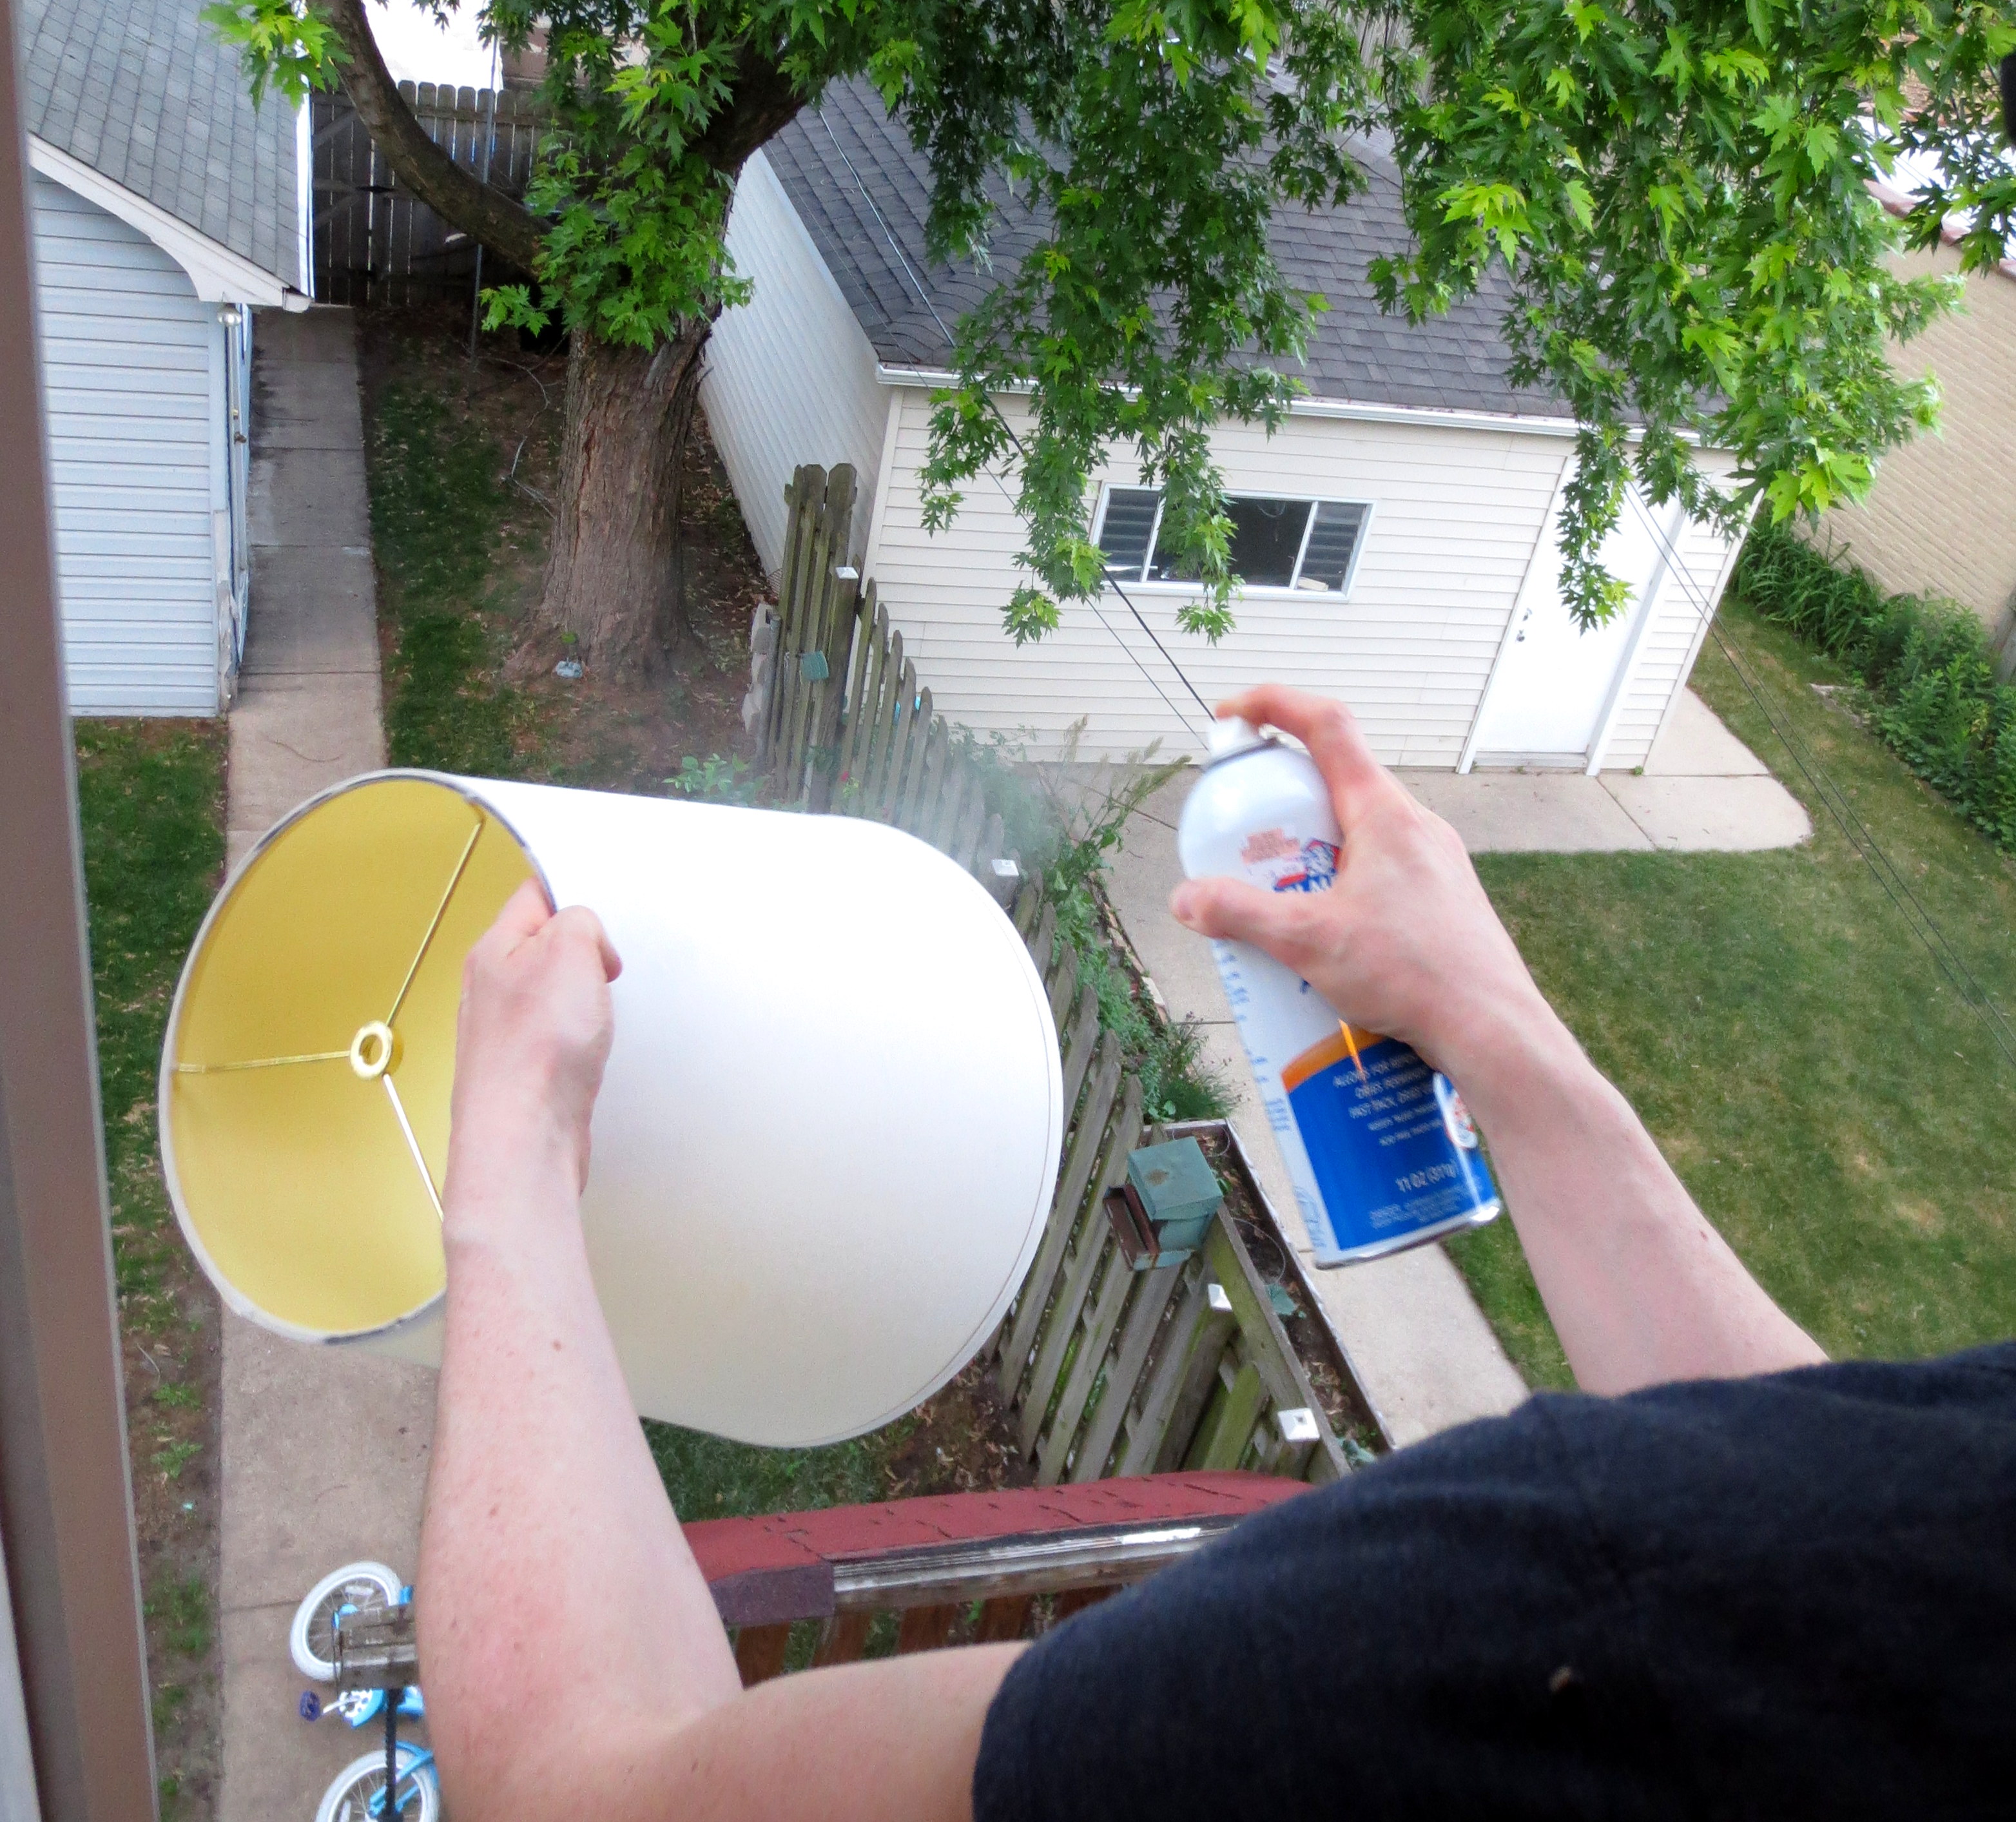
 Take it all out to the front porch and spray paint in several thin coats.
 PRO-TIP! After painting, consider taking the lamp inside to fully cure. If you are working on an uncovered porch or yard, you run the risk of leaves, bugs, dirt and dust attaching itself to your paint job. Perhaps I’m feeling a little paranoid because birds have pooped on me twice in the last week; they’re definitely out to get me. Nothing is safe during mulberry season.
STEP THREE – NEW SHADE: They alley did not provide me with a shade, but I found this one abandoned in a deep corner of our pantry, and it worked fine I guess.
 But it was just, well….vanilla.
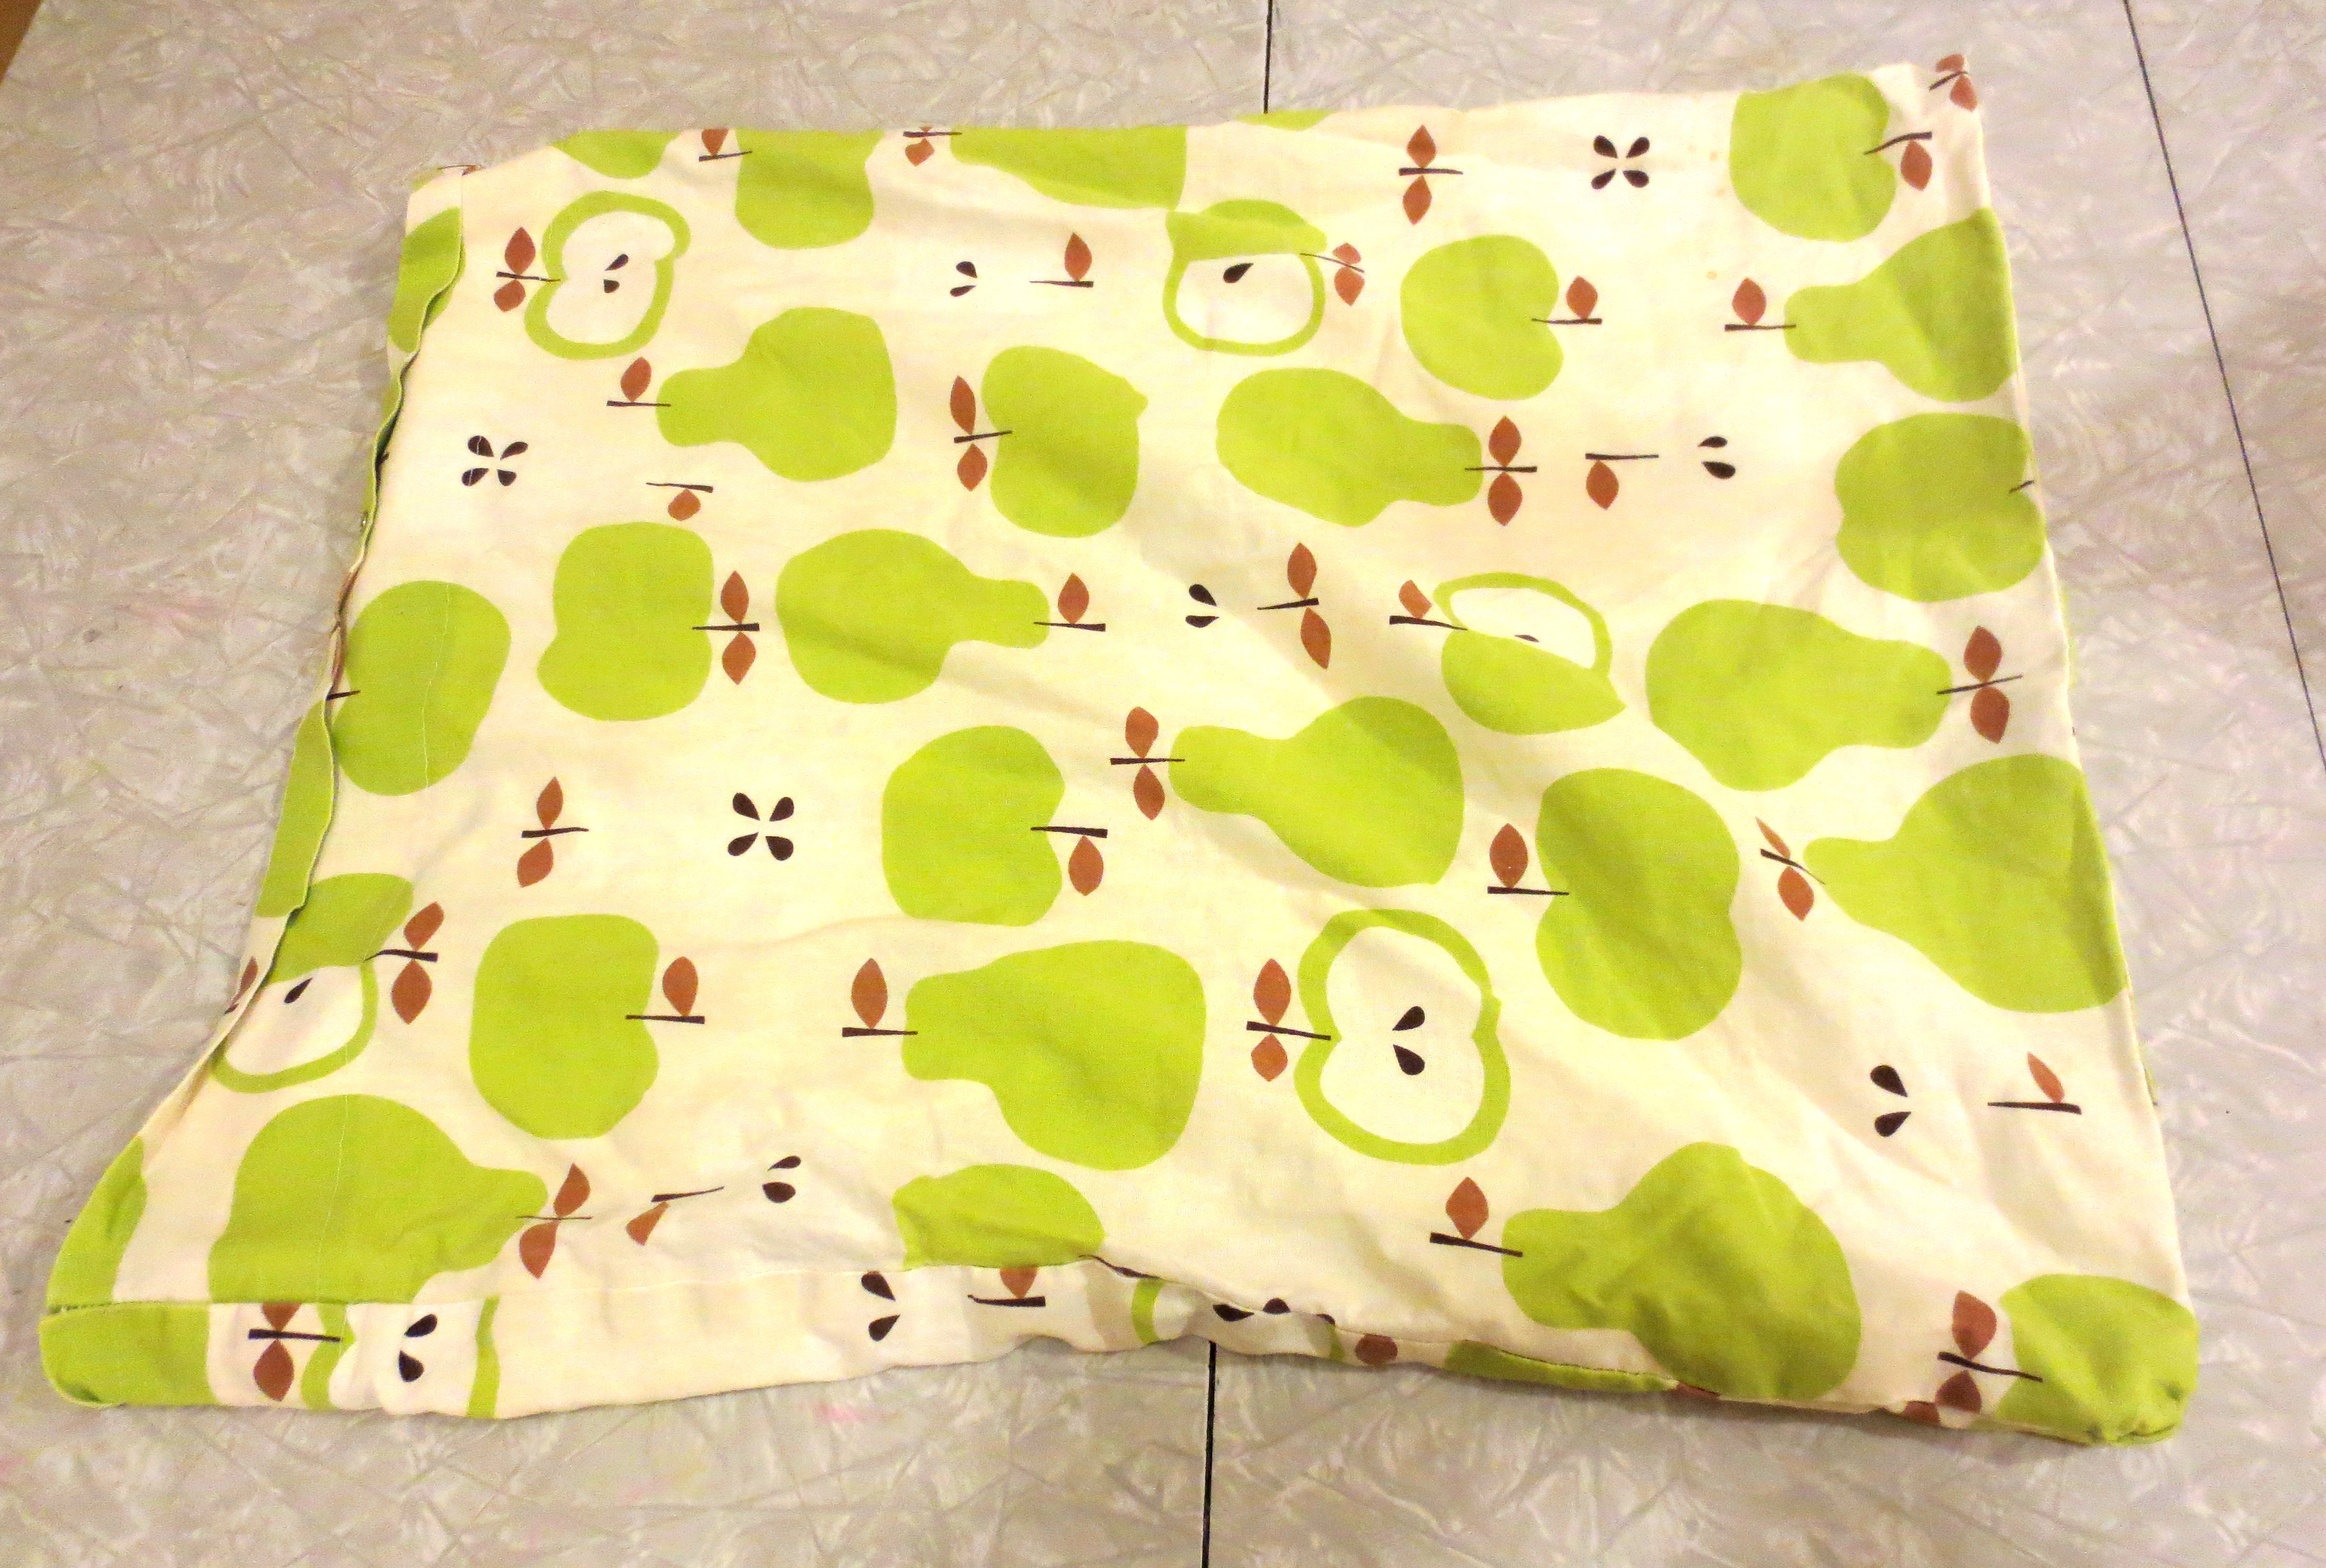
I wanted a pattern to go with the white and green of the kids’ dresser. Loyal readers know that I recently replaced my old green apple-n-pear patterned pillow cases with new yellow shams. That night, as I laid in bed not sleeping, it hit me (this is my second-best time to get ideas): Use the apple shams to recover the lamp shade!
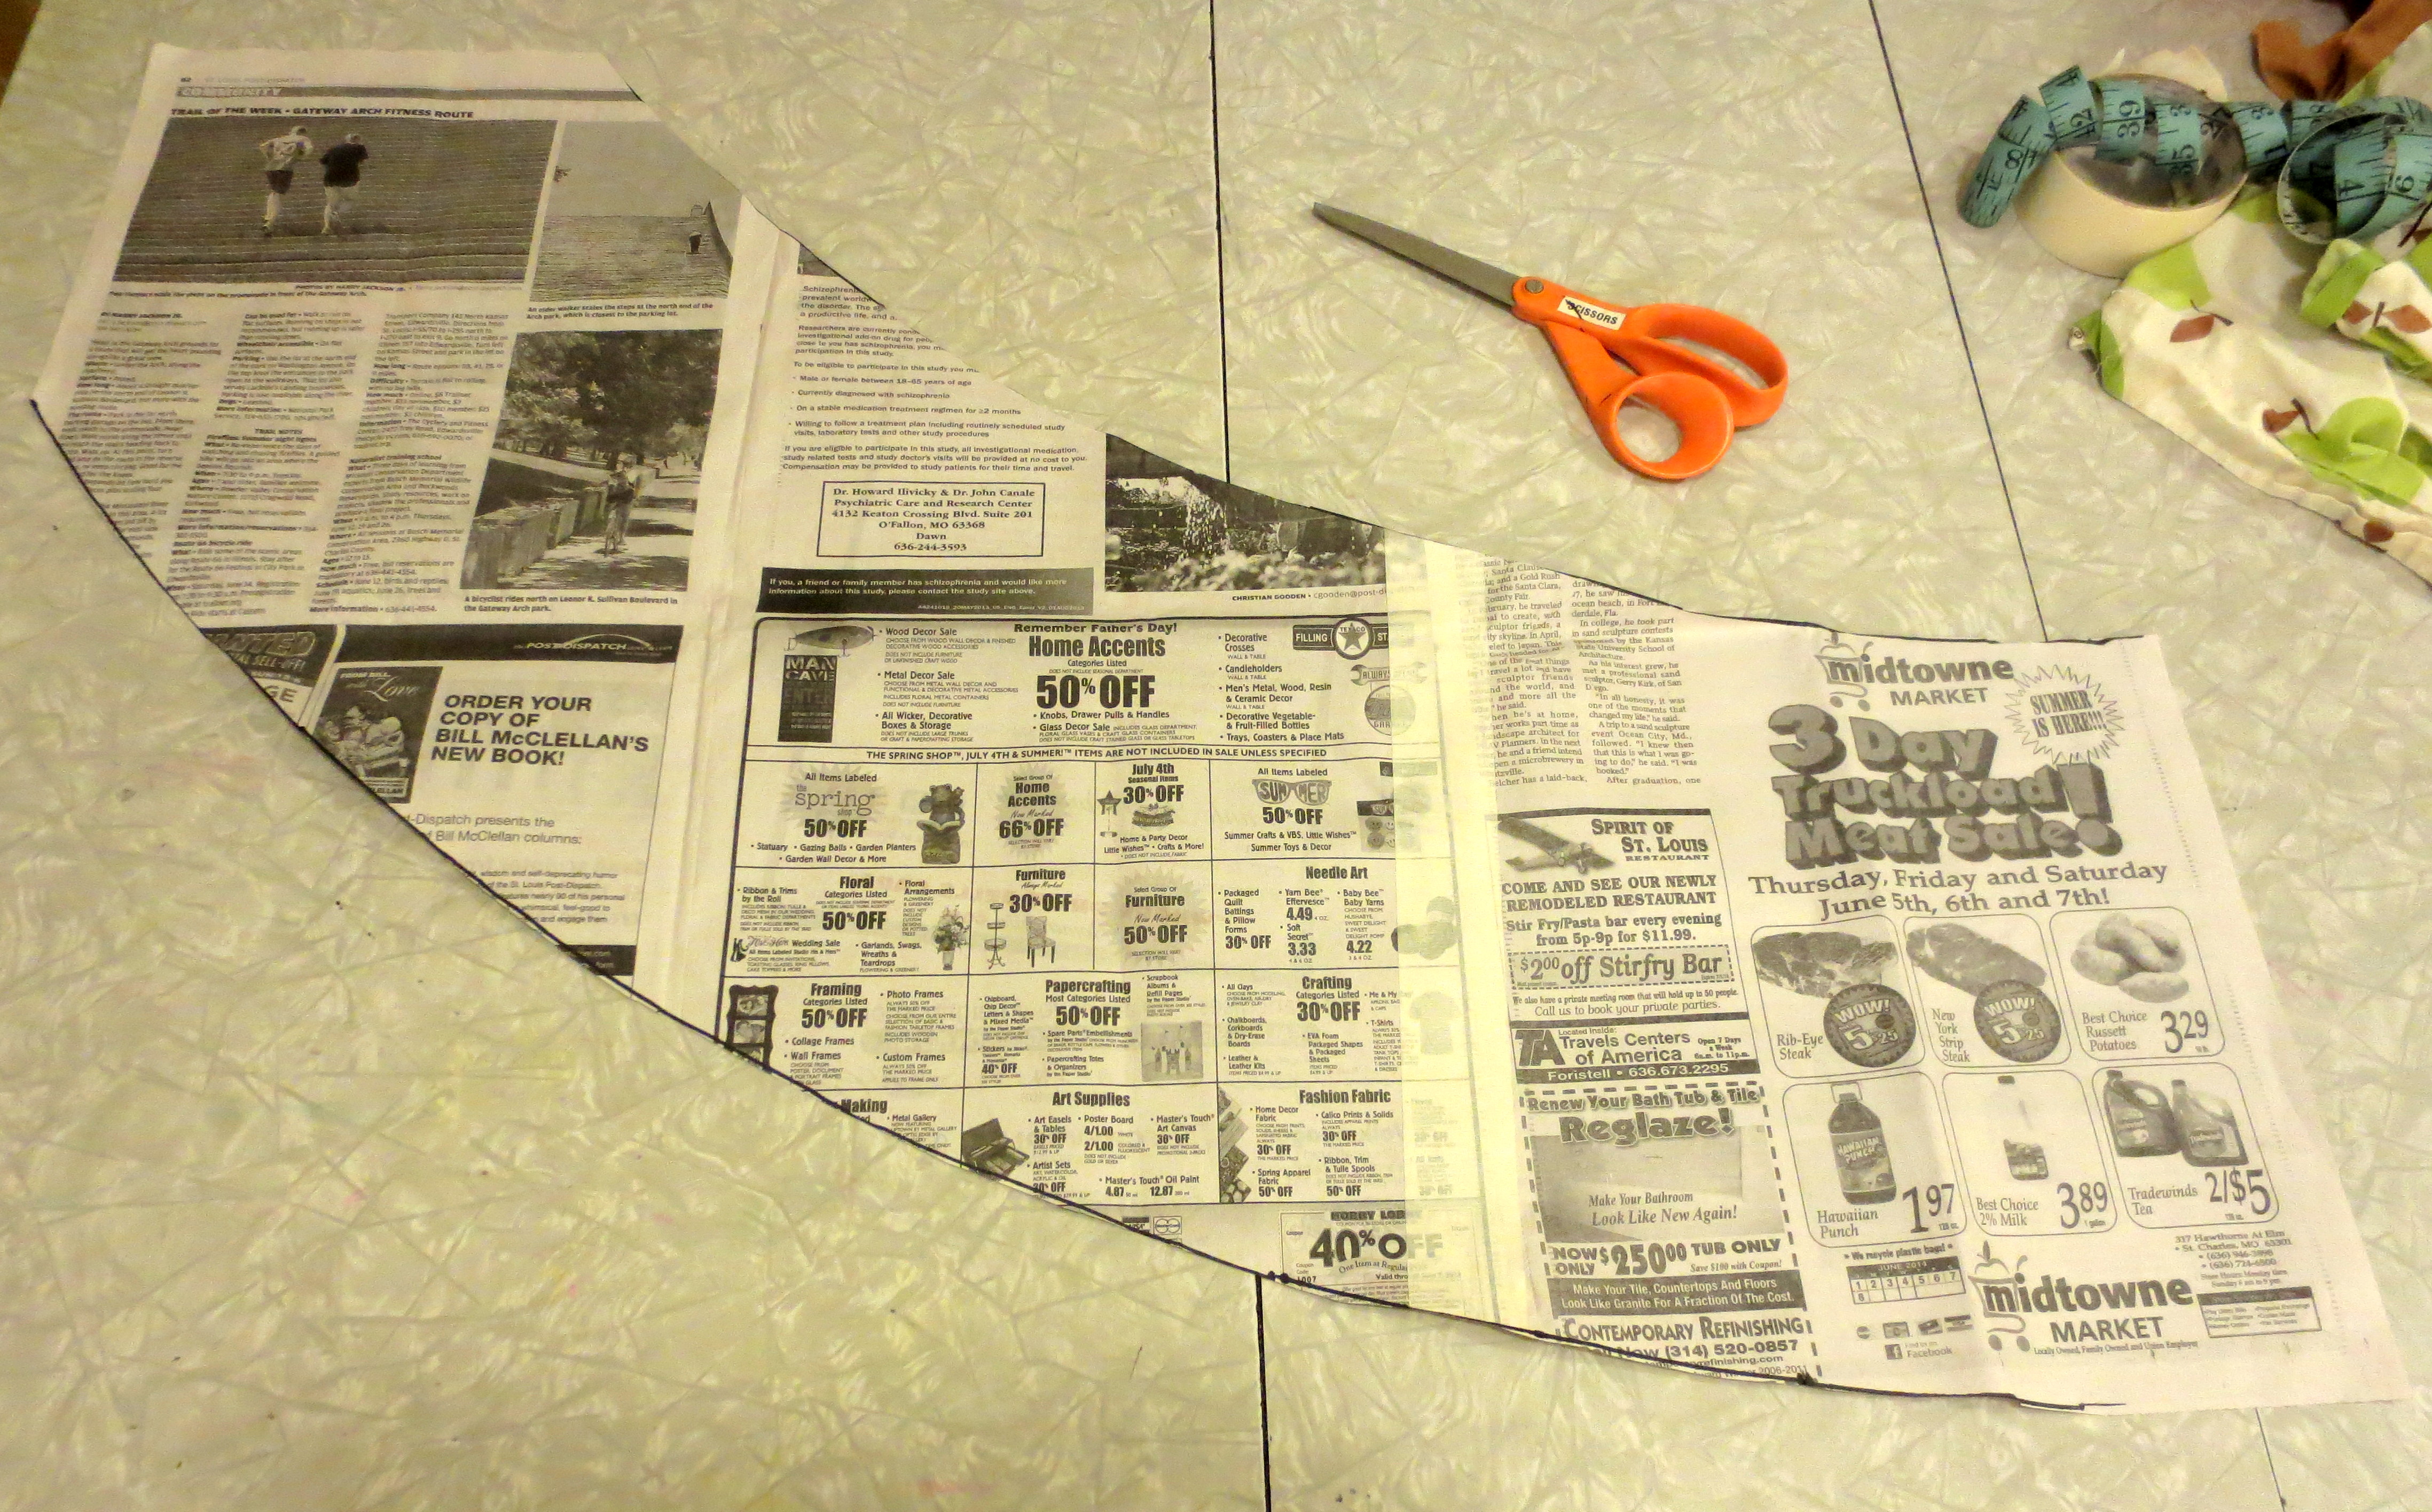
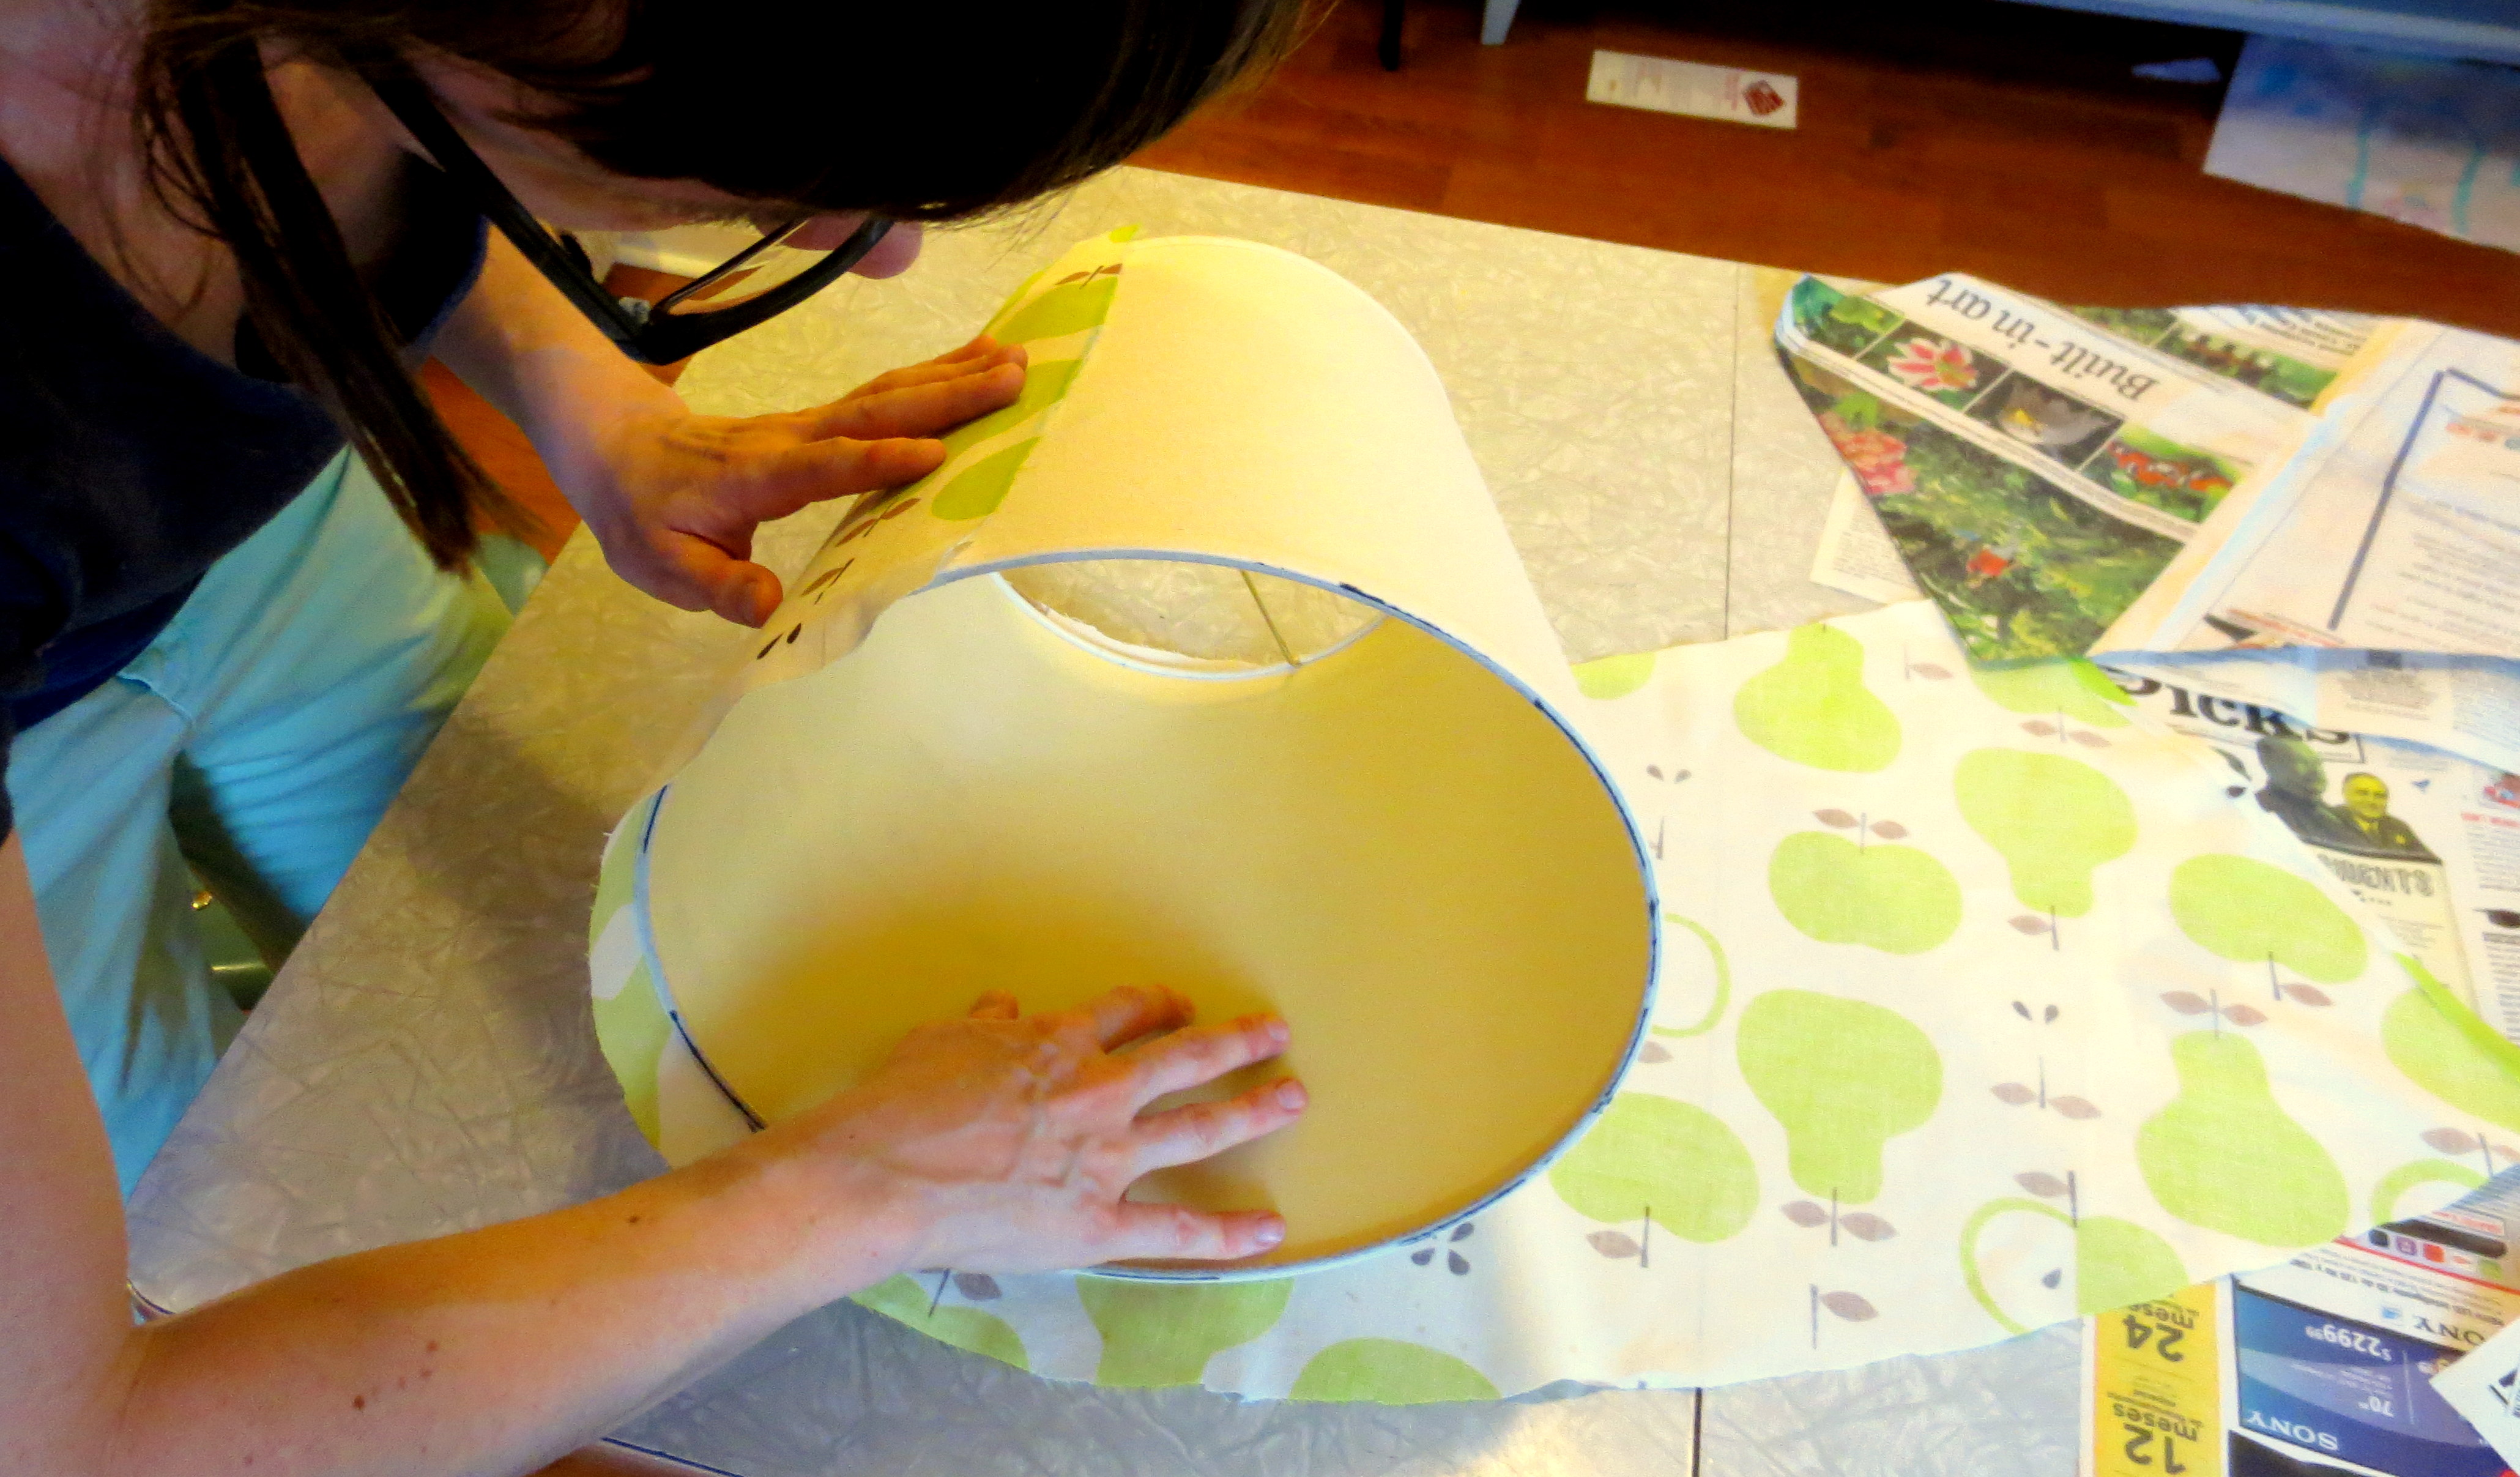
 Since the shade is cone-shaped (the industry term is “coolie shade”), you can’t just wrap a straight strip of fabric around it. First you need to make a pattern. Lay out some newspaper or butcher paper on the table, then place the lamp shade down so the seam lines up with the bottom corner of your paper.
 Roll the shade across the paper, tracing the outline of the bottom with a marker until you hit the seam again.
 Roll the shade back to the original position and roll-and-trace with the top of the shade.
 Cut around your lines to make the pattern. Sorry, that “3-Day Truckload Meat Sale” was in St. Louis last weekend. Too bad you missed it.
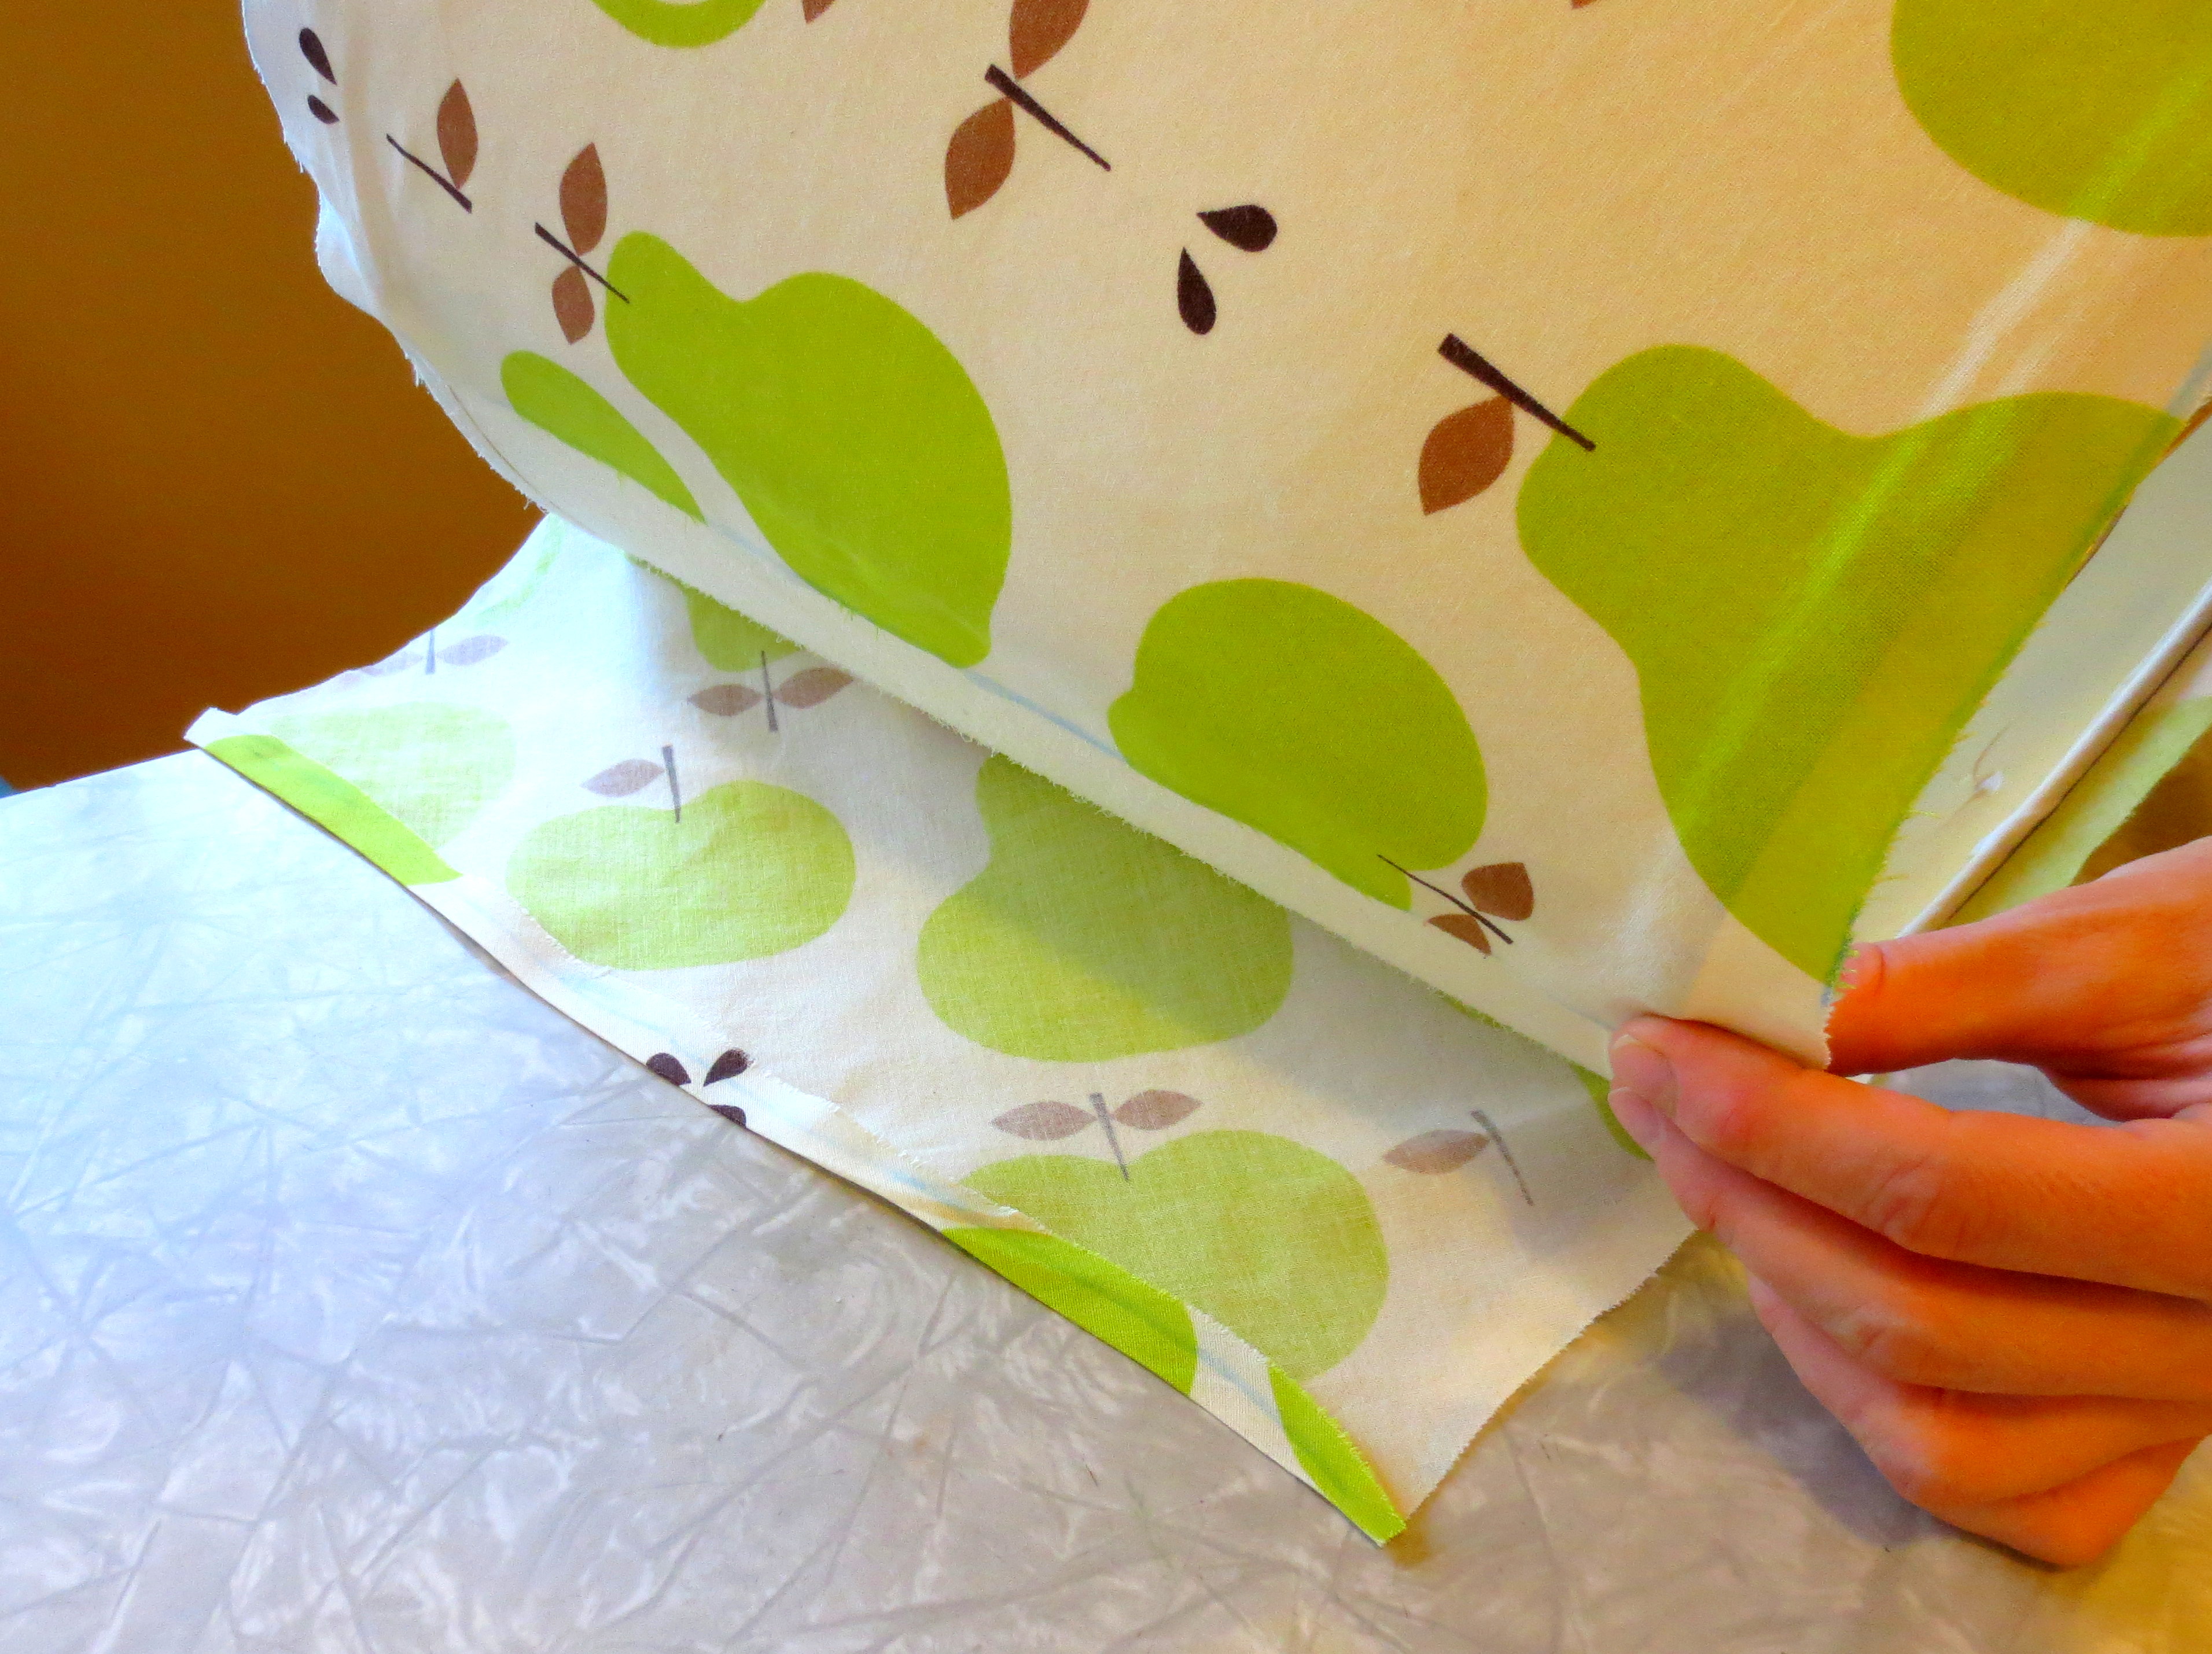
 If you’re recycling old pillowcases, use a seam ripper to release the seams and “open” them back up again. If your pillowcase is clean, go ahead and iron it, using lots of heat and starch. You won’t want to waste time pulling wrinkles flat once you’ve sprayed the glue on, so iron them out now.
 Lay the ironed fabric flat on a clean table, and place the pattern on top of it.
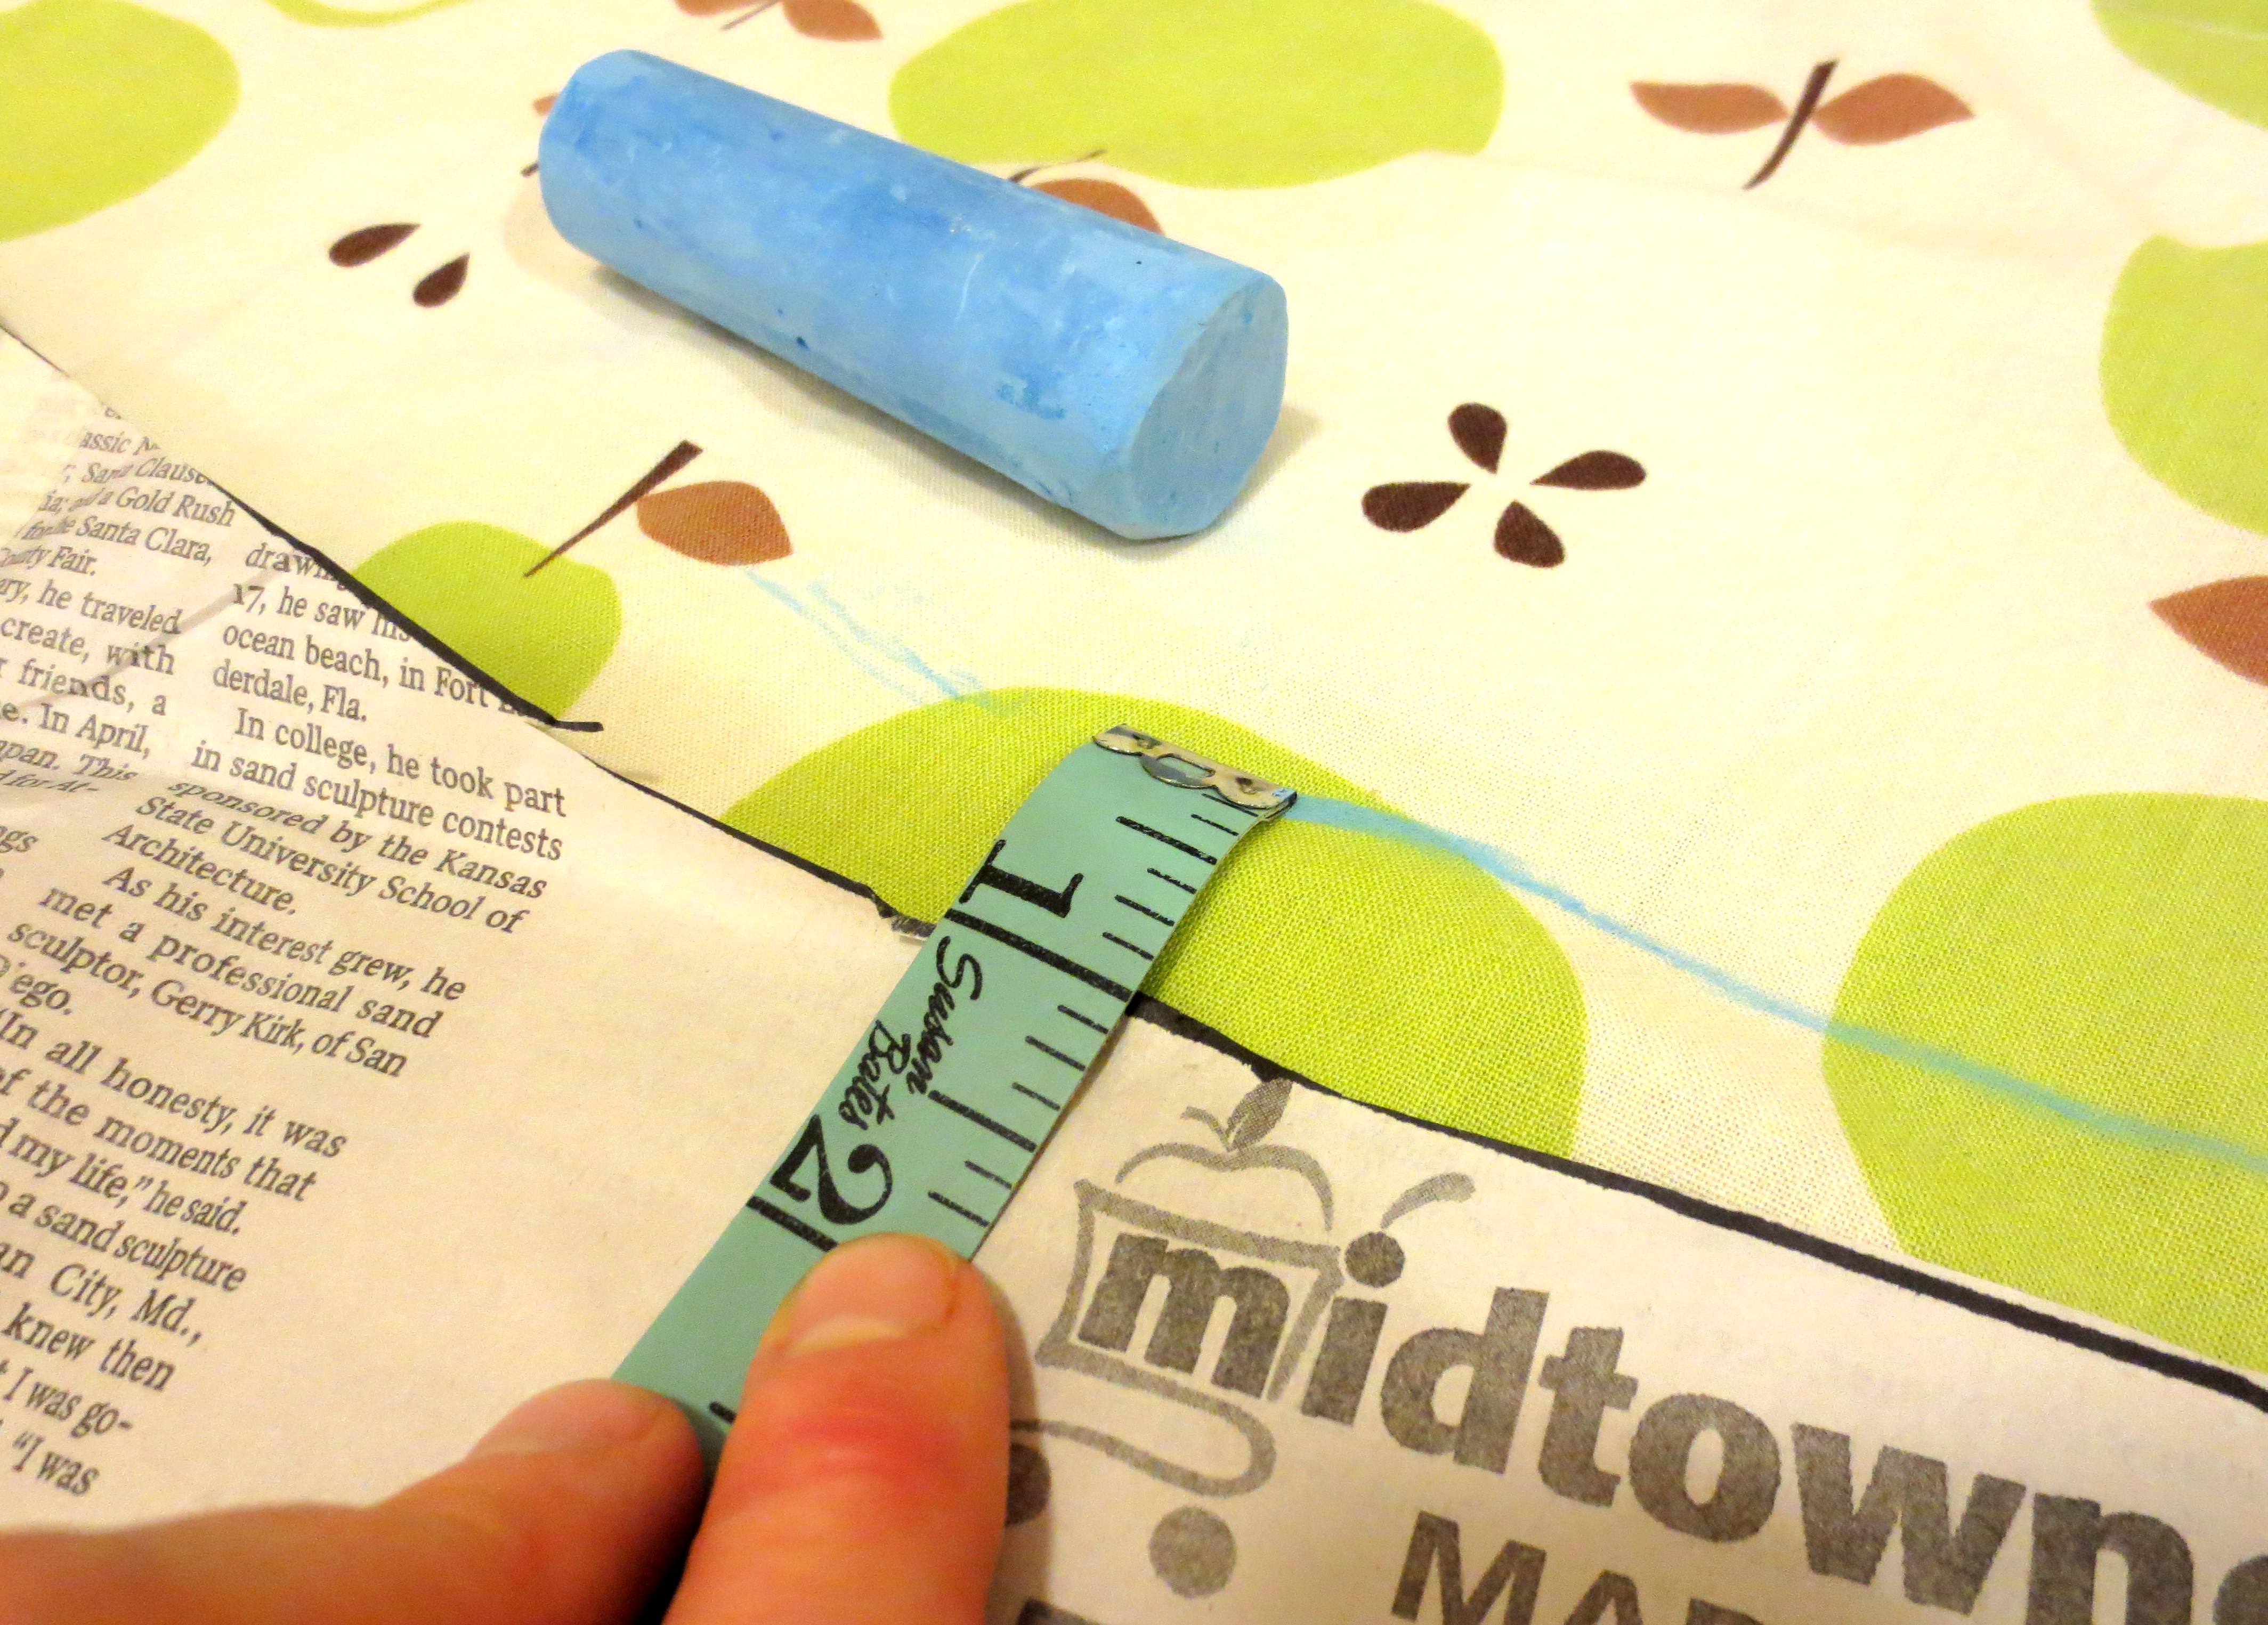
 Before you trace the pattern on the fabric, add an extra half inch to all sides to account for the “hem” – the fabric you’ll need to fold over the inside edge of the lamp shade.
 Cut out the fabric and again lay flat on the table with the underside on top. It should now look like this:
 Make sure your lampshade is clean and dry. I didn’t have a lint roller, so I used some rolled up masking tape to pull off dust and lint before the final adhesive step.
 Grab some multi-purpose spray adhesive (I used Elmer’s, cause I liked the picture of the smiling cow on it).
WARNING: This is krazy glue in aerosol form. Think about that for a minute. And think about a coat of krazy glue over all your nice things, if you have nice things (I don’t). Then open the back window as far as you can and stick your lampshade out the window. With your other hand out the window, spray some glue all over the outside of the shade, and also a little bit around the top and bottom inside where you’ll fold the fabric over.
 Place the lampshade over the fabric so that the seam lines up with the outer edge of the fabric; center the shade so that you have a half inch of fabric on the top and bottom for folding over.
 Carefully roll the sticky shade over the fabric, pulling and smoothing the fabric as you go. You have a couple of minutes before the glue sets, so if the fabric isn’t going on straight, pull it off and start from the beginning. It took me a couple of tries.
 Fold the very end of the fabric over itself and lightly spray with glue to create a finished “hem.” Add a little more glue and press the “hem” down over your starting point.
 Pull the extra half inch of fabric over the top and bottom of the shade and press down.
 Let the glue dry overnight and screw the shade onto the lamp:

 How does it look in the kids’ room? (Not that they appreciate it anyway):


Reblogged this on Artiary Graphournal and commented:
Genius! I love restoring old junk, its such a rewarding experience … Most of the time anyways.
LikeLike
Another great job. Another 5 minutes of unseemly snorting and giggling as I read the post. Another half hour of futile alley-envy. They just don’t dump the stuff here that you seem to access….
LikeLike
I may or may noy paint my shades or try to fix my ugly lamps, but I will do a little happy dance for finding your site. Enjoy your sense of humor.
LikeLike