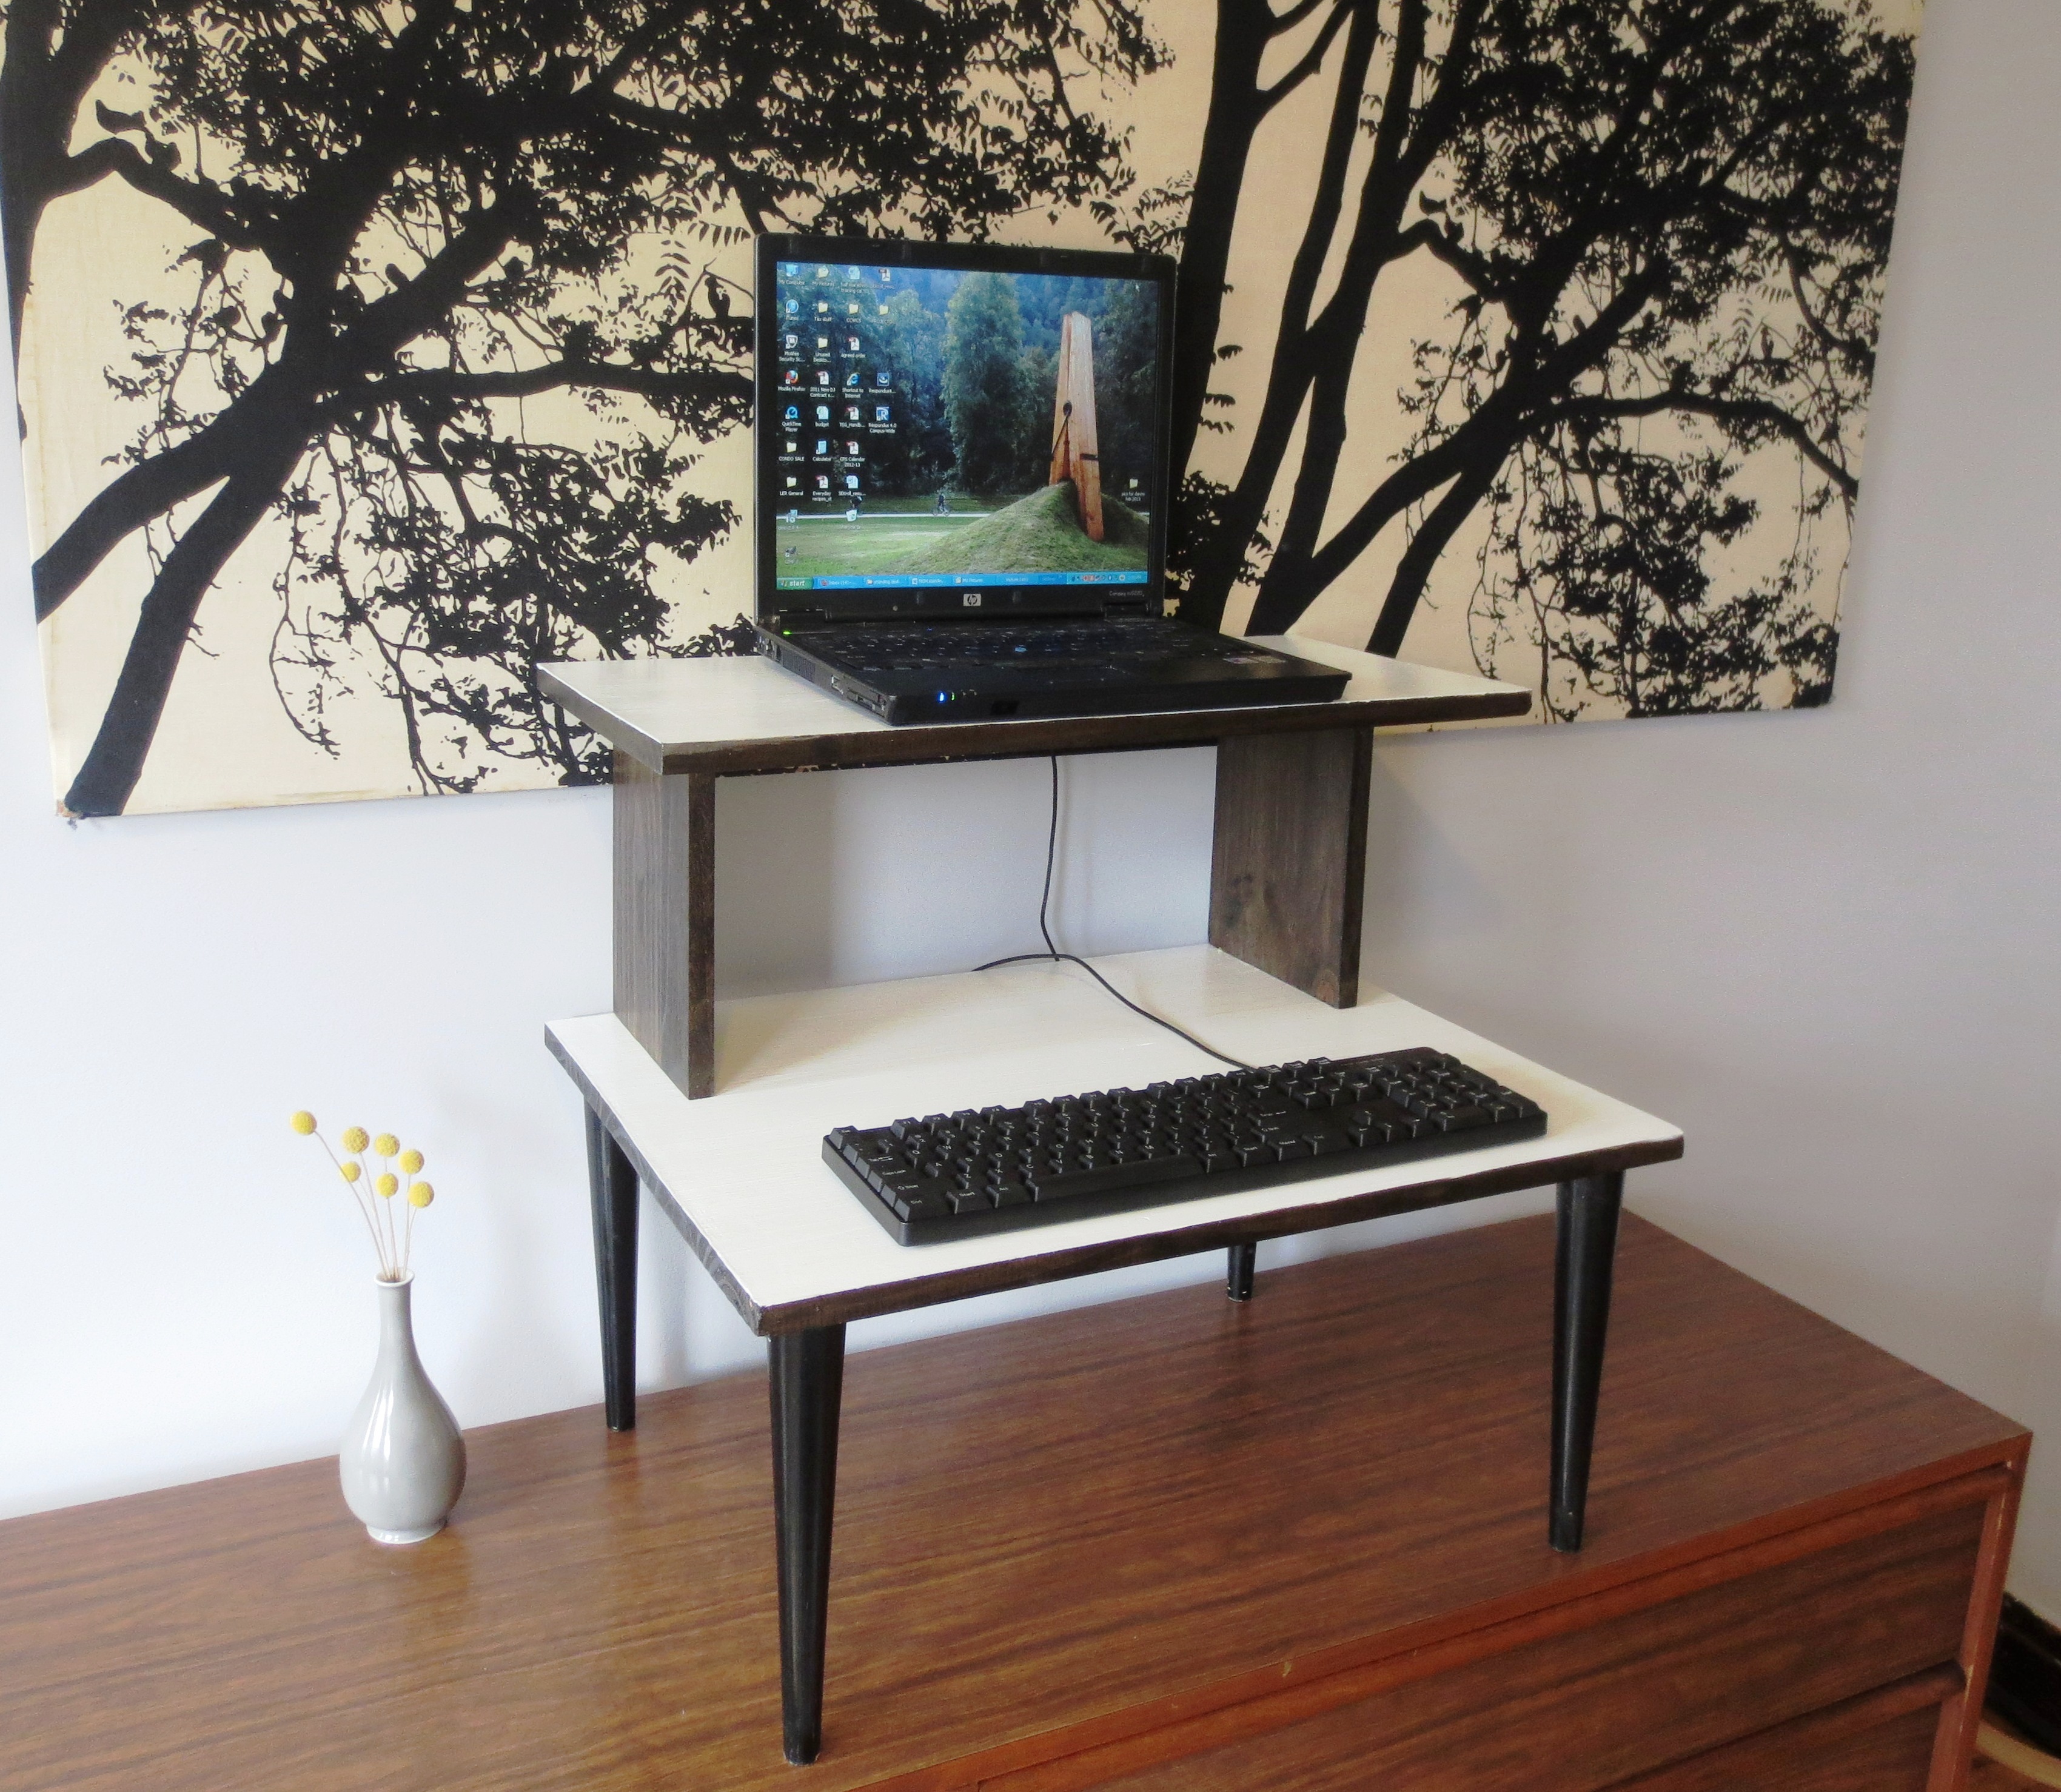
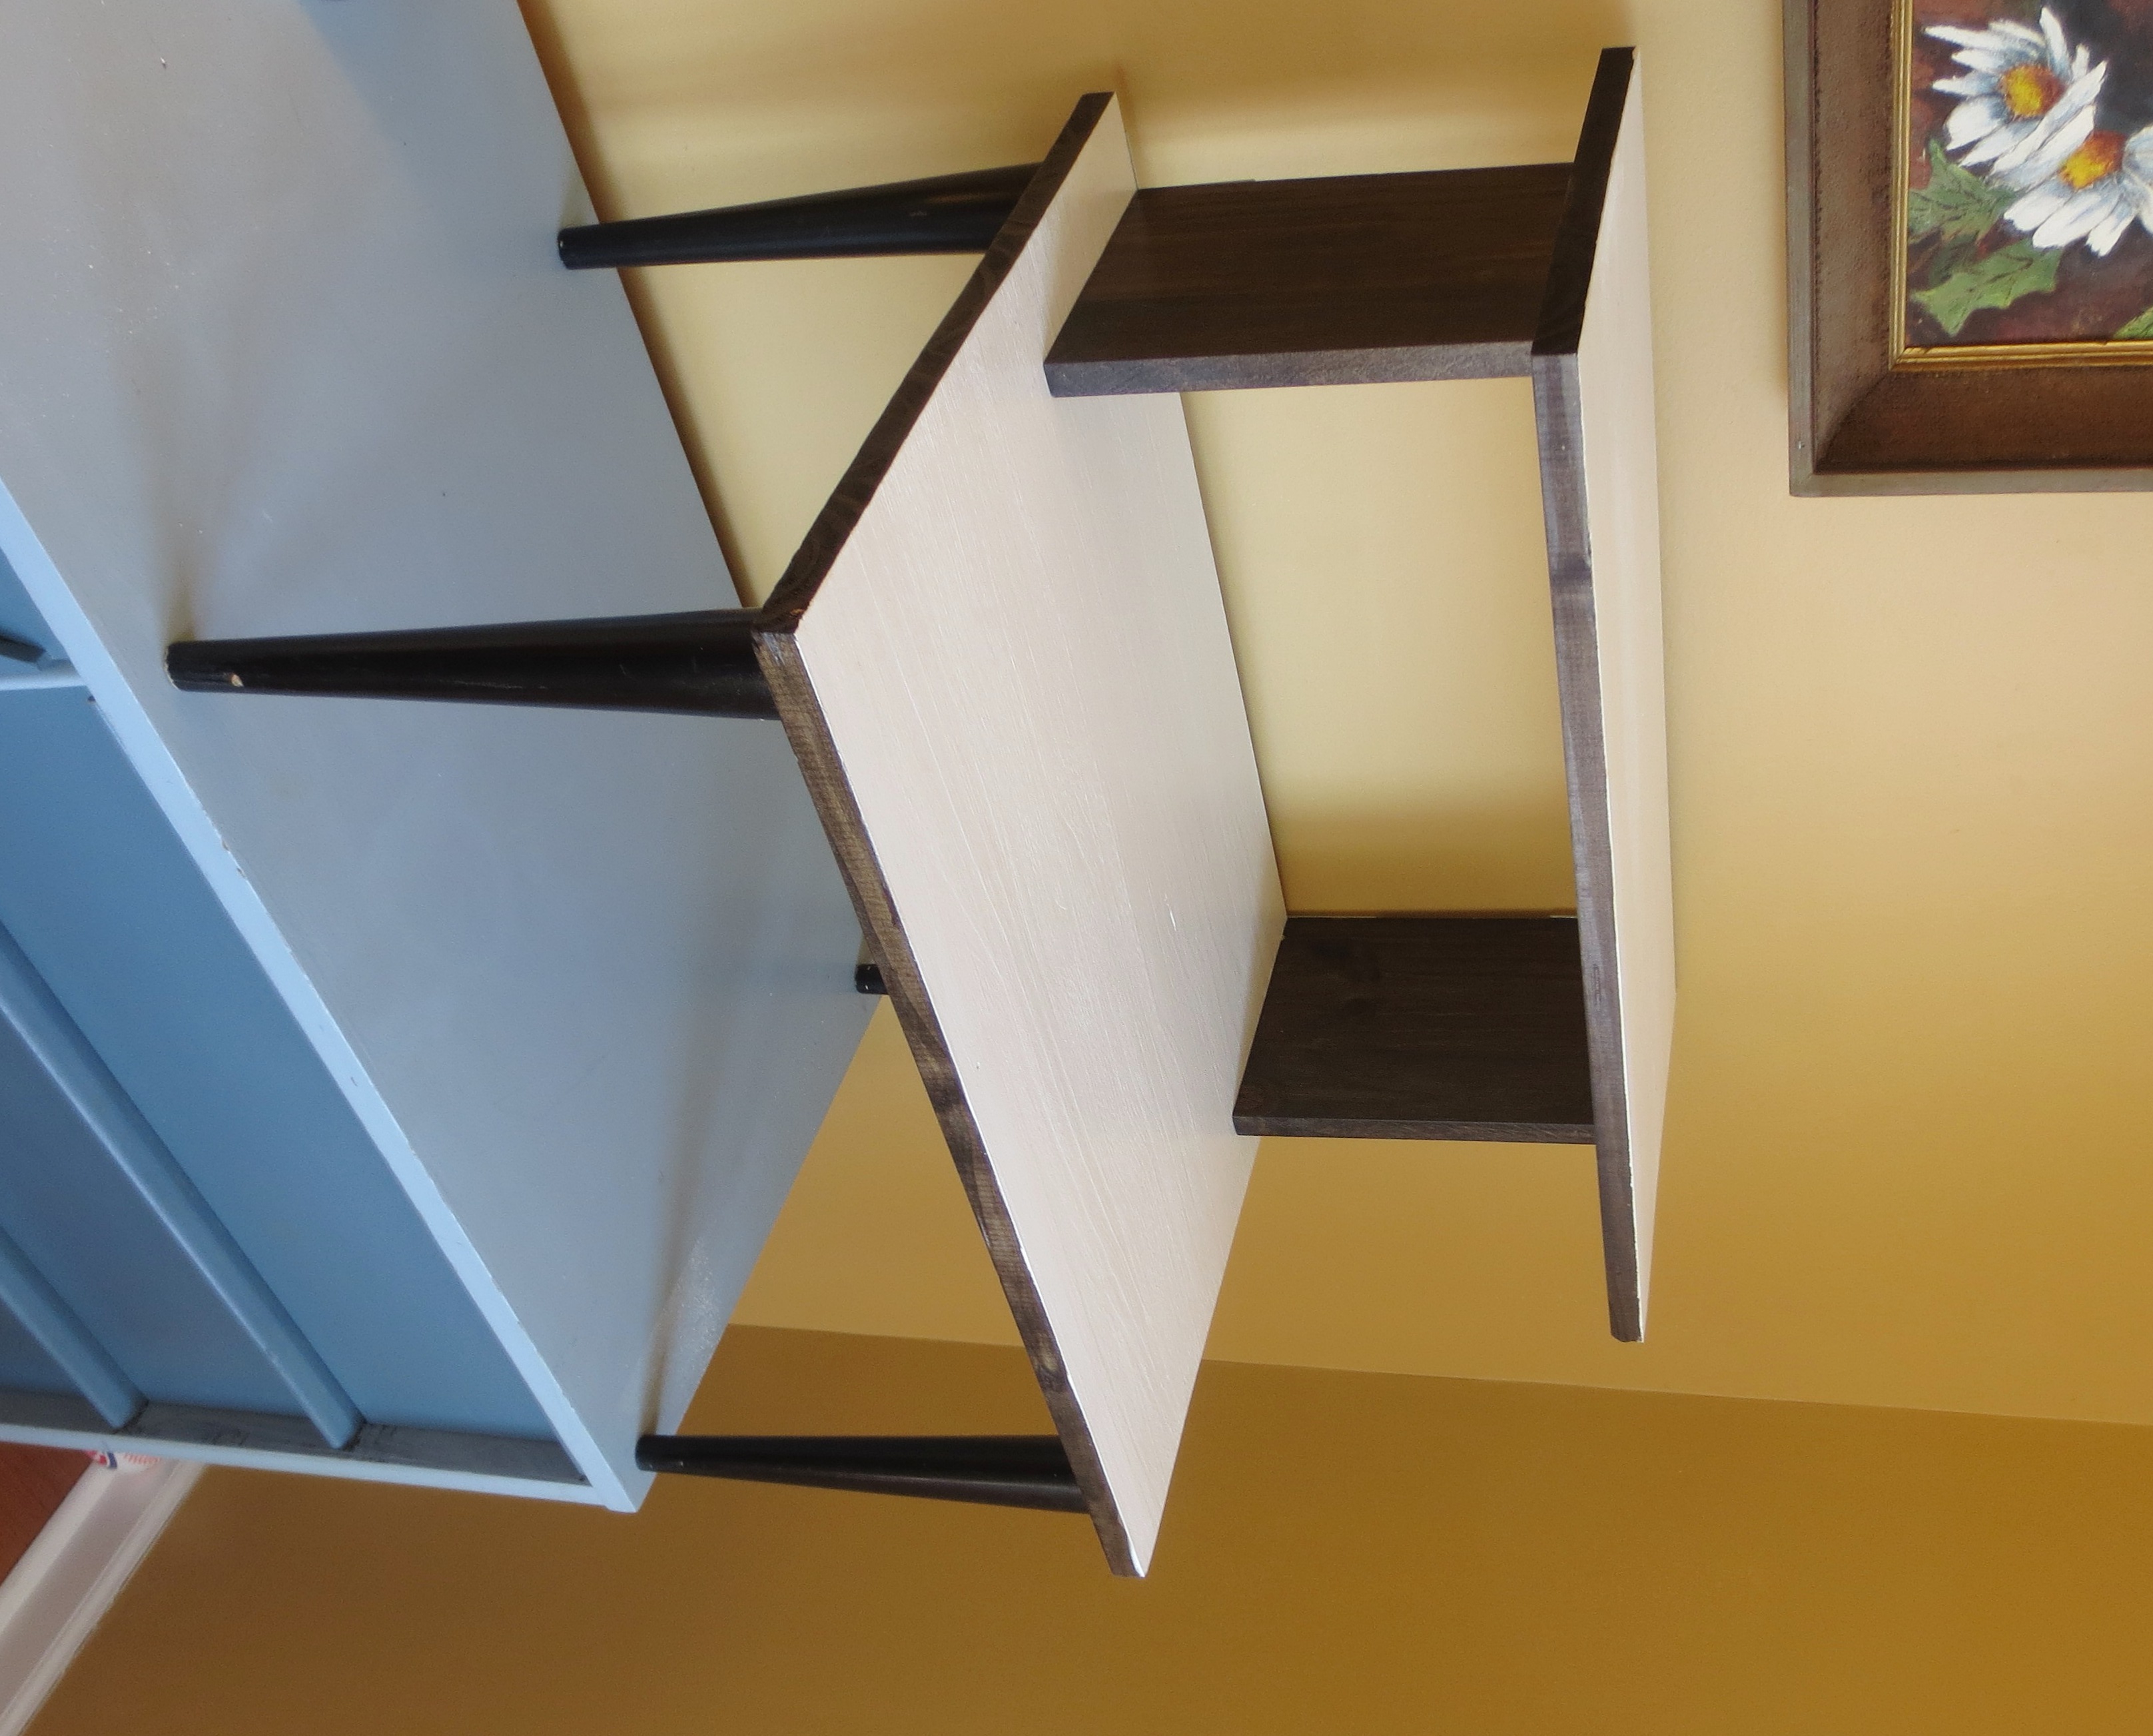
Spoiler alert! This is what it looks like at the end.
I know, I know. There’s nothing Mid-Century at all about a standing desk. Or, for that matter, using a computer, or working from home, or participating in so-called “webinars.”
But here in the early 21st Century, I do work from home, my back hurts, my knees ache and I’ve developed the posture of an octogenarian coal miner. Something had to change, and I thought a standing desk might be worth a try.
Before I took the plunge, I tested out the position with my laptop and a USB keyboard in a couple of makeshift standing “workstations” on top of my sitting desk in the front room (that’s Chicagoan for “living room”) and the bedroom dresser.
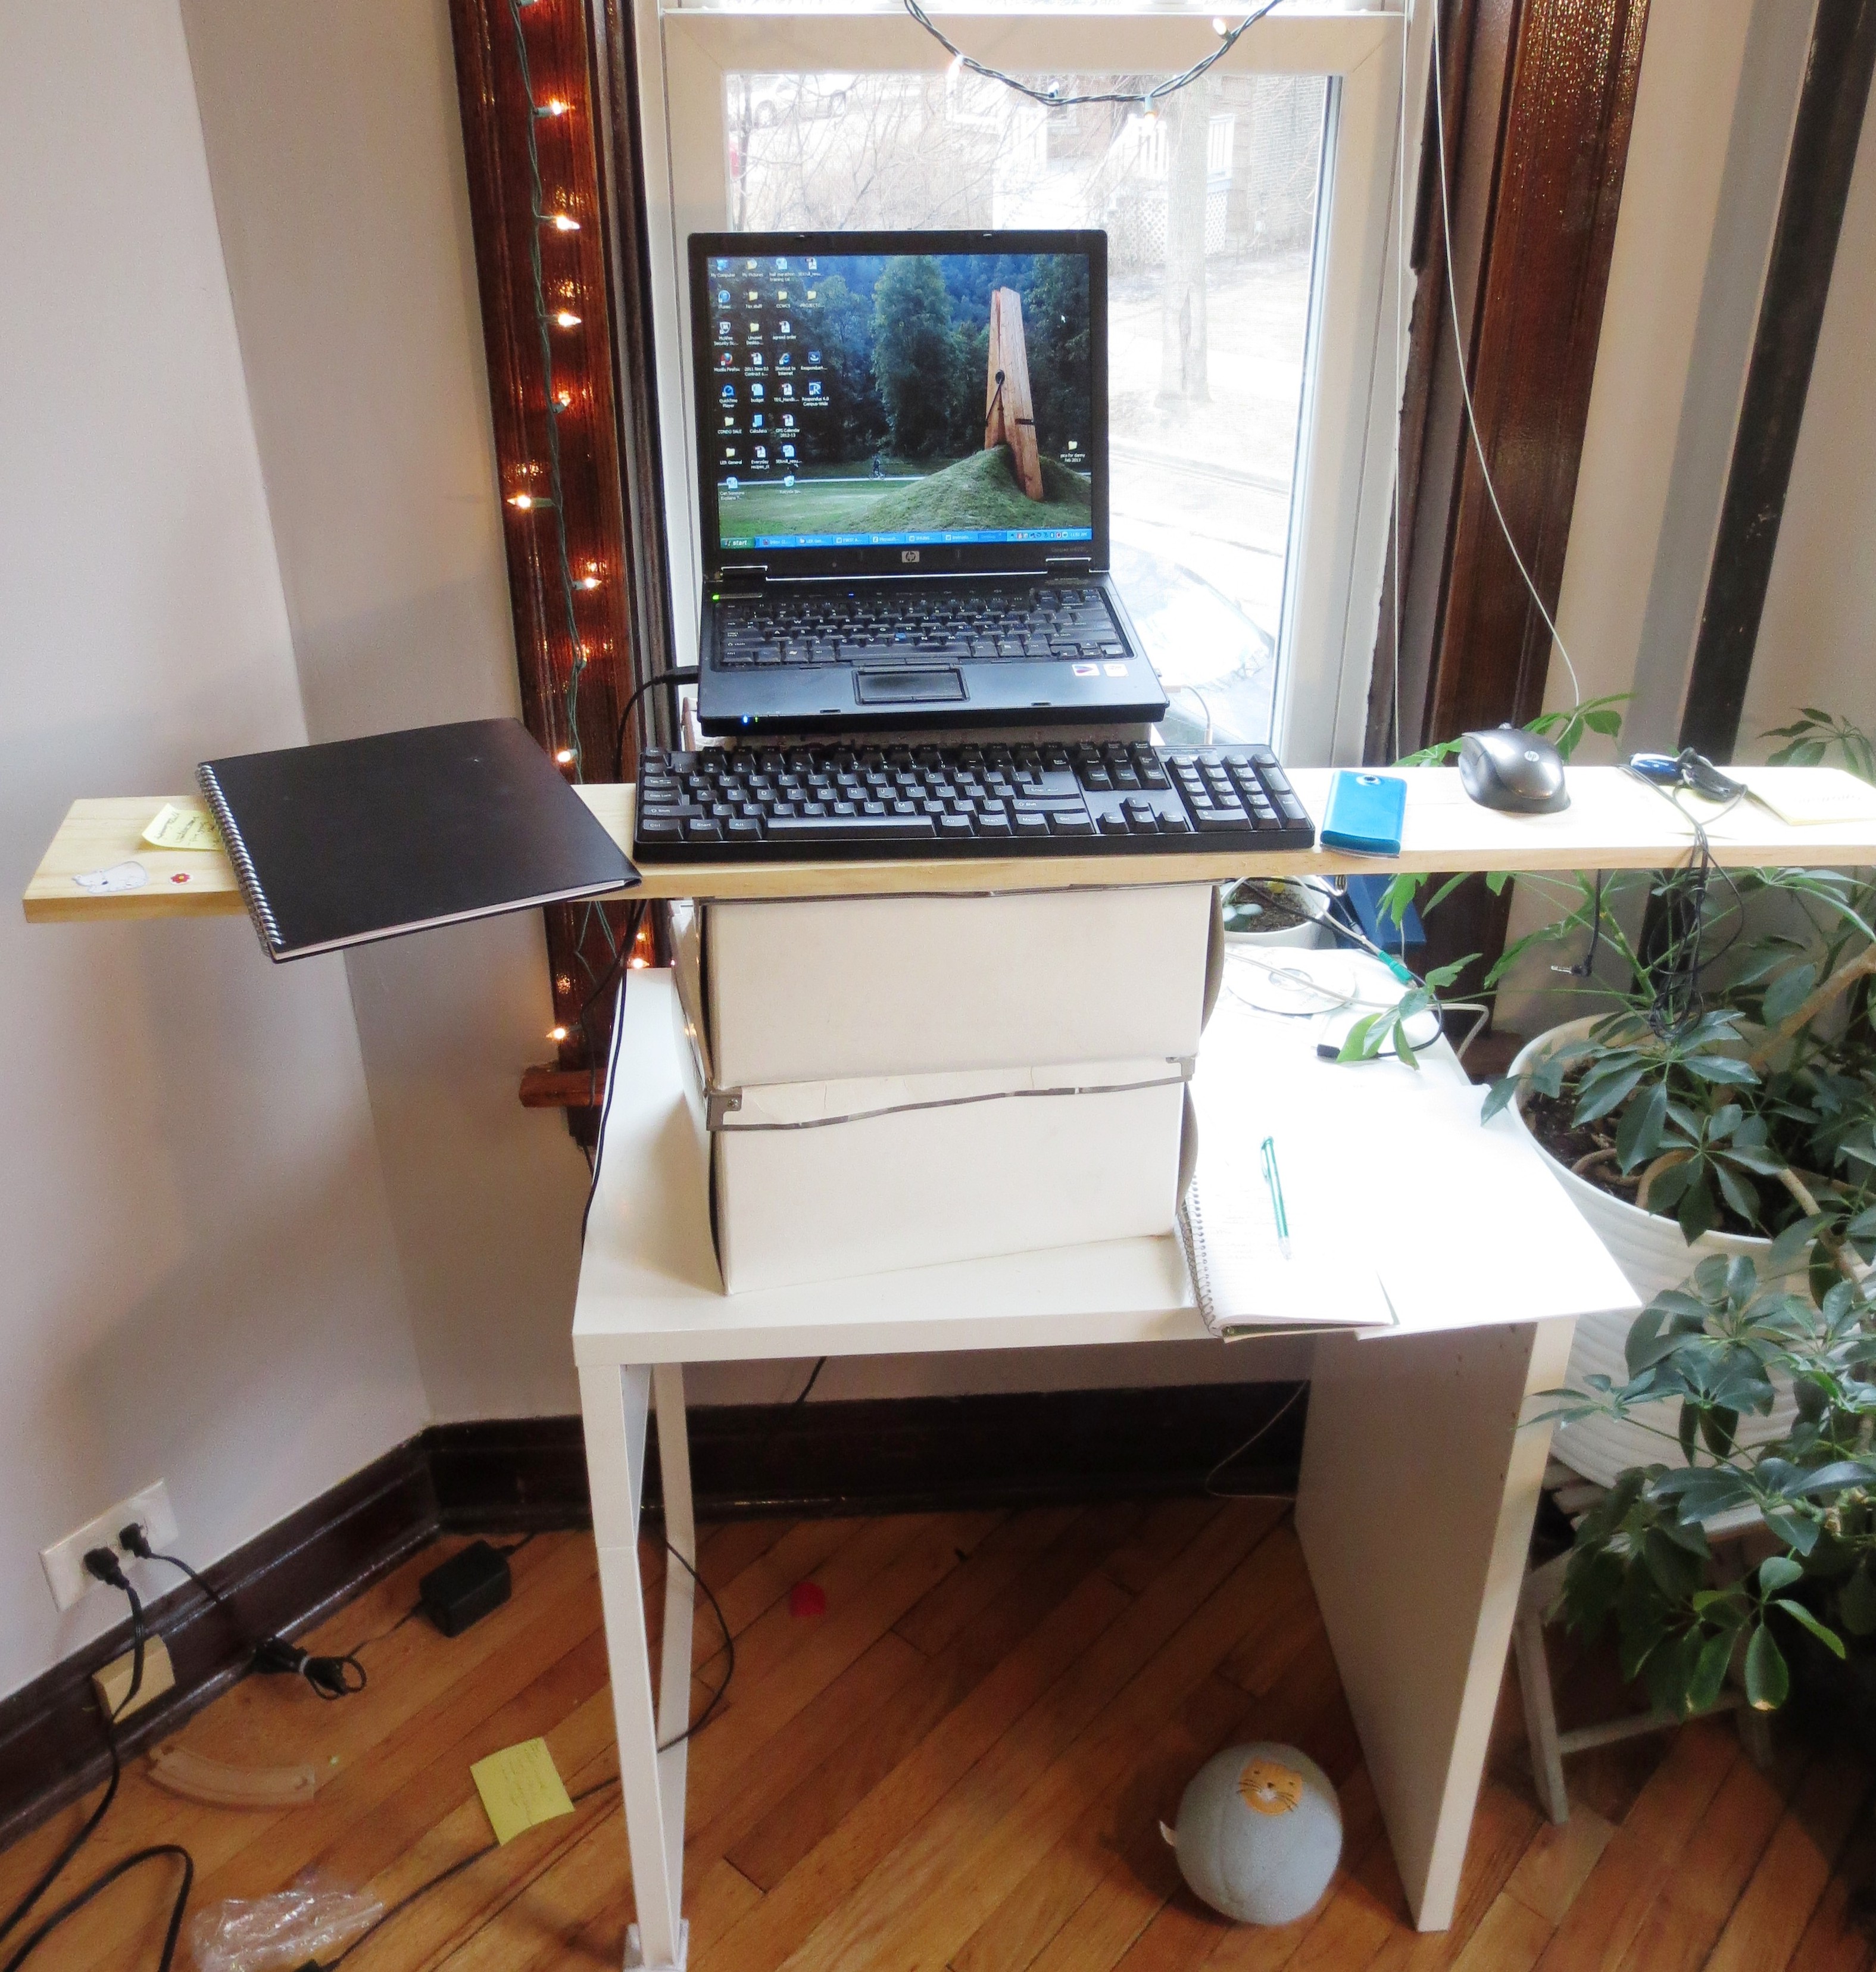
Standing Desk Prototype #1
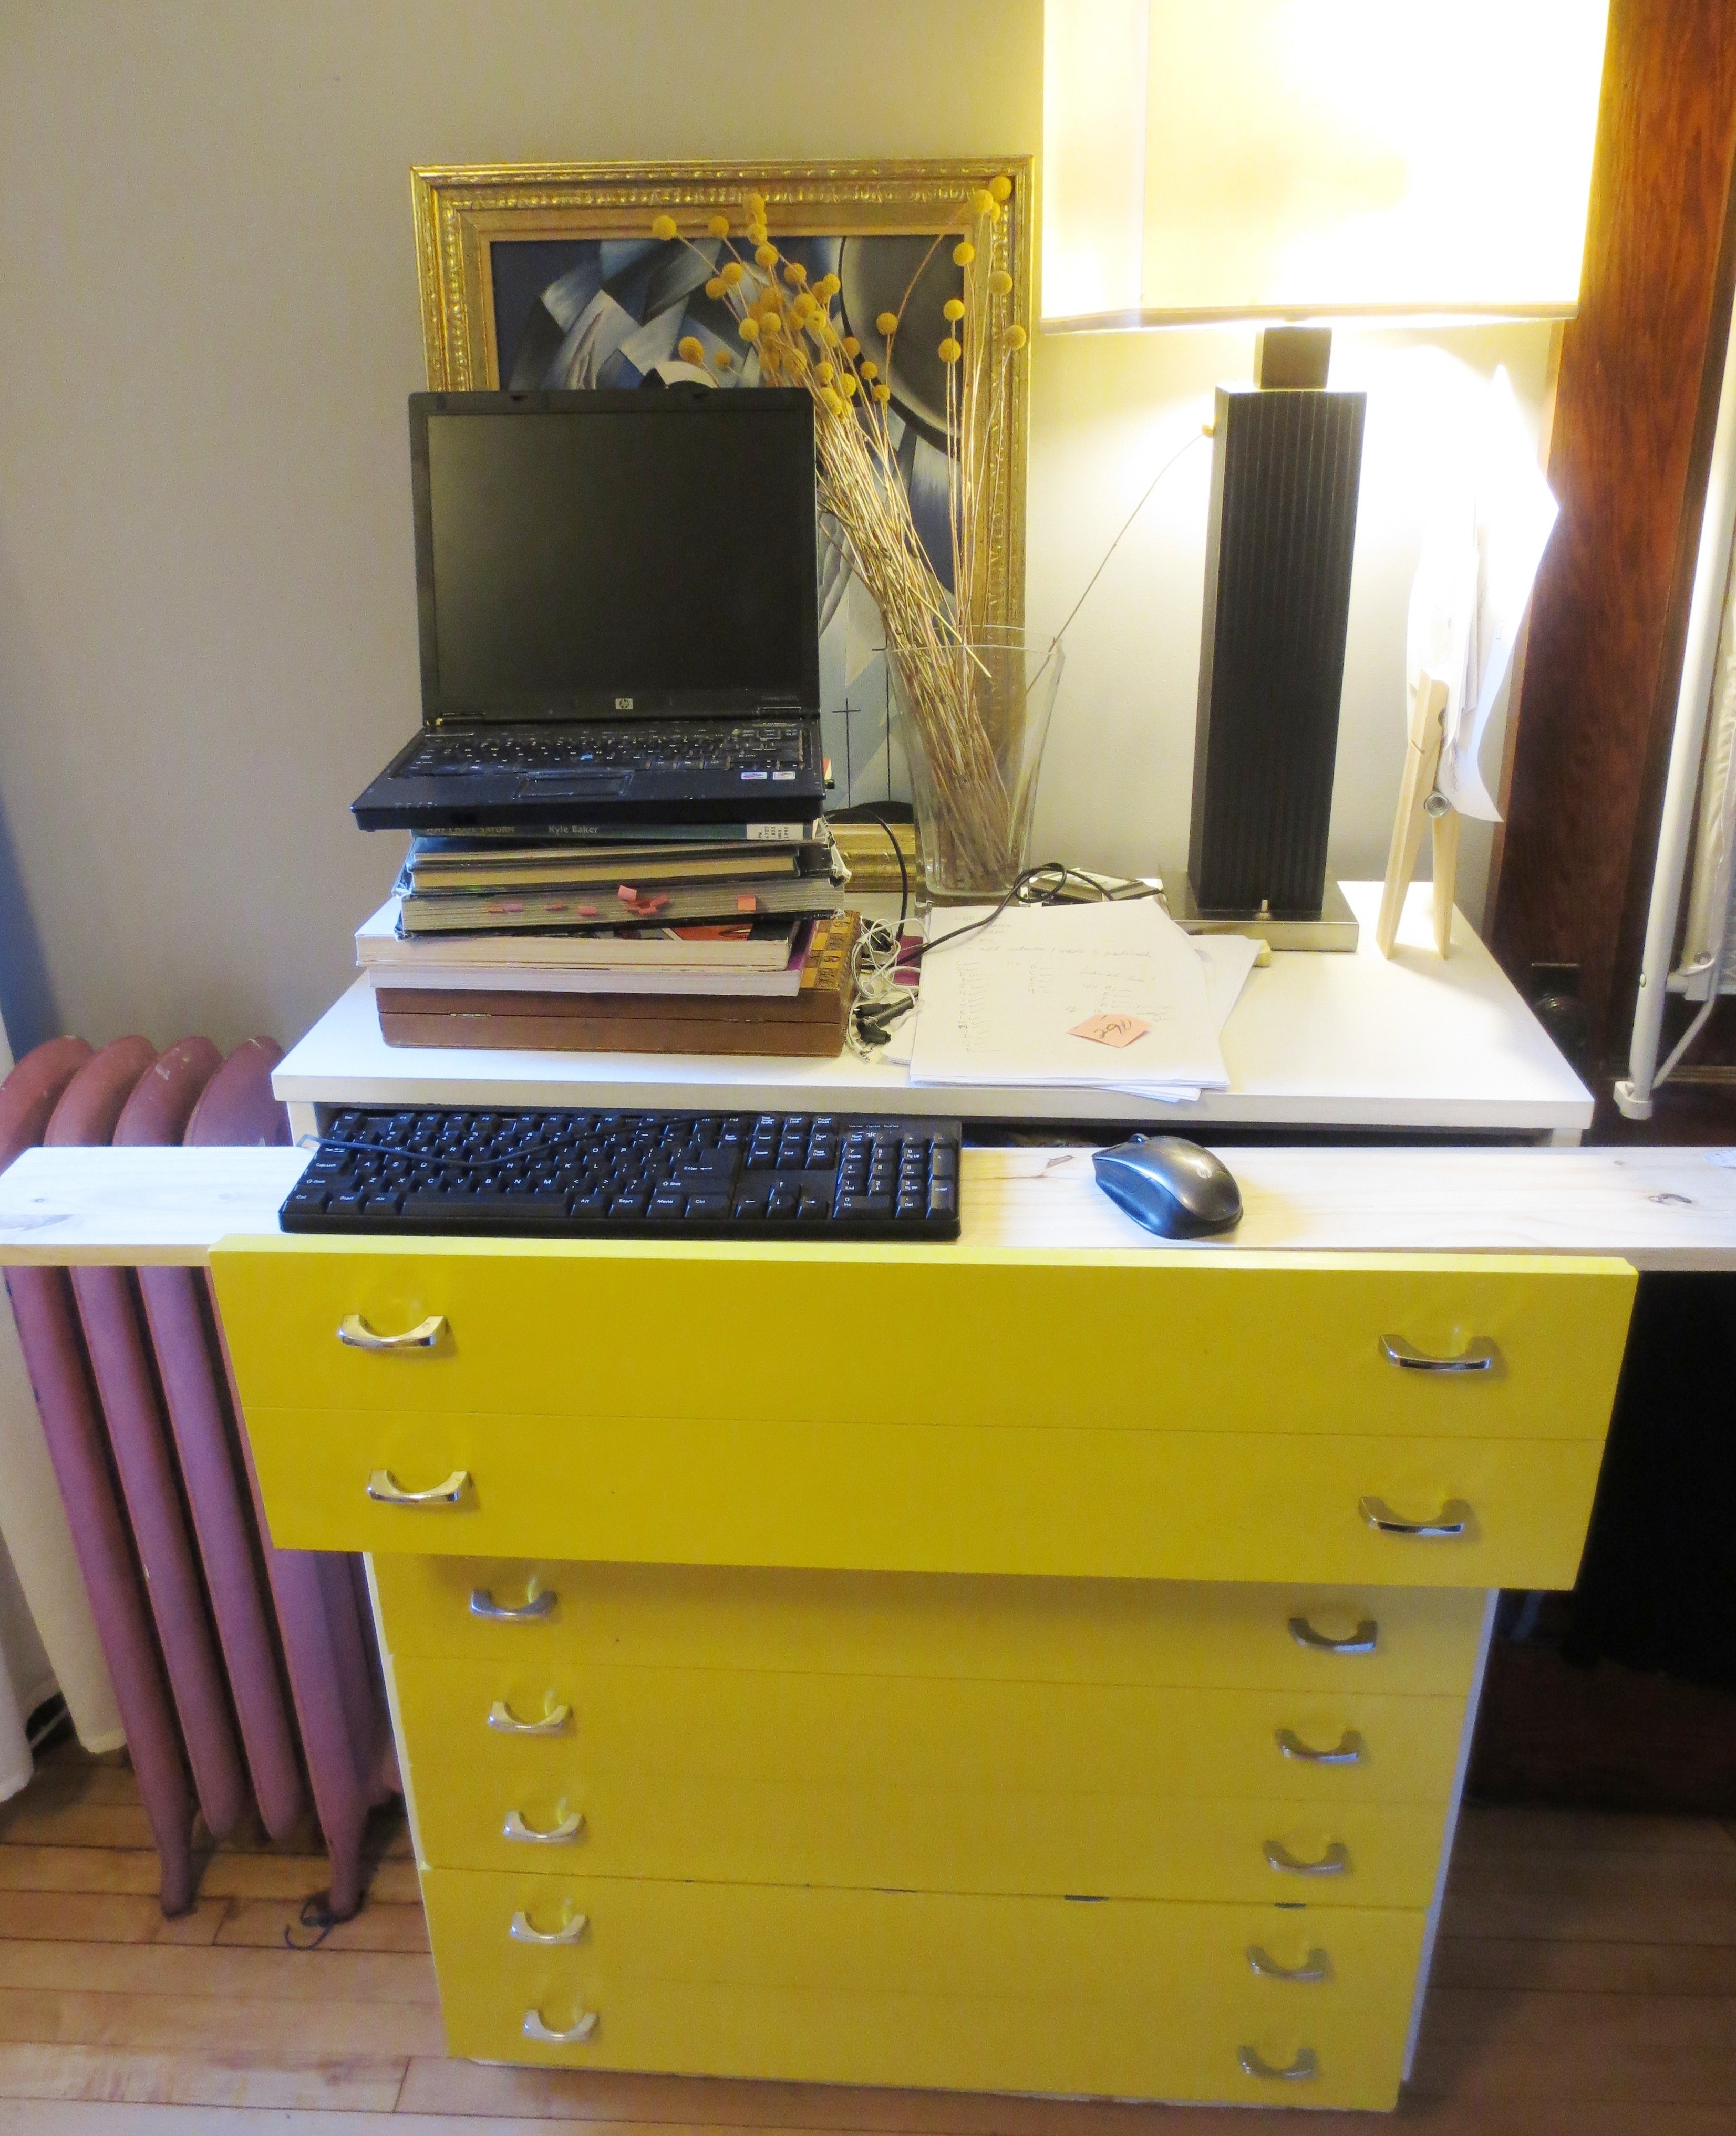
prototype #2
I love it! My sciatica vanished, my back straightened up, even my butt cheeks seemed rounder. It actually felt good to sit down for lunch.
And the best part is, the standing desk keeps the keyboard far out of reach of little hands. With a single poke of their sticky fingers, my children can somehow hit “reply all” to a sensitive email AND post unflattering pictures of me on Facebook, if they haven’t completely crashed the computer already.
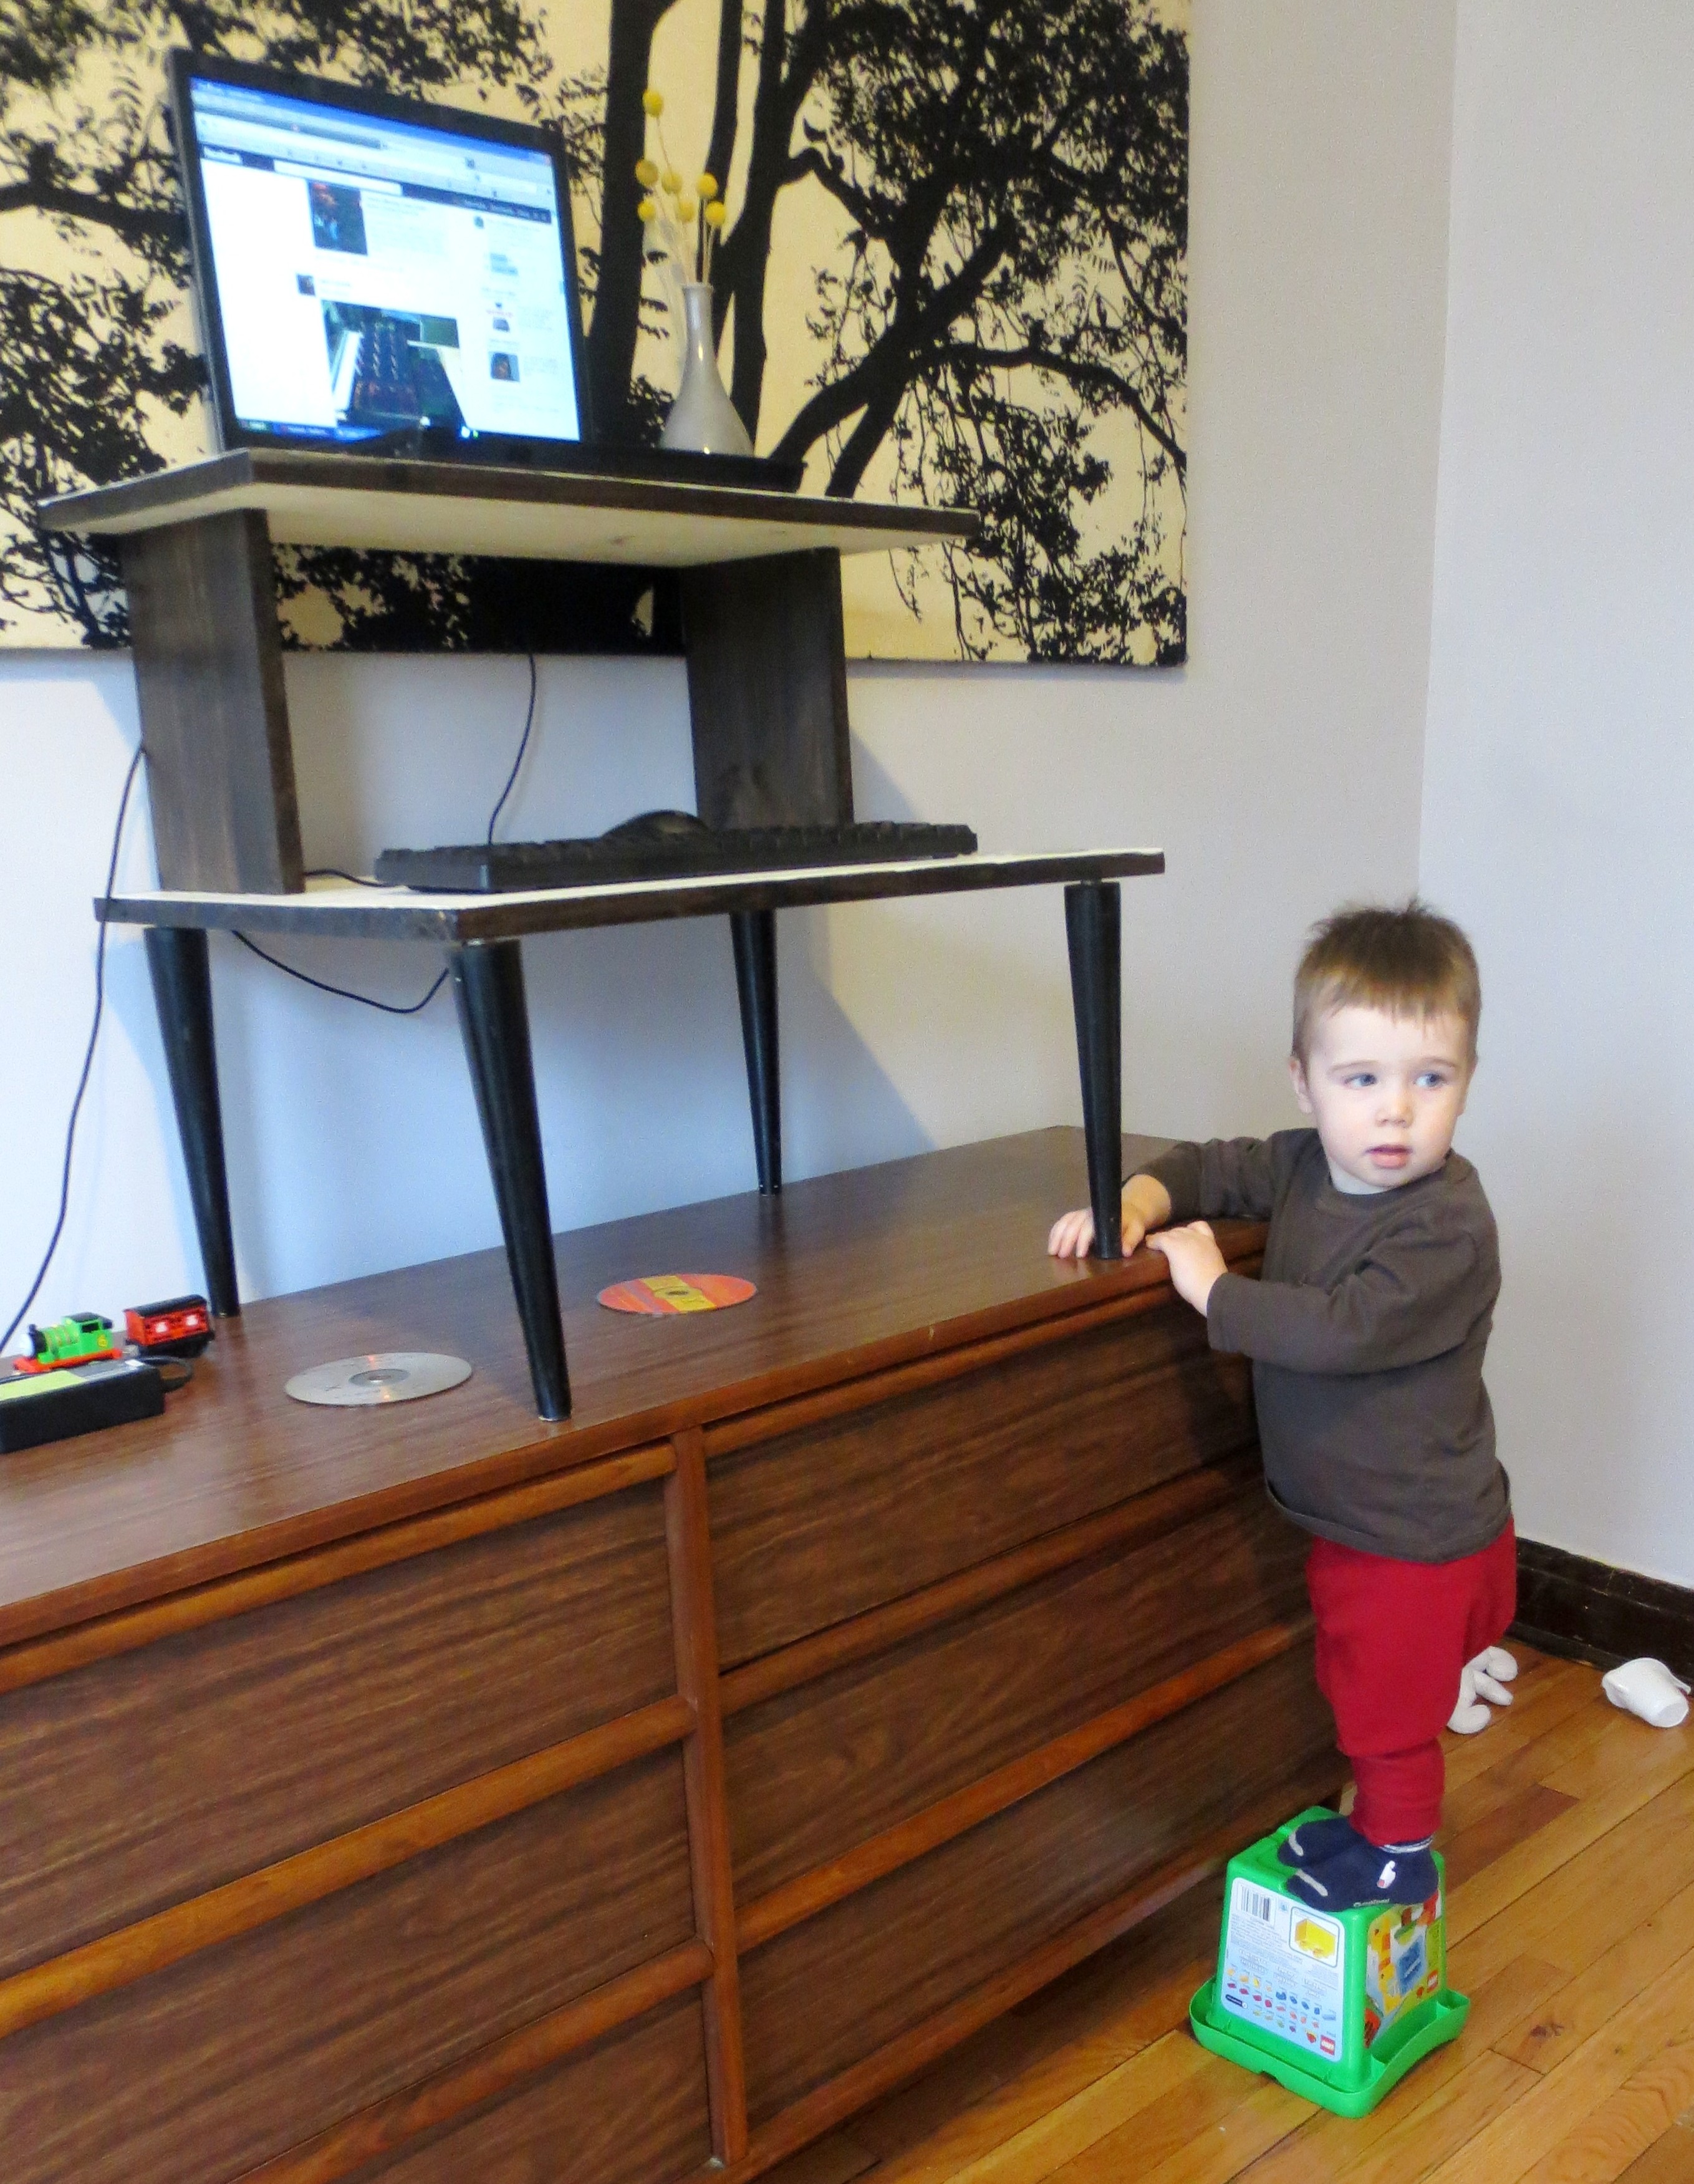
Even standing on an upturned bucket of legos, this mischievous toddler can’t reach the keyboard.
But, where do you even get a standing desk? Google it and you’ll find workstations costing nearly a thousand dollars (not including the treadmill). Most of them are just massive heaps of powder-coated metal and light oak- veneered particleboard.
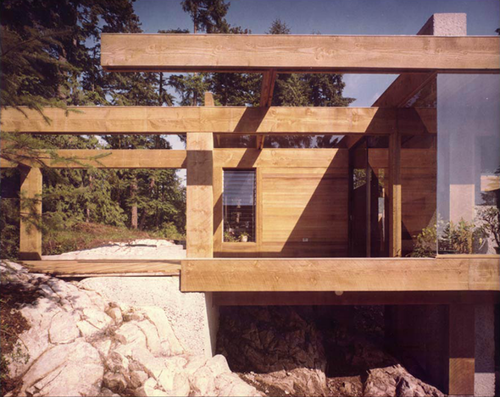
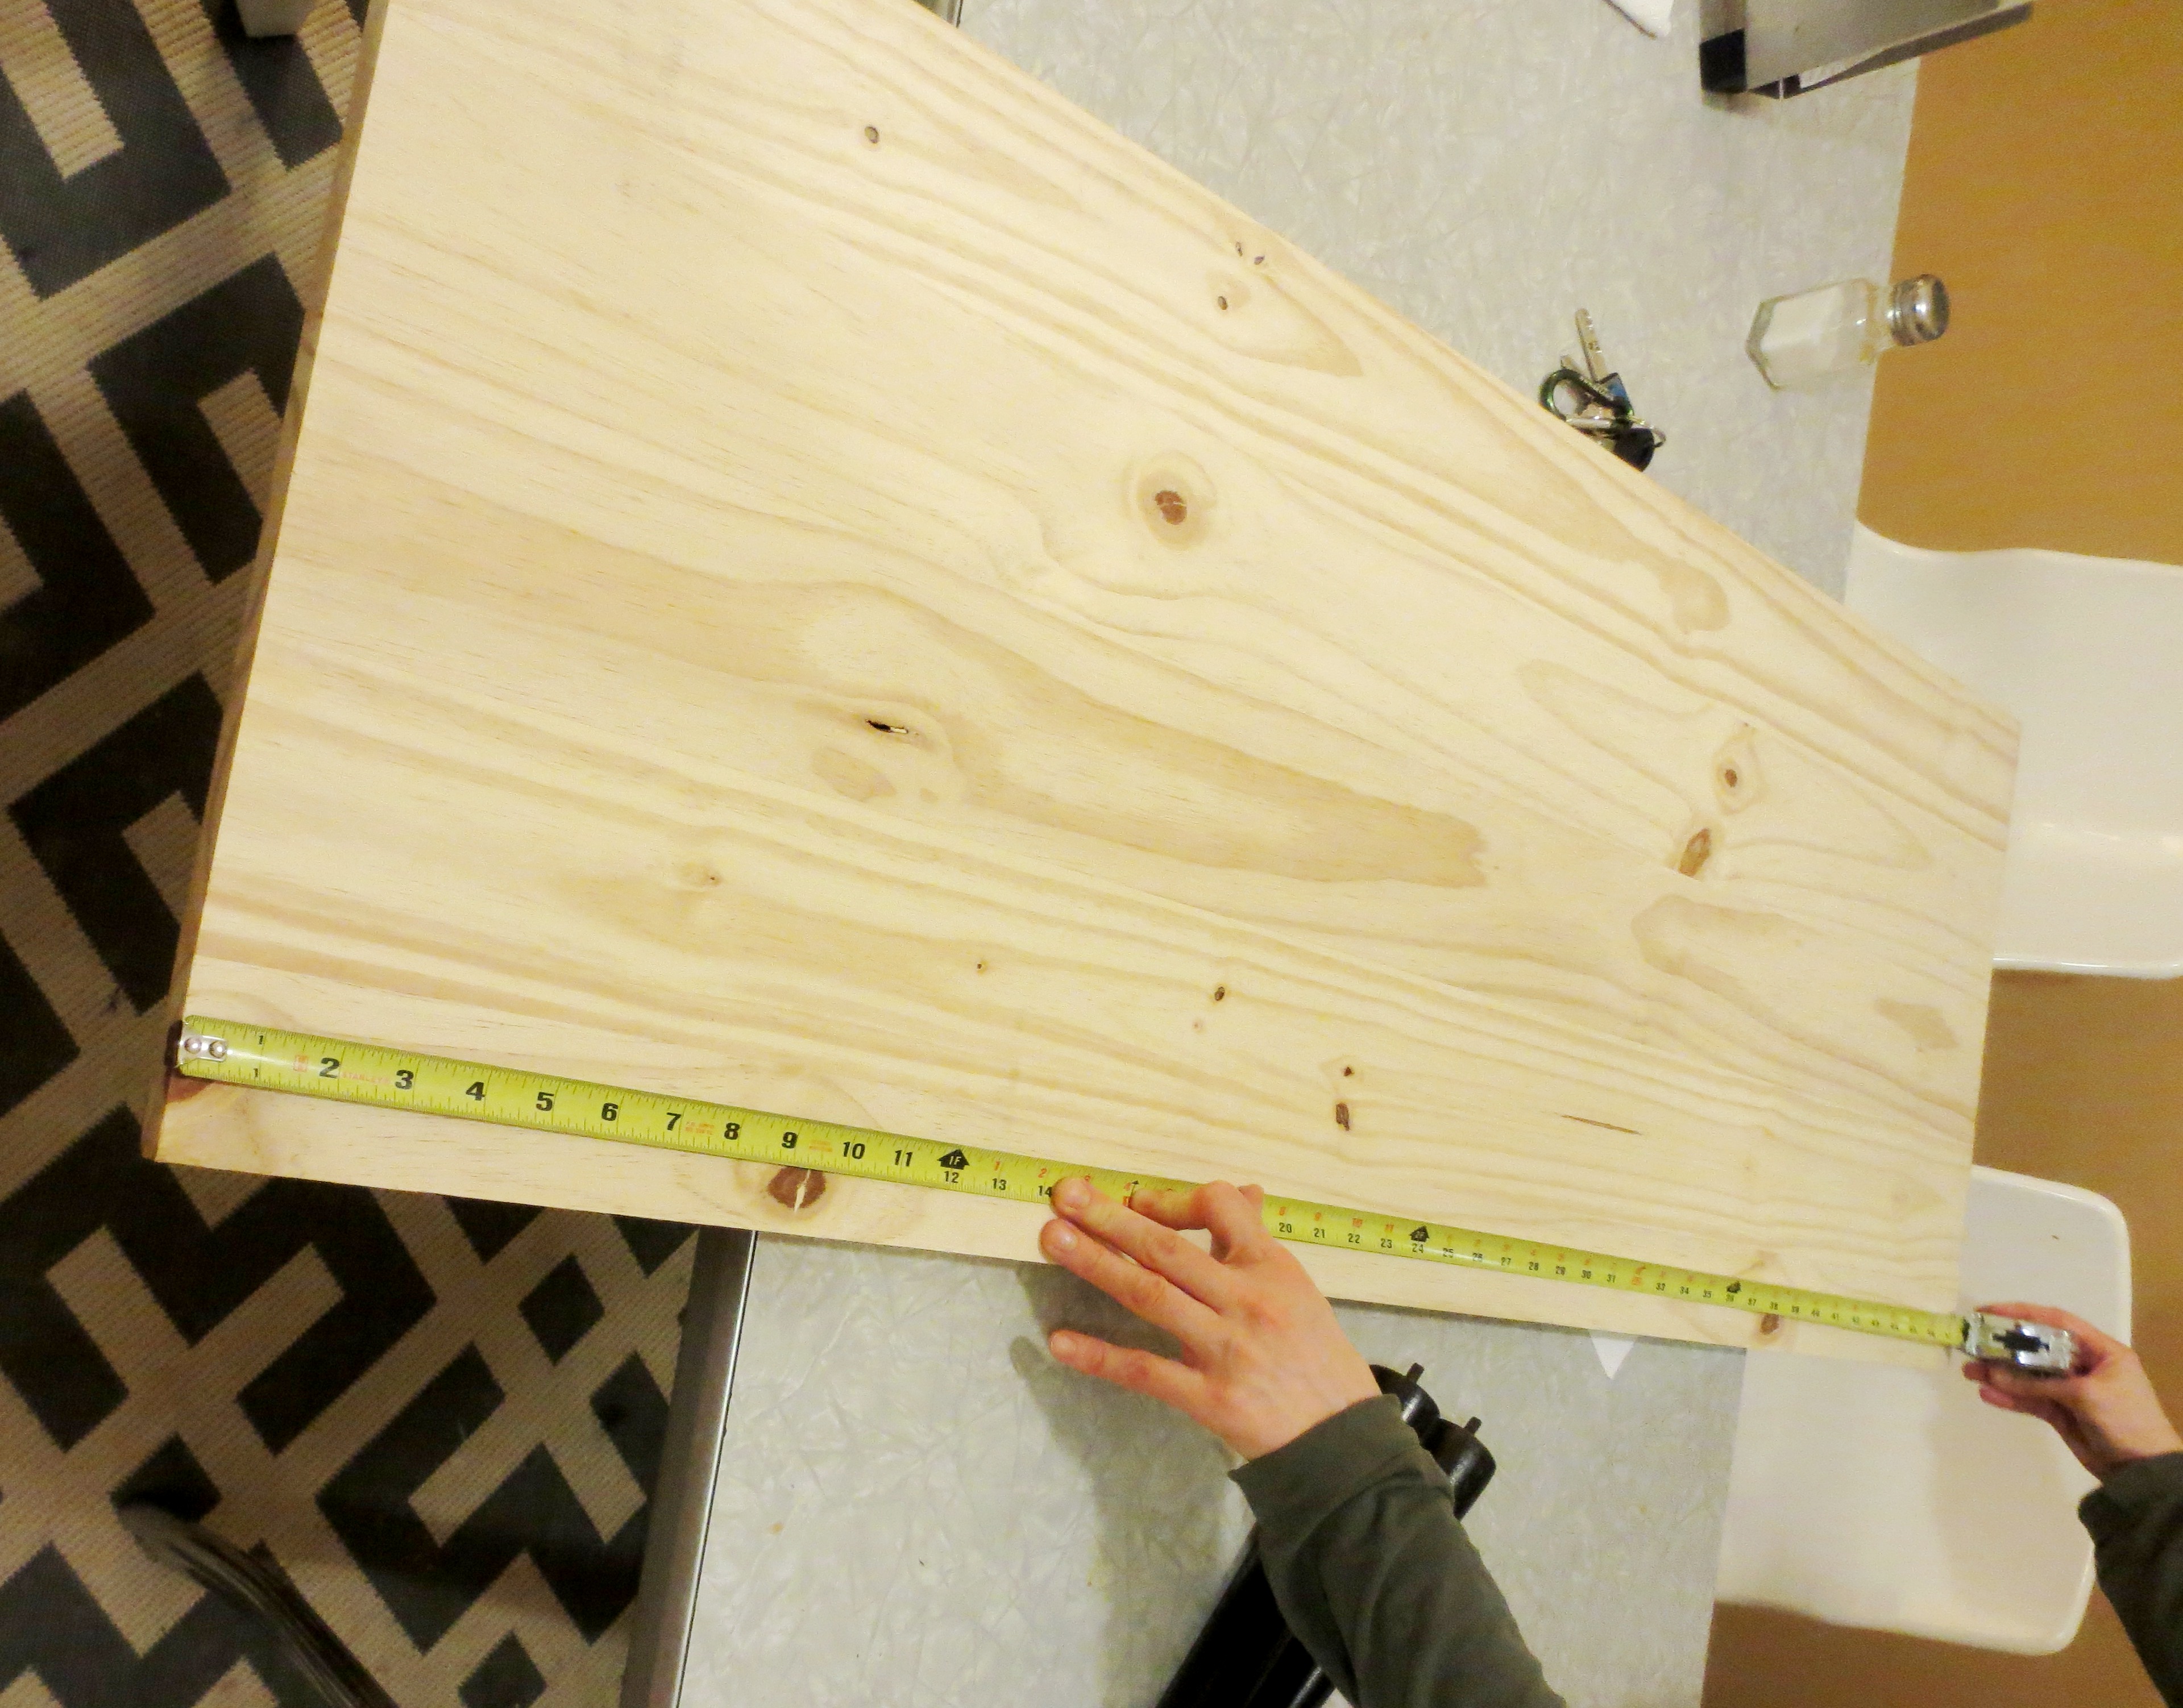
 So I just designed my own standing desk, based on three criteria. It needed to be 1) cheap, 2) beautiful and 3) portable and small and enough to fit on top of any standard desk, table, or sideboard I also wanted to work with materials on hand – in this case a 48×18 piece of plywood from an abandoned project, and four dark brown legs from a deconstructed (i.e., totally busted) mid-century slat bench, which you can see intact in the header of this blog. Plywood is available at any hardware store, and if you don’t happen to own any orphaned bench legs, try looking HERE or HERE, or even Etsy.

Can you believe I’m still using Microsoft Paint to illustrate this blog?
Also note that I designed this desk specifically to fit my 5’7” frame. Since my sitting desk (and similar furniture) is about 30 inches high, I measured the keyboard platform to meet my elbows at a 90-degree angle, or 14” above the sitting desk. I needed my line of vision to fall near the top of my laptop screen, so I set the second platform 10” higher.
Feel free to customize based on your own style, or to make use of whatever crap you have lying around.
INGREDIENTS:
- plywood
- legs
- oil-based primer and latex paint, and/or oil-based wood stain (I used Minwax in Dark Walnut)
- water-based polyurethane varnish (I used Minwax Polycrylic)
- “T” brackets
- wood screws
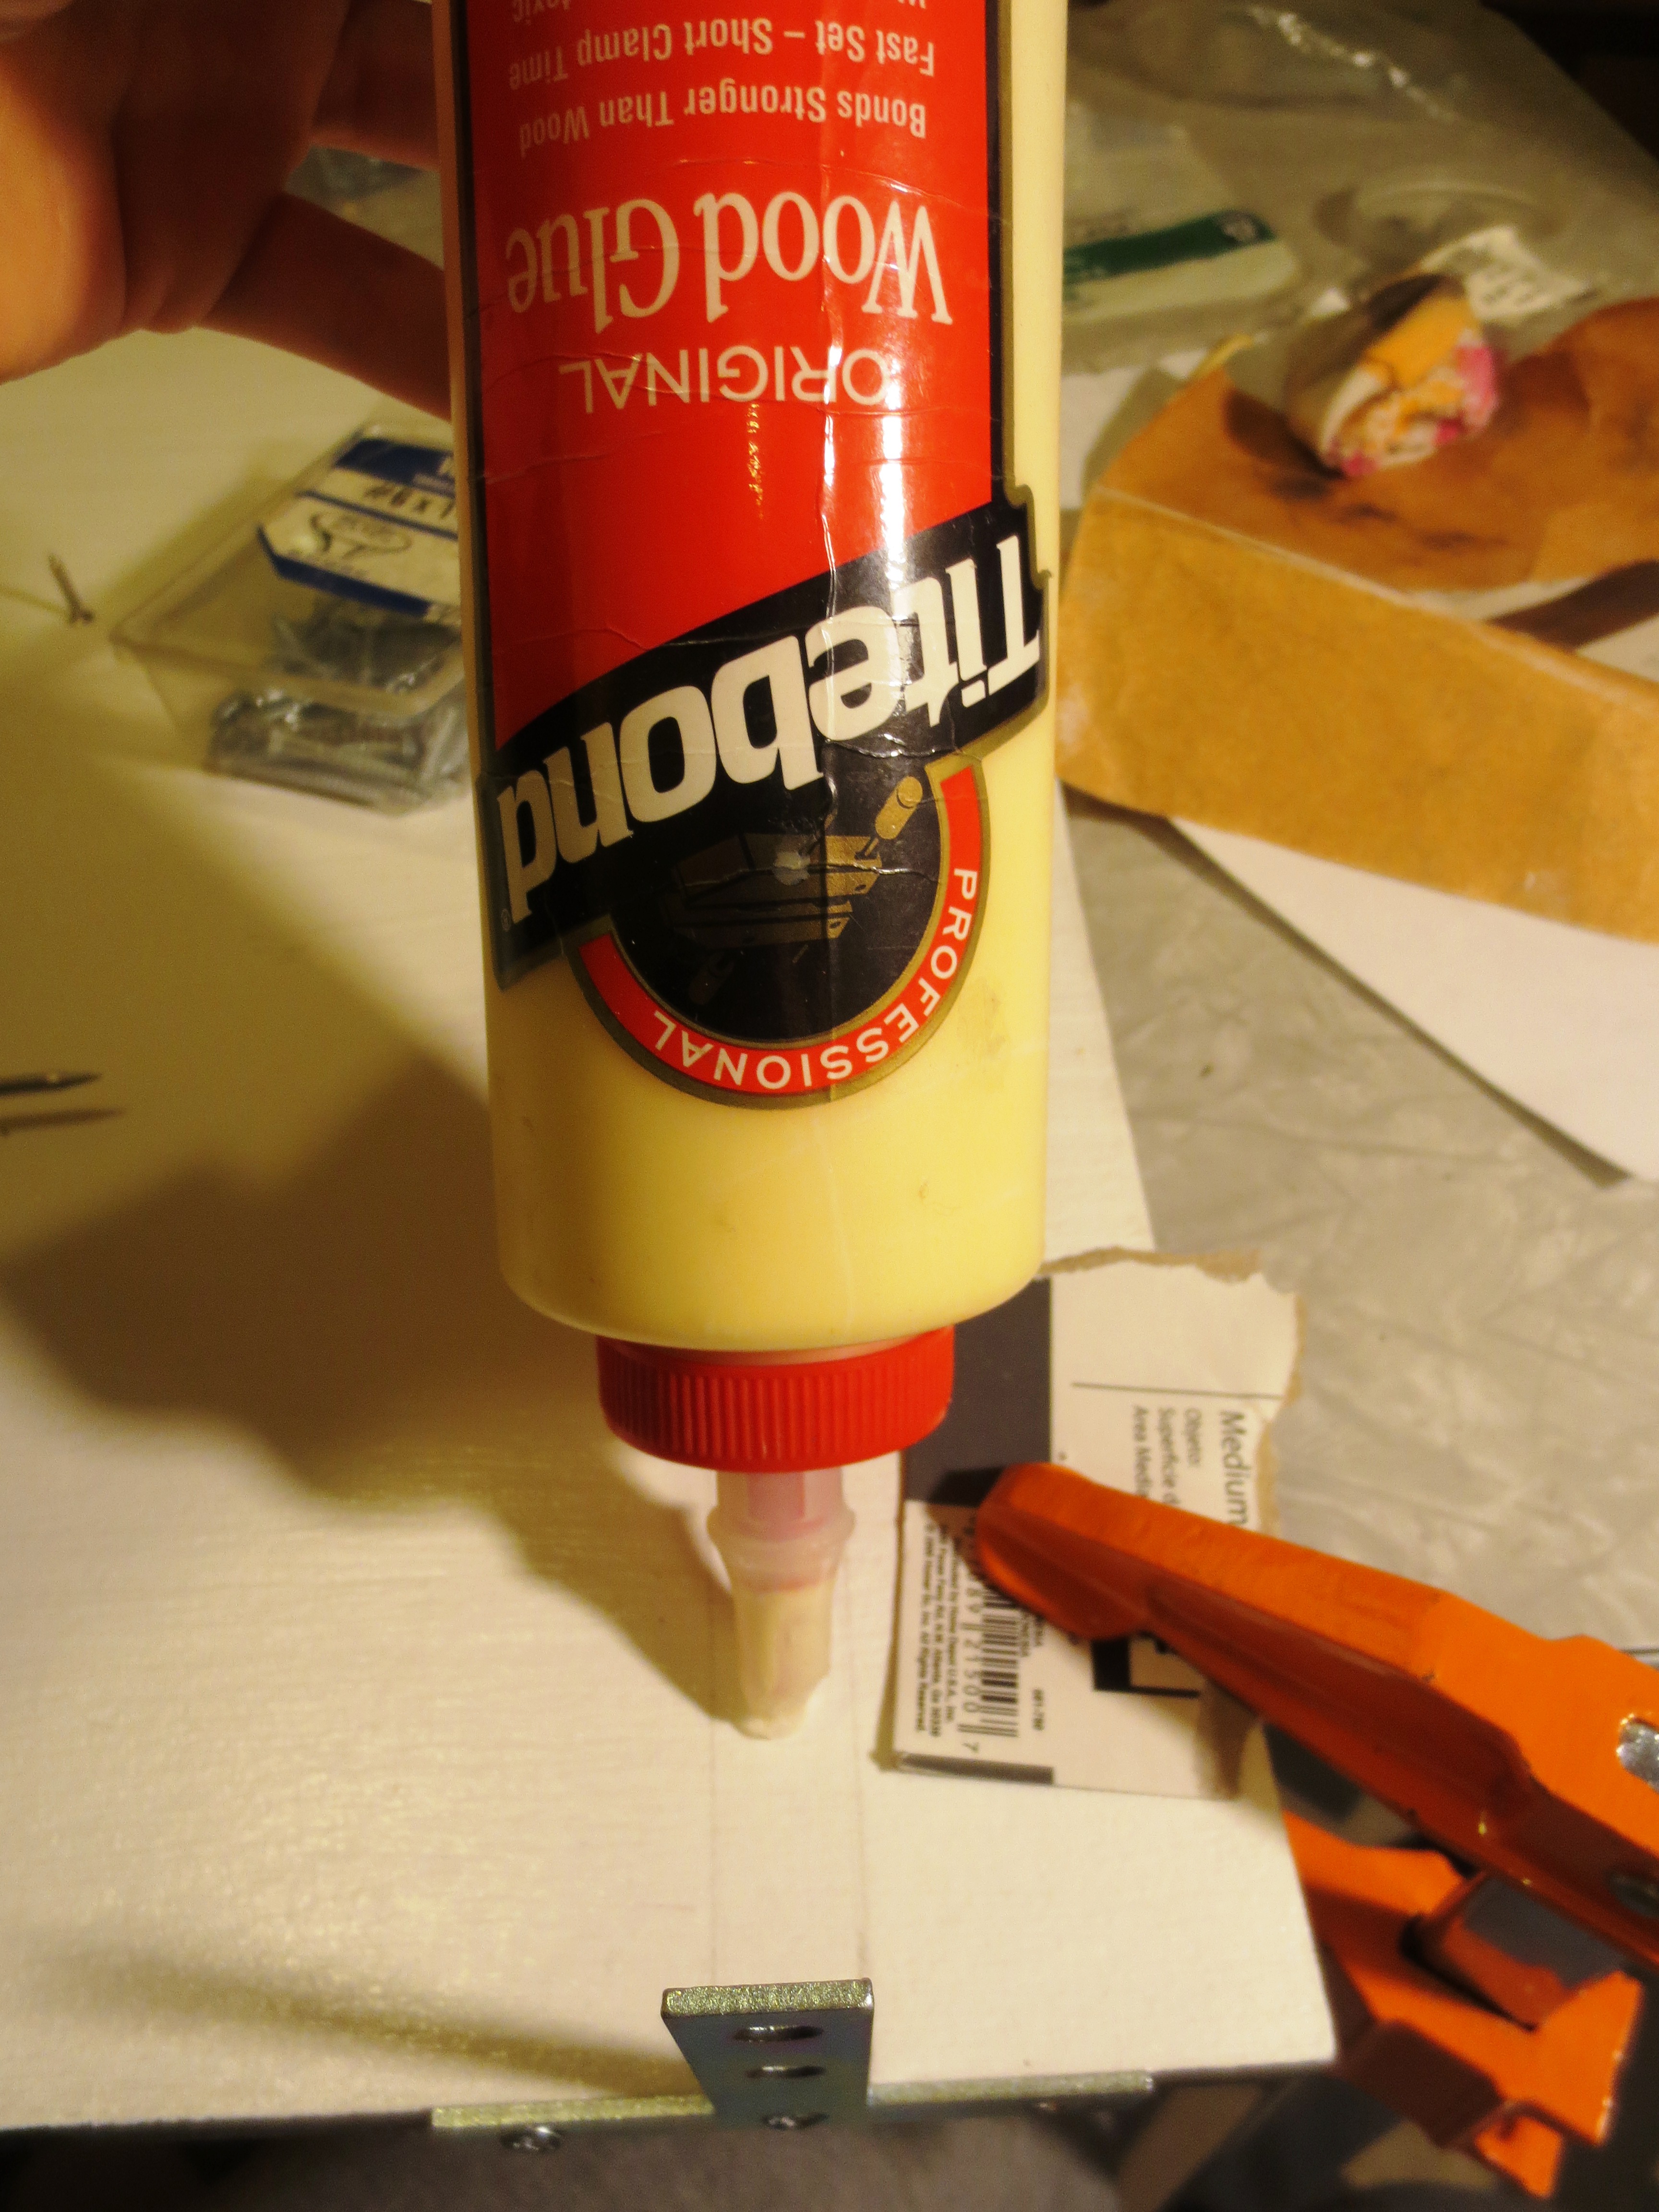
- wood glue
- wood filler
TOOLS:
- saw (I used both a circular saw and a hand-saw)
- drill and screwdriver
- paint brushes
- sanding block or sandpaper
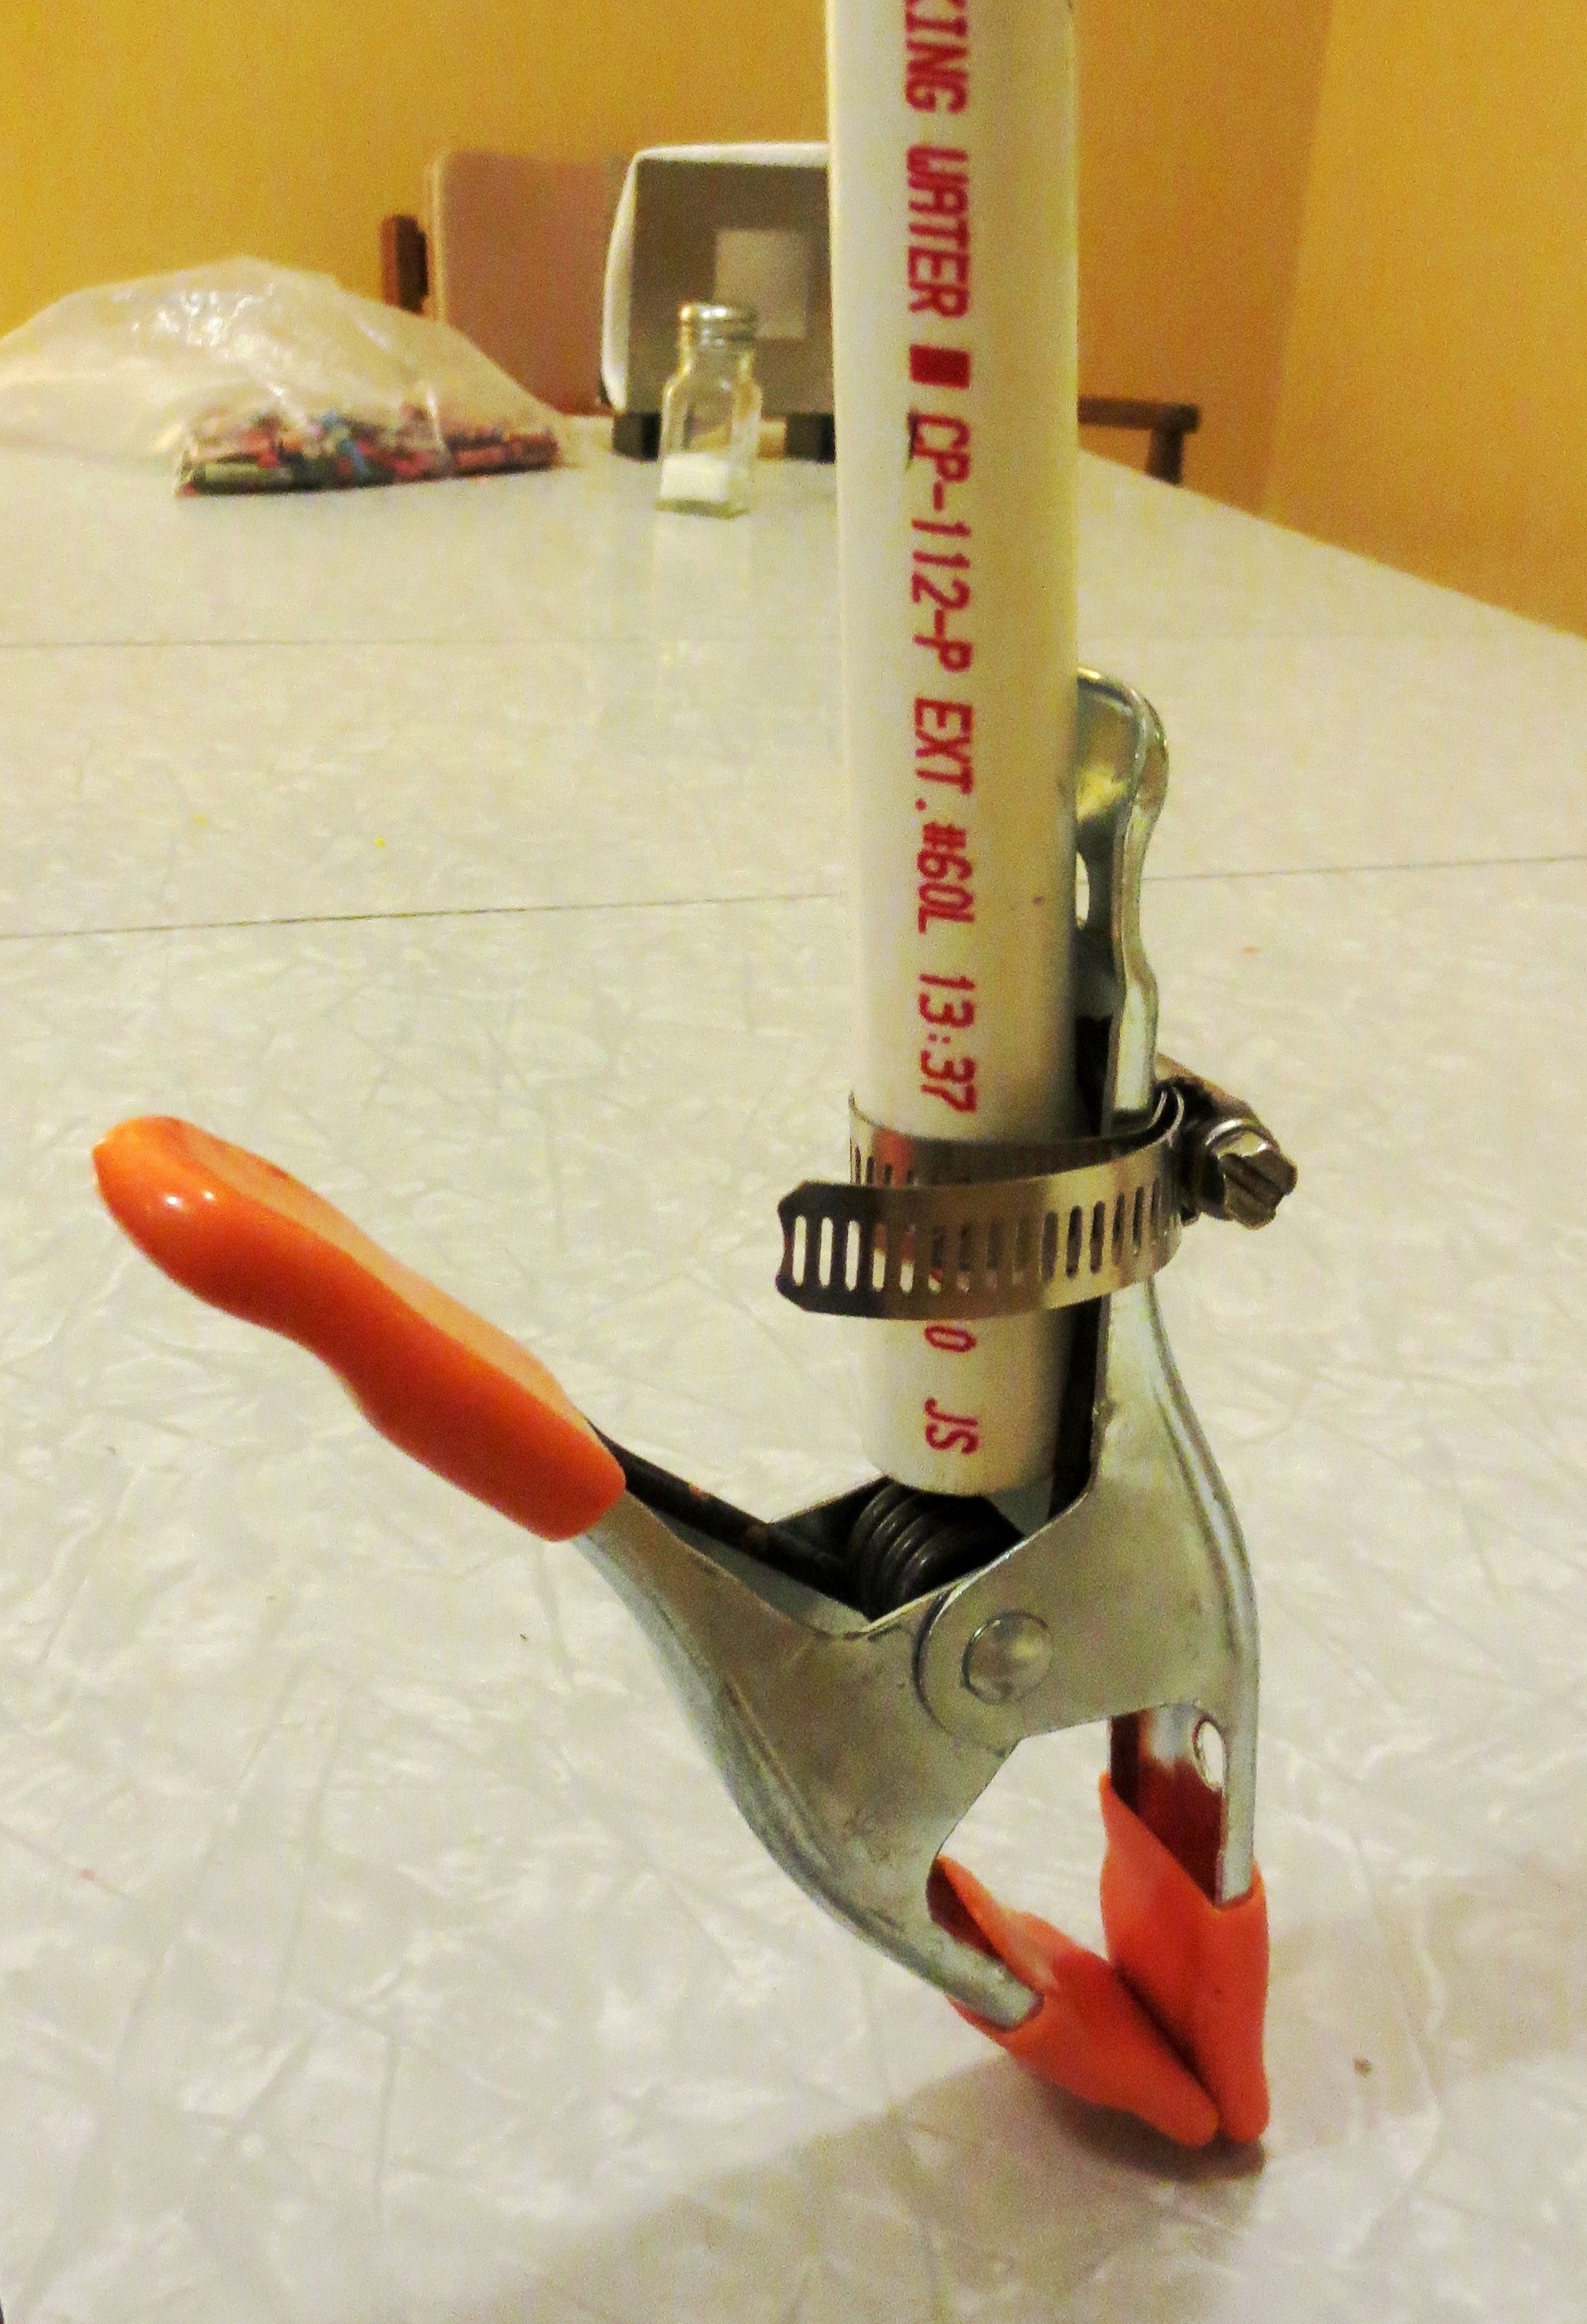
- table clamps
- A very patient husband who would rather be drawing comics
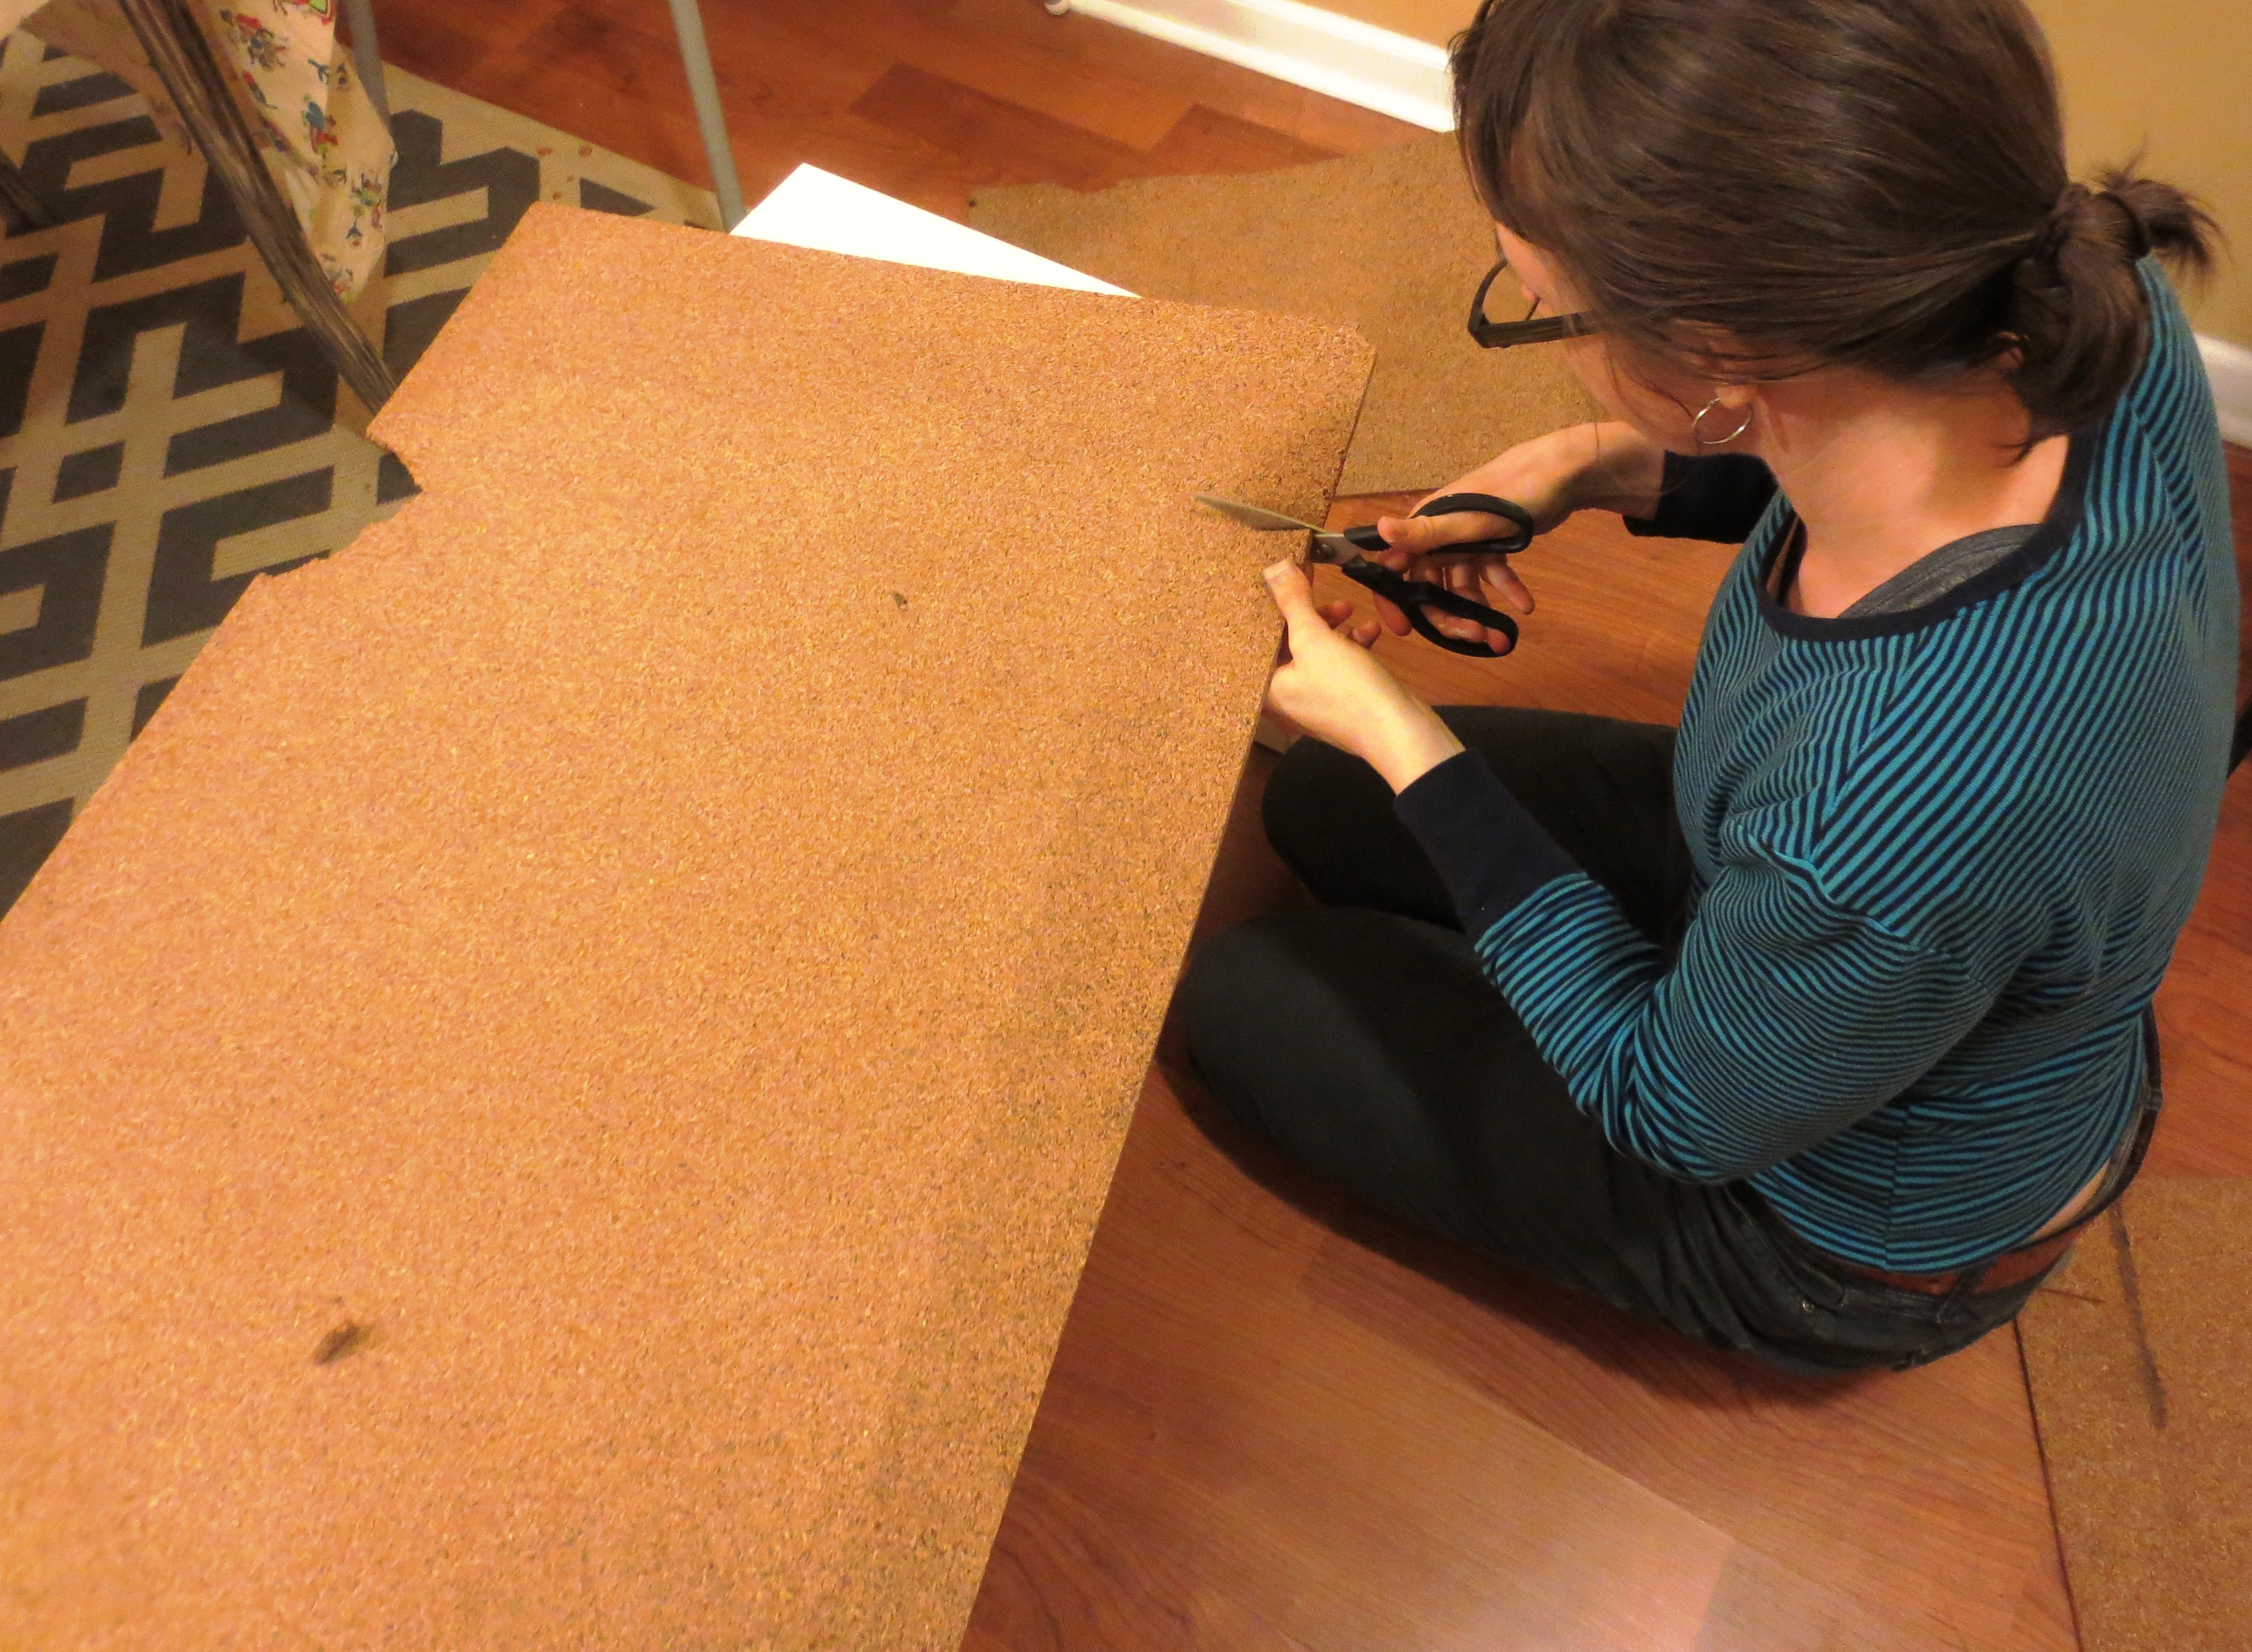
STEP 1) CUT: Measure and cut your plywood into the following sizes: 18×24, 11x 24, and two identical pieces of 9x 7.
 If you are feeling rustic, or that you have something to prove, you can cut these pieces with a handsaw. However, last fall, we bought a terrifying circular saw at an estate sale, from a dead man who had a few rusty power tools hidden amongst thousands of Christmas trinkets that had been hoarding for decades. The saw actually left burn marks on our wood, and filled the house with smoke (the kids were sealed up tight in their bedrooms), but otherwise got the job done. I’m pretty sure this desk will be cursed.

Scott posing with the haunted circular saw. Not shown– bottle of holy water.
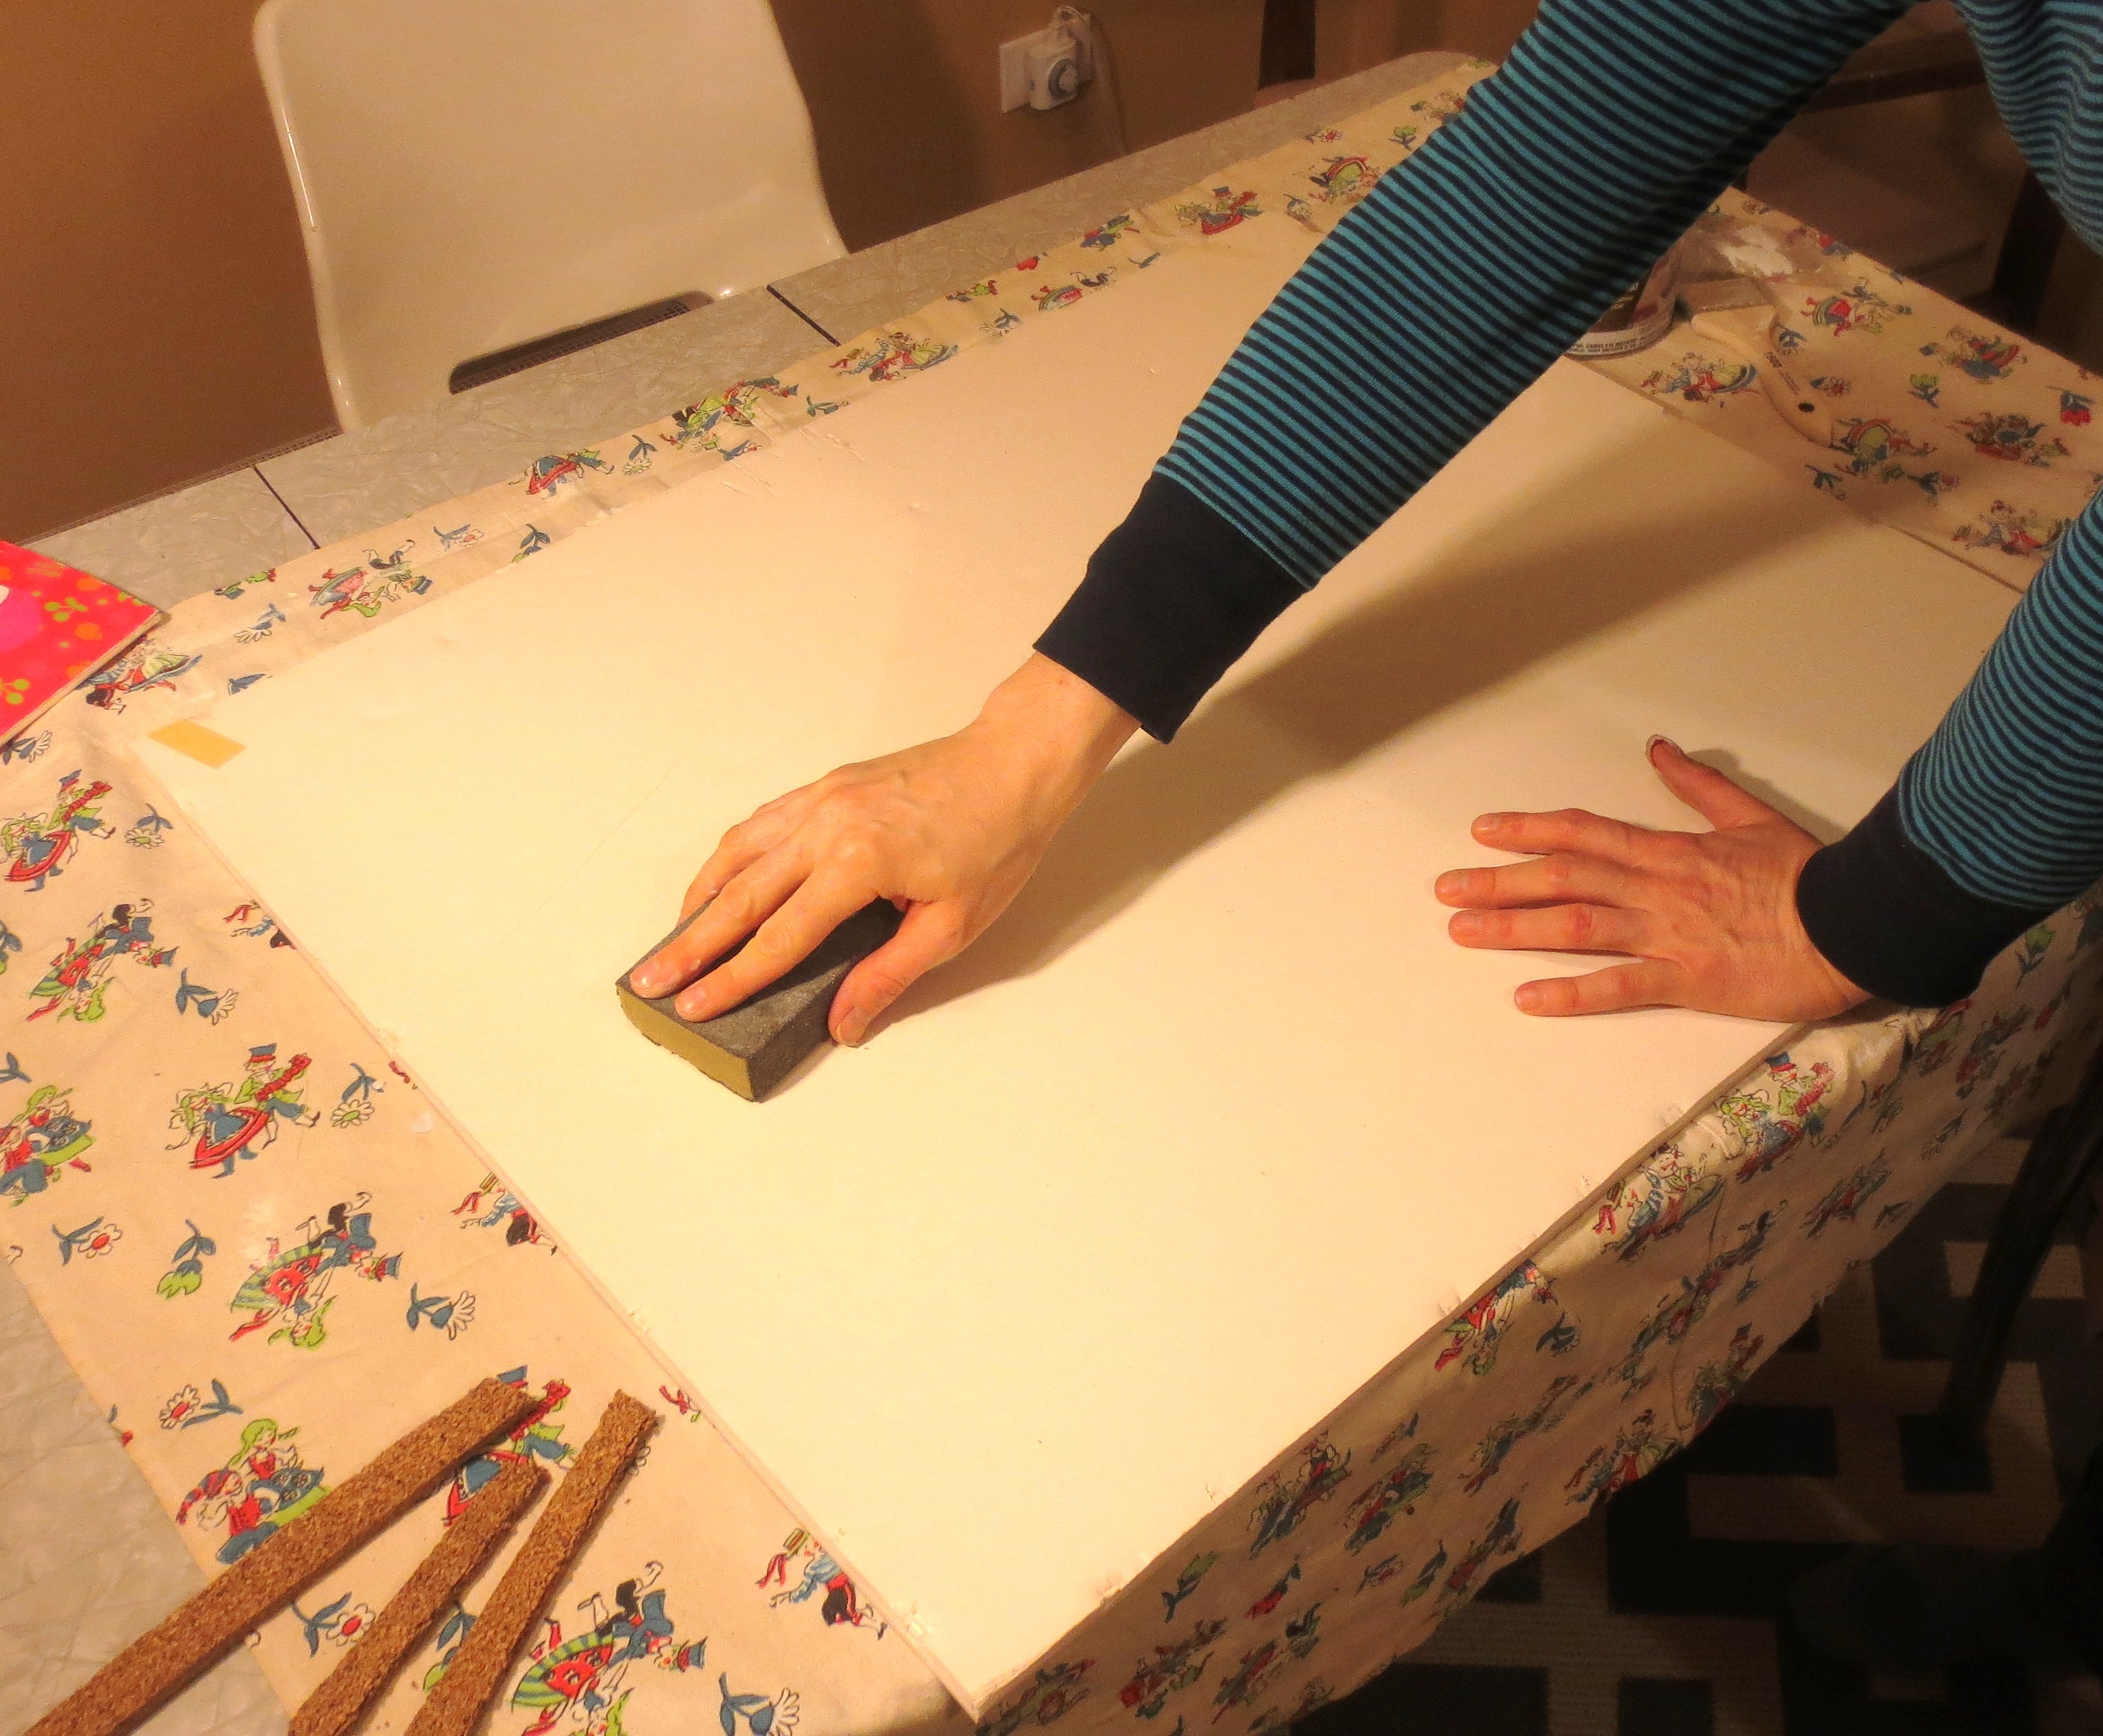
STEP 2) SAND the wood in the direction of grain. The urge to sand against the grain is strong, but remember — you’re not punishing the wood, just trying to smooth out any minor imperfections and get it ready for painting and staining.
I used a sanding block because I find it relaxing. New plywood, unlike most things in my life, is quite agreeable.
 Use a damp (not wet) rag to wipe off the dust. My daughter just happened to tear a hole in both knees of these pants over the weekend, so into the rag bin they went. While waiting for the wood to dry, we got to reenact a scene from Dr. Suess’ “What Was I Scared Of” (commonly called “The Pants With Nobody in Them”).


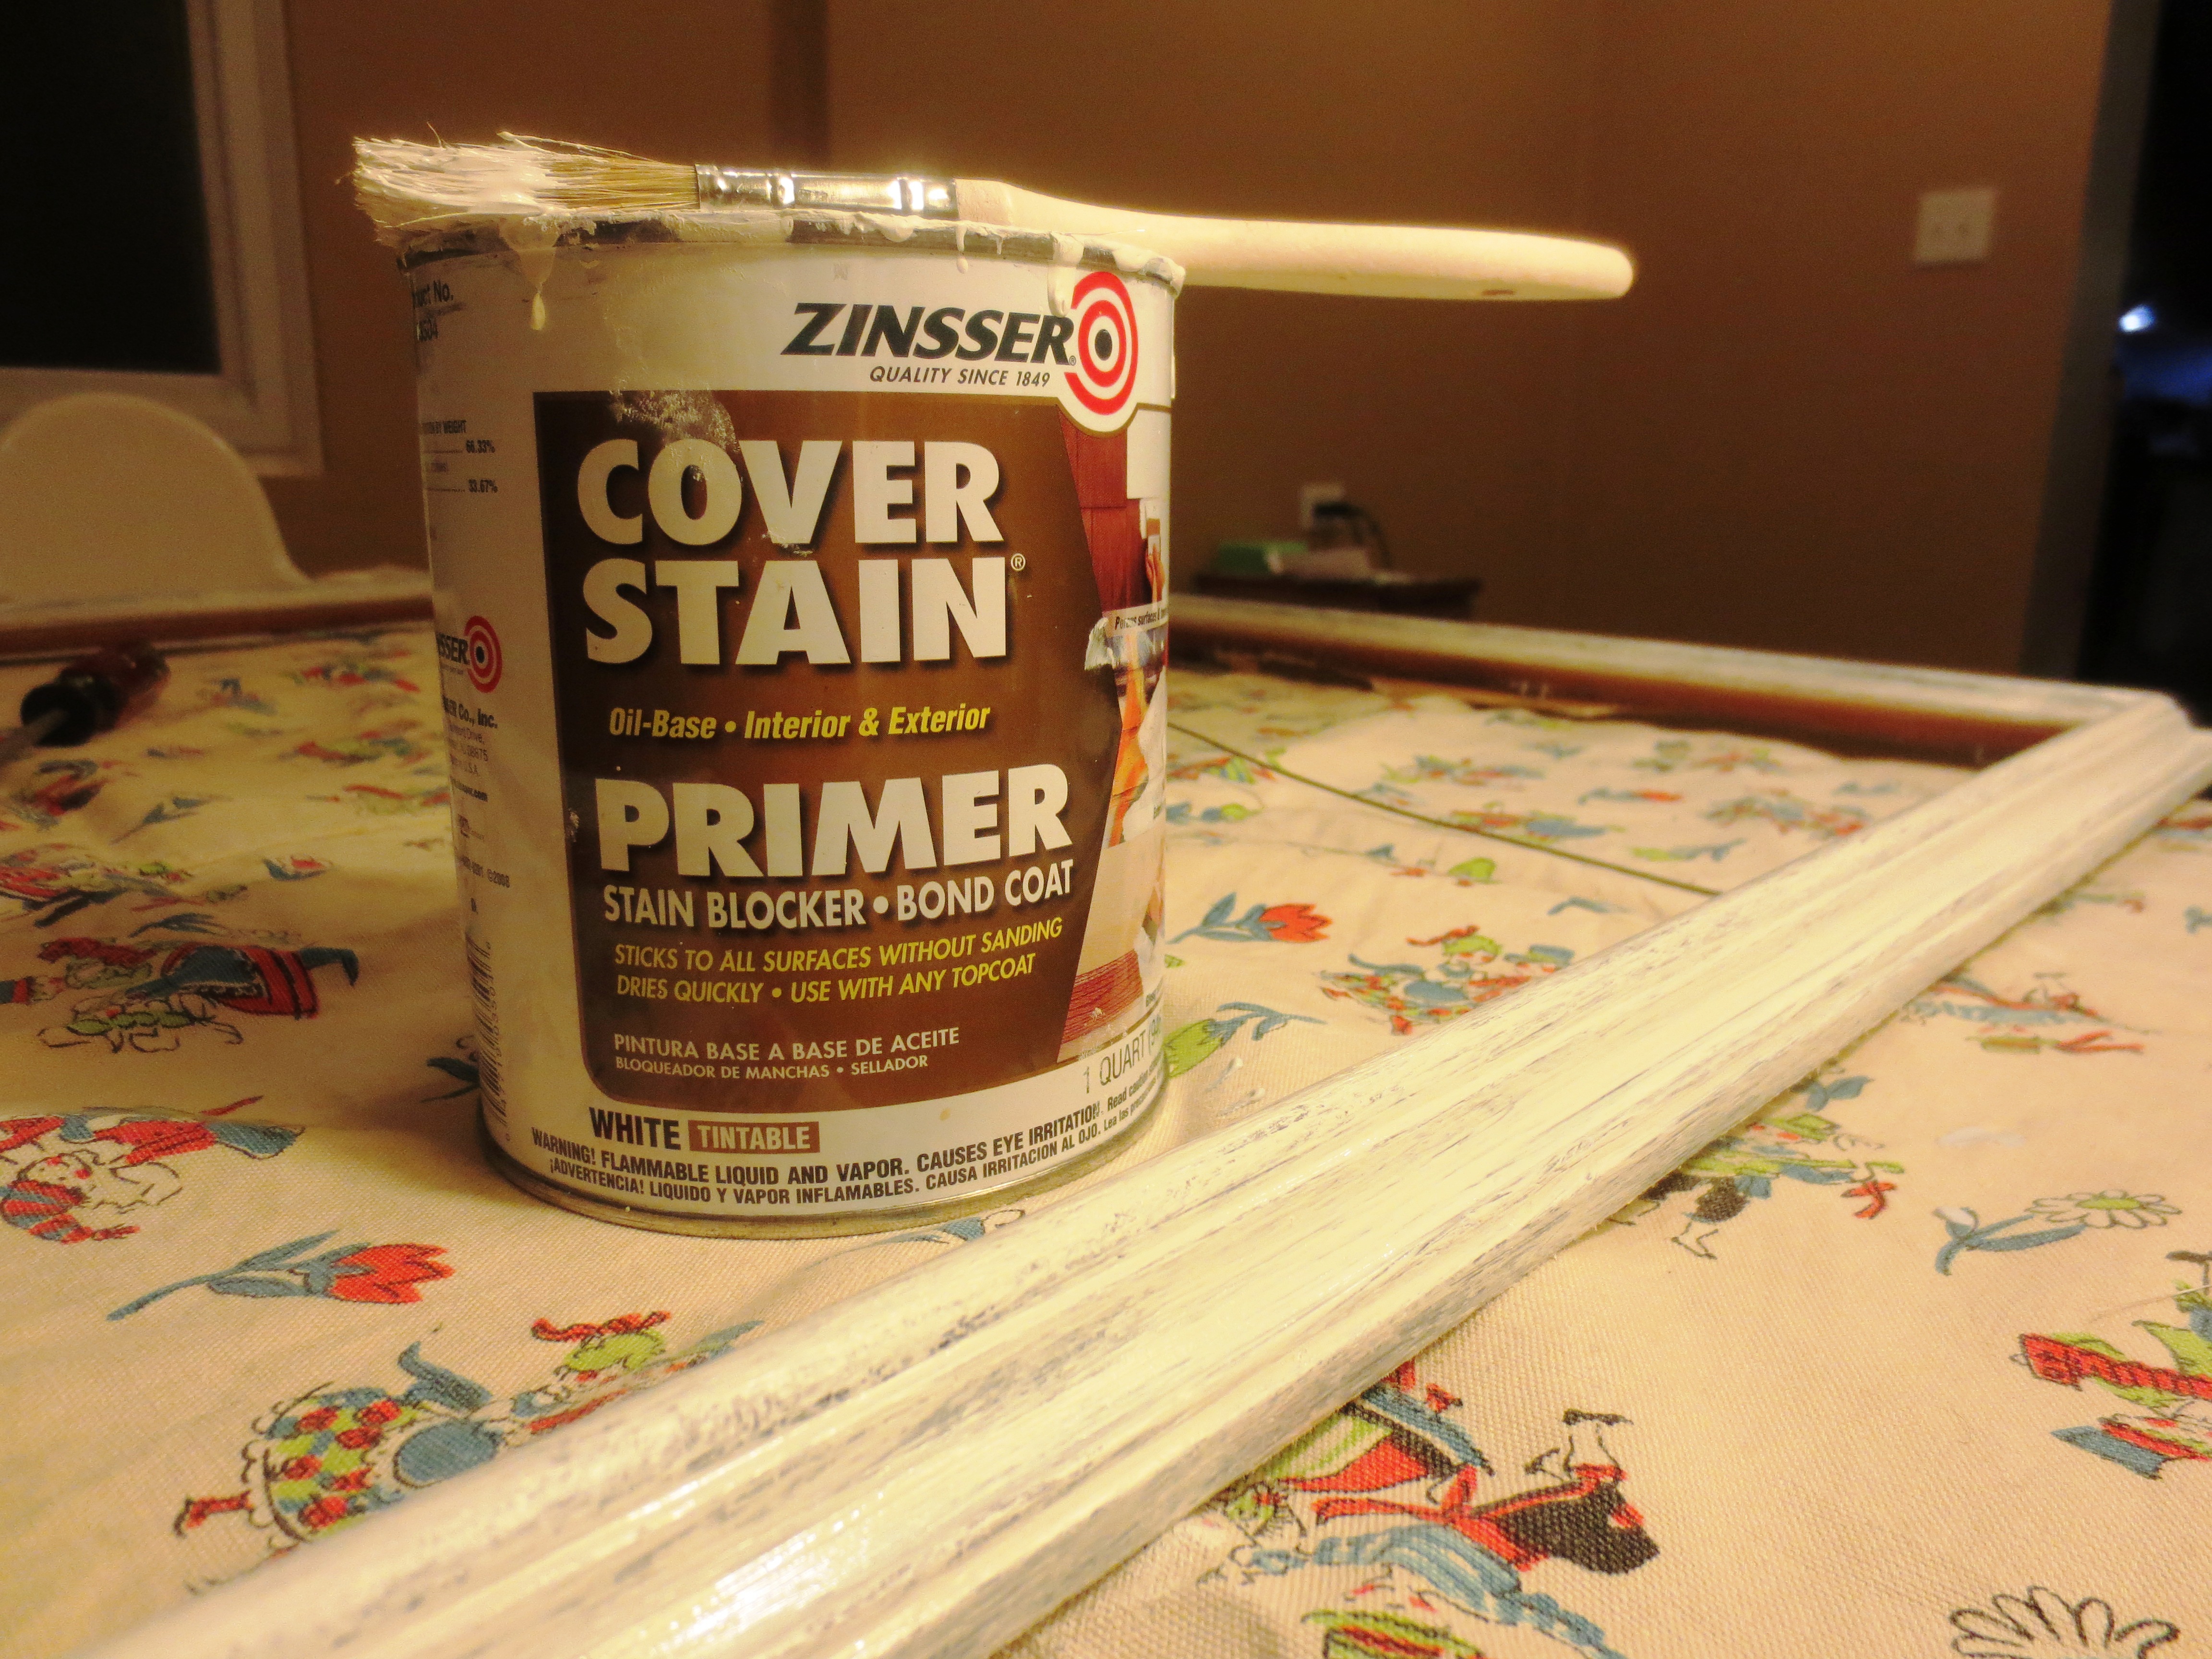
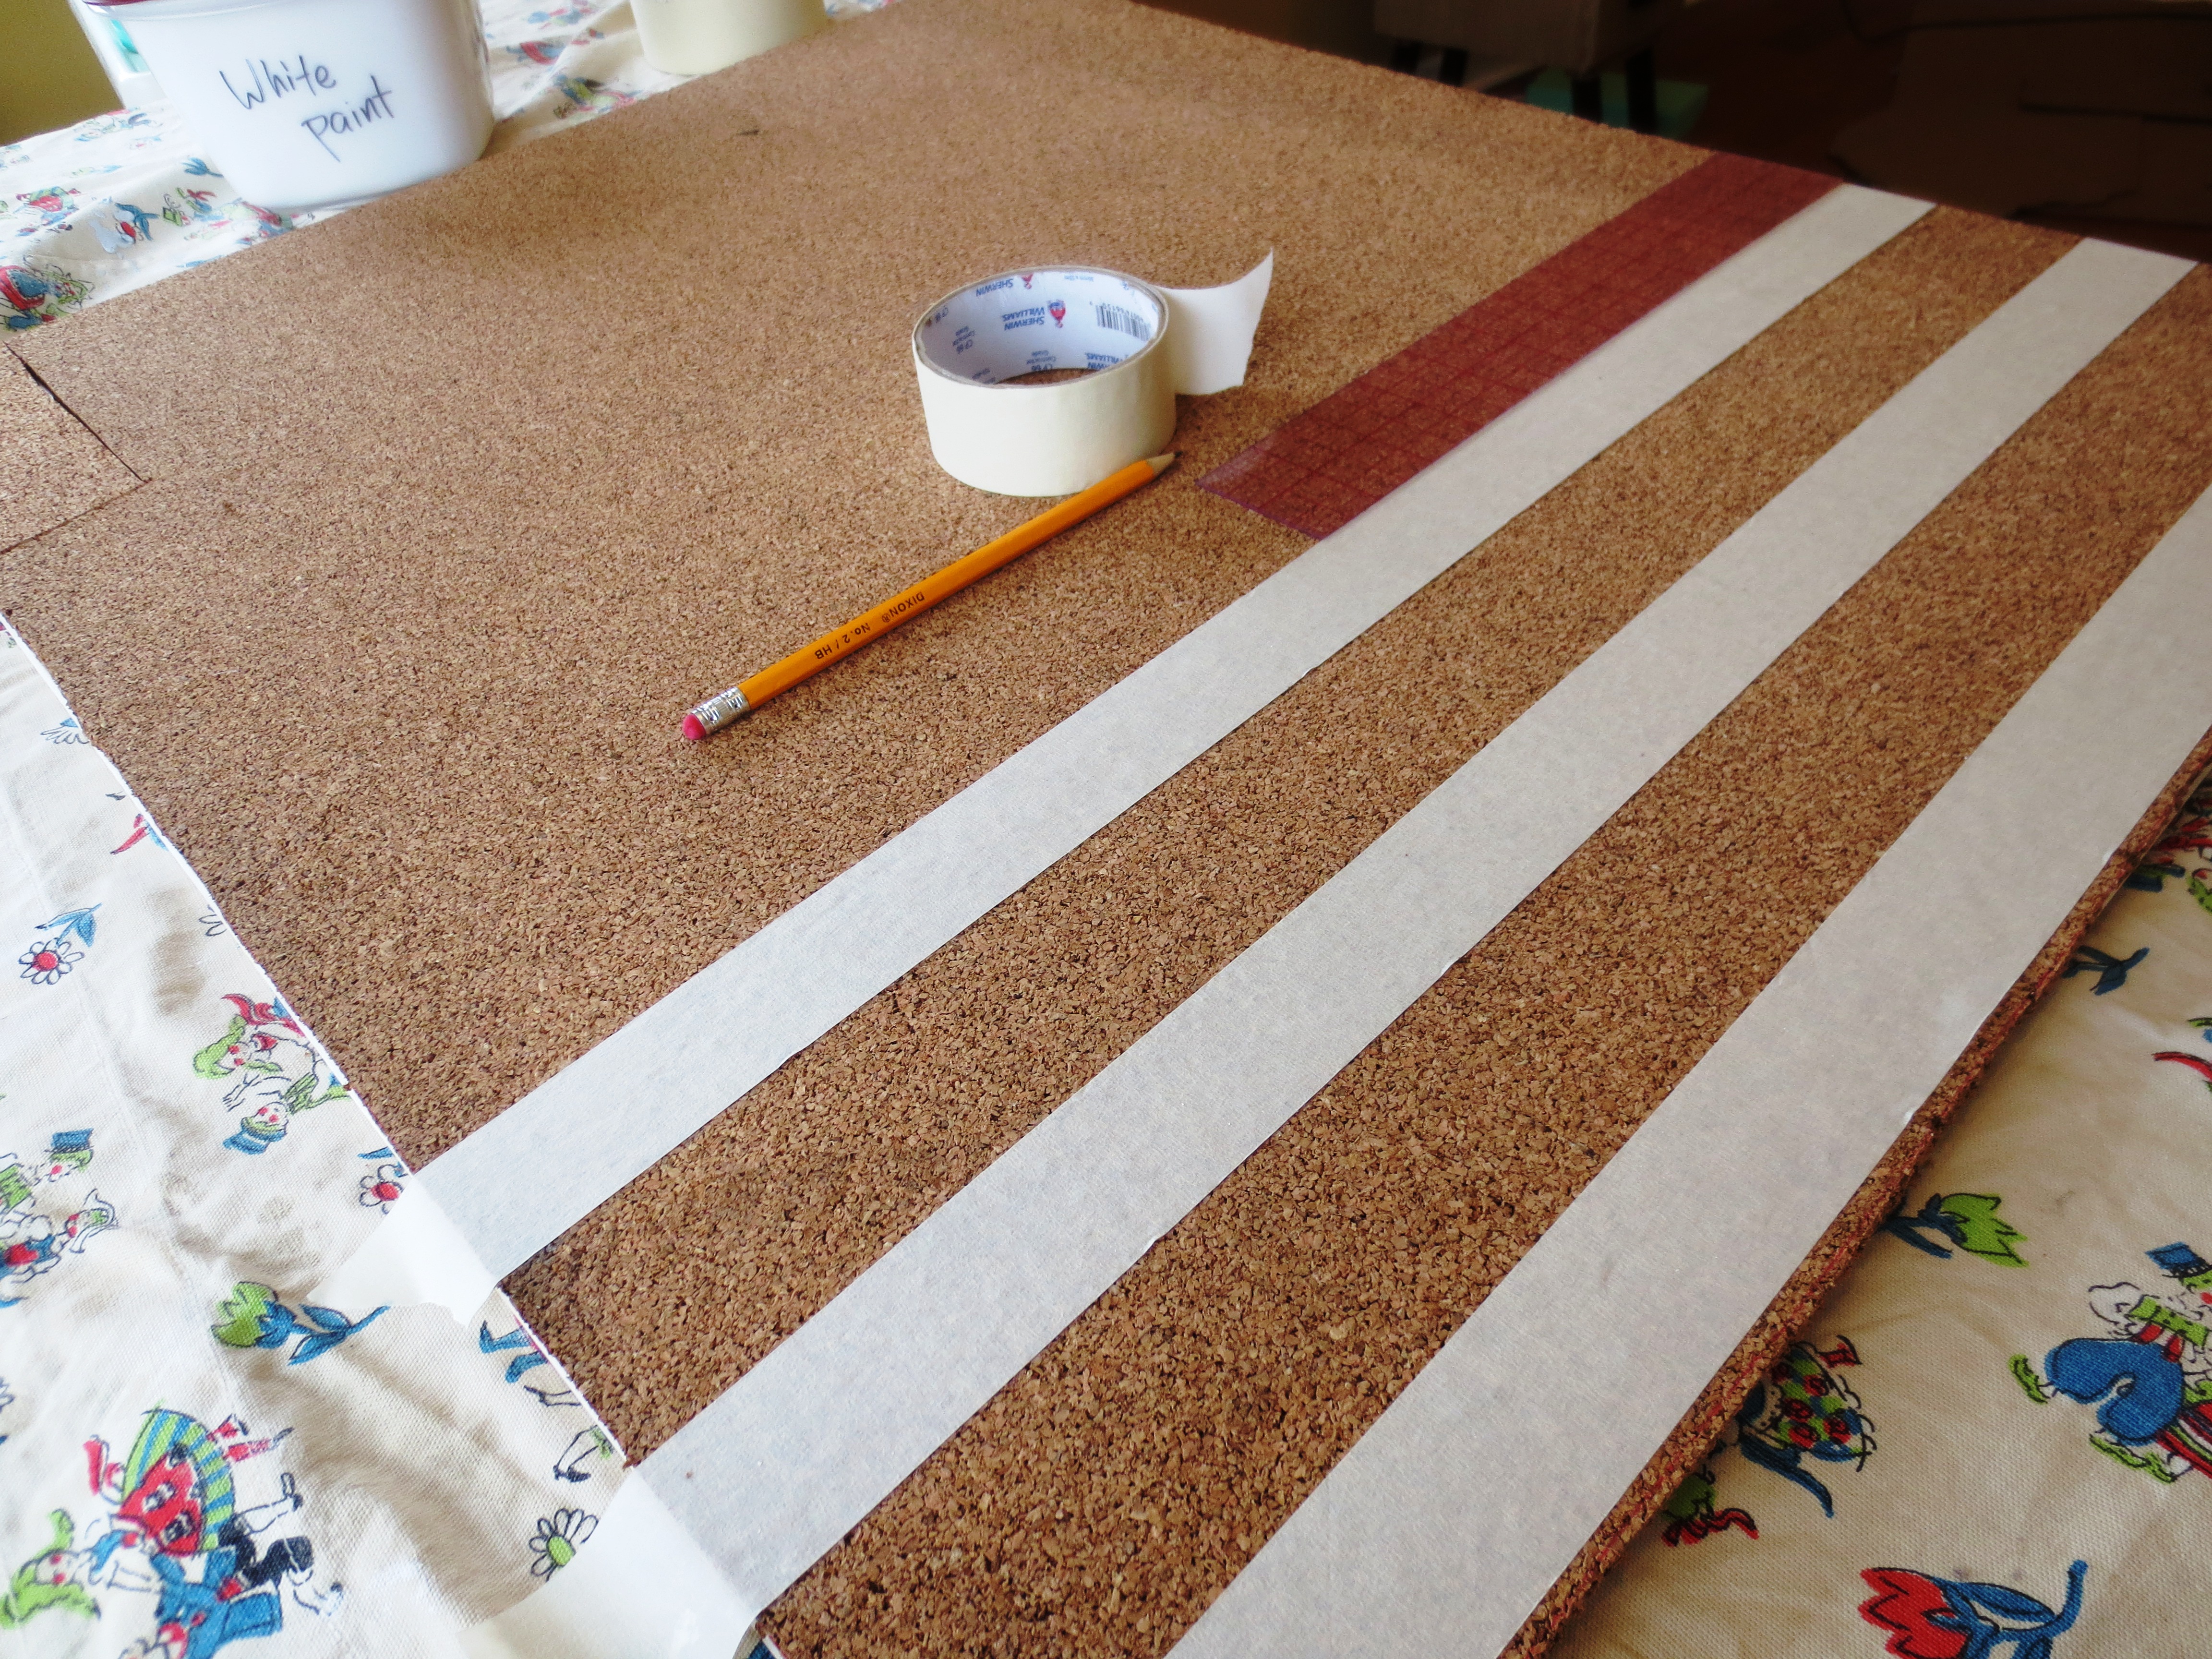
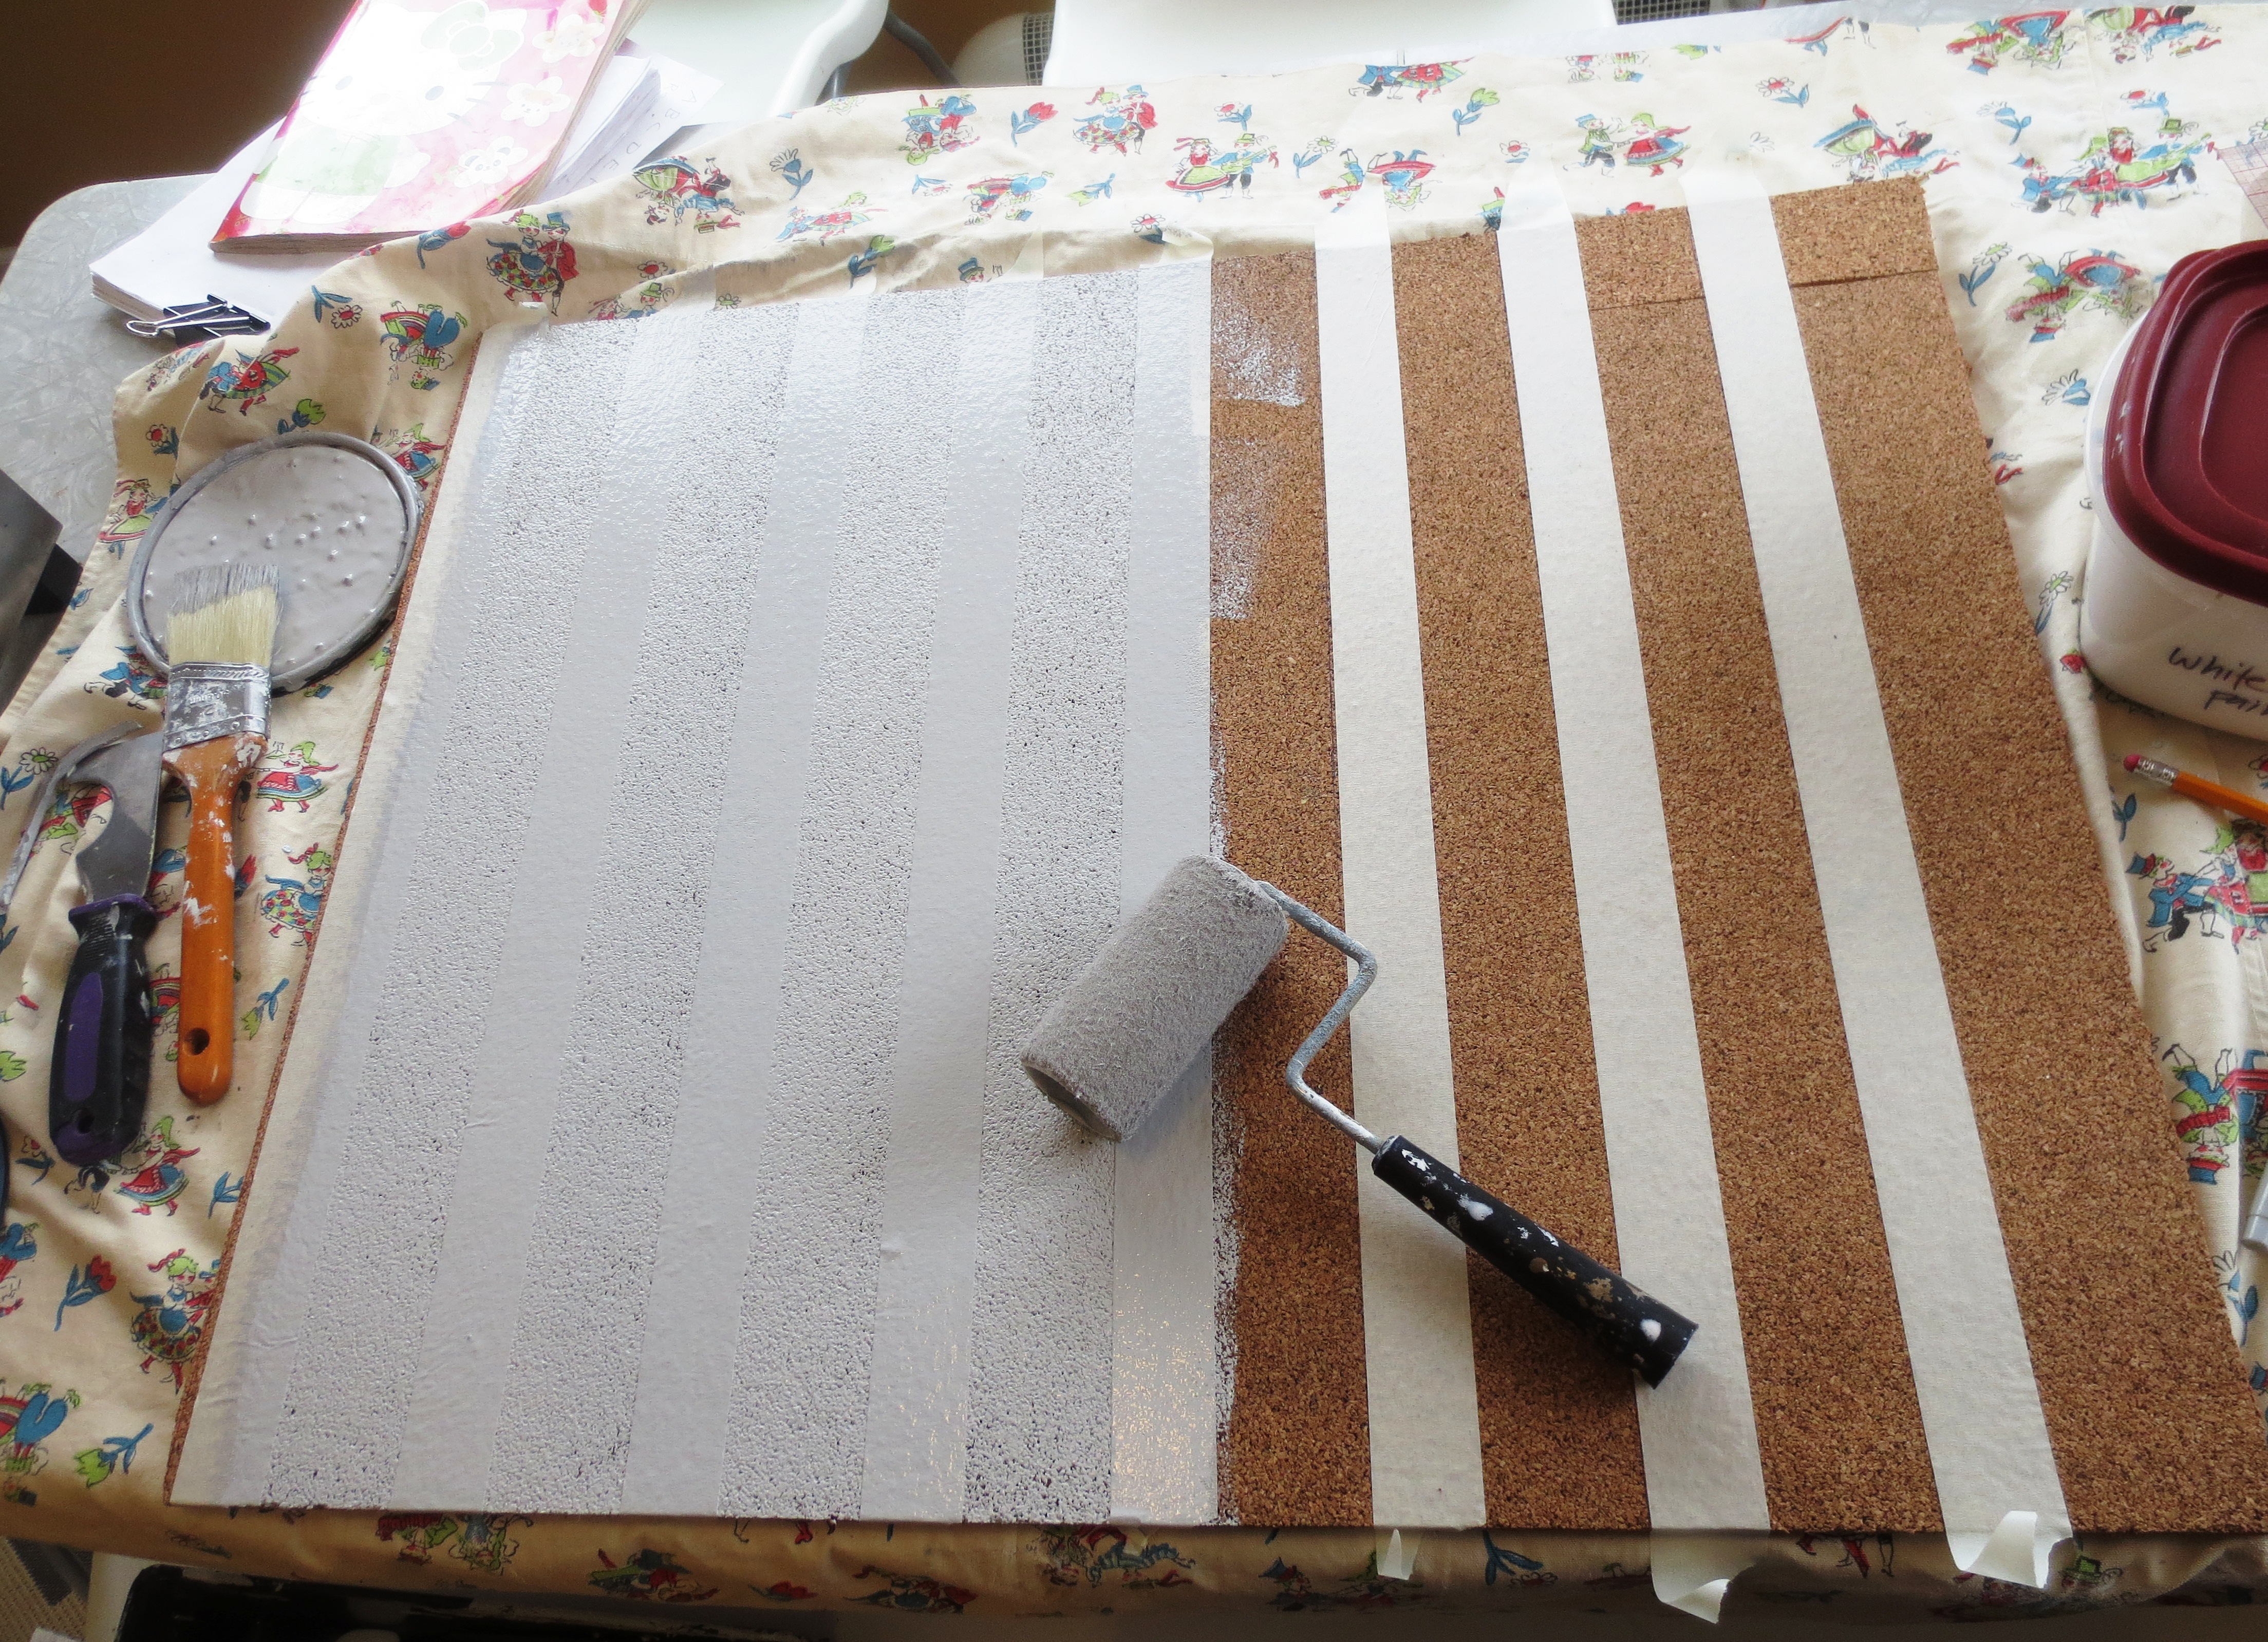
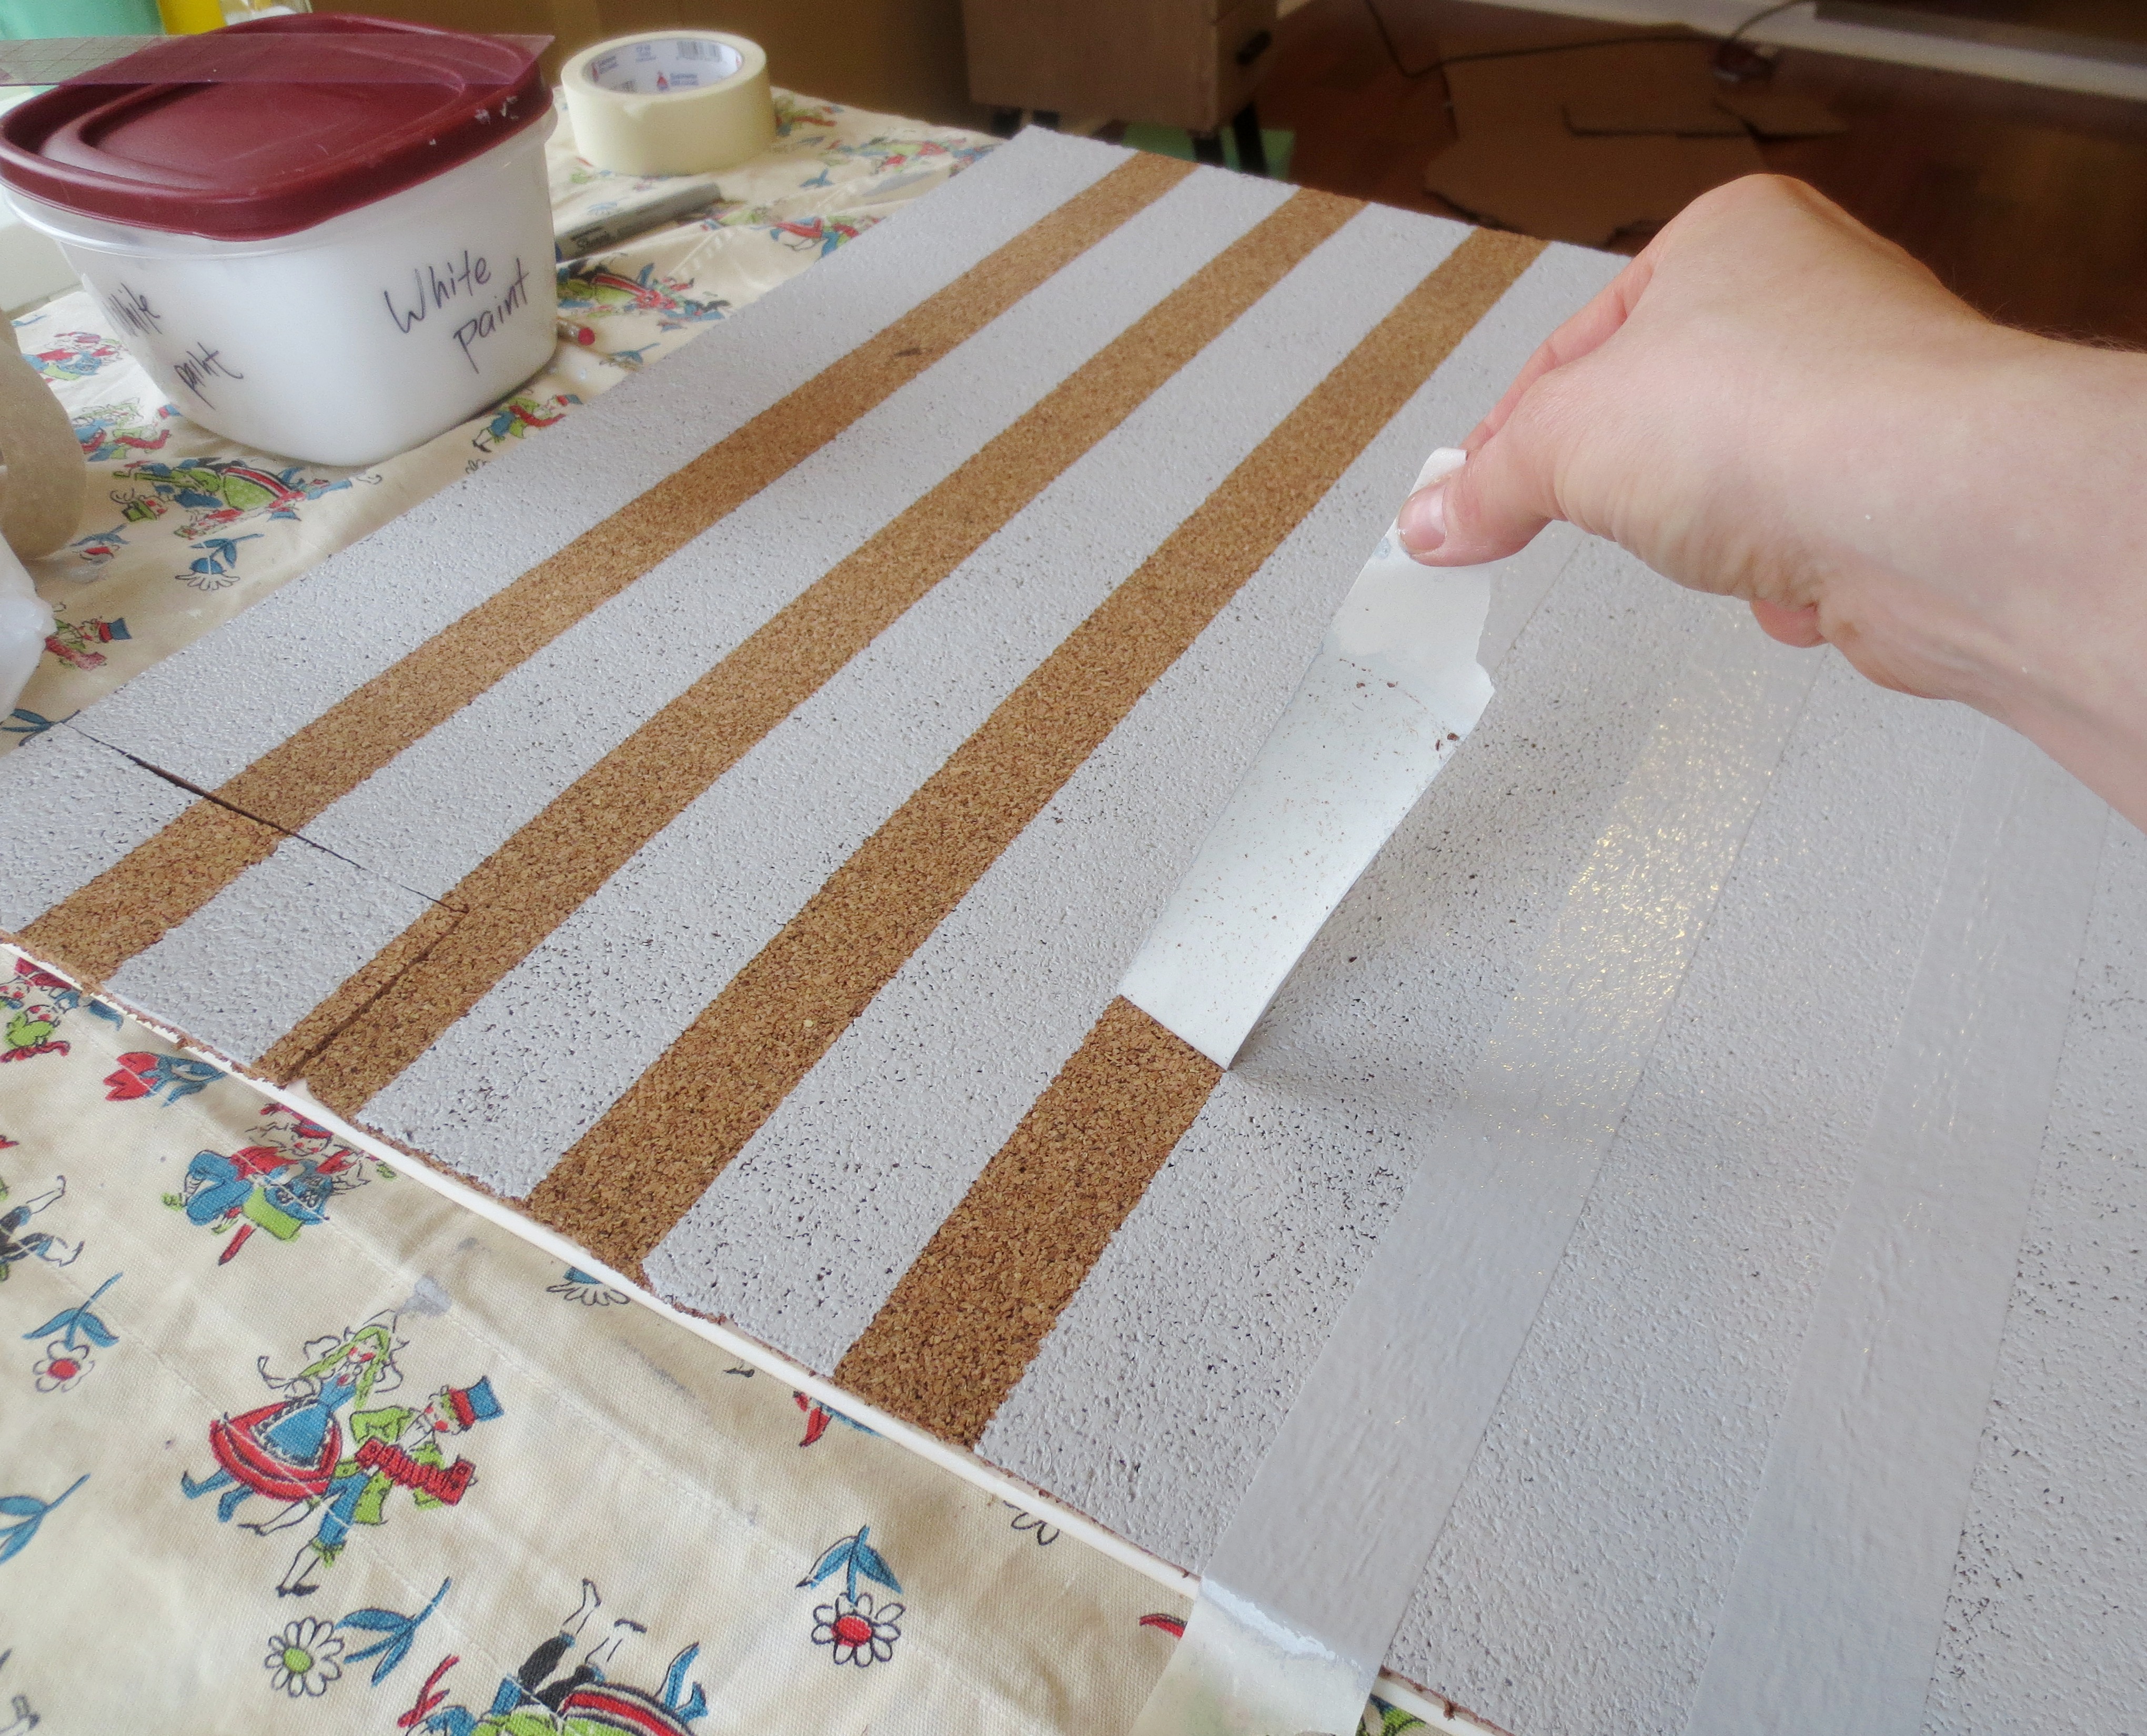
STEP 3) PAINT AND STAIN the raw wood for an eye-catching two-tone effect. Crack open the oil-based primer and a couple disposable brushes. TIP: Pull all the loose hairs out of the brush BEFORE you start. 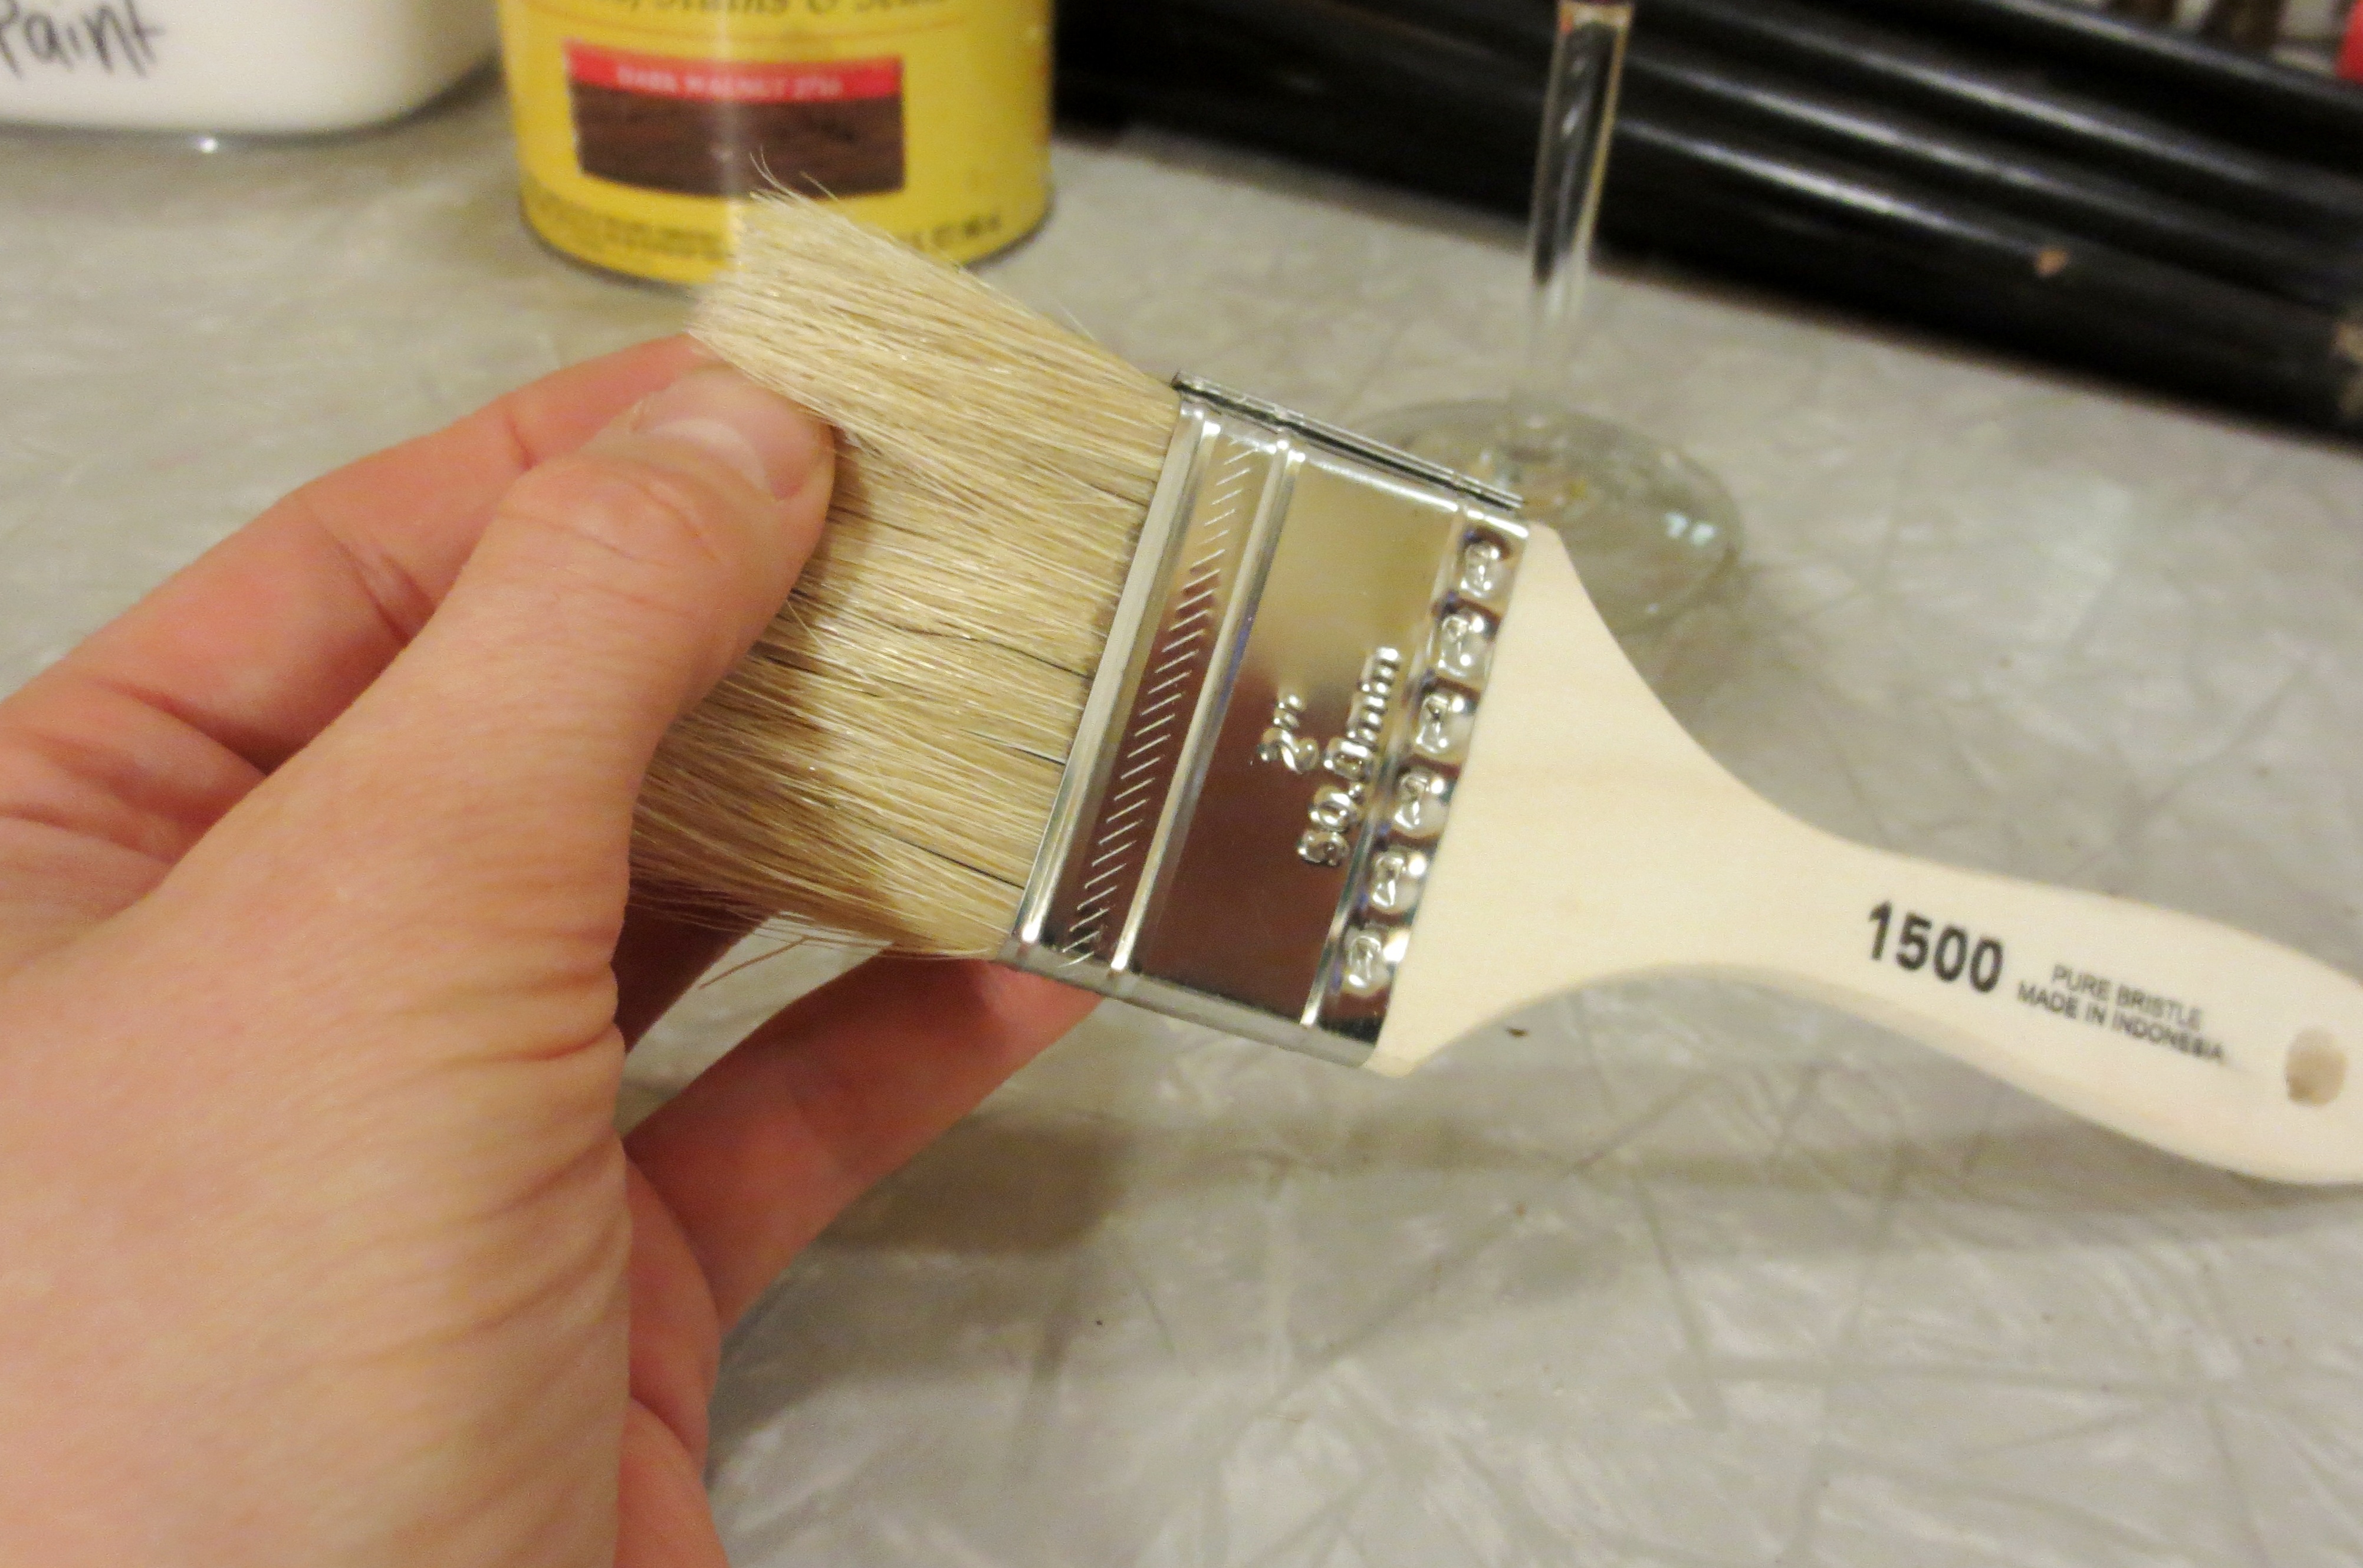 These cheap-ass brushes are full of loose bristles; easier to pull them out now than pick them out of wet (or dried!) paint. Paint the primer over the top (not the sides) of your largest (18×24) wood piece. Note that we will be priming and painting the 11×24 piece AFTER we screw everything together.

I recommend pairing your oil-based primer with a dry Spanish tempranillo
Now you can stain the SIDES ONLY of the 11×24 and the 18×24 pieces, and then stain the entirety of the twin 9×7 pieces. Note that from here on, we will call these pieces “the monoliths” in honor of everyone’s favorite late-sixties mind-bending sci-fi spectacle.

2001: A Space Odyssey
2013: Plywood Odyssey
Since the stain is oil-based, apply with either a rag or a disposable brush. Remember to wipe up any little puddles of stain that remain after about 10 minutes, or you’ll have yourself a greasy little mess that’s almost impossible to clean. Raw wood is super-thirsty, but unlike me, it does have portion control.
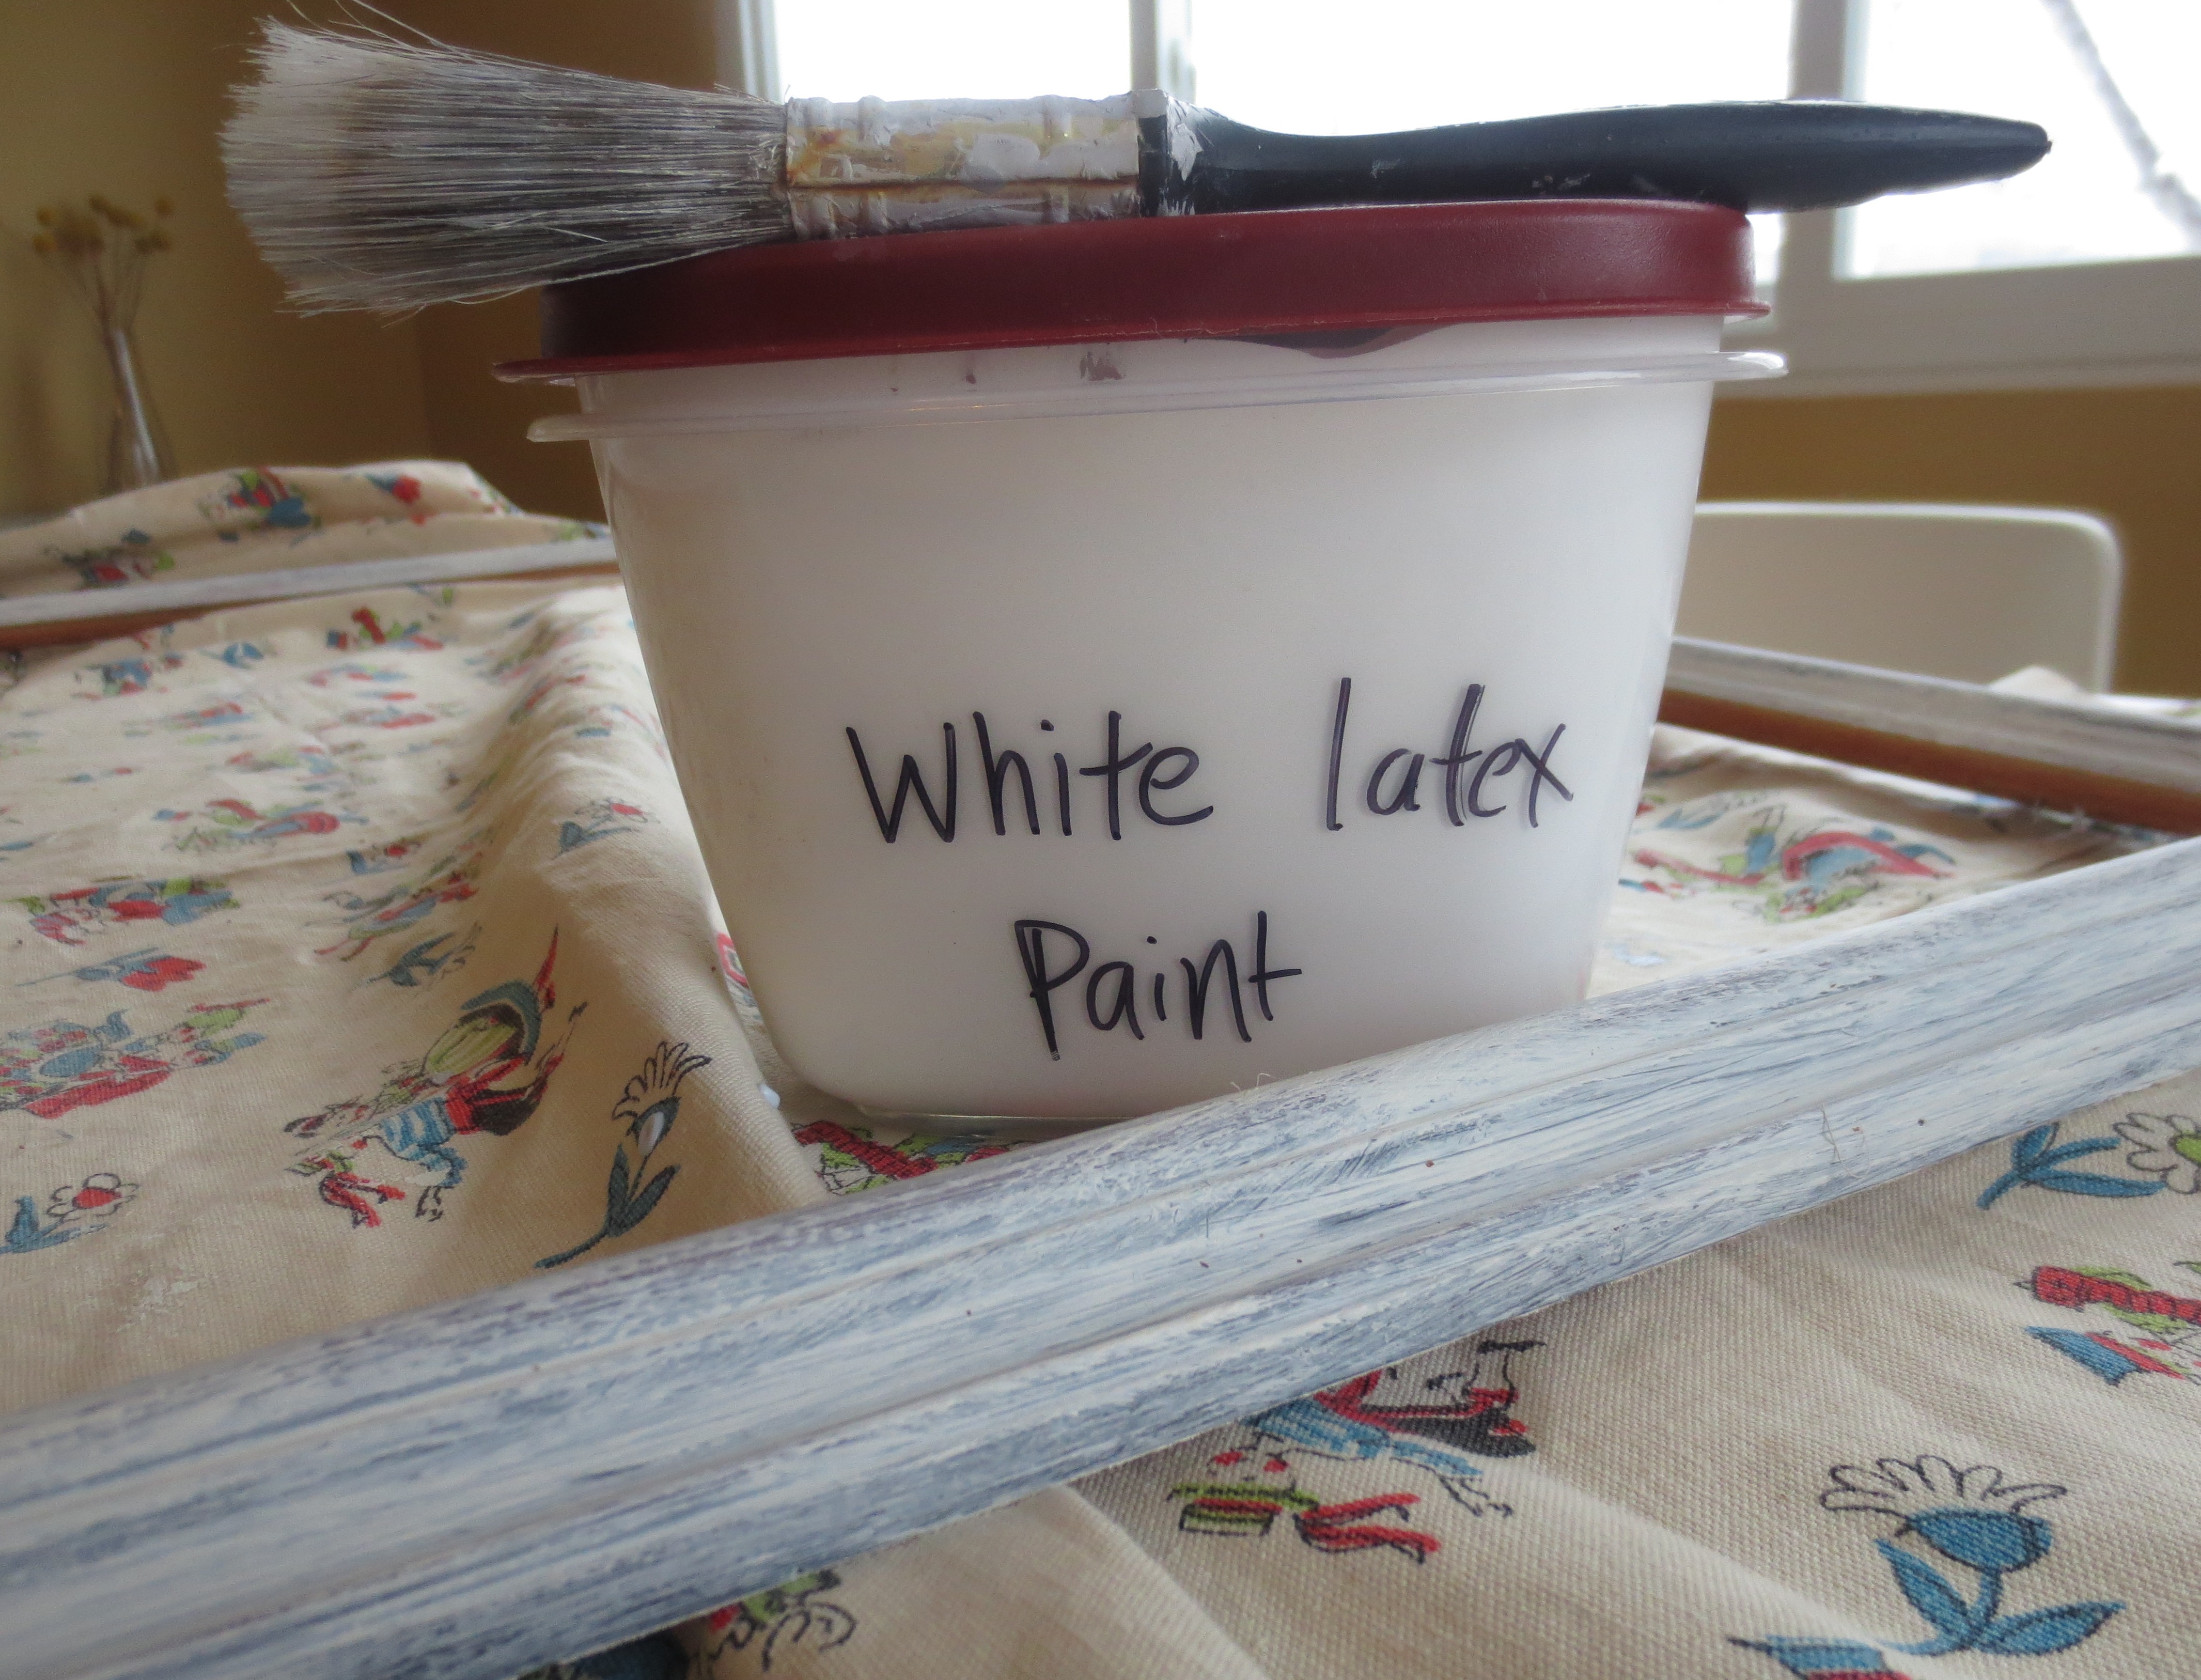
While the primer will dry in just a couple of hours, the wood stain needs about a day to soak in. If you’re not too dizzy, apply a coat of white latex paint over the primer (tape over the stained area), finish your glass of wine, and go to bed. You can apply a second coat of latex paint in the morning, but I think one layer each of paint + primer is good enough.

Not an ad for Minwax
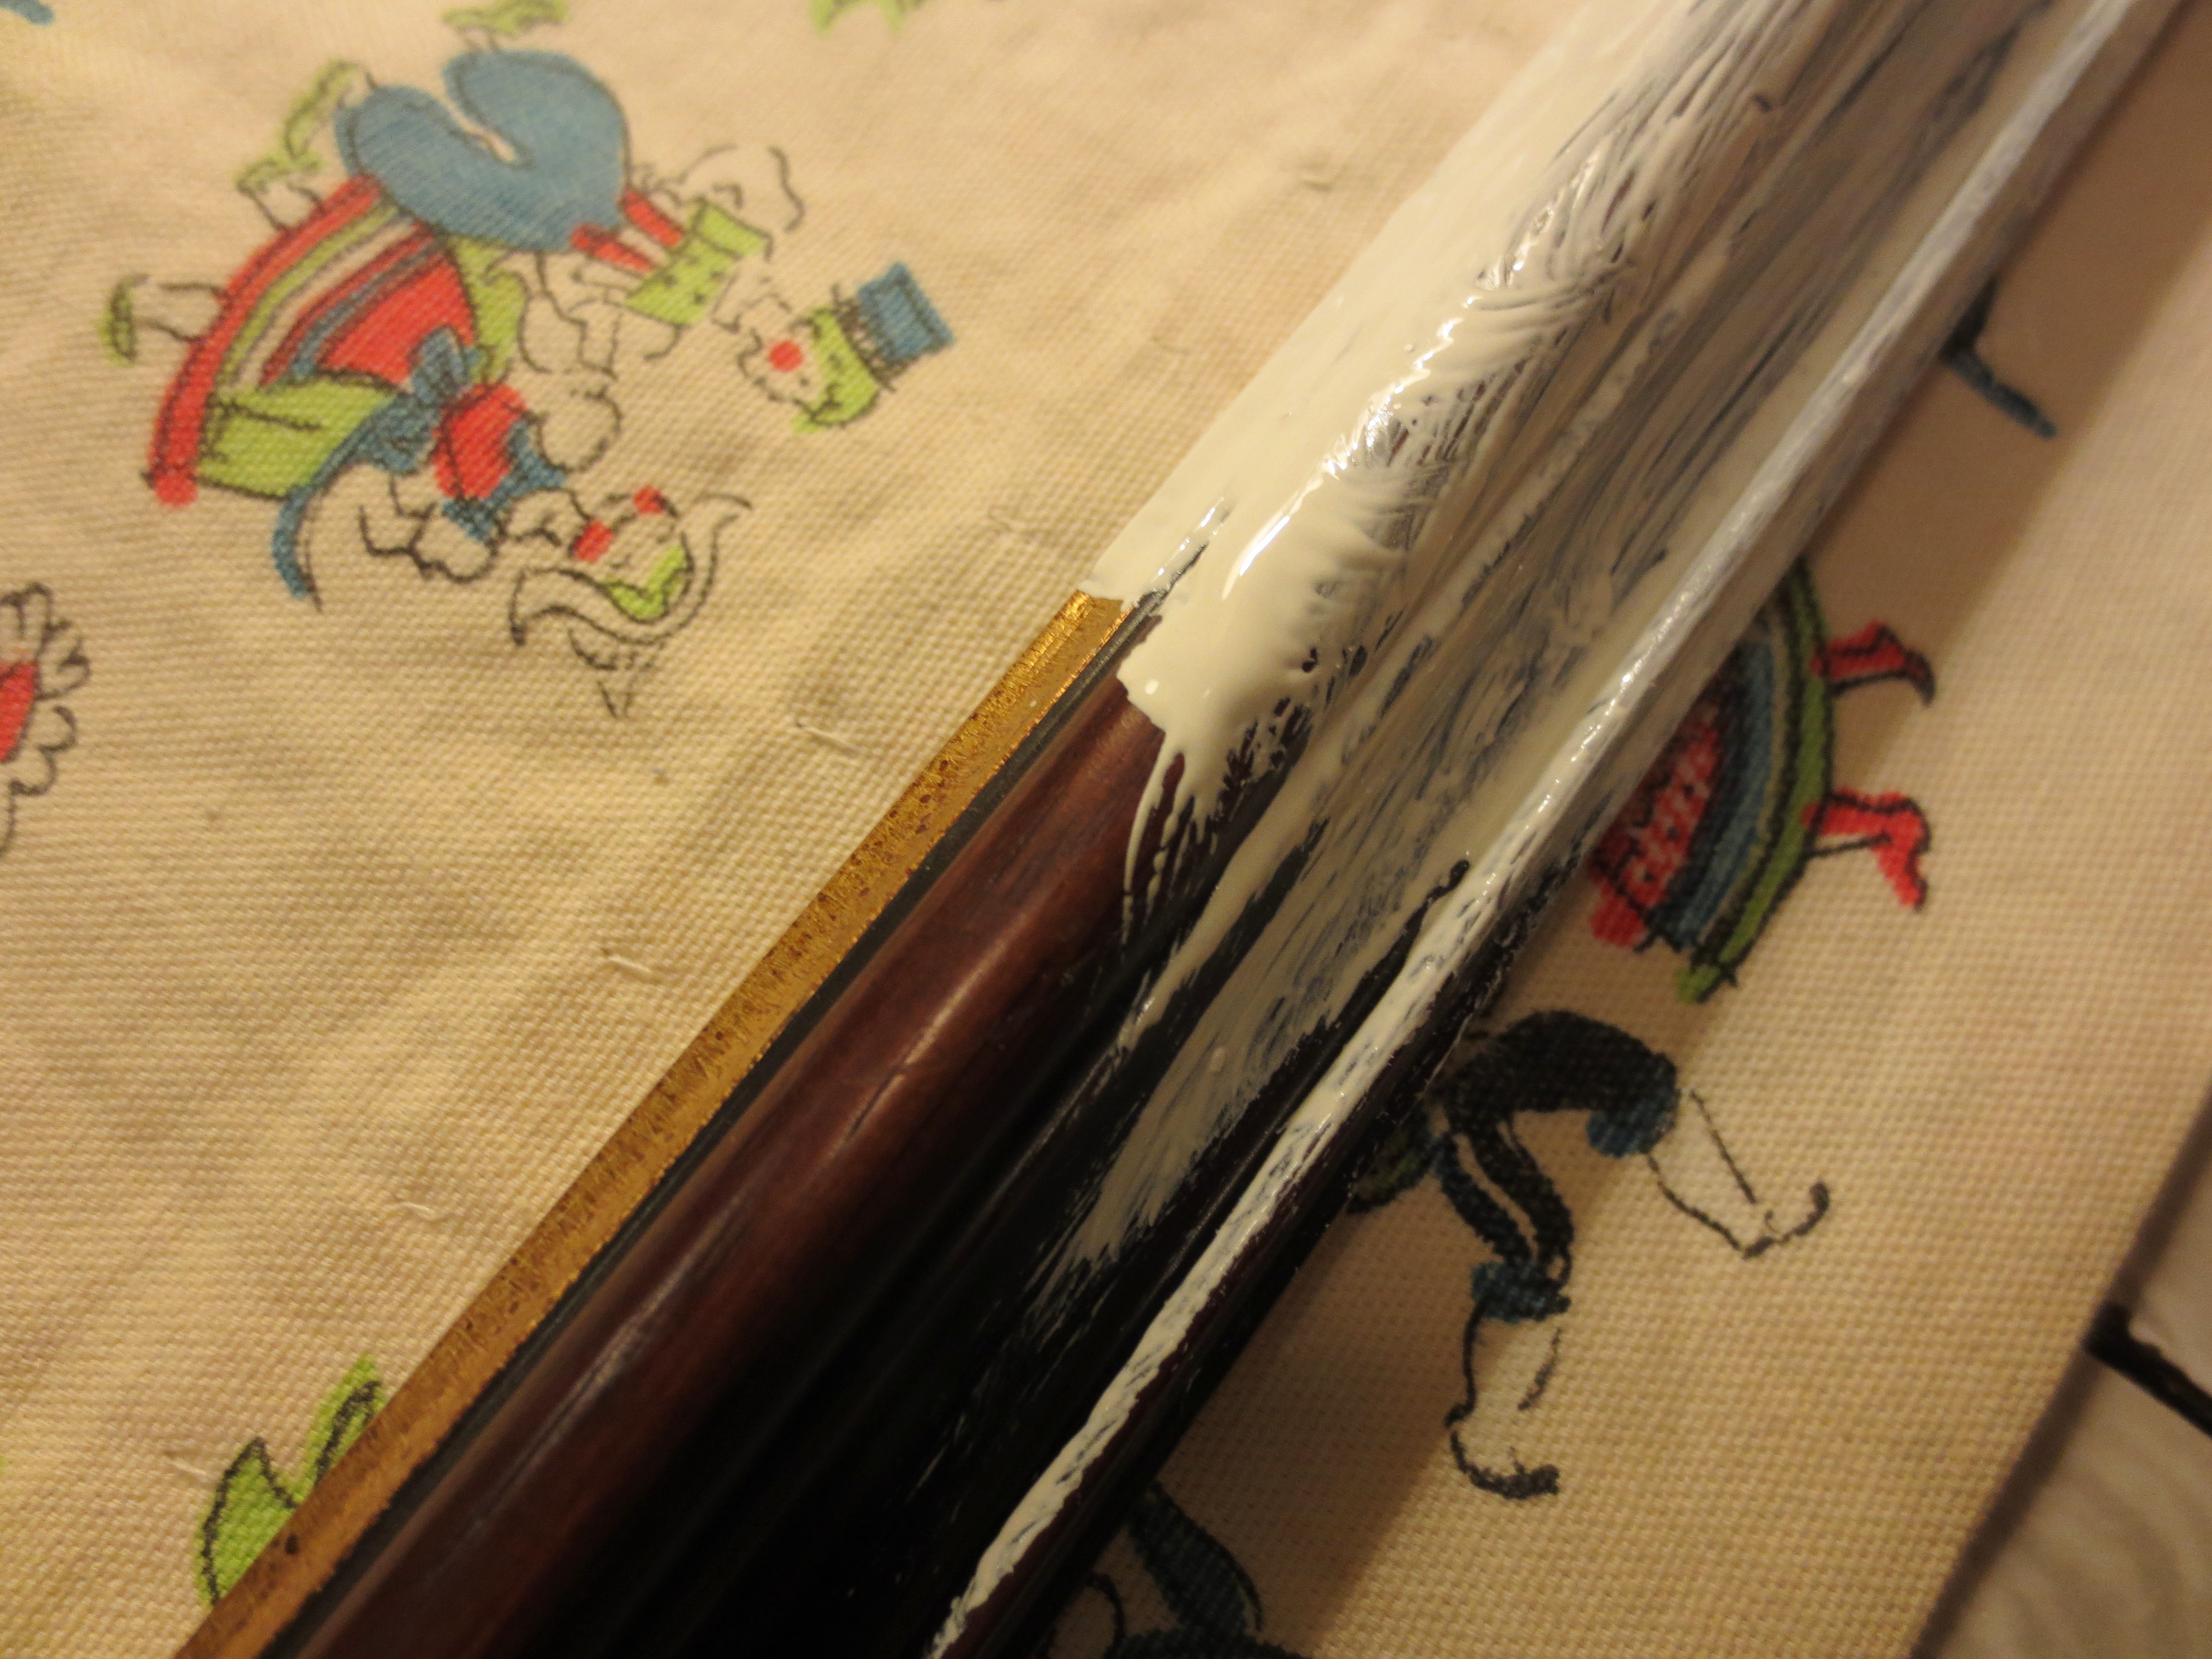
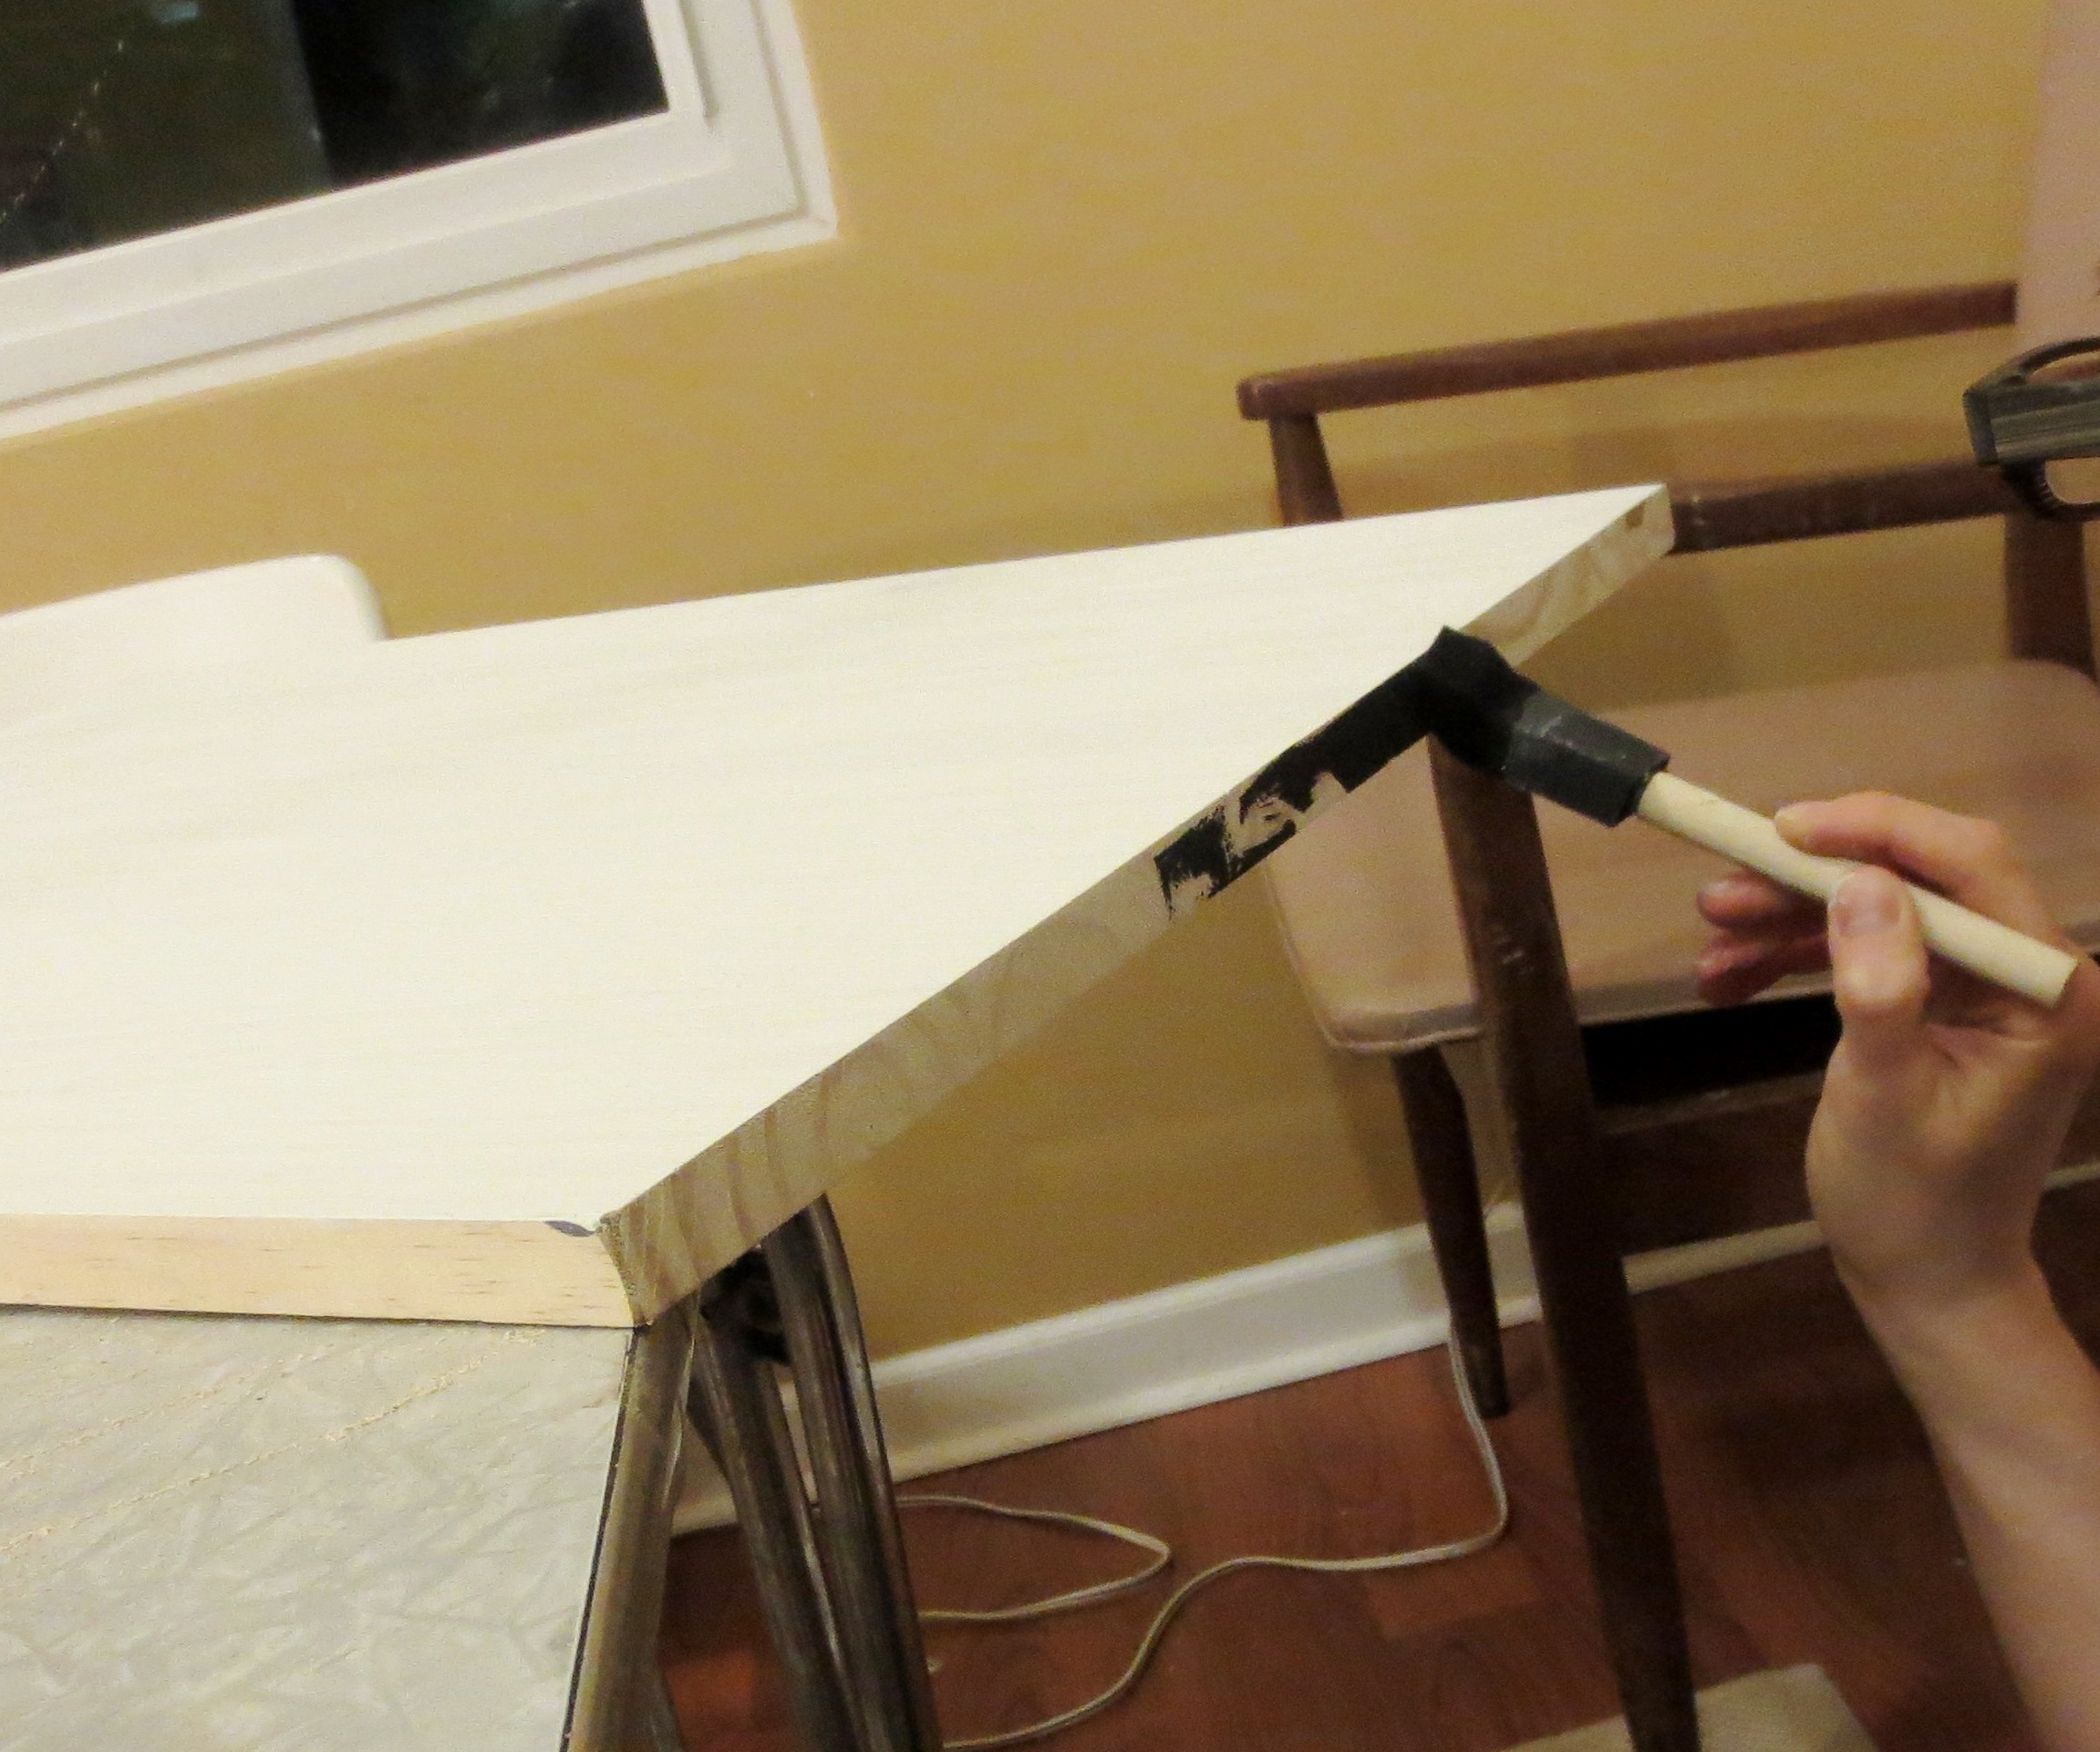
STEP 4) SHELLACK! When all the primer/paint and stain has dried, you can apply polyurethane, or shiny varnish. If you’re tempted to skip this step, ask yourself: Do you want a durable, gleaming desk that will give you decades of enjoyment, or a scratchy, gummy mess that won’t last a week of your abuse? Thought so.
Happily, the varnish is water-based, so use whatever brush you want; clean with soap and water. Varnish everything except the 11×24 piece, which is still raw on top. Brush it on with a very, very thin coat. After it dries for a couple of hours, you can sand it with a super fine (200+) sand paper, wipe it down, and varnish again. Do NOT slop it on thick– every teeny little puddle of varnish will dry into a hard plasticky white booger. And you will spend the rest of your life trying to pick that thing off your beautiful new desk. Is that what you want?
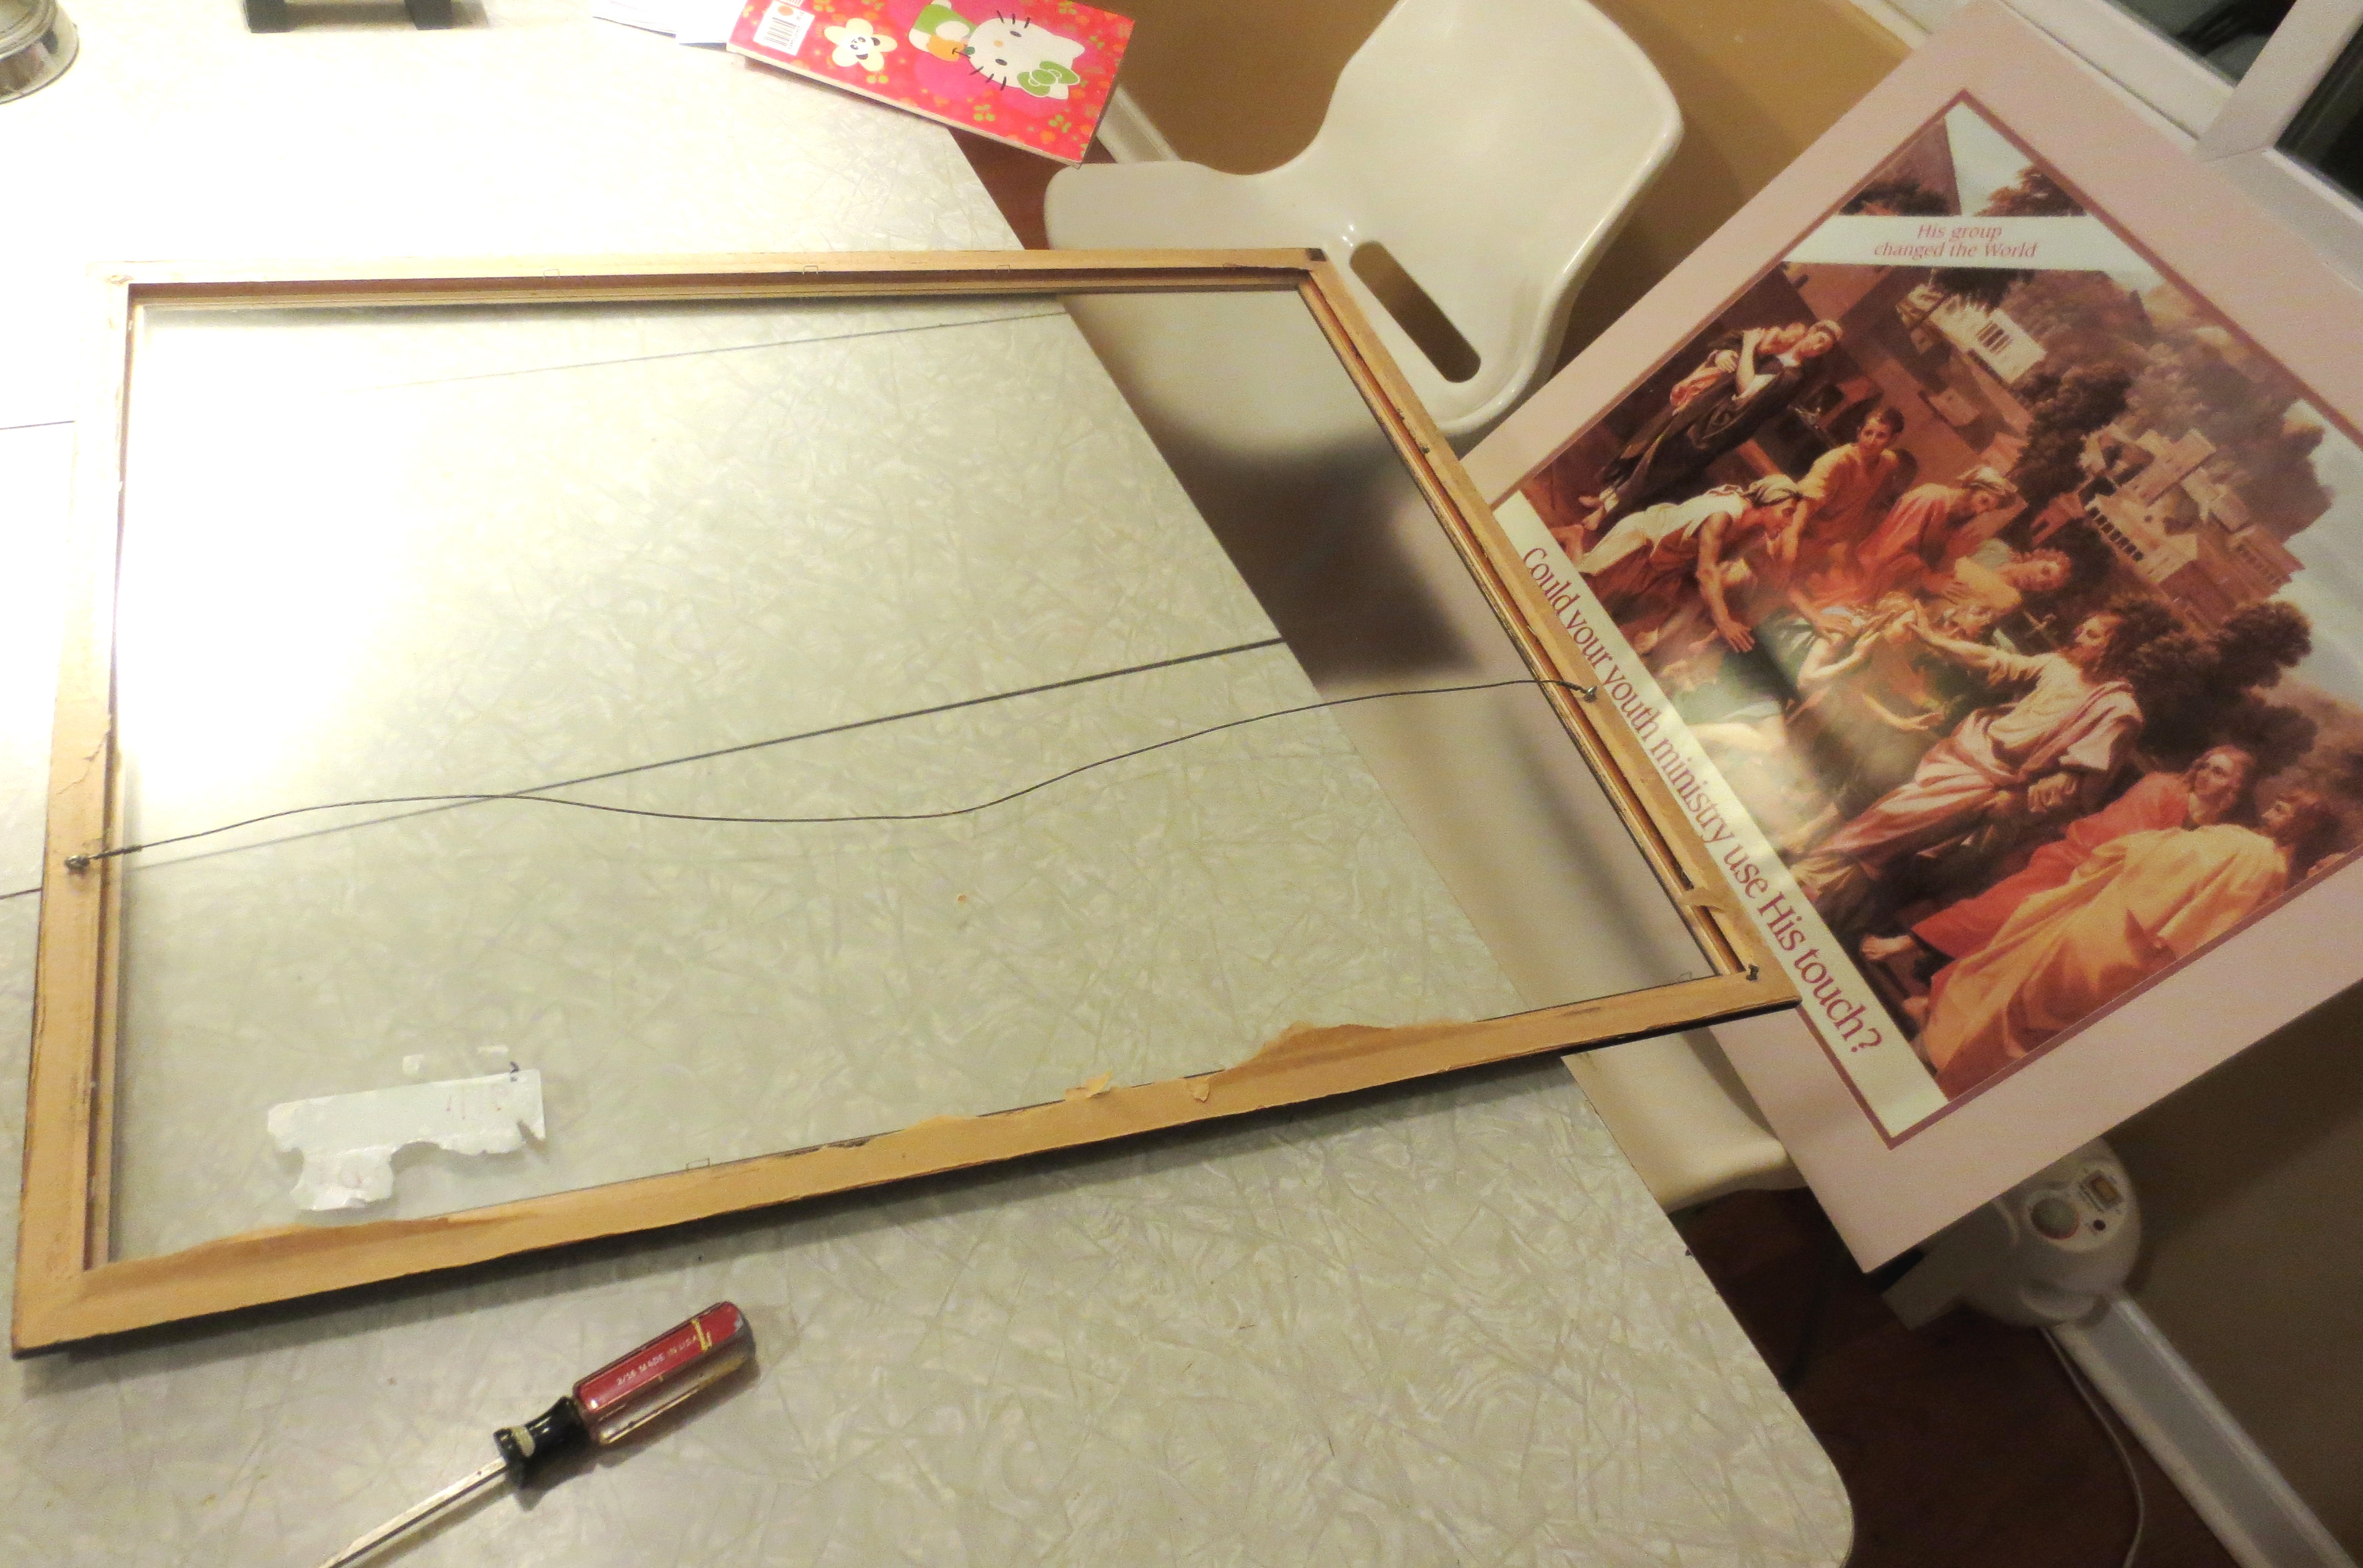
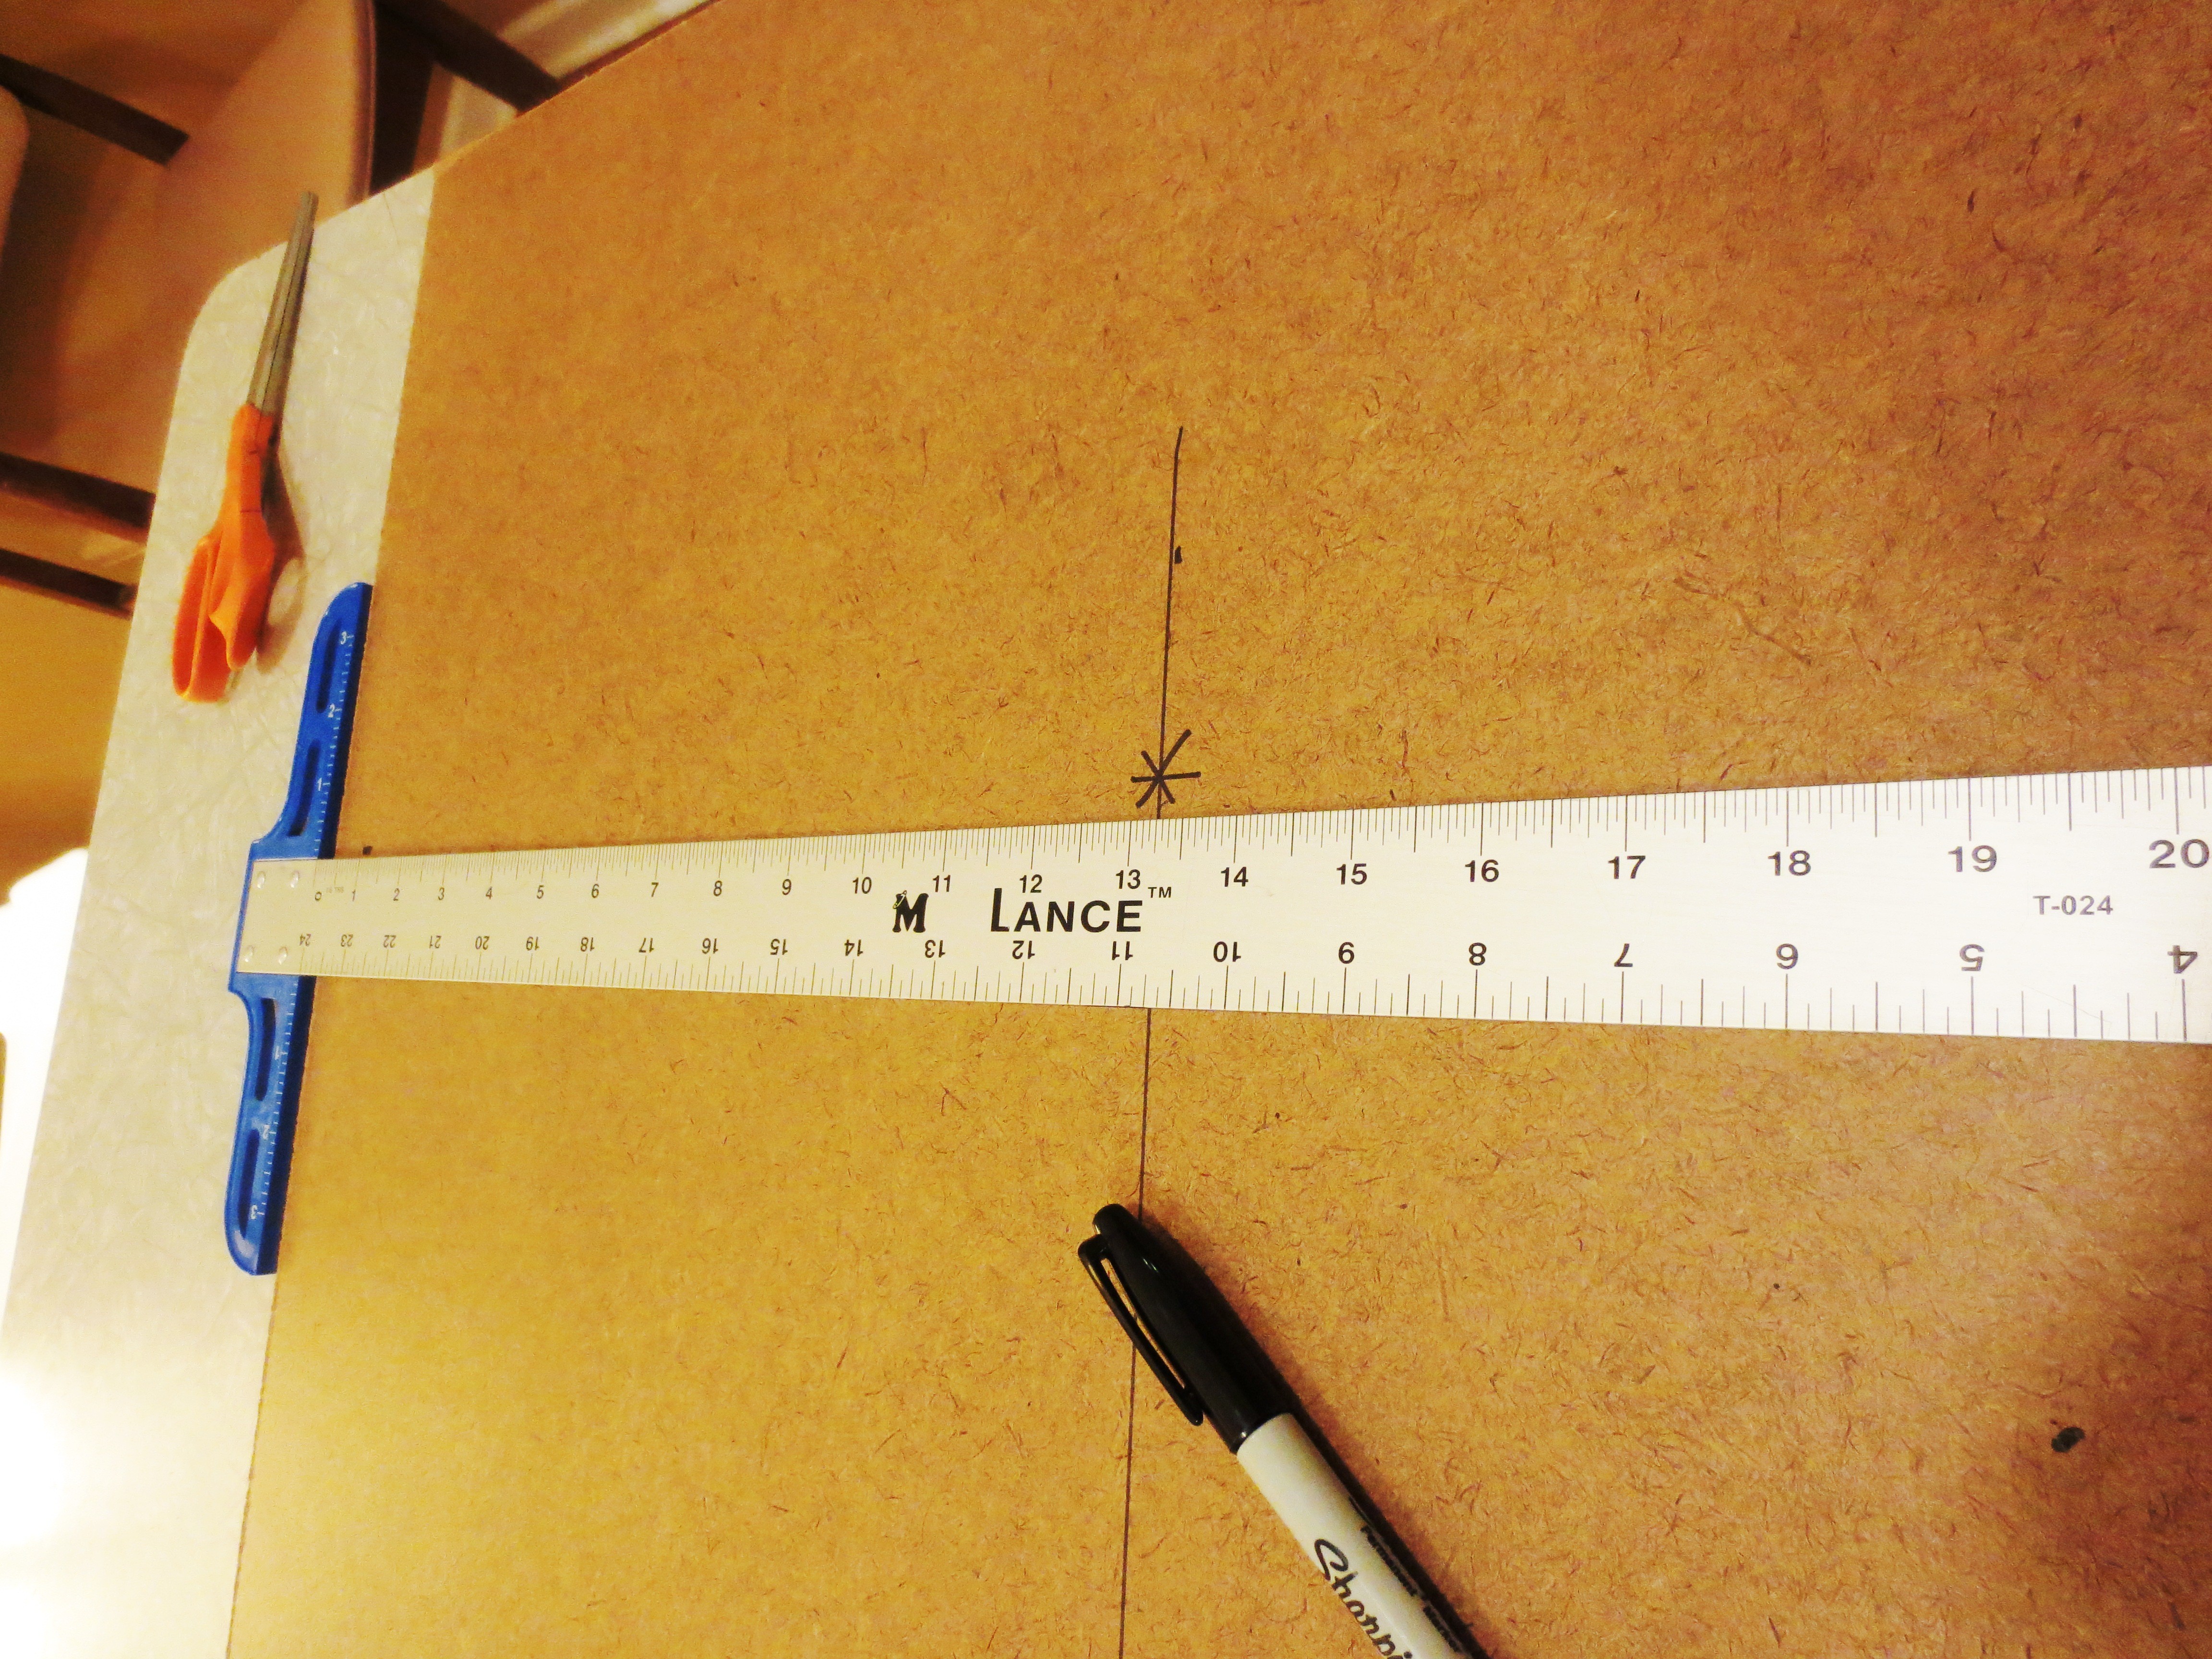
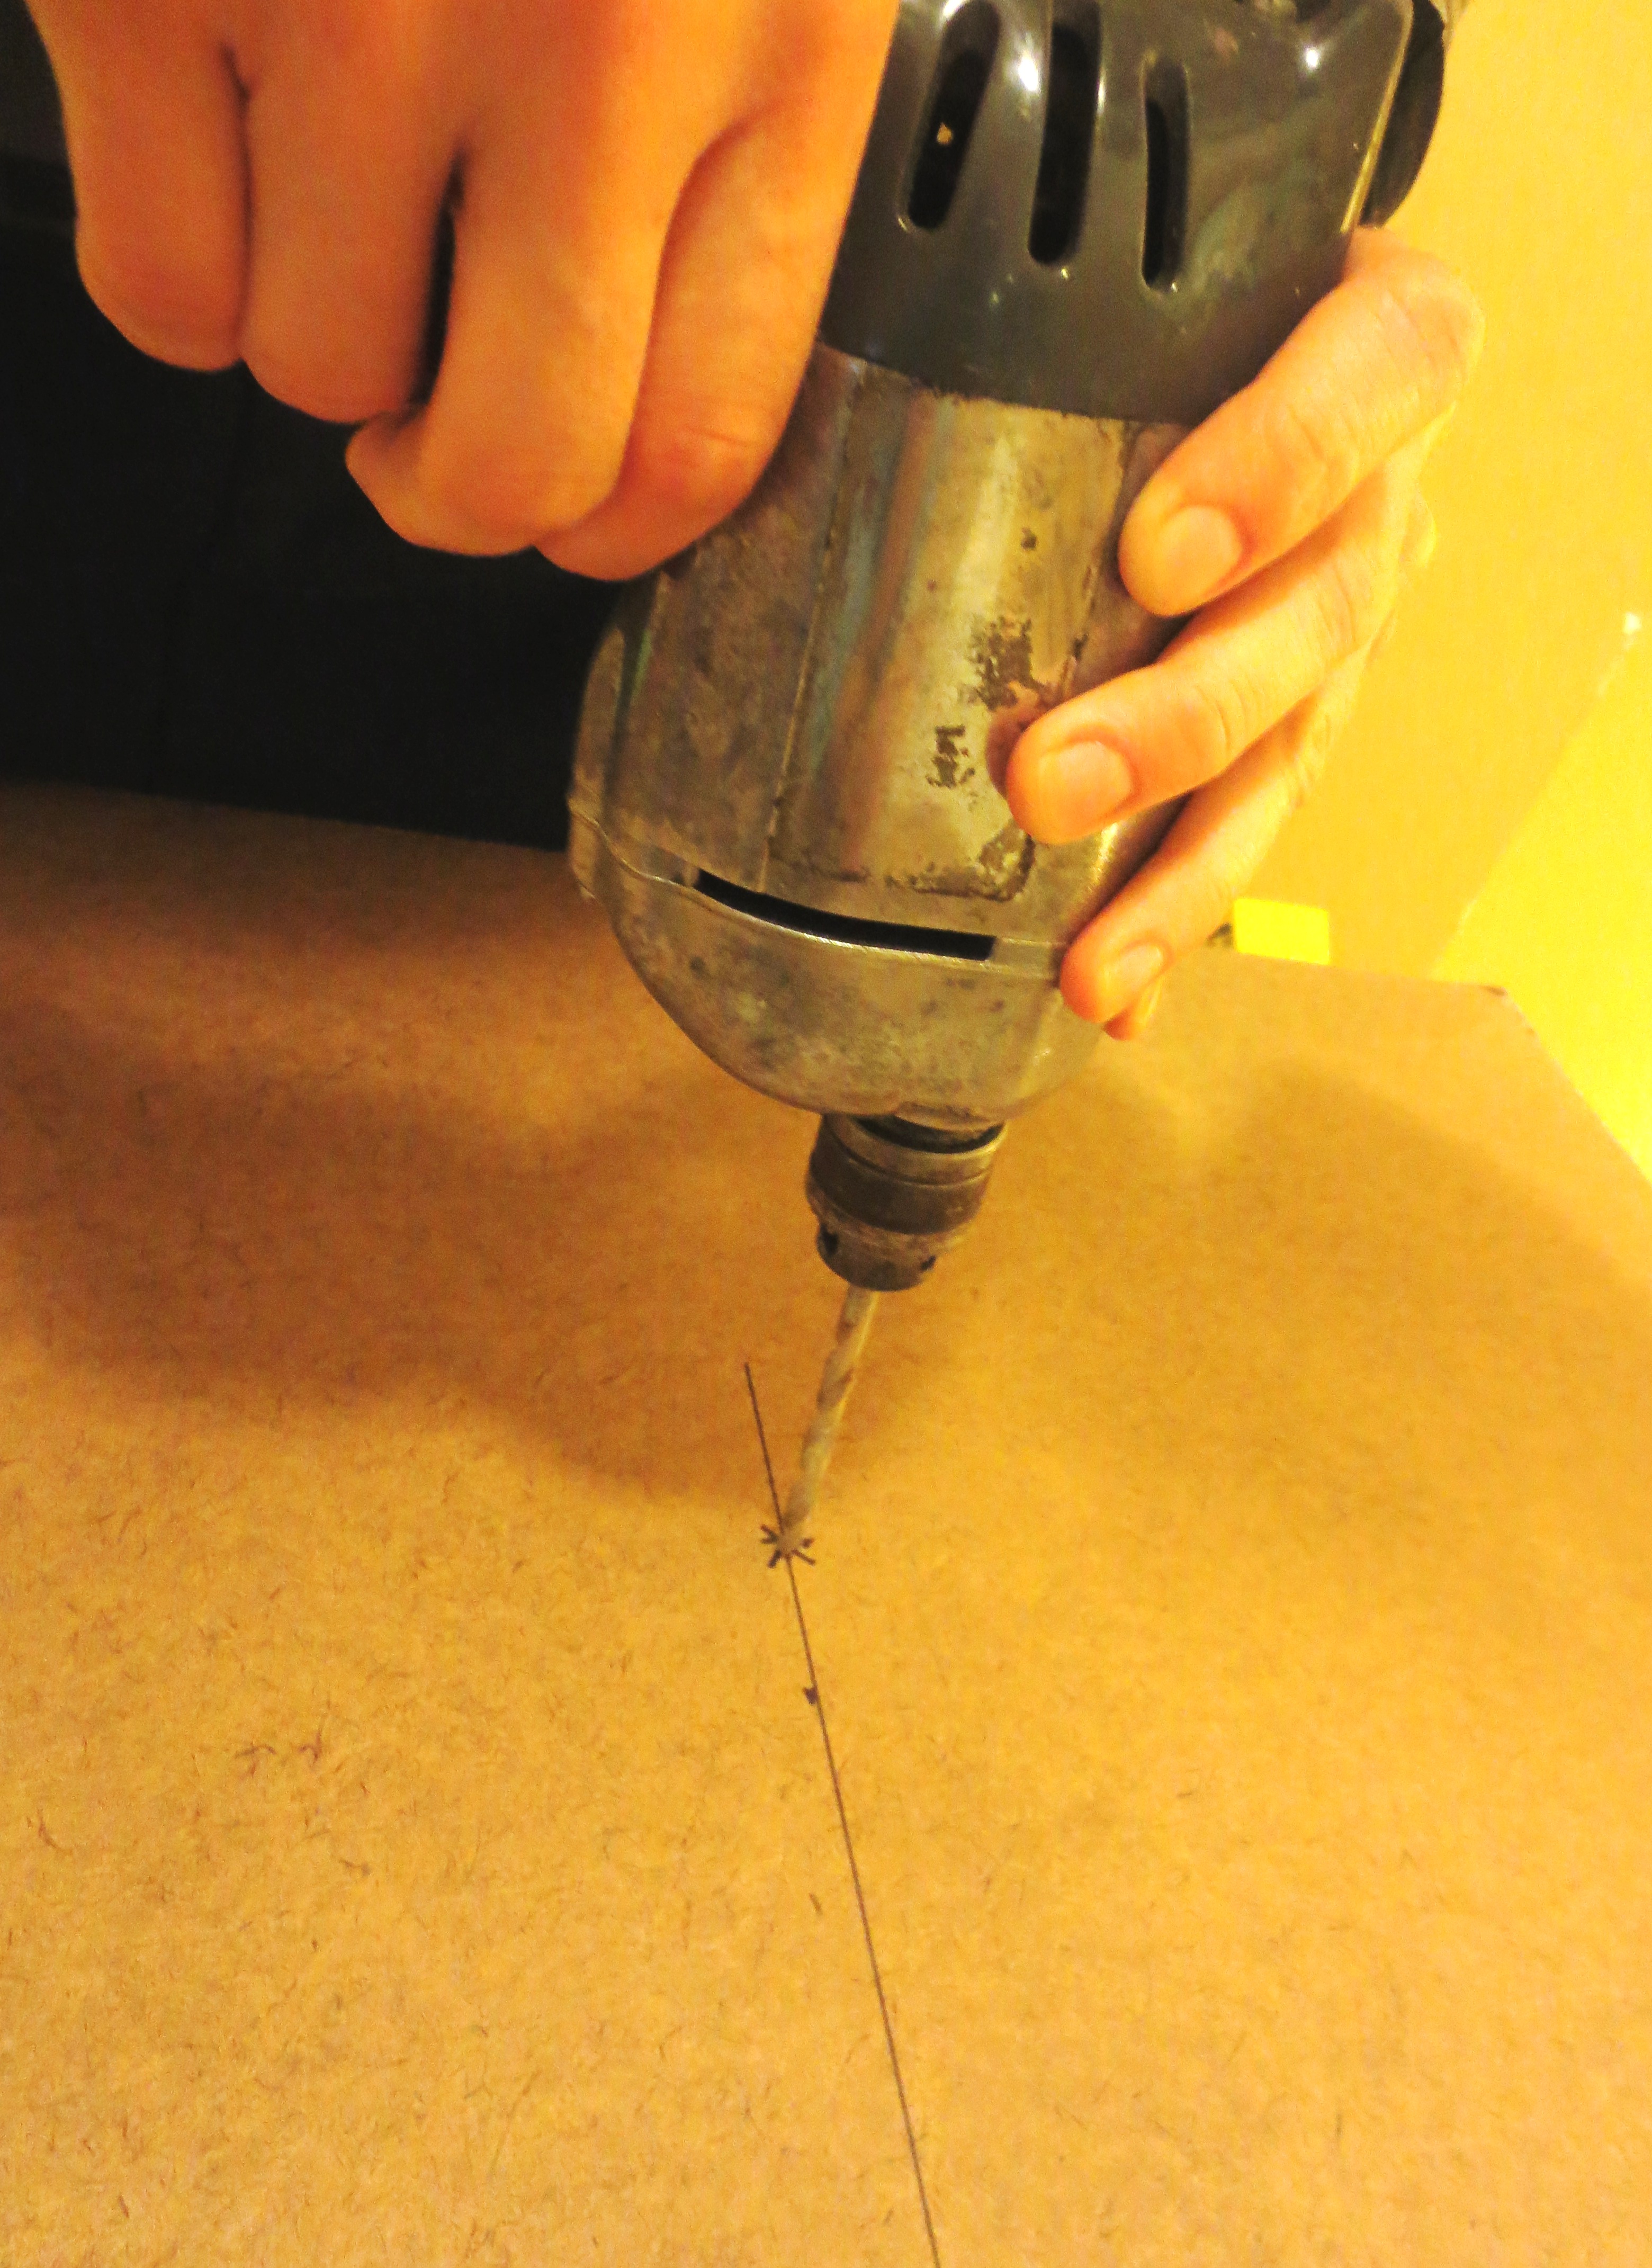
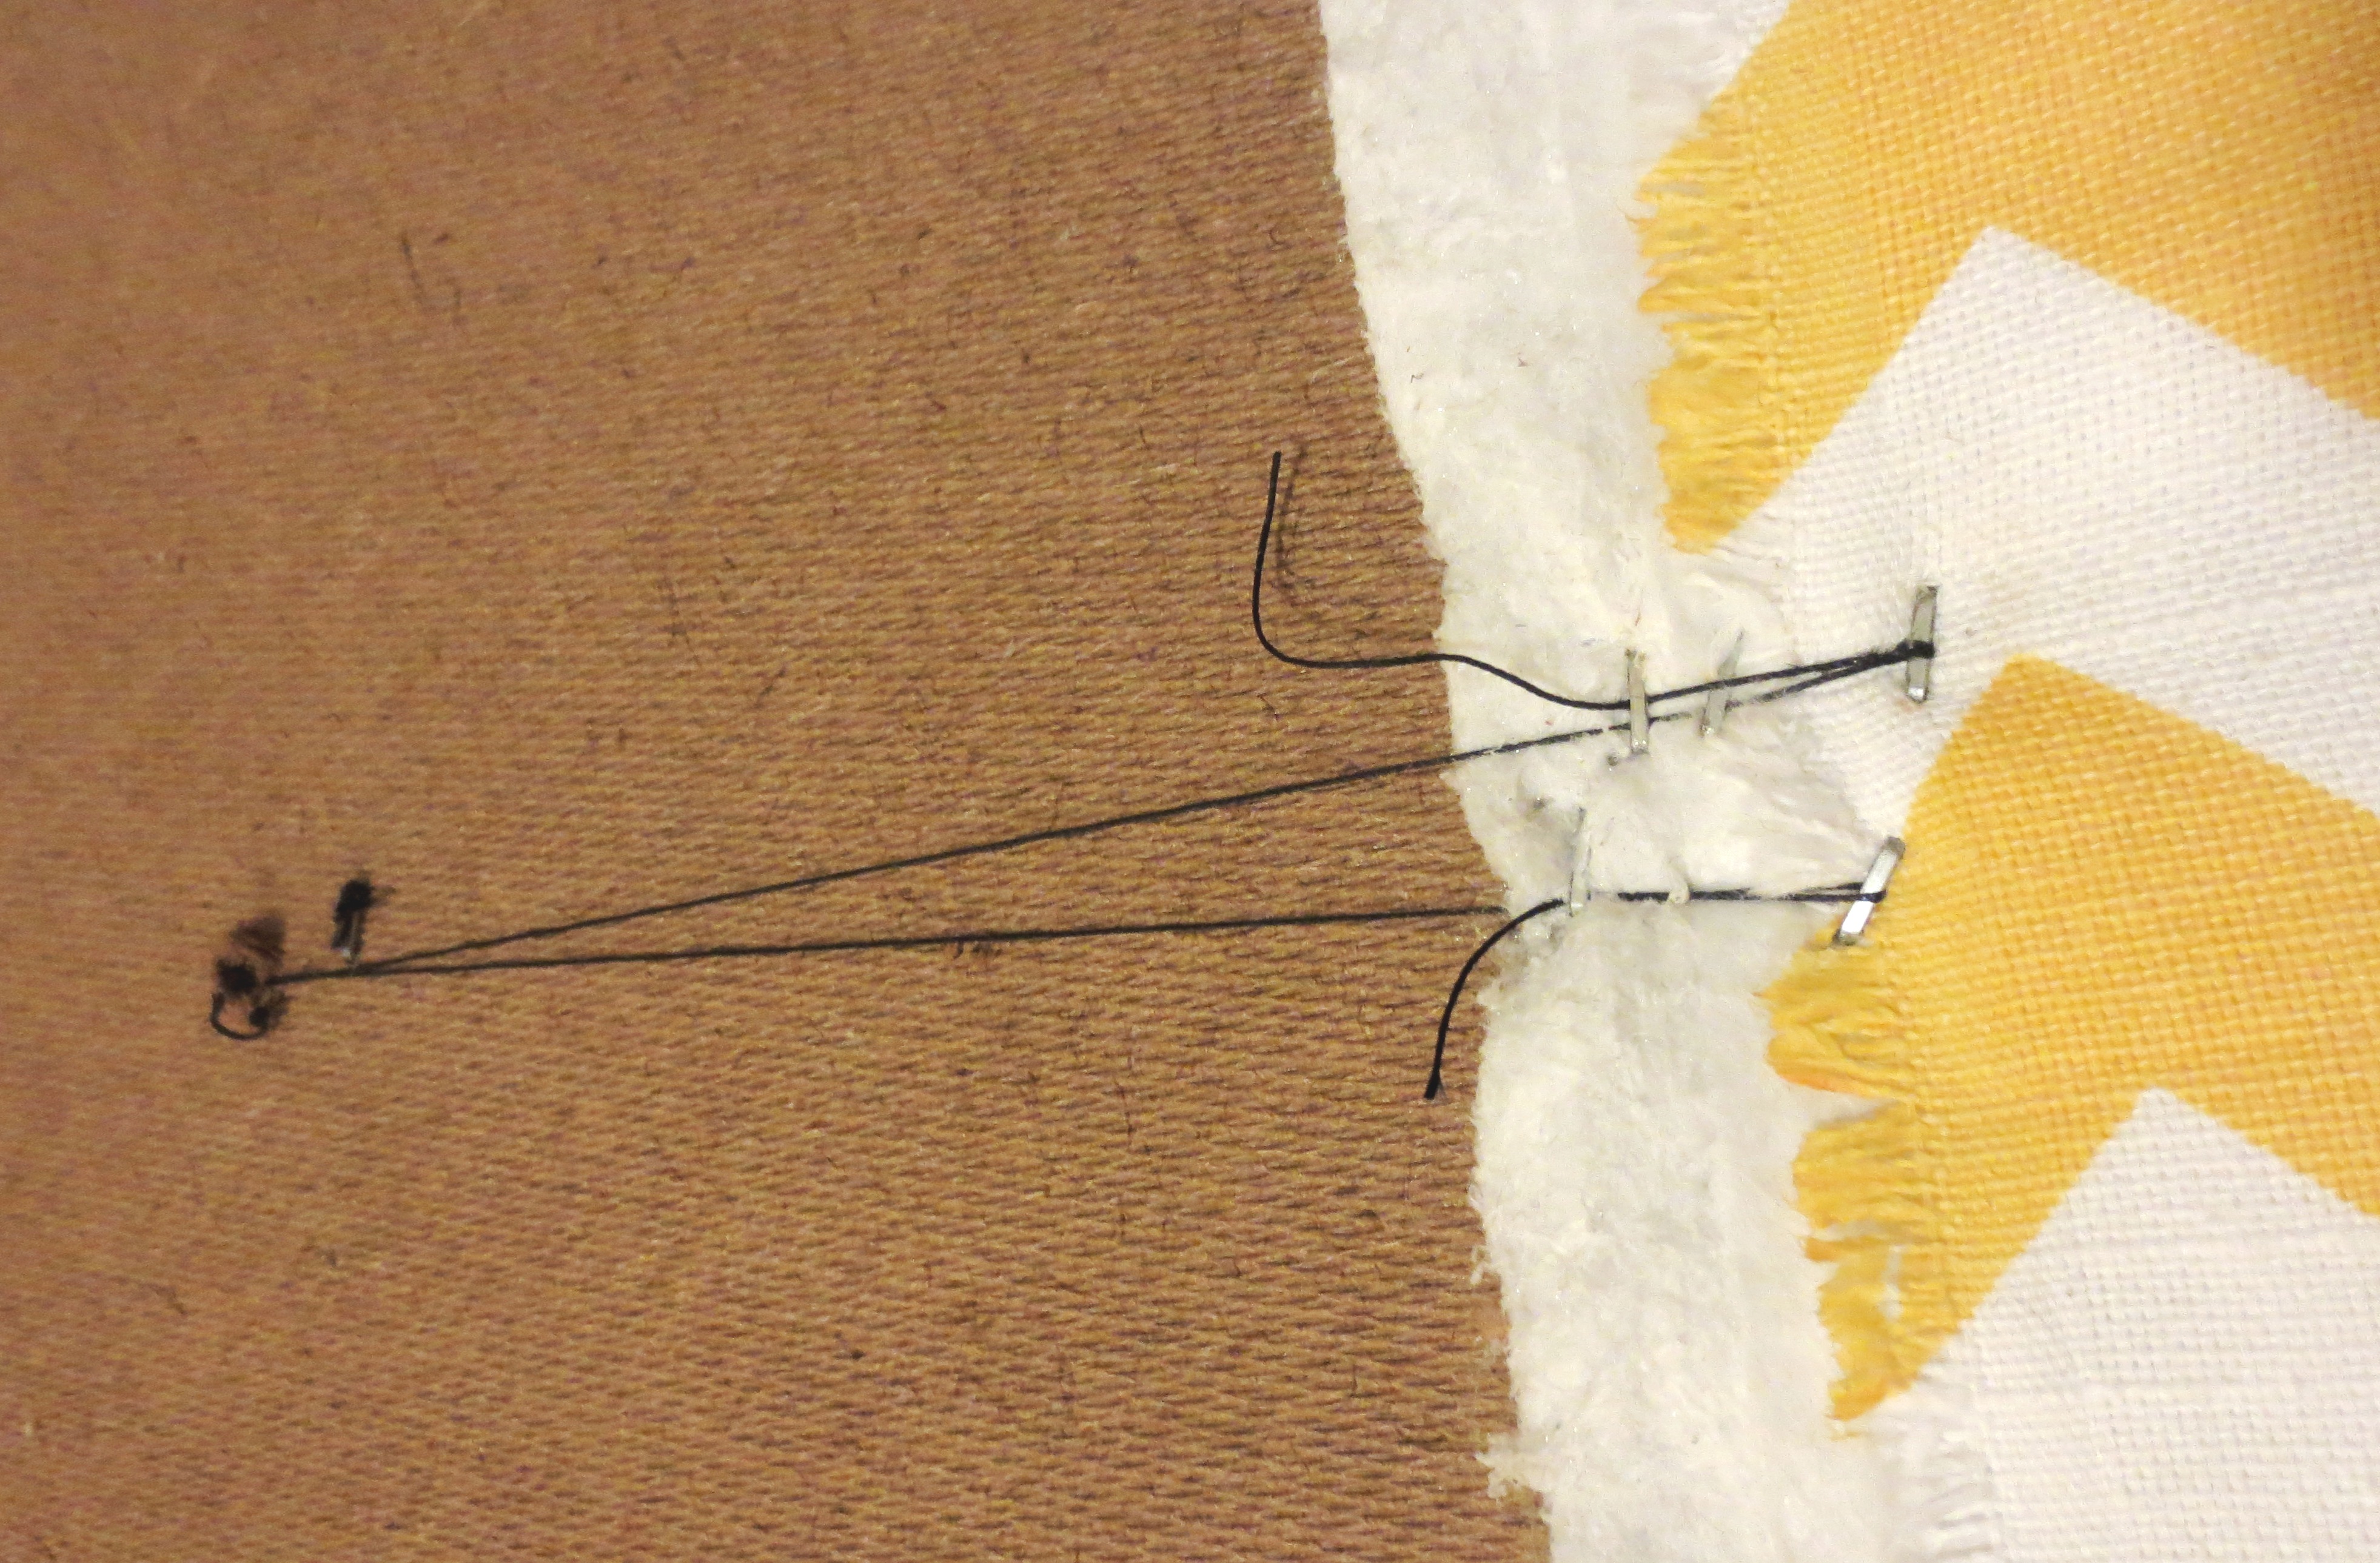
STEP 5) ASSEMBLE: On the bottom of the big piece, mark where you want to screw in your legs, and drill pilot holes (i.e. slightly smaller than the screw on the top of the leg). I drilled mine about two inches in from the edge – a compromise between stability and achieving a dramatic modern cantilevered look. Be sure to note the thickness of the wood and mark your drill bit with tape so you don’t drill THROUGH the wood.
 Flip the board back over and secure to your table with clamps. Hold each monolith flush with the back and about two inches in from the edge of the 18” side; lightly trace their outline with a pencil or chalk (7” side down). Drill pilot holes all the way through the wood, about an inch from the inner edge of your outline, or about six inches from the back.
Lightly sand inside the outline of the monoliths, smear some wood glue and clamp the monoliths in place. Let dry for about half an hour.
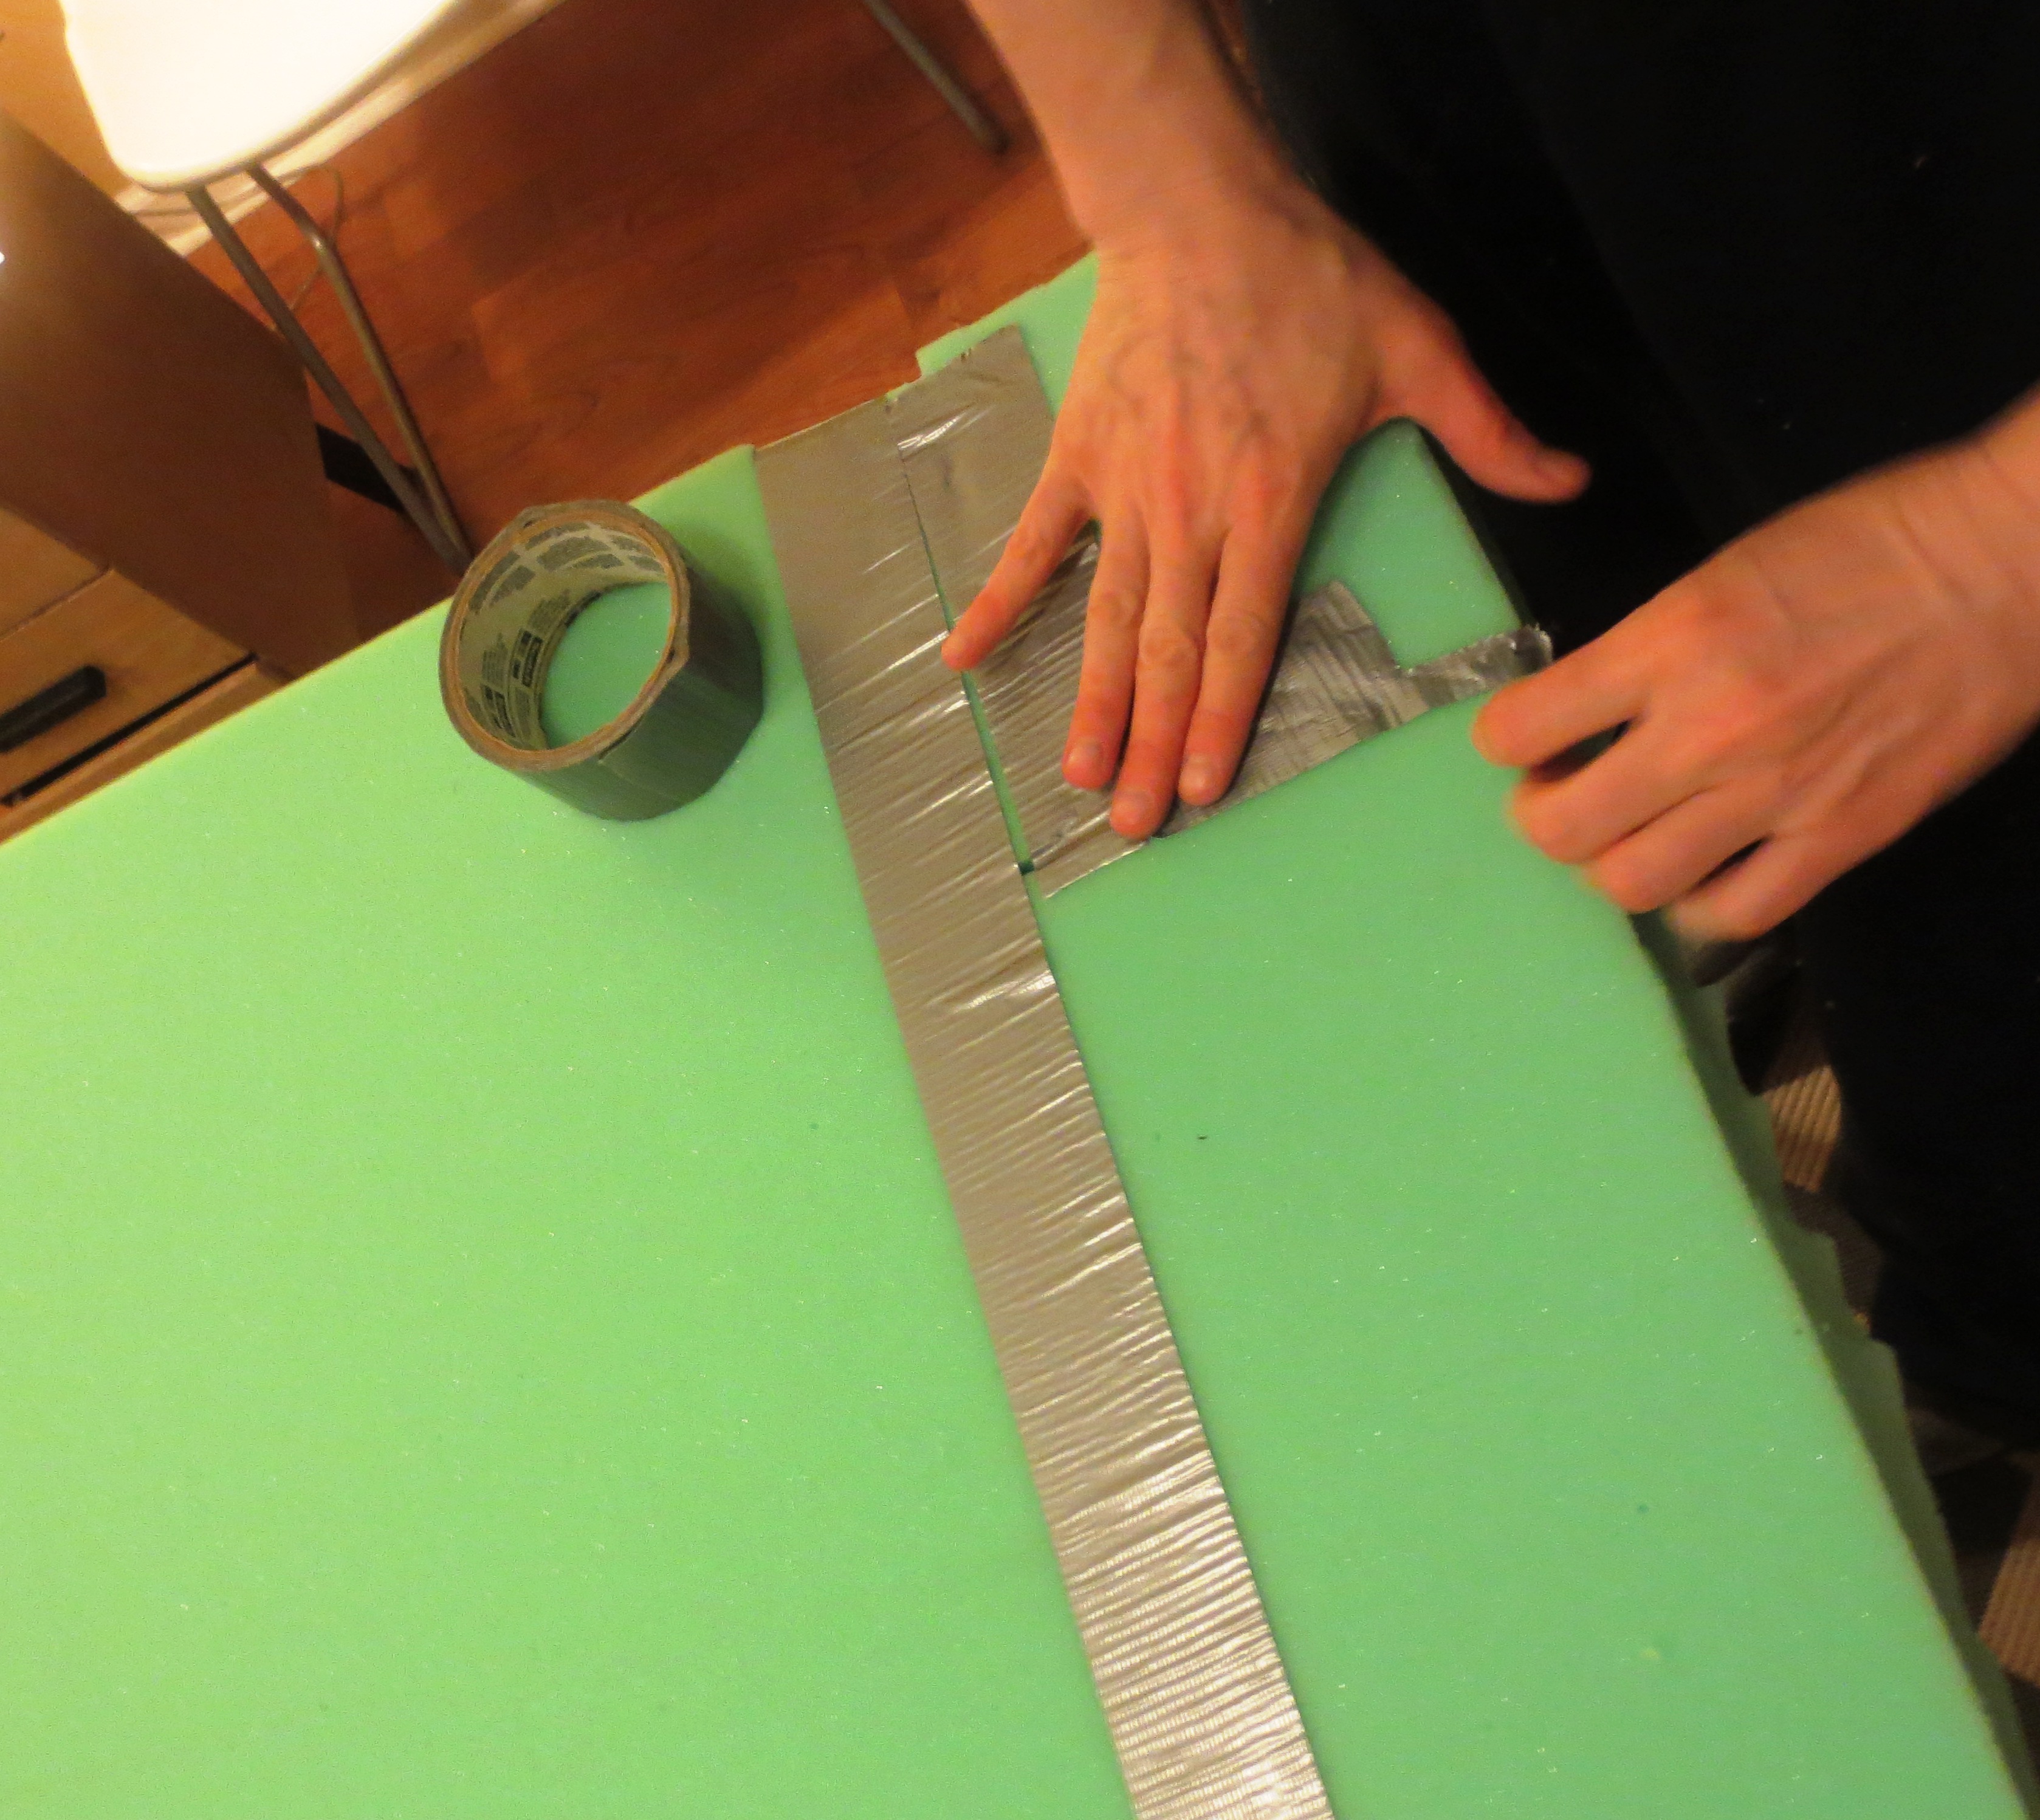
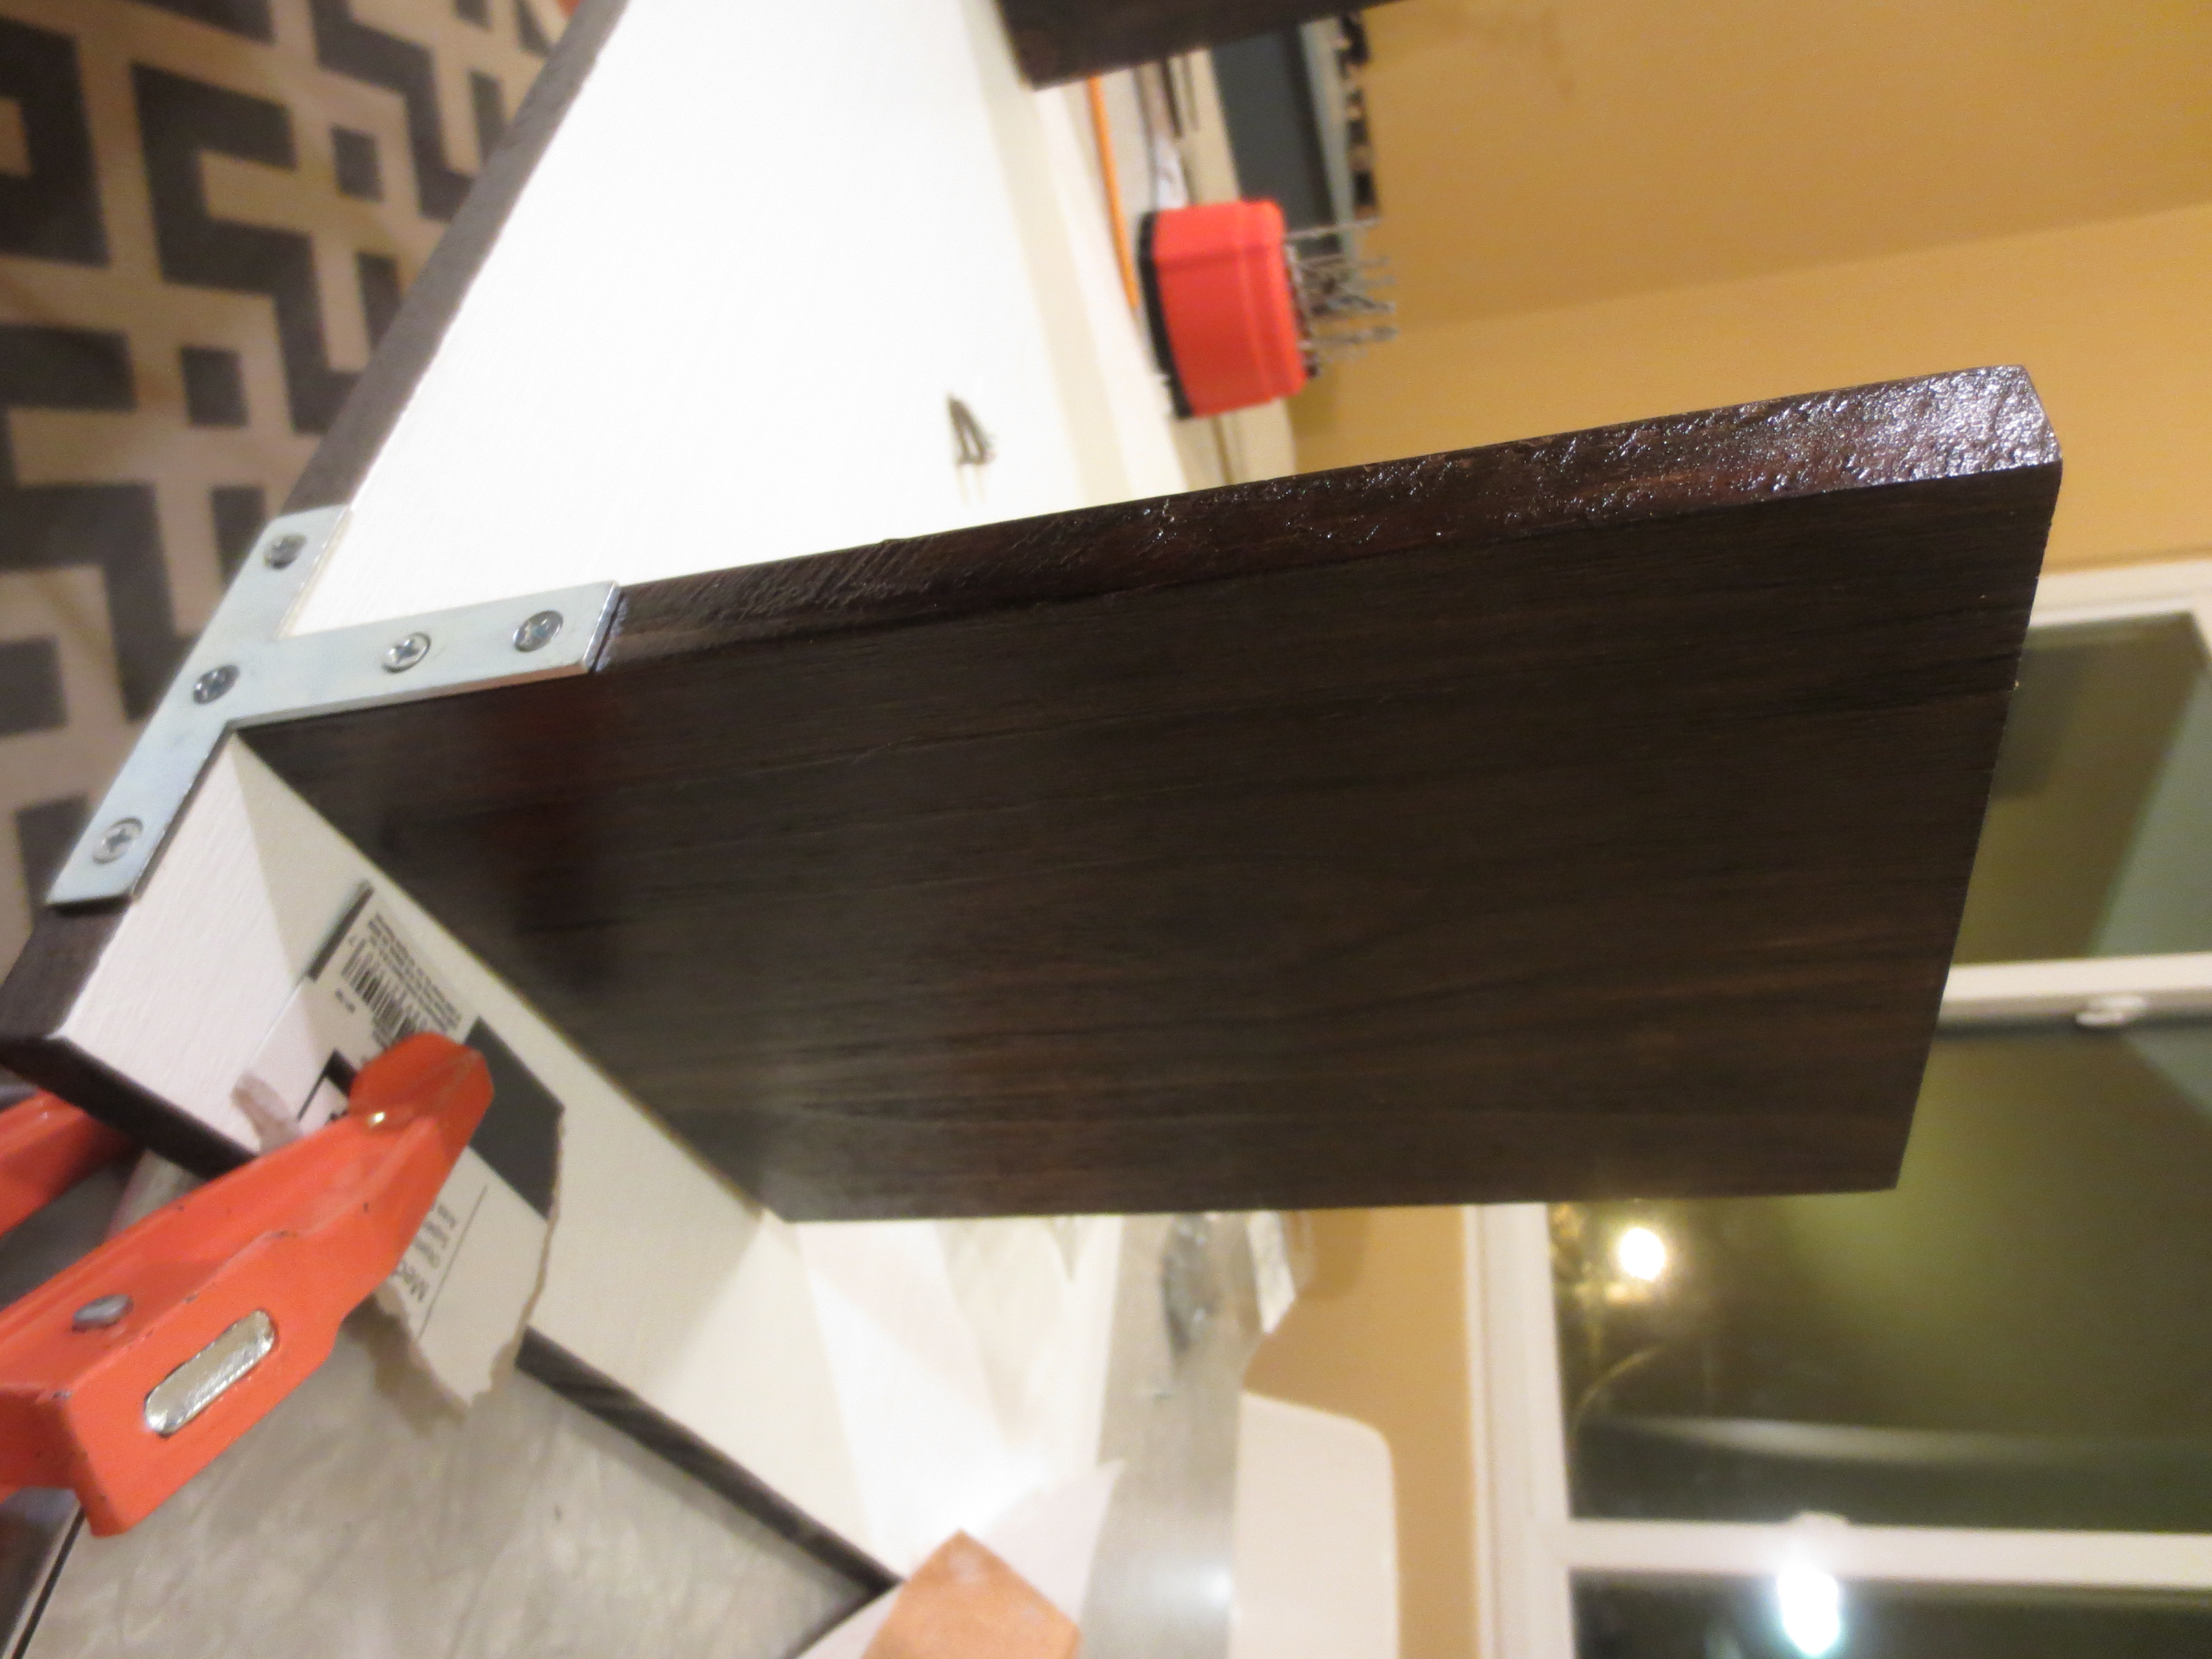
Line your “T” brackets along the back edge of the monoliths/bottom panel, and screw wood screws into the holes, starting with the bottom, larger piece. I used an awl to push a divot into the center of the hole, so the screws would know where to go. I also find it easier to do the final tightening by hand.
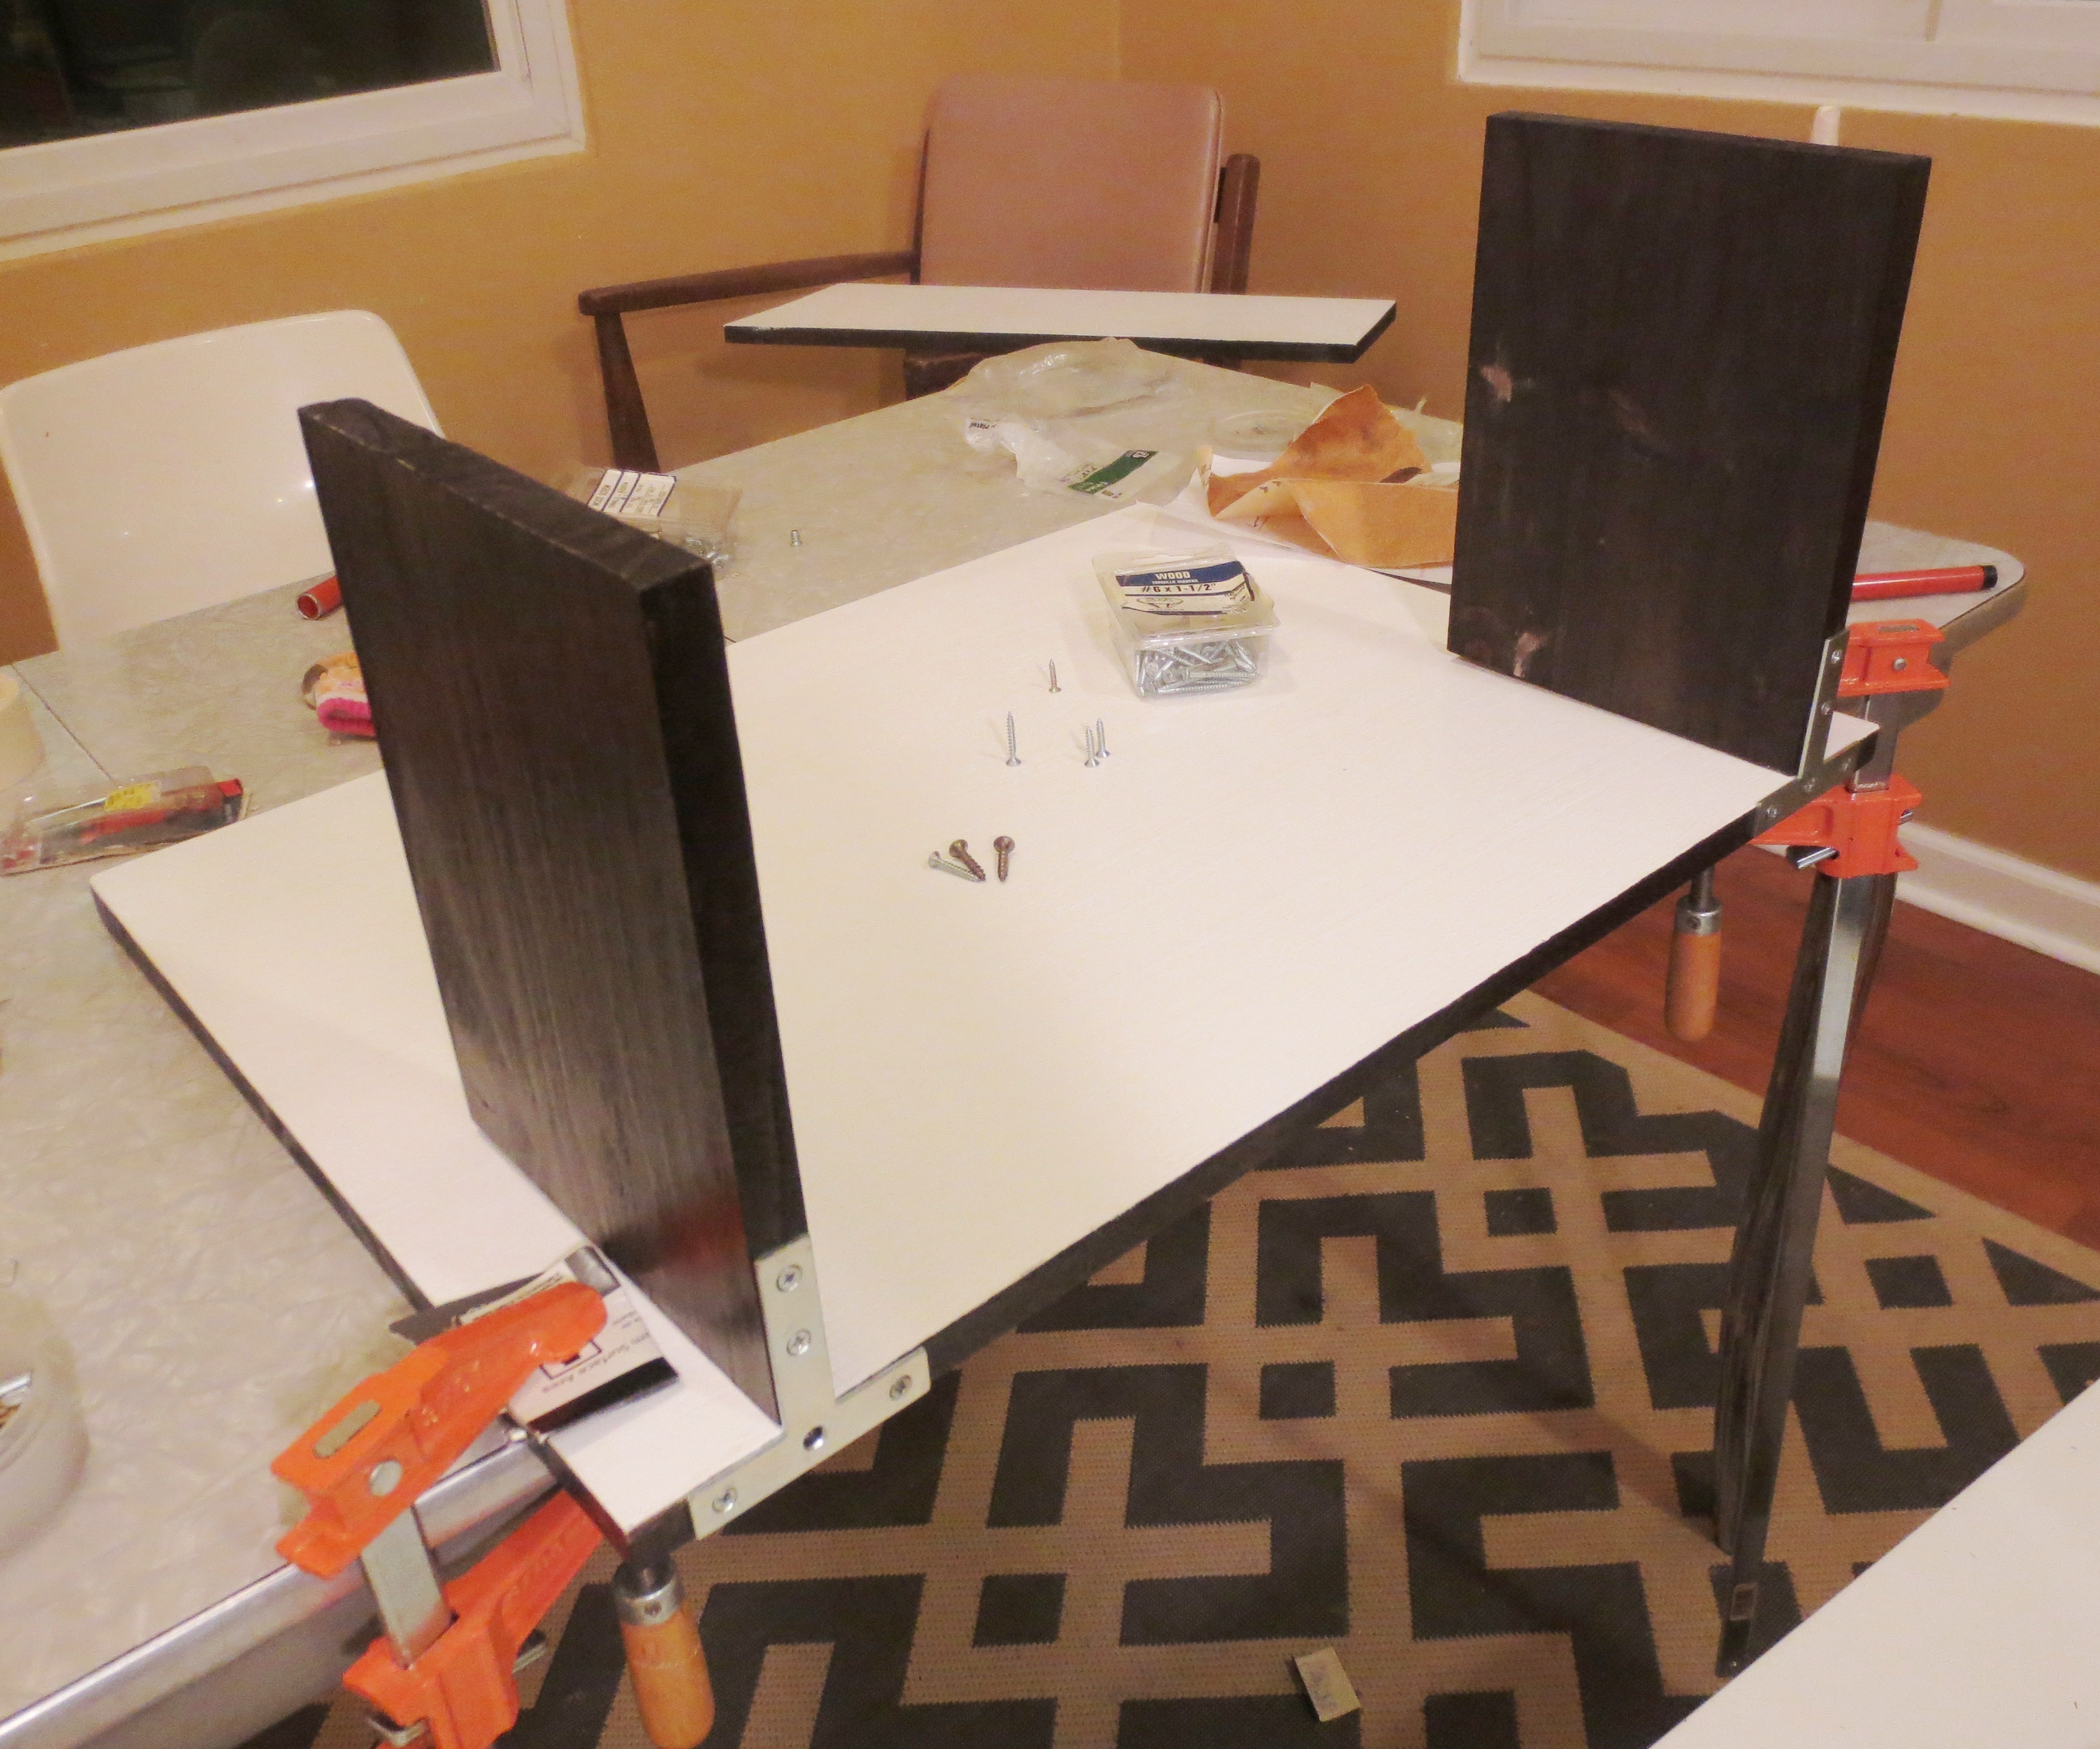 Flip the whole thing over again so that the monoliths hang over the side of a table; secure again with table clamps. Drill a wood screw into the pilot holes you made earlier. Tighten by hand.
 Track down the remaining free (11×24) piece and align it on top so the back is flush with the back of the monoliths, parallel to the bottom piece. On both sides, mark a spot about six inches from the back– directly above the monoliths– and drill a screw down securing the top to each monolith.

Grab your last two “T” brackets and screw them into the back, connecting your top piece to the monoliths.
 Now, we’re almost done talking about screwing.
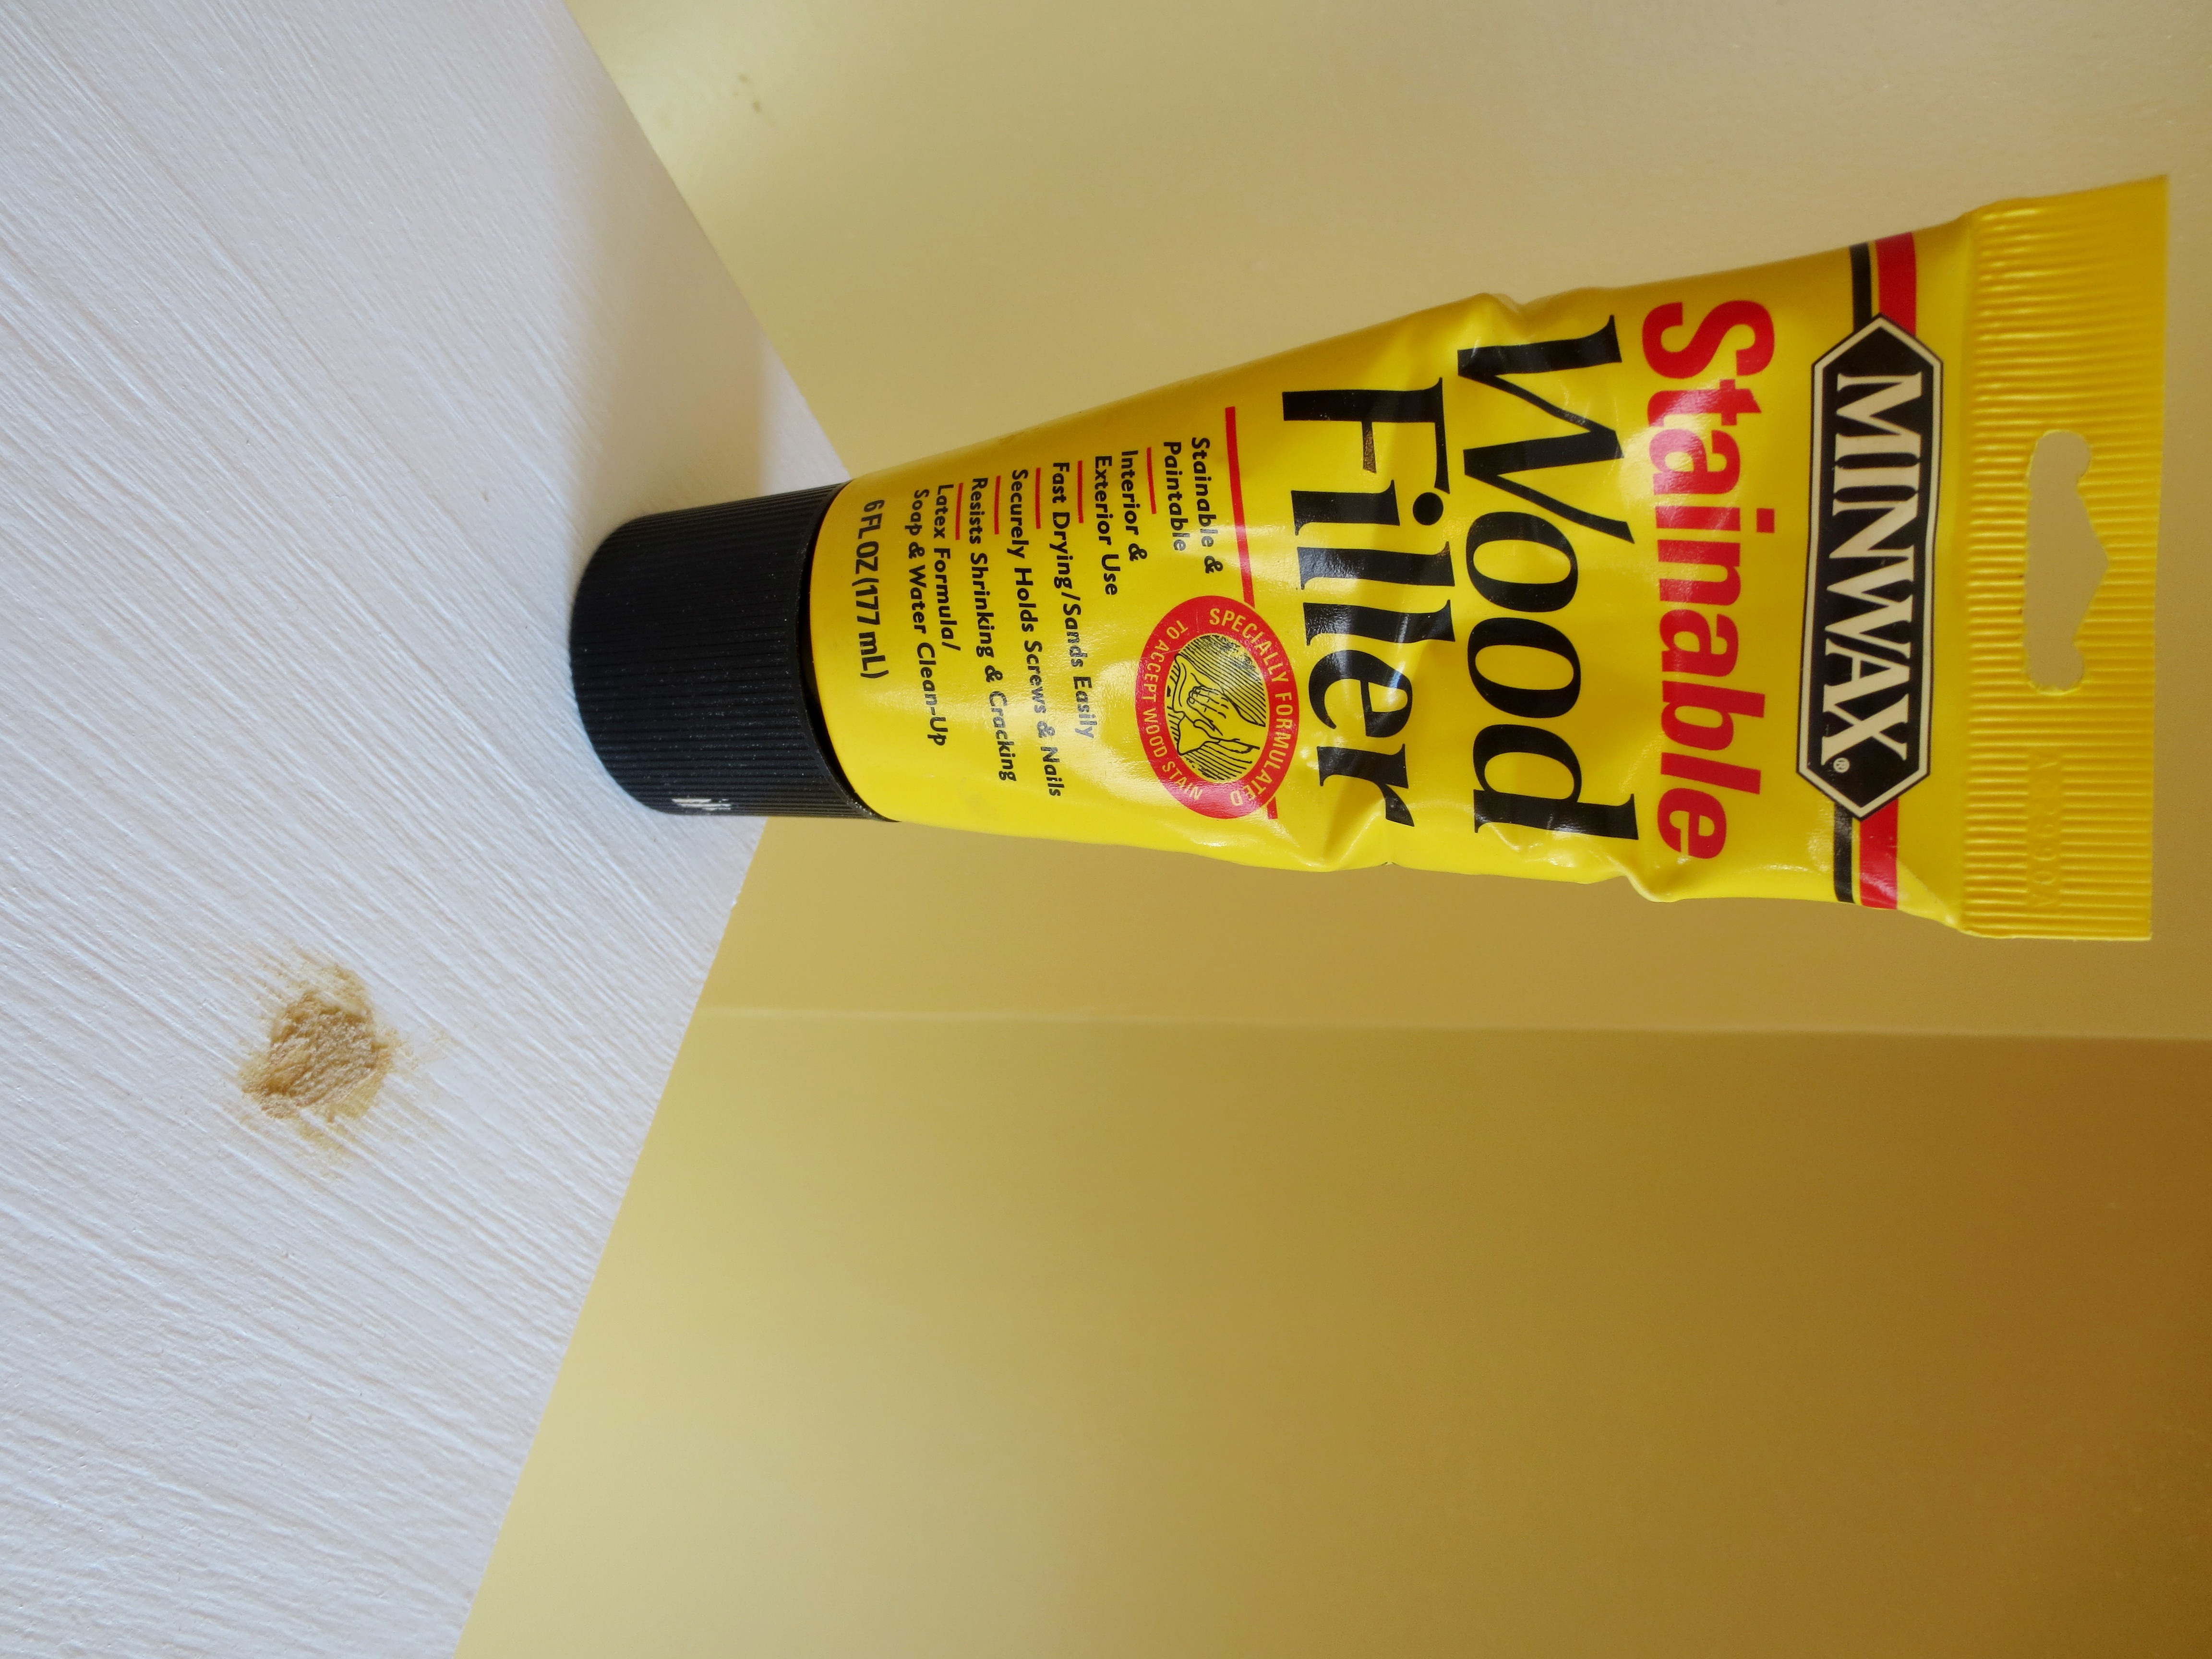
Another fine Minwax product
But first, let’s deal with those unsightly screw holes on top. Squeeze some wood filler into the holes, smoothing out with your finger or a putty knife. When it dries, sand it smooth, wipe clean and cover with two coats of primer (give it an hour or two to dry between coats), and then a coat or two of latex paint. Finish with about two or three coats of varnish (about two hours between coats).
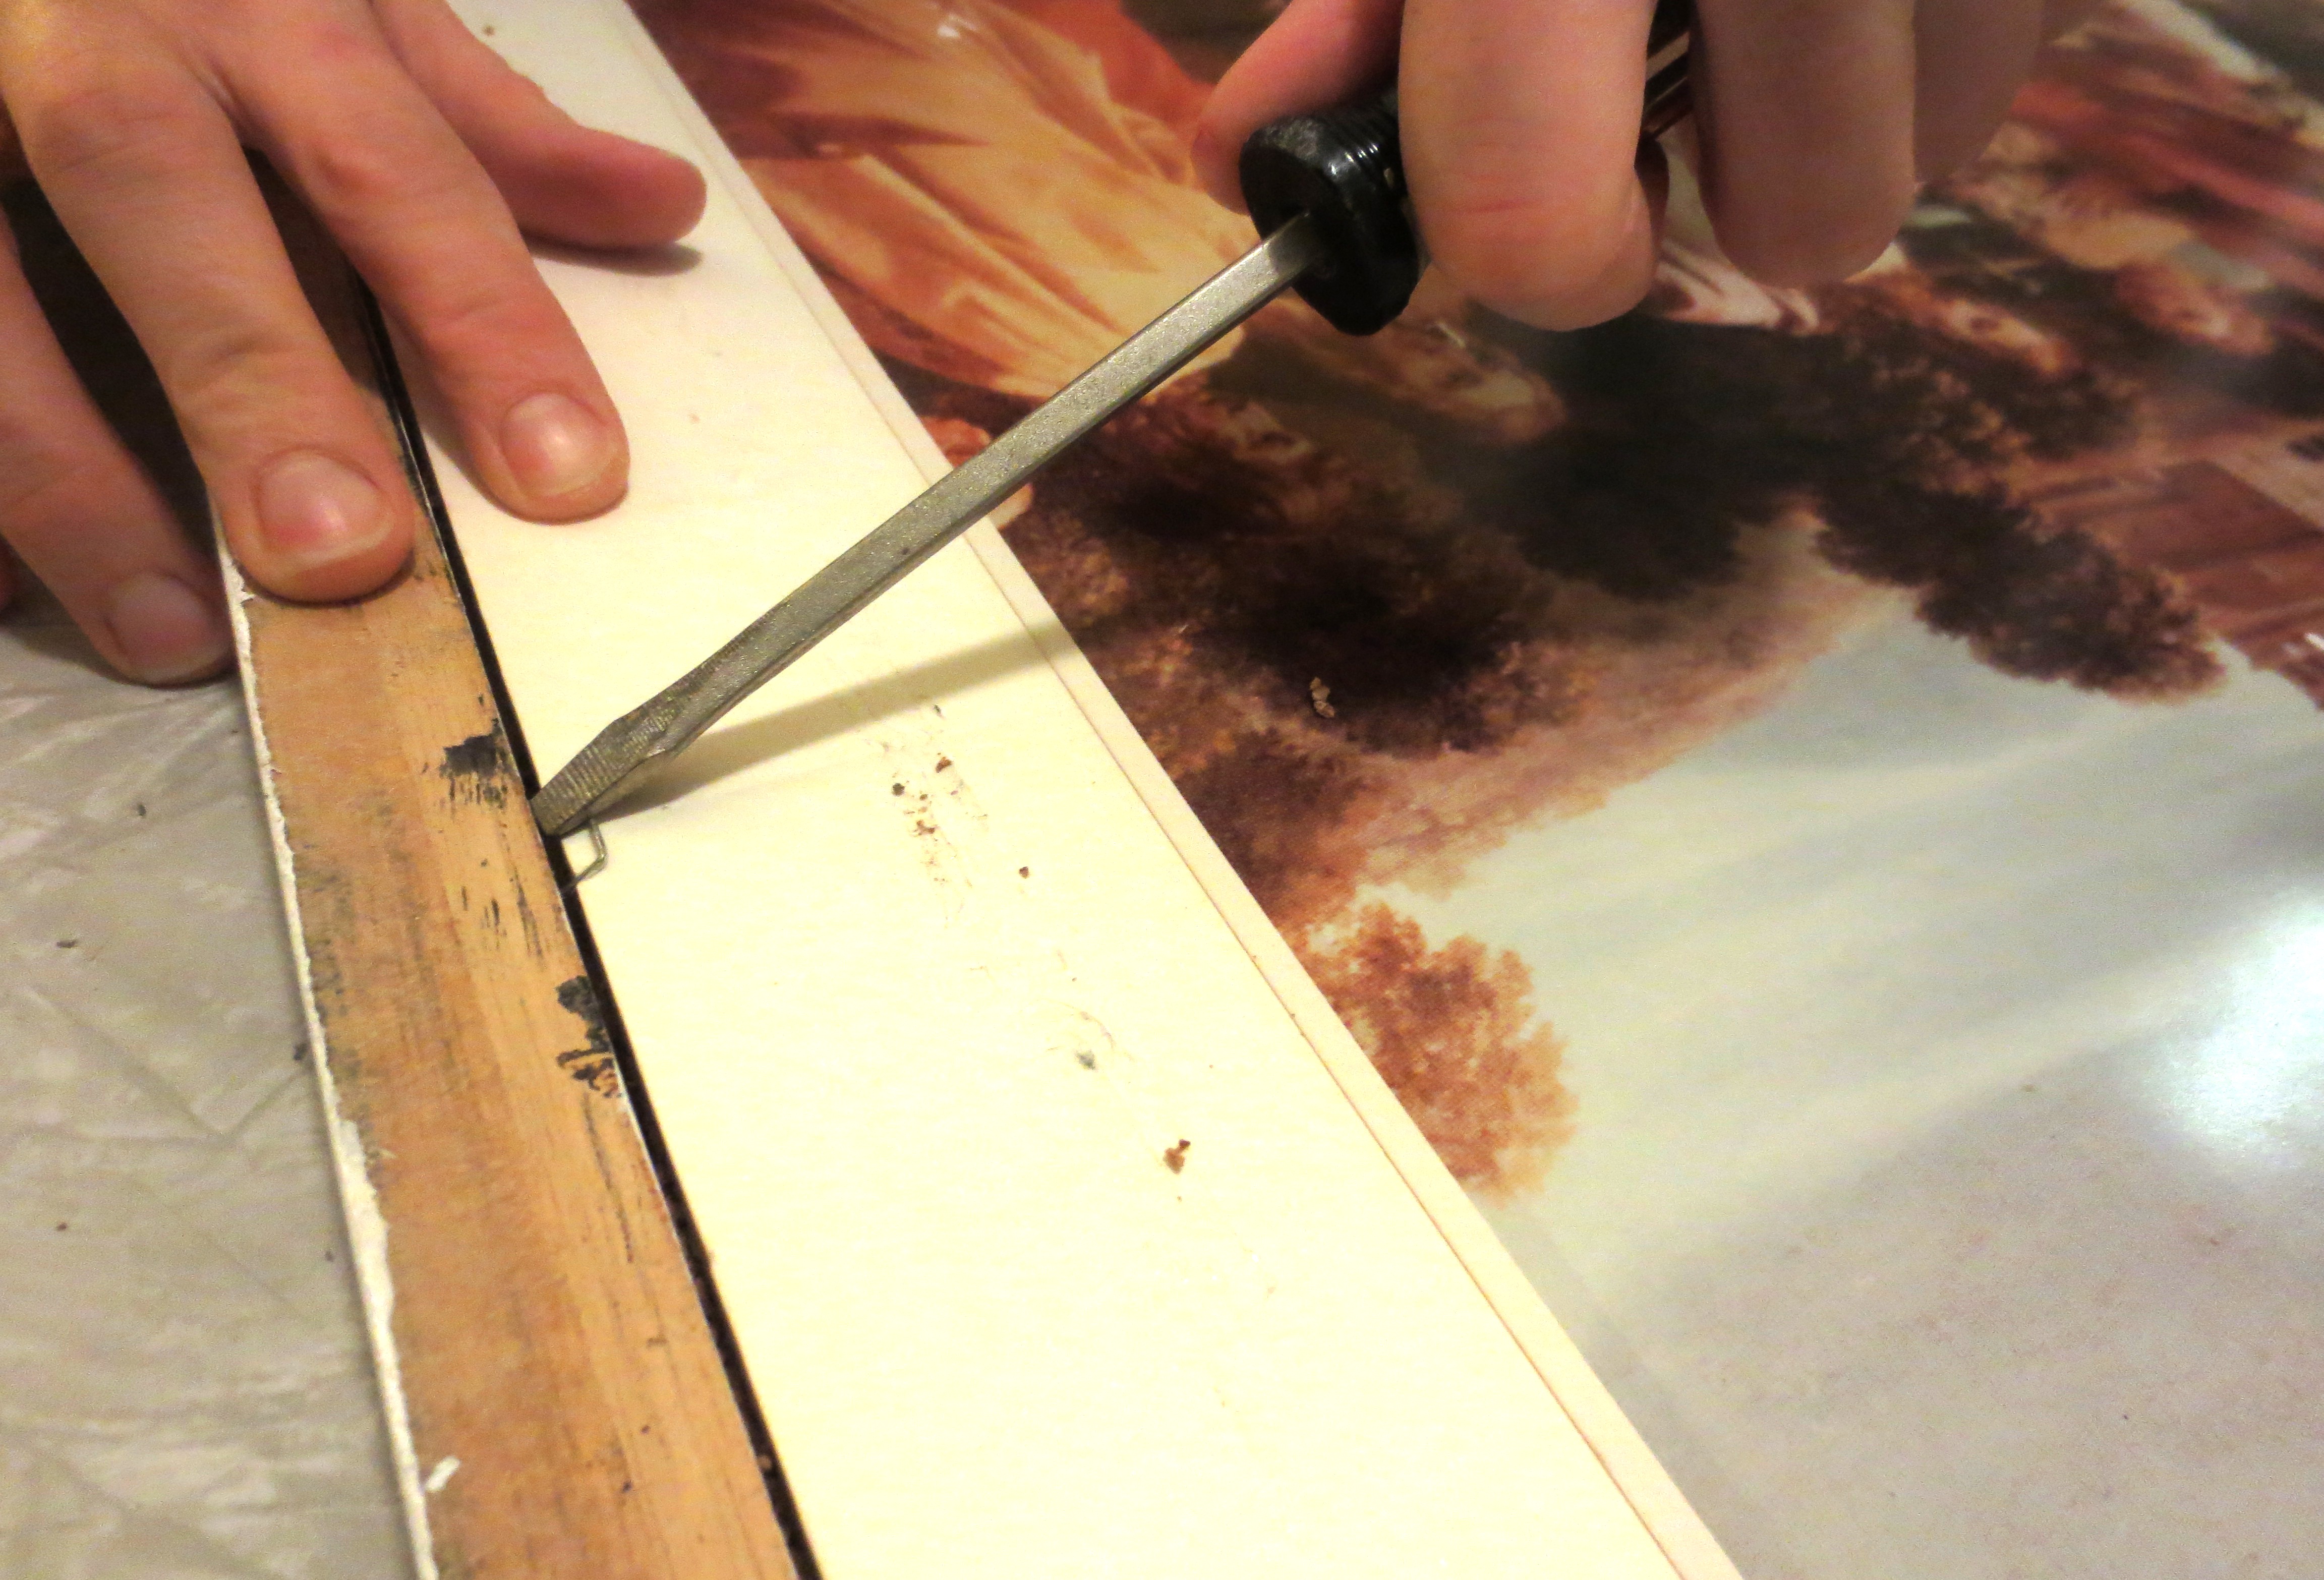
Bend over and grab your legs. Mine were salvaged from a beautiful, but busted, old slatted bench (seen at header of this blog). Since they were about two inches longer than I needed, I used a handsaw to cut off the ends.
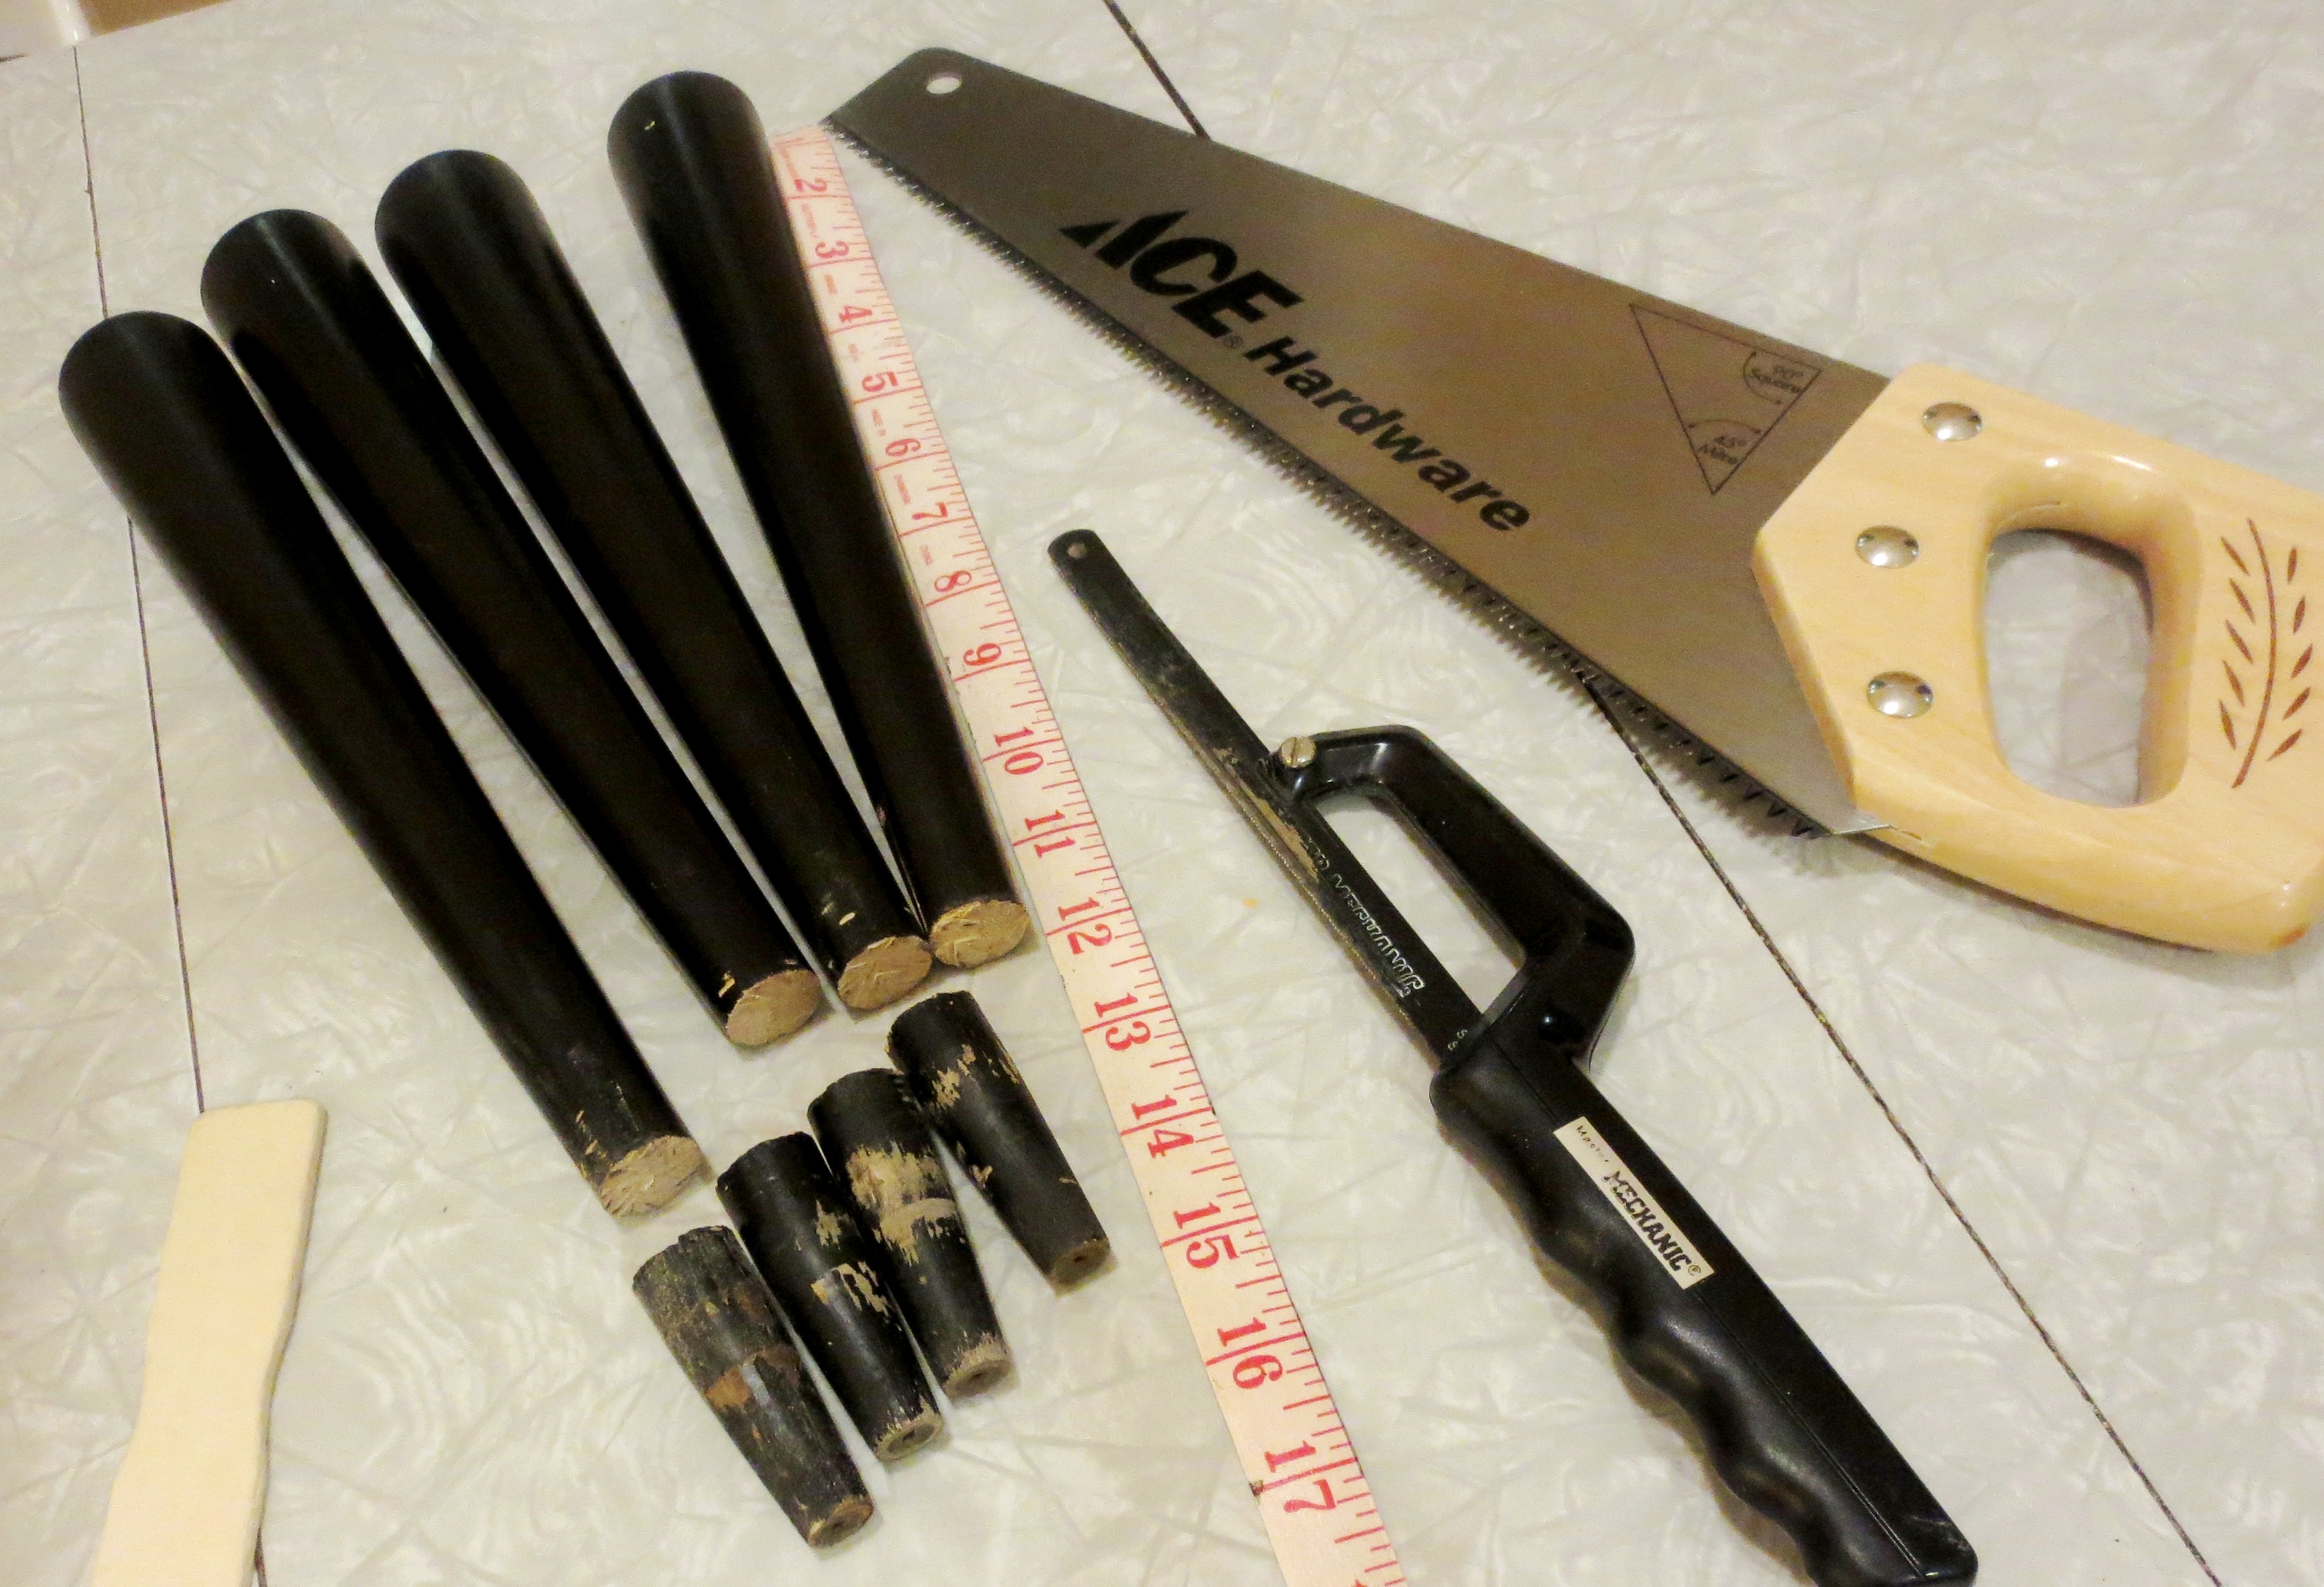
Unfortunately, you can’t do this step while watching Downton Abbey.
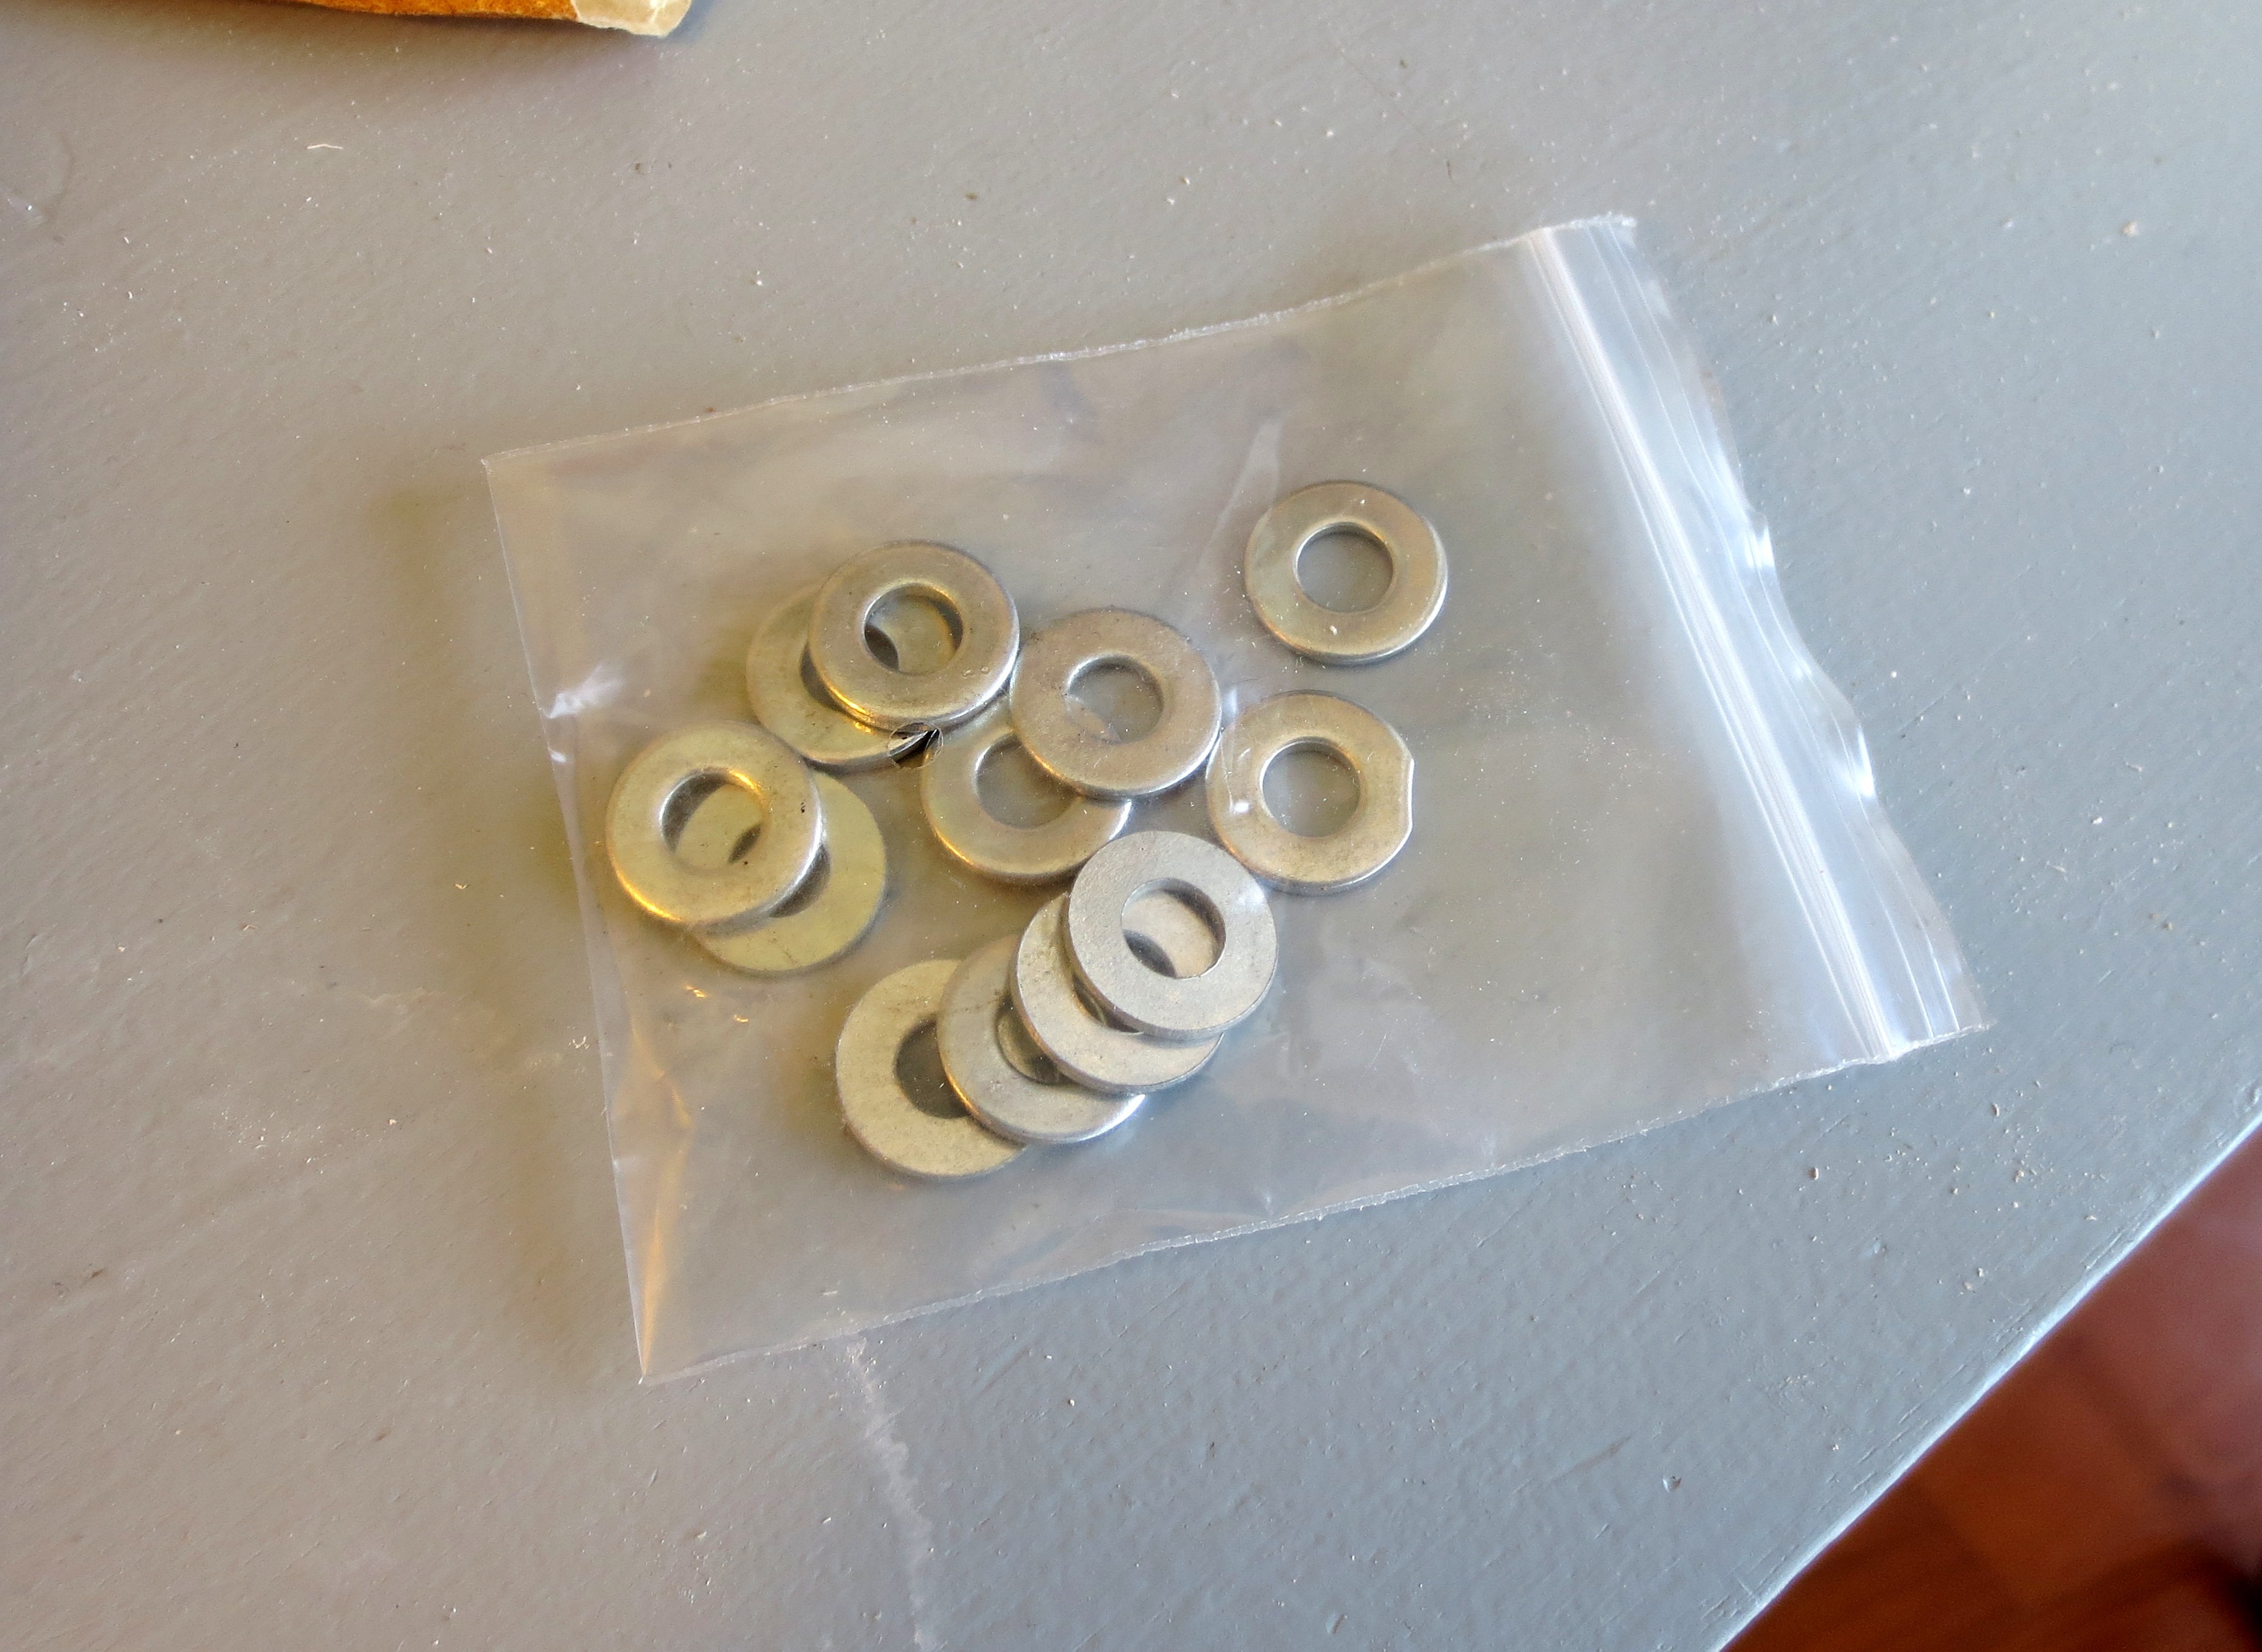
I also needed to make a run to the local hardware store for washers, since the screws at the top of the legs were longer than the thickness of the wood I was screwing it into. However, the washers came in this cool little baggie that my husband quickly snatched up (note that he is not a drug dealer, he just has a lot of tiny things).
 Screw in the legs, and you are done!
 Just add a laptop and a keyboard, and you, too can be an underpaid member of the new Creative Class!

This picture is super-meta… that’s my blog on the screen, which is also on your screen.