Upcycled “No Time For Cheesecake” Clock

I want to make a Christmas present for my friend who is always doing nice things for me. If you don’t yet have a friend like this, I strongly recommend that you get one right away.  Unless you are trying to lose weight.

When I spend time with this friend, we are always eating. And he is always doing the cooking. And no, he is not really my Italian Grandma.

golden-girls-kitchencheesecake

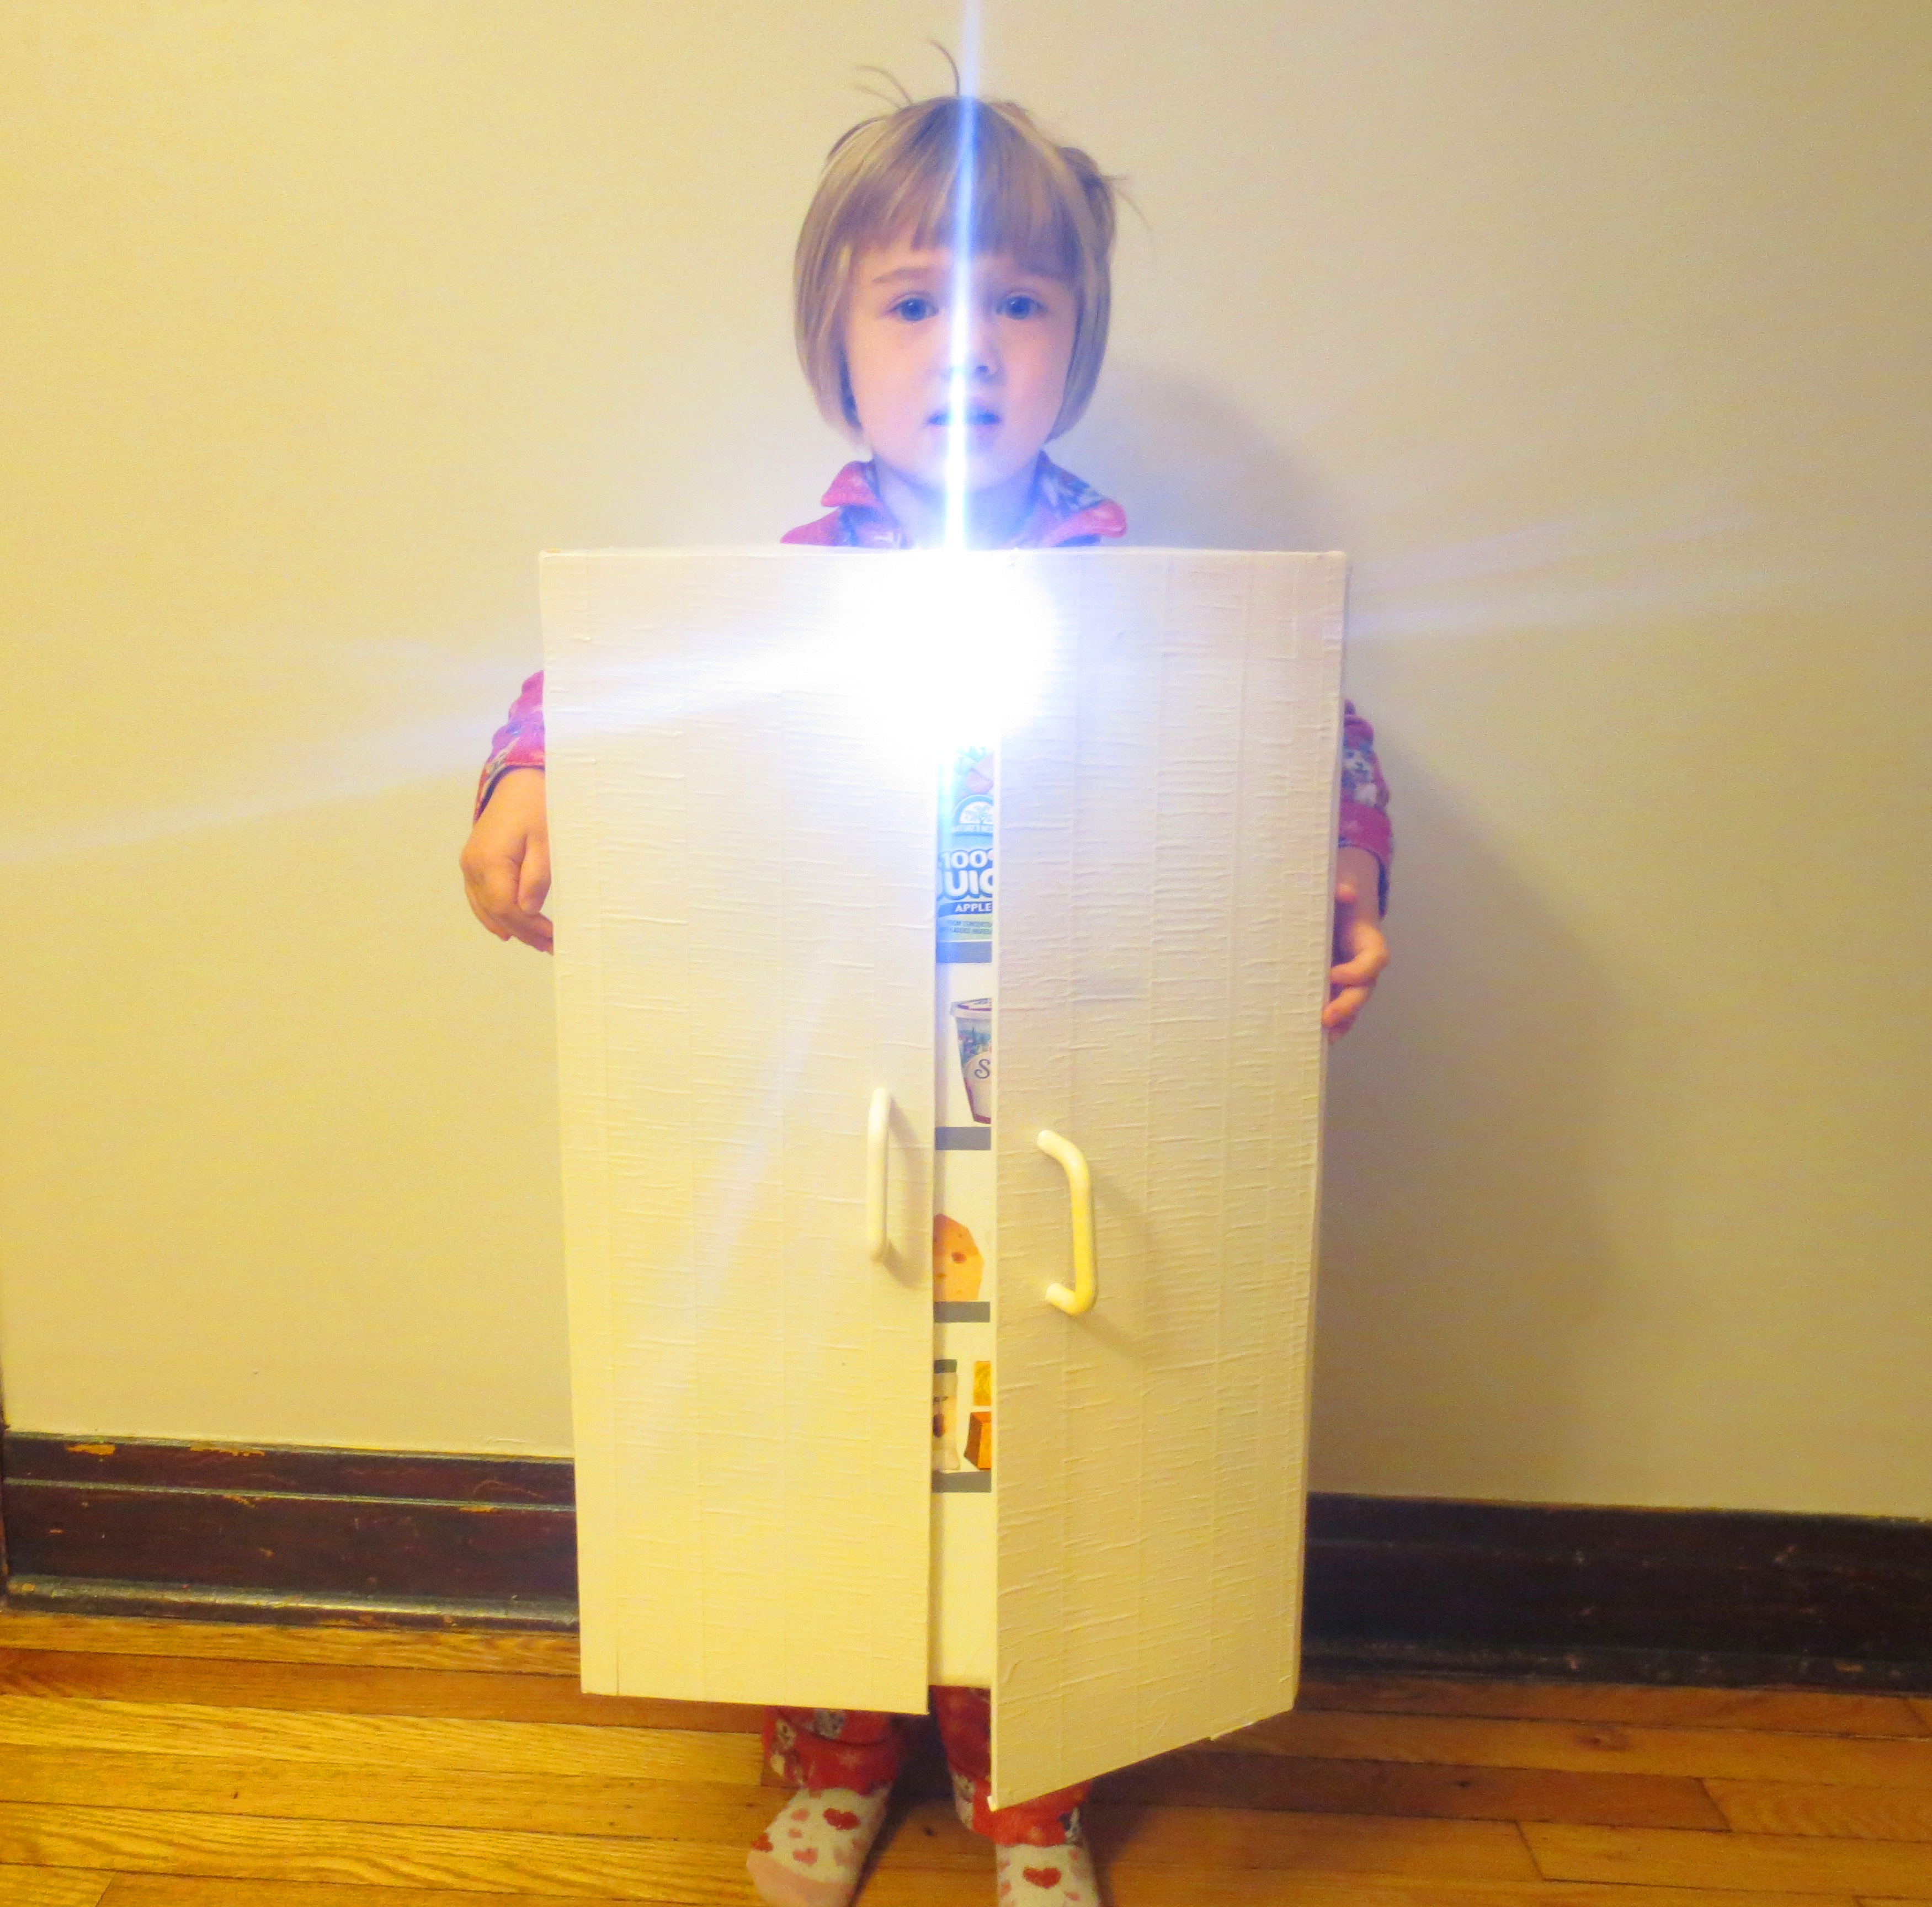
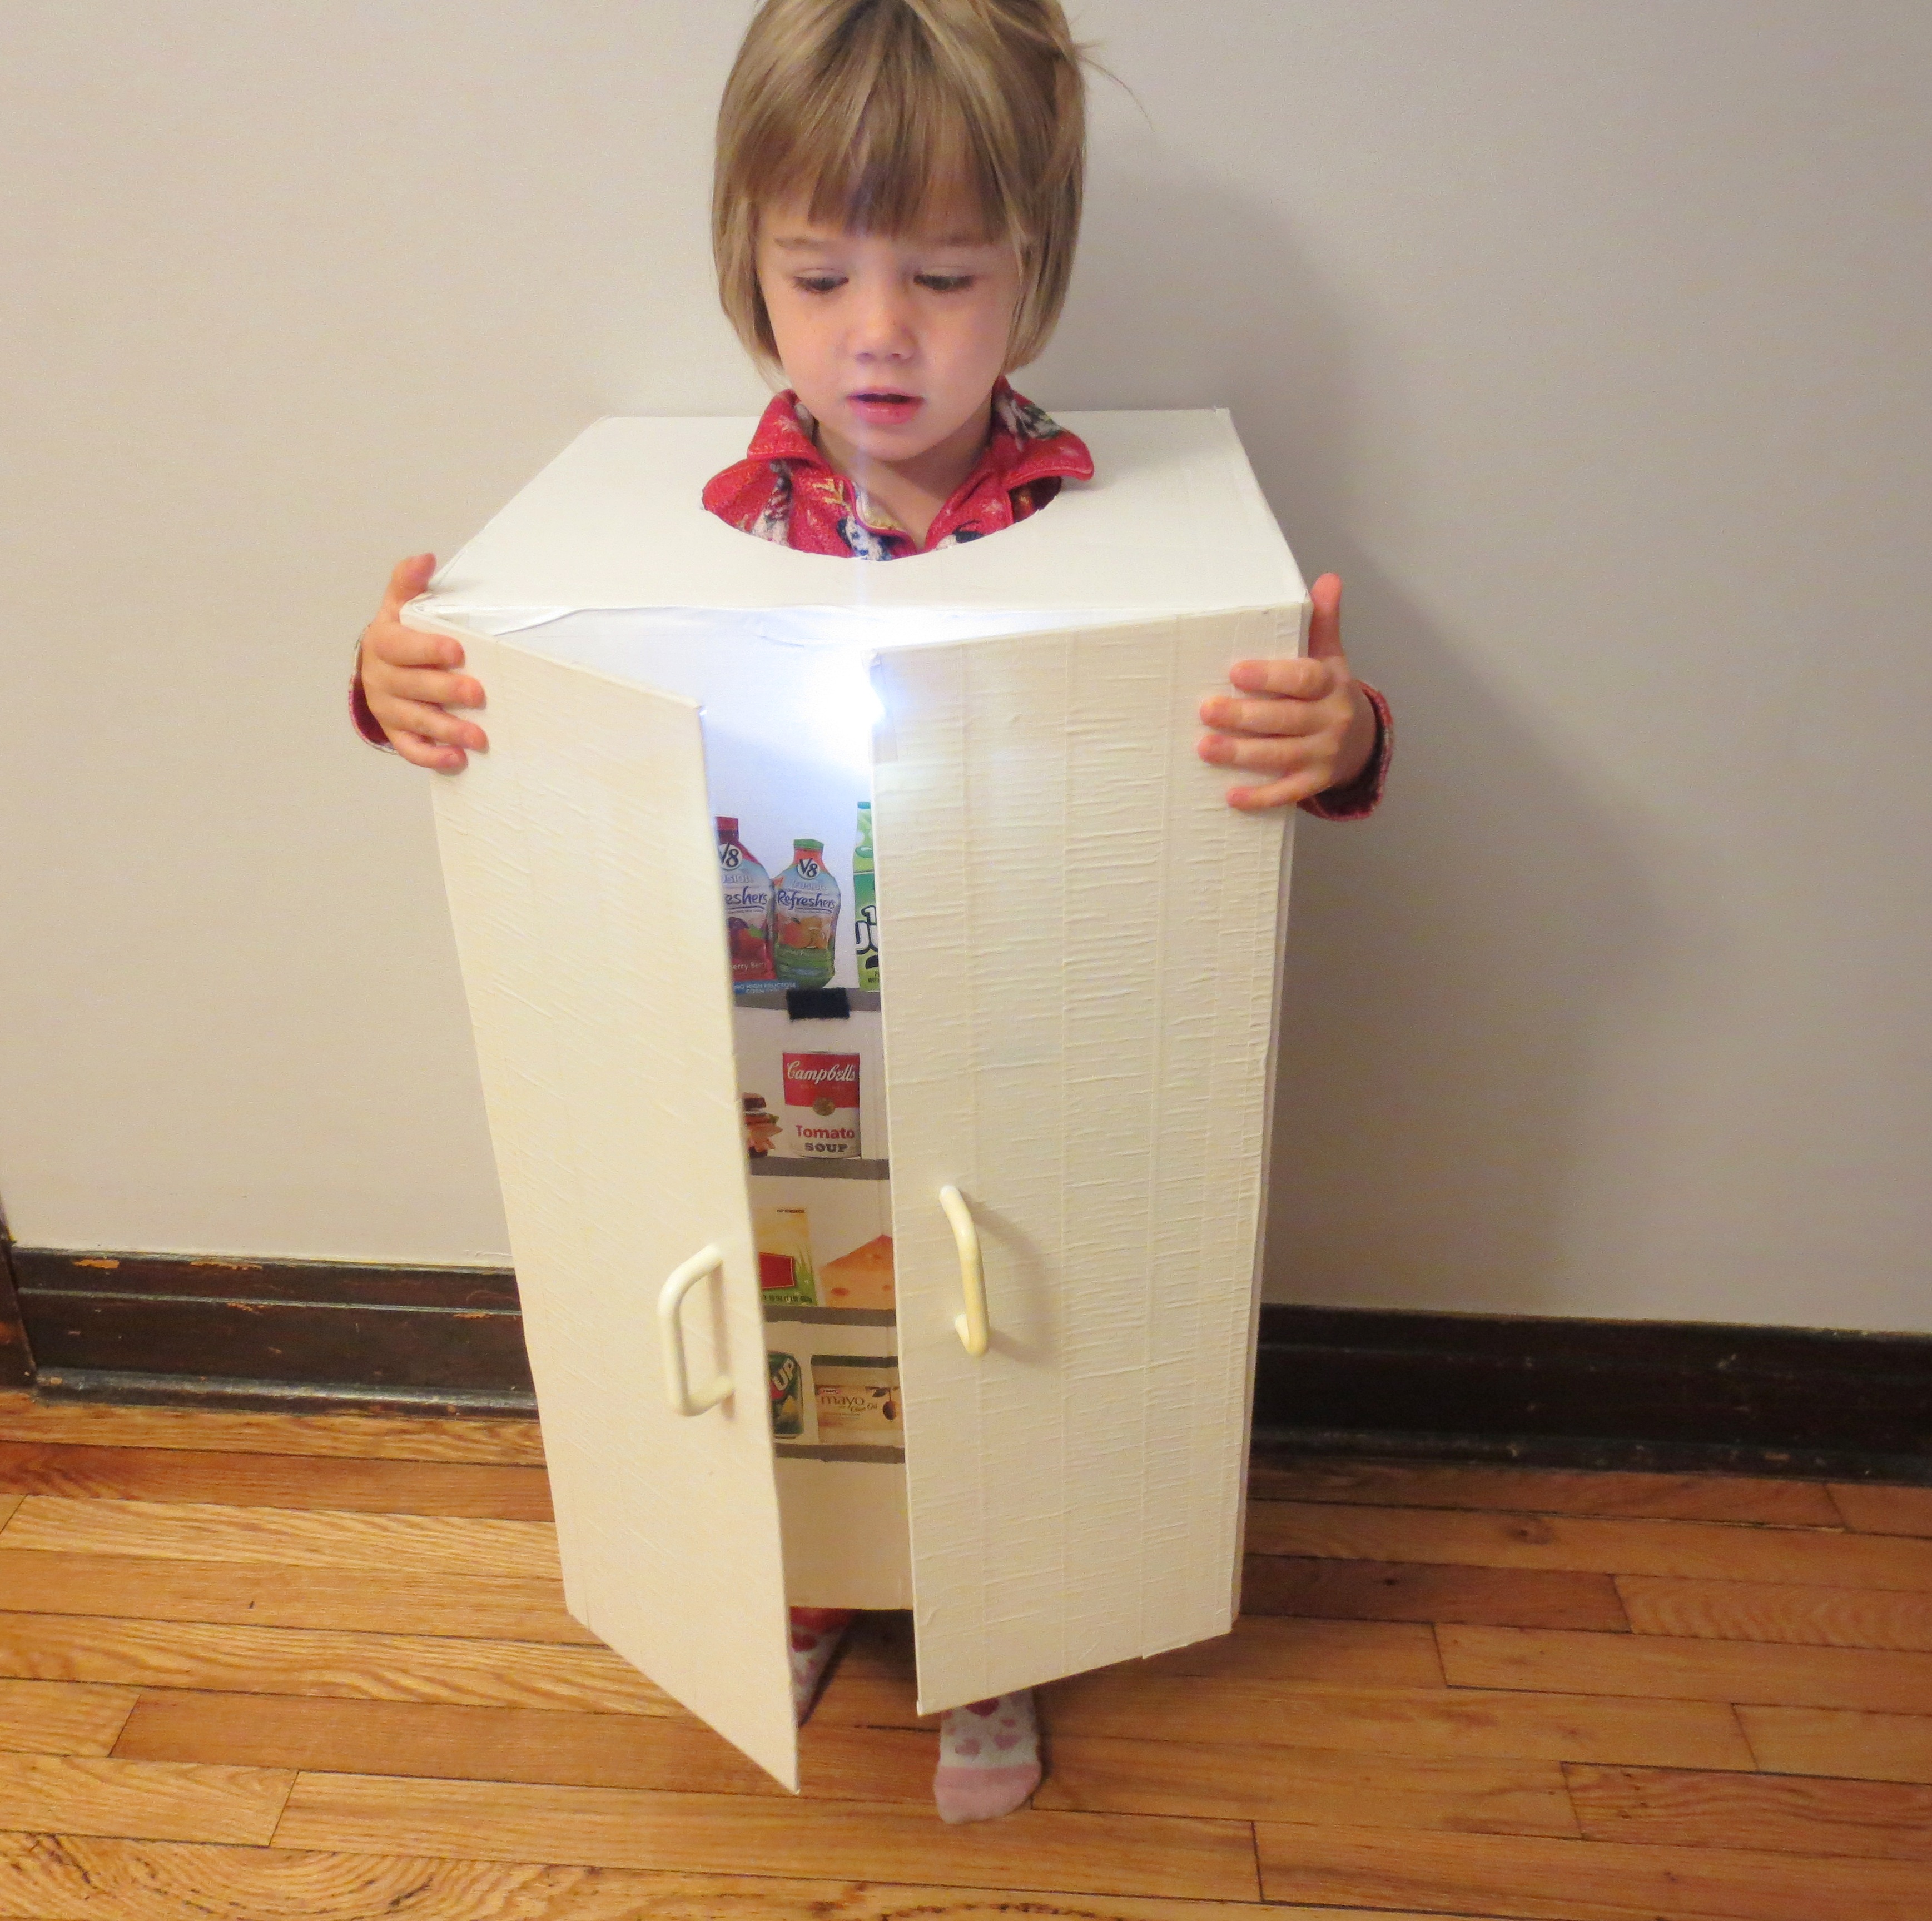
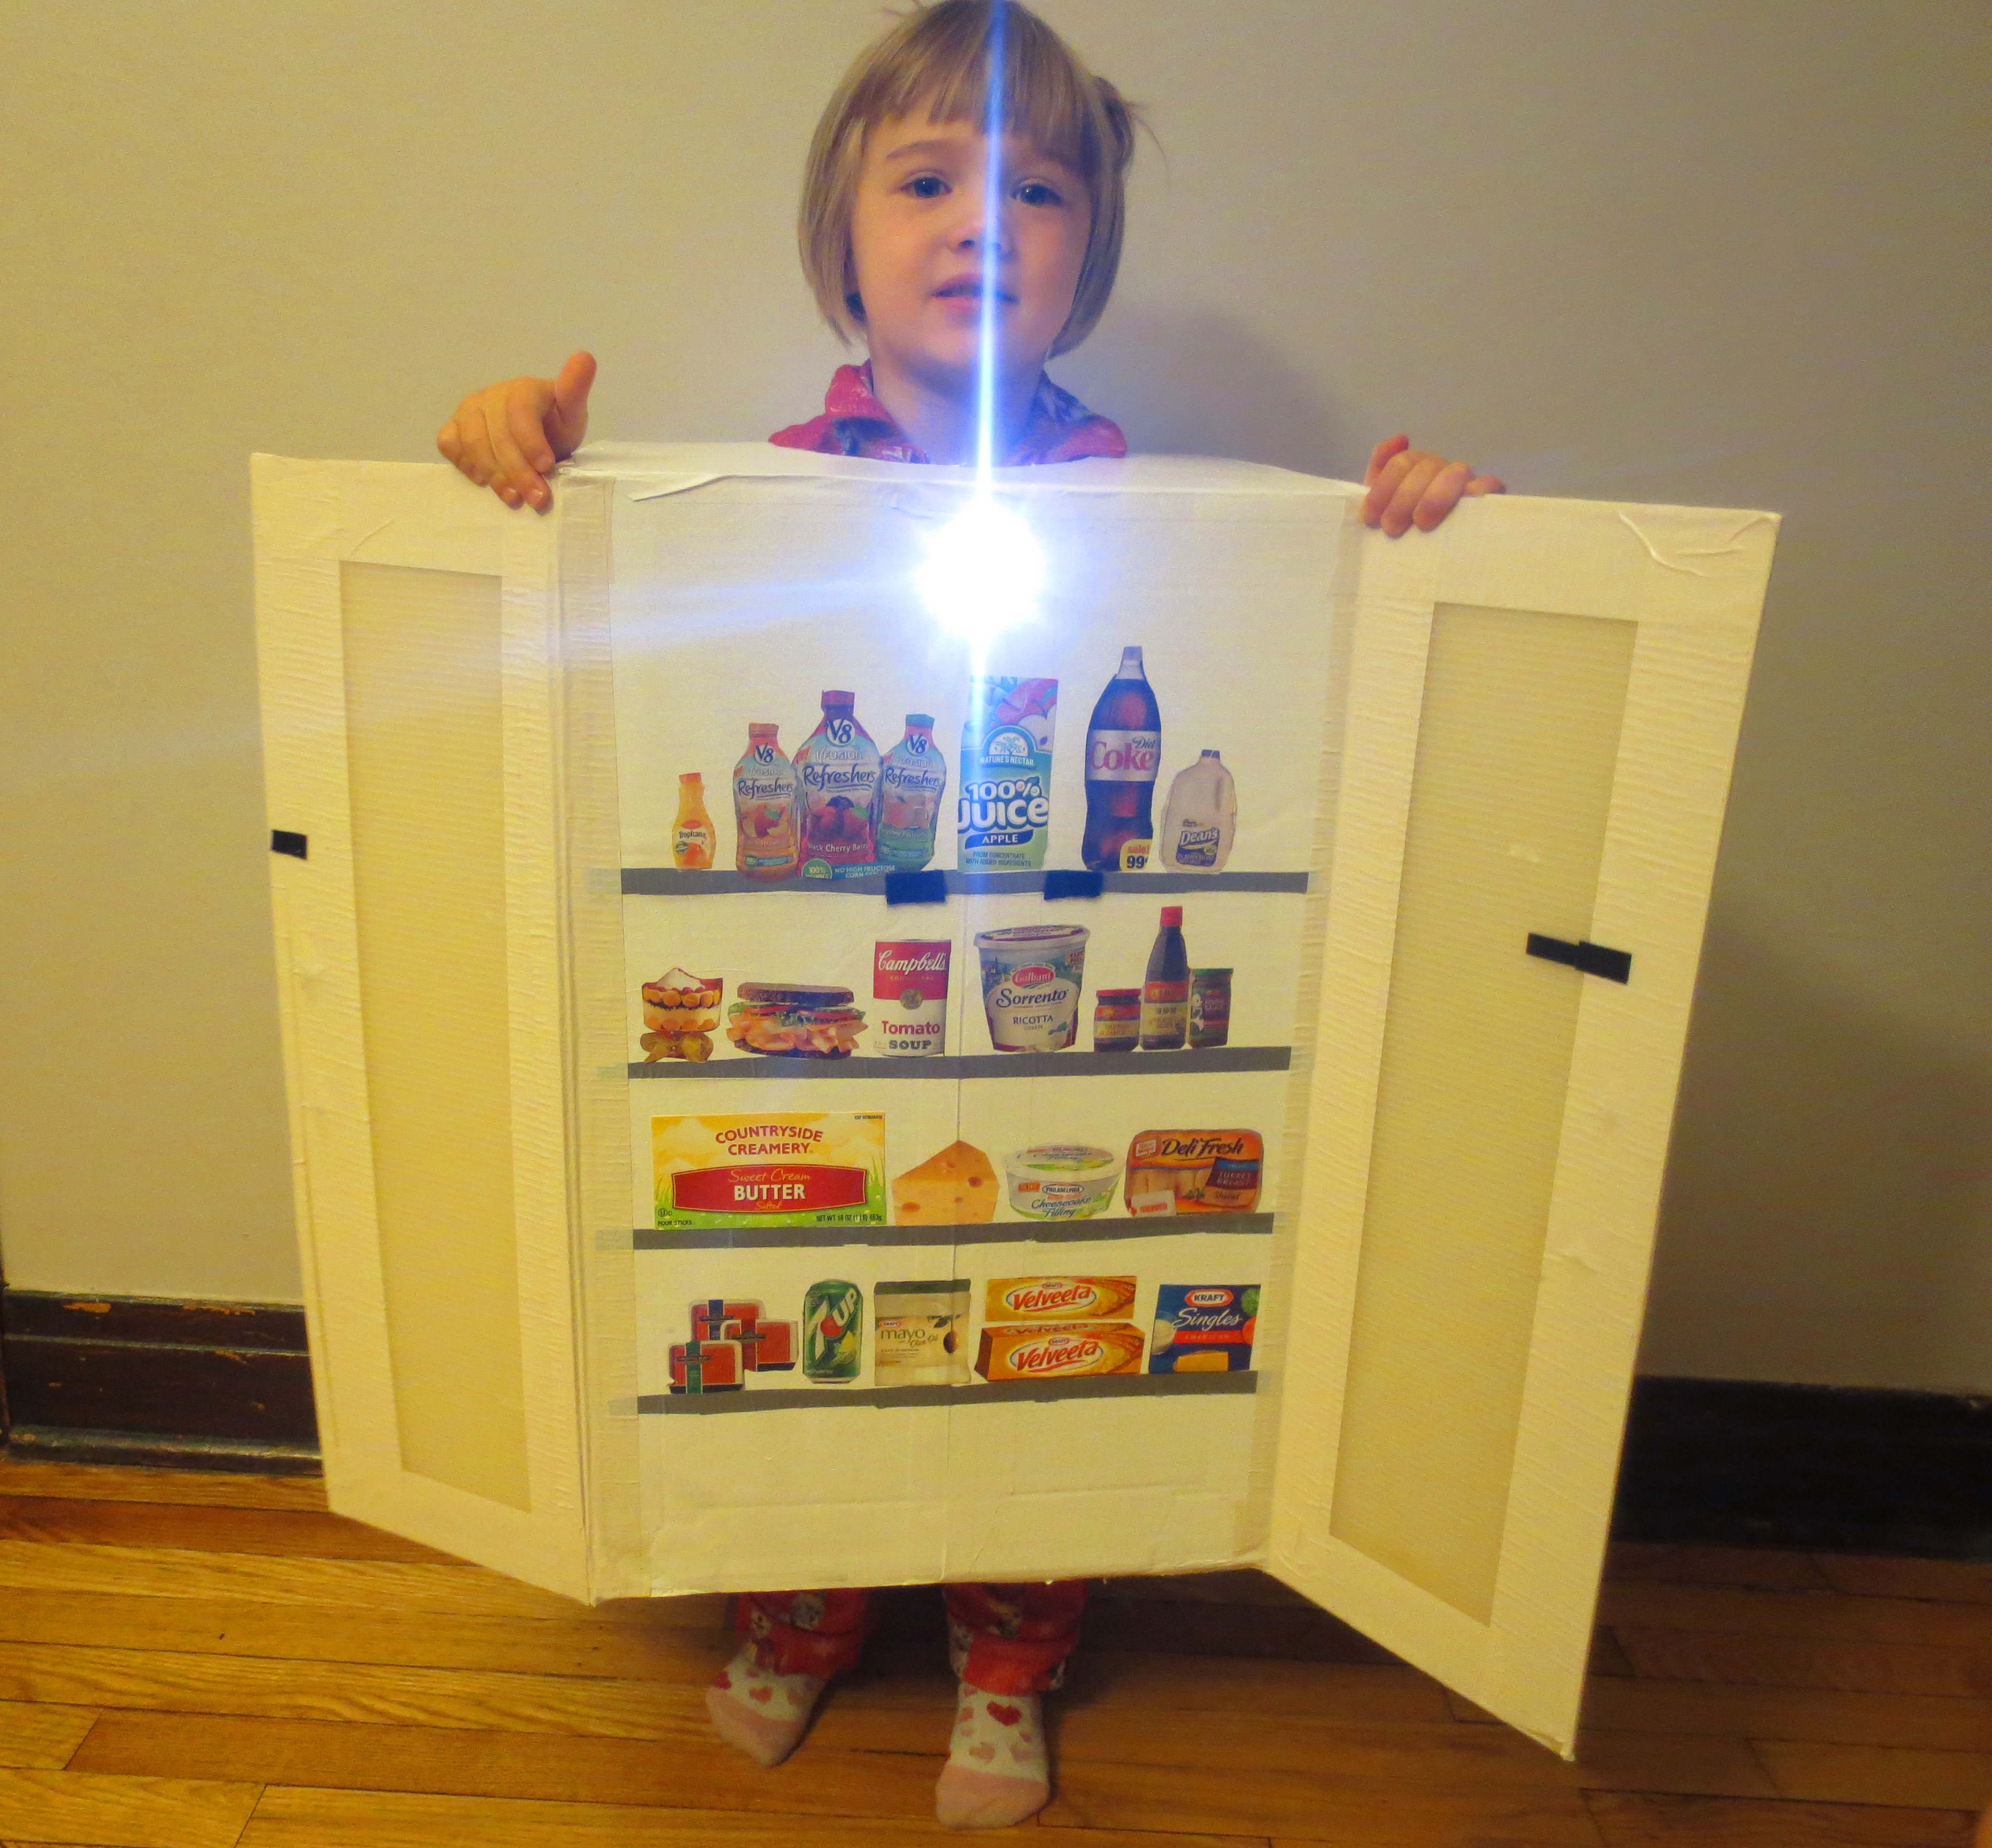
In the background you’ll see a fictional Italian grandma not eating cheesecake.  Perhaps she’s got a stash of cannoli in her purse.

On our last visit together, between shoving fistfuls of brown sugar-soaked bacon, crispy pan-fried potatoes, fried eggs and freshly-baked baguette with honey butter into my breakfast-for-lunch hole, I noticed a food magazine on my friend’s kitchen counter. On the cover was a beautifully photoshopped picture of cheesecake.

I was in a mood to share secrets. I took a deep breath and whispered – “You know what? I don’t really care for cheesecake.”

Silence…

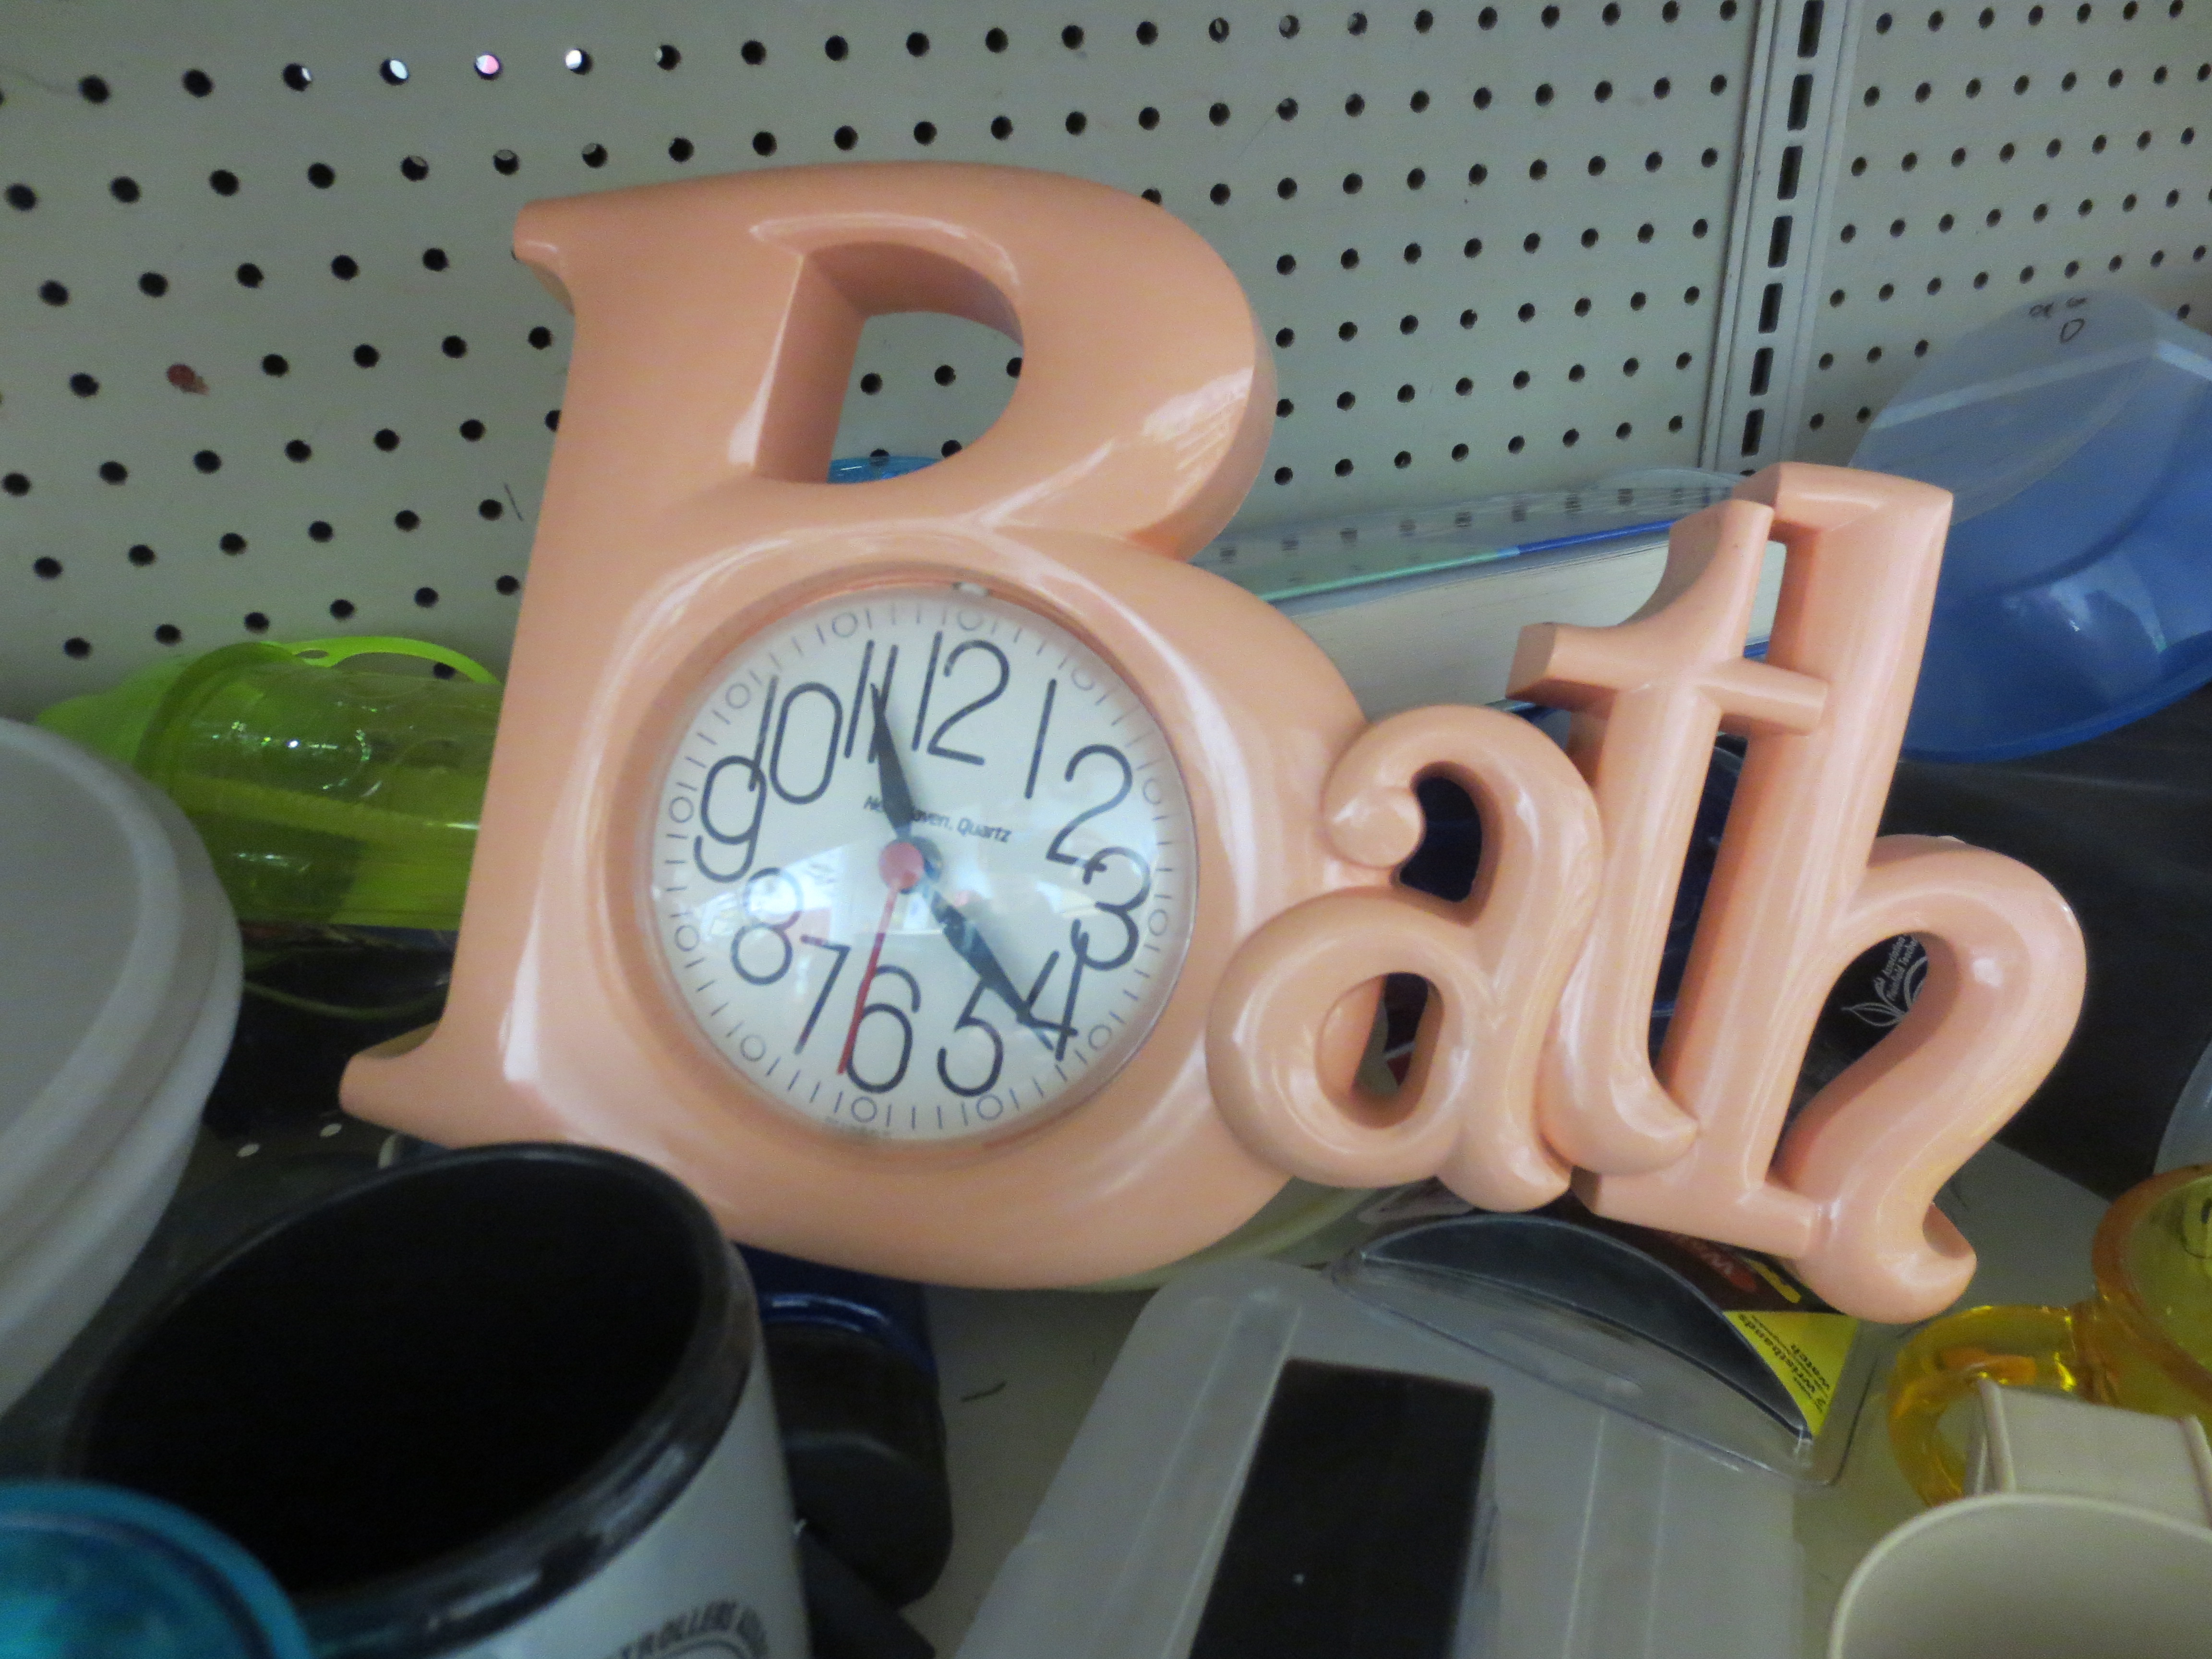
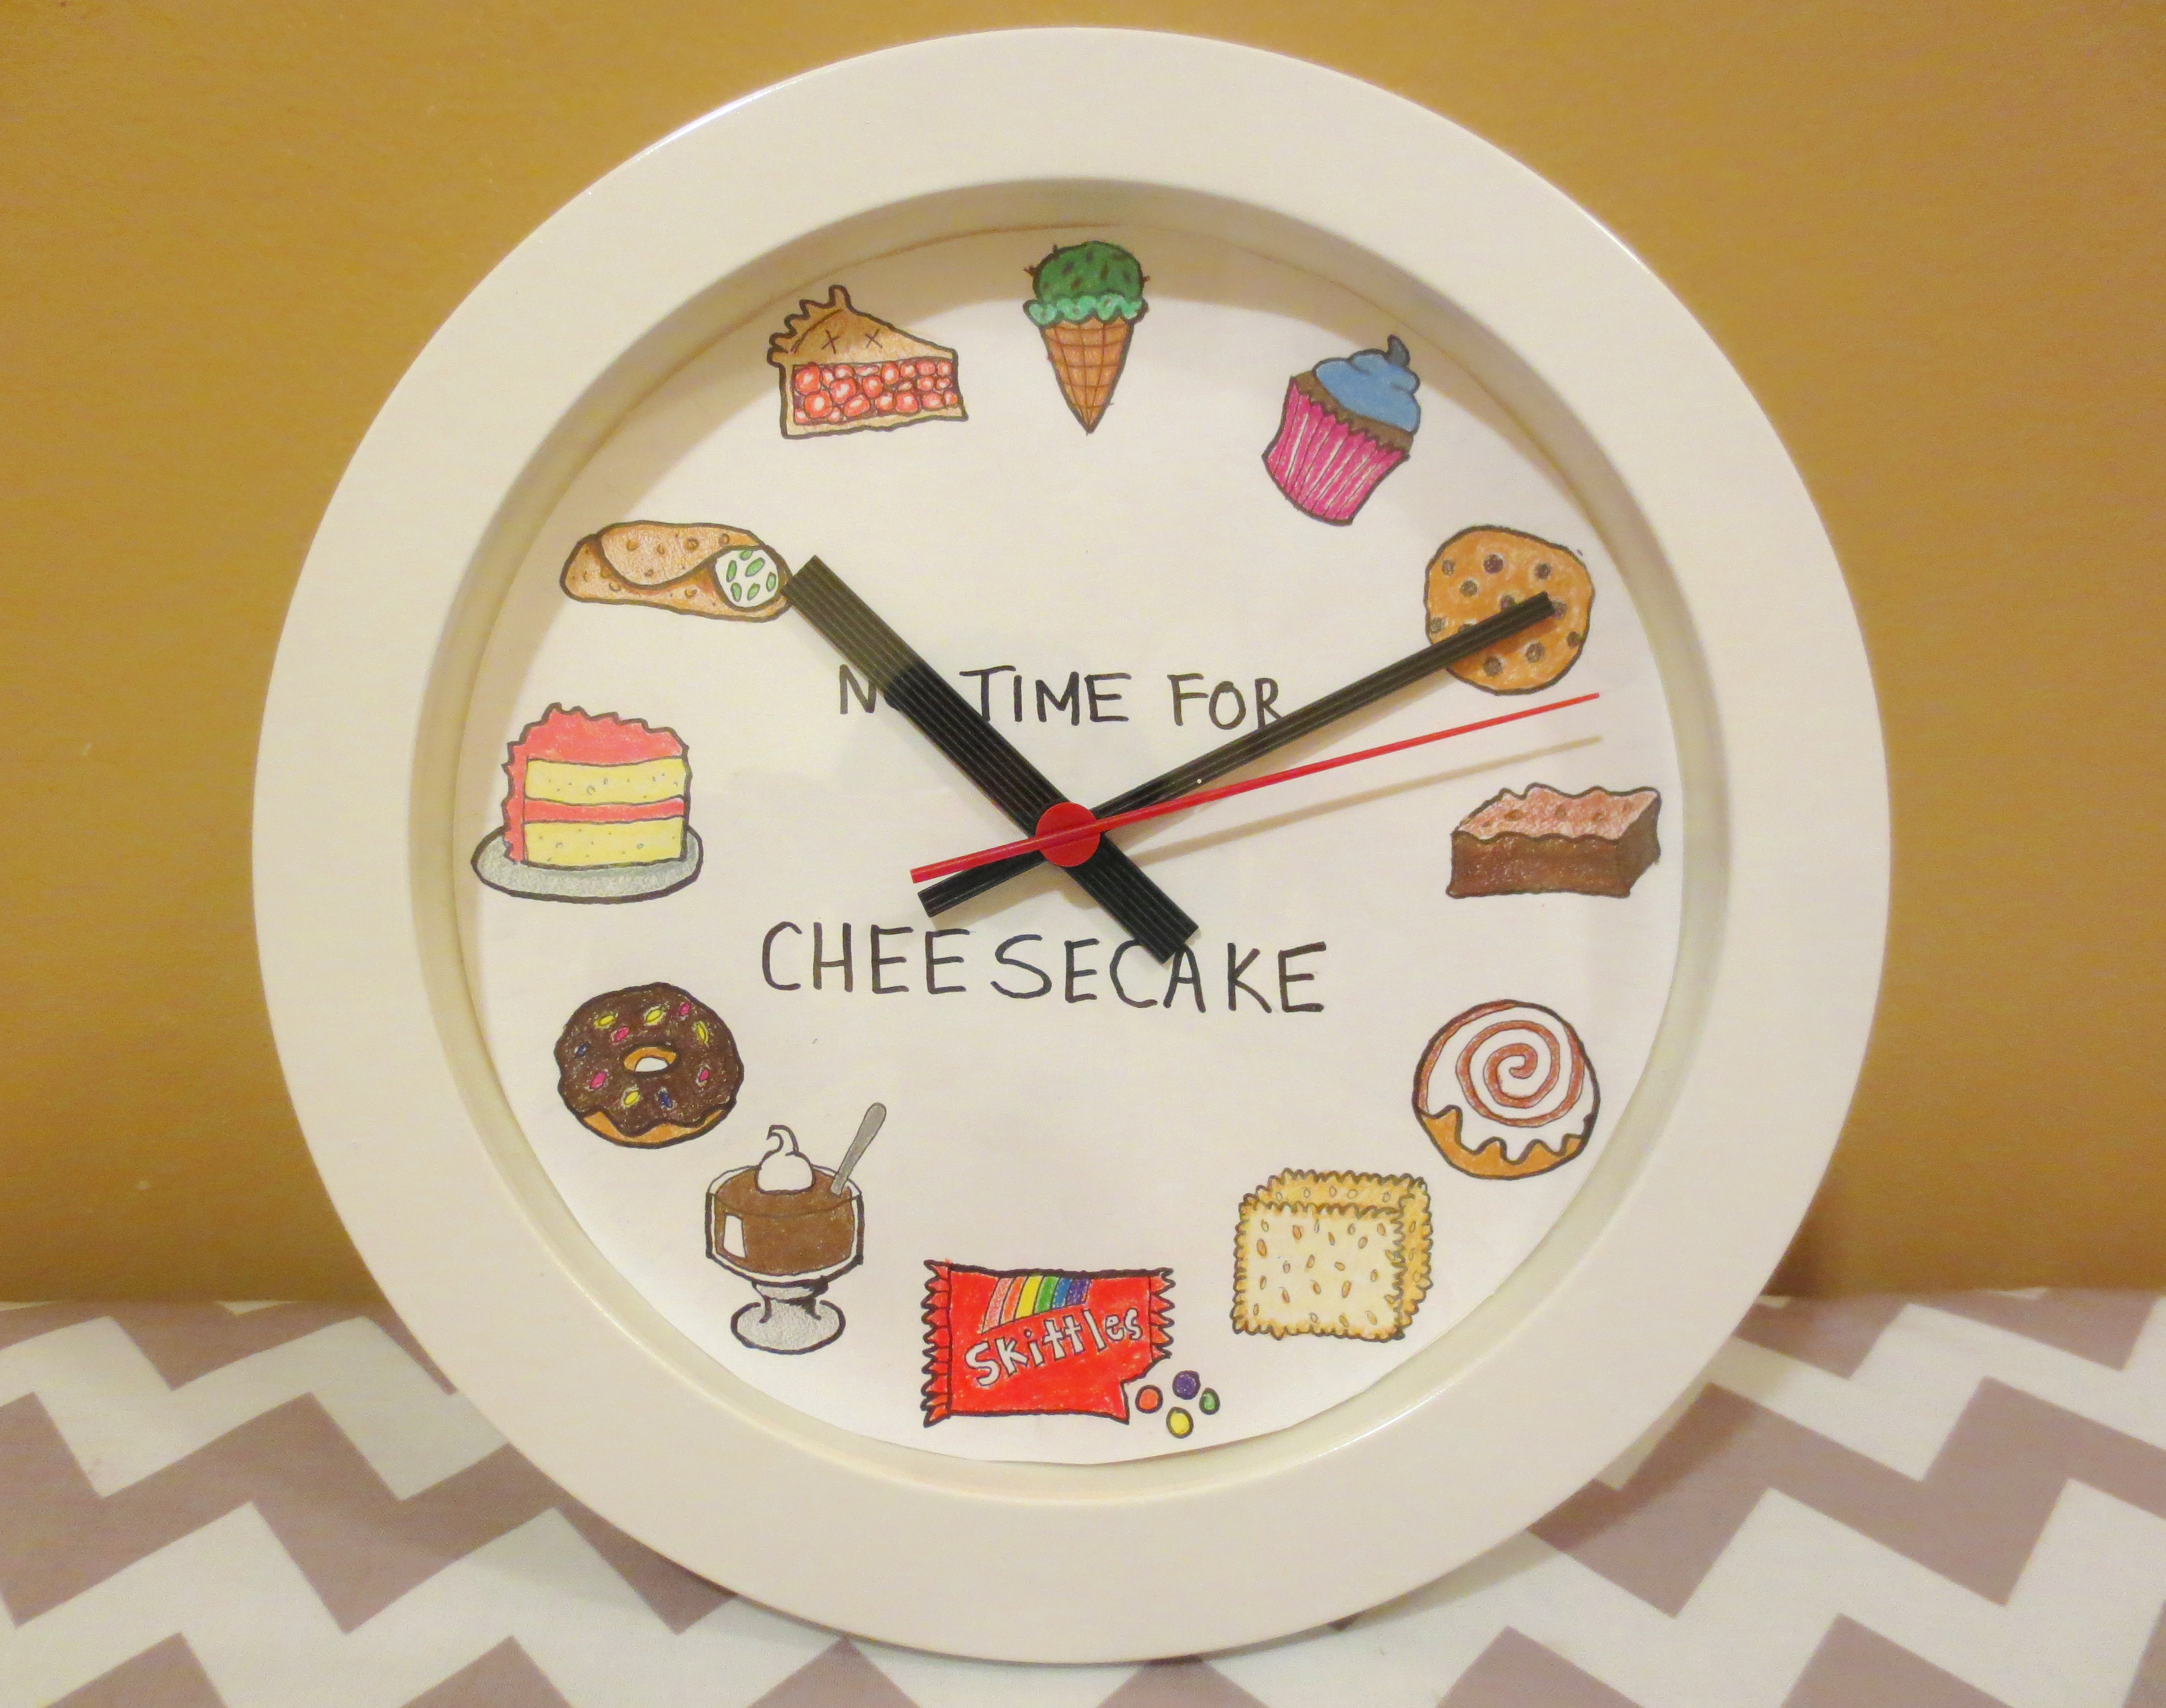
But then, he swung around, pointed to the clock and declared, “I got NO TIME for cheesecake!”

Relief. And then laughter. Minutes of tears-streaming laughter.  What he meant was, with so many better desserts to choose from, why waste time with cheesecake?

As Vogue writer Harriet Von Horne wrote to housewives of 1956 (in an admirable attempt to steer them away from using processed, pre-packed ingredients), “Cooking is like love. It should be entered into with abandon or not at all.”

Same goes with eating desserts. Life’s too short for cheesecake. Or for boring Christmas presents.

MAKE YOUR OWN “NO TIME FOR CHEESECAKE” CLOCK

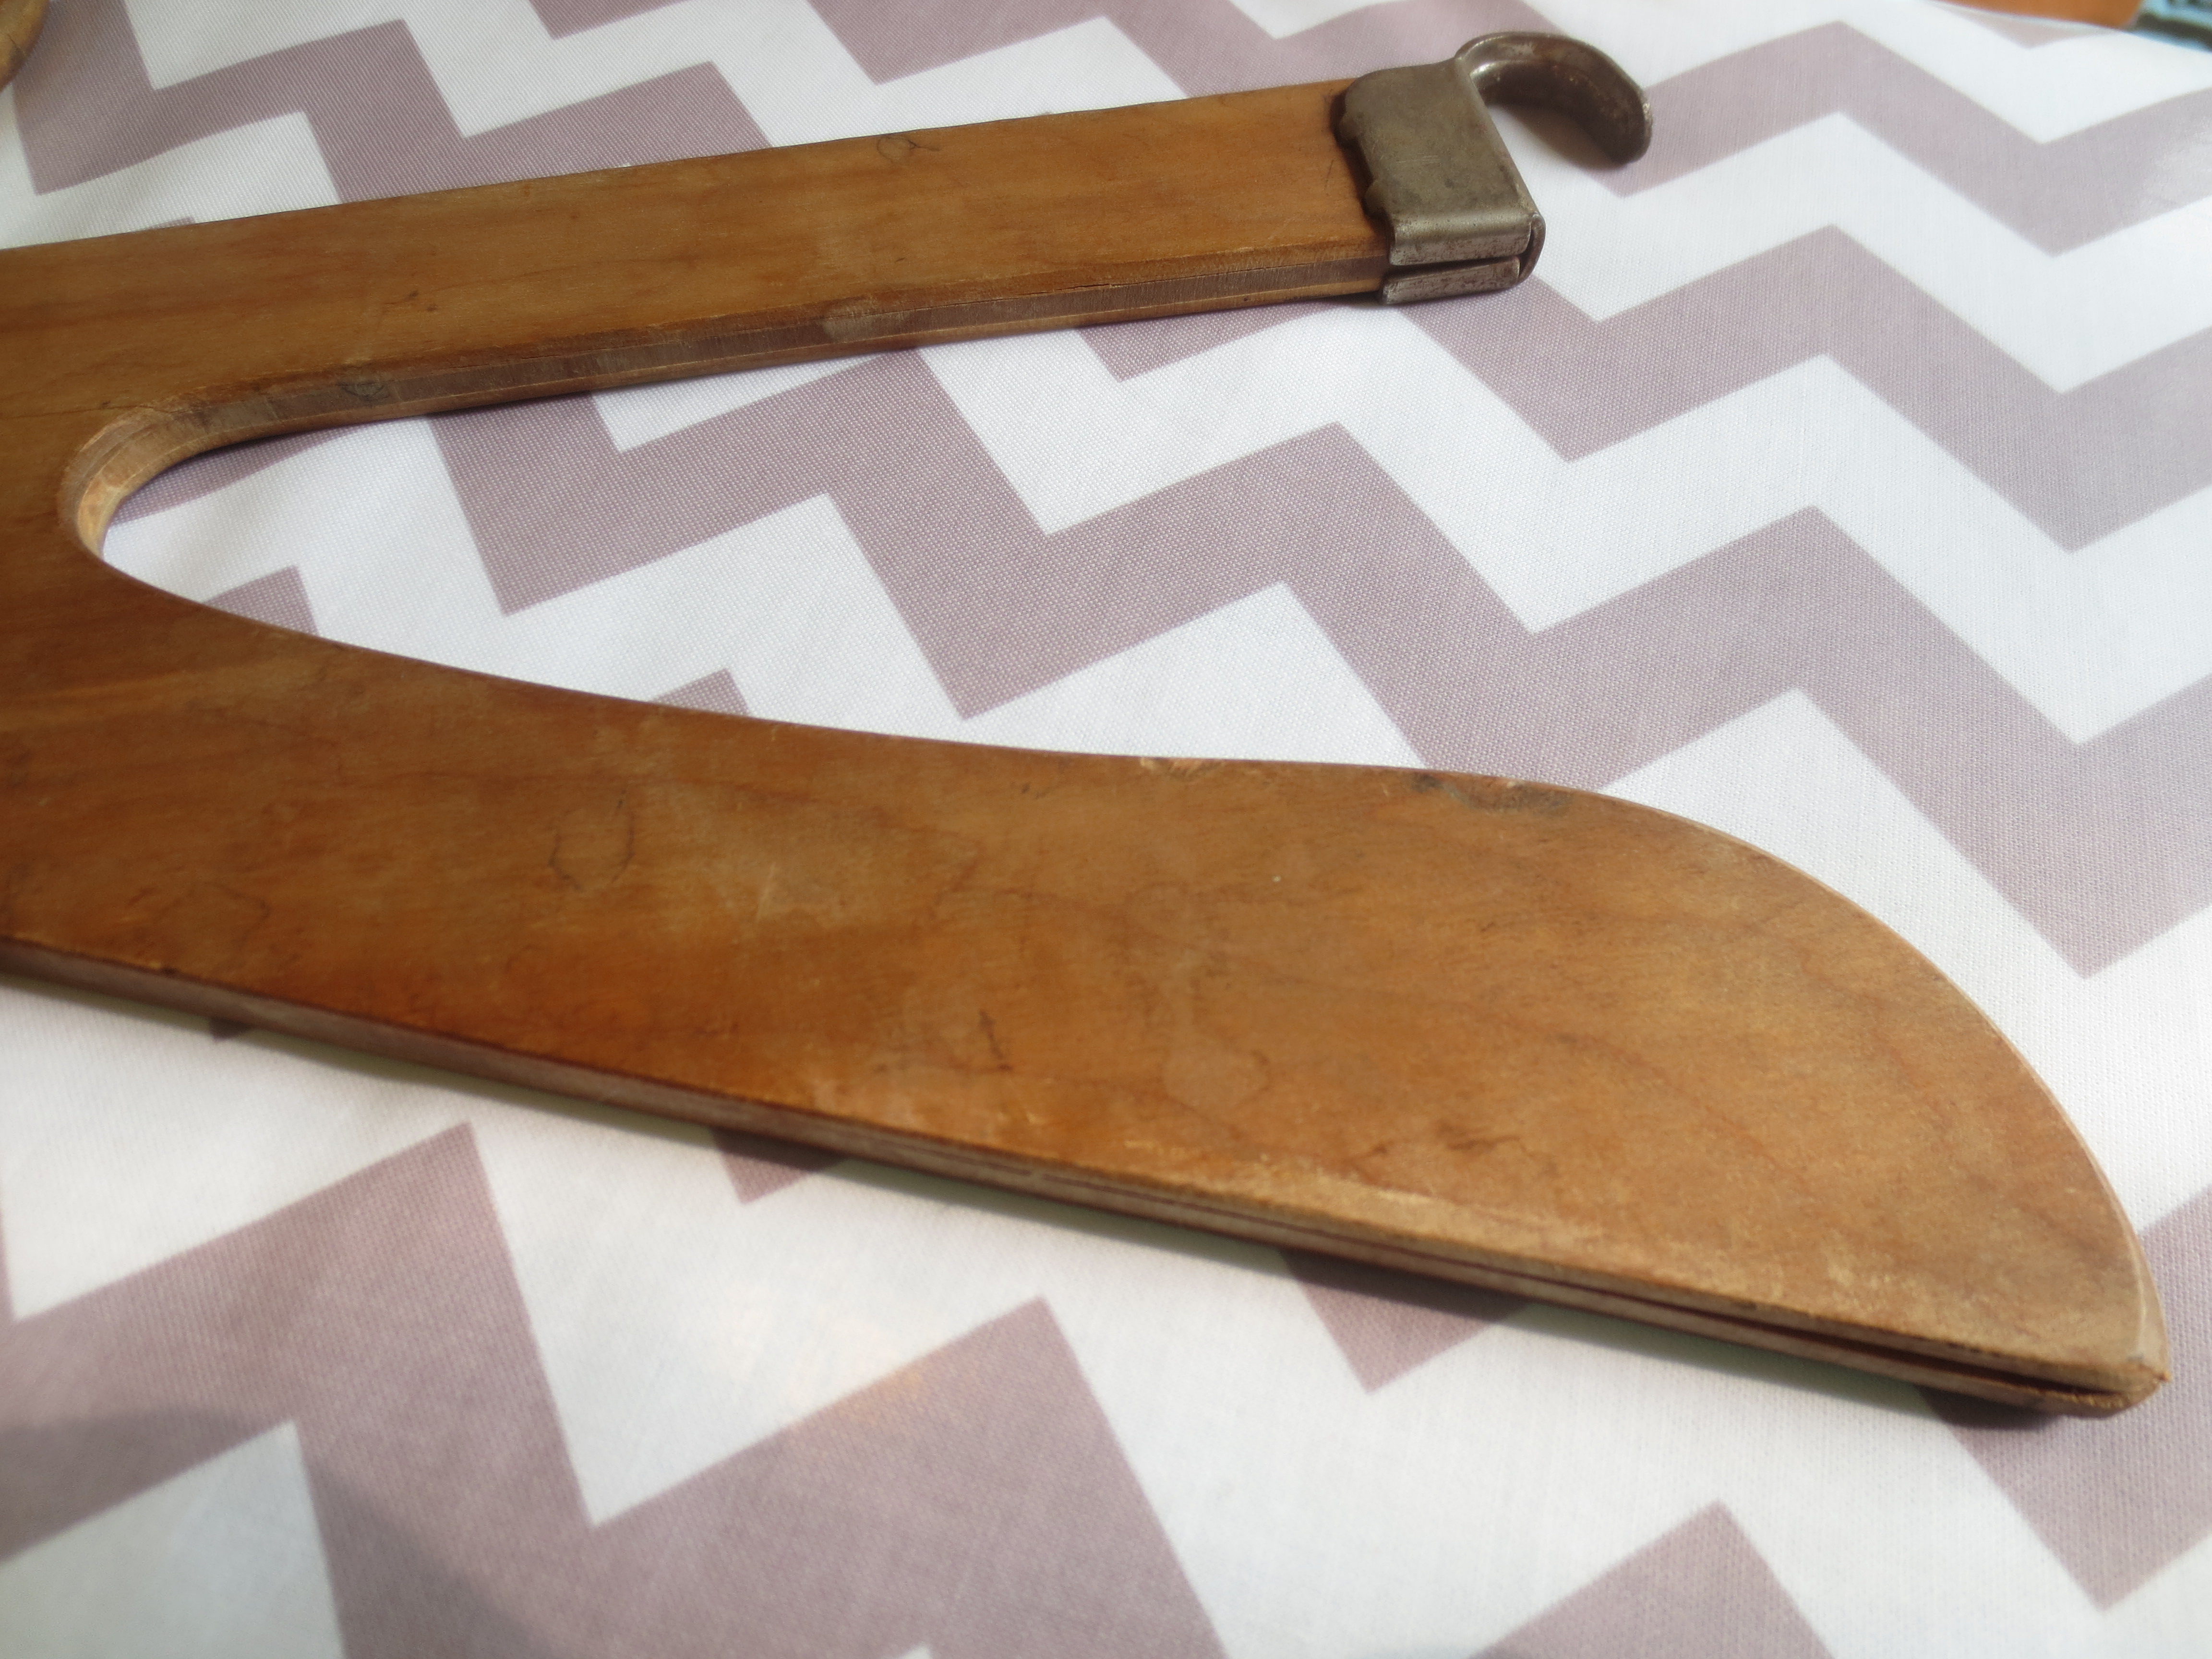
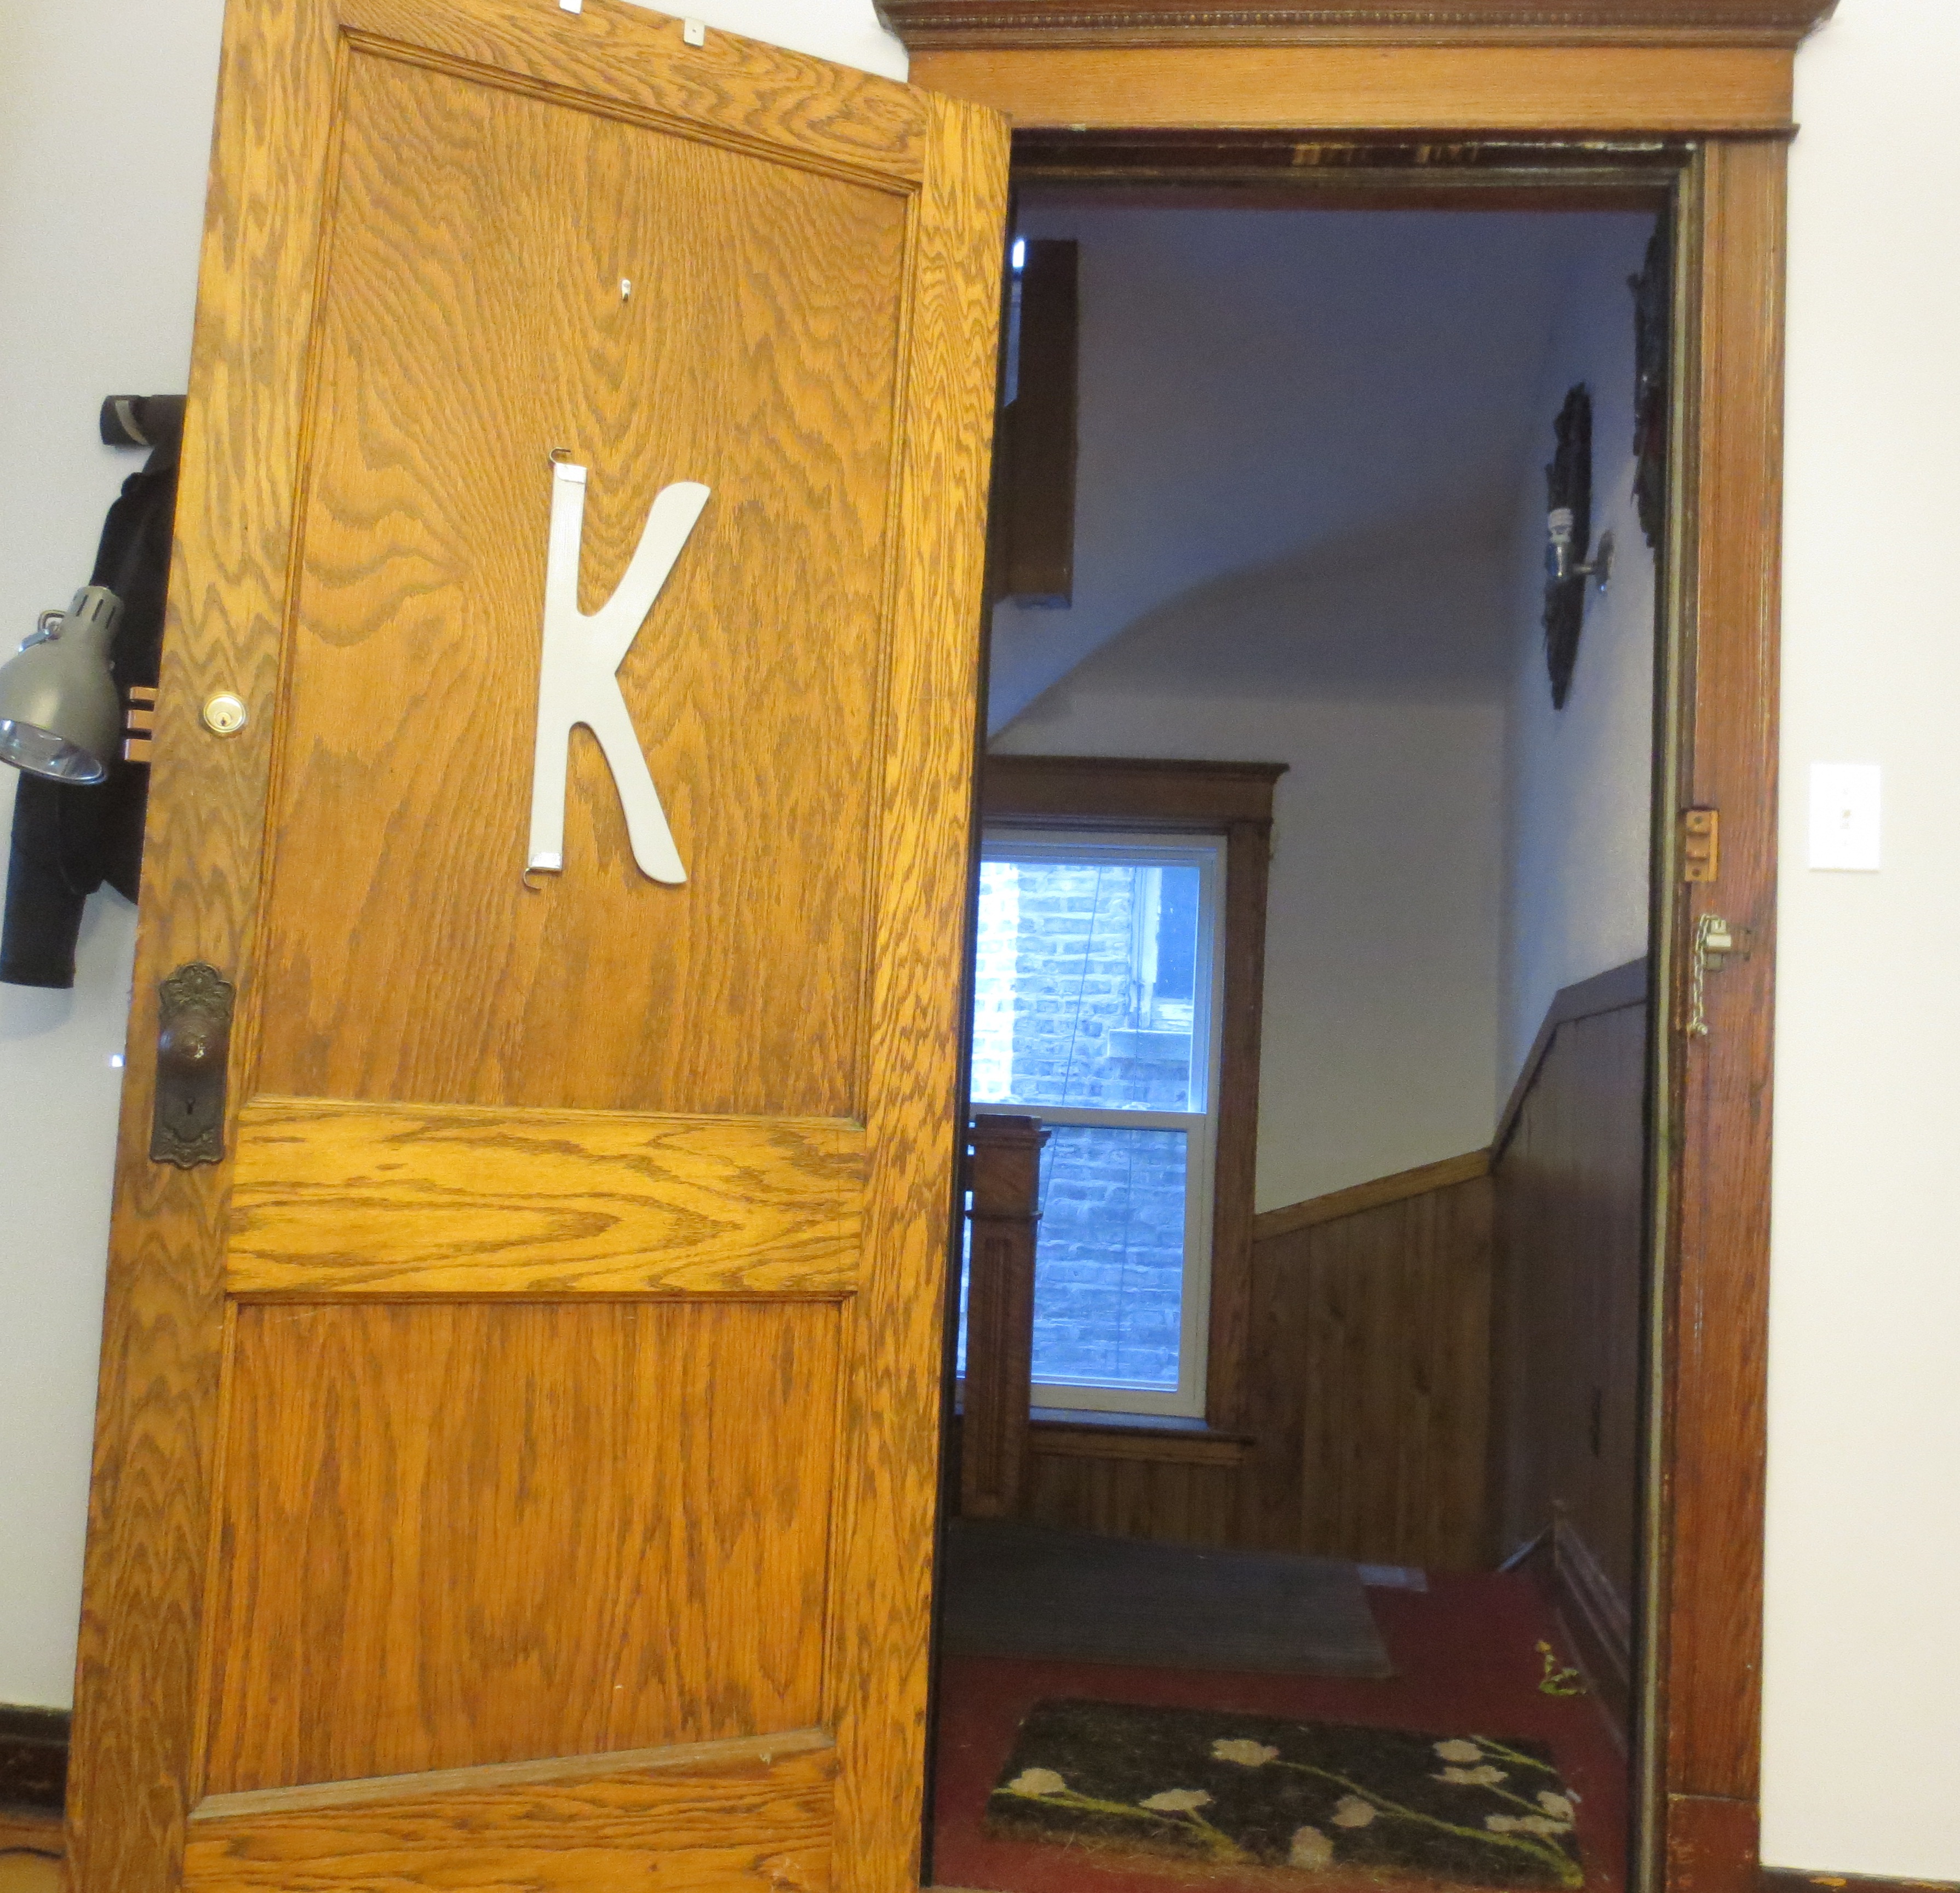
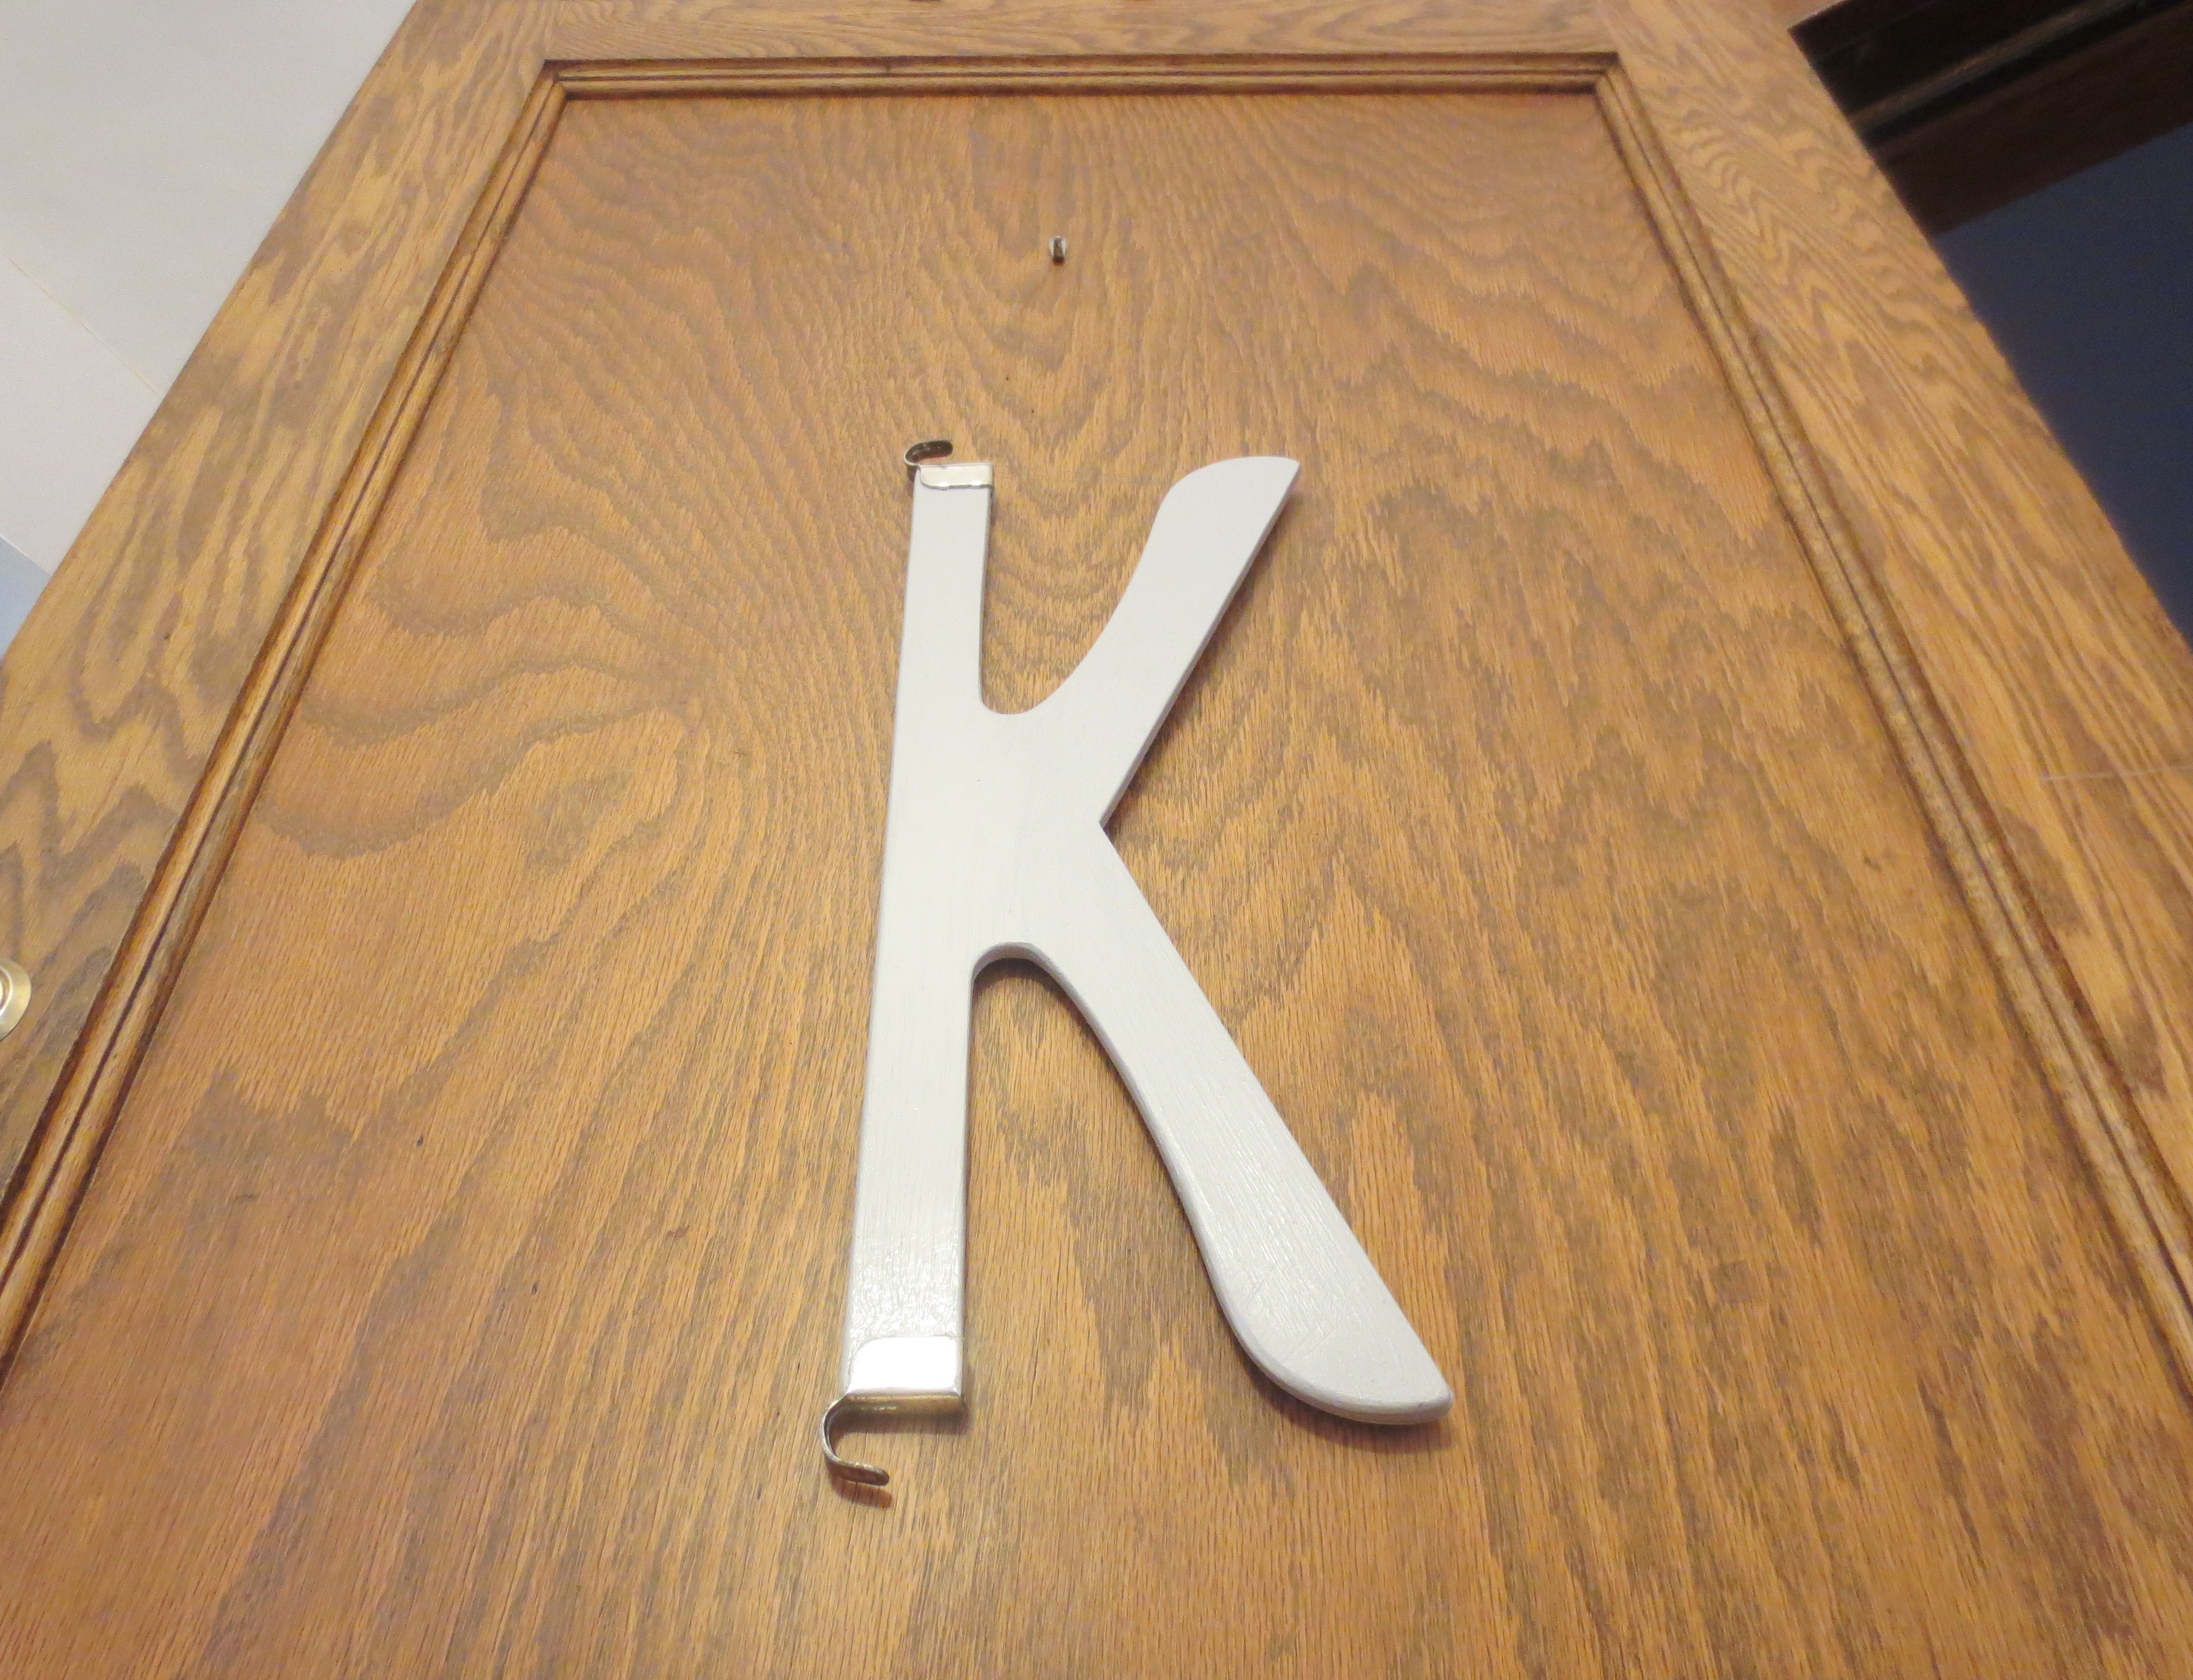
STEP ONE – BUY AN EXISTING CLOCK:  Go to the nearest thrift store and find the corner where they keep all the miscellaneous crap, like ice cube trays, coat hangers and half-used packs of adult diapers.
IMG_3027

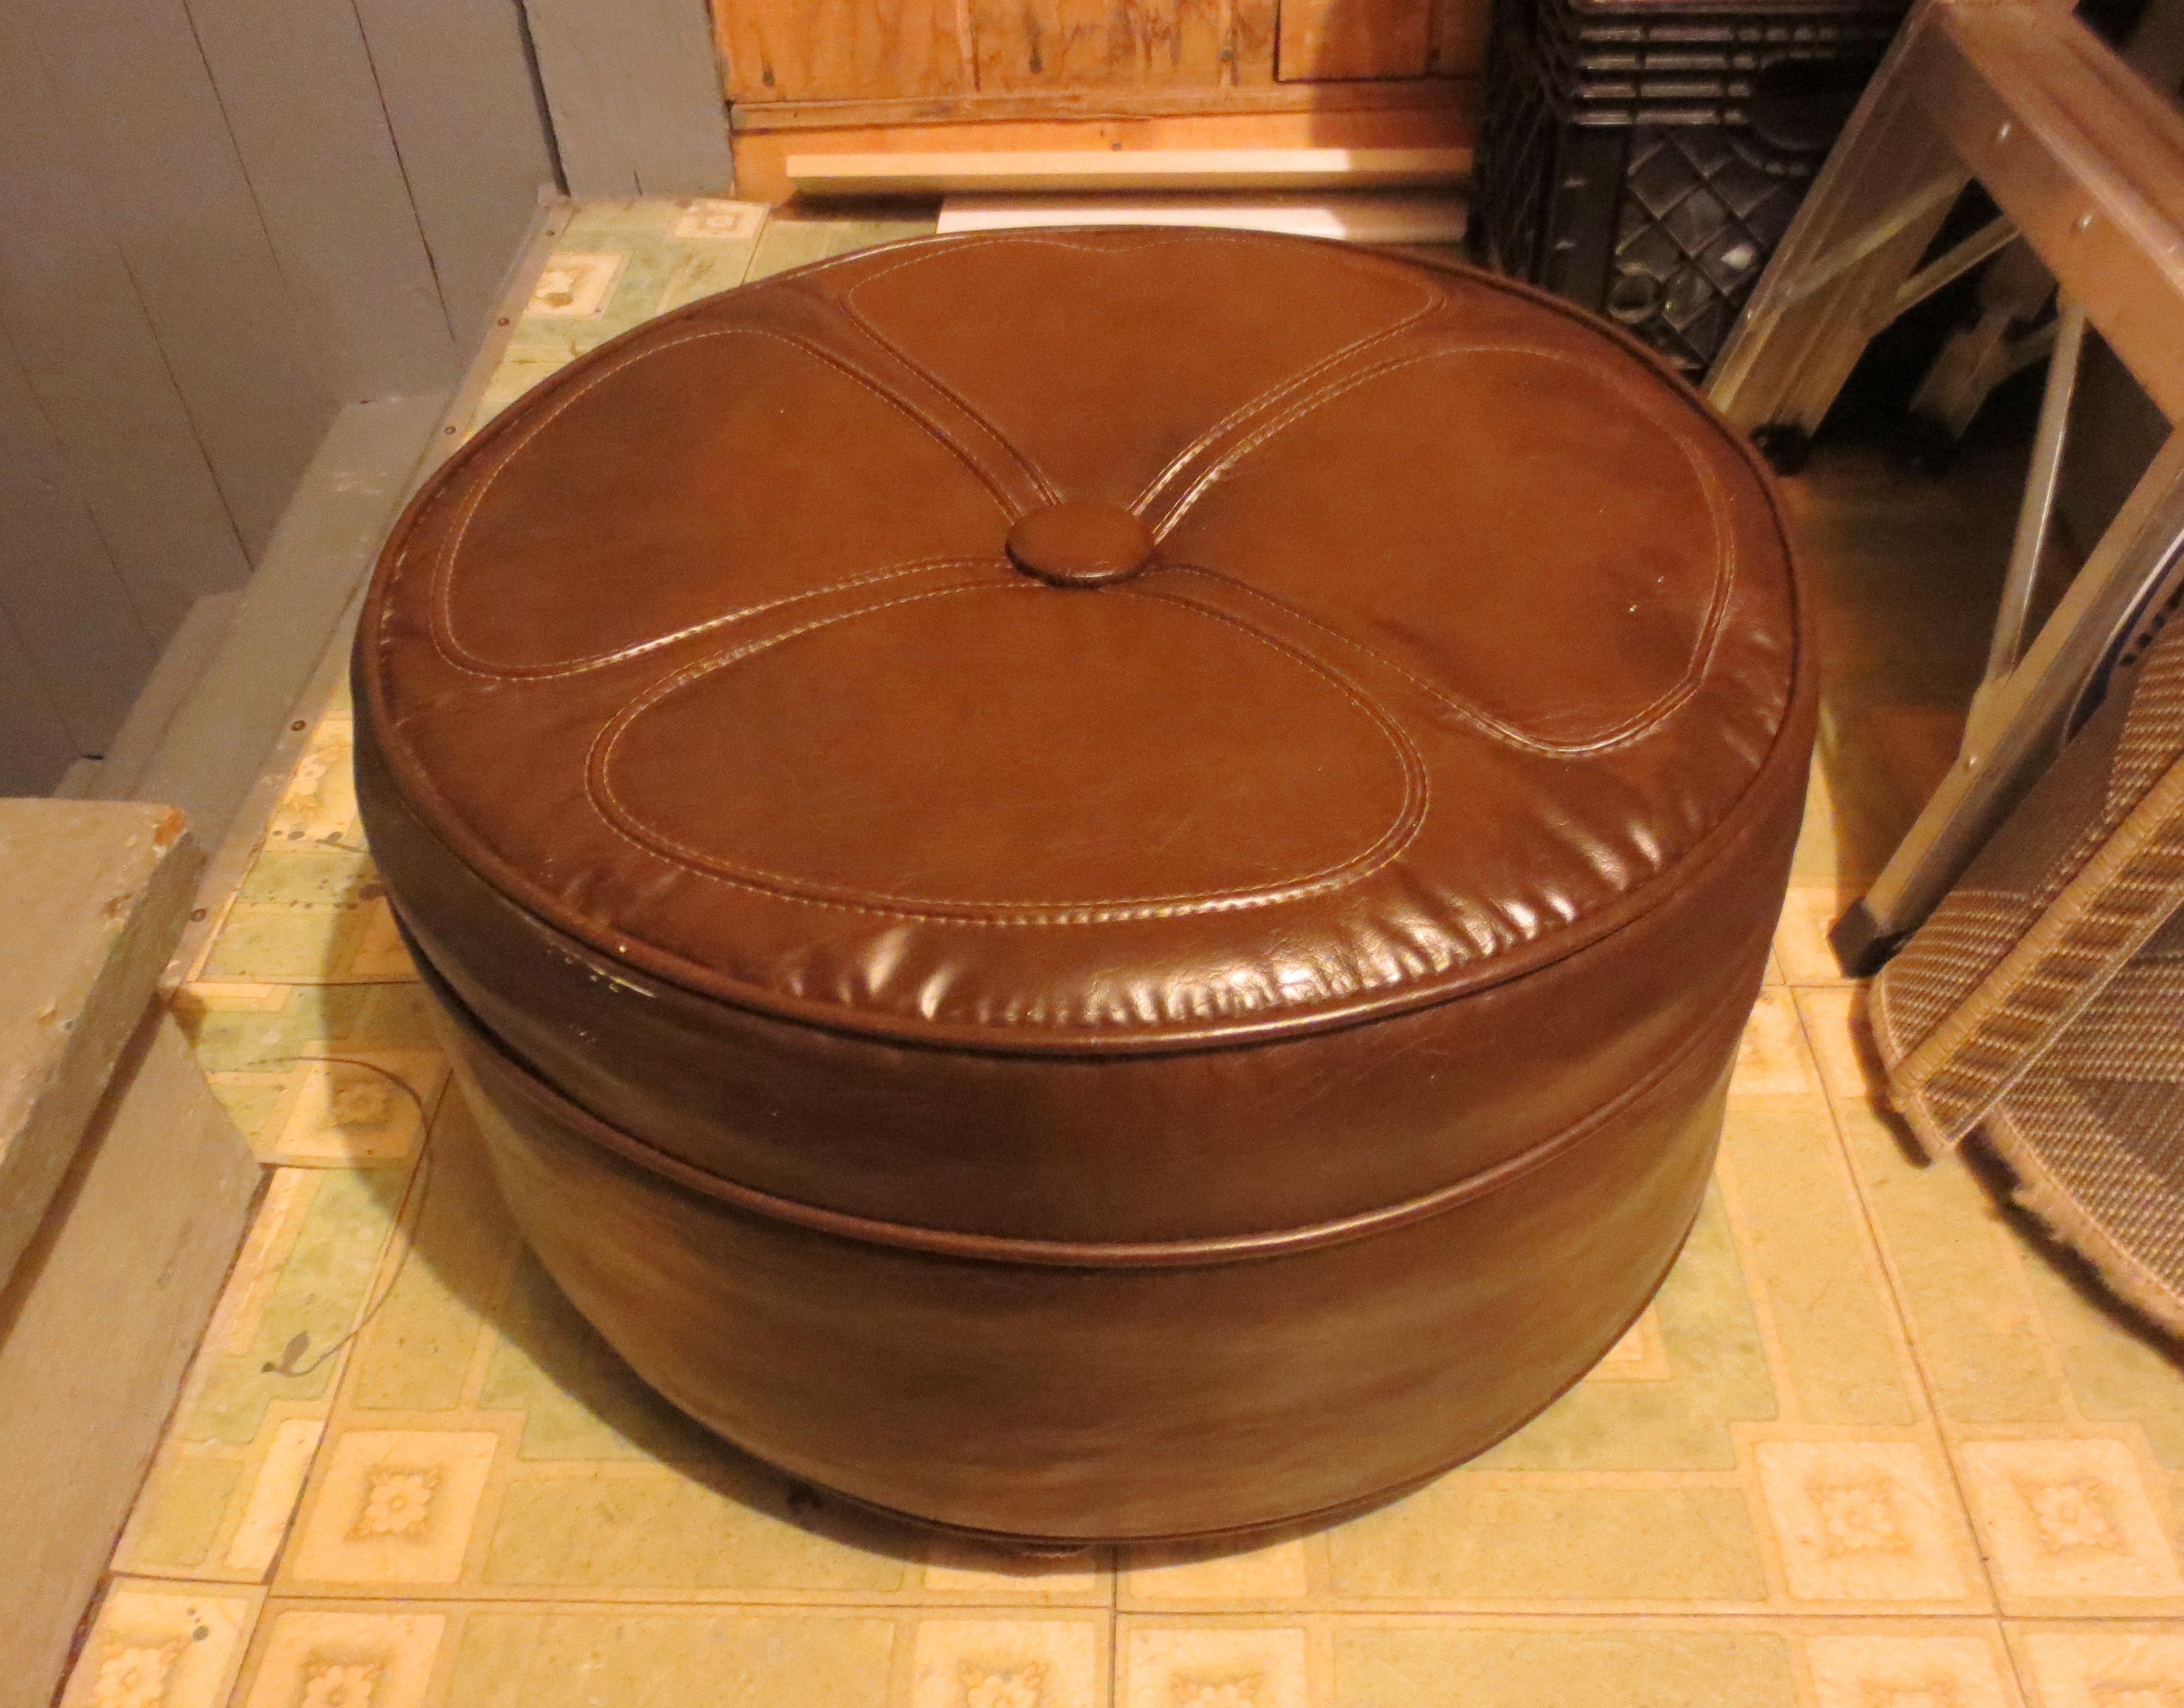
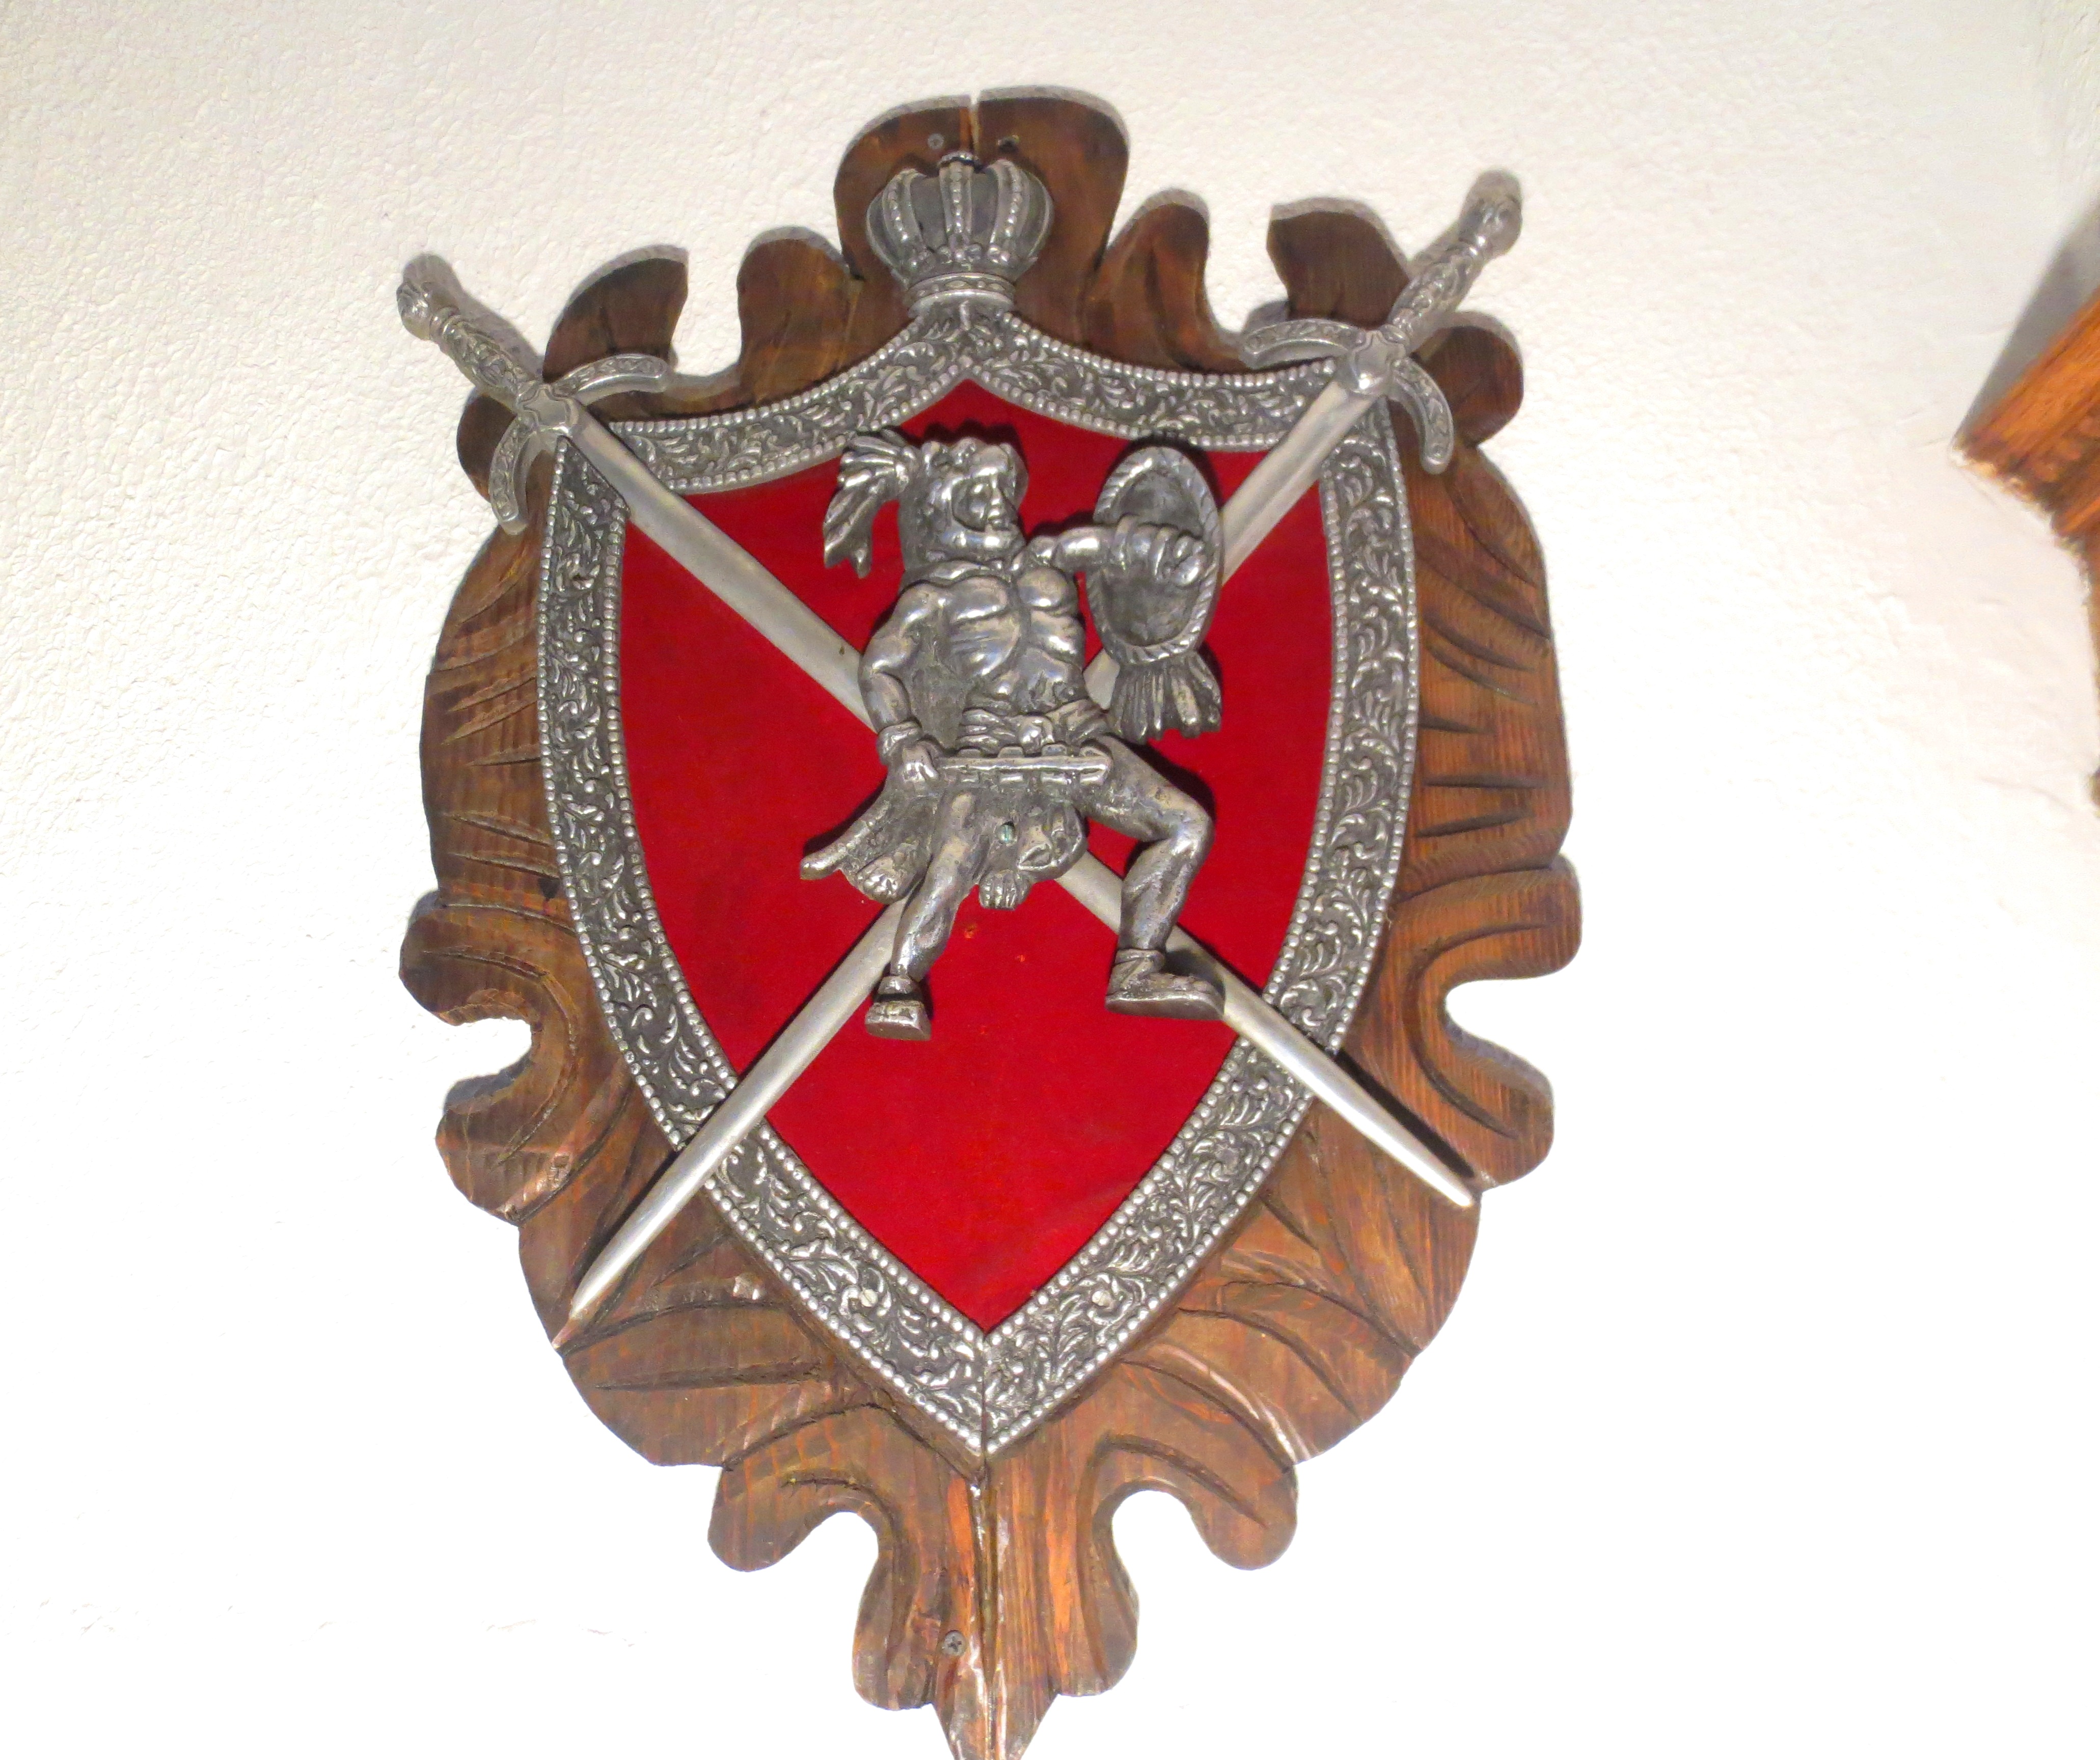
Dig around there for a while and eventually you will find some clocks. Don’t be too picky at this point, just grab whatever you see. But not this one:
IMG_3028
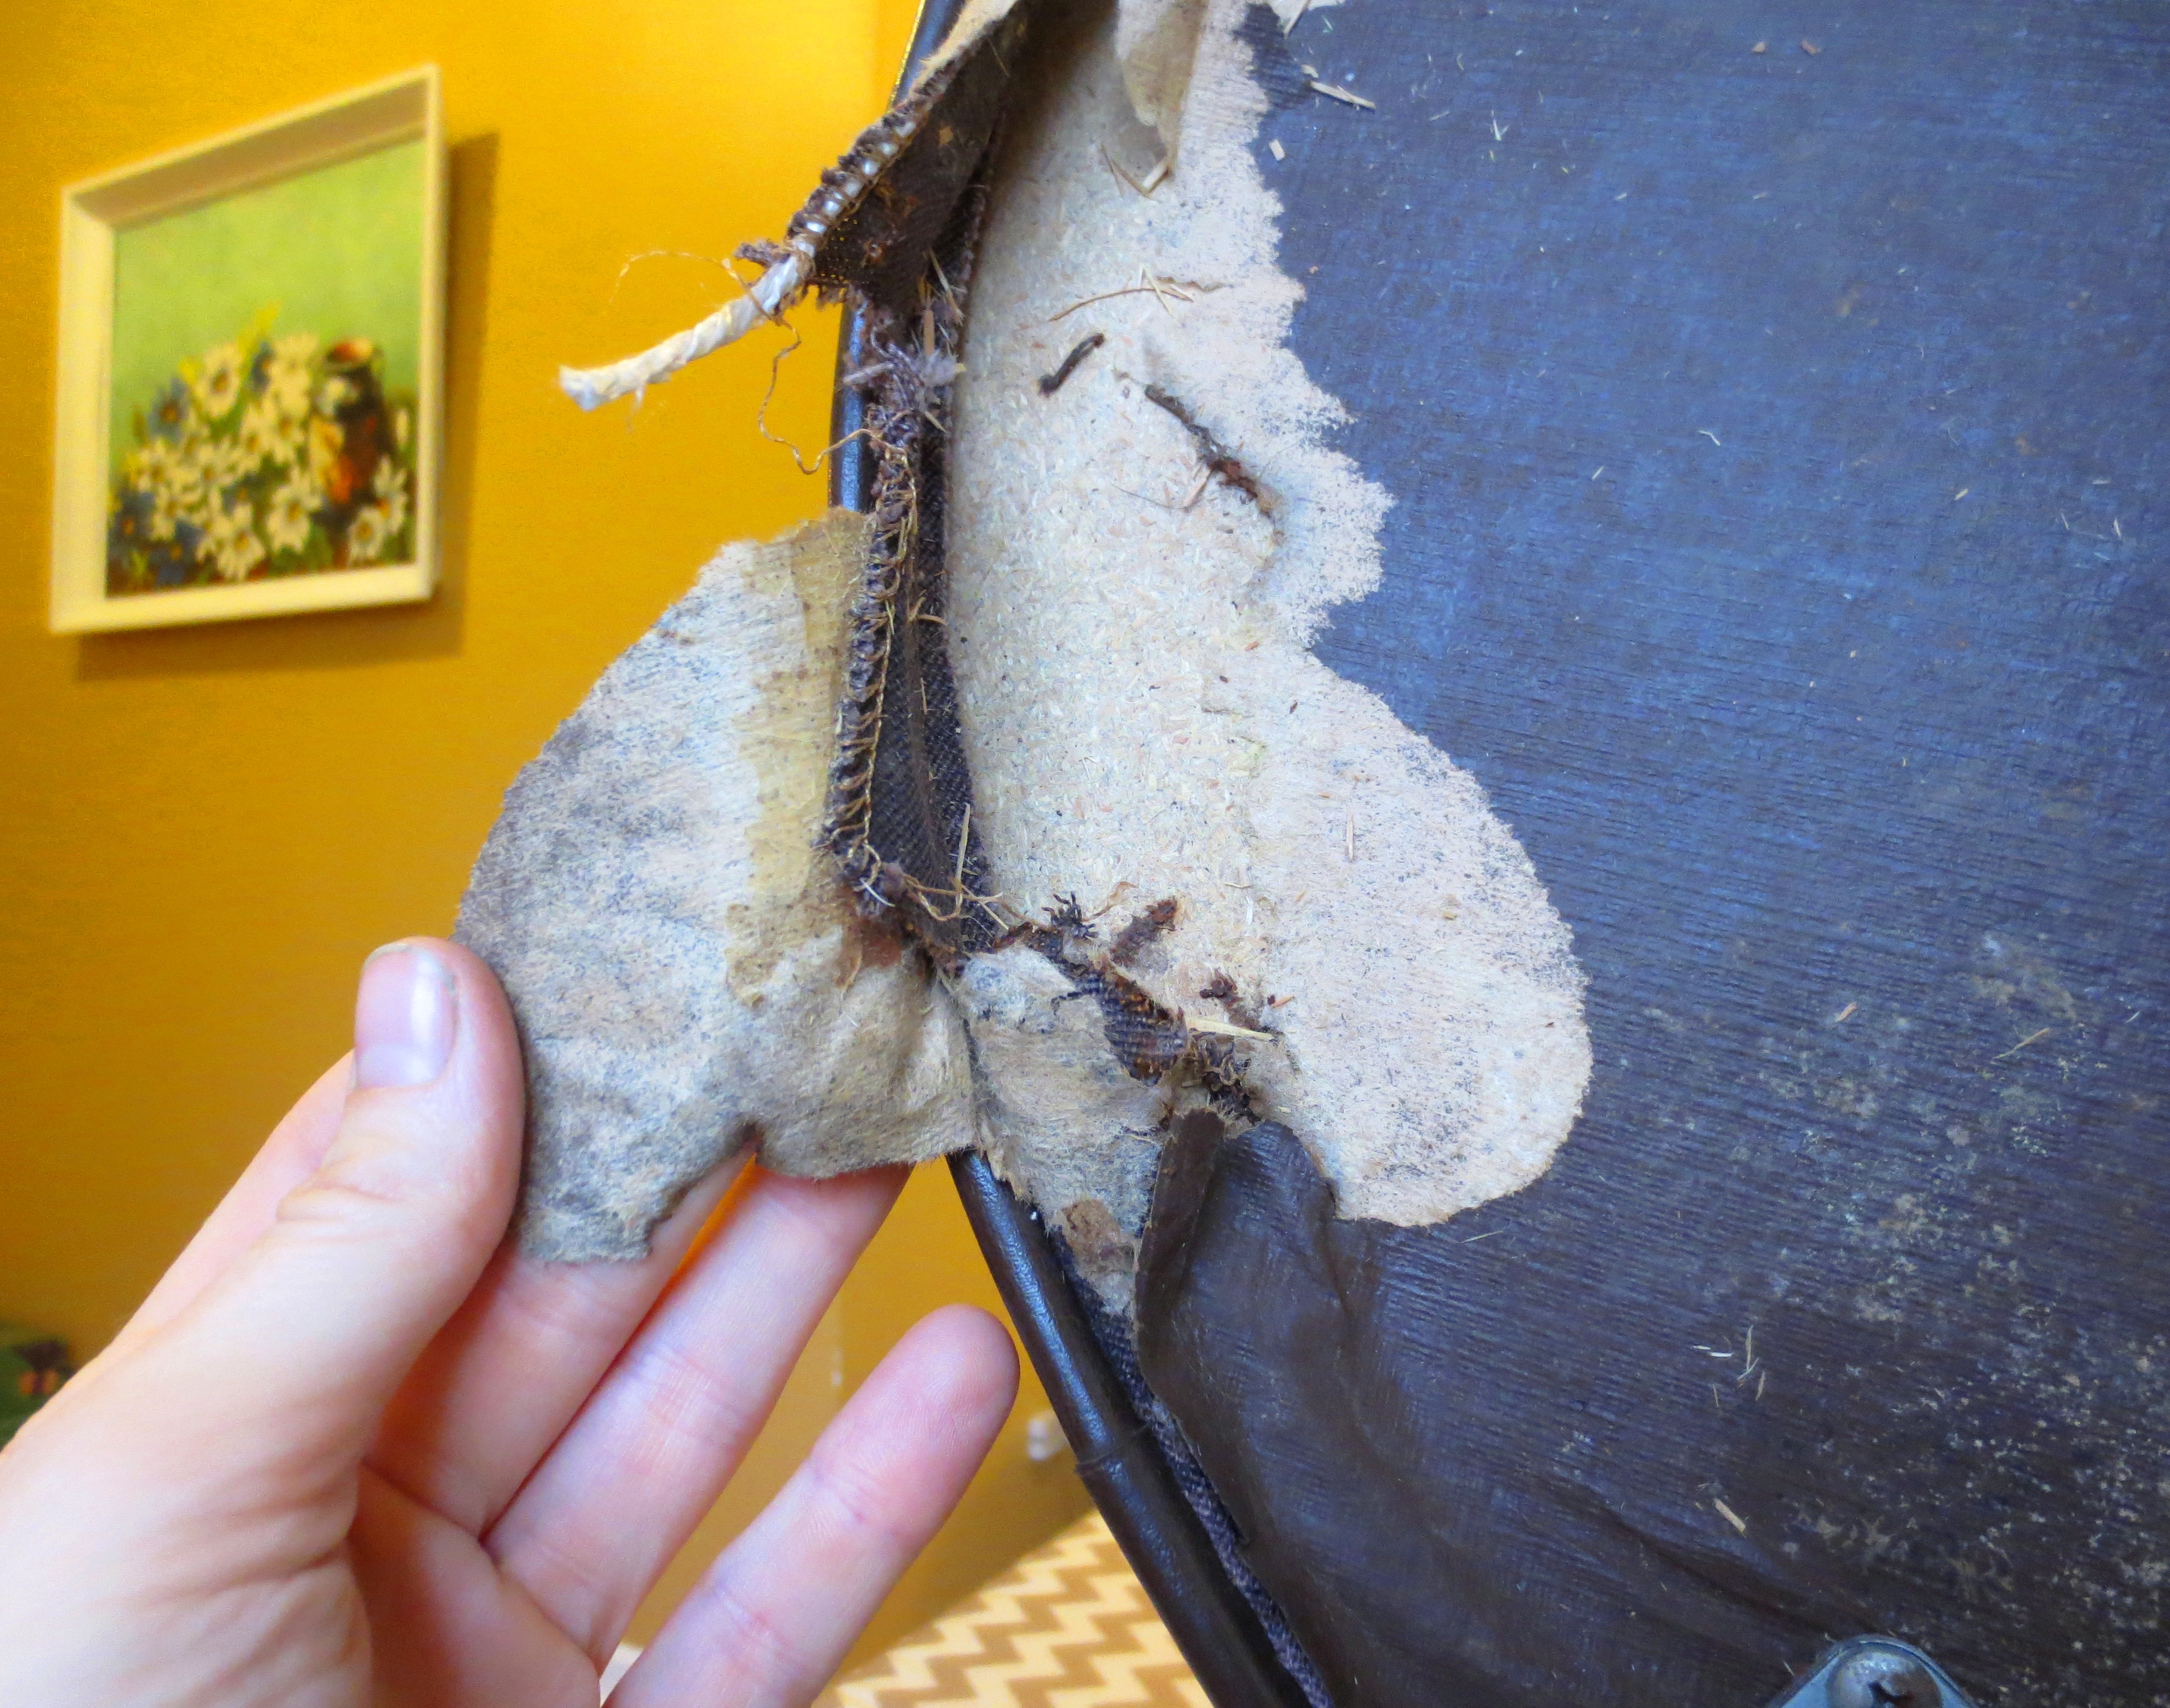
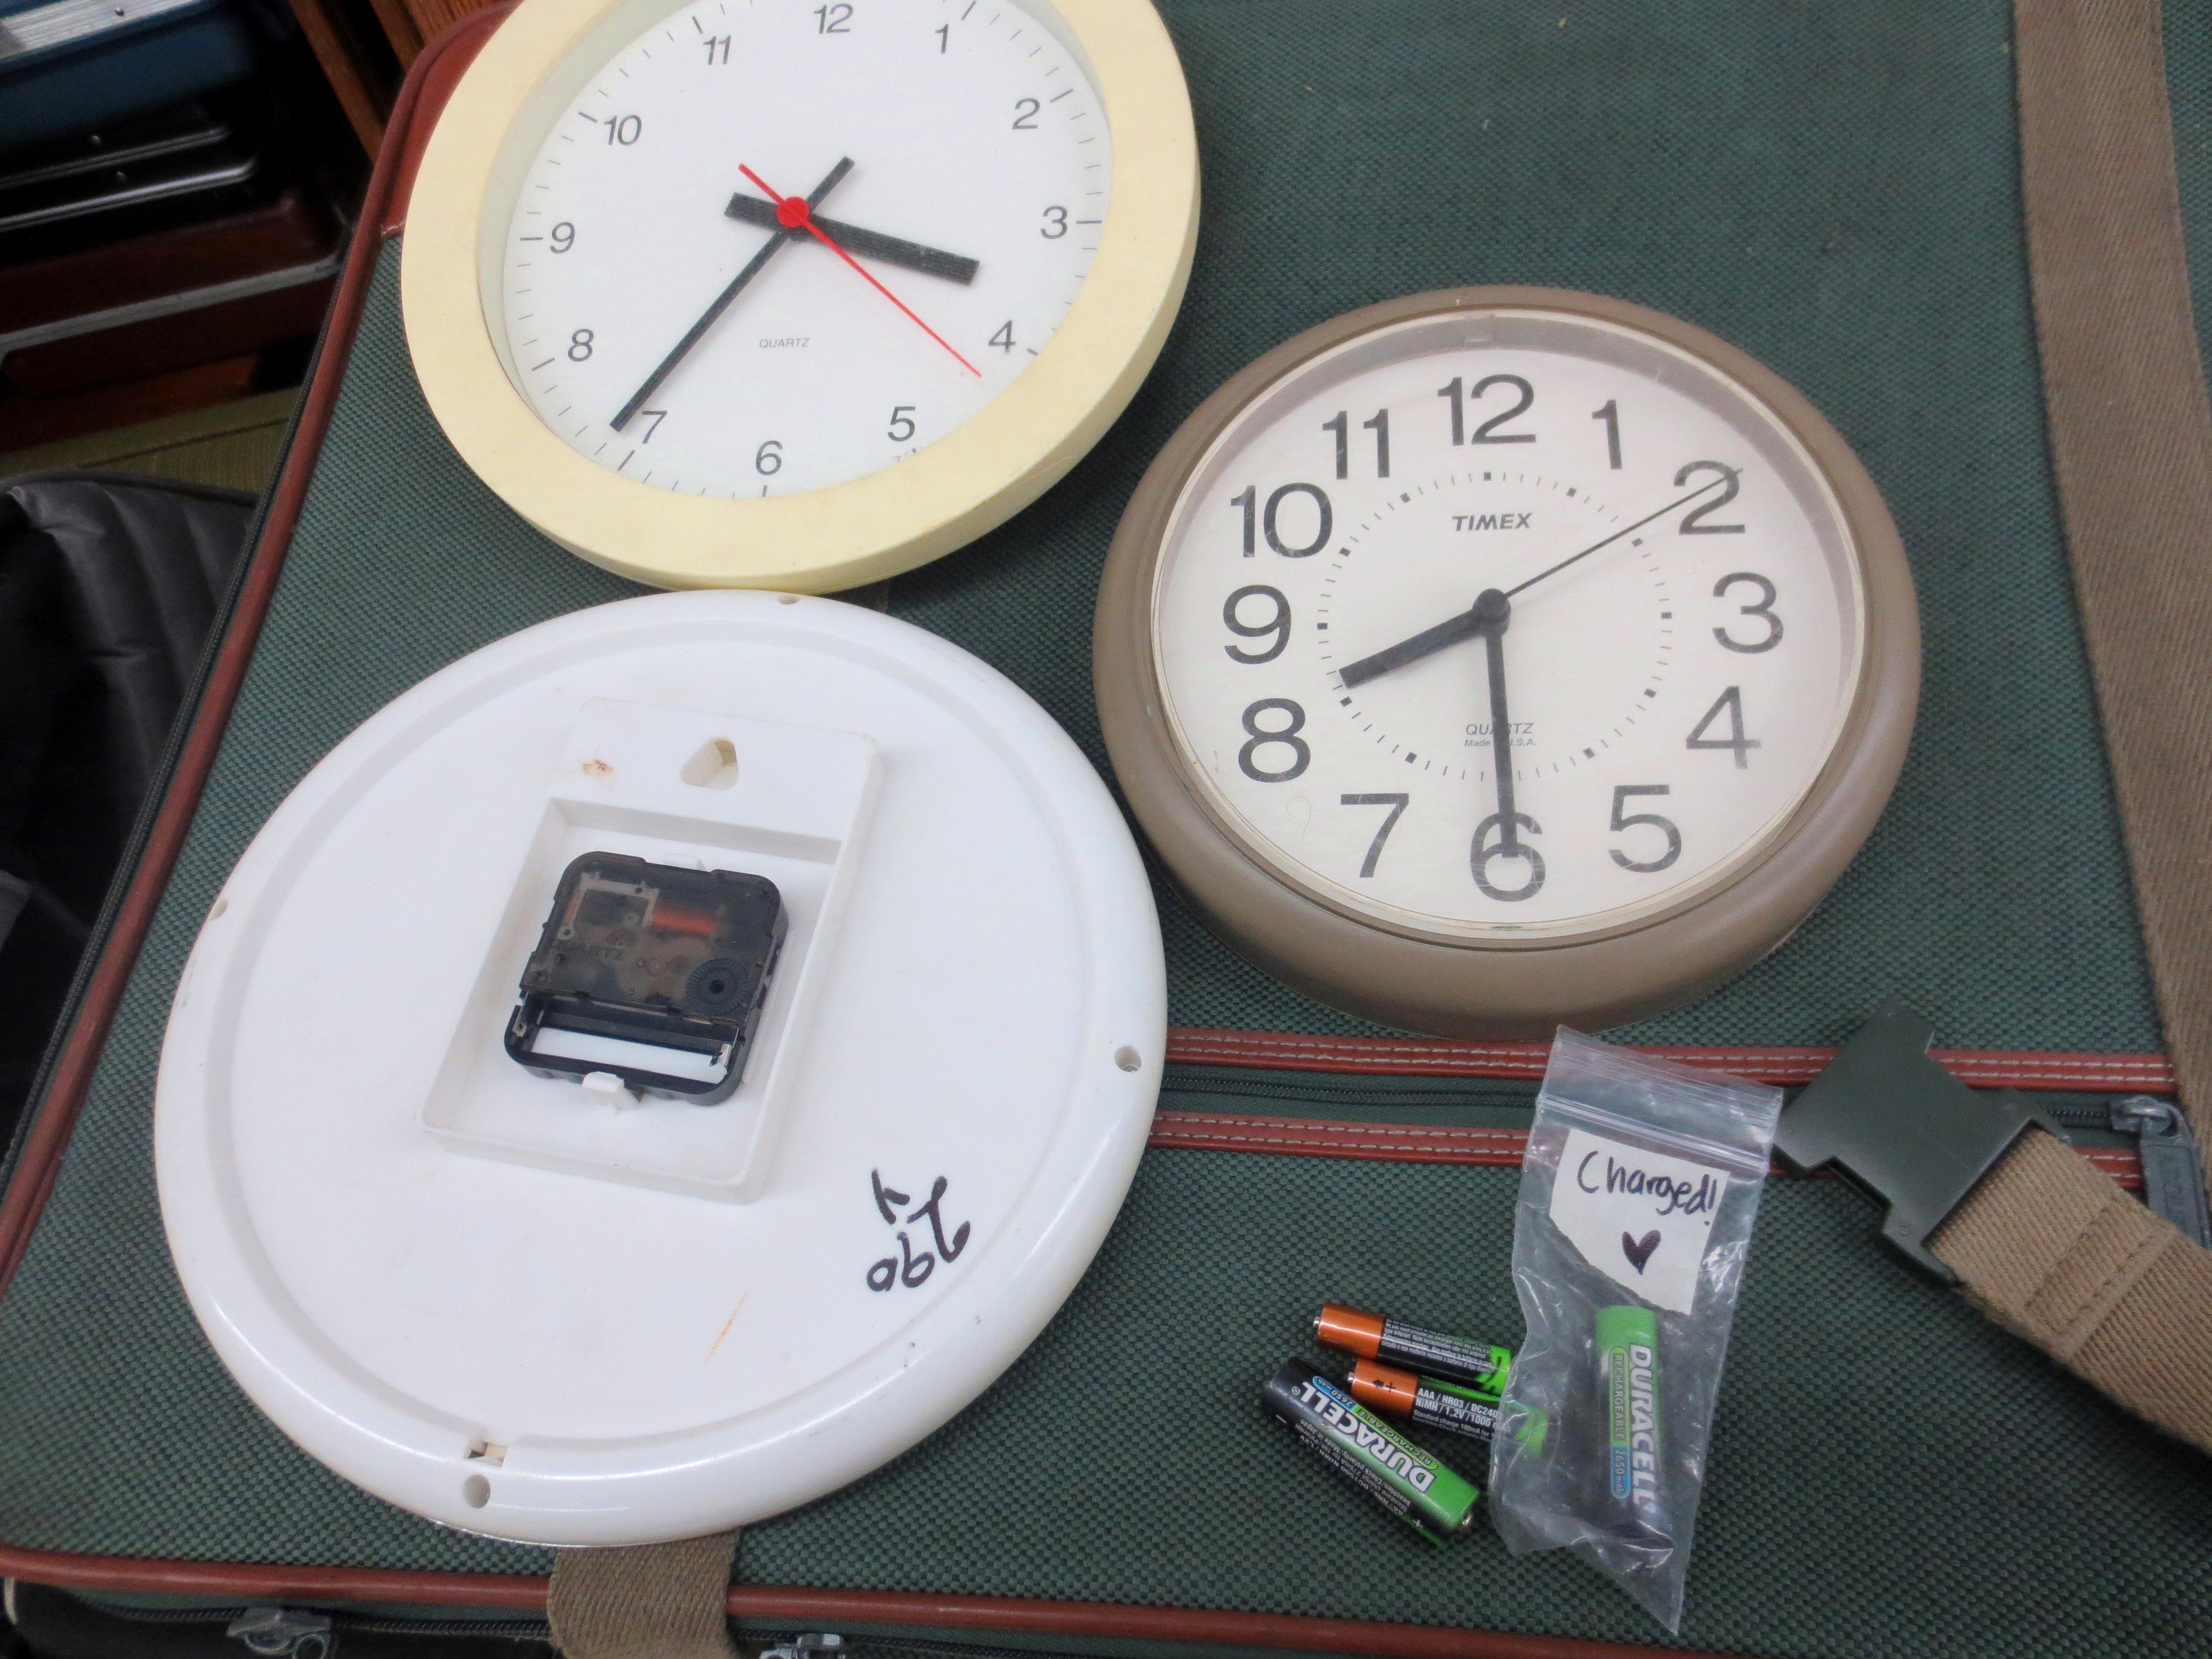
PRO-TIP!  Before you leave for the thrift store, slip at least one working AA battery in your pocket.  You can’t tell if a clock works just by looking at it. Move your clocks into a discrete corner of the thrift store (like on this pile of old suitcases) and test them using your AA battery.  All three worked!

IMG_3029

Don’t be embarrassed by this step! You are definitely not the weirdest person at the thrift store.

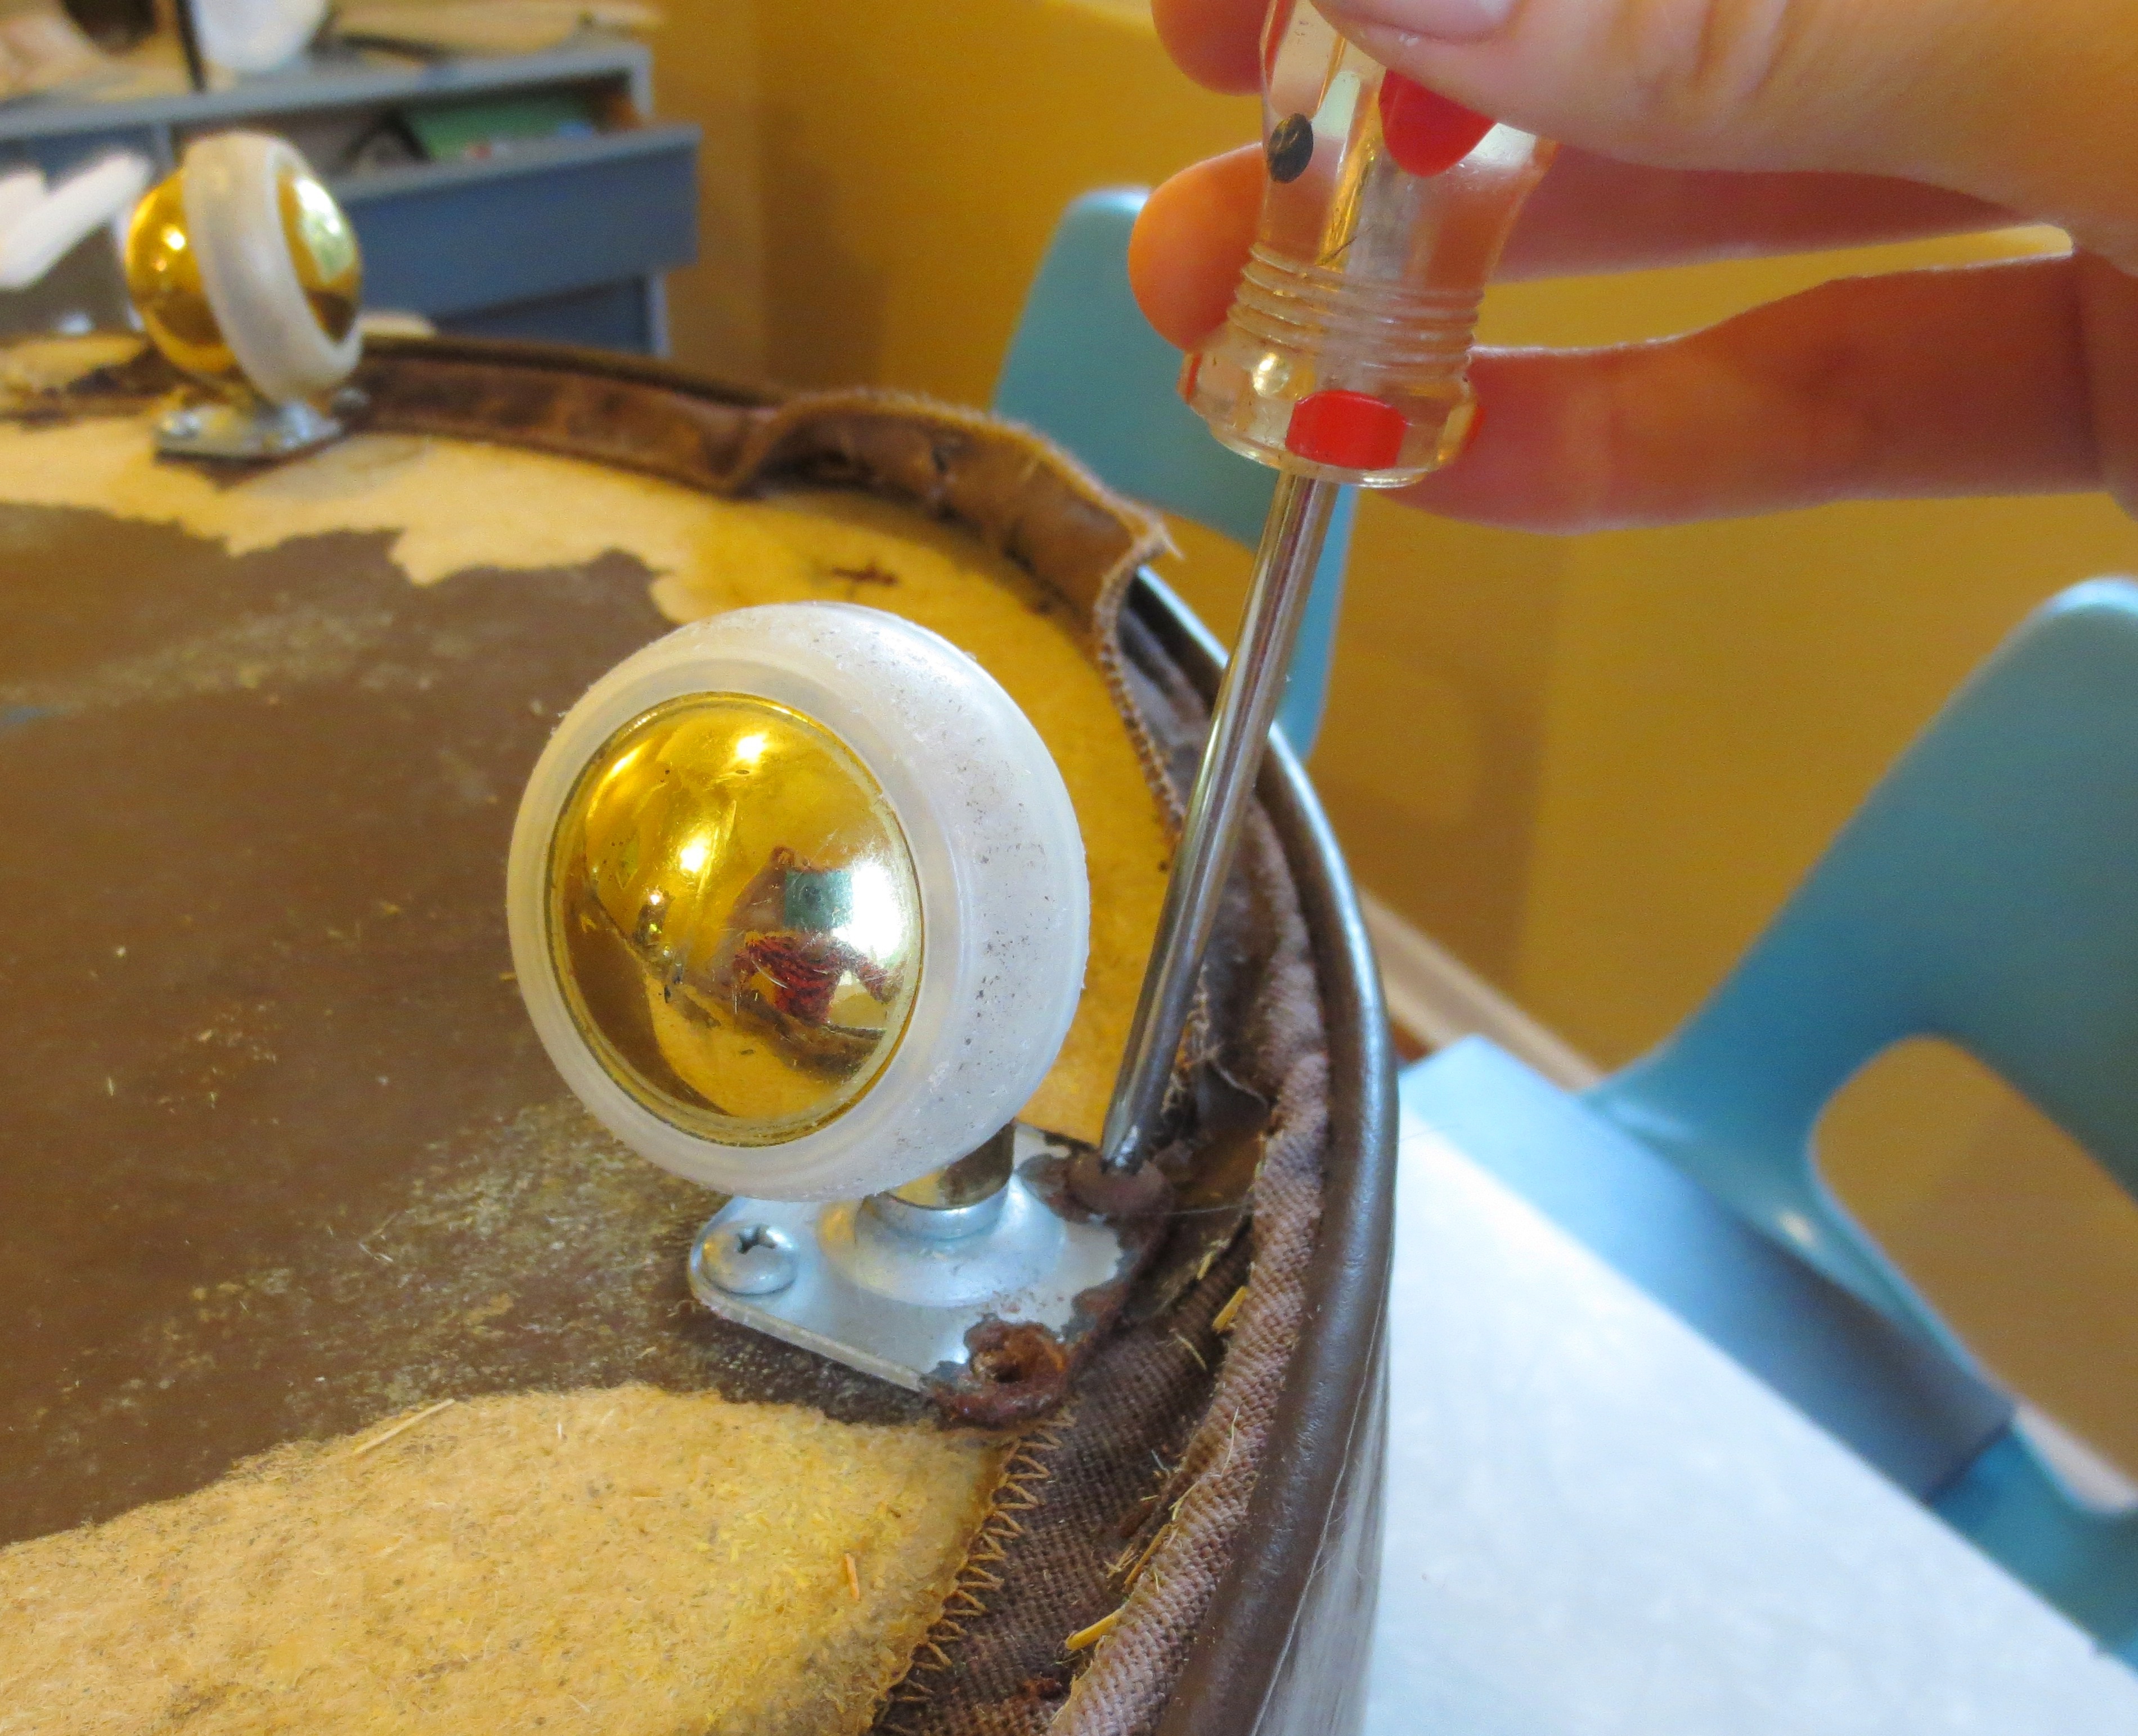
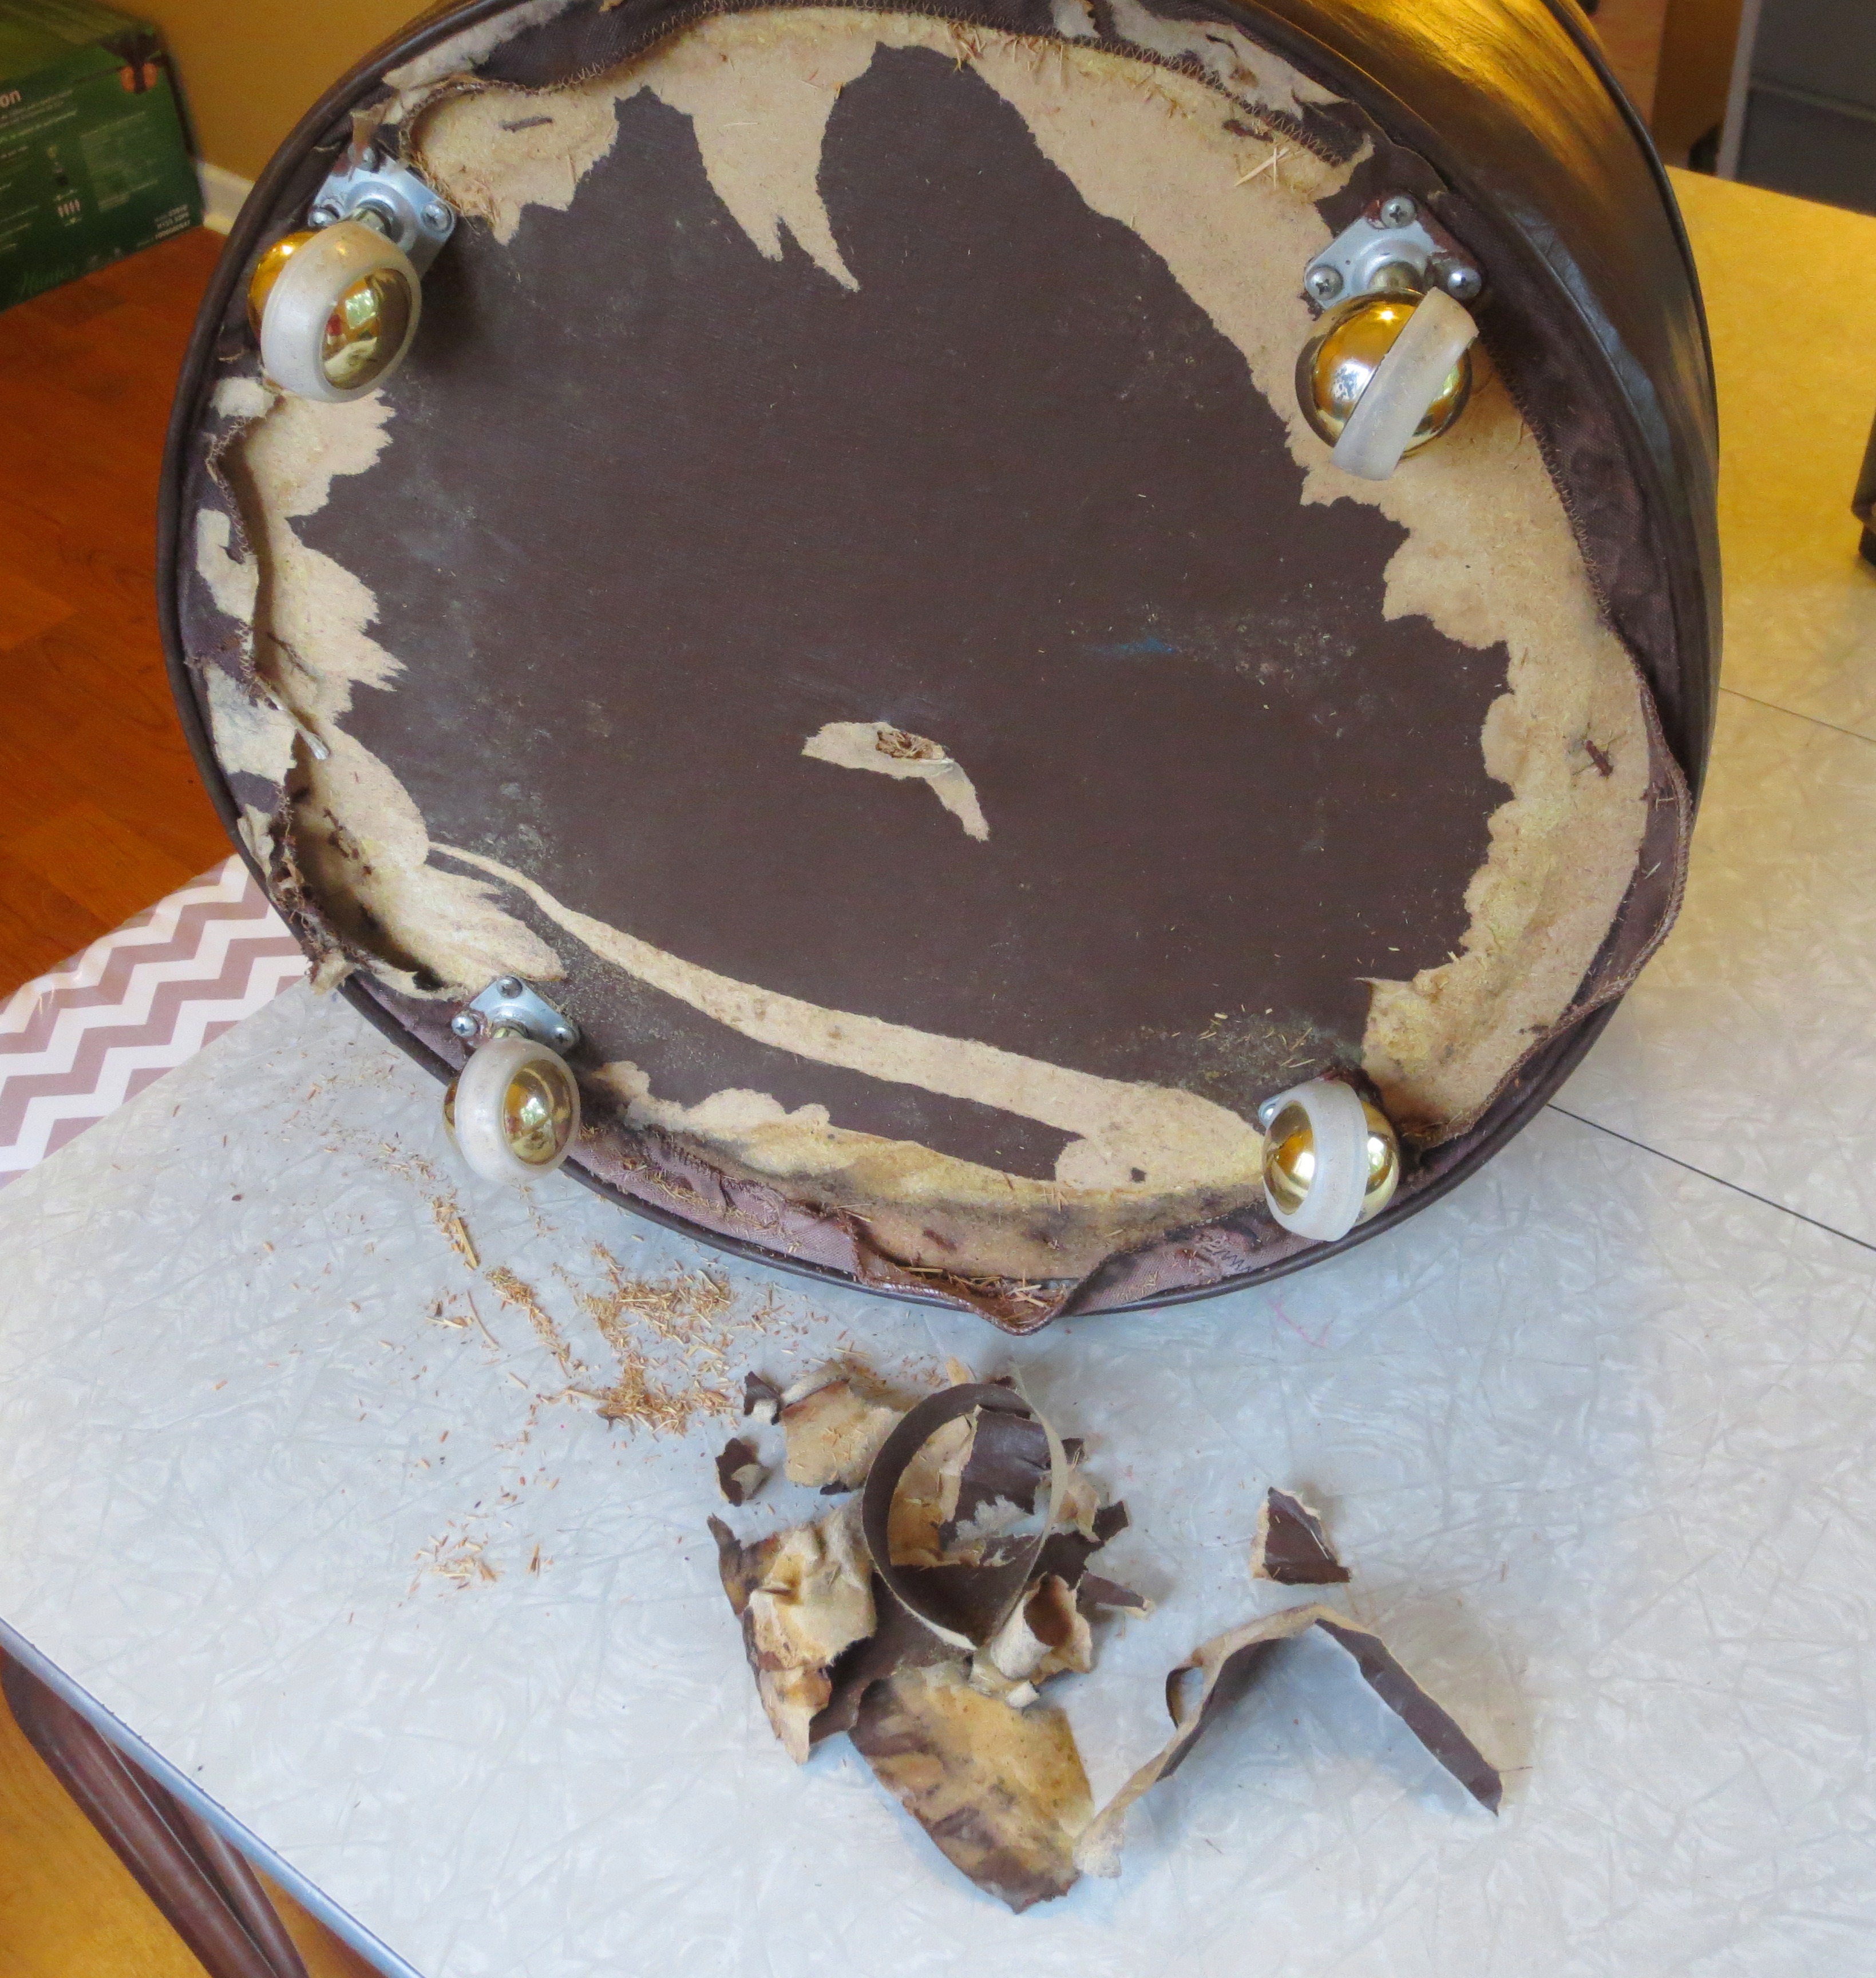
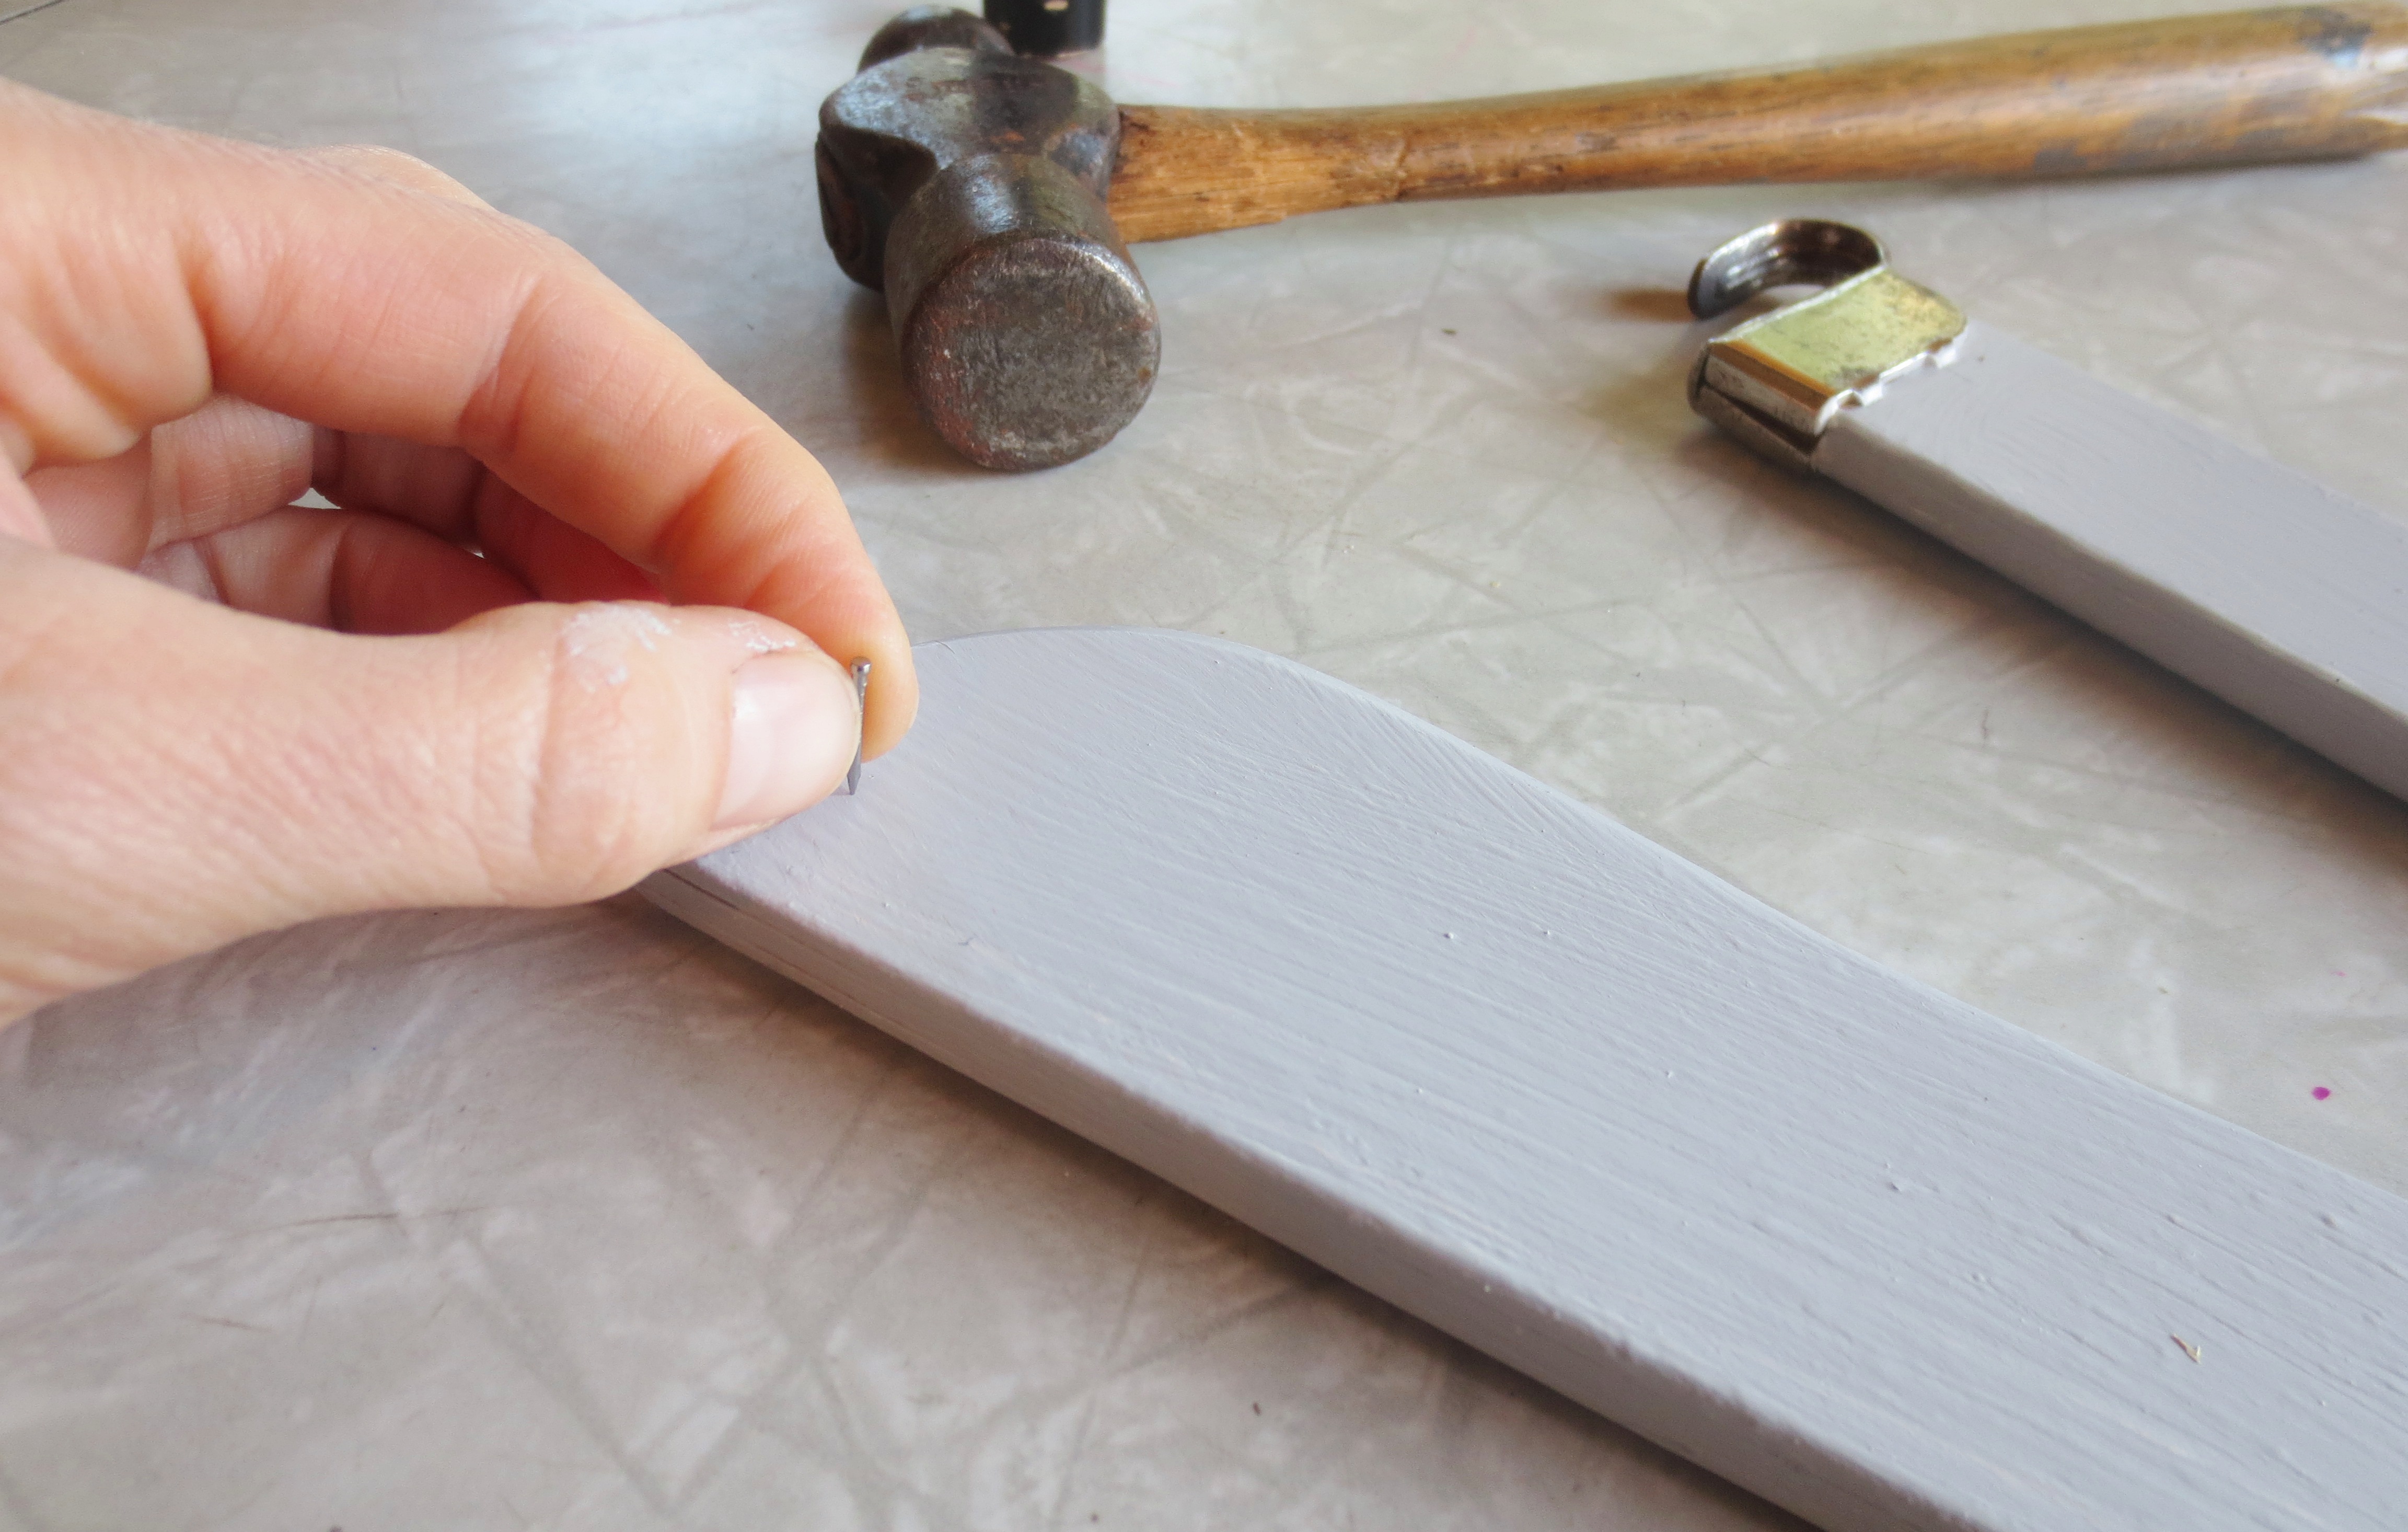
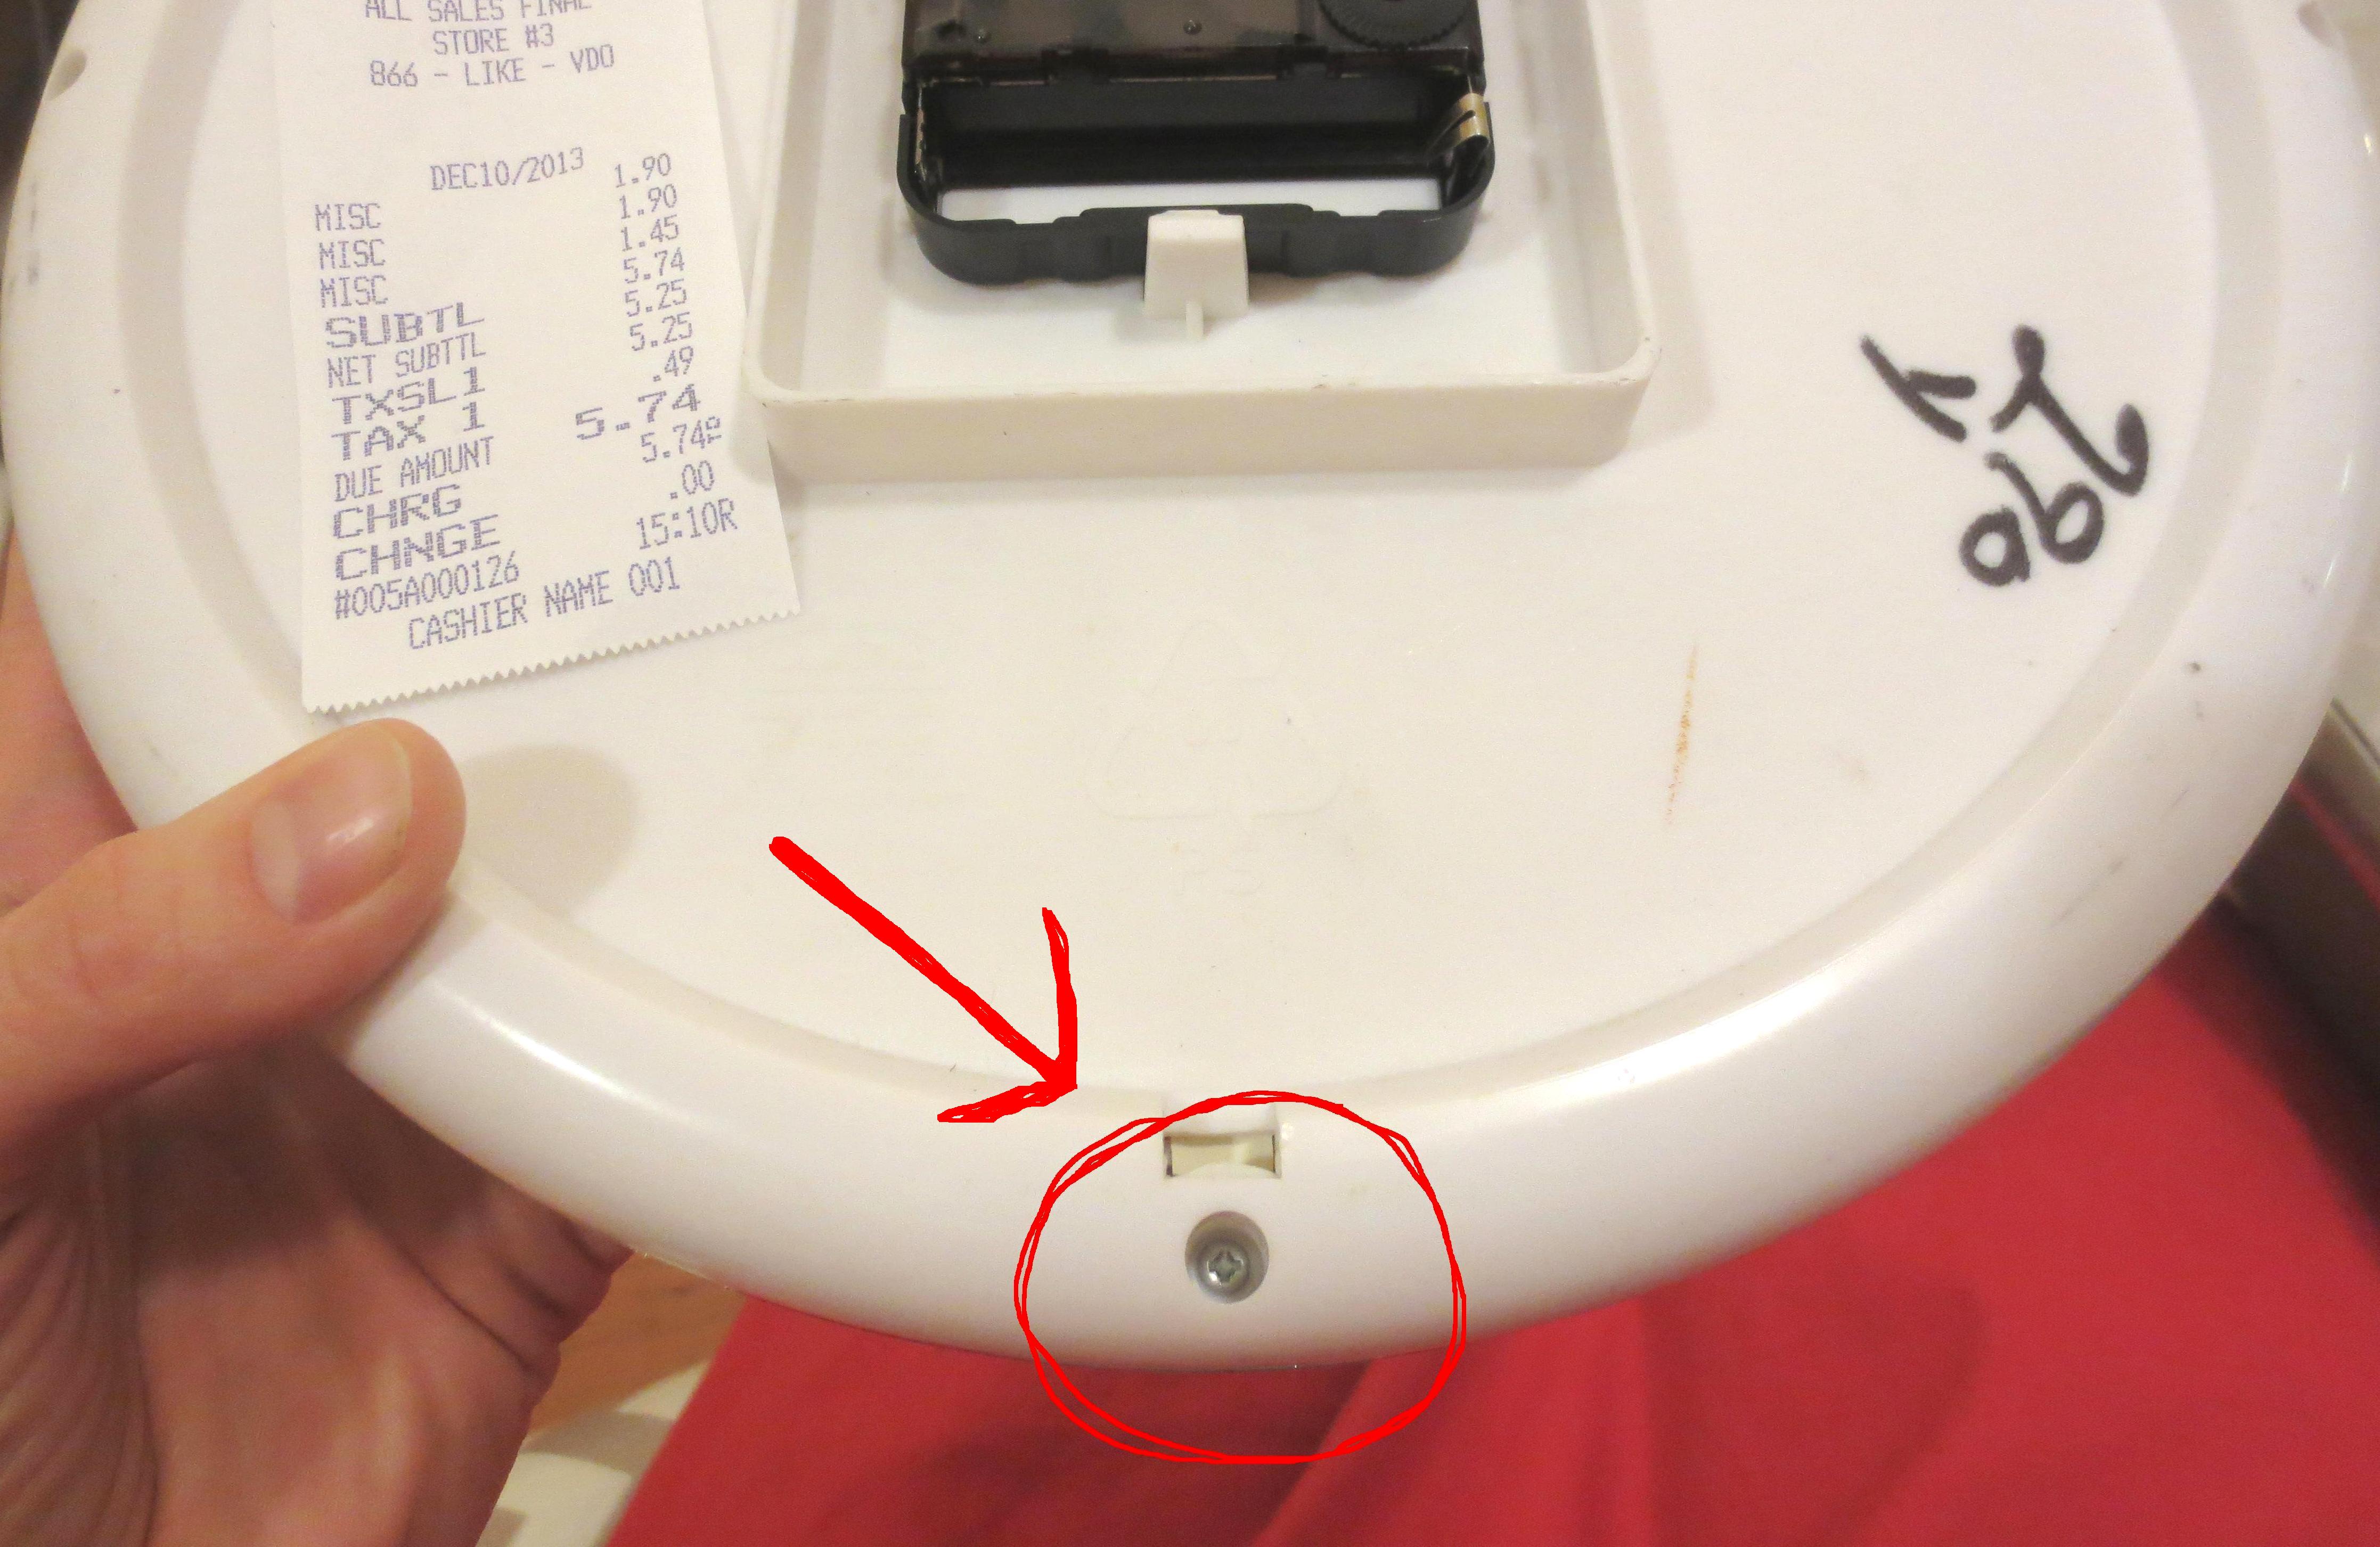
STEP TWO – DISMEMBER YOUR CLOCK: Just for fun, I pulled apart three clocks and was relieved to discover they all basically work the same way.  Find the tiny screws that hold the front and back covers together and unscrew them.
IMG_3031_REDCIRCLE
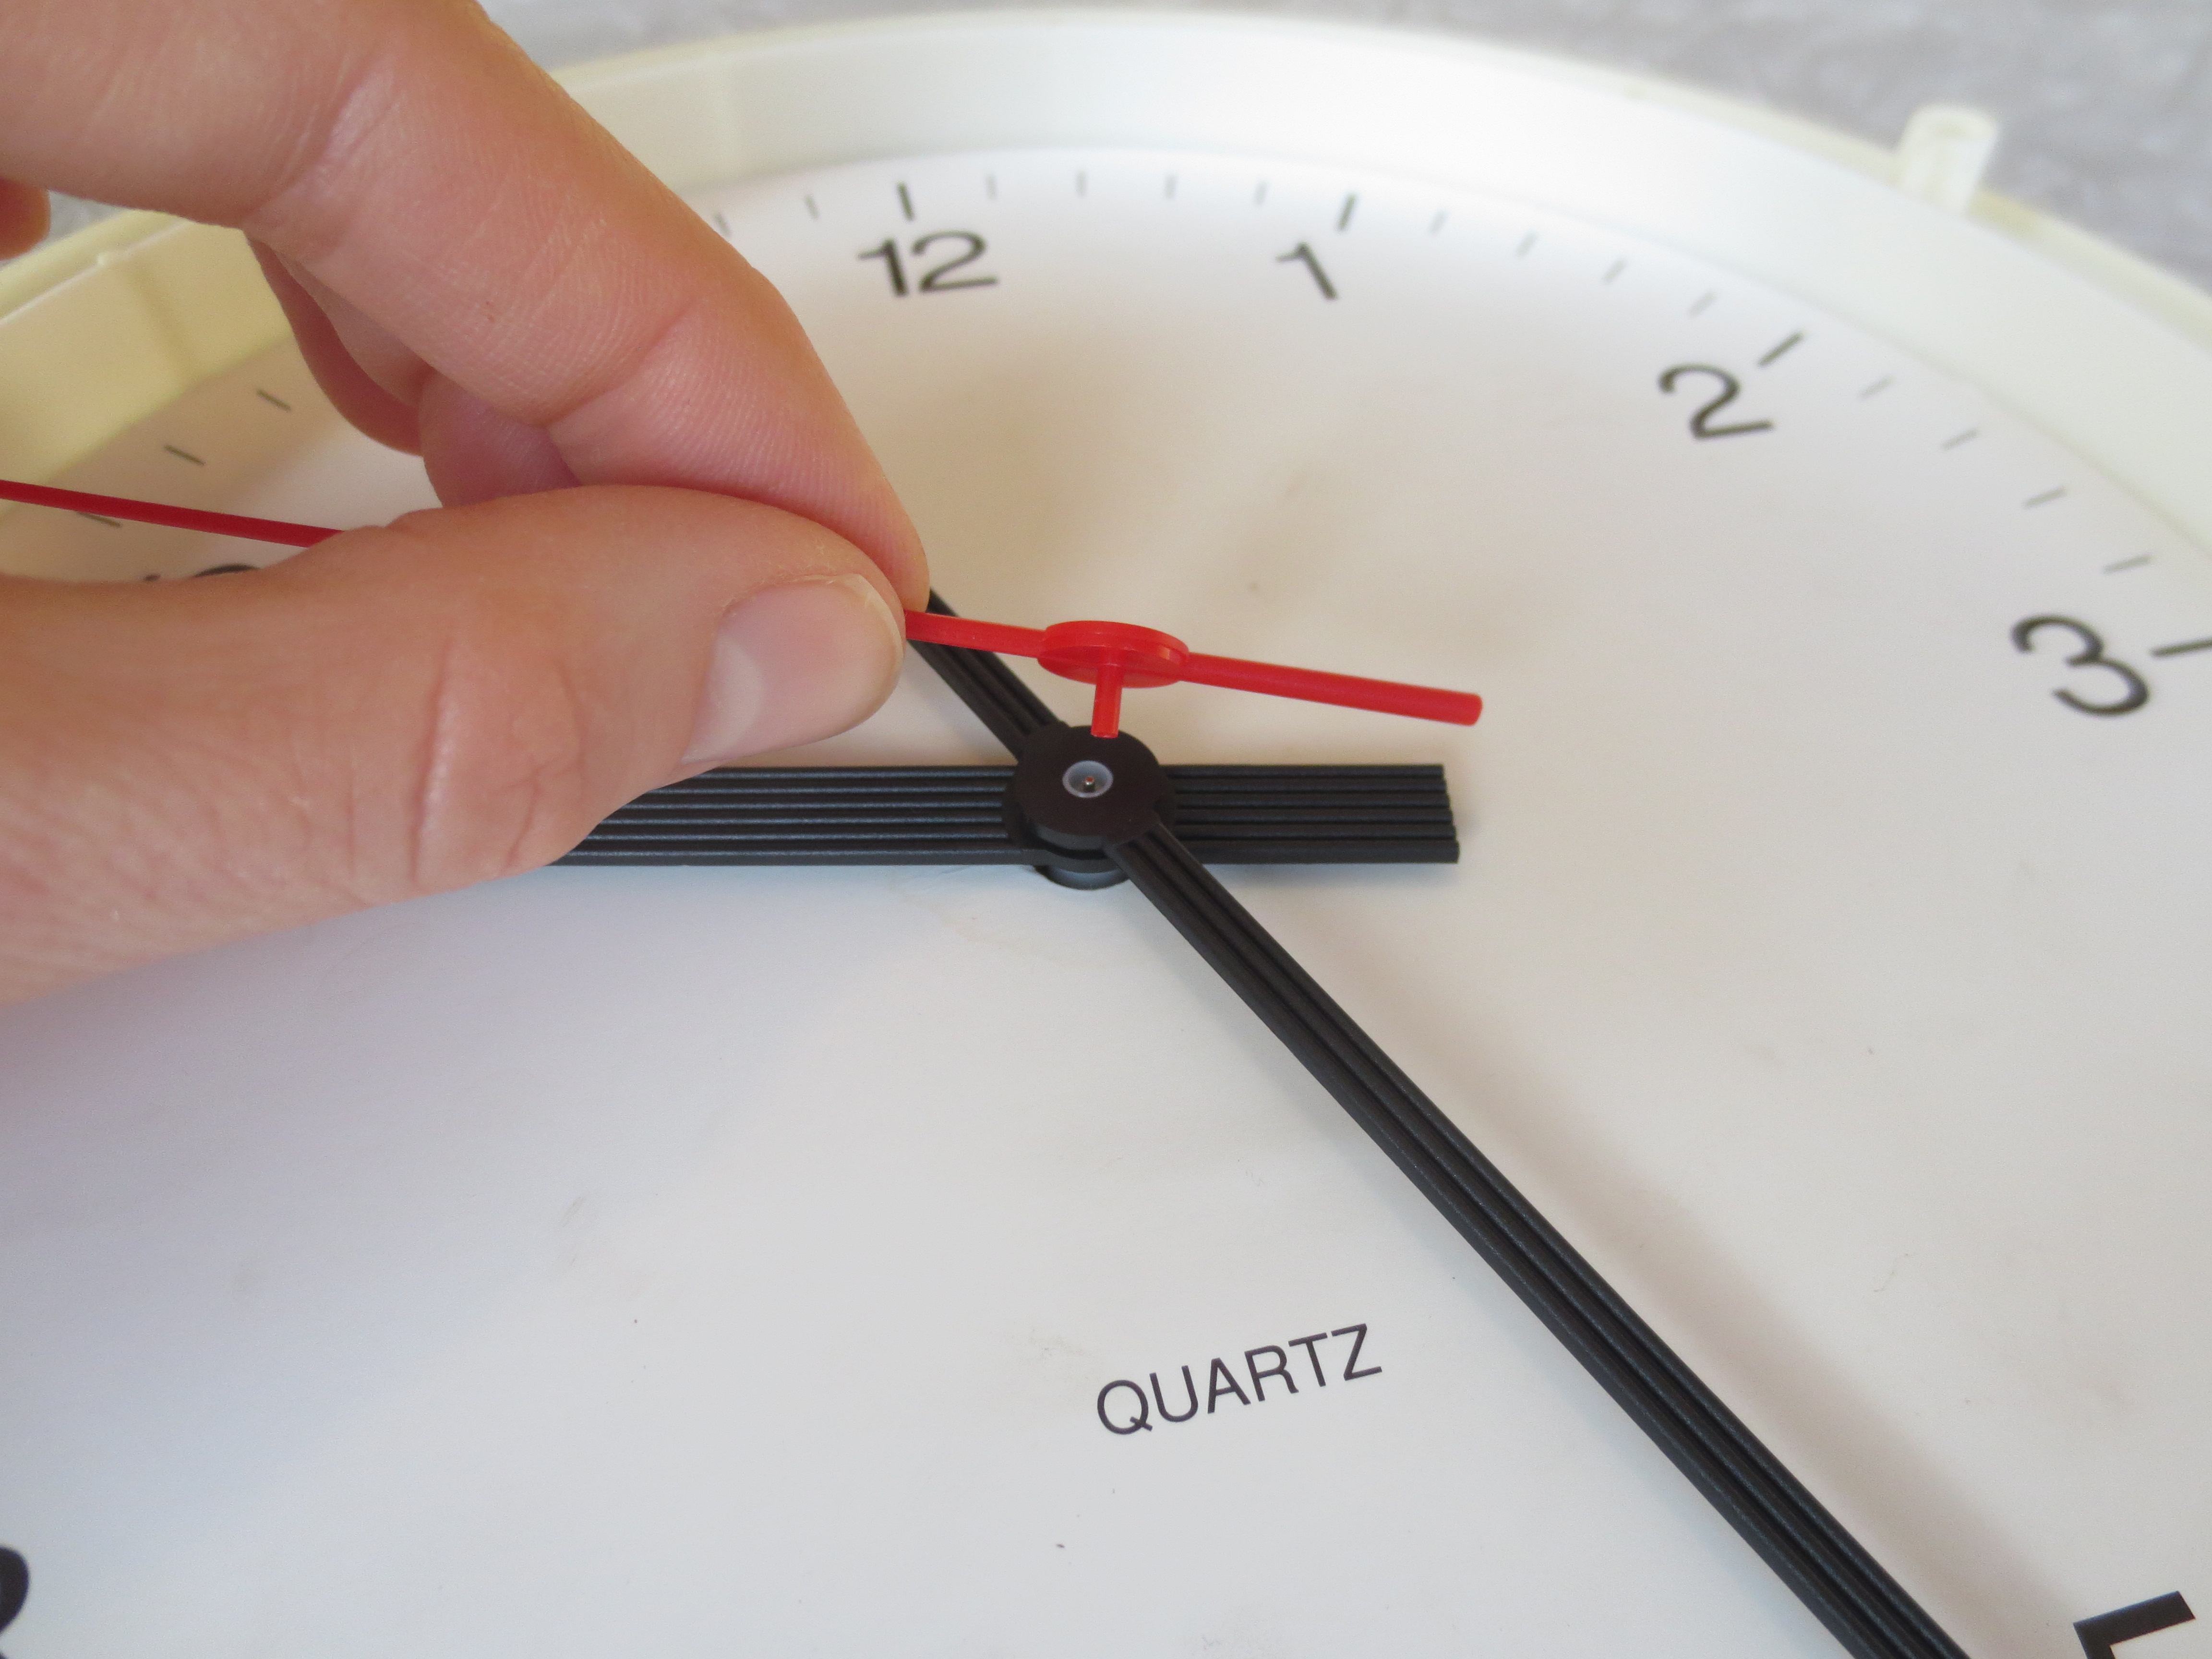
Next, GENTLY pry off the second hand, the minute hand and then the hour hand. They will always be in this order.
IMG_3049
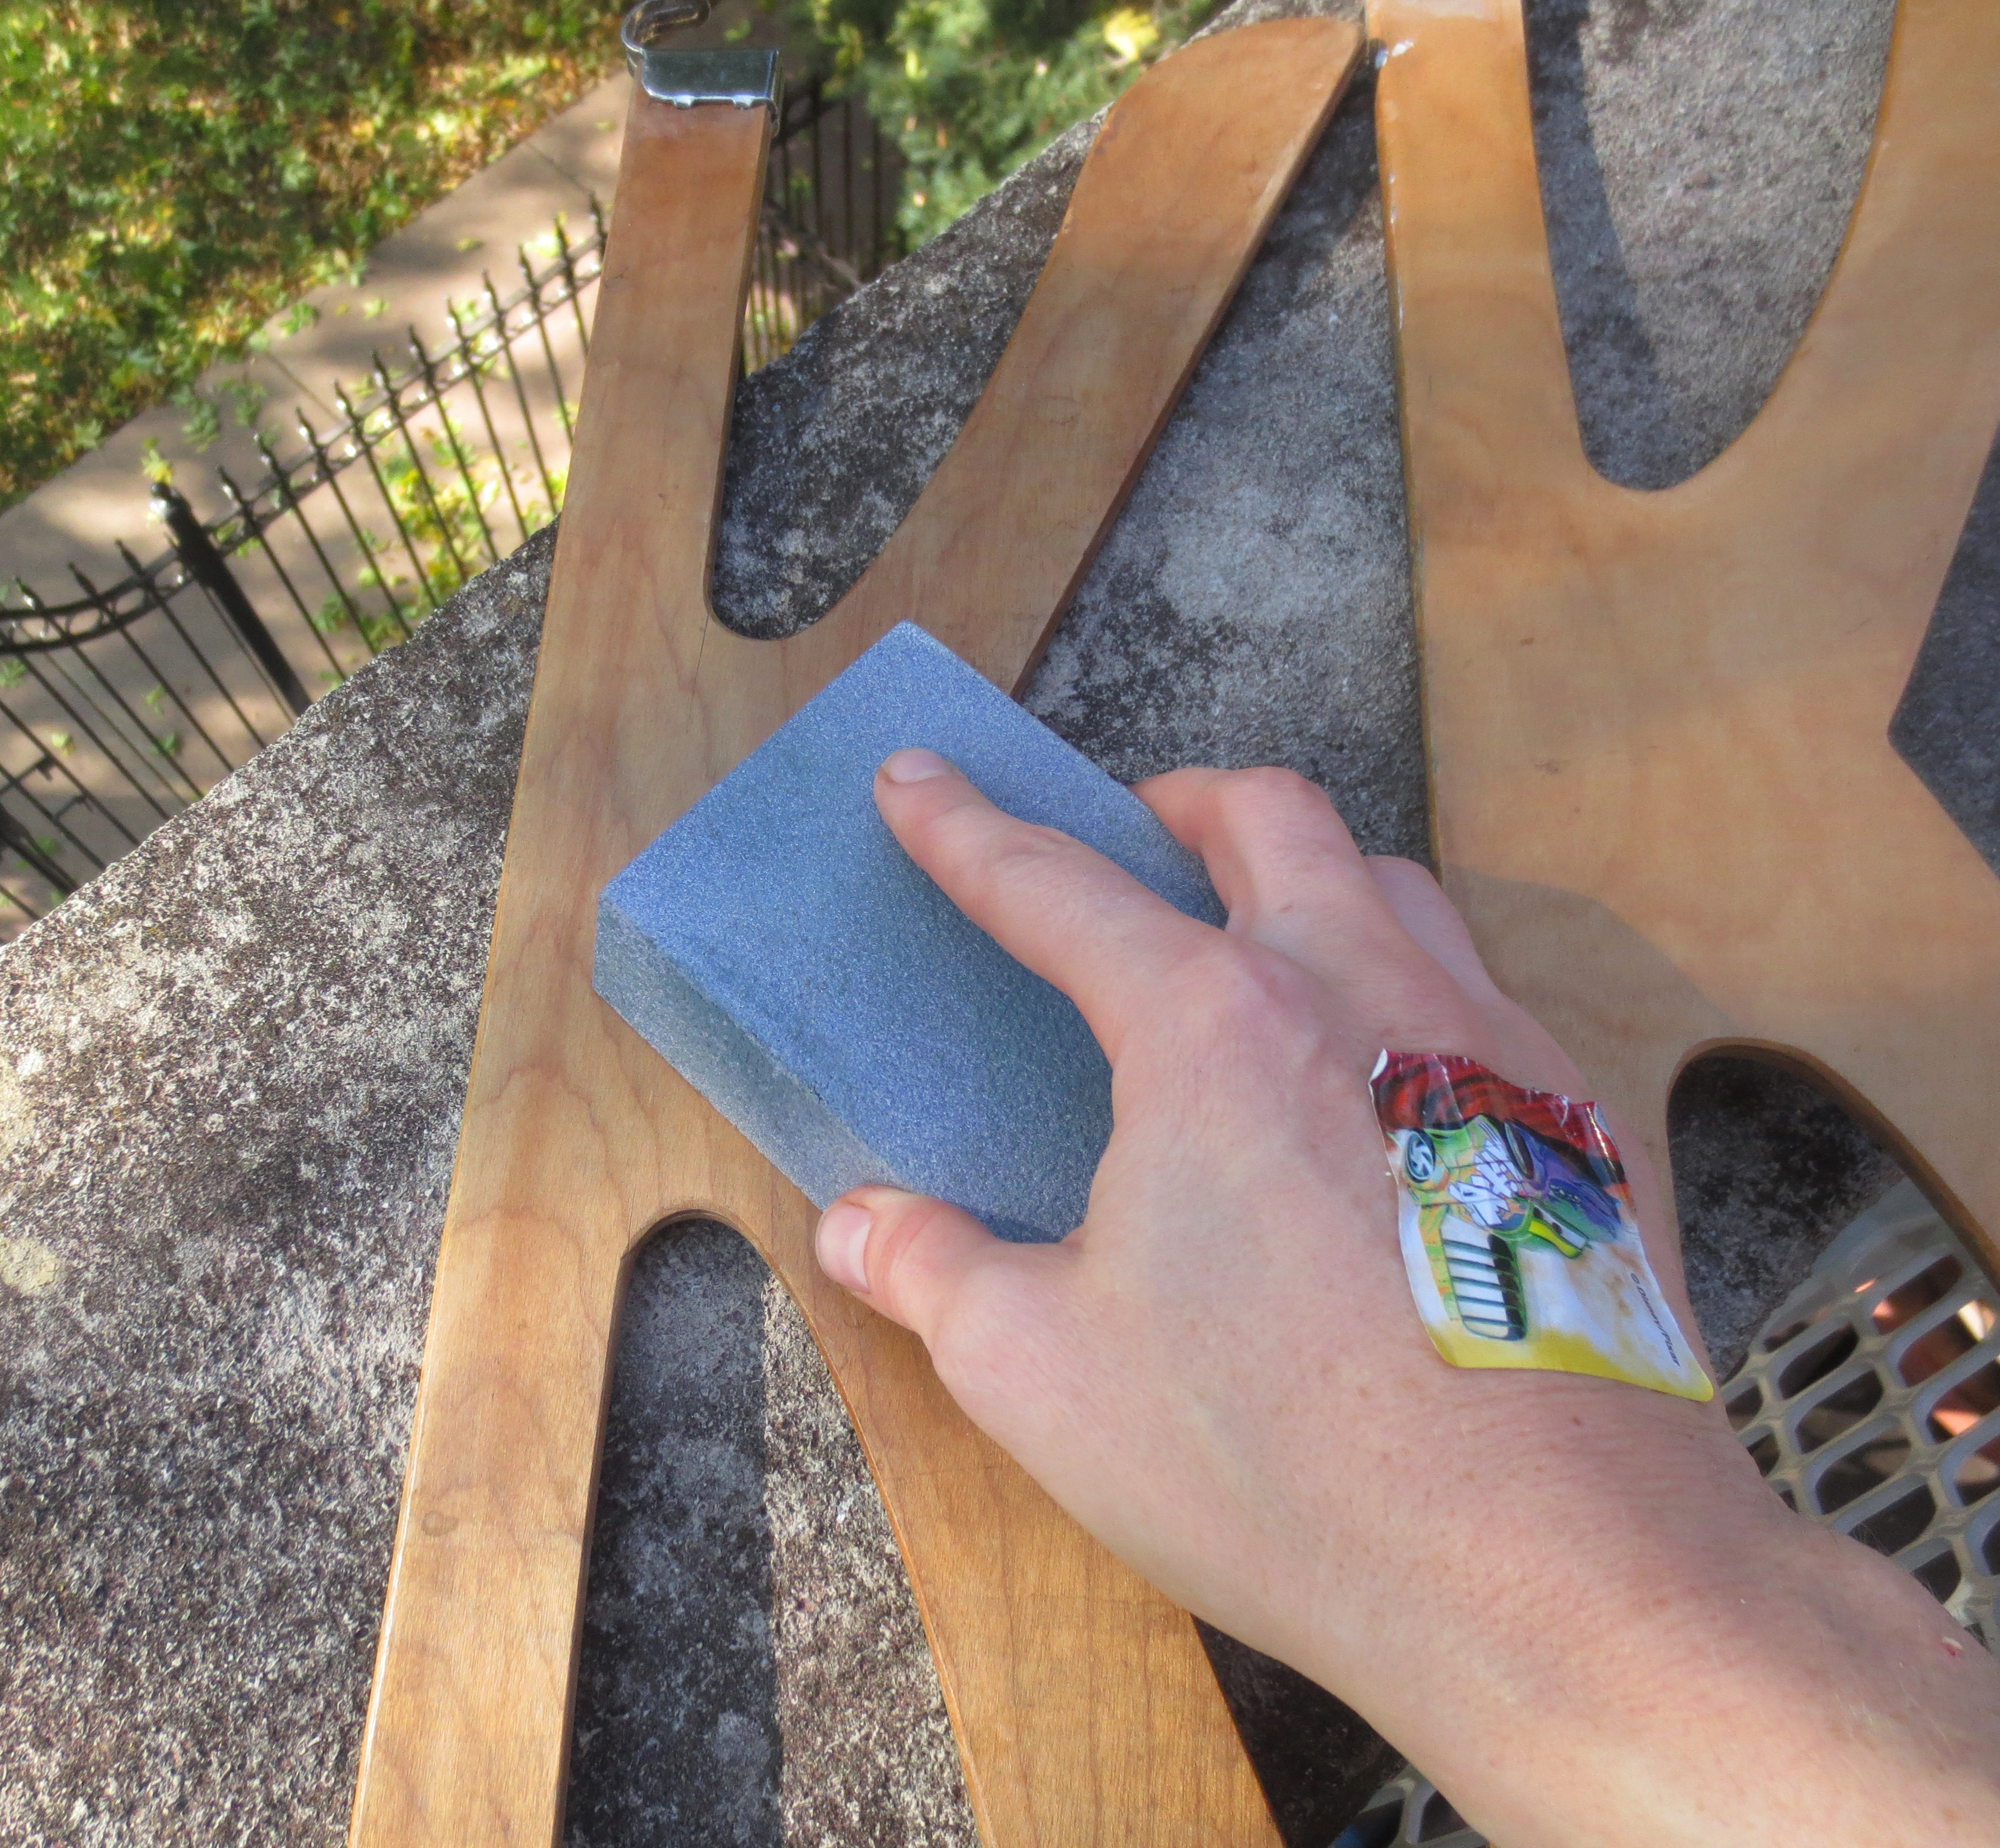
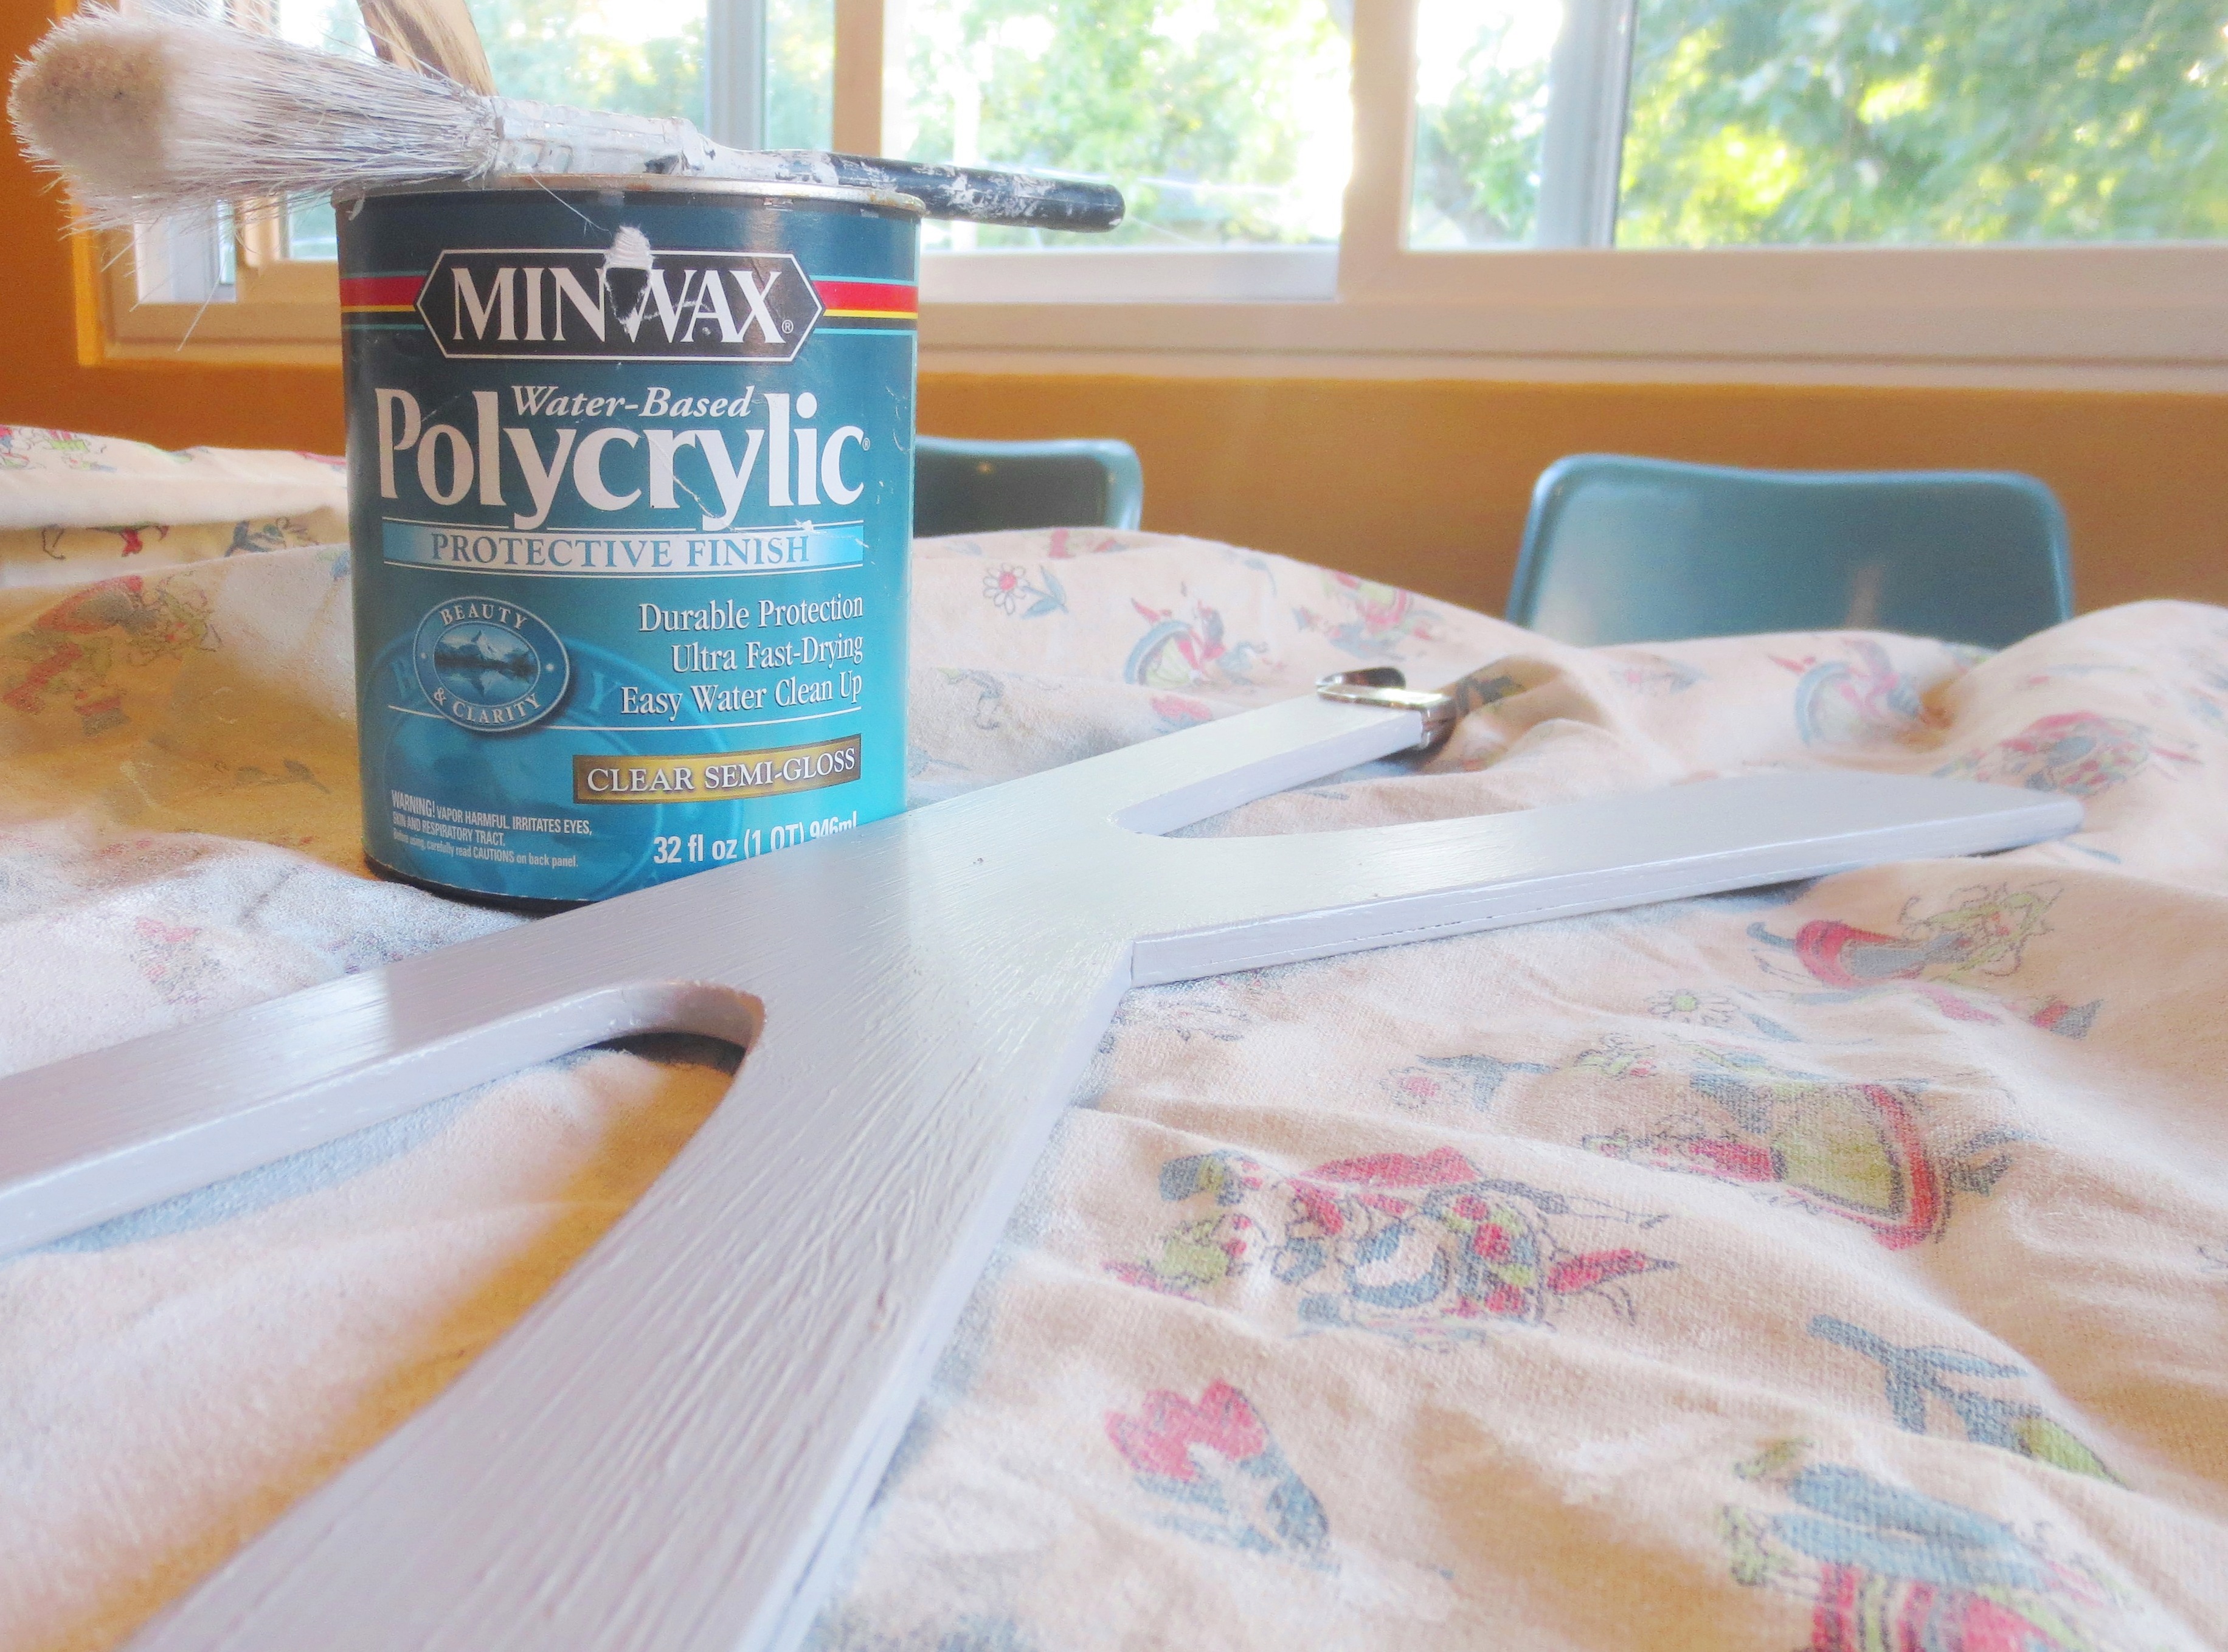
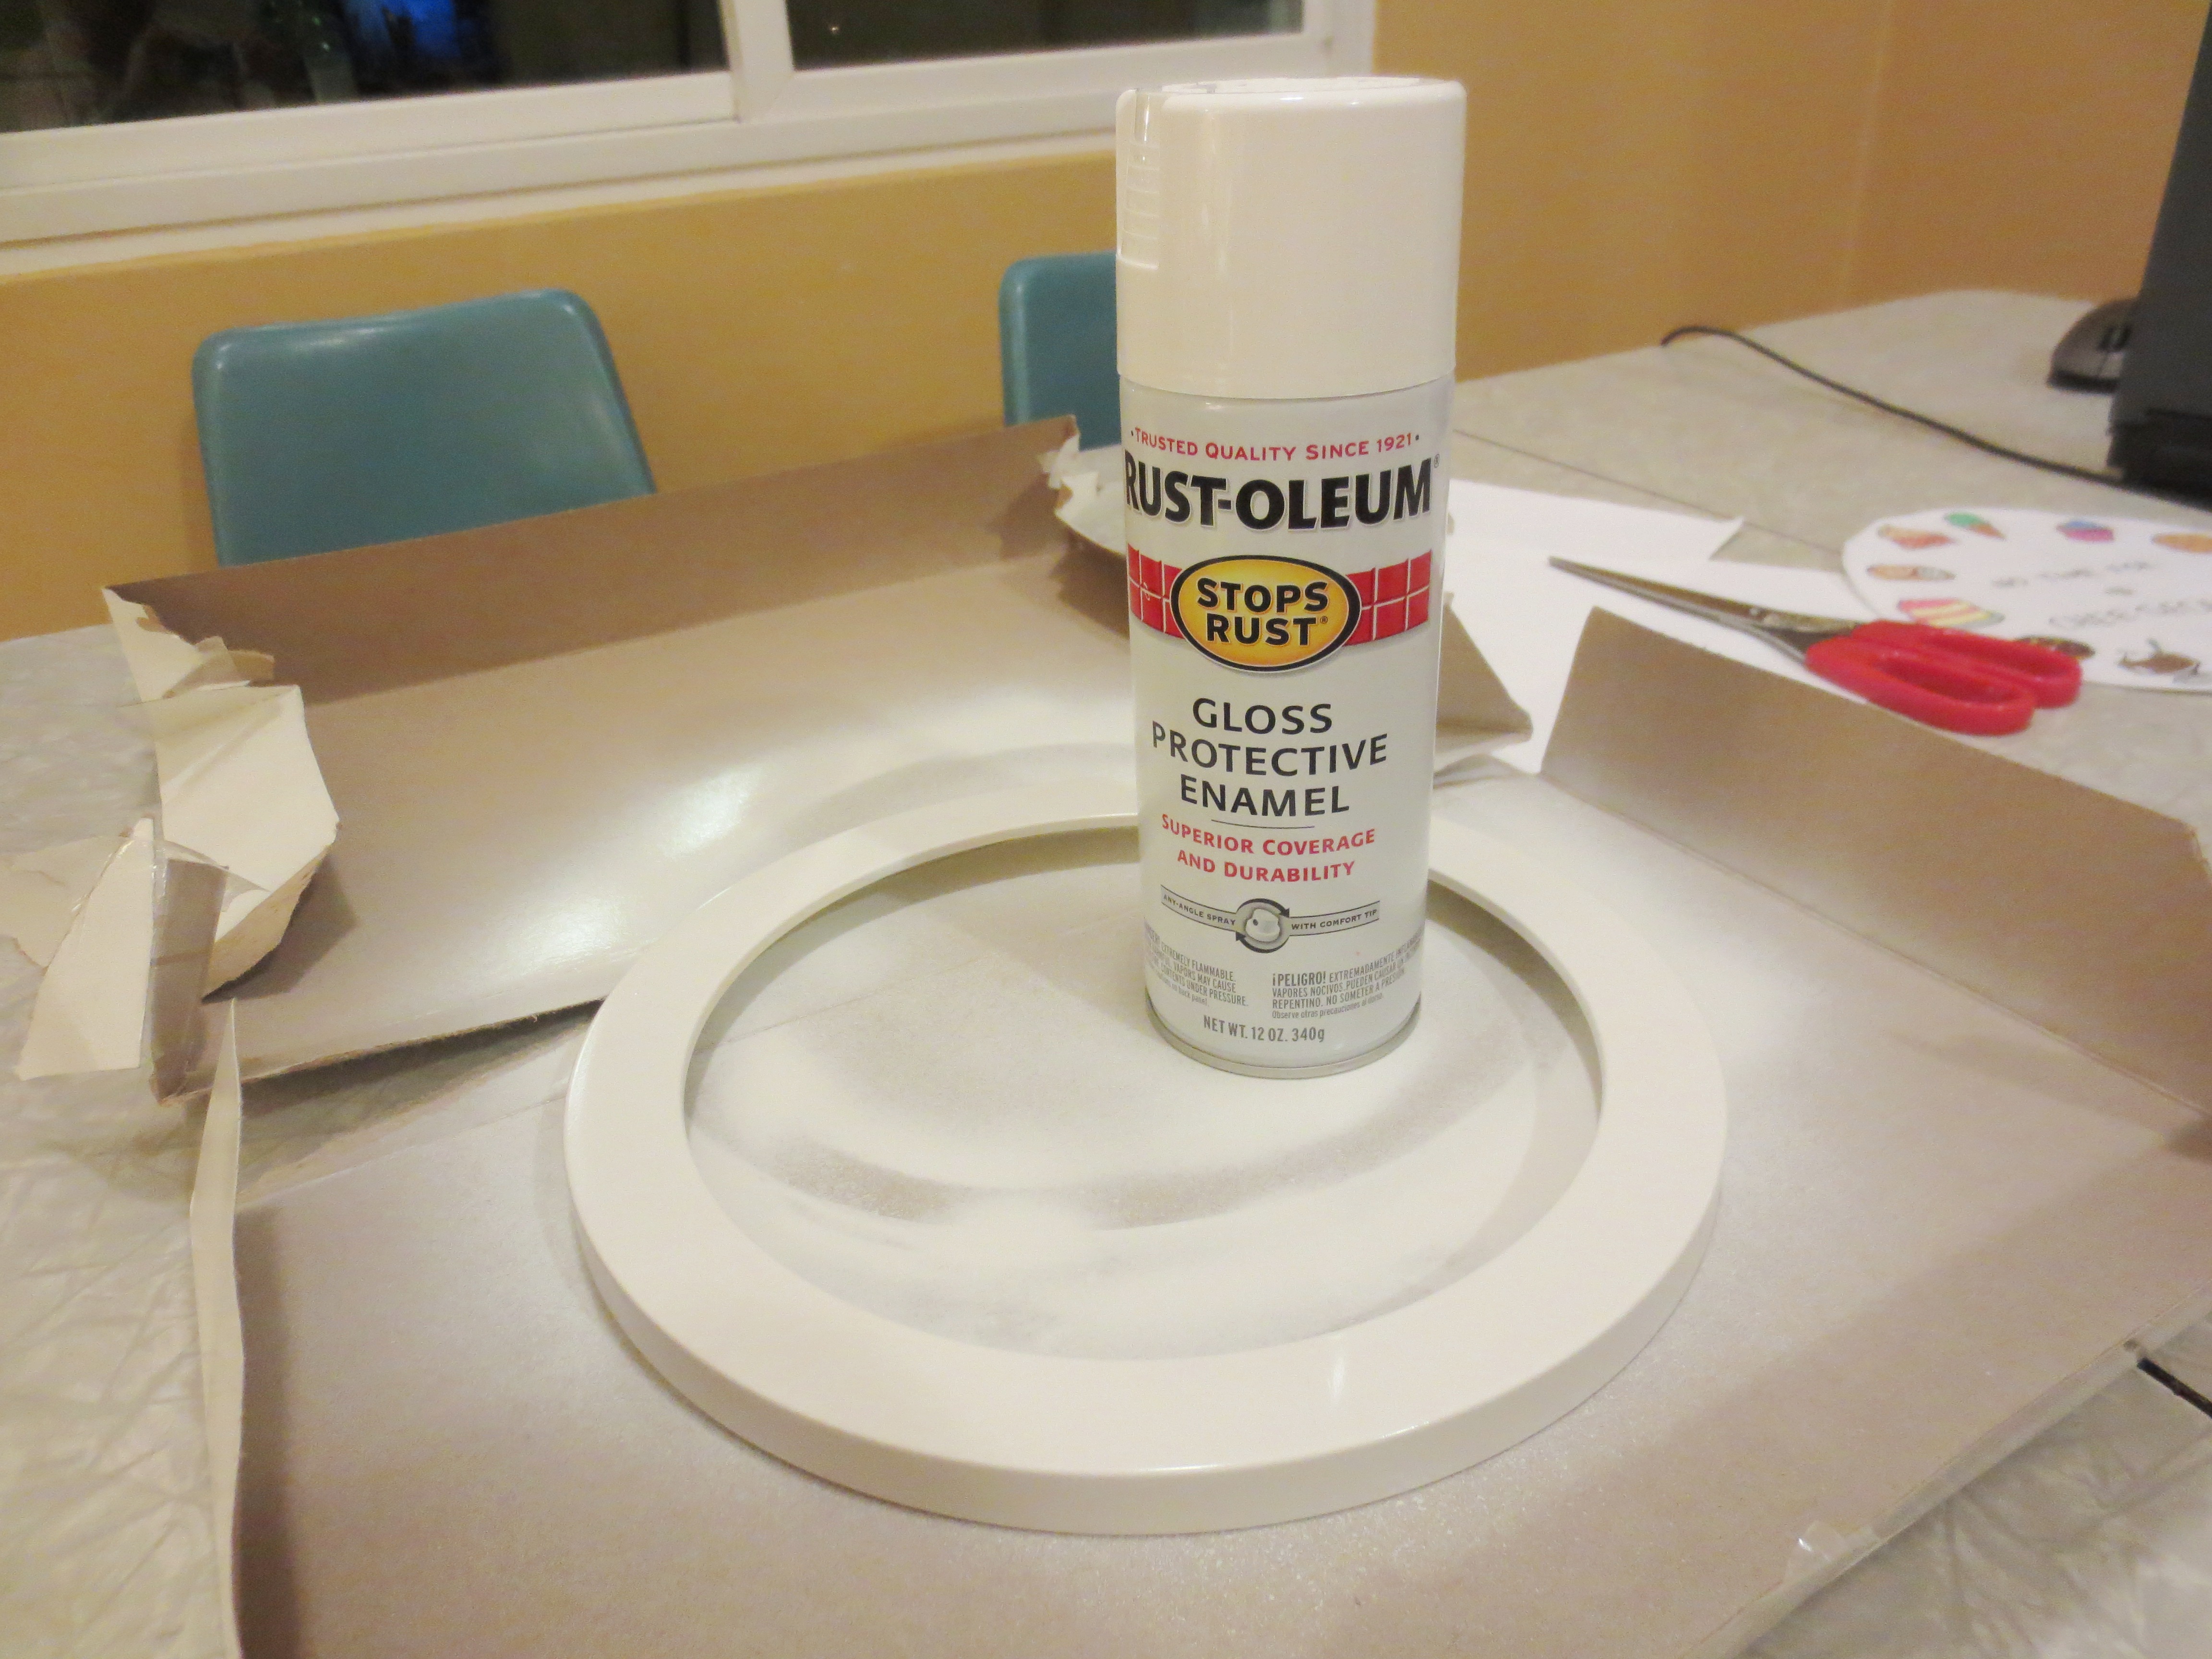
Pull off the paper face of the clock, unless it is glued down. In that case, just leave it.  Scrub down the frame and polish the glass or plastic front cover.  I didn’t care for my clock’s soul-crushing shade of 1980s beige, so I gave it a quick coat of shiny white spray paint. Remember — spray paint makes everything better!
IMG_3084STEP THREE: MAKE DESSERT!
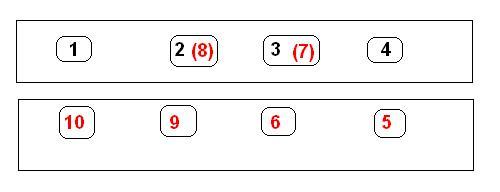
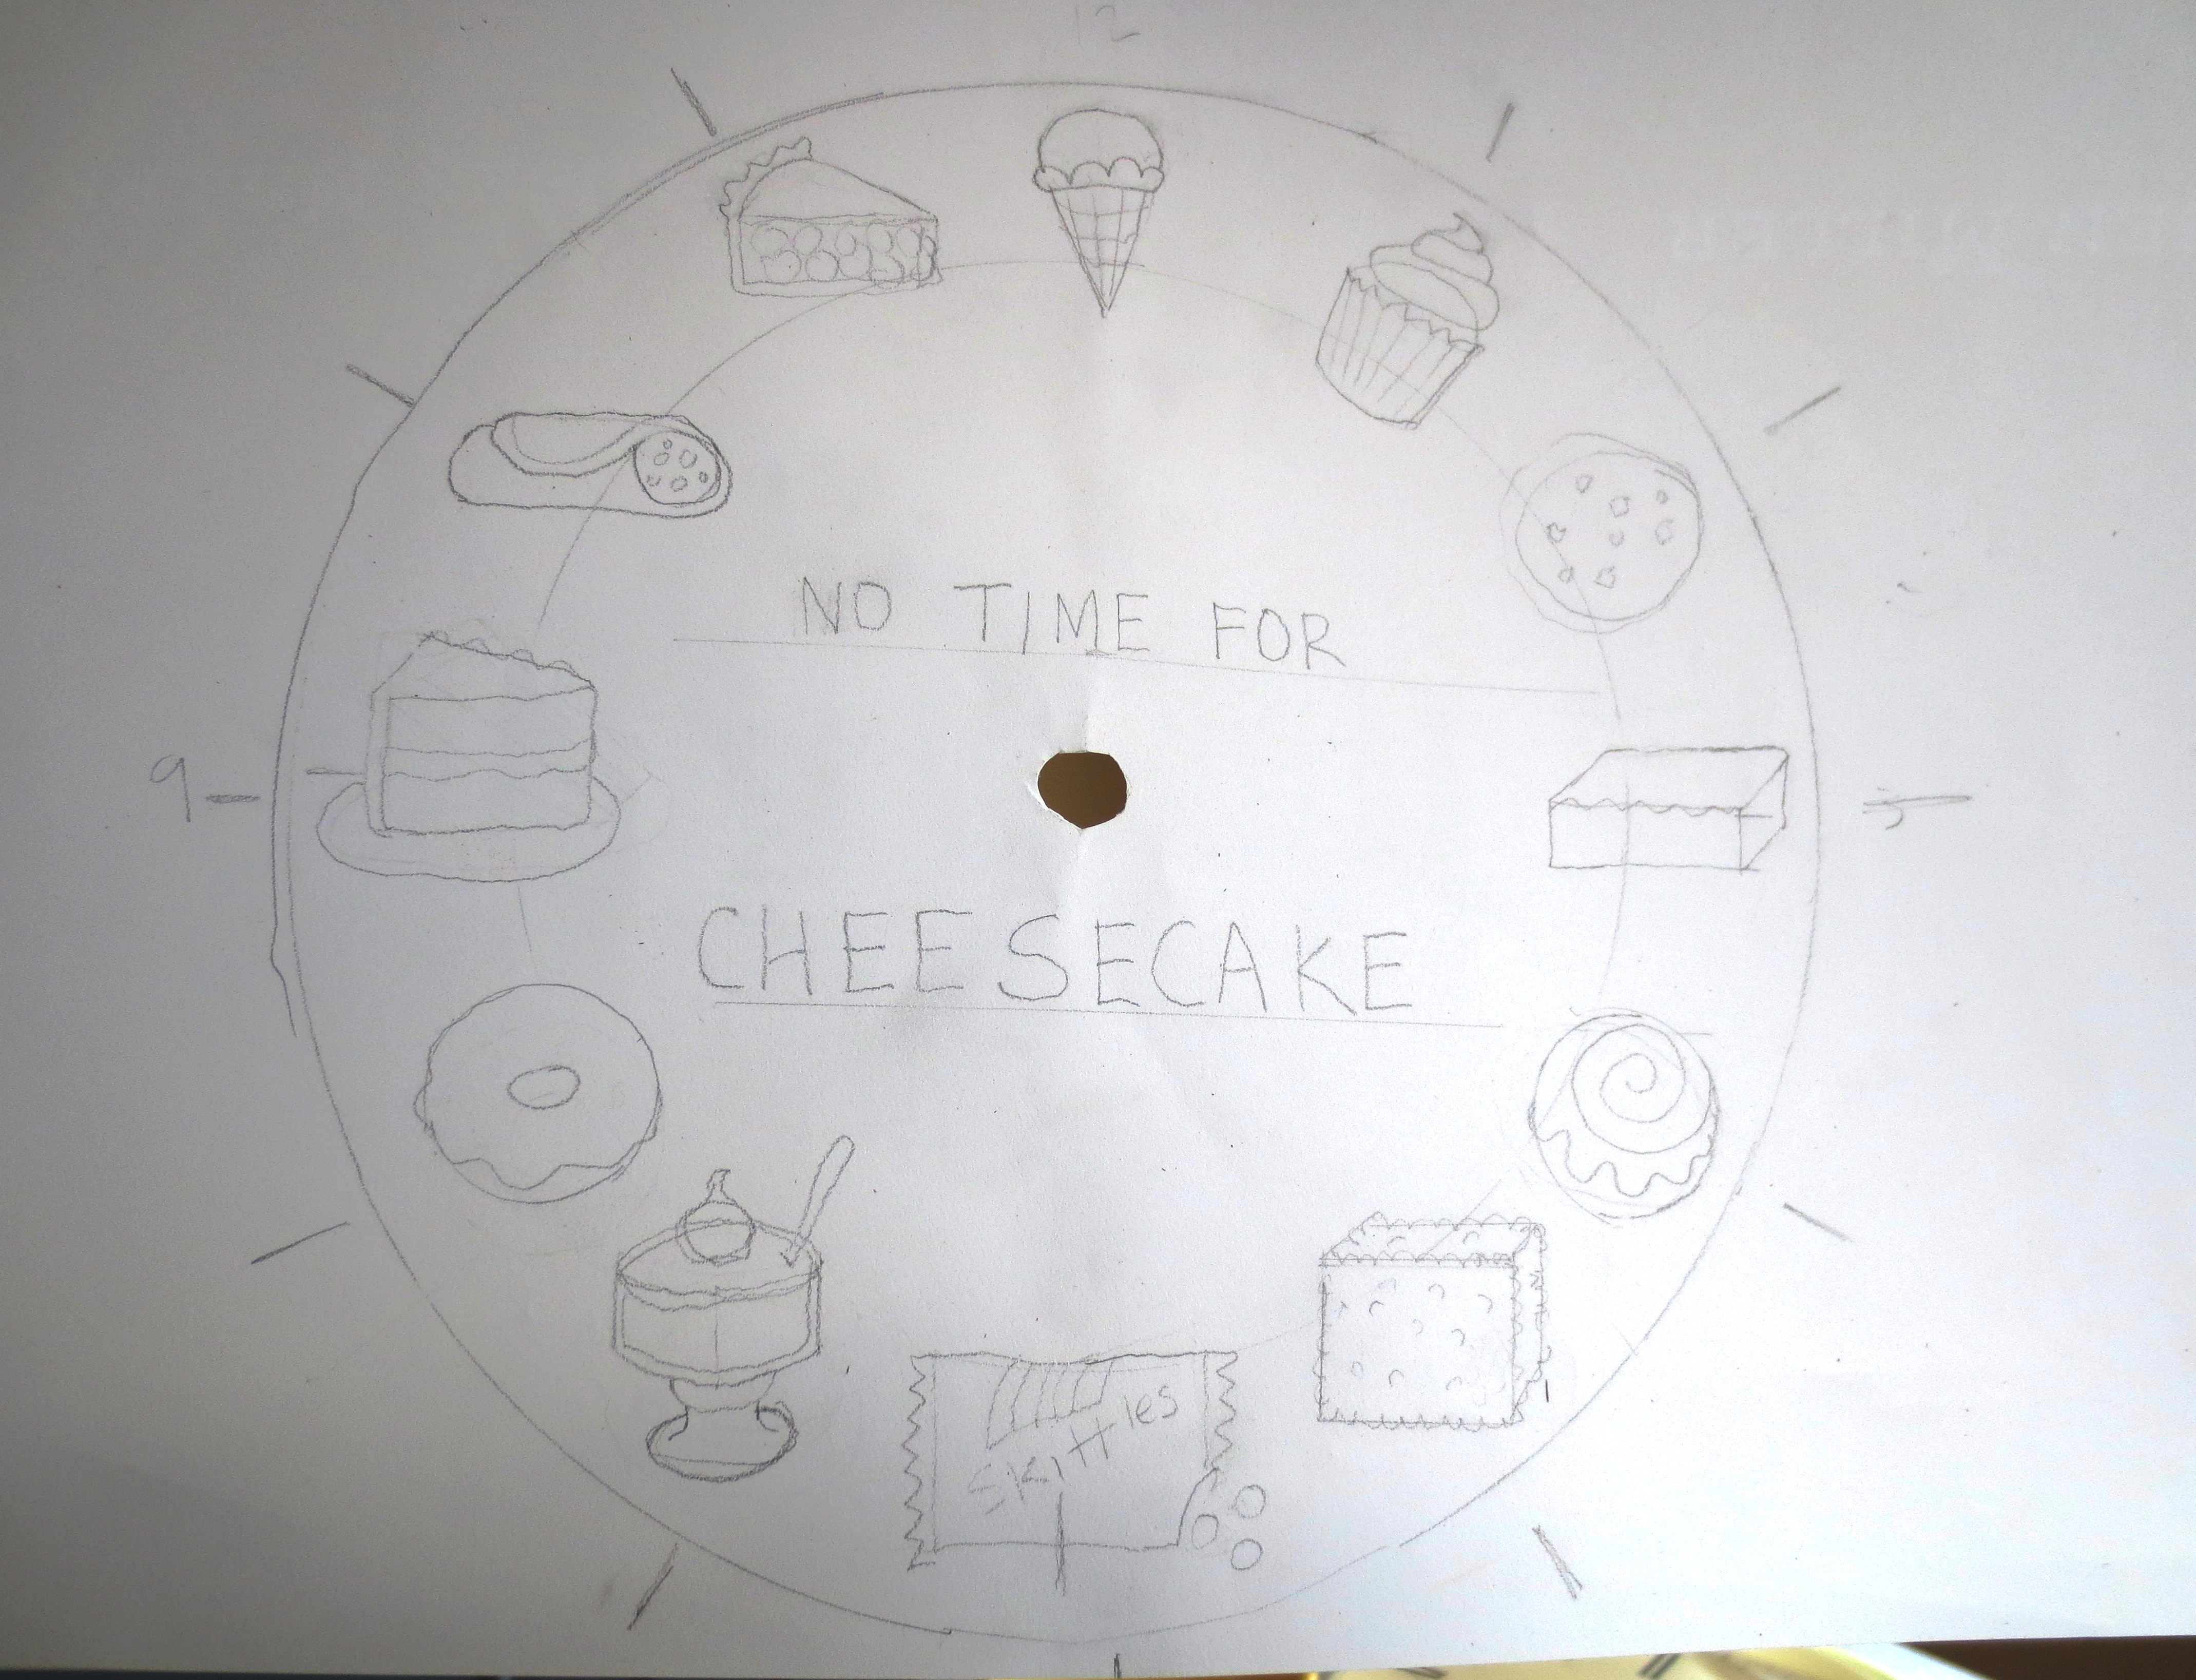
It is important to decide in advance how many desserts you will create. For example, can you only think of four desserts that you love more than cheesecake? Then maybe you should place them at 12, 3, 6 and 9 o’clock.  I planned for all 12 hours, but got stuck after ten. I tried to draw Flan, but it ended up looking too much like a runny hat on a plate. I dug a little deeper and found Pudding and Cannoli.   Sure hope my friend likes them more than cheesecake!

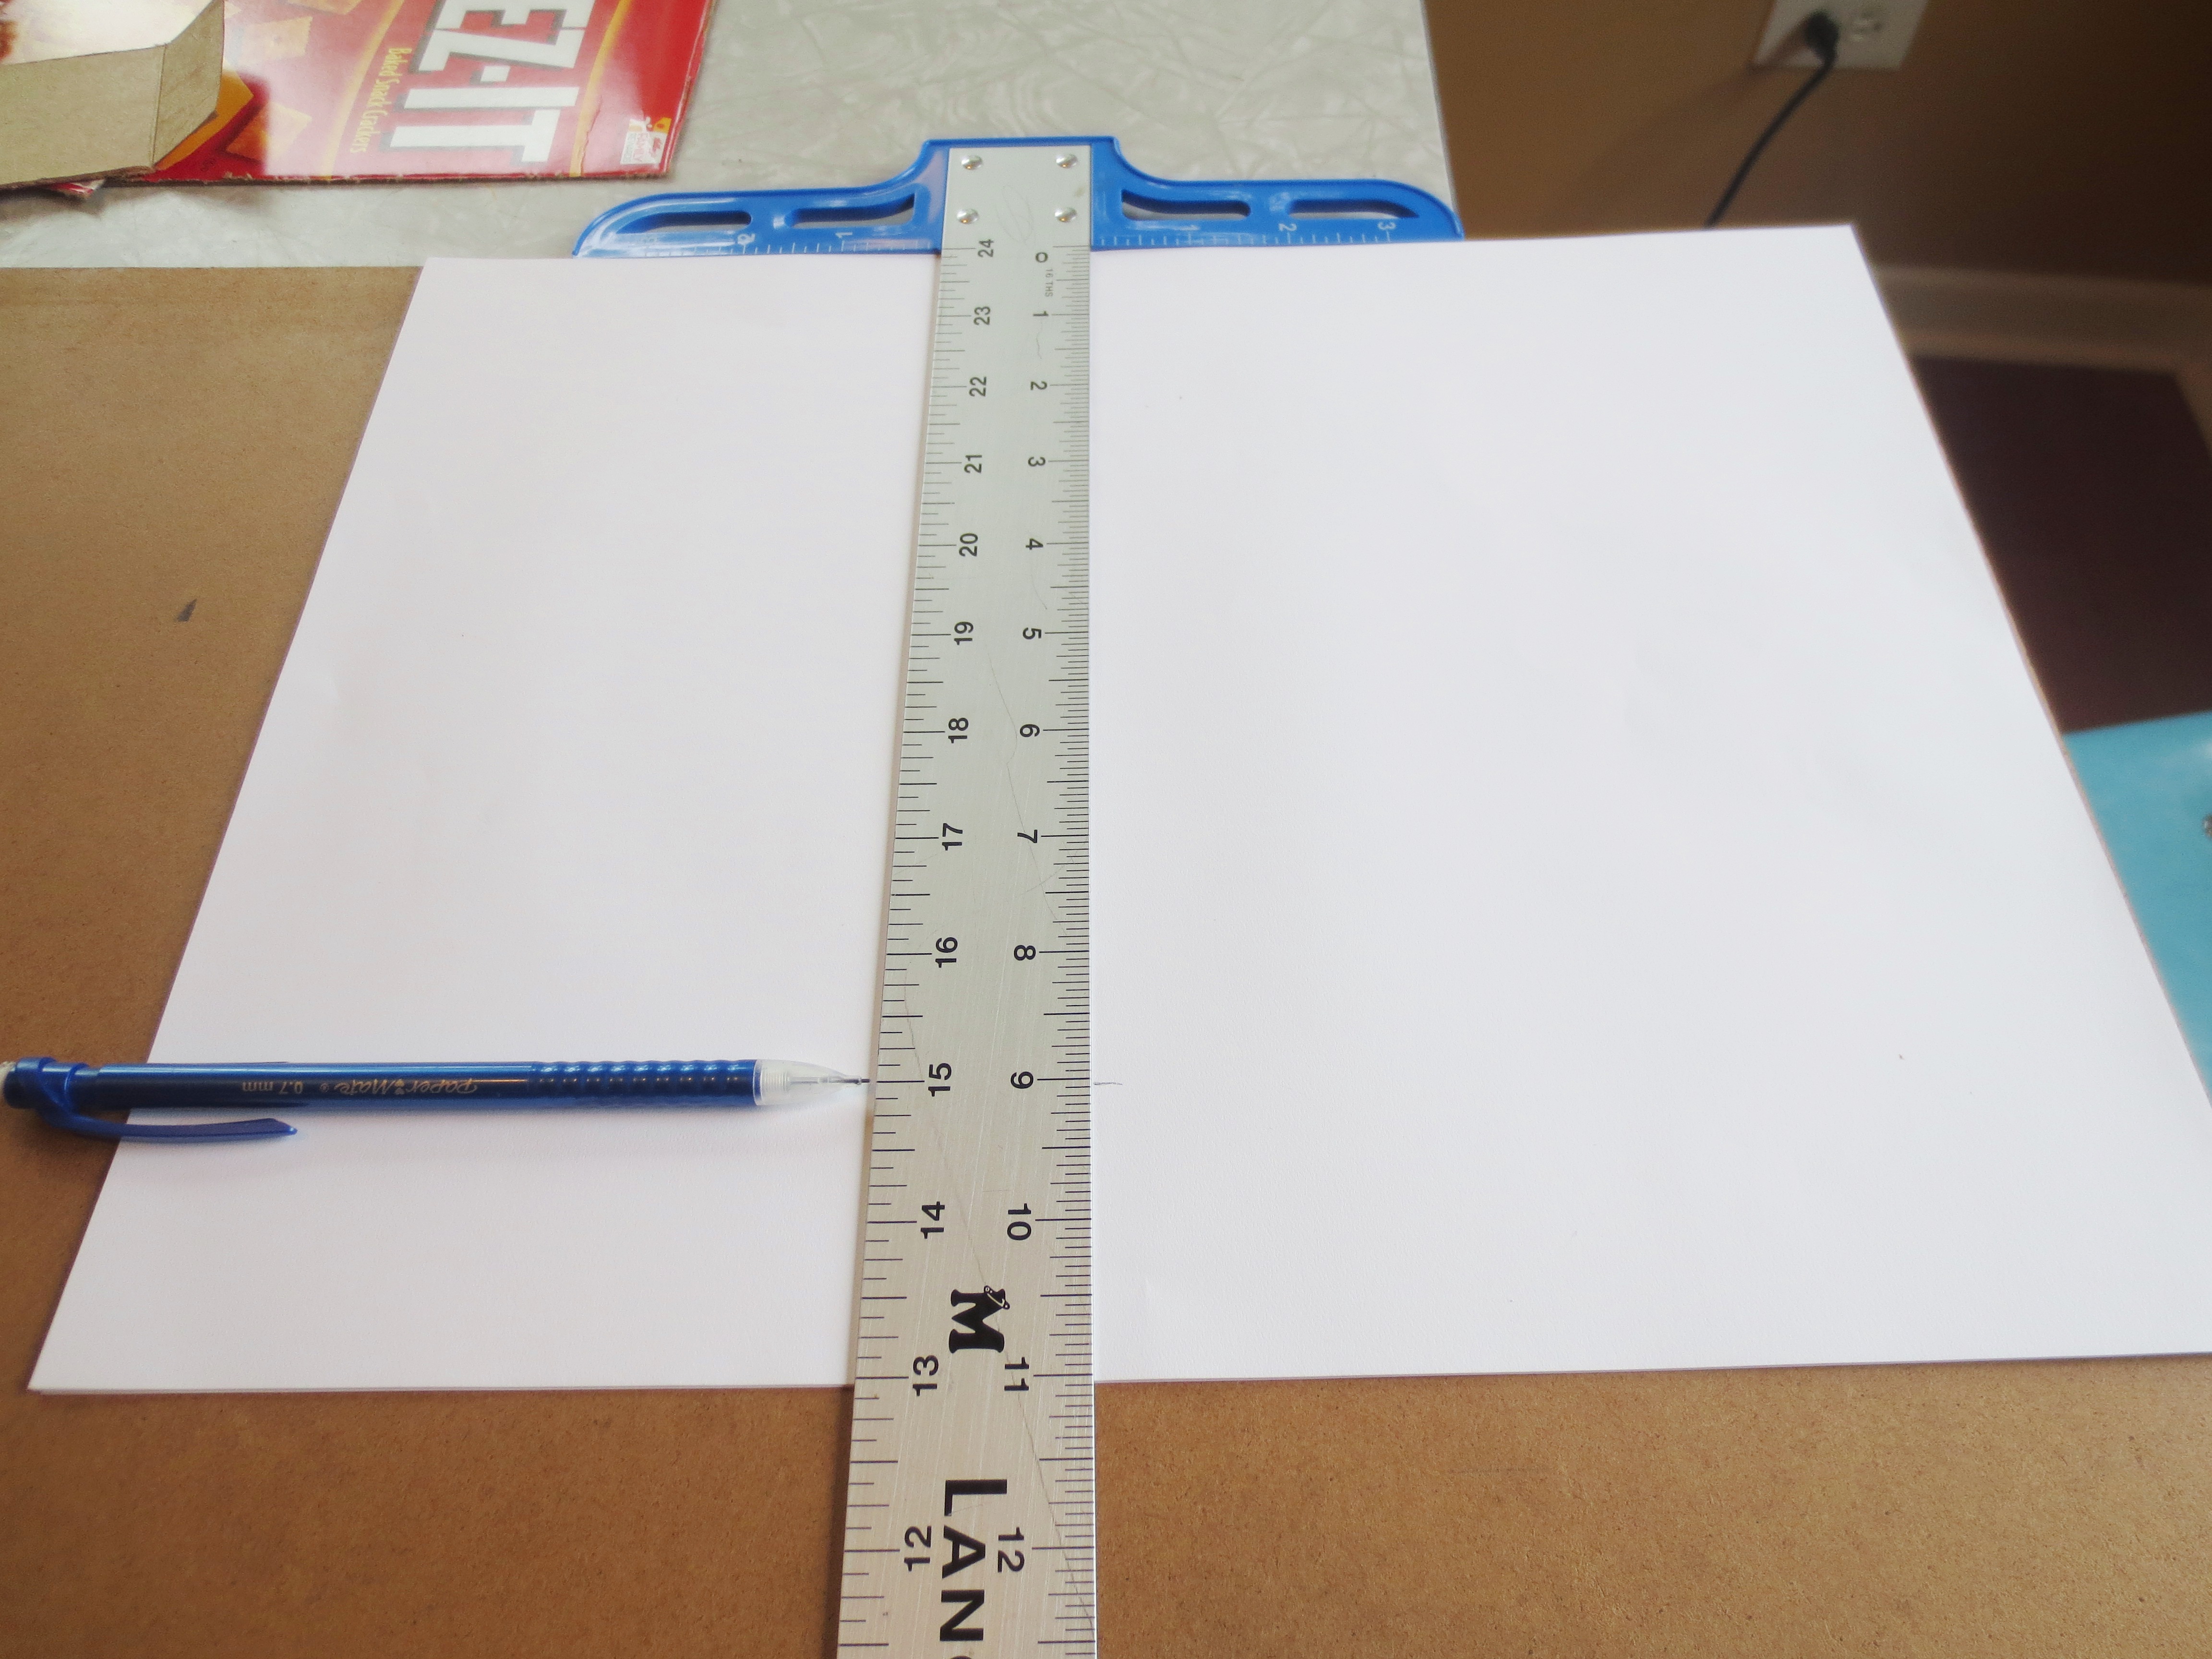
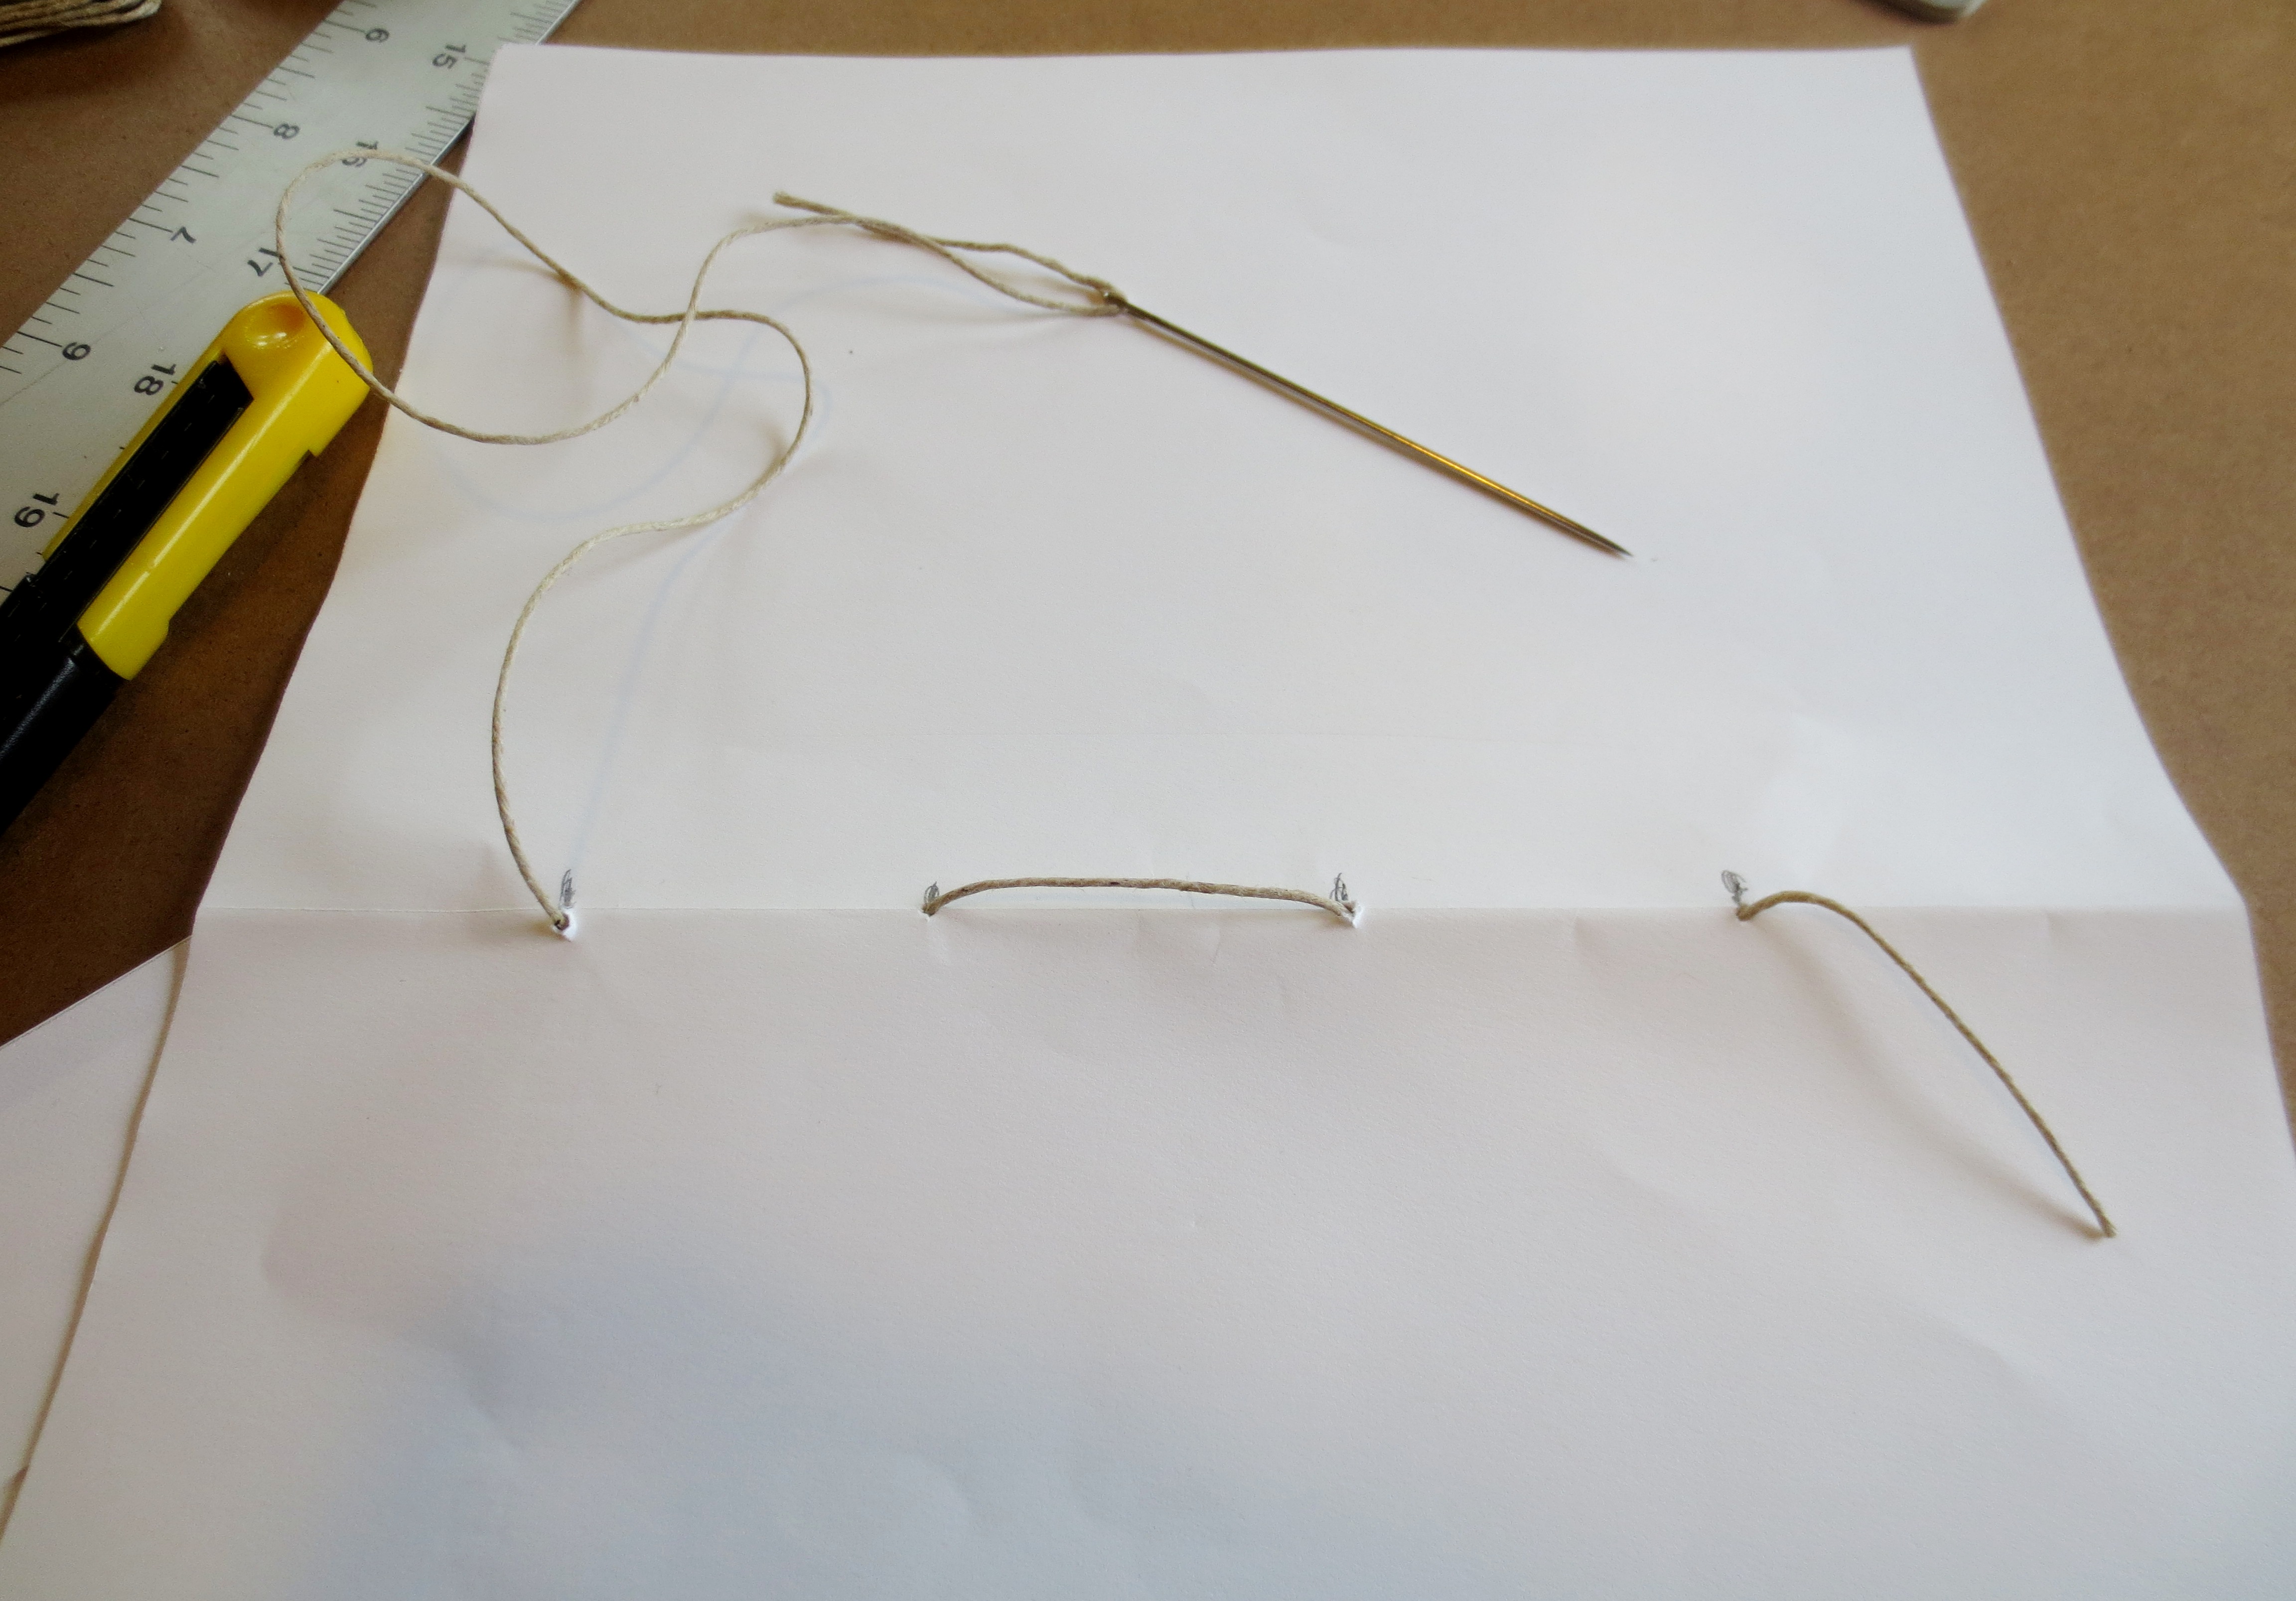
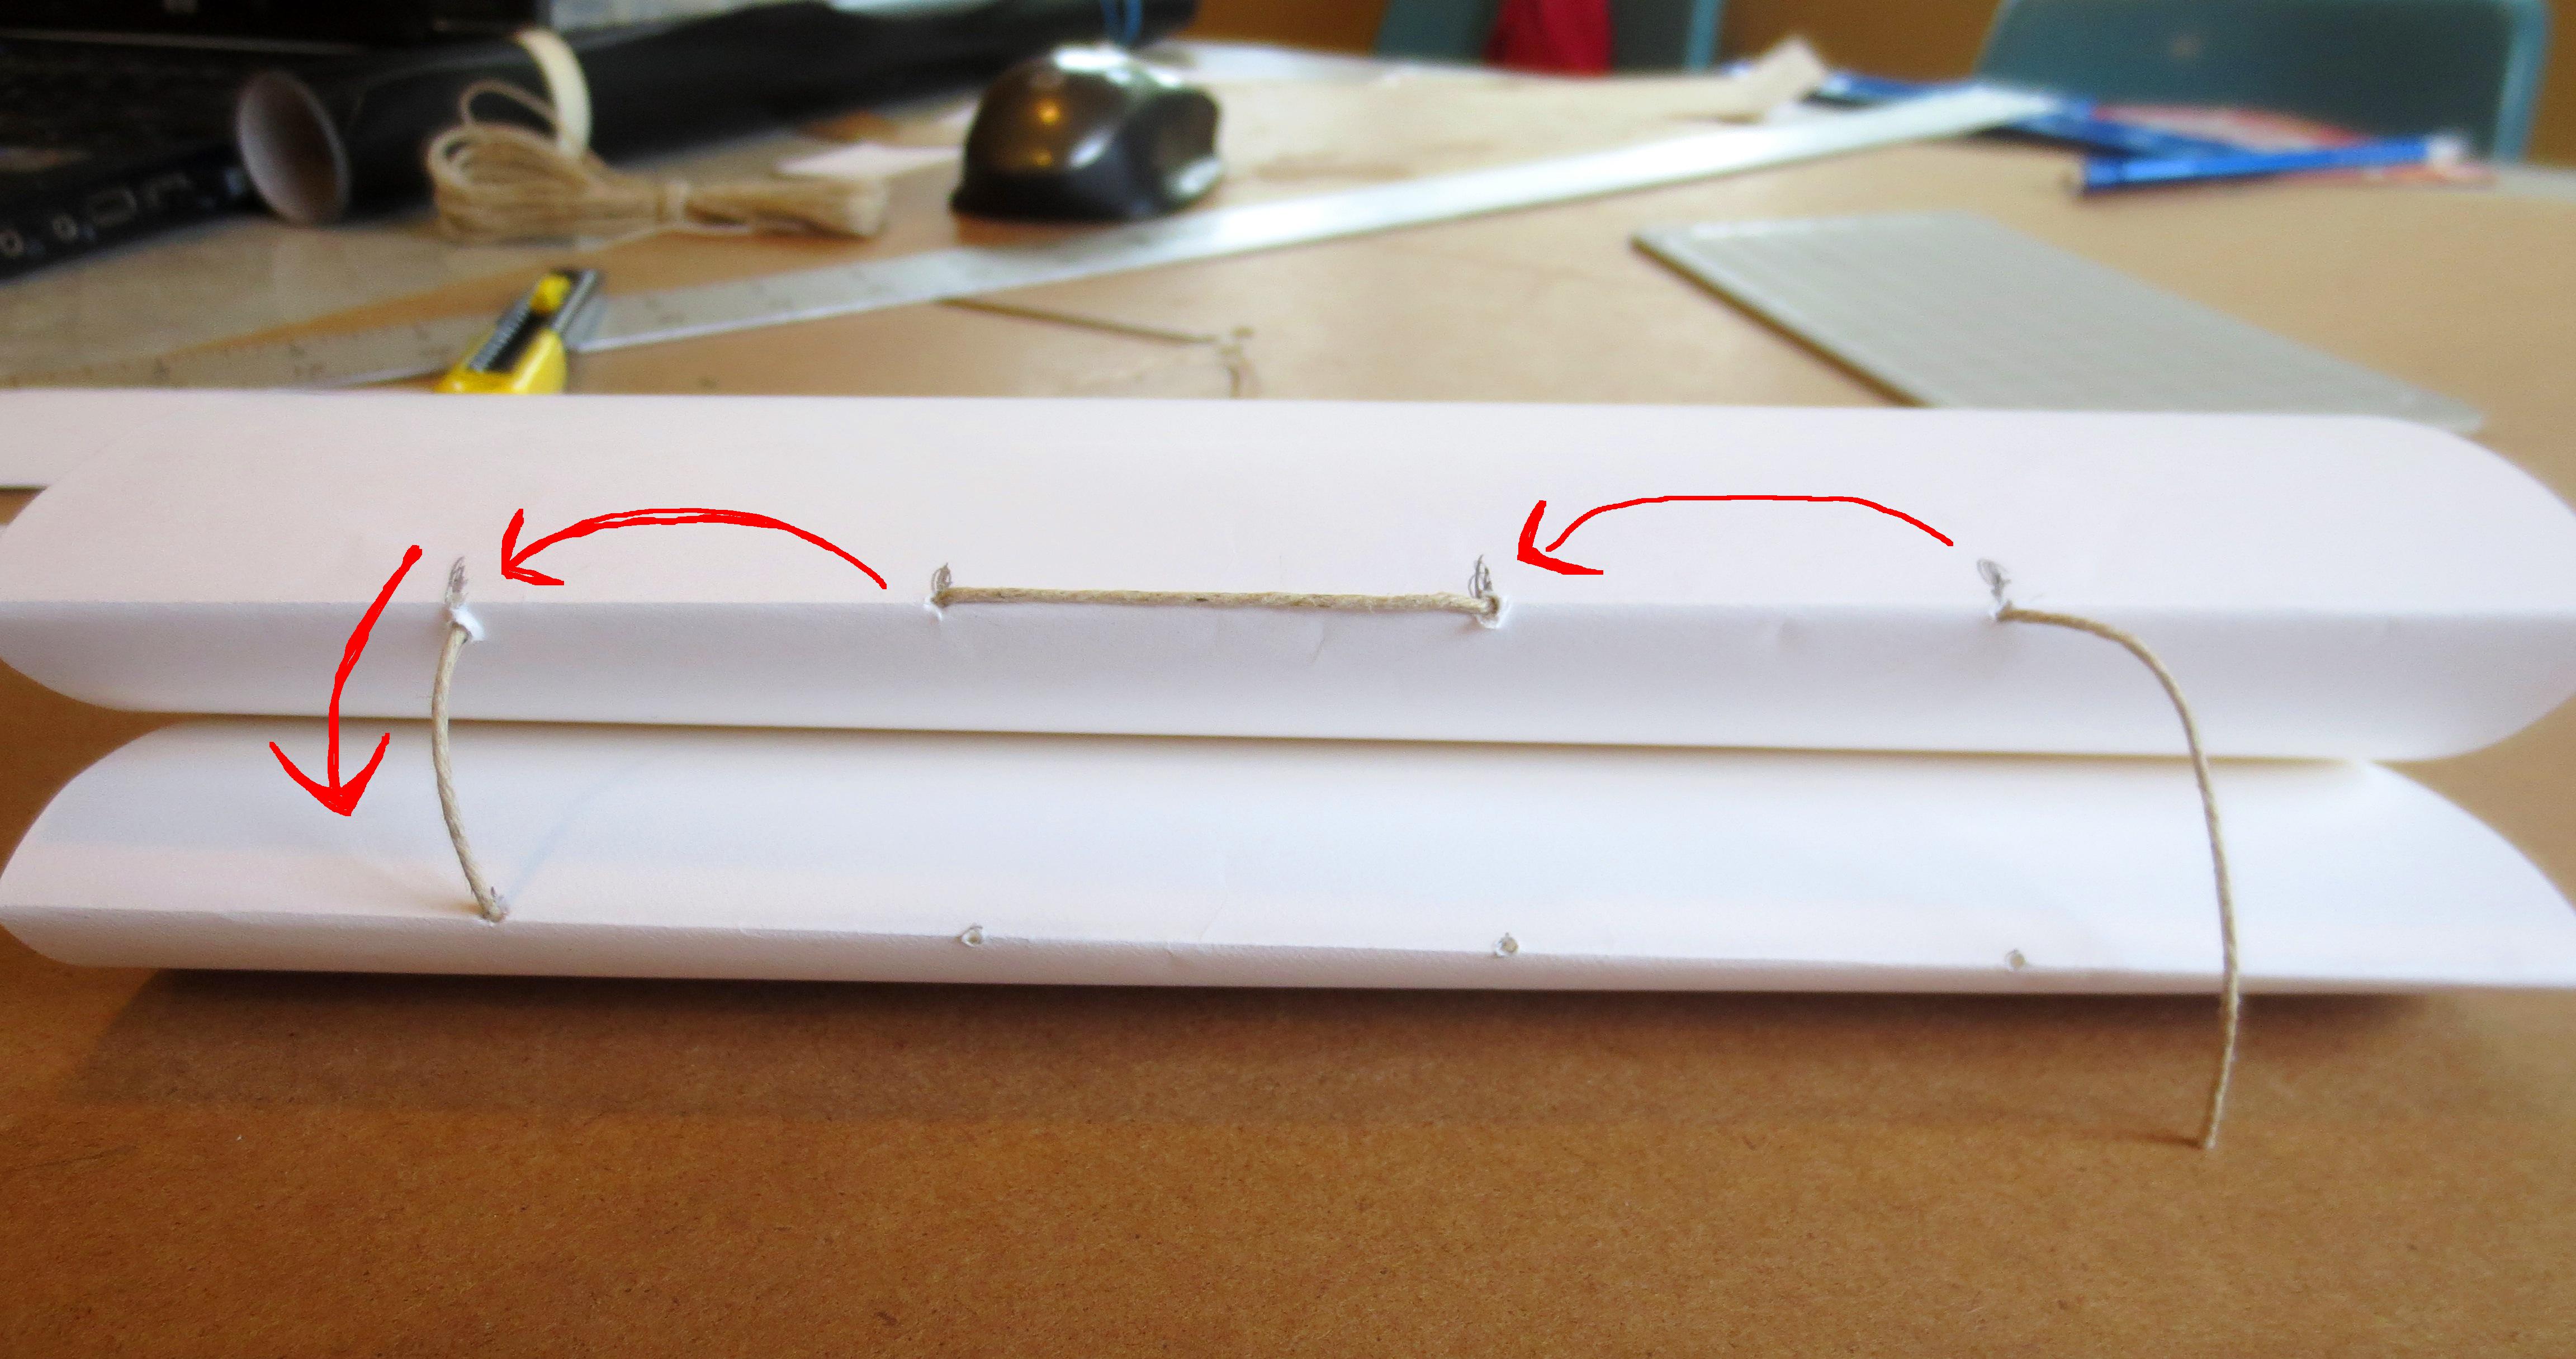
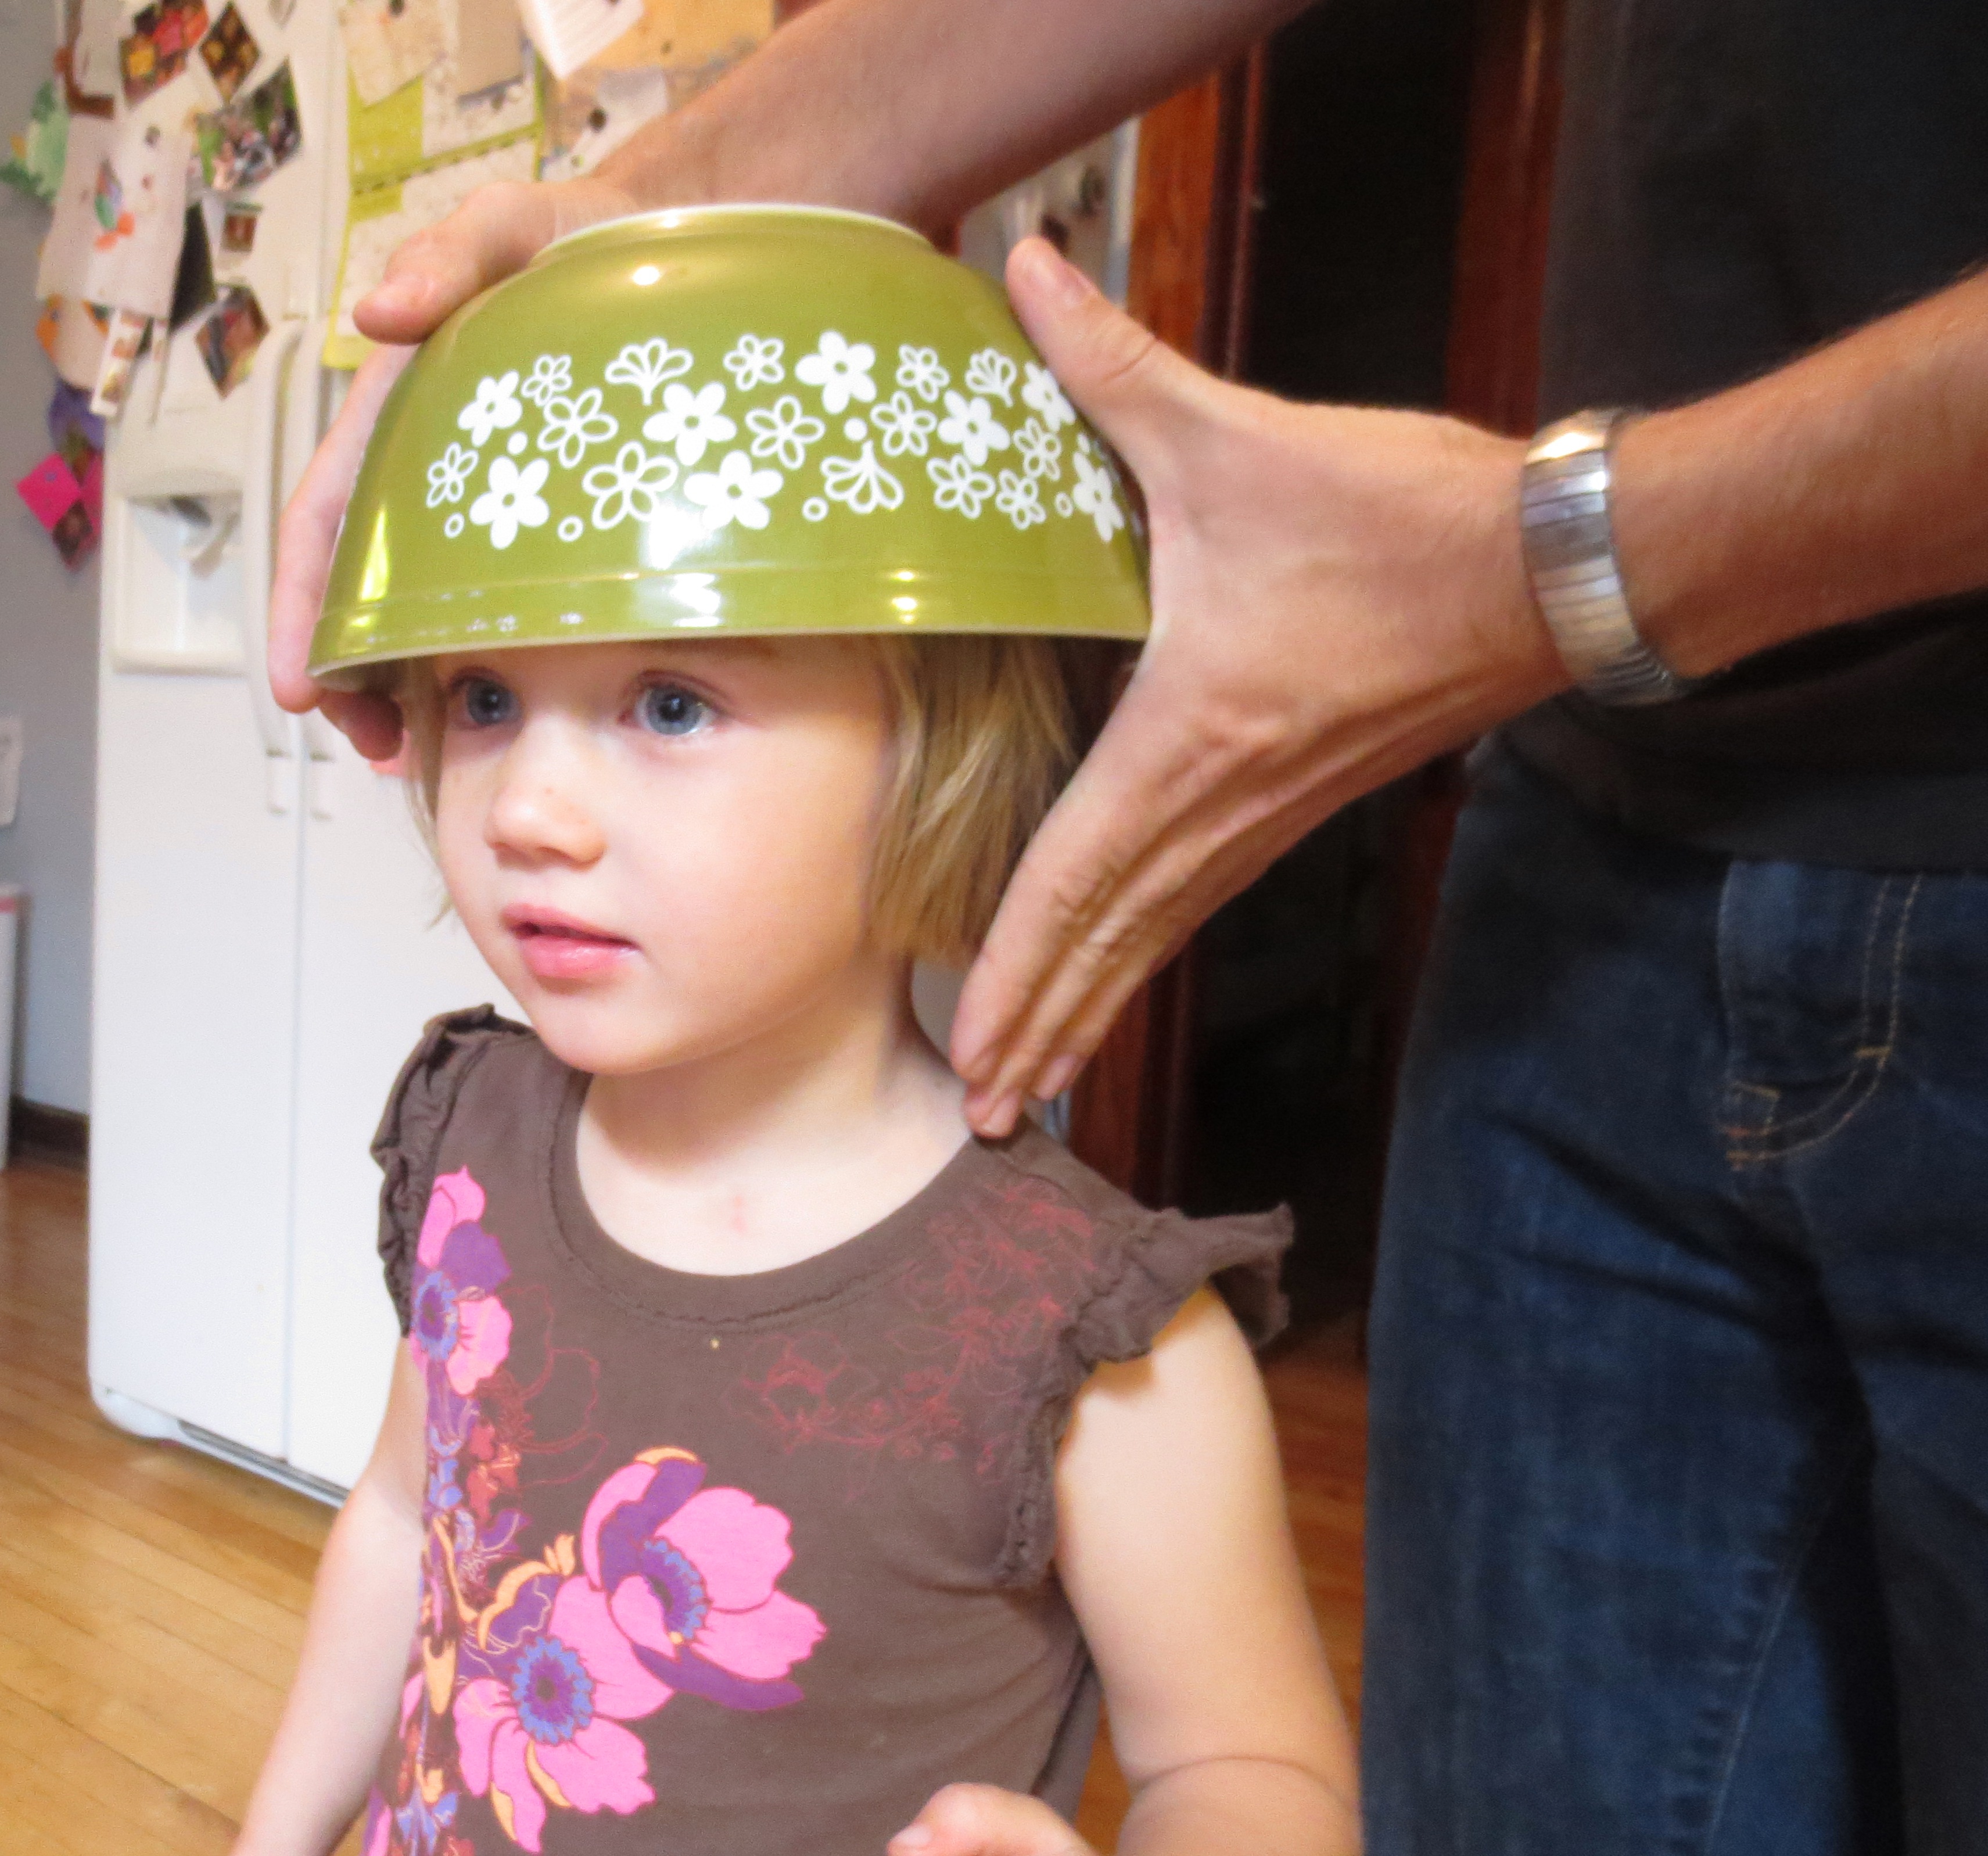
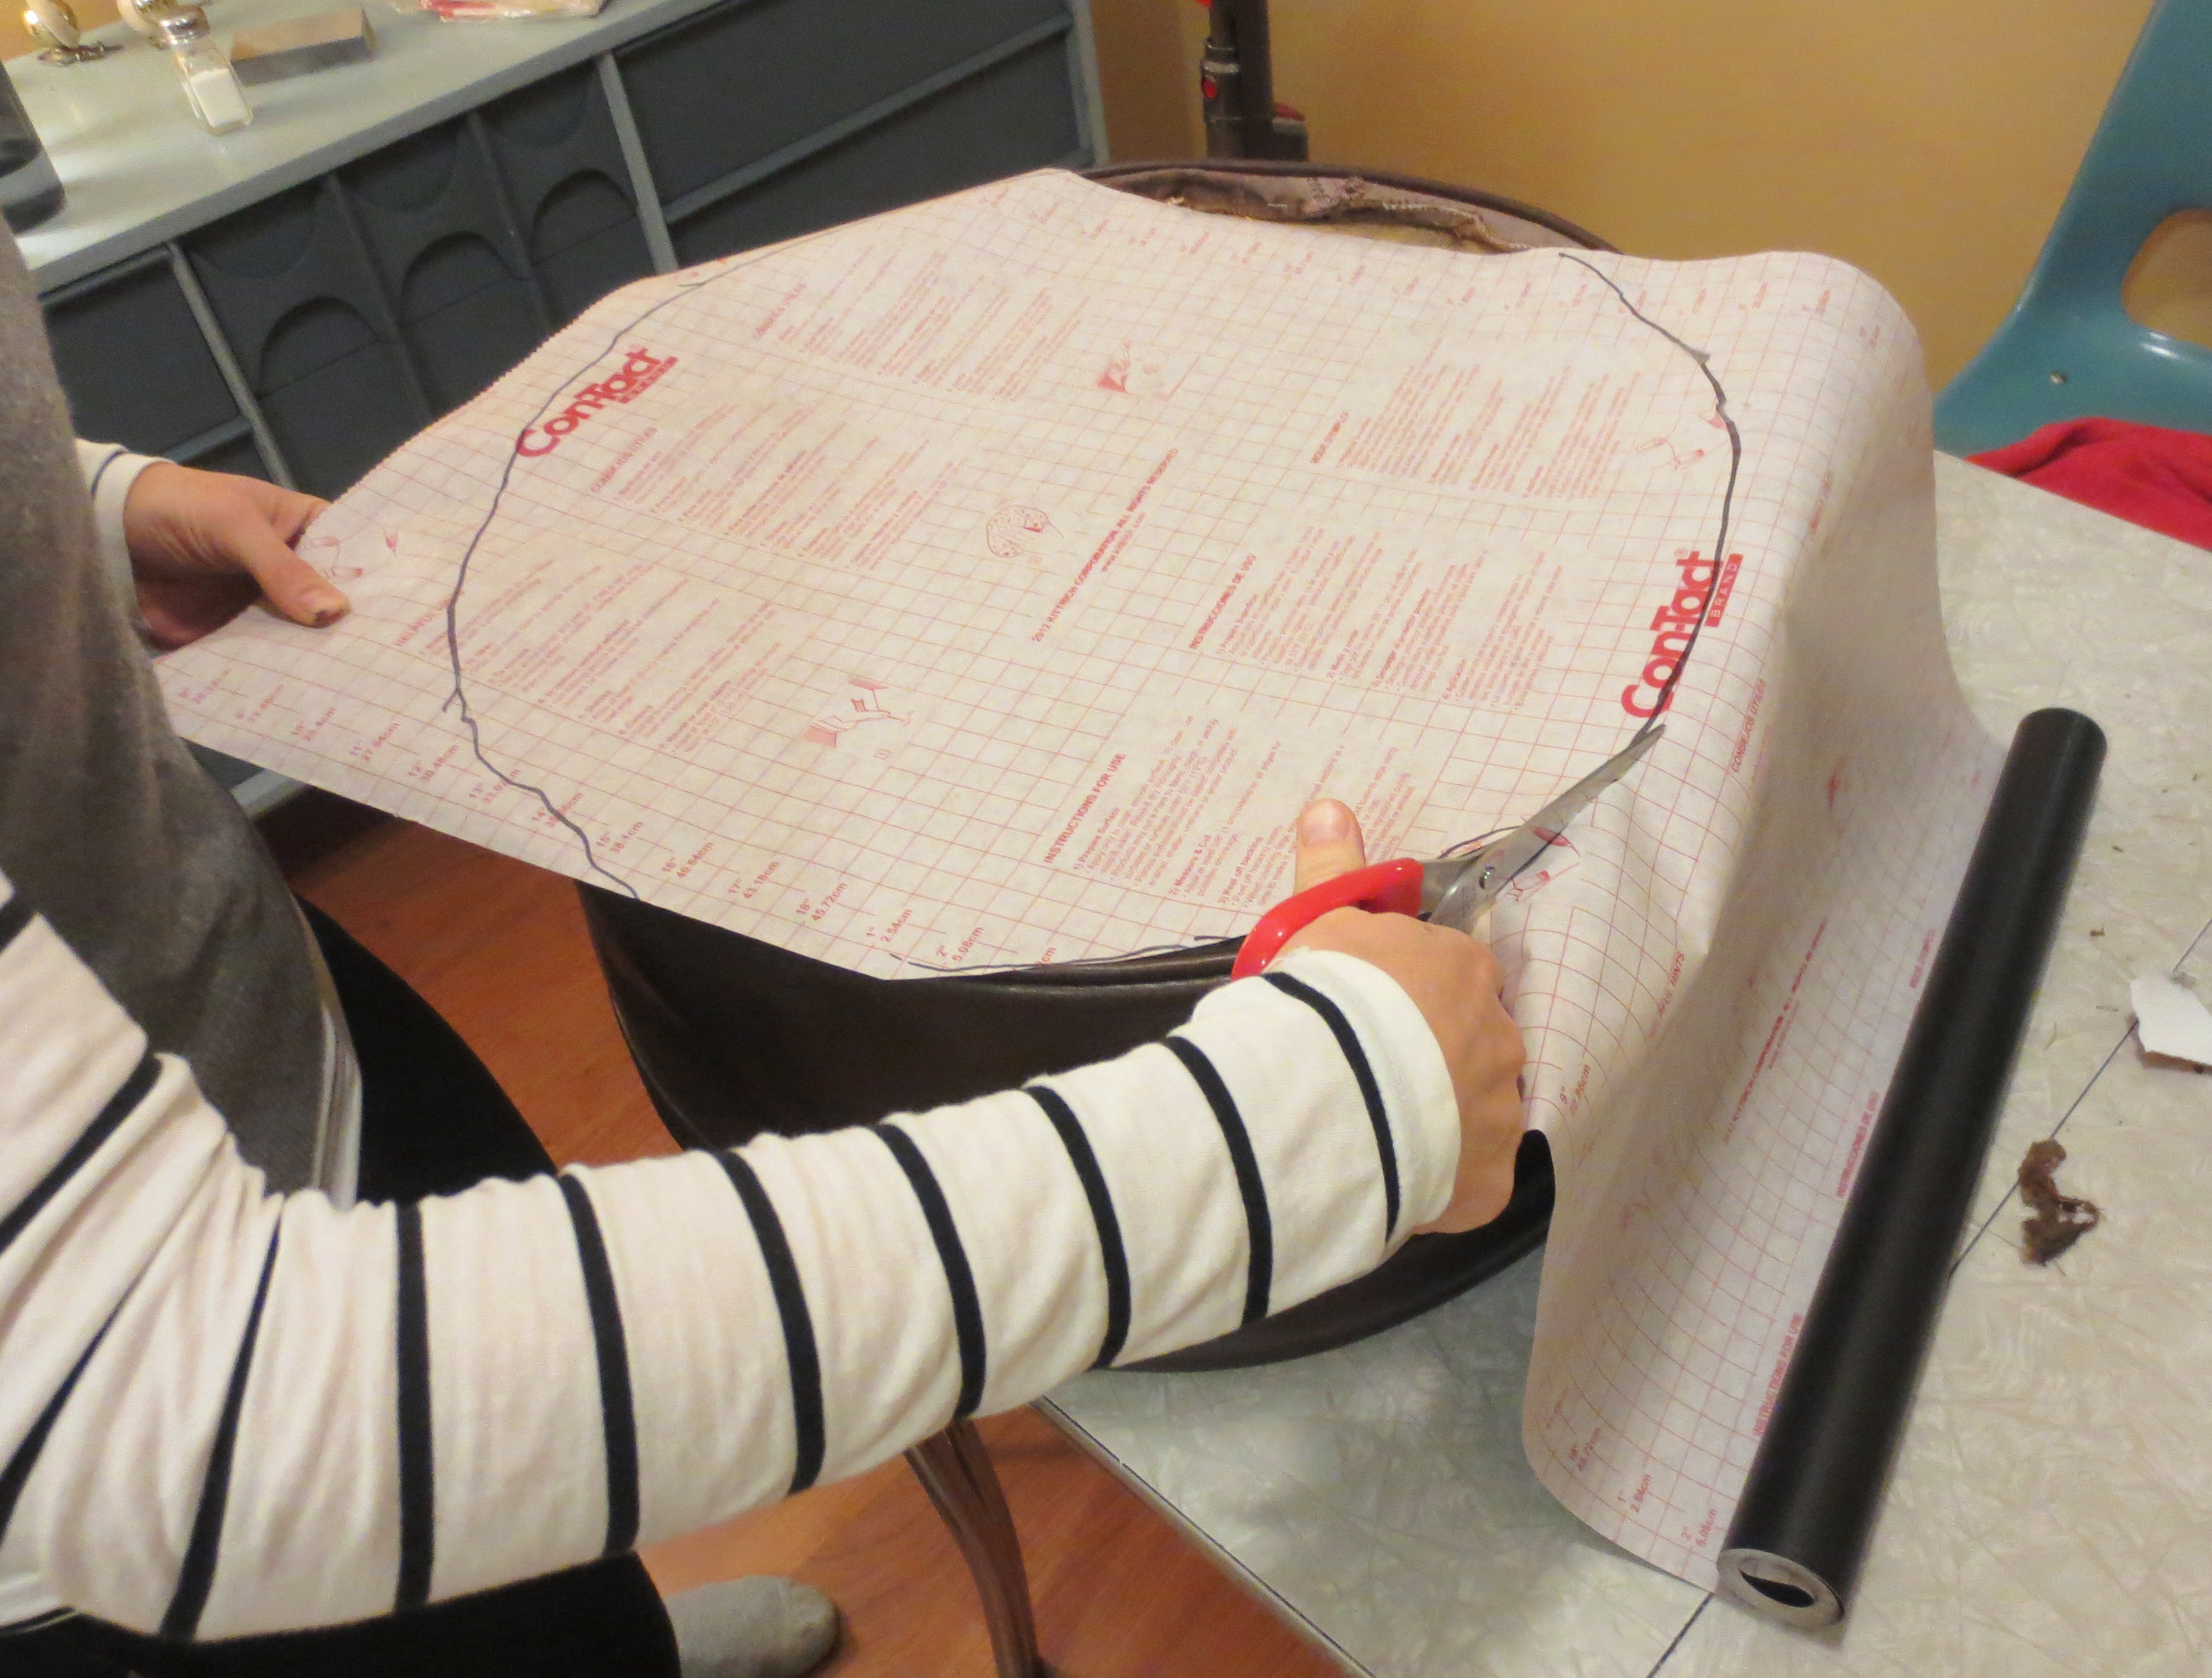
Flip your clock face down and trace the outline of your clock face on a piece of acid-free archival quality art paper, or just steal some copy paper from your office (I can make that joke since I work from home). Anything thicker than construction paper might cause the hands to scrape bottom, slowing down time. IMG_3054
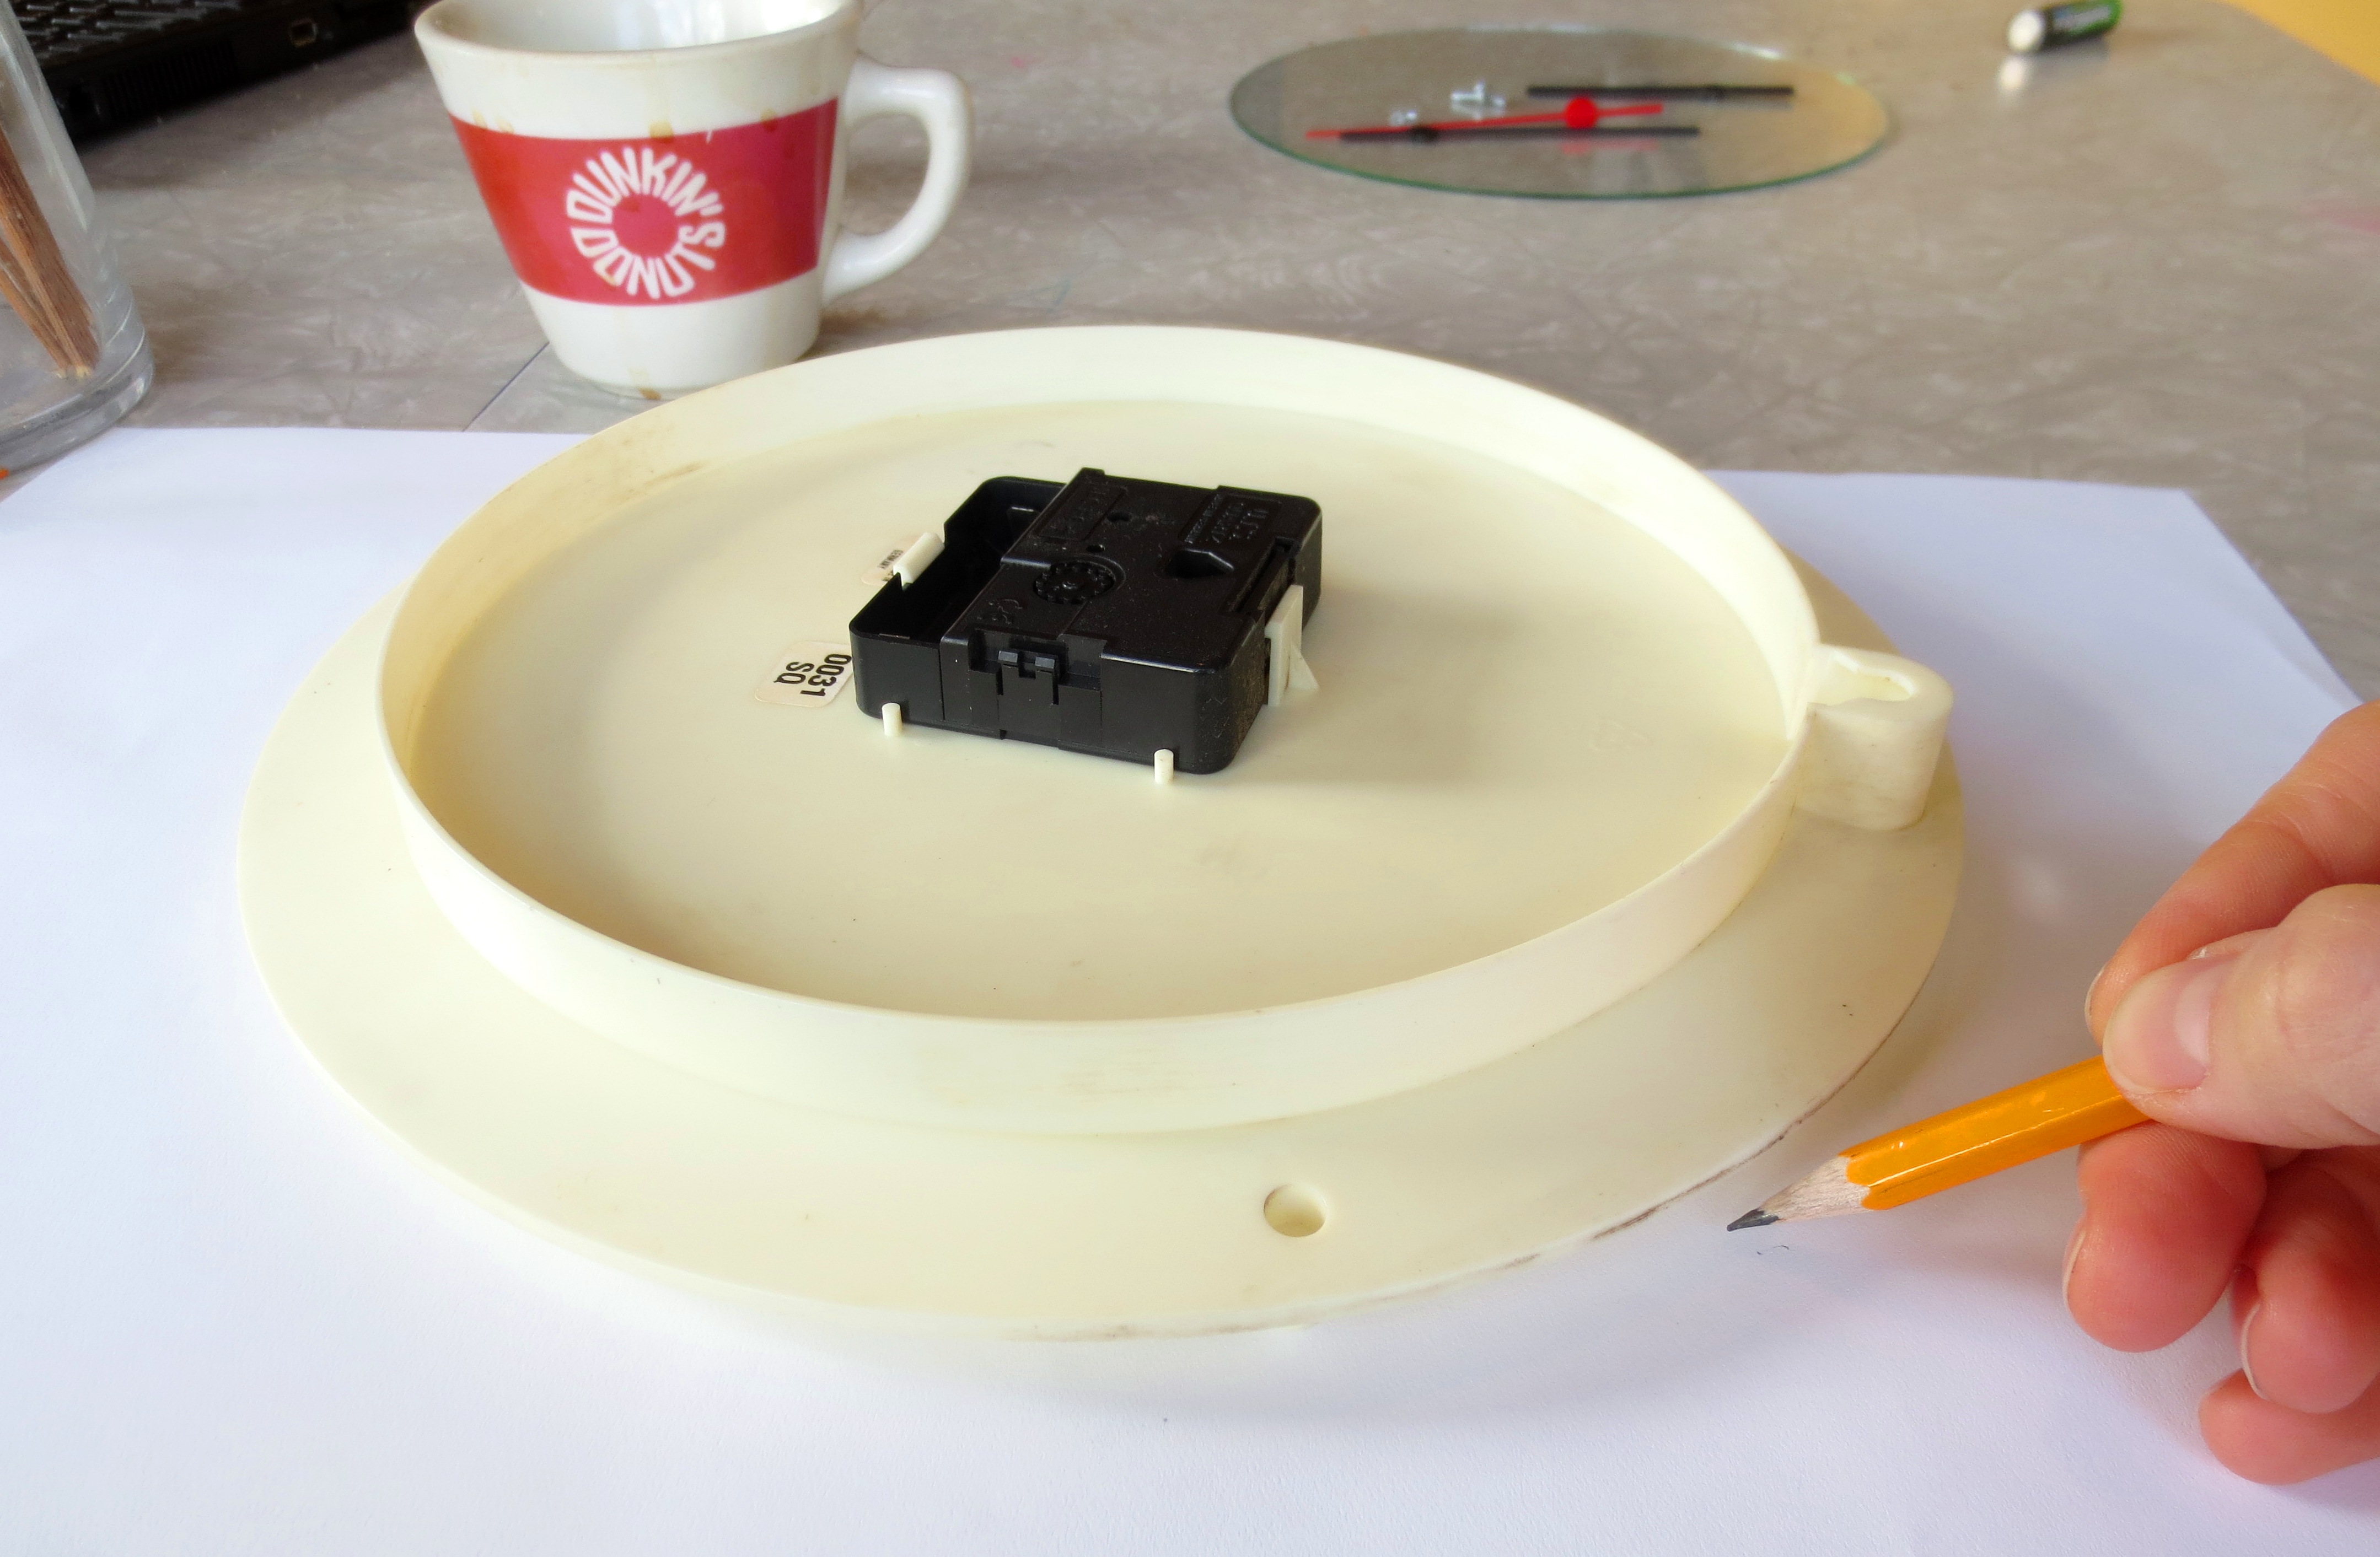
Cut a little hole in the center for the clock hands arm thing (you know what I mean). Then use a small soup bowl to trace an “inner ring” in your clock face. This will give you about a square inch of space to draw your favorite desserts. Use a pencil to mark 12 (or 4) equidistant points on your blank paper to note the location of each dessert.

To create a “message” on your clock, count the number of letters, and roughly divide by two. For example, “NO TIME FOR CHEESECAKE” has 19 letters, and since “CHEESECAKE” has 10 of those letters, it will get its own line.  Draw a baseline with your pencil and fill in your words.
IMG_3059
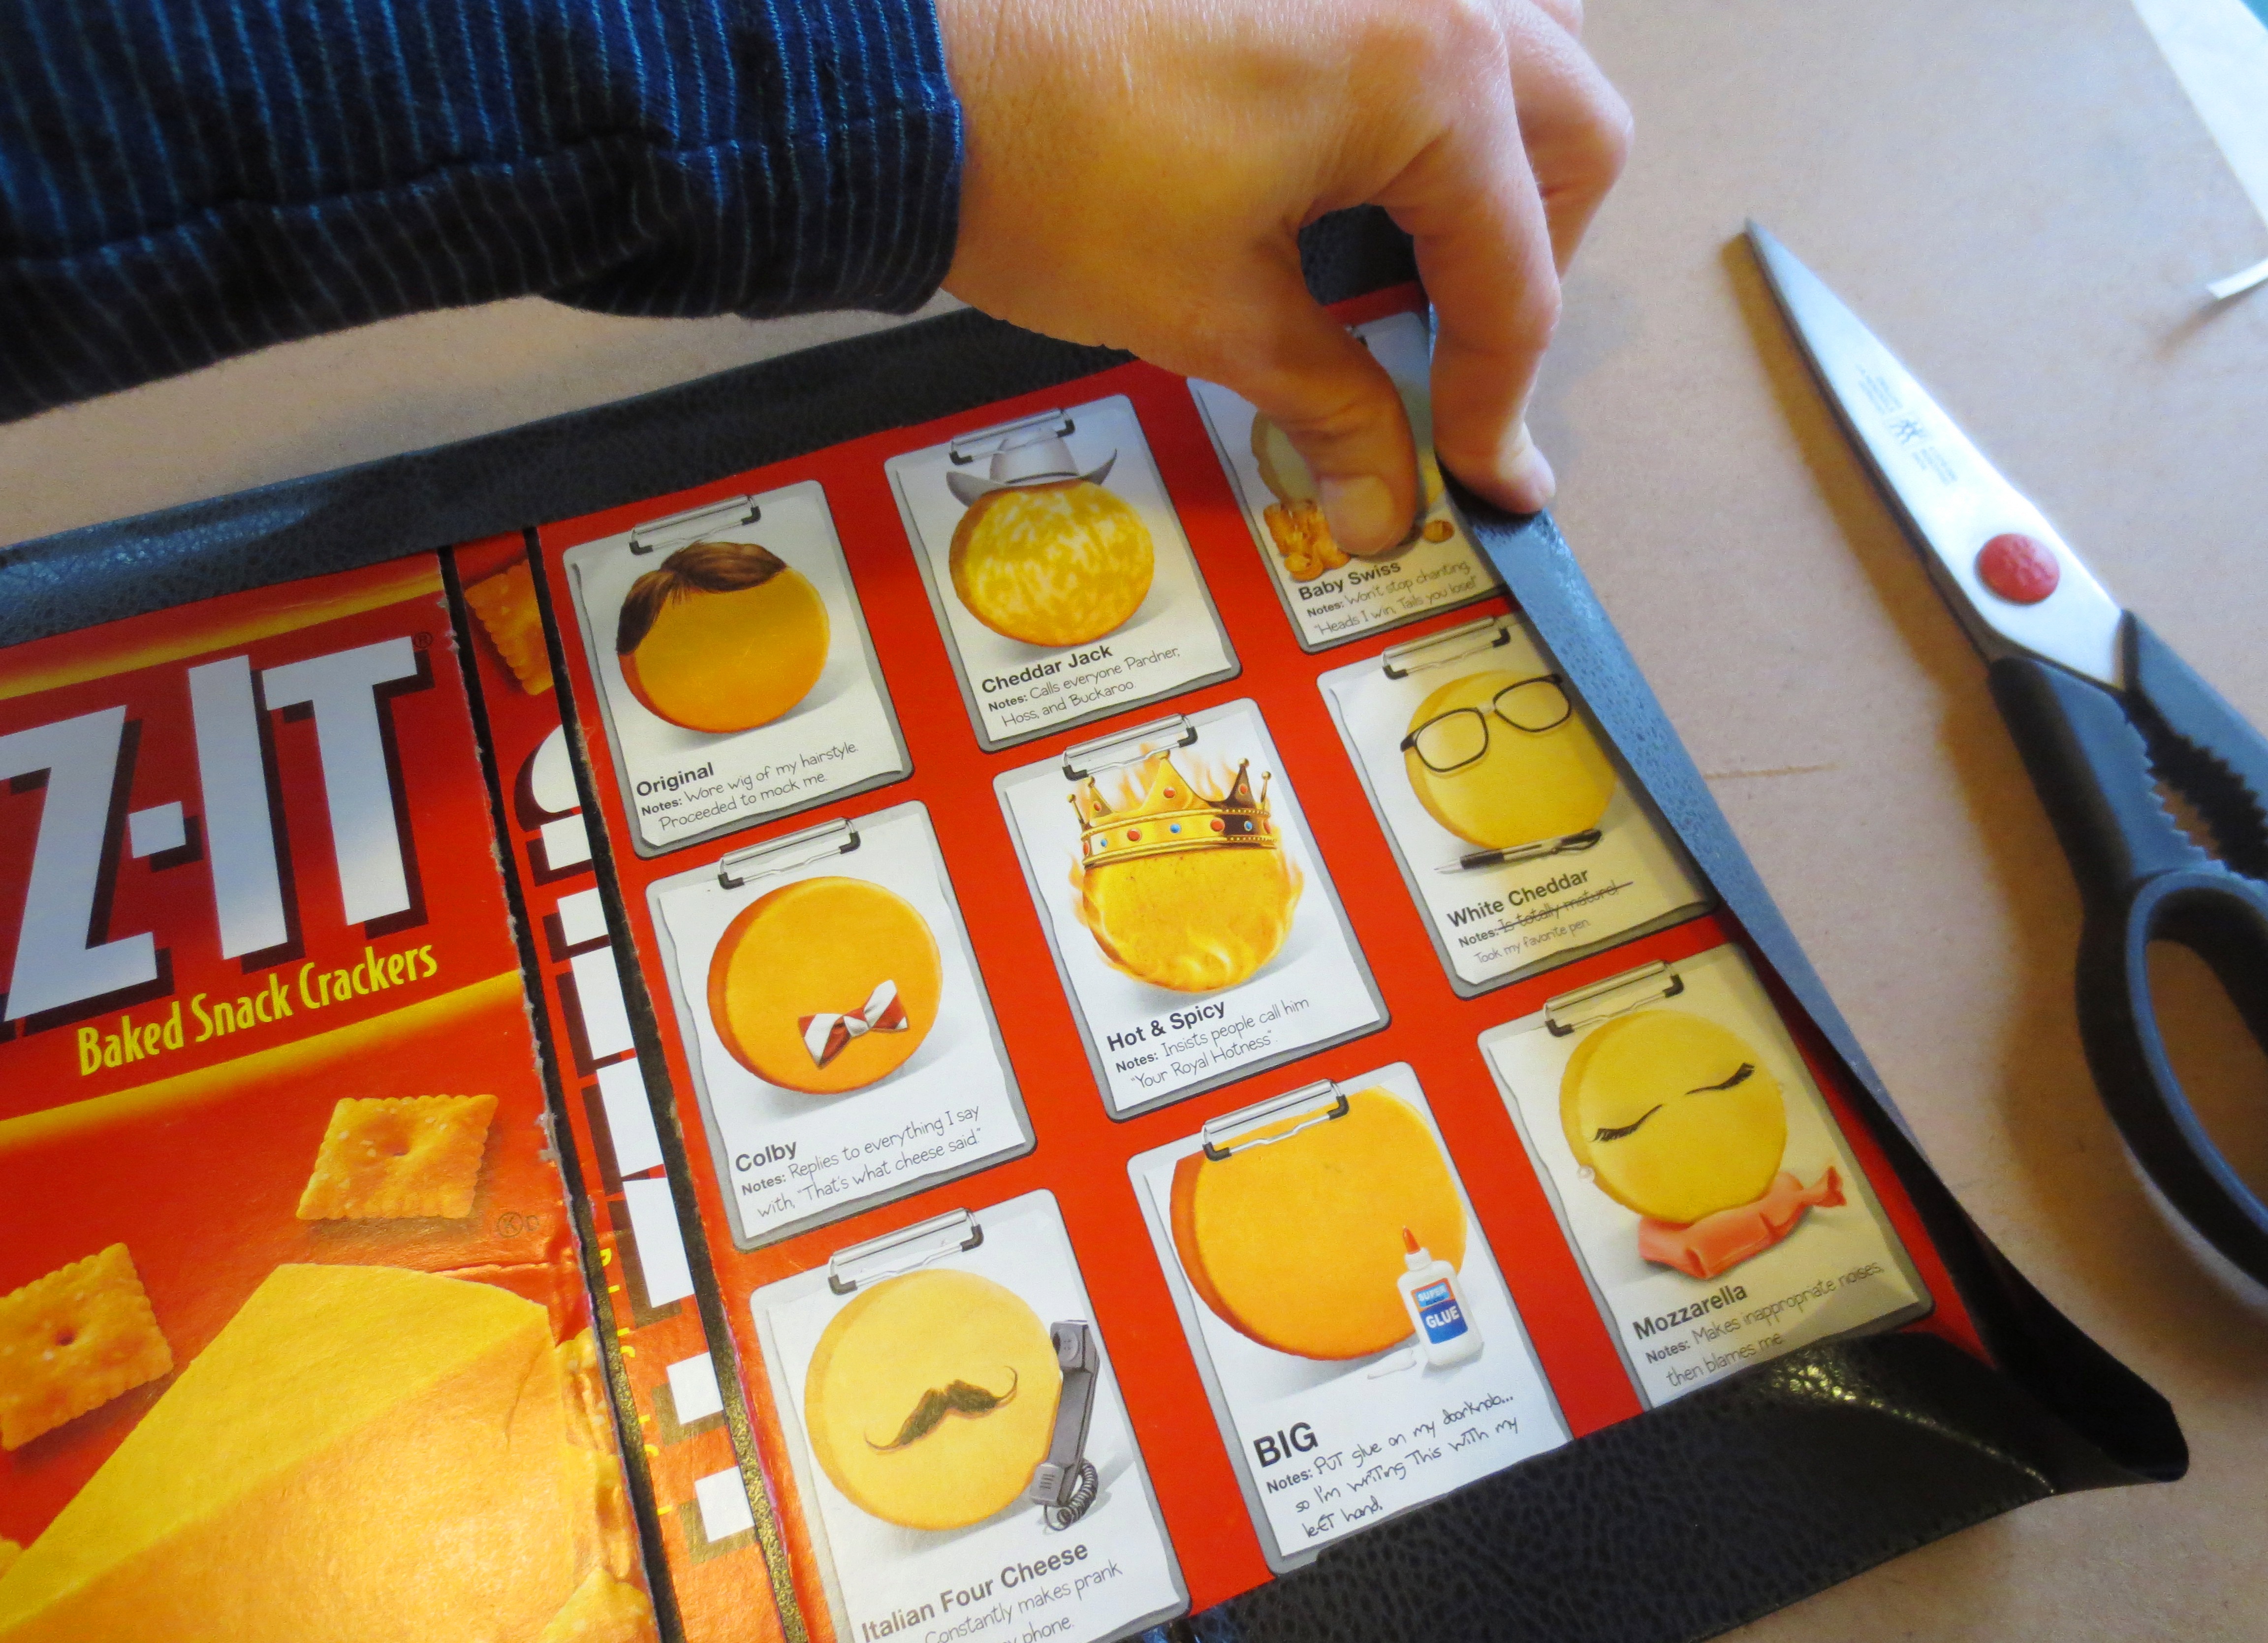
Grab your list of desserts that are better than cheesecake. Draw a rough sketch of each dessert with a pencil, careful not to group similar-looking desserts too closely together (i.e, pie + cake, or donuts + cinnamon rolls).

IMG_3061
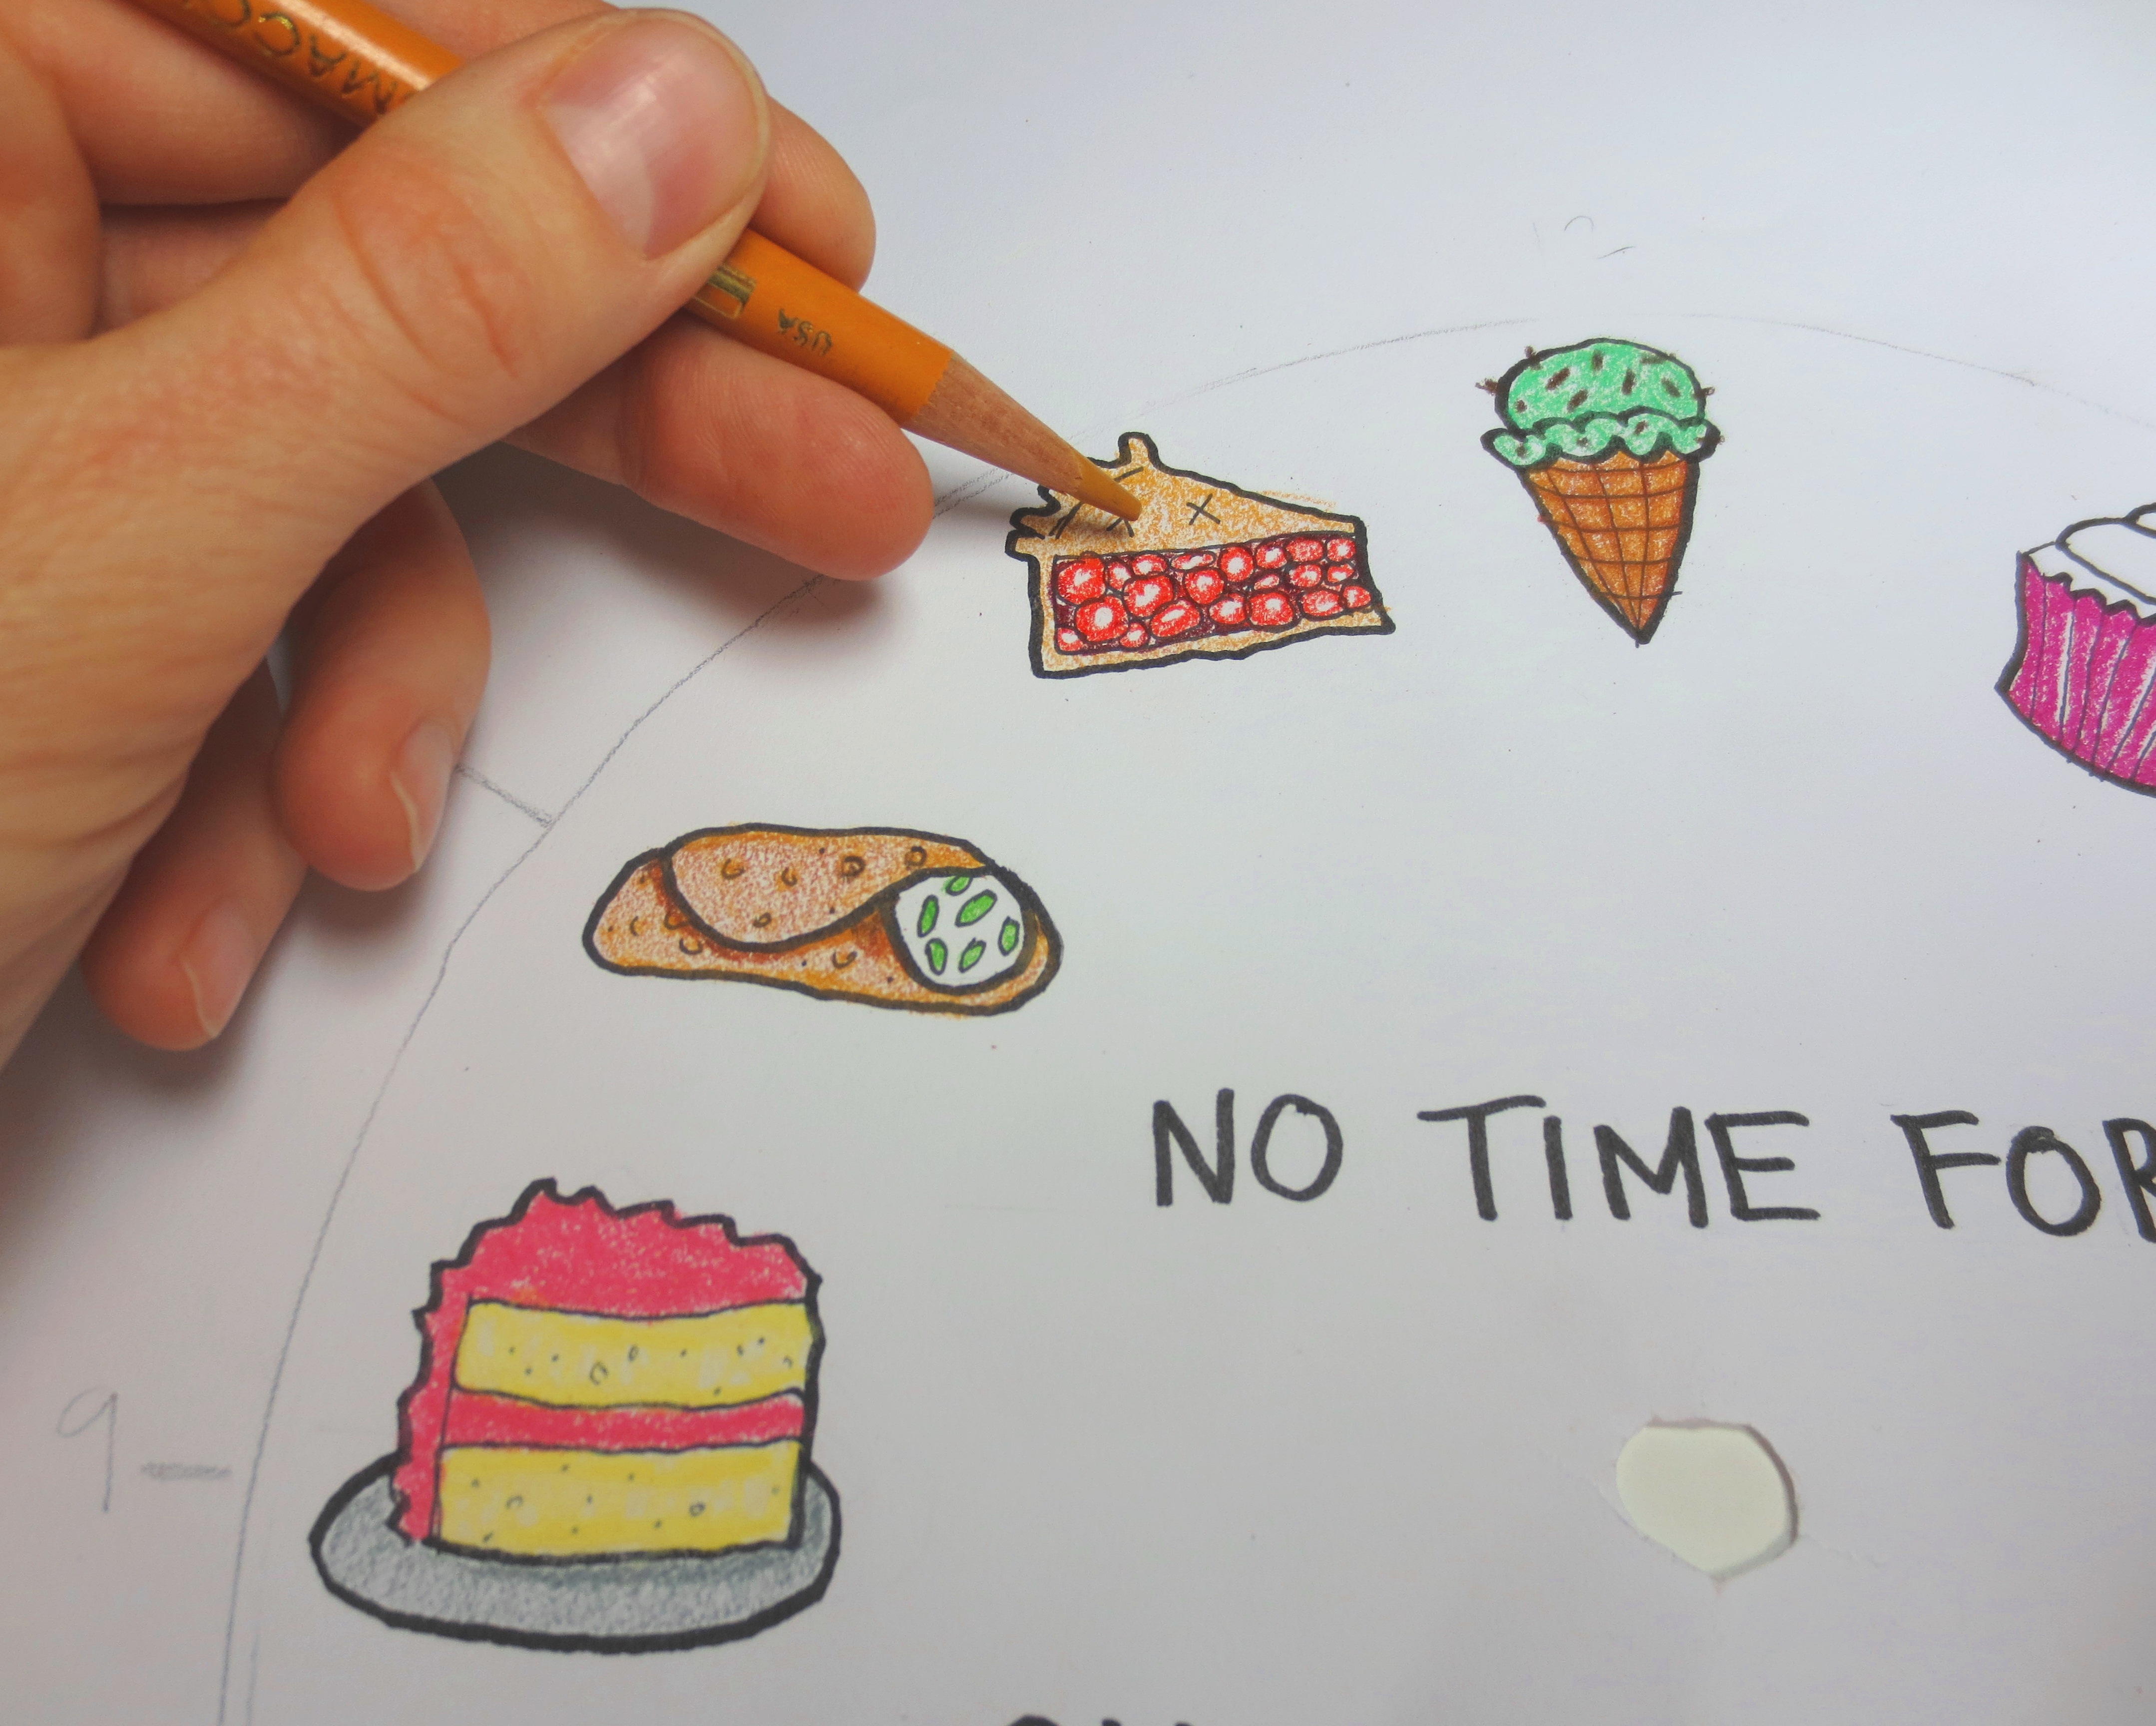
Use your thickest Micron pen to ink over the main lines, then use a finer pen to ink over the minor lines.

IMG_3063IMG_3065Once you’ve finished inking, erase all the pencil marks completely.  Fill in the rest with colored pencils. If you’re really bold, try colored pens or markers, but don’t come crying to me when you can’t find the Wite-Out.*

IMG_3069
IMG_3070
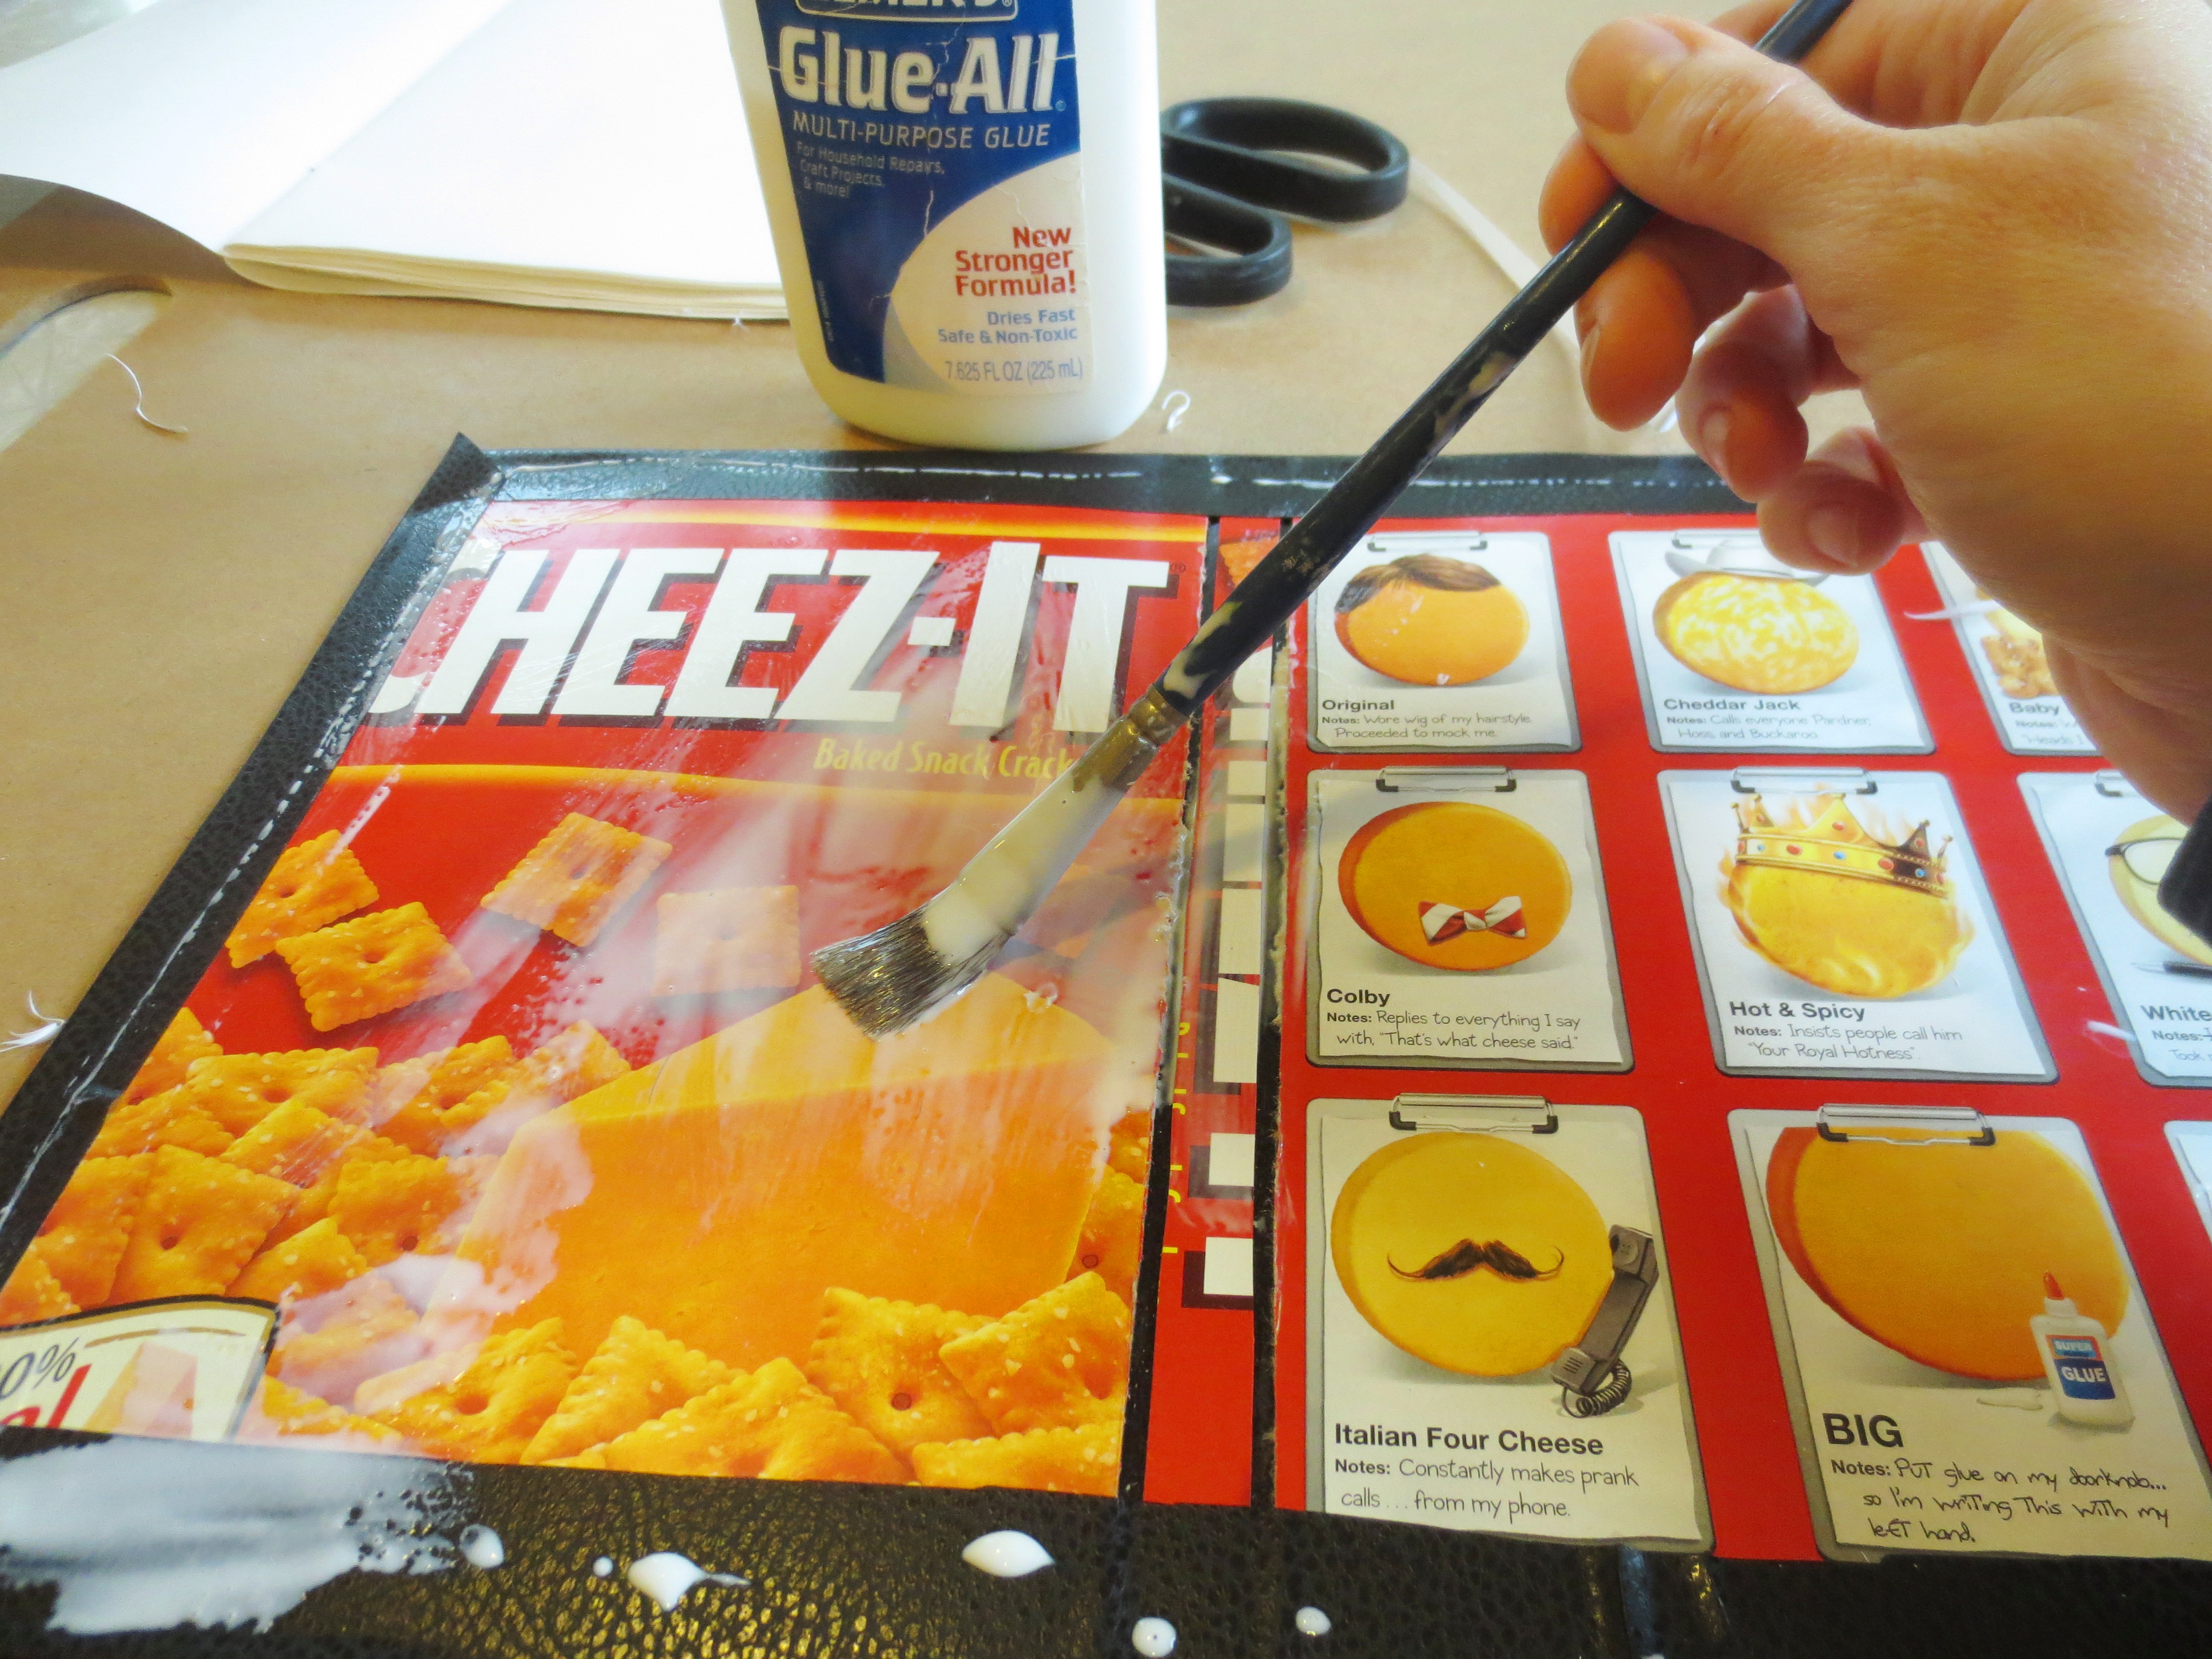
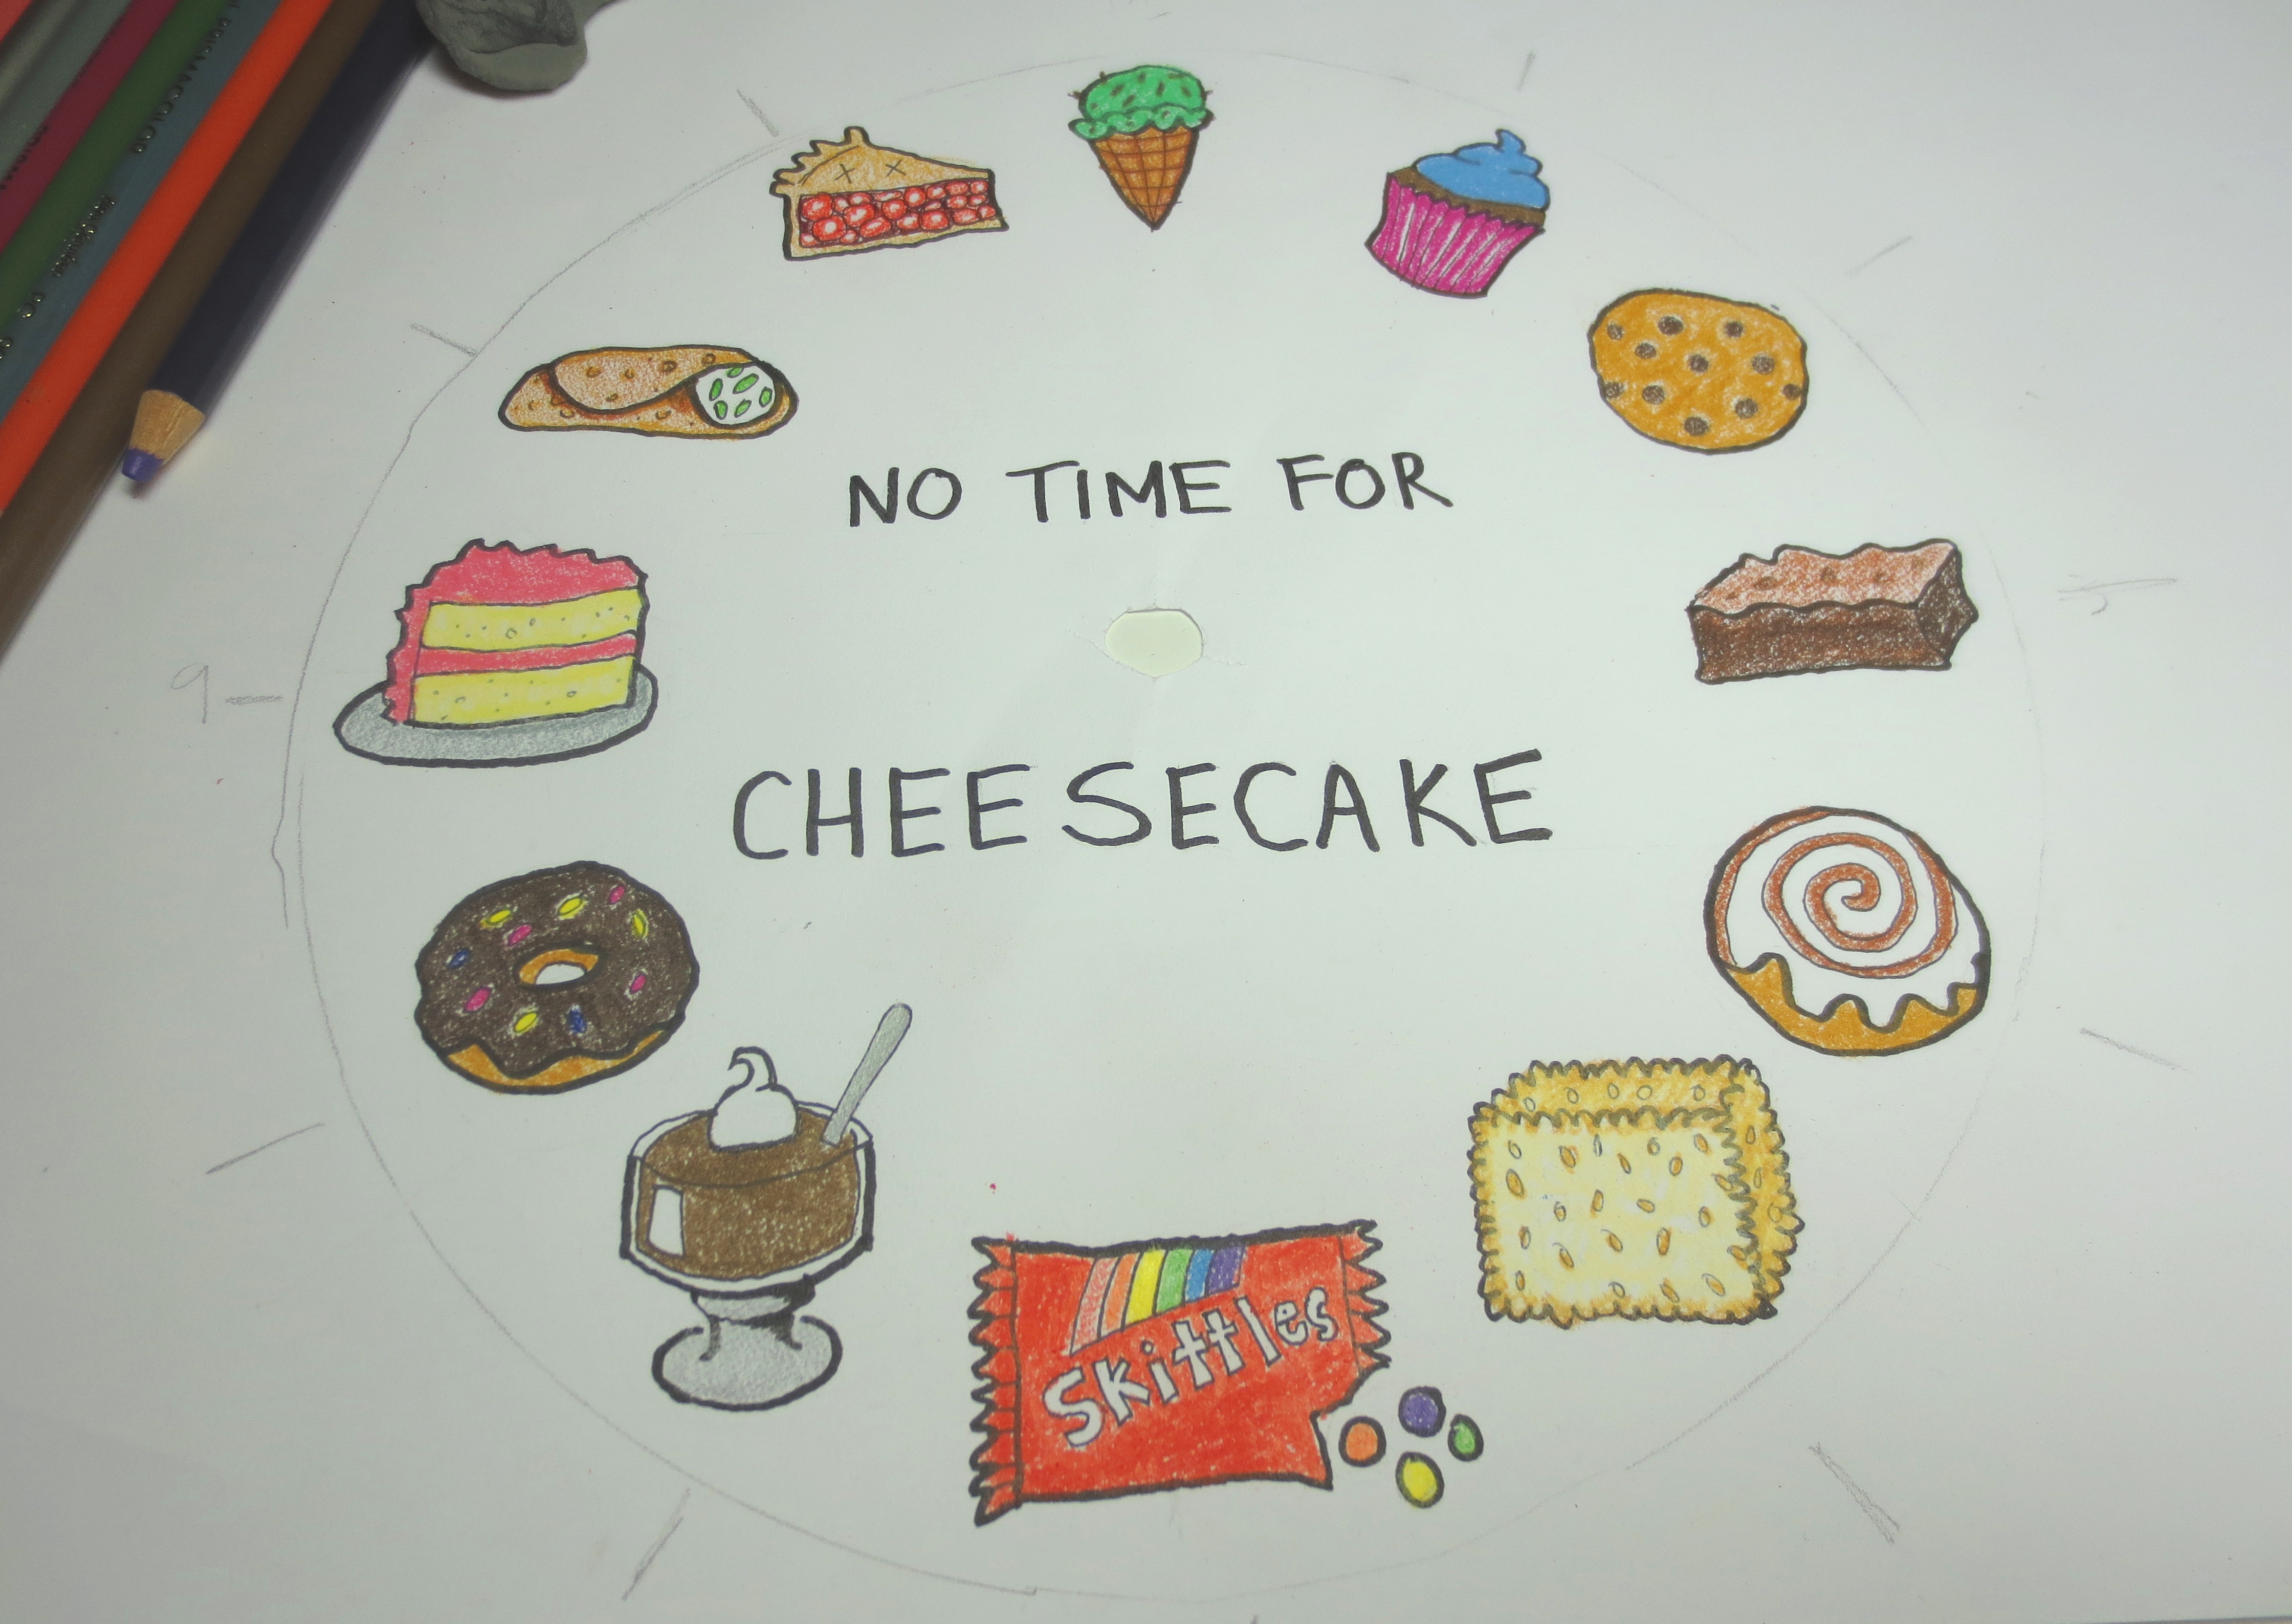
Once you’re happy with your drawings, cut out the new clock face and dot the backside with a glue stick, mainly around the outer edges and near the hole in the middle.  Don’t use liquid glue – it will cause unsightly warping on your paper. Press the new clock face in and smooth out the edges.

IMG_3090
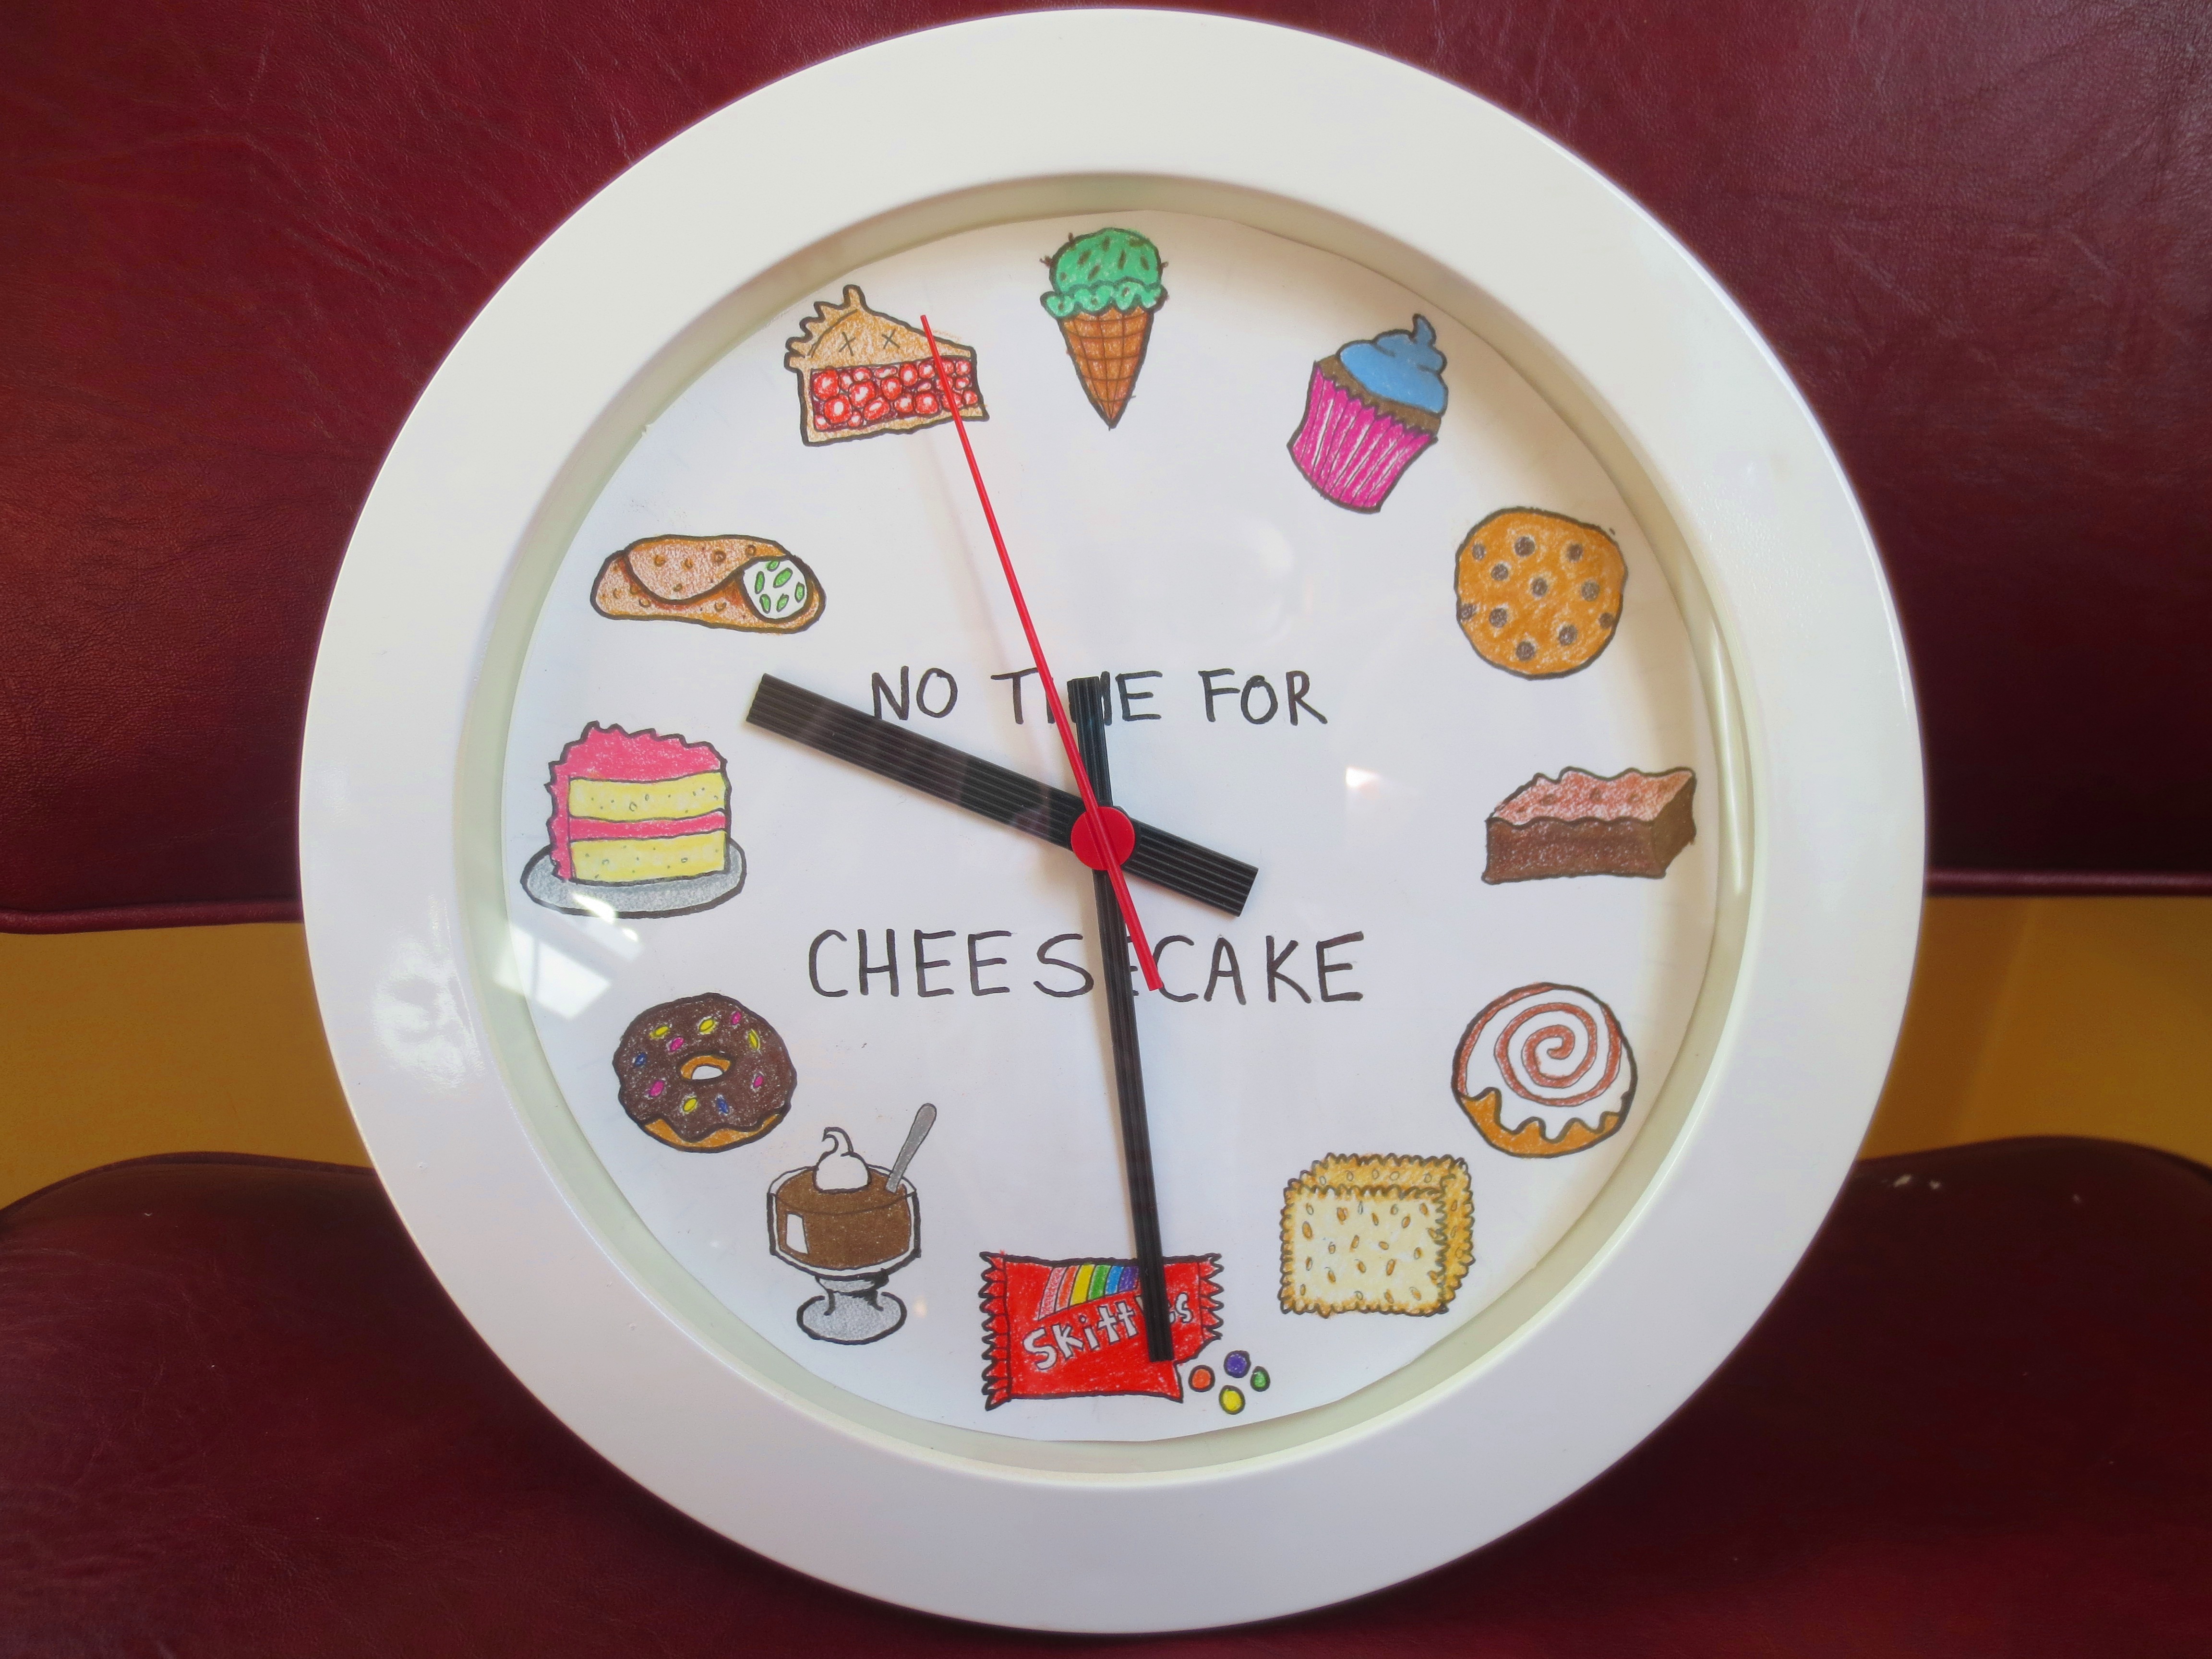
Locate your hands, and pop the hour hand, then the minute hand, and finally the second hand onto the arm connecting to the movement. IMG_3095Finally, replace the glass and cover and screw it back in. Admire your work and go to bed, because, despite what the clock says, it’s really 11:30 pm (half-past cherry pie).
IMG_3098Before you present this gift to your hungry friend, be sure to insert a fresh AA battery in the back. It would be in bad taste to make him buy his own batteries. But not quite as bad as giving him cheesecake!

IMG_3108IMG_3104*Wite-Out is brand of what is known as “correction fluid,” originally developed in the last century for users of typewriters, which do not have a Backspace key. I spent much of my childhood painting my fingernails with (and occasionally sniffing) Wite-Out. 

The 13 Things You’re Doing Wrong at IKEA

IMG_2965Lately, I’ve been doing most of my home furnishings shopping in the alley and thrift store.  But last week, I wanted to price some small sofas for my mother-in-law’s apartment, so I made my semi-annual* trip to the nearest Chicagoland IKEA.

IKEA is a swirling vortex of my least favorite things: shopping, driving and being around indecisive people in strange suburbs. But over the years I’ve figured out how to make the IKEA experience a tolerable, even mildly pleasant one.

Any fool with an internet connection can advise you not to shop there on a Saturday, or to make a list, or to take measurements before you leave the house, because that’s true of any shopping trip.

But today you’re going to finally learn what you’ve been doing wrong all these years, with Projectophile’s handy list of IKEA DOs and DON’Ts.

BEFORE YOU GO                             →

DON’T shop with your spouse or significant other. I only go with my friend Bjorn (not his real name). Why? Bjorn is the perfect IKEAmate: a pleasant man who has known me for ten years, understands my lifestyle and taste, and cares about my well-being. But more importantly, he doesn’t have to live with the consequences of my decisions, so there’s no bickering. Plus, his hybrid car means we get to park ten feet closer to the door!
IMG_2966DO wear comfortable shoes at least one size too big to account for the inevitable foot swelling. The average IKEA shopper will walk at least 9 miles, mostly in circles, before she finds that perfect coat rack. At least three of those miles will be in search of a bathroom.

DO be a neighborhood hero. Nobody likes going to IKEA.  Ask your friends and neighbors if there’s anything you can pick up foIKEA workerr them while you’re there.

DON’T wear a yellow shirt. For the same reason you don’t wear red to Target or a black turtleneck to the Apple Store: desperate people will ask you questions. I begged an innocent young woman in a yellow shirt to show me how a sleeper sofa opened. Once I realized that she was a civilian, I was too embarrassed to end the tutorial (plus, she was good at her “job!”).  Later, I spotted her in the check-out hiding beneath her husband’s green sweater.

DO block out the entire day for shopping. If possible, free up the early evening as well for recovery and reflection. Bjorn and I ended our IKEA day by sitting in a dark room, sipping a cleansing kale-banana-and-ginger smoothie.

WHEN YOU ARRIVE                          

DO
obey the cryptic signs posted at the door.
If your hands emit radio signals, it is important to connect them with a child who also emits radio signals, before you enter the enormous revolving doors:
IMG_2967If you’ve lost your hands and feet, immediately run on your stumps to toward the giant hand on the door that is pointing up.
IMG_2968DO sit down and eat as soon as you arrive. Deep-sea divers know they’ll get the bends if they immediately plunge to the ocean floor. You, too, need to slowly acclimate to the pressure of the IKEA-nviornment.

IMG_2978

Simulation of IKEA shopping before proper acclimation

Plus, the drive from Chicago to its Northwest Suburbs is traumatic; Bjorn and I always get tangled up in some tentacle of O’Hare International Airport (ORD). The lunch break is a good time to discuss why we didn’t just give in,  hop on the next flight to South America, and — hey, meatballs!IMG_2991

DON’T take a shopping cart. Bjorn and I challenge ourselves to shop as long as we can without a cart. “If you can’t carry it,  you don’t need it” is our motto. Though in reality, we don’t need any of this shit. Be warned: particleboard is heavy, and this is how you may feel the next morning:
IMG_3010DO assume code names while on IKEA property. You never know who’s listening. For example, I called Bjorn (not his real name) “Ekby Tony” in a faux Brooklyn-Italian accent.
IMG_2995 WHILE YOU SHOP                   

DON’T steal a bunch of these tiny pencils. You’re not actually Sticking it to The Man. These pencils are carefully engineered to only reach the second knuckle of an adult finger, rendering them useless beyond their purpose of scribbling bin and aisle numbers.  IMG_2994

DO BUY                     

  • Anything made primarily of solid wood, metal or glass. We got this little HELMER steel drawer unit about a decade ago and it’s held up beautifully. And yes, we do have a drawer just for steel woolIMG_3015
  • Fabric: By the yard, it’s cheaper than your big-box craft store. Choose from dozens of consciousness-expanding (occasionally disturbing) European designs.

IMG_2984

  • Curtains: Both window treatments and shower curtains are cheap, lovely and durable.  We liked our IKEA “cattail” shower curtain so much, we decided to take our Adult Prom** photos in the bathroom:Picture 1322
  • POANG: Generally, I don’t recommend buying IKEA furniture, but this classic chair — made from solid bent wood — is sturdy, comfortable and cheap; my favorite chair for nursing. But save a trip to the ‘burbs: on any given day, you can find a dozen for sale on Craigslist.
    IMG_2977

    If you leave Poang chairs alone together long enough, they will reproduce. This is why IKEA has such low prices.

    Sadly, though, this hypnotic chair-punching machine is not for sale:

  • Baby & Kid Stuff:  There’s a reason that 37% of IKEA customers are pregnant women. All our kids sleep in solid-wood IKEA beds: one in a GULLIVER crib, the other two in a MYDAL bunk bed.  And for less than the price of a pack of birth control pills, you can walk away with this modern, easy-to-hose-down highchair:IMG_3004 Don’t forget to buy your favorite kid some strangely adorable IKEA stuffed toys — Estelle has a rat and a strawberry. However, if your kids don’t know where bacon comes from, you might want to avoid this morbid stuffed toy display in the kitchenwares department:IMG_2988
  • Suitcases! I didn’t know IKEA sold suitcases either, until I found a used one at my local thrift store for a dollar.IMG_2989They’re more than just giant orange LEGOs you can take on an airplane — these cases feature ultra-smooth rubber wheels that allow you to sneak off silently in the night without waking, say, an unsuspecting husband.

DO NOT BUY                            

  • Particleboard anything.  Yes, yes, we have a giant EXPEDIT in our living room, just like everybody else. But we bought it used on Craigslist and only out of desperation.  Remember that particleboard = twice as heavy, and impossible to repair.  Beware of anything labeled “foil finish.”
  • Knives. Regular silverware is fine, you can get that stuff anywhere. But for serious cooking, just spend the money on a set of Wusthof or Henckels.
  • Non-stick pans. These pans are so crummy that one on display actually fell off its handle, and it was STILL ON DISPLAY! Also, Teflon = Death. Just get a cast-iron skillet at a yard sale and learn how to use it.IMG_2986_arrow
  • Couches: So low to the ground it hurts my knees just to look at them. Don’t let the catalog fool you! Bring a shopping partner who is at least 6′ 4″ and make him sit on the couches to give them a sense of scale.

    IMG_2971

    See? Now it looks like Kindergarten furniture.

  • Polypropylene rugs. Chemically identical to Velveeta. I don’t know how IKEA gets them to look so good in the catalog, but if it’s a sunny day, these rugs will start to melt in the back of your car on the way home.


*  Semi-annual = twice a year. Biannual = every two years.
**  Adult Prom is a real thing we just invented because none of our friends are getting married anymore, and it’s fun to dress up and drink punch.

Upcycled Hat-and-Glove Storage Center

sisyphus-1549When you are the Domestic Systems Analyst and Head Custodian for a family of five, you make a lot of jokes about Sisyphus.  I’m just barely educated enough to know the basic plot: Some muscly dude had to roll a boulder up a hill in his underwear, then watch it roll down, then roll it up again, and again, for all of eternity.  I don’t remember why – maybe he forgot Zeus’ birthday or left a candy wrapper on Mount Olympus.

I can identify quite strongly with Sisyphus, except that the heroine of my story is pushing a vacuum down a hallway in a long, Chicago-style apartment.  Small children follow her, dropping their Legos, crayons, rocks, papers, cookie crumbs and dirty underwear on the floor. Over and over again, for all of eternity.

And that’s just in the summer. Winter came early this year in Chicago — around August 12 —  and now the family is shedding piles of boots, hats, coats, and gloves by the back door. Here’s an uncensored “before” shot:

IMG_2874

In my defense, there was another 4-year-old visiting that day.

The mess has even spread to the top of the kitchen radiator:
IMG_2872Desperate for relief, but short on both cash and space, I concocted a Hat-and-Glove Storage Center to absorb some of the overflow. The Storage Center has two main ingredients, both recycled: Tin Cans and piece of scrap wood.

I’m not much of a meat-eater, but, aside from my aversion to Head Cheese, I’m a big fan of using up all the more obscure parts of the animal. Same applies to furniture (stay with me, this analogy will pay off soon).

About a year ago I bought a gorgeous adjustable slat bench on Craigslist.  We quickly discovered that if you sat too far on the edge of the bench, wood slats would start to pop up on the other side, like a see-saw with rusty nails. Upon closer inspection I realized much of the wood was beyond repair.

Picture 975Sadly, the slat bench had to be sacrificed and dismantled; its usable parts sent downstream to other projects.  After a quick 2-inch trim, the legs found new life propping up my standing desk. And now I found that this piece —what I believe was a cross-bar, as indicated by its “tan lines”– is the perfect fit for four tin cans:IMG_2889

 HOW TO MAKE AN UPCYCLED HAT-AND-GLOVE STORAGE CENTER:

You will need:

– Four 28-ounce tin cans and a good chili recipe
– Piece of Wood (optional wood stain and varnish)
– Six screws
– Drill and screwdriver

STEP ONE – PREPARE THE BASE: If you don’t have a good piece of scrap wood, then go to a hardware store and get one. Now, sand the wood in the direction of the grain, wipe with a damp rag and air dry.

IMG_2885Slop on a coat of Wood Stain — I prefer Minwax in Dark Walnut, which happened to match the coat rack by the door. Since this stuff is oil-based and can’t be cleaned with soap and water, I suggest using an old baby sock to apply.  Let the stain sit for about ten minutes and wipe off any excess – do NOT let it dry or it will become a sticky, sappy mess.
IMG_2905When the stain has dried (about 8 hours), brush on a coat of Polyeurathane. This will lock in the stain and give your board a little shine. If you want crazy shine and hardness, give it another two or three coats, but be sure to let it dry and lightly sand between coats.
IMG_2906STEP TWO – PREPARE THE CANS: Hopefully, you’ve been saving your 28-ounce tin cans. If not, this is a great time to cook a massive batch of chili.
IMG_2868Need more empty cans? Dump their contents into storage containers and leave them in the freezer, where you will forget about them until the next time you move.IMG_2878

The hardest part of this step is removing the glue under the label. I won’t bore you with all the methods I tried that didn’t work. What did work was 1) picking as much of the dried glue off with my fingers as possible 2) soaking in hot water, then 3) rubbing the remaining glue off with Isopropyl Alcohol, which most of you have in the medicine cabinet.  If you don’t, perhaps a shot of Everclear or cheap tequila will do the trick. If all else fails, nail polish remover.  Don’t soak the cans for an extended time – they will quickly rust.

Next, run your finger along the mouth of the can for any sharp burrs, which aren’t as common as they used to be with today’s modern can-opening technology.

IMG_2894_redcircle I found one burr out of four cans and used pliers to snip off the dangling edge, then smoothed out the rough spots with metal file.
IMG_2900STEP THREE – POKE AND SCREW: Use the sharp end of a nail to pop little holes in the middle of your can bottoms. Yes, that sentence does sound silly.  These are the pilot holes for the screws that will hold your cans to the board, so size accordinglyIMG_2916

Line up your cans the way you want them on the board (bottom side down), and insert a long nail or needle into the hole you just poked so that you leave a little dimple in the wood.  IMG_2919

Mark your dimple with a white pencil or something like that, cause the dimple itself will be too hard to see.IMG_2924Drill a pilot hole in each of the four “dimples” you just marked.
IMG_2935 While you’ve got your screwdriver handy, drill a pilot hole on either end of your board where you will drill it into the wall. My wood just happened to have these lovely little “wings” at the ends, which were perfect for mounting:
IMG_2933Grab your first can and thread a screw through the pilot hole in the bottom. Locate the first hole on the board, and screw the can into it.
IMG_2936Repeat four times. It’s really hard to get a picture of the inside of a can. Can you see that screw down there?
IMG_2939PRO-TIP: Each can has a visible “seam,” or grey line where the robots finished welding it together. When you’re screwing cans into the board, turn your cans so that the seams are out of sight. Even though this project is made from trash, we like to keep it classy.

Pick a spot on the wall to screw your cans to. My sweet spot was just above the younger children’s coat rack: easy enough for everyone to reach, but not low enough for the little ones to hang from, or use as a climbing device.
IMG_2947Welcome the winter with open, heavily bundled arms, as you fill your Storage Center with hats and gloves:
IMG_2954IMG_2952IMG_2951IMG_2955

The Cycle of Life, In Pants

As regular readers may know, we recently enjoyed a weekend visit from my parents. When I say “we,” I don’t really mean Scott and me, since my folks really just came to Chicago to squeeze the grandchildren. Or in my father’s case, get a fat slice of Head Cheese** from the Polish Buffet up the street.

headcheeseSpending time with the very young and the very old allows one to reflect on the Cycle of Life. It also reminds one of the value of elastic-waist pants. Perhaps the time we spend in elastic-waist pants is really a metaphor for the Cycle of Life itself!

According to a recent study commissioned by Projectophile, experts have determined that the percentage of time spent in elastic waist pants is greatest in the beginning and end of life.  For women, there may also be a brief spike in elastic pants in their peak child-bearing years: bar chart elastic waist pants

Let’s look at a breakdown of the major phases of life, in Pants:

Baby:  Per American Association of Pediatrician recommendations, no pants at birth or for the first year of life.

One of my own babies, Giant and Pantless at birth.

One of my own babies, Giant and Pantless at birth.

Toddler: This is the time to introduce articulated pants, but with fully elastic waistband.

biscuit sleepiong

Her pants were so comfortable that this toddler immediately lost consciousness.

Preschooler:  Full elastic waist, or — for the more advanced preschooler — a discreet elastic panel in the back.

School-Age (K-8):  Majority of pants now feature a regular, stationary waist band.  But, don’t be fooled by appearances: The hidden, adjustable elastic waist is now in play. Great for ill-fitting hand-me-downs or when kids consume six juice boxes and three slices of cake at their friends’ birthday party.  These specimens were taken from the pants collection of my 4-year-old and 13-year-old, respectively.

IMG_2862High School:  No more elastic in the waistband, but plenty of spandex all over.

PRO-TIP FOR TEENAGERS:
  Be sure to wear your pants either too tight or too loose, whichever is more likely to piss off your parents. This is usually based on your gender, but feel free to experiment.

College:  I don’t actually recall wearing pants during college. Or much else about that time. Since my pants would have come from either the thrift store or hand-me-downs from my recently deceased Grandpa, scroll down to “Sixties” or “Seventies.”

Twenties:  Woo-hoo! No elastic in sight. You’re trying really hard to look like a grown-up with a regular job. You may even visit the dry cleaners once or twice.

DryCleanIllustrations

My inspiration for how real grown-up professionals must dress, give or take a few smell lines.

Thirties:  For me, this has been a monumental decade in the evolution of pants. My 30s started with lots of time being pregnant – which is a challenging situation for your waistline; a constant struggle to keep your pants up.  Here I’m pregnant, but also just finished a meal at the Chinese buffet, so we can’t be sure how much of that belly is baby or Chow Mein. Either way, elastic waist saved the day:

pregnantAfter baby comes  the “fit-but-frazzled stay-at-home mom” look. The primary wardrobe choice is yoga pants, which have no waistline at all.  You’re also getting more… um… comfortable in your marriage; you don’t feel the need to impress your husband anymore.

If you’re lucky — like me — you’ll also embrace the “Working From Home” lifestyle, which revolves around a pair of your husband’s sweatpants:
IMG_2339Forties: Well, hello there! Your proper waistline is back, but perhaps a bit higher than when we last saw it in your twenties.

Fifties:  I often fantasize about what life will be like in my fifties when the kids are grown. I imagine it will be an endless  blur of sleeping in on weekends, taking vacations on airplanes, and having lots and lots of extra money to spend on myself.  Perhaps I’ll invest all that extra cash in some hidden adjustable-waist pants, you know, for vacation.

Sixties: Those elastic-backed pants are starting to look pretty good right now.

Seventies:   According to every ad I’ve seen for Rascals, arthritis pills and adult diapers, the collective goal of retirement age is Keeping up with Your Grandchildren, which means having the necessary flexibility in the waistline.

grandparents

Obviously a stock photo, because no one in my family would ever smile this much.

Eighties: Like your seventies, but more so.

Nineties: I’m not sure what’s happening here, but it just reminded me to practice my Kegels. incontinence clothing100 years +: Congratulations! You get to wear whatever the #*$% you want!

 ** Head cheese is not a cheese but a “ meat jelly” made with flesh from the head of a calf or pig, and set in aspic. This is what we Americans might euphemistically call an “Old-world” delicacy.

38 Things I Love About You: Make a Hand-Bound Sketch Book/Birthday Card for your Husband’s 38th Birthday

My husband’s birthday is today. Yes, I know today is Halloween, and that he has to share his special day with a world full of Spidermen and Naughty Nurses and canines dressed as encased meat.

But enough about him. Let’s talk about me, and how hard it is to for ME to celebrate my husband’s birthday.  We’ve been married for five years and financially interdependent for eight.  The most exciting thing I can give him is my permission to buy something for himself with money from the Joint Checking Account.

Thankfully, Scott and I also have a tradition of making each other gifts that have no real value other than their expressions of love and creativity – the two building blocks of a happy life.  Last year I made Scott a “scratch-n-sniff” card with real smells that I concocted in my home laboratory. He made me a board game about my life:
Picture 983But even the most innovative birthday cards eventually end up forgotten in a box or drawer.  This year, I wanted to make Scott a gift that was both a written expression of my love, and a practical item that would be looked at again and again.

Like me, Scott has a day job that pays the bills, but his real passion is making comics.  He’s almost never caught without a sketchbook and a stash of pens.  And what is a sketchbook but a really, really long birthday card?

Since it’s his 38th birthday, I made the theme of the book “38 Things That I Love About You.”   I’ve spent the last few days researching basic book-building techniques. Since I had to do this all in secret, we’re gonna keep it Especially Basic. Here goes!

HOW TO MAKE YOUR HUSBAND A BIRTHDAY CARD SKETCHBOOK FOR HIS 38TH BIRTHDAY!

YOU WILL NEED:
— Blank Paper and “Bone Folder,” hahaha!
—  Empty Cereal or Cracker Box.
— Scissors and Awl
— Needle and thick thread or twine
— Glue
— Fabric or Contact Paper

STEP ONE – CUT YOUR PAPER AND COVER:  I found it was easier to determine the cover size first, and then cut the paper down to match. Find a source of cardboard in your house. A cereal box might work. I used this box of Cheez-Its that my mom brought on her last visit:IMG_2811Take the Cheez-Its out of the box and place in your mouth, 3 or 4 at a time, until there are no Cheez-Its left in the box.  Lay the box flat and cut out the main front and back box panels (keep one of the side panels to use as a spine).
IMG_2817Decide how many pages you want. Due to its birthday theme, my book had to be at least 38 pages.  Since each piece of paper will equal four pages in book form, I grabbed 11 pieces of paper for 44 pages total (38 of which will be written on.)

Measure your cover panels and cut your paper down to size – using the same length but double the width of your cover (since you’ll be folding them in half).  My covers were each 9 inches long by 6.25 inches wide. Therefore, my unfolded pages needed to be 9 inches long by 12.5 inches wide.

IMG_2820Separate your 11 pages into two groups (of 5 and 6, respectively).  In book-making parlance, these groups of paper are called “signatures.” Fold each signature in half.

PRO-TIP: Apparently, there is a tool called a “bone folder” that can give you paper-folding superpowers. Because folding paper is really difficult, especially if you are a Tyrannosaurus Rex.

Tyrannosaurus_Rex_colored

Fossil records show that the T-Rex was really bad at making both books and birthday cards.

We actually own a bone folder, but I couldn’t find it, and since I was doing this all in secret, I couldn’t ask Scott where it was.

STEP TWO – SEW YOUR BOOK: Lay the two signatures on top of one another and mark four spots on each spine.  It doesn’t matter exactly where the spots are, as long as they are the same on both signatures.  Use your best judgment.IMG_2822

Take an awl or something else sharp and pointy (like a tack or thick needle), lay your signatures flat, and poke holes through the paper where you made your marks.IMG_2828

Grab your thread or twine, and cut it as long as the length of your spine times the number of signatures, (9 inches long x 2 signatures = 18 inches of string).

Thread the string through the needle and grab your first signature. Starting from the “outside” of the signature, thread the string all the way through the first hole, leaving a couple inches of string behind.

IMG_2830IMG_2831Pull it back towards you through the second hole, then the third, and then the fourth, alternating in and out.

IMG_2832When you come out of the last hole in your first signature, line up your second signature and pull the needle through the corresponding hole in the second signature.  Pull your thread tight! You are now binding the two signatures together.
IMG_2833_redarrowNow pull the thread through the second hole in the second signature, and then through the corresponding hole in the first signature.  Next, pull the thread around and through the next hole in the first signature, then back through the corresponding hole in the second signature.  Back through the first signature, and then to the last hole in the second signature.  If you did it right, the two ends of the thread should be hanging out of the two signatures ‘ holes on the same end, like this: IMG_2836Pull the two ends of the strings tight, knot them together and cut off the excess.

I realize these instructions are horrible, and it took me forever to figure out what is actually a simple process.  So I whipped up this little graphic to show you the order of threading.  Always alternate in and out!

sewing signatures

Oops! This is actually the mirror image of how I did it. Both ways are fine.

STEP THREE –COVER:   Congratulations for getting this far! The worst part of this project is over. To make your book spine, measure your stack of bound paper, and cut a slice of cardboard that is the same length of your cover and the width of  your bound paper.
IMG_2838I briefly thought about keeping the raw Cheez-It box for the cover of Scott’s sketch book/love letter, but them I remembered my personal goal of trying to “keep it classy” whenever possible. So, I grabbed roll of faux black leather contact paper that I used to recover the bottom of this Chocolate Brown Vinyl Ottoman I recently found in the alley.

Cut a piece of contact paper that is the length and width of your covers + spine, and add about an inch on all sides.

IMG_2841For ease of folding, cut the corners off each edge.

IMG_2842Remove the contact paper backing and fold carefully fold over your cardboard cover (if you use fabric, you’ll have to glue the side that adheres to the cardboard). IMG_2843 STEP FOUR – PUT IT ALL TOGETHER: Smear the entire inside of the cover with glue. I found it easier to “paint” the glue on with a brush, since I don’t have the fist strength to squeeze a bottle for that long.

IMG_2847Smooth out the first and last page of your page block onto the gluey insides of the front and back covers. IMG_2848 Insert a piece of wax paper between the glued page and the next page in the book (front and back covers) so that the glue doesn’t soak through to the next inside page while it’s drying:
IMG_2849Tuck the book under something heavy while it dries. For added excitement, hide it in plain sight on your bedroom dresser, right in front of the unsuspecting husband!

IMG_2850_red arrow

IMG_2855

See! Much classier than a Cheez-Its box.

STEP FIVE – BRAINSTORM & WRITE: Brainstorm a list of 38 things that you love about your husband. If you can’t think of that many, then maybe you need a new husband.  Feel free to steal some of mine. If your husband is older than 70, you’ve got a very long list to make. Perhaps this project is really a young wife’s game.

Then, when your husband’s not looking, pull out the book and on each page, write one reason why you love him.

IMG_2858IMG_2852IMG_2853IMG_2854Now, some of these 38 things are a little too personal for the internet. But here’s a few highlights to give you an idea of why I love him:

4. You have just the right amount of body hair.
7. Your eyelashes are blond at the base and black at the tips, like a bunch of tiny arrows pointing to your piercing blue eyes.
13. You always let me sleep five minutes later than you.
15.  You know a lot about outer space.
20.  You forgive and forget.
27.  The way you draw dinosaurs, robots and monsters perfectly, on command.
29.  You keep getting promotions at work.
31.  Your smile really does light up the room, and I promise not to say that when you’re dead.
33.   When I get stuck, you get me unstuck.
34.   You always hold my hand when we’re walking.
38.   I can’t believe our children have a father as wonderful as you.

Make Your Own Beer Box NASCAR Track

For the last few years, whenever my mother and father would visit from St. Louis, they would bring along several boxes of linguine, which they believed was not available in Chicago. You see, a few years ago, we made the mistake of taking them grocery shopping at a local store called Cub Foods that was in the process of closing down (talk about bargains!).

cubshutdownThe place was pretty picked over; the pasta aisle was decimated, and we left without getting the linguine we needed for my mom’s world-famous shrimp scampi.  Since then, parents believed that linguine was not to be found anywhere in the Chicago area and must be smuggled in from St. Louis.

By the time my parents came to visit us this weekend, we had finally convinced them to leave the linguine at home. But they did arrive with plenty of other treasures from their homeland:  A case of Old Milwaukee, a giant bag of chocolate chips, a handful of Hot Wheels cars, a box of Cheez-Its, a can of prunes and a bottle of prune juice.* Oh, and a pack of new underwear for each child.

IMG_2776

All the staples of a well-balanced Midwestern diet.

The next morning I was plugging away at my “day job,” casually ignoring the children, who were high on new underwear and race cars and prune juice (which has more sugar than fiber, by the way).  I returned to the dining room/studio to find that Scott had made a mini-NASCAR track out of the case of Old Milwaukee.  The kids played racetrack for hours and hours. And hours. And more hours.

It will surely be remembered as the Greatest Toy of All Time, and it took my brilliant husband about three minutes to make.


Since I wasn’t able to personally document the creation of this cardboard masterpiece, I’ve provided a detailed re-enactment as a public service to Projectophile readers. Christmas will be here before you know it!

MAKE A TOY RACE CAR TRACK OUT OF A CARDBOARD BEER BOX
You will need:
— A case of Old Milwaukee. Milwaukee’s Best and Natural Light are acceptable substitutes.
— Corrugated Plastic or More Cardboard
— Scissors, X-acto Knife and Tape

STEP ONE:  Take the beer out of the case. If you can’t immediately drink 18 cans of Old Milwaukee, store in the refrigerator for future use.

IMG_2780

I’ve been serving leftovers for 5 years. The original meal has never been found.

STEP TWO: Tear off the “handle” in the center of the box’s top panel.  Then cut about three inches into one side of the handle hole, so you can pull the panel up a bit.  You may need to cut slightly more, depending on the clearance your cars will require.IMG_2782

IMG_2783STEP THREE: Grab a piece of corrugated plastic that you found in the alley and used in your kid’s Refrigerator Halloween Costume. Alternately, try cardboard or — Scott’s favorite substance ever — foam core board. Cut the plastic or cardboard it so that it is slightly wider than the opening at the top of the box, and long enough so the cars don’t just hit the ground and bottom out (our piece was about two feet long).  If you’re using the corrugated plastic, use the x-acto knife to cut a slice halfway through the plastic, leaving the back unsliced, so that it bends upward. If you’re using cardboard, skip the cutting and just bend it.

IMG_2786IMG_2789STEP FOUR:  Open one end of the box, and slide the plastic ramp into the top hole. IMG_2793Use packing tape to tape the end of the ramp flush with the carboard top.

IMG_2794SCOTT’S PRO-TIP: A real man separates the tape from the roll by biting it off, not by using the dispenser. We lost the dispenser a long time ago, anyway.

STEP FIVE:  For extra stability, reach into the box and apply more tape to the underside of the ramp where it meets the opening. Sorry guys, it’s hard to take a picture of the inside of a box, but you get the idea:
IMG_2800_redcircleSTEP SIX:  Release your Beer Box Car Ramp into the wild of your children’s play area. Your work is done. Now it’s time to sit back and relax with a cold beer and a box of prunes.

IMG_2801IMG_2802IMG_2805IMG_2804IMG_2806 * Prune juice? Yes, my children eat like old people. Estelle loves to snack on prunes, and when she was in the hospital this summer, she ordered prune juice for breakfast. This incident has been a source of delightful giggles for our family ever since.

Celebrate Samhain by Disguising your Child as a Major Household Appliance

For several months, my four-year-old insisted she wanted to dress up like a letter for Halloween. Yes, a letter. As in, “This letter states that, due to an overdue library book, you never actually graduated college.” *

letter

To our younger readers: If you get something like this delivered to your house, it may be a letter.

This past weekend, Estelle “flipped her mind” and declared that she wanted to dress as a princess instead.  A Princess! Within seconds, big brother and I delivered an onslaught of white lies in order to shield her from the Princess Industrial Complex  (despite the fact that her last name means “King” in Poland, she’s not next in line for the Polish crown).

“You don’t want to be a princess!” Max declared. “Everyone else is going to be a Princess.” I took the deceit a step further: “You know Biscuit, there is a strict limit on the number of Princesses on Halloween, and all those spots are already taken.”

Satisfied with our explantion, Estelle spun around, pointed to the refrigerator and said, “I want to be that! A white frigerator!”

A few minutes later, I left the house to run an errand.  I immediately found most of our costume supplies in the alley within about 50 feet of our back gate.  A pile of barely-used medium cardboard boxes:IMG_2663

A discarded dresser with PERFECTLY SIZED, unthreateningly rounded handles:

IMG_2665_handlered

Red arrow indicates the part you should remove.

Once the supplies were secured, we had to start making the costume at once — before Estelle flipped her mind again.  To further seal the deal, it was critical to involve her in the (non-toxic) aspects of the refrigerator assembly.

HOW TO MAKE A WHITE REFRIGERATOR COSTUME MOSTLY OUT OF STUFF YOU FOUND IN THE ALLEY:

You will need:
– Medium Cardboard Box
– Food Magazine or Grocery Ads
– Scissors, box cutter or x-acto knife
– White Duct Tape, Glue, Primer, Paint and Varnish
– Handles (optional, but recommended) + Screws
– Tiny Reading Light
– Tiny Little bit of Velcro

STEP ONE – SIZE: Determine the approximate size of your child’s head by matching it with a similarly-sized serving bowl.

IMG_2670Trace the hole on the top of the box, but cut it in an oval shape instead, because human heads are slightly longer than they are wide.
IMG_2671IMG_2674Determine the placement of arm holes, and cut those, too.
IMG_2678STEP TWO – PAINT:  Remove your child from the box, and peel off any stray stickers and loose tape. Cover your box in a coat of oil-based white primer and allow it to dry for a couple of hours in a well-ventilated, child-free area.

IMG_2685Then, go fetch the child and a bucket of white latex (water-based) paint. Teach her to paint with a roller brush.  Barely hide your emotion as she smears paint in her hair, just like Mommy!

IMG_2694STEP THREE—STOCK THE FRIDGE:  Ask your mother-in-law to save the grocery ads from the Sunday paper. Squeal with delight when your husband brings home a Kraft® “Holiday Entertaining Guide” from 2009 that he found in the cafeteria at work. Instruct the kids to cut out pictures of food, and try not to comment when they only cut out beer, soda and processed cheese products.
IMG_2707We found that the pictures in many grocery ads were just too tiny. To supplement, we cut up packages of food that we actually eat.  Like butter. We eat lots of butter.
IMG_2709Use silver (standard-issue) duct tape to create four “shelves” and glue the groceries in place. I recommend using a glue stick, since liquid glue causes thin newspaper clippings to wrinkle and warp.
IMG_2716

IMG_2717STEP FOUR – SEAL:  Once the glue has dried, coat the whole box in a thin layer of Polyurethane varnish. The varnish will give your fridge that factory-fresh shine, and provide protection against rain, snow, snot and tears – the natural enemies of cardboard.
IMG_2723STEP FIVE – DOORS:  We happened to have a piece of white corrugated plastic that Scott found in the alley and just “knew” we would have a use for someday.**  This stuff is as light as cardboard and infinitely more durable.  I cut out two pieces and, since they were translucent, covered them in white duct tape.  Alternately, use two spare pieces of cardboard cut from the bottom of the box, and prime, paint and varnish them as we did in Steps 3 and 4.  Or cover in white duct tape. Your choice.

We scavenged door handles from an old dresser in the alley, but they can be easily found at any hardware store or IKEA-type place. Screw your handles into the center of each door, where… you know… handles ought to go.  Cover the back of the screws with duct tape so they don’t scratch your representations of food.
IMG_2720Use MORE white duct tape to attach the doors, taping both the inside and outside “hinges.”IMG_2725STEP SIX – CLASSY FINISHING TOUCHES:  After you tape the doors on, you may notice their tendency to swing open uncontrollably. Attach two little pieces of adhesive Velcro discreetly over the shelves, and then attach their grabby mates on the back of each corresponding door.
IMG_2732What refrigerator isn’t complete without a light?  Steal Re-appropriate your husband’s $2 clip-on reading light that he forgot he had and never used anyway.
IMG_2726Use an X-acto knife to cut a tiny hole over the top row of food, and somehow tape your little light to the inside. I briefly considered just clipping the light onto the neck hole, but then remembered that Estelle will mindlessly chew on anything within biting distance. Best to keep electronics and hungry preschooler mouths apart. IMG_2730Take a couple of pictures of the appliance before your kids mess it up again:
IMG_2769IMG_2772PRO-TIP!  Before Halloween, give your child plenty of time to acquire the muscle strength that it will surely take to keep her arms in that position for several hours —  while also holding a pillowcase full of candy.
IMG_2738IMG_2740IMG_2739IMG_2752

* Kind of a true story.

** Normally, aspirational hoarding is discouraged in our household, but this time it worked out pretty well.

Turn your Filthy Target Ottoman into a Glamorous Tufted Foot Lounger

When it comes to prioritizing housework, my mom is my role model.  Mom’s a reluctant housewife who fills out the “Occupation” box of her tax returns with jobs like: Assassin, Witch Doctor, Drug Dealer or Arsonist.  Her self-worth isn’t measured by her gleaming kitchen counters or cat-hair-free living room curtains.  Like me, she gets a job done when she’s “sick of looking at it.”

weddingshot

My beautiful Mama getting revenge on her little sisters by making them sit on the floor.

A typical conversation at my house might be:  Hey look, you finally put away that  laundry that’s been sitting on the couch for two weeks!

Yeah, I just got sick of looking at it.

Honey, you finally threw away that tupperware full of last Thanksgiving’s mashed potatoes, which have since turned to Vodka.

Well, you know… I just got sick of looking at it.

Yesterday, I finally got sick of looking at a yucky, but well-loved, ottoman in our living room.  I bought it a few years back at Target, in a moment of desperation. We lived in a one-bedroom condo. With a new baby in our bedroom, my stepson was sleeping on the living room sleeper sofa. We urgently needed a place to store extra bedding so it didn’t look a flophouse. The beige booger-toned fabric and espresso wood legs matched our Craigslist couches almost perfectly.

IMG_2578But it didn’t take long for nastiness to set in.  Even though our family motto is “Leave Your Shoes at the Door and your Food in the Kitchen,”* somehow all the sticky hands and baby tears converged, and dried, on the top of this poor ottoman.  And unlike the couch’s removable cushion covers, you can’t just throw the whole thing in the wash.

IMG_2579Can we get a better close up?

IMG_2580_redcircles

I can’t believe I’m showing this to you.

Whenever guests would arrive, I would hide my shame with this IKEA sheepskin.

IMG_2584

Nice try.

But perhaps because it is furry and smells like wet dog, any child under 12 will instinctively pull the sheepskin off and roll around in it.  No amount of thread or safety pins could keep it in place.

The only option was to recover.  A few weeks ago, I impulsively bought several yards of vintage fabric at the ambiguously named “Collector’s Bazaar” event at my new favorite place in the whole world, the Chicago Rebuilding Exchange.

IMG_2586

Don’t worry — I talked her down to $3.

Now, because of my inherent laziness and years-long inertia on this project, I decided to keep it simple and only recover the “lid” of the ottoman. Plus, I have quite a few “two-toned” objects in my living room.  If you want to cover the rest of the ottoman, find another blog.

HOW TO RE-COVER YOUR GROSS TARGET OTTOMAN IN THREE HOURS OR LESS:

You’ll need:
– Screwdriver, Scissors and Staple Gun
– Decorator’s Needles and Twine
– “Shank” Button Making Kit, plus fabric to cover buttons

STEP ONE – PREPARE:  First, unscrew the Lid of the ottoman from the hinges attaching it to the base.
IMG_2587

Flip the lid over and pull the dustcover off the bottom. Don’t worry if you rip it a little, nobody can see this part anyway.  If you pull any staples loose, remove them with a flathead screw driver or pliers.
IMG_2590Notice that, even though you bought this new at Target and it was probably mass-produced in China, the foam is held in place by what is unmistakably used — and kind of dirty– upholstery fabric from some old couch. Try not to think too hard about why this is, or the Global Supply Chain generally.

Now lay the lid face-down on top of your fabric. Pull the end of the fabric over the sides to get an idea of where you should cut.
IMG_2597After you’ve cut the fabric to size, iron it.  Especially if you are using vintage fabric, ironing will smooth out the decades-old fold lines and subdue any musty smells. If your fabric smells more than a little bit musty, wash it before you cut it down to size to account for shrinkage.

IMG_2599

Before you iron, spray your fabric with a little vinegar to eliminate mysterious “vintage” smells.

STEP TWO – RE-COVER:  Grab your staple gun! Veteran Projectophiles will have already mastered the following technique from our Tufted Floating Headboard and the IKEA Bench Recover projects: Lay your fabric face-down, and center the Ottoman Lid over it, also face down.

But before you start stapling, remember that we need to find those screw holes again when we re-attach the ottoman lid to the hinges on the main box.  Insert sewing needles — pointy side up — into any screw holes that you expect to cover with fabric.
IMG_2600Pull the fabric up over the side, and staple it to the lid frame, one staple every couple of inches.  Don’t forget to pull the fabric over your “screw hole” needles.
IMG_2608PRO-TIP!  Don’t be afraid to cut unneeded fabric if it’s too bulky around the corners. Sacrifices must be made. This whole process is like wrapping a present, except that the wrapping paper is really thick and stubborn.  I wish I had better guidance, but I never learned how to properly wrap a present and am relieved at recent ubiquitousness of gift bags.

After you finish stapling your fabric in place, replace the “pointy side up” screw-hole-locating needles with more skin-friendly plastic-head pins.  I learned this the hard way.
IMG_2610STEP THREE – TUFT:  At this point, the Ottoman lid seemed too plain to me.  If you like plain and boring, skip to Step Four.  What’s the best way to spice up an upholstery project? Tufting!  In fact, the phrase “Cute as  Button” was coined in reference to DIY ottoman projects that included tufting.

I still had six buttons leftover in my shank button-making kit, which you can get at any craft store.  To cover my buttons, I dug up  some shimmery teal curtains that I had made four apartments and two boyfriends ago.  I bought the fabric at an Indian Sari store up on Devon Avenue. The buttons made the hints of turquoise in upholstery fabric really pop; their shininess was the perfect antidote to the ottoman’s rough burlapy texture.
IMG_2612

Measure your lid to determine proper button placement.  I measured the width and divided by four (for three buttons), then measured the height and divided by three (for two buttons).  Draw a gridline and clearly mark the intersections with a marker.

IMG_2614

I’m not left-handed, I just had to use my right hand to take this picture.

Thread an upholsterer’s needle with twine and push the needle through the first mark:

IMG_2625Once pulled through to the other side, use your needle to thread the twine through the hook at the bottom of the button.

IMG_2632Then plunge the needle back into the fabric, pulling out in roughly the same spot on the backside:

IMG_2626

This whole process is quite awkward.

Pull the twine as tightly as you can and staple both ends to the frame. Use two staples on each end, for good measure. Repeat six times.
IMG_2639

IMG_2647

STEP FOUR – RECONSTRUCT:  If you’ve still got energy, staple the black dust cover back on to the bottom of your lid, although this is entirely optional.  Get a helper to hold the lid in place while you screw the hinges back on, using your pins as a guide.  

IMG_2646Fill the box back up with all your crap, scoot it back to the couch and put your feet up. But for goodness’ sake, take your shoes off first!

IMG_2652

Now the ottoman is way too good for that crappy old couch.

Shall we let the Poor Man’s Barcelona Chair have a turn?

IMG_2657IMG_2656* Not really our Family Motto.

Rescue and Restore: A Water-Damaged Chocolate Cupcake Vinyl Ottoman

How do you define an Old Friend? Someone you knew before you got your teeth straightened and your skin condition cleared up? Someone who loved you before you mastered the definition of postmodernism and existentialism?* Someone who tolerated your not-so-subtle habit of reminding people that you didn’t ACTUALLY OWN a television?**  Someone who you don’t see for years at a time, but you can pick up the phone and giggle and share secrets like you’re 19 again?

Smith Hall_anonymous

Red lines protect the identities of Old Friends, who are actually much hotter in their thirties than in their late adolescence. Not sure about the gerbil.

Yeah, all that stuff. But you can be 100% sure you have an Old Friend when you’ve met not only your friend’s parents, but also her grandparents.

Now, what does my friend’s grandma have to do with this week’s Project? Well last week, I was on my way to fetch my youngest child when I spied a delicious vinyl chocolate cupcake-shaped ottoman in a neighborhood alley.  Unfortunately, there was not enough room in back of my cargo bike for both my Alley Treasures and my Toddler.  So like any good Mother Scavenger, I tucked the ottoman behind a nearby trash can, made a mental note of its location, and went to get the kids.  After the kids were in bed, I snuck back out and found the ottoman right where I left it.
IMG_2451Later that night, feeling a little weird about dragging yet another item home from the alley, I posted a picture of it on the Social Media. The Old Friend remarked that her grandmother had the exact same ottoman, in Olive Green.  If I had any hesitation about keeping this little cupcake, it was erased by happy thoughts of drinking soda in Liz’s Grandma’s living room.  Its fate was now sealed.

IMG_2452Now it was time to see why its previous owners had abandoned the little cupcake.  The vinyl cover and stitching were in respectable condition, but the bottom was a disaster. Check out the underside:

IMG_2454My diagnosis was Severe Water Damage, as evidenced by the rusty casters, peeling paper and disintegrating particleboard, not to mention the water stains.

IMG_2458

IMG_2462

I also discovered that this ottoman was actually stuffed — not with foam, as one would expect — but with miniature wood chips. This will come in handy when the United States government disintegrates into anarchy and we all have to burn our furniture to stay warm. I’ve been told that this process has already begun.

IMG_2460

See? Perfect for a marshmallow roast in the midst of lawless chaos.

Poor cupcake had probably spent the last 30 years in the corner of some other Grandma’s basement.  A mean Grandma, not a nice one like Liz’s.

HOW TO REHABILITATE A WATER-DAMAGED VINYL CUPCAKE OTTOMAN
You’ll Need:

  • Screwdriver, pliers and staple gun
  • Vinegar and sponge
  • Contact paper (mine is faux leather!)
  • Vinyl or Leather Cleaner

STEP ONE – DISMANTLE:  Unscrew the casters and put them aside, storing each caster with its respective screws.   IMG_2468

Are you up-to-date on your tetanus shots? Cause it’s about to get rusty in here.IMG_2473STEP TWO – PREPARE THE SURFACE:  First, peel off and discard the loose contact paper.

IMG_2466Next, use pliers or a flat-head screw driver to remove any rusty staples or mystery nails:
IMG_2479Realize that you are not quite sure how this whole thing is held together. Decide that Gravity is good enough for now.

Wipe down the base with vinegar and air dry.  The vinegar will help to eliminate that musty alley smell.  Don’t worry if it smells like pickles at first – when the vinegar dries, its smell will magically evaporate as well.  However, some people really like the smell of pickles.

IMG_2482

STEP THREE – REBUILD:  Once the surface has dried, we need to secure the fabric back onto the base.  Use a staple gun to re-attach the fabric, blasting one staple in about every 3 inches or so, avoiding the area where the casters will be screwed back in.

IMG_2488

PRO-TIP! Treat yourself to a new staple gun! I finally broke down and bought a really good one. It was less than $30, but worth at least $10,000 in happiness and ease of use.  However, I was a little concerned by illustrations in the instruction manual, which suggest that this staple gun should be used by babies:

IMG_2483

See?  BABY HANDS!

Next, roll out contact the paper, face down, over your base. Use a marker to outline the edges. When in doubt, give yourself extra material because you can always slice the excess off afterwards.
IMG_2498IMG_2503Before you adhere the contact paper to the base, use masking tape to mark the spot where the casters will be re-attached.

Peel off the backing and position the contact paper over the base, sticky side down.  Smooth it out with your hands, starting from the center and moving outwards.IMG_2509

If you’re lucky, your husband (who is graciously taking all these pictures) will make a joke about “Scratching Vinyl.”

turntable_hand

Repairing the Base v. Dropping the Bass?

Using a sharp, pointy object of your choice, poke a hole in the contact paper where the caster screws once lived, using your masking tape as a guide. The contact paper is thin enough that you should be able to feel the inner two holes with your finger – those two will be enough to position the caster brackets.
IMG_2515Position caster brackets over your holes and screw back in.

IMG_2516At this point you’ll notice that the contact paper doesn’t stick quite as well to the fabric as it does to the board. To keep the contact paper from peeling off the fabric, pop a few more staples in over the contact paper where it meets the fabric.

IMG_2522

STEP FOUR – CLEAN AND ENJOY!  Now flip your cupcake over and dust off any debris.  Before your ottoman is ready for Proper Lounging, we need to clean and condition the vinyl.  A few weeks back I had bought a bottle of this Leather and Vinyl Cleaner at the auto parts store. It’s made for car seats, but I found that it worked wonders on my thrifted vinyl Poor Man’s Barcelona Chair.
IMG_2524Like most alley treasures, I don’t yet have a permanent location in mind for my Little Cupcake. For now, let’s pair him with several different chairs and see what works.

IMG_2531

In the Front Room with the Poor Man’s Barcelona Lounger?

IMG_2536

By the bookcase with the knock-off Eames Rocker?

IMG_2539

Or in the Baby’s room with another vinyl chair I found in the alley?

* I’m still working on that last one.
** Yes, we have one now, and it’s huge.

Make Your Own Family Door Art out of Vintage Hangers from the Alley

…If your last name begins with the letter K

While strolling through the cornucopia of our neighborhood’s alleys, I recently eyed something both shiny-metallic and wooden – always a sign of a quality treasure.

IMG_2391_wellhellothere
And despite what the growing pile of junk on my back porch would suggest, I don’t grab everything shiny thing I see in the alley. To me, this looked like a happy pair of the letter “K.”

IMG_2393

So what’s the deal with K?, you ask.

Scott’s last name starts with K.  Although, in what experts agree is the biggest blow to the patriarchy since the invention of Bloomers, I did not take Scott’s last name when I married him.*

Bloomers1

The comfort and practicality of Bloomer pants allows this Victorian-era lady to ride effortlessly through a garden of Giant Mutant Roses.

No, really — this was quite a bold move on my part.  My own last name has proven to be unpronounceable and un-spellable even by those who have known me for years. But to spare my own children the lifetime of pain that comes with having an inconveniently difficult last name, they did get Scott’s easy name.  Same number of letters, but with half the syllables and 90% less misunderstanding.

On top of that, Scott proudly claims that his last name means “King” in Polish, even though approximately 72% of Americans believe that their surnames mean “King” in whatever land they or their ancestors came from.

sigismund_i_the_old_king_of_poland

Sigismund the Old King of Poland.

king of poland

This gentleman claims to be the New King of Poland

When I proudly revealed my alley treasures to Scott, he flipped them horizontally and declared that they were, in fact, just olde-timey clothes hangers.

IMG_2394

Scott and I have gotten pretty good at crushing each other’s dreams.

In my heart, I knew they were still Ks with an important K-related mission.

See, we live on the second floor of a three-unit apartment building. Without proper signifiers, visitors often go knocking at our neighbors’ doors, walking away confused, but with a handful of cheese crackers (downstairs) or Oreo cookies (upstairs).  The only signage in our hallway are these culturally confusing crests our landlord hung up years ago right outside what is now our front door:
IMG_2420

Can we get a close-up of the one on the right — the mostly naked Aztec warrior?

IMG_2418 We’re not the type of family that’s always got some seasonal cluster of crap hanging on our door.  So a simple K was just what we needed to mark our territory and add a hint of style to the hallway.

HOW TO MAKE YOUR OWN DOOR SIGNIFIER OUT OF OLD WOODEN HANGERS IF YOUR LAST NAME BEGINS WITH K

You’ll need:

  • Olde-timey two-pronged wooden clothes hangers from the alley
  • Steel Wool + Sand Paper
  • Oil-based Primer
  • Latex Paint in a pleasing shade
  • Polyeurethane
  • Paint brushes

Like most Alley Treasures, these two needed some tough love.  The wood was dull, stained and scratched:IMG_2395

And the hardware was scarred with rust:

IMG_2403


I suppose I could have pried the hardware off, but I felt that it was an essential piece of its vintage charm.  I needed to restore all of it.

STEP 1: SCRAPE + SAND – Use a ball of fine or extra fine steel wool to buff the rust and dullness off the hardware.IMG_2401IMG_2423

Next, lightly sand the wood with 150 or higher grit sandpaper or sanding block, moving in the direction of the grain. The goal here is twofold: 1) to sand any glossy finish off the surface in order to apply a new finish, and 2) smooth down any imperfections in the wood.  Wipe with a damp rag and air dry.

IMG_2404

STEP 2: PRIME AND PAINT – After sanding, the wood looked fantastic. I was tempted to just stain the wood with my never-ending quart of dark walnut stain that I used on my Credenza Makeover and Mid-Century Modern Standing Desk.  However, I planned to hang this on my already dark wooden front door, and there just wasn’t enough contrast for my tastes. So I went digging around my pantry for some half-used buckets of paint.

Stop right there! Any time you are painting over wood you’ll need to prime. Priming serves as both a “glue” for the final coat of paint and a protective layer to keep anything lurking in the wood from seeping through to your topcoat.  Apply one coat of oil-based primer with a disposable brush (otherwise you’ll need paint thinner to clean). Be sure to pull the stray hairs out of your cheap-ass brush before you dip it in the primer so you don’t have to pull them out later.   Cover with primer and wait at air dry for at least two hours.

IMG_2425

I found what’s left of the bucket of paint I used in the bedroom, called “Sparrow” by Behr. Sparrow is the most extraordinary shade of grey I’ve ever used.  Soothing without being depressing, calming without a hint of gloom.  Light grey with a sweet, playful kiss of lavender.

Since I was using the leftover sludge at the bottom of the bucket, I made sure to mix in a paint conditioner called Floetrol to even out the paint’s texture and eliminate those unsightly brush strokes that old paint sometimes leaves behind.
IMG_2427

Apply two thin coats of paint, letting it dry for at least a couple of hours between coats.

IMG_2429

PRO-TIP: You may notice that I didn’t tape over the metal hardware before painting.  When it comes to shiny and hard things like metal, glass and mirrors, my motto is Scrape It, Don’t Tape It!   It just isn’t worth the trouble since you can scrape any wayward paint off the metal in seconds with your fingernail.  This rule does not apply to soft or porous materials like wood, fabric or skin.

STEP 3: VARNISH –
  While I insist on three coats of varnish to seal and protect furniture, it’s not really necessary for a piece that will only be hanging on a door. However, I did want a bit of dazzle, so I gave it one coat of polyurethane finish after a very light sanding.  For extra shine, keep adding coats of varnish, lightly sanding with 220+ grit sandpaper between rounds.

IMG_2433

STEP 4: HANG – At first I thought I could hang my K from its top “hook,” but it tilted awkwardly to one side. So I hammered a tiny nail into the non-hooked side, then used a needle to thread some string through the tiny crevice under the existing hook thing.

IMG_2435

IMG_2440

Finally, I pulled the string around the little nail, tying it together at the top.  I then hung the whole thing on a picture hanger in the middle of the door.  Now you’ll always know where to find the next King and Queen of Poland:

IMG_2448

IMG_2446

IMG_2445

Also stands for, “Welcome to our Krappy, Kluttered home!”

* I love decisions where standing up for what you believe also requires you to do absolutely nothing.